Articles
How To Attach Ring Camera To Vinyl Siding
Modified: May 6, 2024
Learn how to securely attach a ring camera to your vinyl siding with these informative articles. Ensure a hassle-free installation and protect your home with our step-by-step guides and tips.
(Many of the links in this article redirect to a specific reviewed product. Your purchase of these products through affiliate links helps to generate commission for Storables.com, at no extra cost. Learn more)
Introduction
Home security is a top priority for many homeowners, and investing in a surveillance camera system can offer peace of mind and added protection. One popular choice among homeowners is the Ring camera, known for its reliability and advanced features. However, when it comes to attaching a Ring camera to vinyl siding, there are a few important considerations to keep in mind.
Vinyl siding is a popular choice for many homeowners due to its durability, low maintenance requirements, and aesthetic appeal. However, mounting a camera on vinyl siding requires a careful approach to ensure a secure and long-lasting installation. In this article, we will guide you through the process of attaching a Ring camera to vinyl siding, step by step.
Before we get started, it’s important to note that every home is unique, and it’s crucial to consult the instructions provided by the manufacturer for specific installation guidelines. Additionally, if you are uncomfortable working at heights or with tools, it may be best to hire a professional to handle the installation.
With that said, let’s dive into the steps required to attach a Ring camera to vinyl siding and boost the security of your home.
Key Takeaways:
- Properly prepare the vinyl siding surface by cleaning and inspecting it to ensure a secure and stable installation of the Ring camera mounting bracket. This step is crucial for long-lasting performance and stability.
- When attaching the Ring camera to the mounting bracket, ensure a secure and stable attachment to prevent accidental dislodging. Regular maintenance and testing of the camera’s functionality will help maintain optimal surveillance and security.
Read more: How To Attach House Numbers To Vinyl Siding
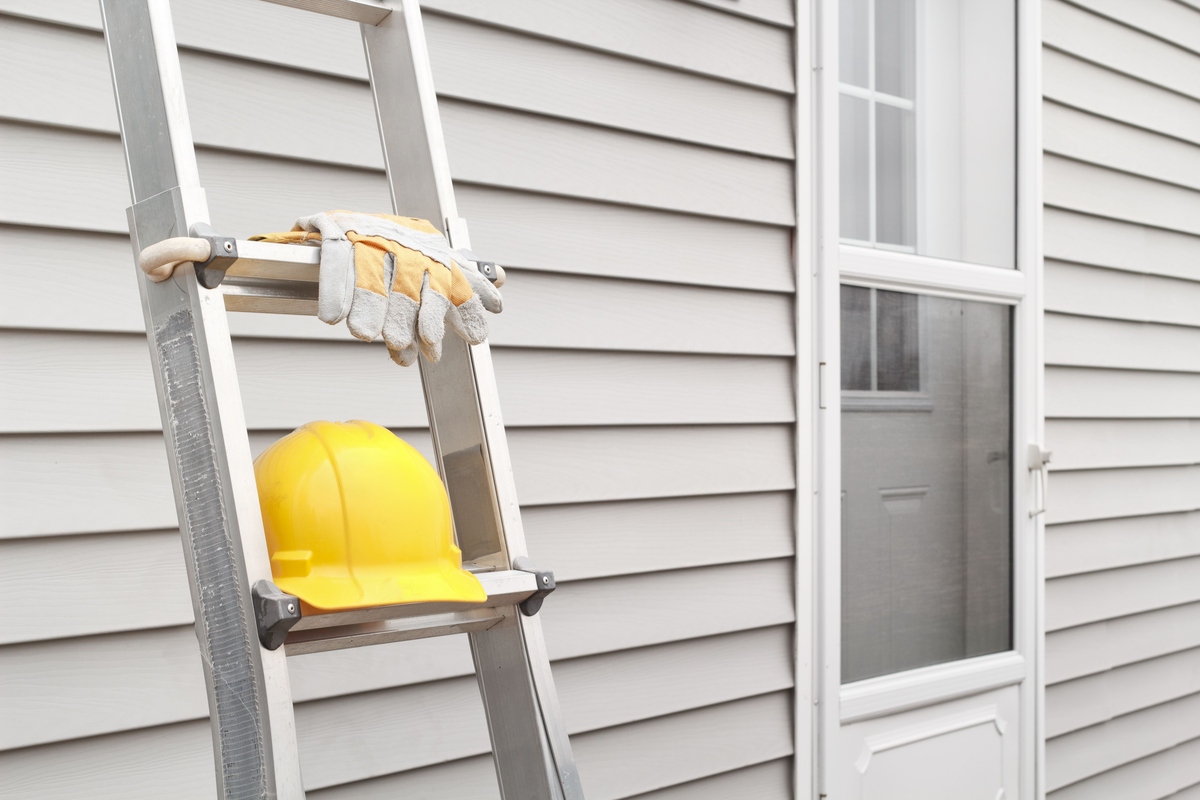
Step 1: Gather the necessary tools and materials
Before you begin the installation process, it’s important to gather all the necessary tools and materials. Having everything prepared and within reach will make the installation smooth and efficient. Here are the tools and materials you will need:
- Ring camera and mounting bracket: Ensure that you have the Ring camera system along with its compatible mounting bracket. The mounting bracket is specifically designed for attaching the camera to different surfaces, including vinyl siding.
- Tape measure: This will be useful for measuring the precise location for the camera and ensuring a level installation.
- Pencil or marker: Use a pencil or marker to mark the location where you will be attaching the camera and mounting bracket.
- Power drill: You will need a power drill with appropriate drill bits for creating the necessary holes in the vinyl siding.
- Screwdriver: A screwdriver, either manual or electric, will be required for attaching the mounting bracket and securing the camera in place.
- Screws: Make sure to have screws that are suitable for use with vinyl siding. These screws should be long enough to securely attach the mounting bracket to the siding.
- Level: A level will help you ensure that the camera is properly aligned and positioned horizontally and vertically.
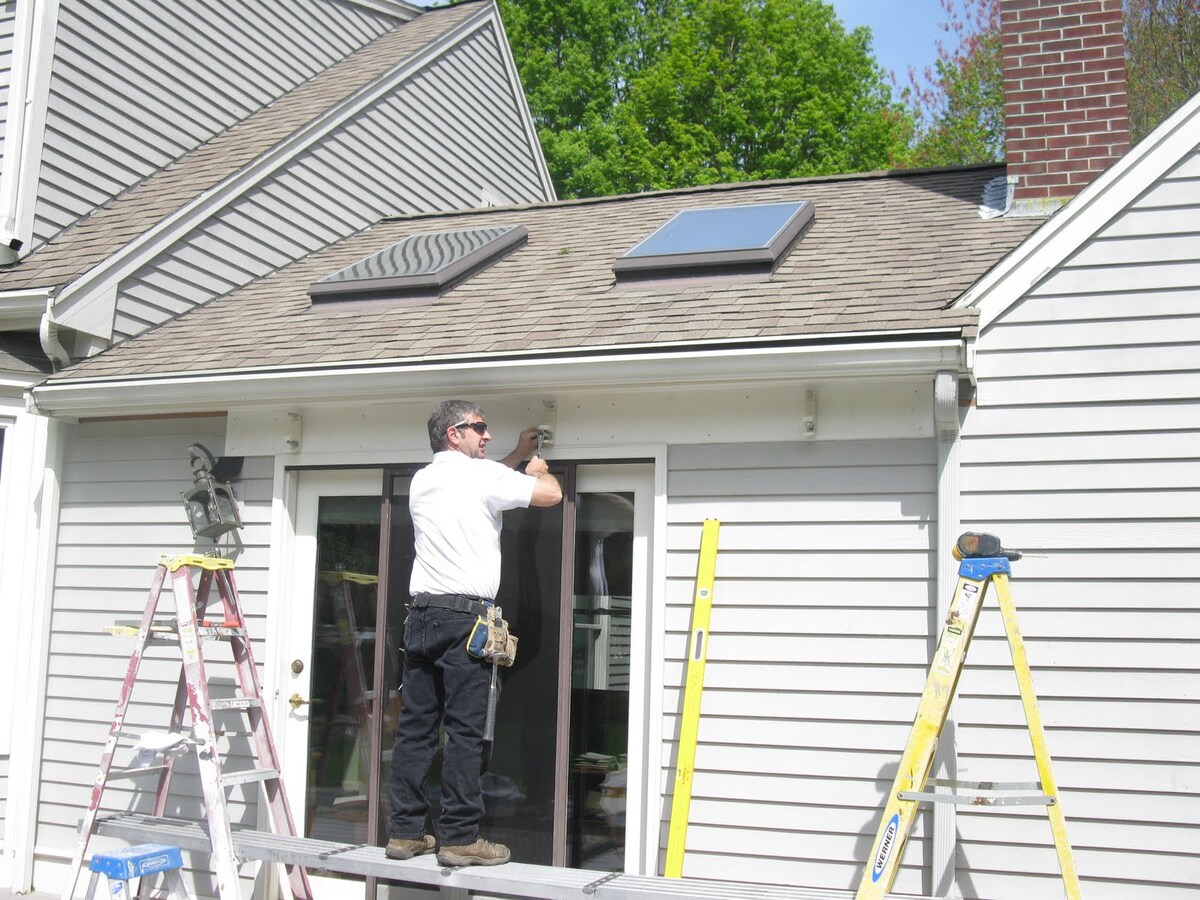
- Ladder or step stool: Depending on the height of your camera installation, you may need a ladder or step stool to reach the desired location safely.
By having these tools and materials prepared, you will be ready to move on to the next step: finding the ideal location for your Ring camera on the vinyl siding.
Step 2: Find the ideal location for your Ring camera
Choosing the right location for your Ring camera is crucial to maximize its effectiveness in monitoring your property. Here are a few factors to consider when finding the ideal location:
- Visibility: Ensure that the camera has a clear line of sight to the area you want to monitor. Avoid obstructions such as trees, bushes, or other objects that may hinder the camera’s view.
- Height: Mount the camera at a height that provides a wide-angle view of the desired area. Typically, a height of 8 to 10 feet above the ground is recommended for optimal coverage.
- Accessibility: Position the camera in a location that allows easy access for maintenance and adjustments, such as changing batteries or cleaning the lens.
- Power source: Consider the availability of a power source near the planned camera location. If no power source is available, you may need to opt for a battery-powered Ring camera or explore alternative power options.
- Wi-Fi signal strength: Ensure that the camera’s planned location has a strong Wi-Fi signal to maintain a reliable connection with the Ring app and other Ring devices.
Once you have identified the ideal location, use a tape measure to determine the exact spot where you will be attaching the mounting bracket. Mark this spot with a pencil or marker for reference.
Keep in mind that the location you choose will have an impact on the effectiveness of the camera and your overall home security. Taking the time to carefully consider these factors will help you make an informed decision and ensure optimal surveillance coverage.
Now that you have found the ideal location, let’s move on to the next step: preparing the vinyl siding surface for installation.
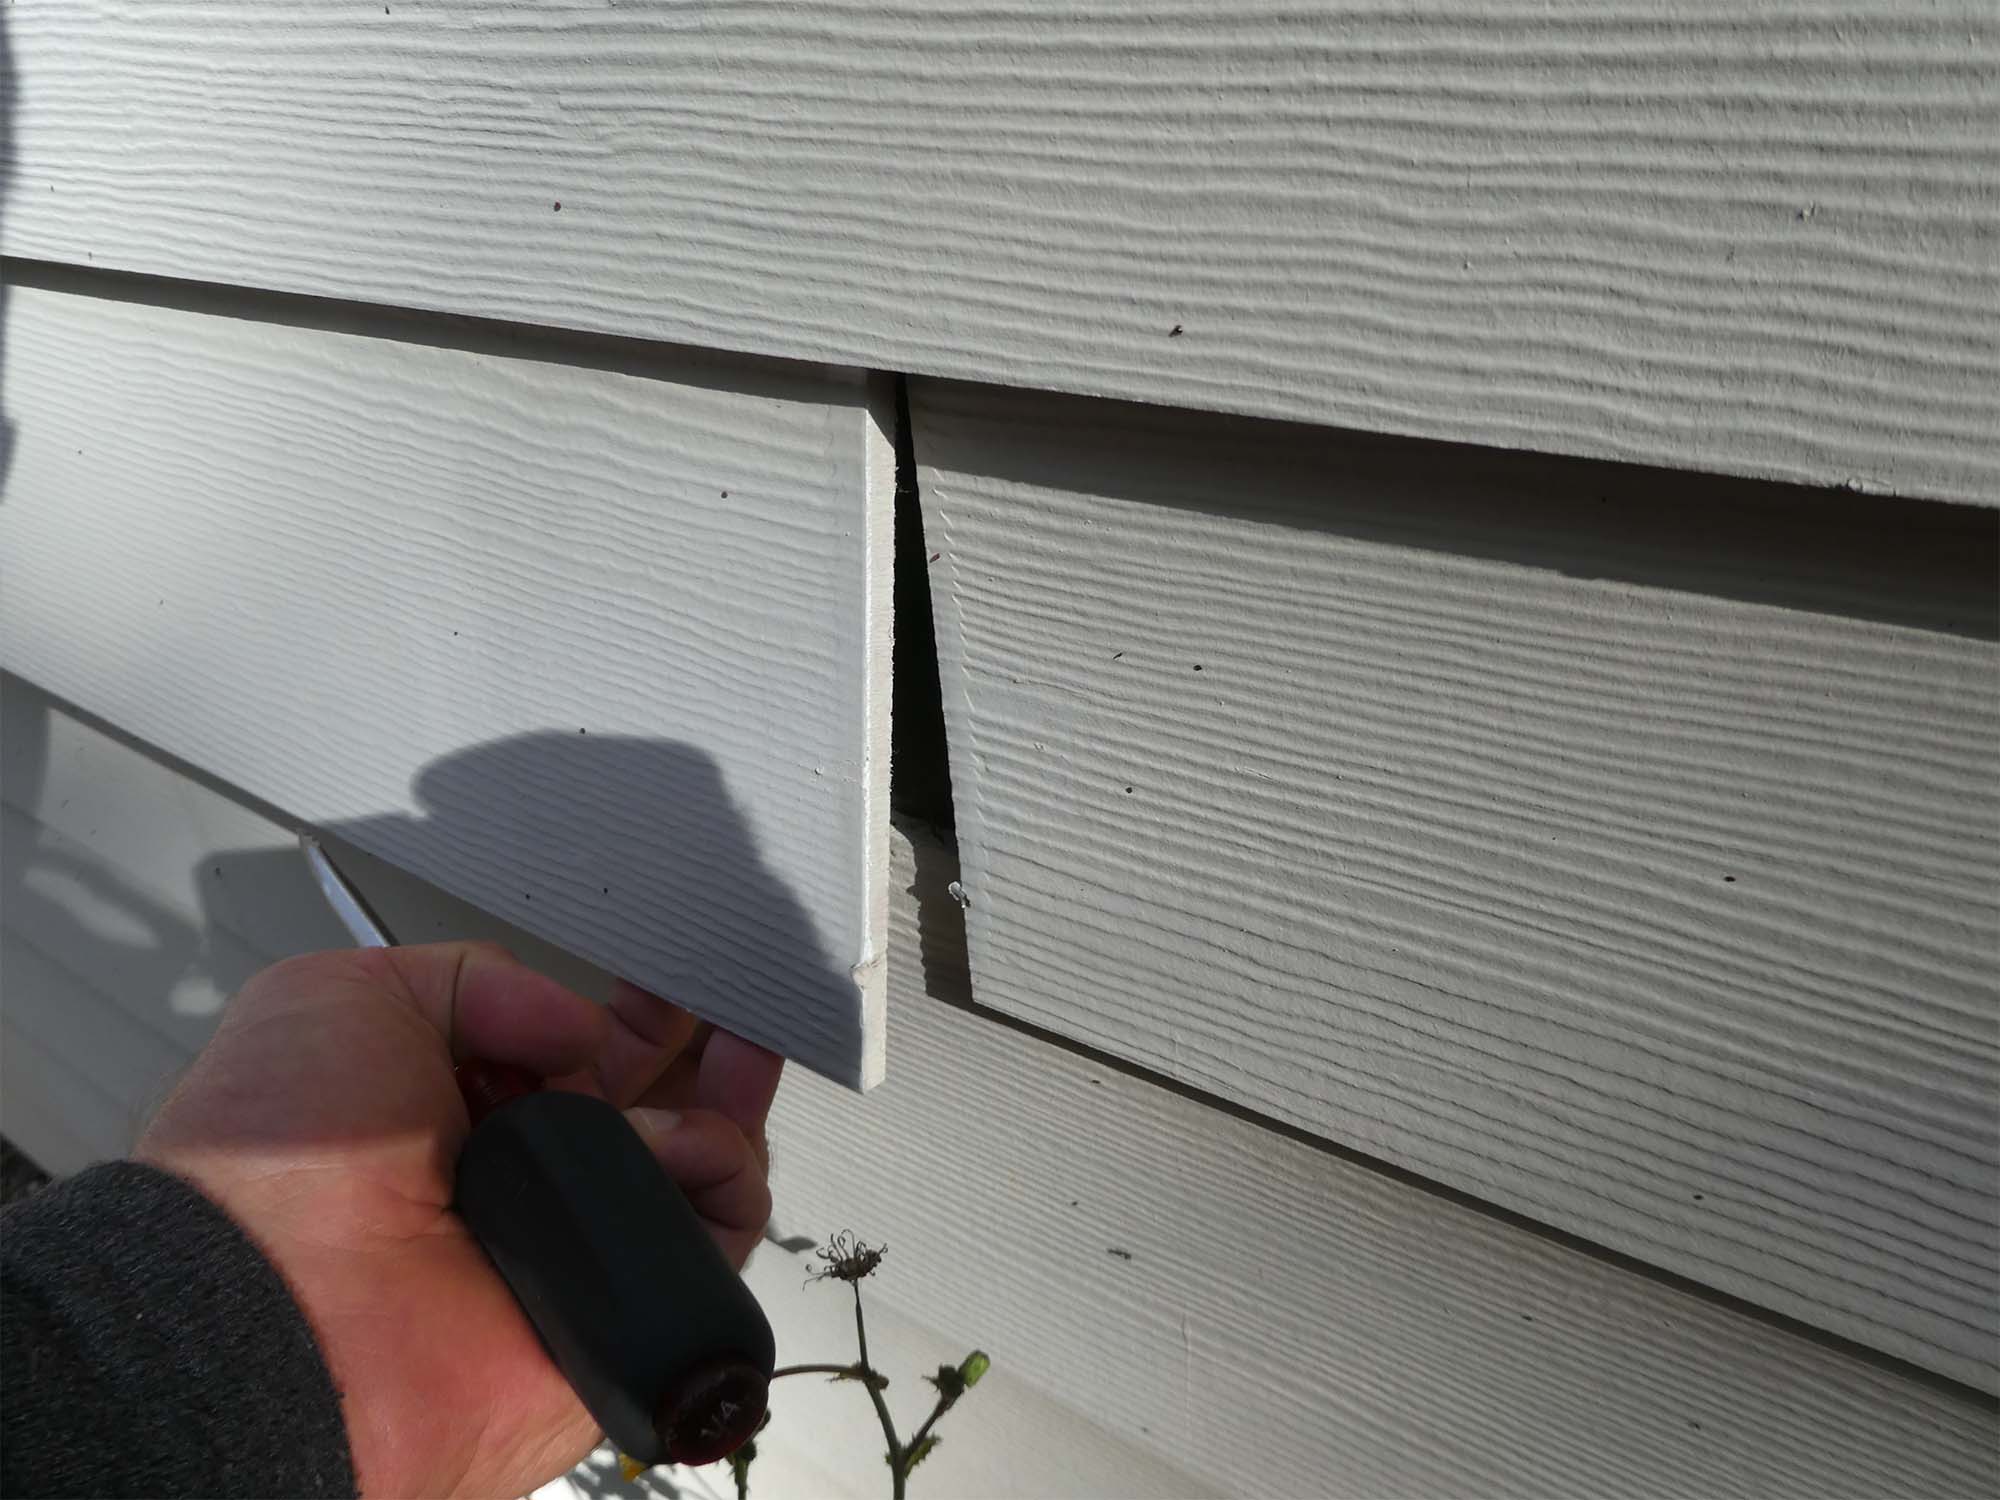
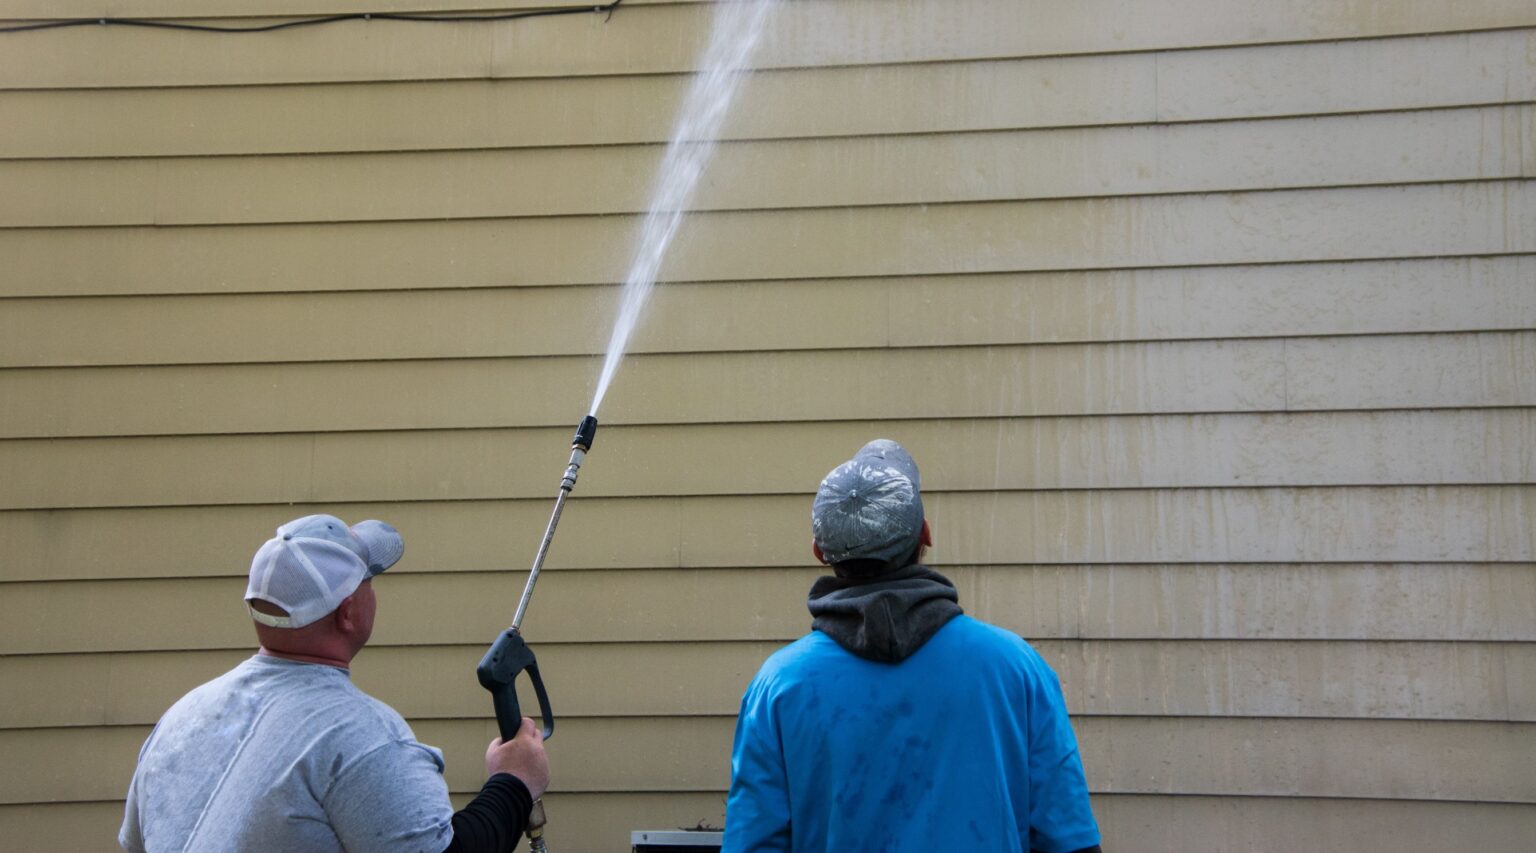
Step 3: Prepare the vinyl siding surface
Before attaching the mounting bracket to the vinyl siding, it is important to properly prepare the surface to ensure a secure and stable installation. Follow these steps to prepare the vinyl siding surface:
- Clean the area: Begin by cleaning the section of the vinyl siding where you plan to mount the camera. Use a mild detergent, water, and a soft cloth or sponge to remove any dirt, debris, or grime. This will help the mounting bracket adhere better to the surface.
- Dry the area: After cleaning, make sure the surface is completely dry before proceeding with the installation. Moisture can affect the adhesive properties of the mounting bracket and compromise the stability of the camera.
- Inspect the siding: Take a close look at the vinyl siding to ensure there are no cracks, gaps, or loose sections. If you come across any issues, it’s important to address them before proceeding with the installation. Repair or replace any damaged sections of the vinyl siding to provide a solid foundation for the camera.
Preparing the vinyl siding surface is a crucial step in ensuring a successful installation. By cleaning and inspecting the area, you can create a suitable surface for attaching the mounting bracket and secure the Ring camera effectively.
With the vinyl siding surface properly prepared, it’s time to move on to the next step: attaching the mounting bracket to the siding.
When attaching a Ring camera to vinyl siding, use a drill to create pilot holes for the screws. Be sure to use screws that are long enough to securely anchor the camera to the siding.
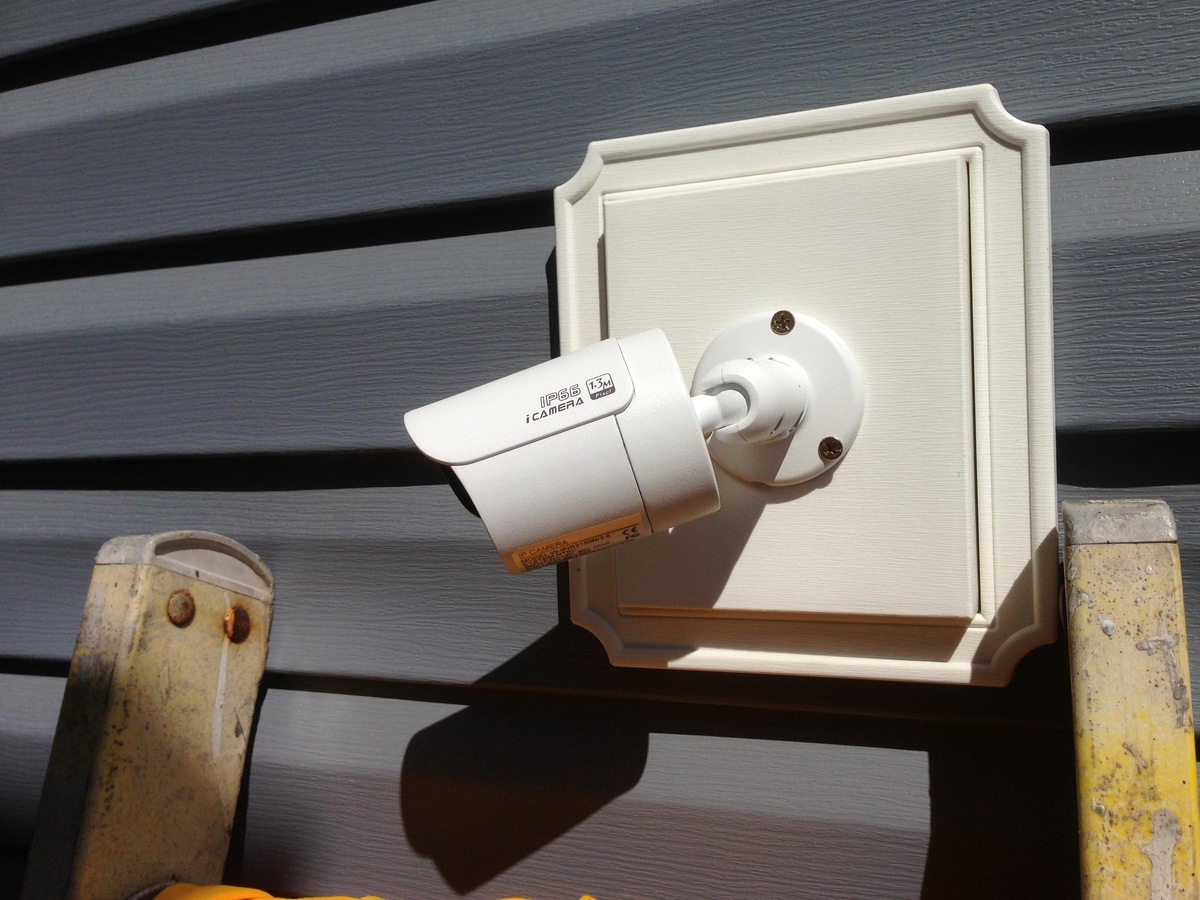
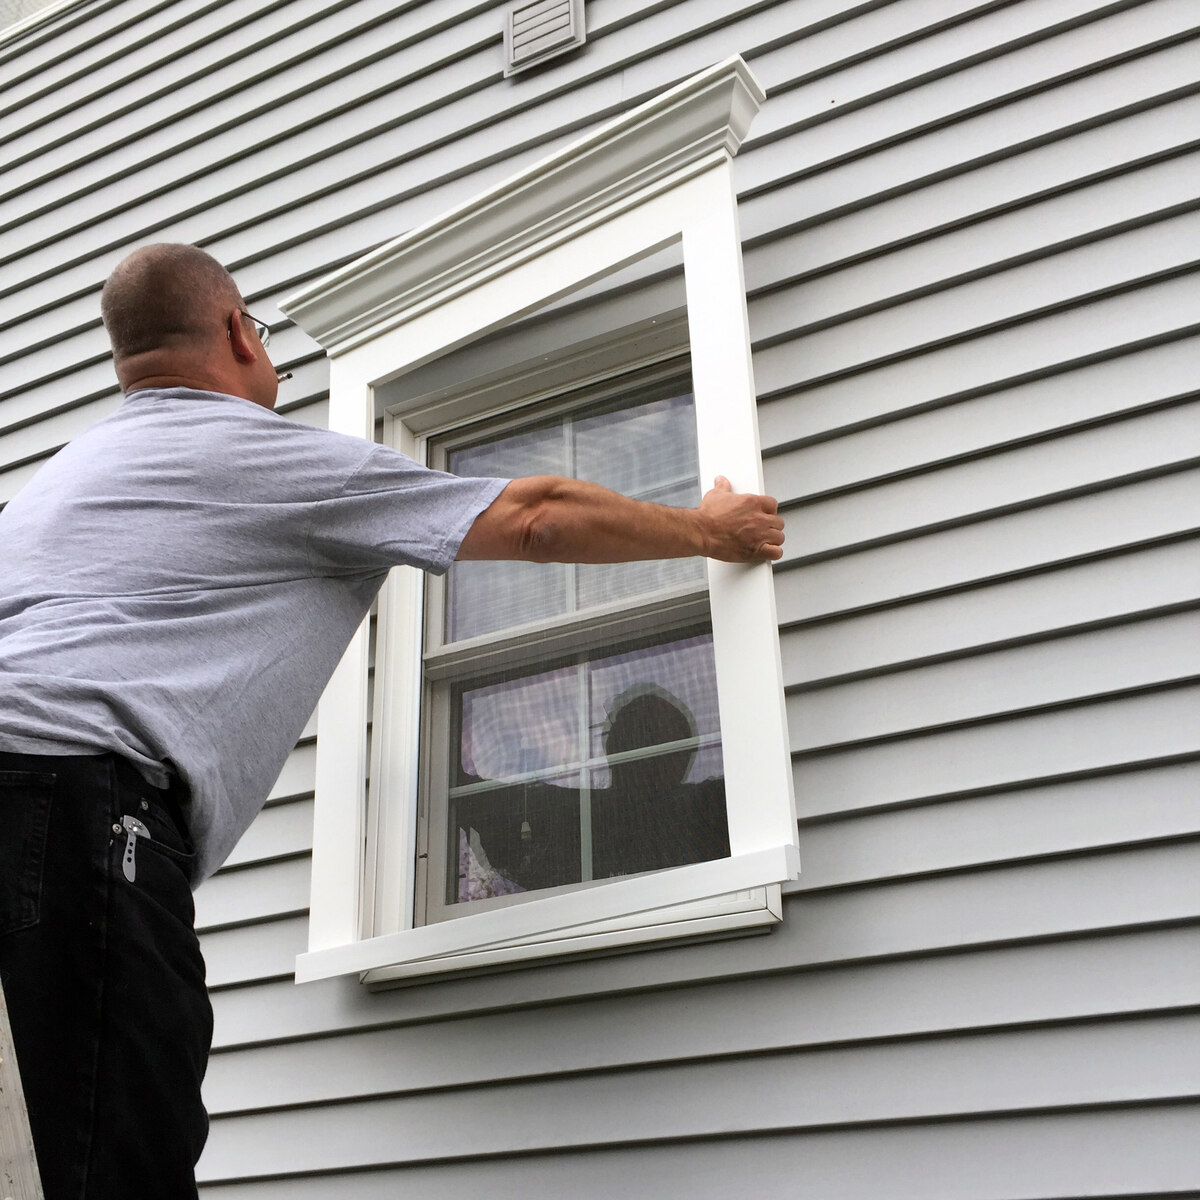
Step 4: Attach the mounting bracket to the siding
Attaching the mounting bracket securely to the vinyl siding is essential for a stable and long-lasting installation. Follow these steps to attach the mounting bracket:
- Position the mounting bracket: Place the mounting bracket against the cleaned and dried section of the vinyl siding, aligning it with the marked spot where you want to install the camera. Ensure that the bracket is level and straight.
- Mark the screw holes: Use a pencil or marker to mark the locations of the screw holes on the vinyl siding. These holes will be used to secure the mounting bracket to the siding.
- Drill the pilot holes: With the help of a power drill and the appropriate drill bit, carefully drill pilot holes into the marked spots on the vinyl siding. Make sure to use a drill bit that is slightly smaller in diameter than the screws you will be using.
- Attach the mounting bracket: Place the mounting bracket back onto the vinyl siding, aligning it with the pilot holes. Insert the screws into the holes and tighten them using a screwdriver or power drill. Be careful not to overtighten the screws, as this can damage the vinyl siding.
- Verify the stability: Once the mounting bracket is attached, give it a gentle tug to ensure that it is securely fastened to the vinyl siding. If there is any wobbling or instability, double-check the tightness of the screws and make any necessary adjustments.
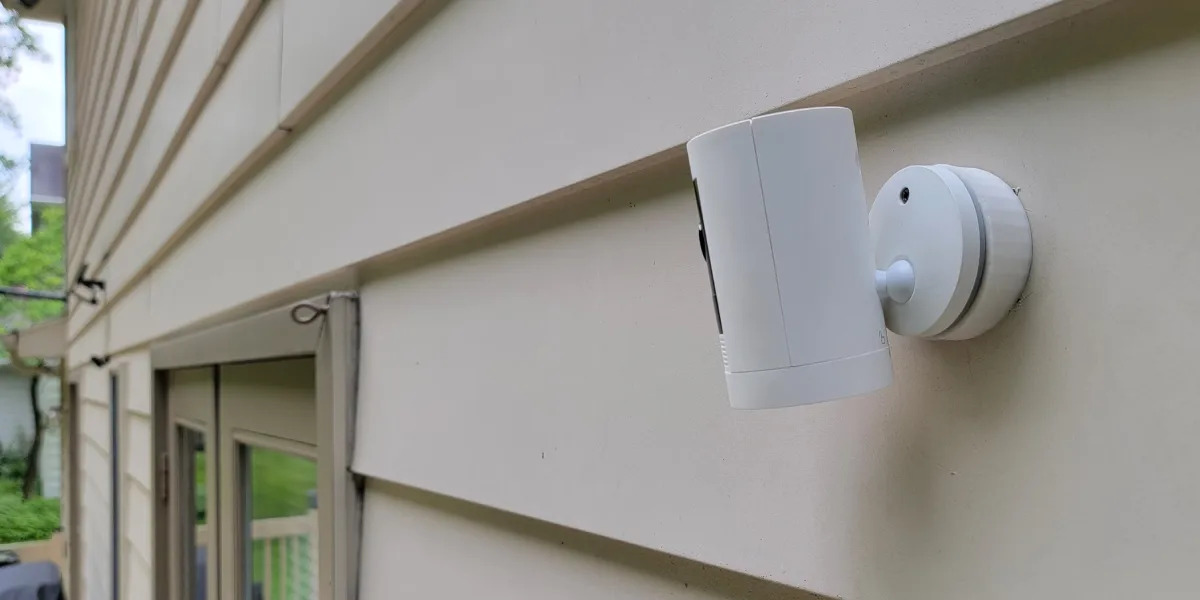
By following these steps, you can successfully attach the mounting bracket to the vinyl siding, providing a stable base for your Ring camera. A firm and secure attachment is crucial to prevent the camera from falling or getting damaged over time.
Now that the mounting bracket is securely in place, it’s time to move on to the next step: attaching the Ring camera to the mounting bracket.
Read more: How To Mount A Ring Doorbell On Vinyl Siding
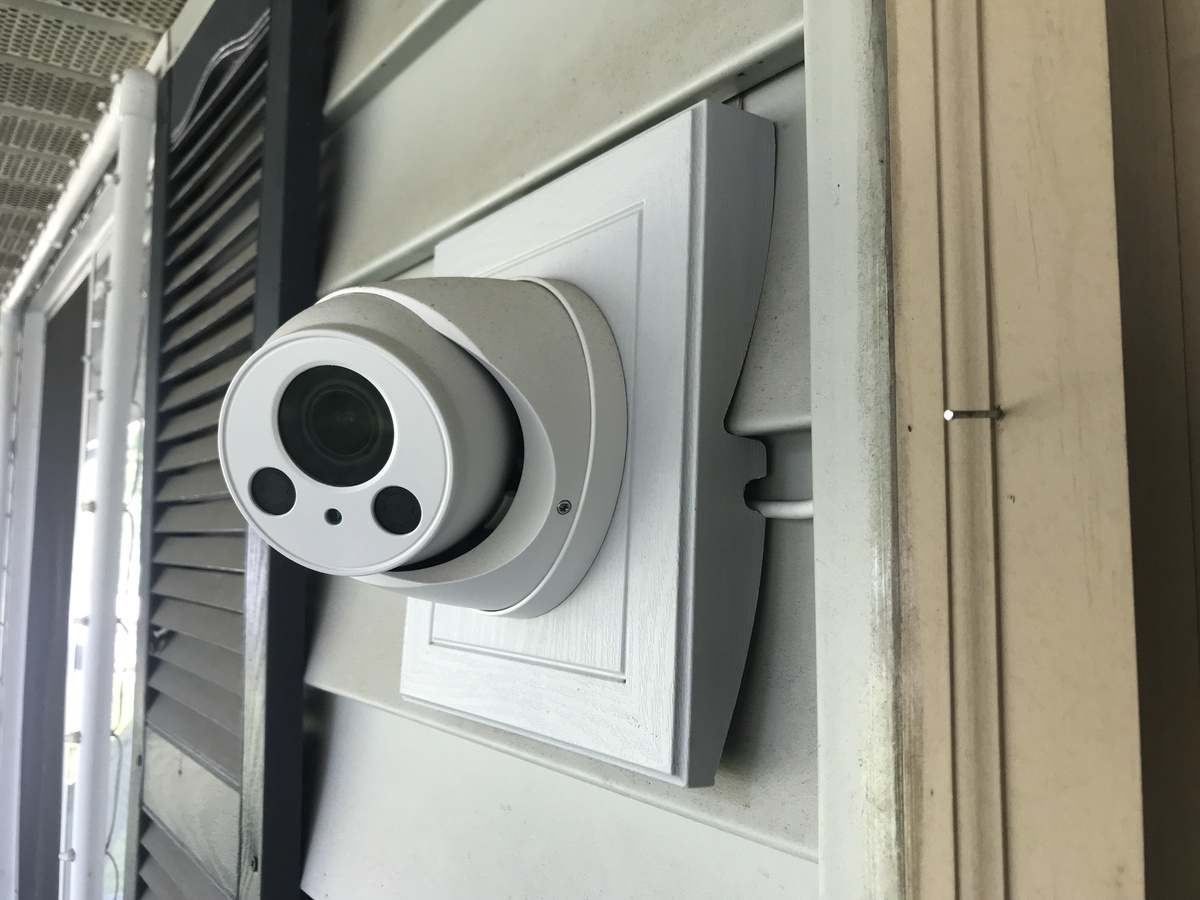
Step 5: Securely attach the Ring camera to the mounting bracket
Now that the mounting bracket is securely attached to the vinyl siding, it’s time to attach the Ring camera to the bracket. Follow these steps for a secure installation:
- Align the camera: Hold the Ring camera in your hand and align it with the mounting bracket. Ensure that the camera is correctly positioned and aligned with the desired angle and field of view.
- Engage the camera with the bracket: Once aligned, carefully slide the Ring camera onto the mounting bracket. You may need to apply a gentle downward pressure while sliding it to engage the camera with the bracket securely.
- Verify the attachment: Give the camera a gentle tug to ensure it is securely attached to the mounting bracket. Check for any wobbling or movement. If the camera feels loose, double-check that it is properly engaged with the bracket.
It’s important to ensure that the Ring camera is securely attached to the mounting bracket to prevent it from accidentally falling or being dislodged. A stable attachment is key to maintain the camera’s functionality and performance.
Once you have successfully attached the Ring camera to the mounting bracket, you are almost done with the installation process. The final step involves adjusting the camera angle and testing the installation, which we will cover in the next step.
Step 6: Adjust the camera angle and test the installation
After securely attaching the Ring camera to the mounting bracket, it’s time to adjust the camera angle and test the installation to ensure everything is working correctly. Follow these steps for the final adjustments:
- Camera angle adjustment: Carefully adjust the camera angle to achieve the desired field of view. You can rotate the camera left or right and tilt it up or down to get the optimal angle for monitoring your desired area.
- Check for obstructions: Double-check that there are no obstructions in front of the camera that could affect its view, such as tree branches, walls, or other objects. Clear any obstructions that may interfere with the camera’s line of sight.
- Test the camera functionality: Connect the Ring camera to your Wi-Fi network and test its functionality through the Ring app. Ensure that you can access the live feed, adjust settings, and receive notifications as intended. This will confirm that the installation was successful.
- Night vision testing: If your Ring camera has a night vision feature, test it in low-light conditions or at night to ensure it works properly. Verify that the camera provides clear and visible footage even in dark environments.
By adjusting the camera angle and testing its functionality, you can confirm that the Ring camera is properly installed and ready to provide the surveillance and security you desire for your home.
Congratulations! You have successfully attached your Ring camera to vinyl siding, securing your home with an advanced surveillance system. Enjoy the peace of mind knowing that you can monitor your property and keep it safe at all times.
Remember, it’s important to periodically check the camera, especially after extreme weather conditions, to ensure it remains securely attached to the mounting bracket and the vinyl siding. Regular maintenance and upkeep will help prolong the life of your Ring camera and maintain its functionality for years to come.
Thank you for following this step-by-step guide. We hope it has been helpful in your installation process. If you have any further questions or need additional assistance, don’t hesitate to consult the Ring camera’s user manual or reach out to the manufacturer for support.
Stay safe and enjoy the added security provided by your Ring camera on vinyl siding!
Conclusion
Attaching a Ring camera to vinyl siding can provide you with an effective home security solution to monitor your property and ensure the safety of your loved ones. By following the step-by-step guide outlined in this article, you can successfully install your Ring camera on vinyl siding and enjoy the benefits of enhanced surveillance.
Throughout the installation process, we discussed the importance of gathering the necessary tools and materials, finding the ideal location for your Ring camera, preparing the vinyl siding surface, attaching the mounting bracket securely, and finally, securing the Ring camera to the bracket. Each step plays a crucial role in ensuring a stable and reliable installation.
Remember to take into consideration factors such as visibility, height, accessibility, power source, and Wi-Fi signal strength when selecting the optimum location for your Ring camera. Cleaning the vinyl siding and inspecting it for any damage will help create a suitable surface for attaching the mounting bracket securely.
By carefully following the instructions and making necessary adjustments during the process, you can achieve a successful installation and enjoy the benefits of your Ring camera on the vinyl siding. Adjusting the camera angle to your desired view and testing its functionality, including night vision capabilities, will provide you with the assurance that your home is monitored and secured.
Regularly maintaining and checking the camera’s attachment to the mounting bracket and the condition of the vinyl siding will ensure the long-lasting performance of your Ring camera system. Periodically cleaning the lens and checking for obstructions will ensure clear visuals and uninterrupted surveillance.
Thank you for taking the time to read this comprehensive guide on how to attach a Ring camera to vinyl siding. We hope that the information provided has been helpful and has given you the confidence to undertake the installation process. Enjoy the peace of mind that comes with having a reliable and effective surveillance system in place to protect your home and loved ones.
Stay safe and secure!
Now that you've mastered attaching your Ring camera, why not tackle more home projects? Our guide on DIY home improvement offers practical steps to enhance your living space yourself. Interested in updating your exteriors? Don’t miss our roundup of vinyl siding options for 2024, perfect for giving your home a fresh look. And while improving aesthetics, consider boosting safety with our insights on why home security is vital for every household. Each piece is designed to help you make the most of your home improvement efforts.
Frequently Asked Questions about How To Attach Ring Camera To Vinyl Siding
Was this page helpful?
At Storables.com, we guarantee accurate and reliable information. Our content, validated by Expert Board Contributors, is crafted following stringent Editorial Policies. We're committed to providing you with well-researched, expert-backed insights for all your informational needs.


0 thoughts on “How To Attach Ring Camera To Vinyl Siding”