Furniture
How To Strip Paint Off A Dresser
Modified: February 25, 2024
Learn the step-by-step process of stripping paint off a dresser to transform your furniture. Easy DIY guide for furniture restoration using effective techniques.
(Many of the links in this article redirect to a specific reviewed product. Your purchase of these products through affiliate links helps to generate commission for Storables.com, at no extra cost. Learn more)
Introduction
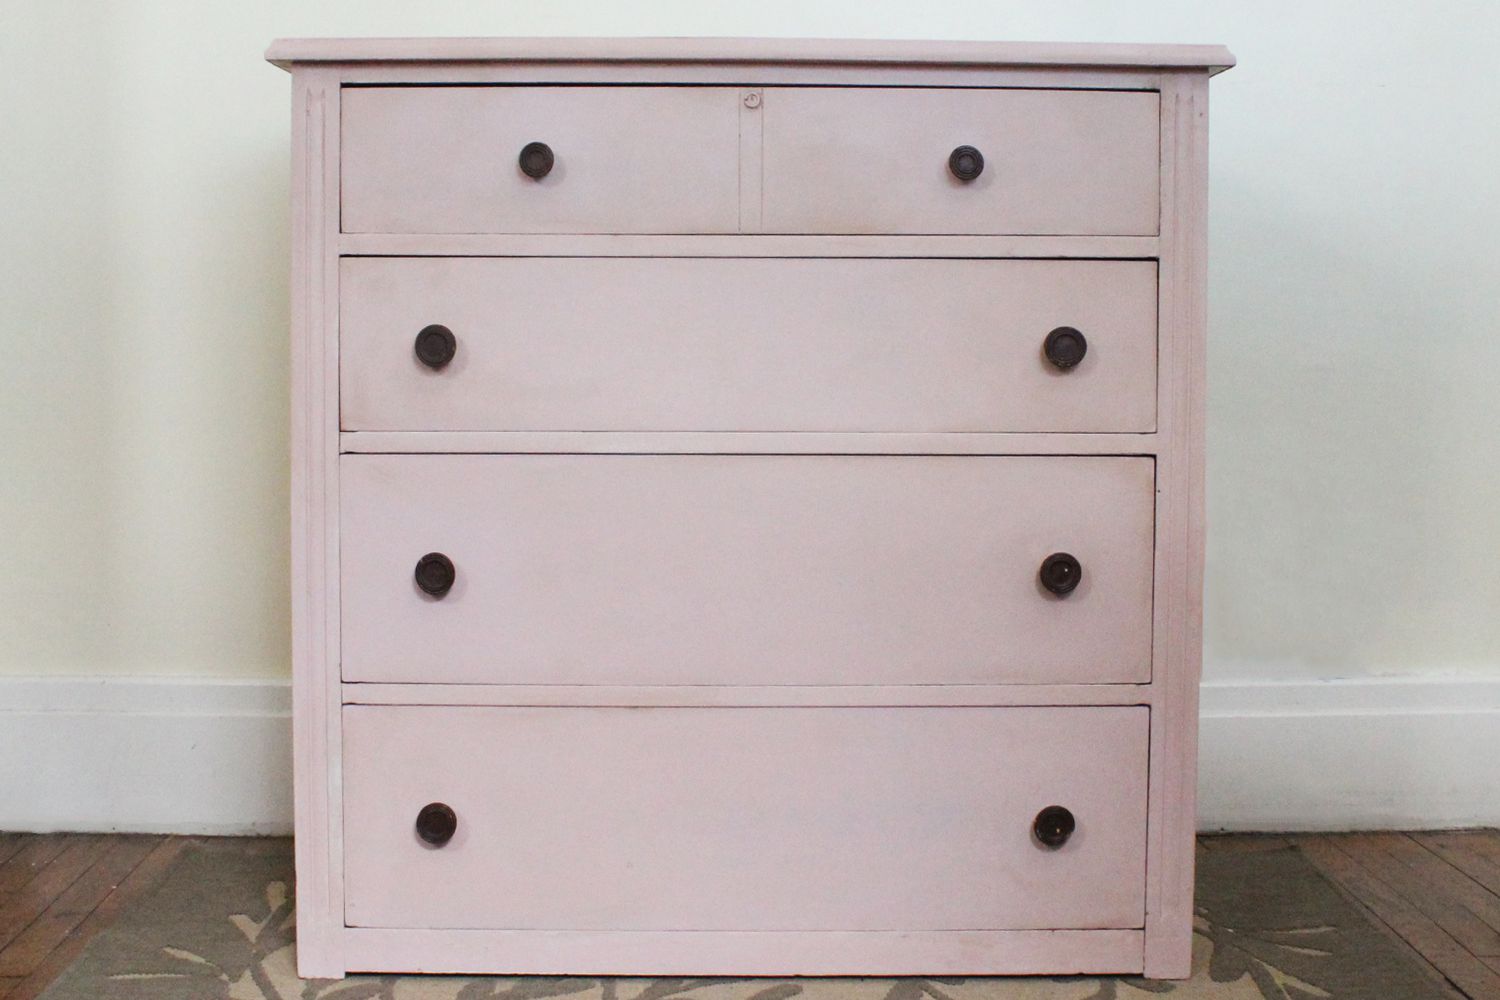
Stripping paint off a dresser can be a challenging task, but with the right materials and techniques, you can transform an old, worn-out piece of furniture into a stunning centerpiece for your home. Whether you want to restore the dresser to its original wood finish or prepare it for a fresh coat of paint, stripping off the old layers of paint is the crucial first step.
In this article, we will guide you through the process of stripping paint off a dresser, step by step. We will discuss the materials required, the preparation of the work area, the application of paint stripper, the scraping off of the paint, and the final steps to achieve a beautiful finish. By following these instructions, you’ll be able to give your dresser a new lease on life and enjoy the satisfaction of completing a DIY project.
Key Takeaways:
- Transform old furniture into a stunning centerpiece by stripping paint off a dresser and applying a new finish. Enjoy the satisfaction of DIY furniture restoration and bring new life to your home decor.
- Prioritize safety, patience, and attention to detail when stripping paint off a dresser. Prepare the work area, remove hardware, and follow each step meticulously for successful furniture restoration.
Read more: How To Spray Paint A Dresser
Materials Needed
Before you begin the process of stripping paint off a dresser, it’s important to gather all the necessary materials. Having everything on hand will help you work more efficiently and effectively. Here’s a list of the materials you’ll need:
- Paint stripper: Choose a high-quality paint stripper specifically designed for removing paint from wood surfaces. Look for one that is safe to use on furniture and has a good reputation for effectiveness.
- Protective gear: Your safety should be a top priority when working with paint stripper. Wear gloves to protect your hands from chemicals, safety goggles to shield your eyes, and a mask or respirator to prevent inhalation of fumes.
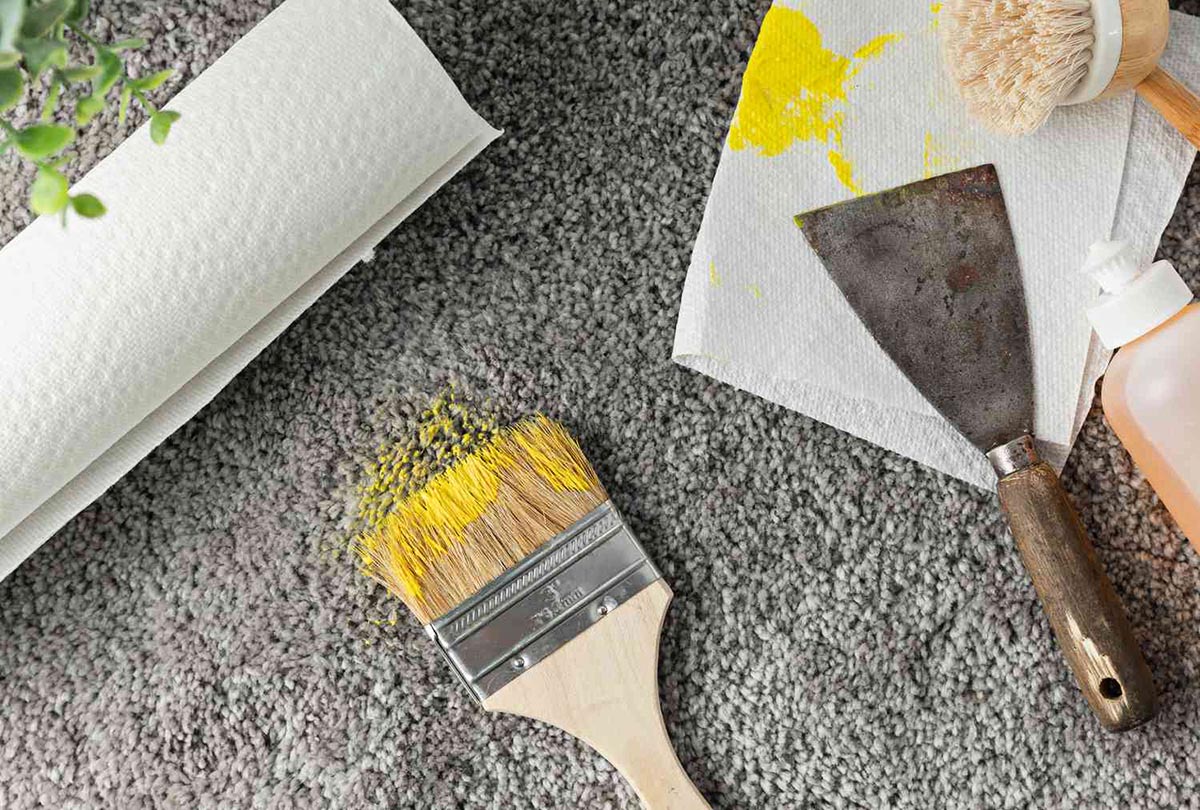
- Drop cloths: Cover the work area with drop cloths to protect the floor or surrounding furniture from any drips or spills.
- Scrapers: You’ll need both a wide putty knife scraper and a smaller, more precise scraper. The wide scraper will make it easier to remove larger areas of paint, while the smaller scraper can be used for hard-to-reach spots or detailed areas.
- Steel wool: Use steel wool to scrub away any remaining paint or residue after scraping. Opt for a fine or medium-grade steel wool to avoid scratching the wood surface.
- Clean rags or sponges: Have plenty of clean rags or sponges handy for wiping away excess stripper and cleaning the dresser throughout the process.
- Mineral spirits: You’ll need mineral spirits to clean your scrapers, steel wool, and any other tools that come into contact with paint stripper.
- Sandpaper: Depending on the condition of the dresser, you may need sandpaper of various grits (such as 120, 220, or 320) to smooth the wood surface after stripping.
- Paint or stain: After stripping the dresser, you’ll have the option to either restore it to its natural wood finish or apply a new coat of paint or stain. Make sure you have the desired paint or stain ready for the next step.
With these materials at your disposal, you’ll be well-prepared to tackle the paint stripping process and achieve fantastic results.
Step 1: Prepare the Work Area
Before you dive into the process of stripping paint off a dresser, it’s essential to prepare your work area properly. Taking the time to set up a clean and organized space will ensure a smoother and more efficient stripping process. Here are the steps to prepare your work area:
- Choose a well-ventilated area: Paint stripping can produce fumes that may be harmful. It’s crucial to work in a well-ventilated space, such as a garage or an outdoor area. Open windows and doors to improve airflow.
- Lay down drop cloths: Protect the floor or any nearby furniture by covering them with drop cloths. This will catch any drips or spills and make for easier cleanup later on.
- Gather your tools and materials: Ensure that you have all the necessary tools and materials within reach. Having everything readily available will save you time and prevent interruptions during the process.
- Remove any obstacles: Clear the work area of any unnecessary items or obstacles that could get in your way during the stripping process. This will give you ample space to work and maneuver around the dresser.
- Protect the surrounding area: If there are any surfaces or areas adjacent to the dresser that you want to protect from accidental drips or splatters, use painter’s tape and plastic sheeting to cover them.
- Ensure proper lighting: Good lighting is essential for accurate and efficient paint stripping. Make sure you have adequate lighting in your work area to clearly see the dresser and any details that require attention.
By taking the time to prepare your work area, you’ll set yourself up for a smoother and more successful paint stripping process. Now that your work area is ready, you can move on to the next step: removing the hardware from the dresser.
Step 2: Remove Hardware
In order to strip paint off a dresser effectively, it is important to remove any hardware such as knobs, handles, or drawer pulls. This will allow you to work on the dresser more efficiently and achieve a thorough paint stripping. Here’s how to remove the hardware:
- Gather the necessary tools: Depending on the type of hardware, you may need a screwdriver, pliers, or a drill with the appropriate bits.
- Assess the hardware: Take a moment to inspect the hardware and determine the best way to remove it. Most knobs can be unscrewed, while handles might have screws or bolts attaching them to the dresser.
- Prepare a container: Find a small container, such as a bowl or a zip-lock bag, to hold the hardware. This will prevent any pieces from getting lost during the stripping process.
- Remove screws or bolts: Use the appropriate tool, such as a screwdriver or pliers, to gently loosen and remove the screws or bolts that secure the hardware. Place them in the container you prepared.
- Keep track of locations: As you remove each piece of hardware, take note of its location on the dresser. This will make reattachment easier later on.
- Store the hardware safely: Once all the hardware has been removed, seal the container or bag to keep the pieces secure. Store it in a safe place where it won’t be misplaced or damaged during the paint stripping process.
By taking the time to remove the hardware before stripping the paint, you’ll have easier access to the entire surface of the dresser, ensuring a more thorough and even paint removal. With the hardware safely stored away, you can now proceed to the next step: applying the paint stripper.
Step 3: Apply Paint Stripper
Now that you’ve prepared the work area and removed the hardware from the dresser, it’s time to apply the paint stripper. This chemical solution will penetrate the layers of paint and soften them, making it easier to remove. Follow these steps to apply the paint stripper:
- Read and follow the instructions: It’s important to carefully read and understand the instructions provided by the manufacturer of the paint stripper. Different products may have variations in application methods and safety precautions.
- Put on protective gear: Before handling the paint stripper, make sure to put on gloves, safety goggles, and a mask or respirator to protect yourself from the potentially harmful chemicals and fumes.
- Apply the paint stripper: Using a brush or a sponge applicator, apply a generous coat of the paint stripper to the surface of the dresser, ensuring that all areas with paint are covered. Work in small sections to prevent the paint stripper from drying out before you can scrape it off.
- Let it sit: Allow the paint stripper to sit on the surface of the dresser for the specified time mentioned in the manufacturer’s instructions. This will give the chemicals enough time to penetrate and loosen the layers of paint.
- Cover the dresser: To prevent the paint stripper from drying out or evaporating too quickly, cover the dresser with plastic sheeting or a drop cloth. This will create a barrier and help the stripper stay moist and effective.
Applying the paint stripper is a crucial step in the paint stripping process. It softens the layers of paint, making them easier to remove in the next steps. Once the paint stripper has been applied and has had enough time to work, you can move on to Step 4: Let the Stripper Sit.
Read more: How To Get Wax Off A Dresser
Step 4: Let the Stripper Sit
After applying the paint stripper to the dresser, it’s important to allow it to sit on the surface for a specific amount of time. This allows the chemicals to penetrate the layers of paint and effectively loosen their bond. Follow these steps to ensure proper adherence to this crucial step:
- Refer to the manufacturer’s instructions: Different paint strippers have different recommended wait times. Check the instructions provided by the manufacturer to determine the appropriate amount of time to let the stripper sit on the dresser.
- Do not disturb: Once you’ve applied the paint stripper, refrain from touching or disturbing the dresser. Moving or agitating the surface can disrupt the chemicals’ effectiveness.
- Check periodically: While the paint stripper is doing its job, periodically check on the dresser to ensure that the stripper is still wet and has not dried out. If needed, reapply the stripper to any areas that may be drying out prematurely.
- Use a plastic wrap: To keep the stripper from evaporating, cover the treated surface with a sheet of plastic wrap. This will create a barrier and help retain the moisture and effectiveness of the chemical solution.
- Wait patiently: Patience is key during this step. Allowing the paint stripper enough time to penetrate and loosen the layers of paint will make the subsequent scraping step much easier and more successful.
By patiently letting the paint stripper sit on the surface of the dresser, you are maximizing its effectiveness and ensuring that it effectively softens the layers of paint. Once the waiting time has elapsed, you can move on to Step 5: Scrape Off the Paint.
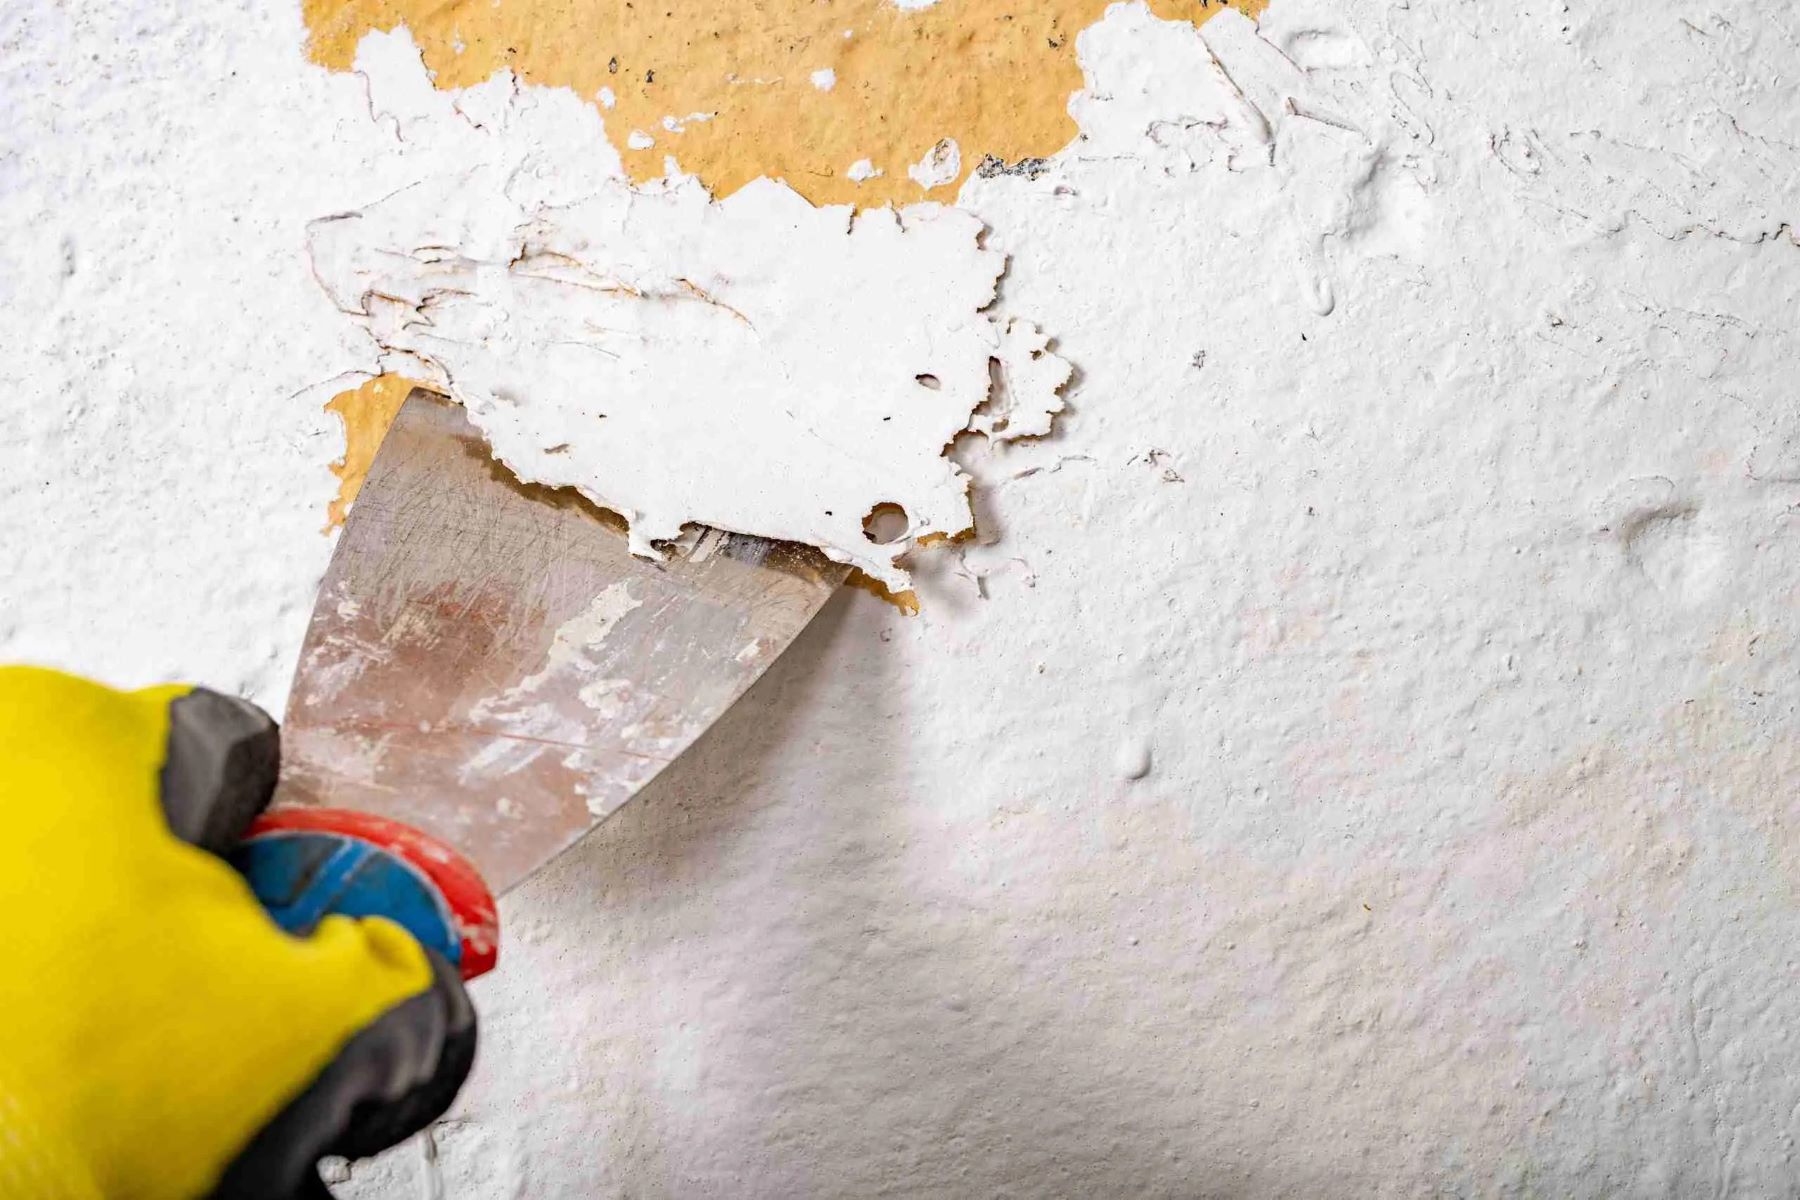
Use a chemical paint stripper for best results. Apply a thick coat, let it sit, then scrape off the softened paint. Always work in a well-ventilated area and wear protective gear.
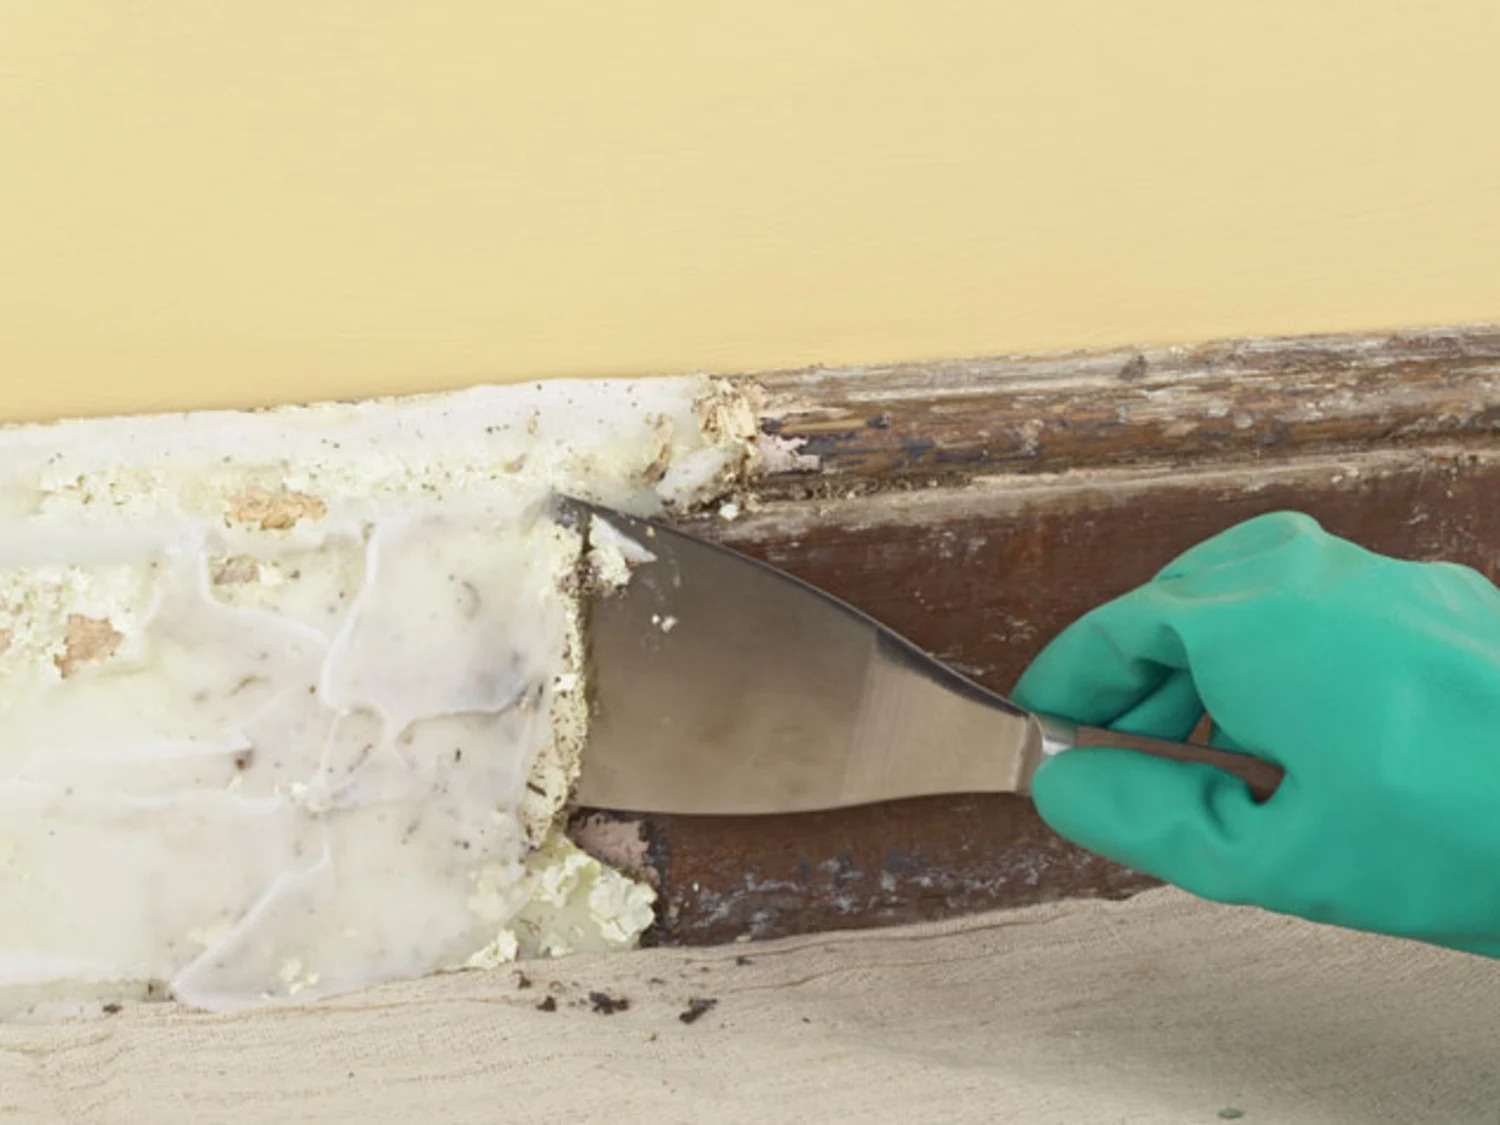
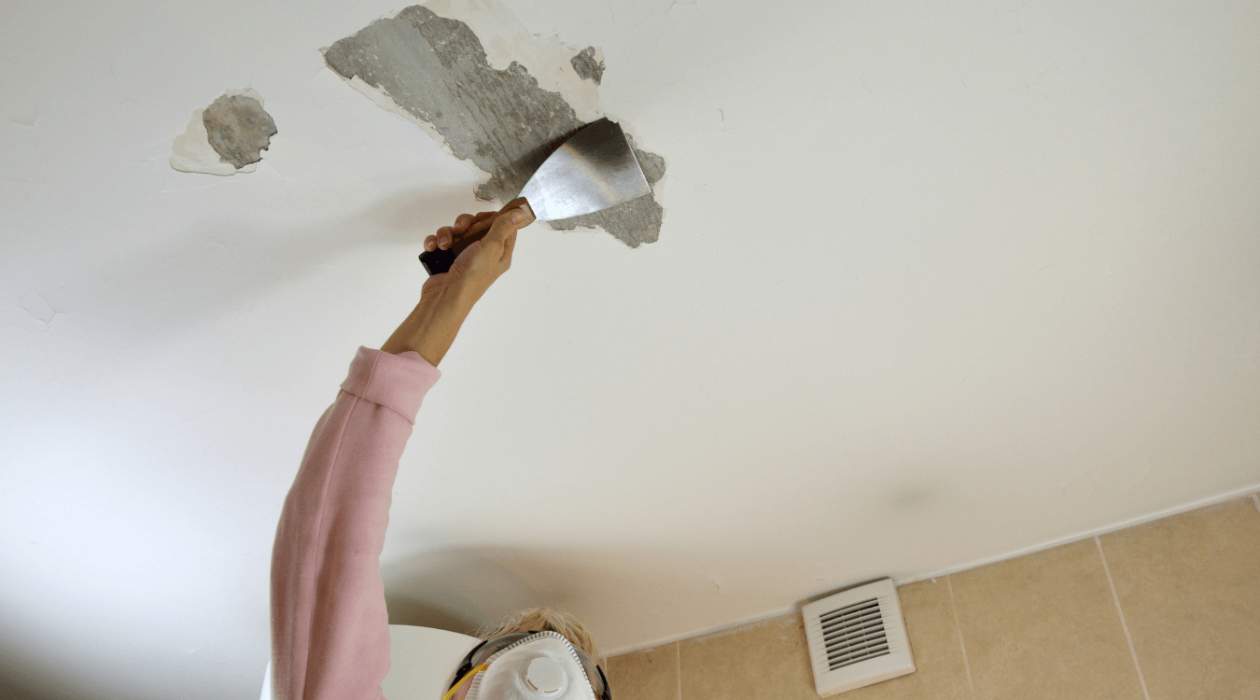
Step 5: Scrape Off the Paint
Now that the paint stripper has had enough time to penetrate and loosen the layers of paint on the dresser, it’s time to scrape off the paint. This step requires some physical effort but is essential in achieving a clean and smooth surface. Follow these steps to effectively scrape off the paint:
- Put on protective gear: Before you begin scraping, make sure to put on gloves, safety goggles, and a mask or respirator to protect yourself from any paint chips or debris.
- Choose the right scraper: Select a wide putty knife scraper or a paint scraper with a sharp edge. This will make it easier to remove larger areas of paint.
- Start scraping: Gently slide the scraper across the surface of the dresser, applying enough pressure to remove the paint but not so much that you damage the wood underneath. Work in small sections, focusing on one area at a time.
- Scrape in one direction: Scrape in the direction of the wood grain to minimize any potential damage or scratches to the surface of the dresser.
- Remove paint residue: As you scrape off the paint, use a clean rag or sponge to wipe away the paint residue. This will give you a clearer view of the progress you’re making and help prevent the removed paint from getting in your way while scraping.
- Reapply paint stripper if needed: If you encounter stubborn or multiple layers of paint that are not coming off easily, reapply a small amount of paint stripper to those areas and let it sit for a bit longer. Then, continue scraping as before.
- Be patient and thorough: Take your time and be thorough in your scraping, ensuring that all areas are properly stripped of paint. Pay attention to any nooks, crannies, or intricate details on the dresser, as they may require additional care and attention.
Scraping off the paint can be a bit labor-intensive, but it is a crucial step in the paint stripping process. By following these steps carefully, you’ll be able to effectively remove the old paint and reveal the beauty of the bare wood beneath. Once the majority of the paint has been scraped off, you can move on to Step 6: Clean the Surface.
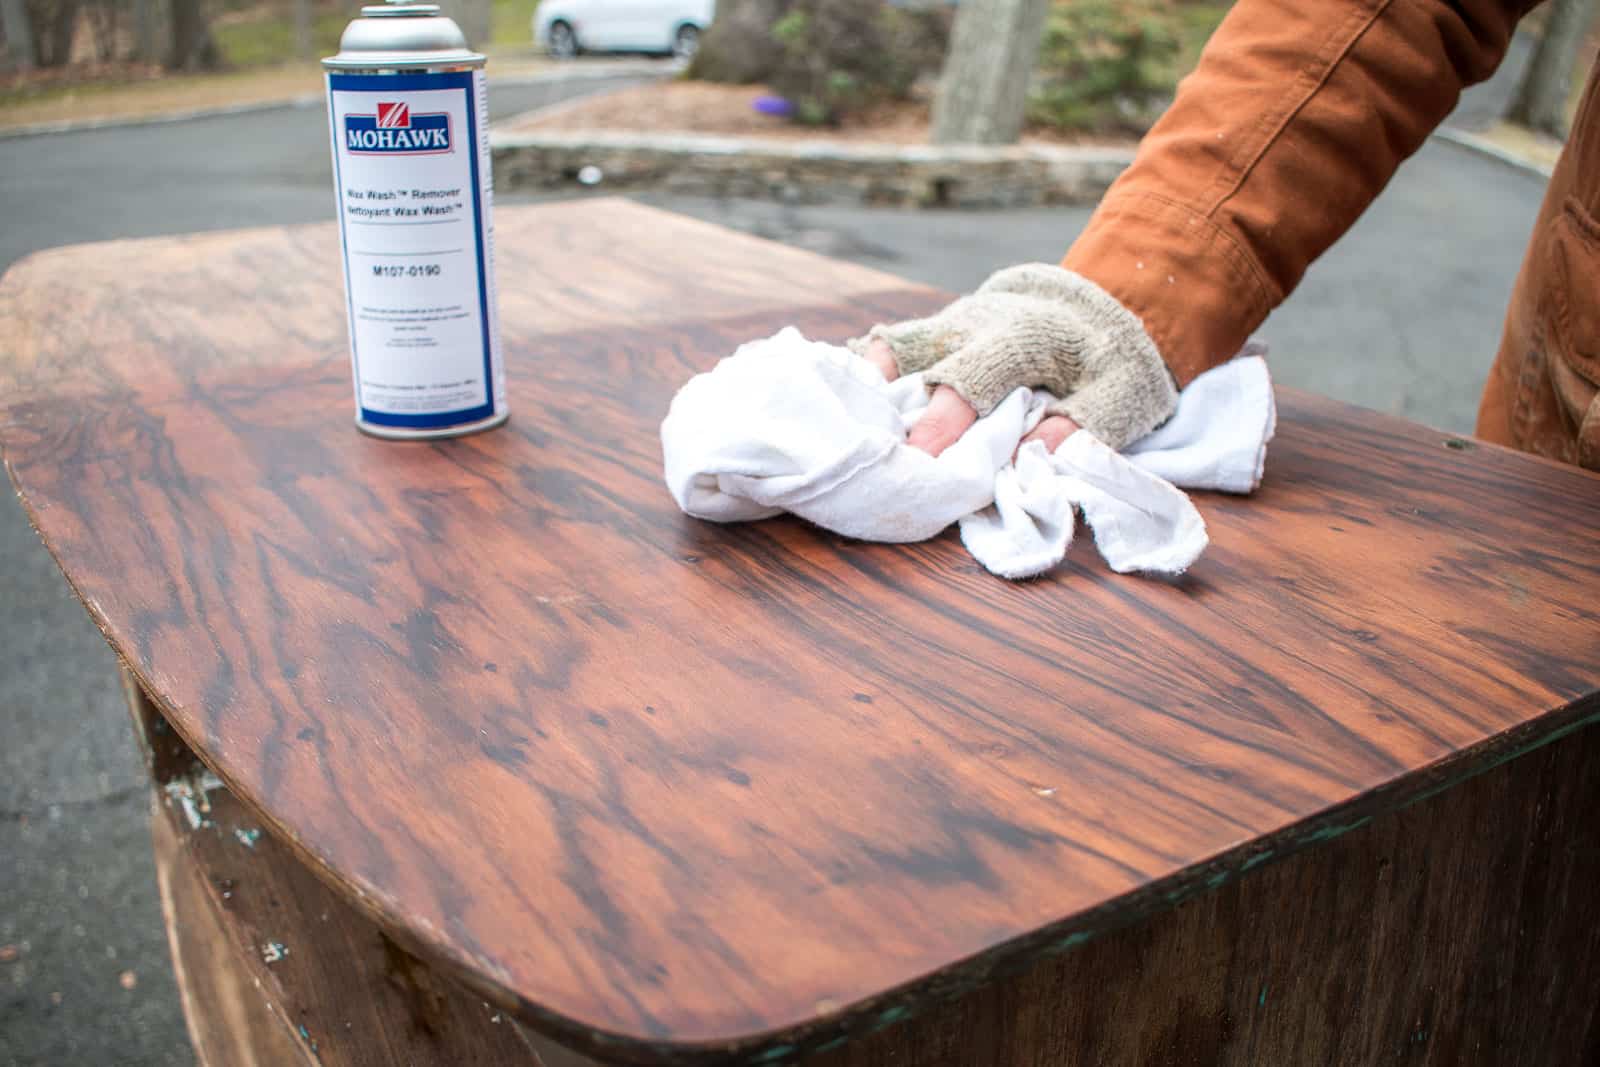
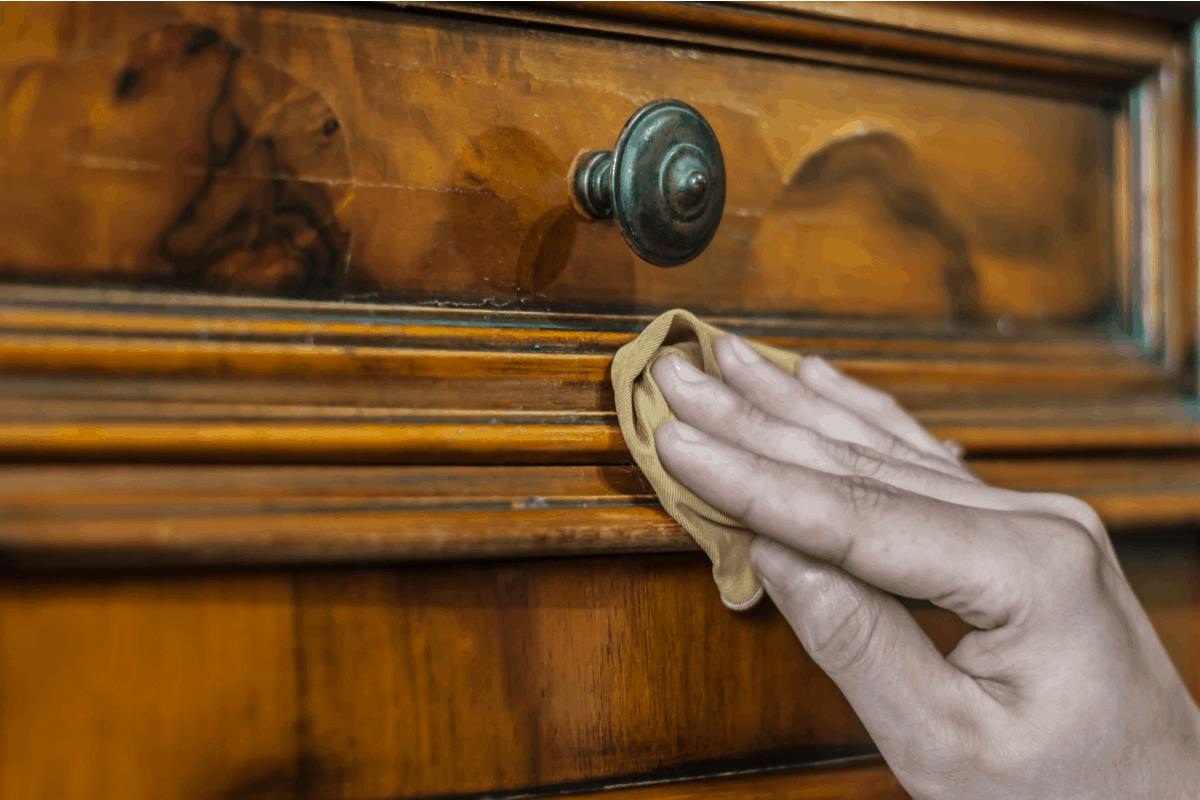
Step 6: Clean the Surface
After successfully removing the paint from the dresser, it’s time to clean the surface to remove any remaining paint residue and prepare it for the next steps. Follow these steps to effectively clean the surface of the dresser:
- Prepare cleaning supplies: Gather clean rags or sponges, a bucket of warm water, and a mild detergent or wood cleaner.
- Dampen a rag or sponge: Dip a clean rag or sponge in the bucket of warm water and wring out any excess liquid. It should be slightly damp, not soaking wet.
- Clean the surface: Gently wipe down the entire surface of the dresser, paying attention to any areas where paint residue may still be present. Use a mild detergent or wood cleaner on stubborn spots, following the manufacturer’s instructions.
- Rinse with clean water: Once you’ve cleaned the surface, rinse the rag or sponge with clean water and use it to wipe away any soapy residue. This will ensure that no cleaning product is left behind on the surface.
- Dry the dresser: Use a clean, dry rag or towel to thoroughly dry the dresser. Moisture can damage the wood or interfere with the application of a new finish, so it’s important to ensure the surface is completely dry.
By cleaning the surface of the dresser after paint removal, you’ll not only get rid of any remaining paint residue but also create a clean and smooth canvas for the next steps of refinishing or applying a new finish. With the surface of the dresser now clean and dry, you’re ready to move on to Step 7: Sand the Dresser.
Step 7: Sand the Dresser
After cleaning the surface of the dresser, the next step in the refinishing process is to sand the dresser. Sanding helps smooth out any rough areas, remove any remaining paint or stain, and prepare the surface for a new finish. Follow these steps to effectively sand the dresser:
- Gather the necessary sanding materials: You’ll need sandpaper in various grits, such as 120, 220, or 320, depending on the condition of the dresser and the smoothness you want to achieve. A sanding block or power sander can also be used for larger flat surfaces.
- Start with coarse-grit sandpaper: Begin with a coarse-grit sandpaper, around 120 or 150, to remove any remaining paint or stubborn spots. Sand in the direction of the wood grain to avoid scratches or damage to the surface.
- Switch to finer-grit sandpaper: Progressively move to a finer-grit sandpaper, such as 220 or 320, to smooth the surface. This will help remove any scratches or imperfections left by the coarse-grit sandpaper.
- Sand evenly: Apply even pressure as you sand, focusing on maintaining a consistent motion and covering the entire surface of the dresser. Avoid applying excessive pressure, as it can result in uneven sanding or damage to the wood.
- Check the smoothness: Periodically stop and run your hand over the sanded surface to assess its smoothness. It should feel uniform and free of any rough patches or imperfections.
- Wipe away dust: Use a clean, dry cloth or a tack cloth to wipe away any sanding dust from the surface of the dresser. This will help ensure a clean surface for the next steps.
Sanding the dresser helps prepare the surface for the application of a new finish or stain. It creates a smooth, even surface and removes any lingering traces of the old finish. Once you’ve completed the sanding process and removed all the sanding dust, you’re ready to move on to Step 8: Apply a New Finish.
Read more: How To Paint Dresser Without Sanding
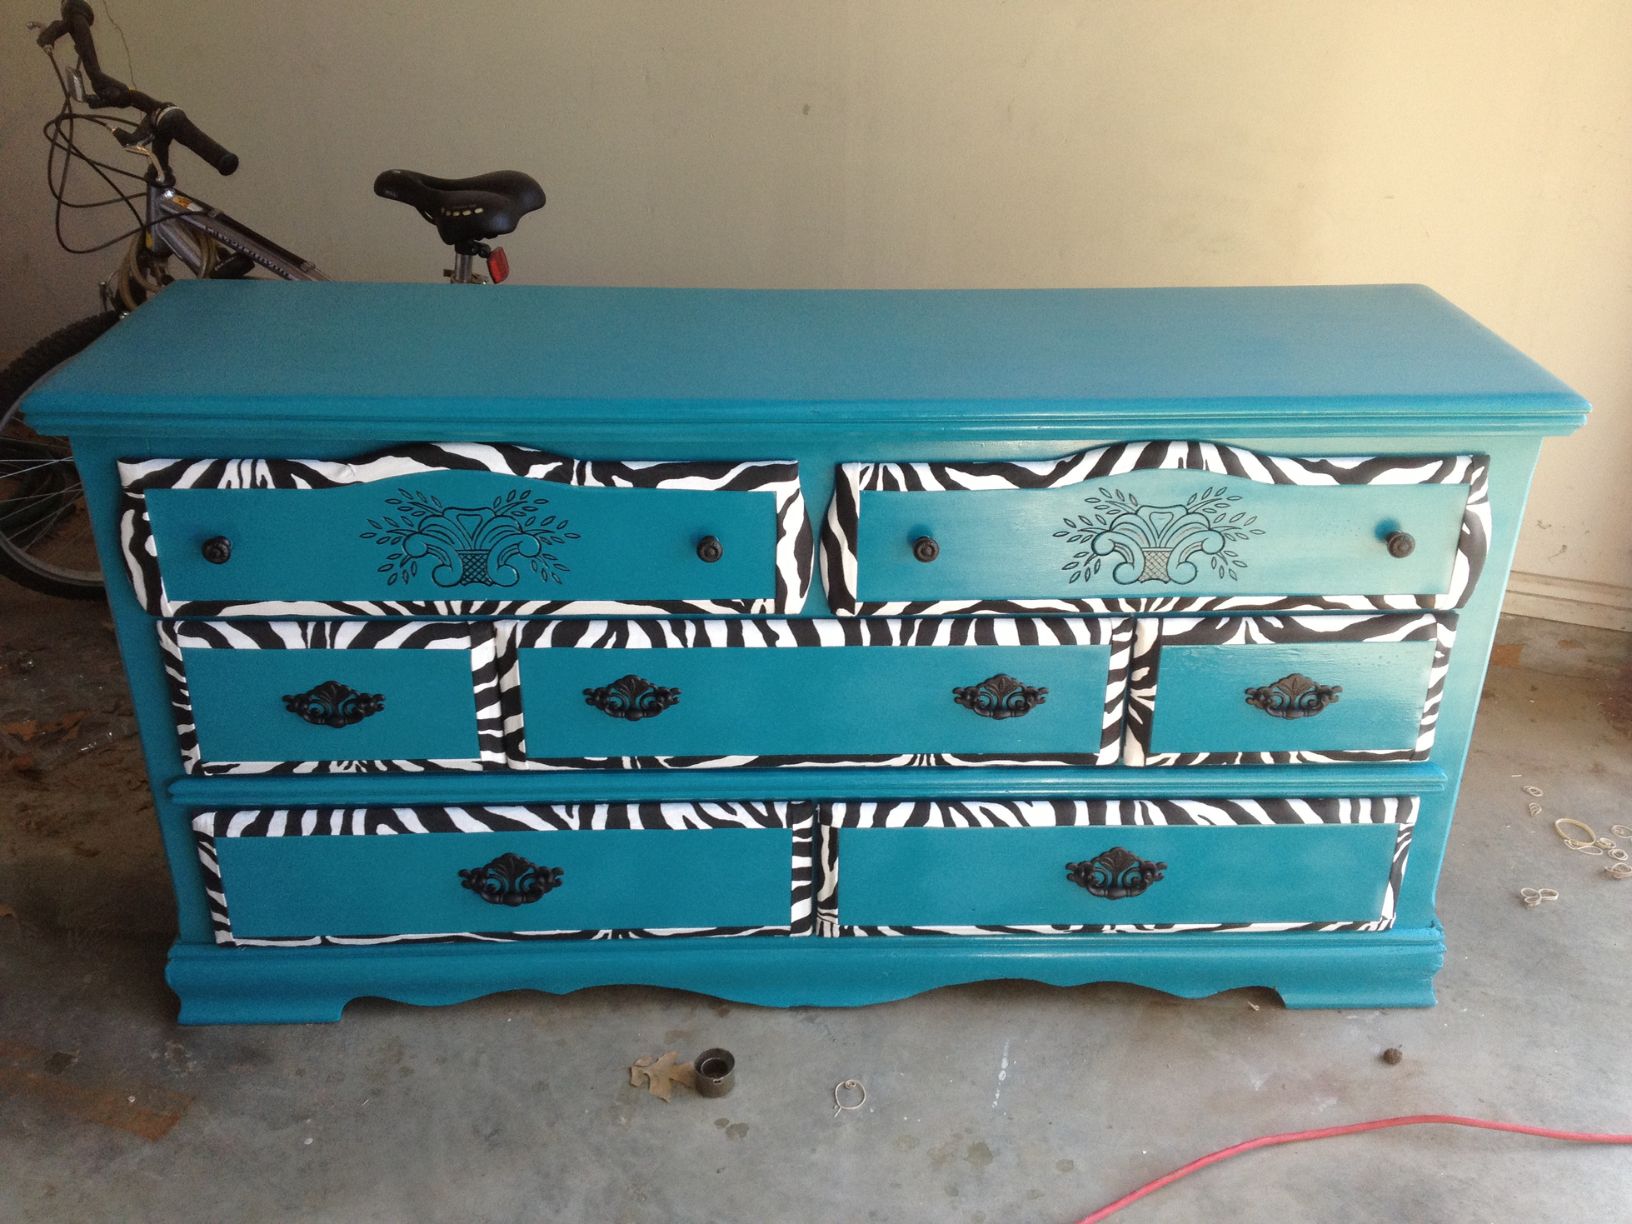
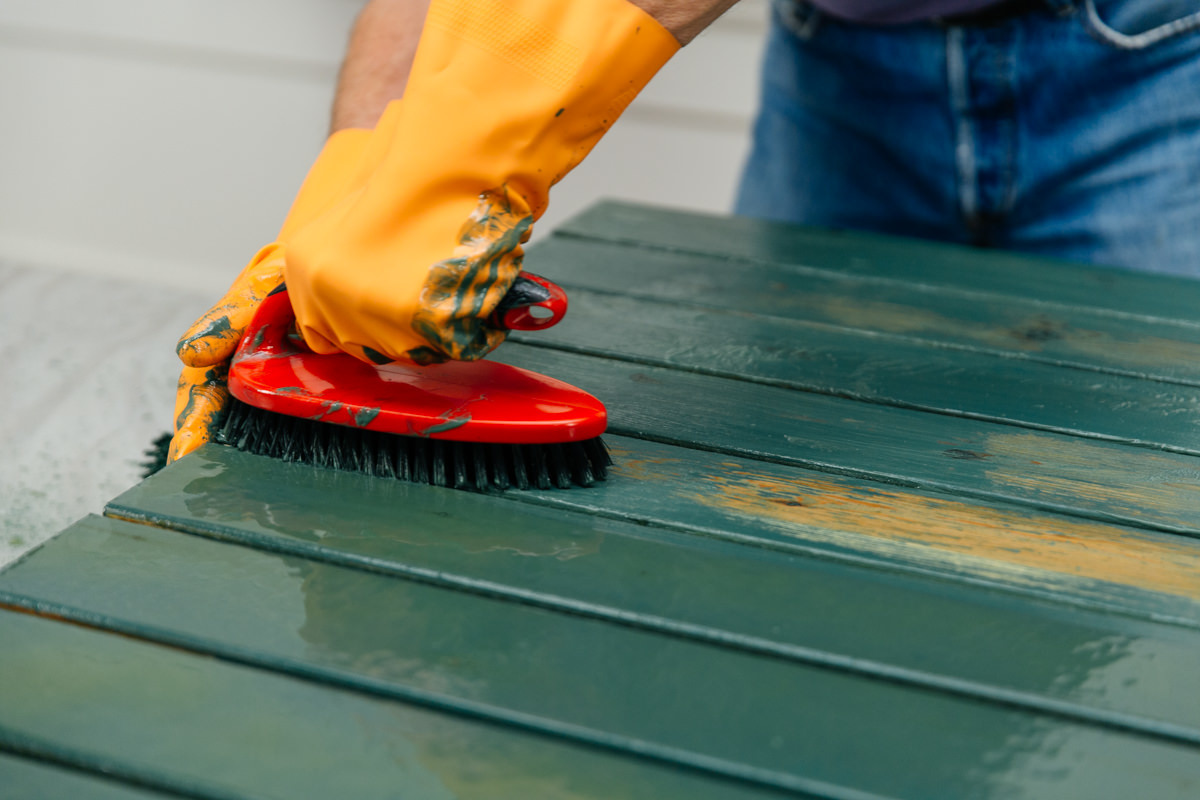
Step 8: Apply a New Finish
After stripping the paint, cleaning, and sanding the dresser, it’s time to apply a new finish. This step will enhance the appearance of the wood, protect it from damage, and give the dresser a polished and finished look. Here’s how to apply a new finish to your dresser:
- Choose the type of finish: Determine the type of finish you want to apply to the dresser. Options include paint, stain, varnish, or a combination of these. Consider the style of your room and the desired look and feel of the dresser.
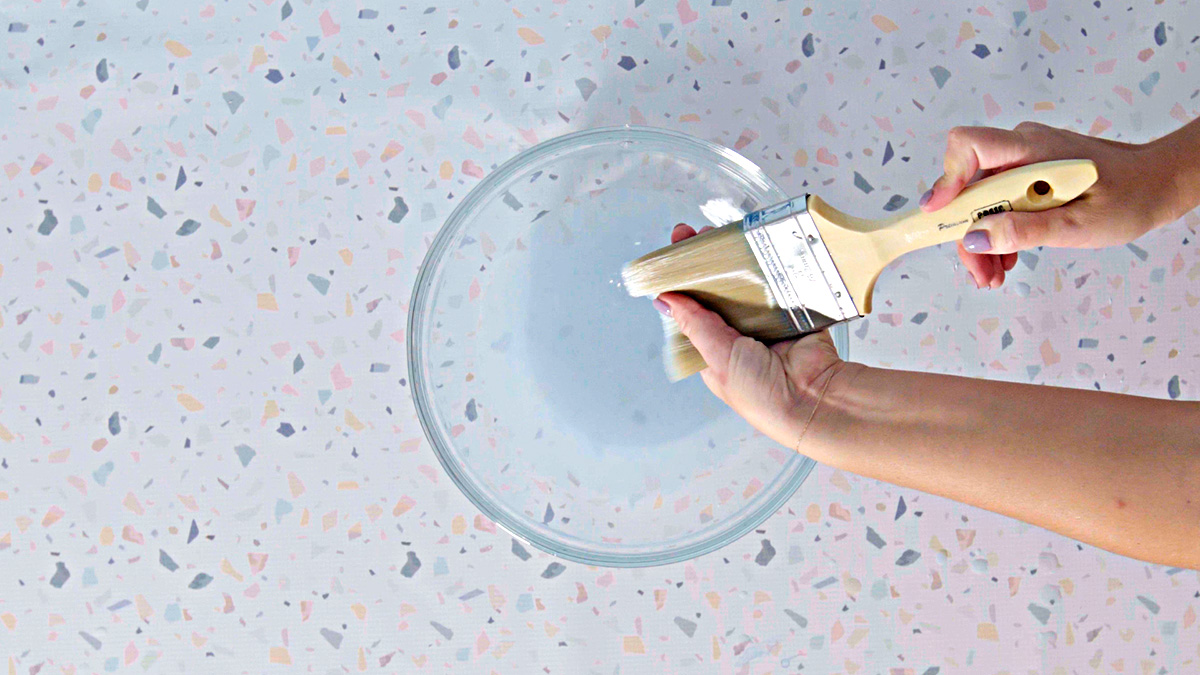
- Prepare the finish: If you’re using paint, stir it well to ensure a consistent color. If you’re applying a stain or varnish, follow the manufacturer’s instructions for mixing or shaking the product.
- Apply the finish: Use a brush, foam brush, or a clean cloth to apply the finish to the dresser. Work in even strokes, following the direction of the wood grain. Apply a thin and even coat, making sure not to overload the brush or cloth.
- Allow drying time: Follow the instructions on the product regarding drying time. Ensure that the dresser is placed in a well-ventilated area to allow the finish to dry evenly and without any interference.
- Apply additional coats (optional): Depending on the desired finish, you may need to apply additional coats. Follow the instructions and allow proper drying time between coats.
- Smooth the surface (optional): After the finish has dried, you may choose to sand the surface lightly with fine-grit sandpaper to smooth out any imperfections or brush marks. Wipe away any sanding dust with a clean cloth.
- Apply a protective topcoat (optional): If you want to add an extra layer of protection to the dresser, consider applying a clear topcoat such as polyurethane or lacquer. Follow the specific instructions for the product you choose.
By applying a new finish, you’ll breathe new life into the dresser and give it the desired appearance and protection. Whether you choose to paint, stain, or varnish, the new finish will showcase the beauty of the wood and create a stunning piece of furniture.
After applying the finish and giving it adequate drying time, you can proceed to the final step: Step 9: Reattach Hardware.
Step 9: Reattach Hardware
After applying the new finish and allowing it to dry completely, it’s time to reattach the hardware to the dresser. This final step will bring your furniture piece together and give it its finishing touches. Follow these steps to reattach the hardware:
- Gather the hardware: Retrieve the hardware pieces that were removed in Step 2. Ensure that they are clean and in good condition.
- Align the hardware: Position the hardware pieces on the dresser, aligning them with the previously marked locations or the original hardware holes. You can use a pencil or a small piece of tape to mark the positions for accuracy.
- Screw in the hardware: Insert the screws or bolts through the back of the dresser and into the hardware pieces. Use a screwdriver or the appropriate tool to tighten them securely, but be careful not to overtighten and damage the wood or strip the screws.
- Ensure proper alignment: Check the alignment of the hardware once it is attached to the dresser. Make any necessary adjustments to ensure that the hardware is level and straight.
- Test the functionality: Before considering the project complete, test the functionality of the hardware by opening and closing drawers or doors, and rotating knobs or handles. Make sure everything is secure and functions smoothly.
Reattaching the hardware is the final step in the dresser restoration process. It adds the finishing touches and completes the transformation of the furniture piece. Enjoy the satisfaction of seeing your newly refinished dresser with its restored hardware ready to be showcased in your home.
Congratulations! You have successfully stripped paint off a dresser, refinished it, and reattached the hardware. Your hard work and attention to detail have paid off, and you now have a stunning piece of furniture that will bring beauty and functionality to your space.
Conclusion
Stripping paint off a dresser and refinishing it can be a rewarding and transformative DIY project. By following the step-by-step process outlined in this guide, you’ll be able to bring new life to an old piece of furniture and create a stunning centerpiece for your home.
Throughout the process, it’s important to prioritize safety by wearing the necessary protective gear and working in a well-ventilated area. Additionally, taking the time to properly prepare the work area, remove hardware, and apply paint stripper will set the foundation for successful paint removal.
Scraping off the old paint, cleaning the surface, and sanding the dresser will help achieve a smooth and clean canvas for the application of a new finish. Whether you choose to paint, stain, or varnish, the new finish will enhance the beauty of the dresser and protect the wood. Reattaching the hardware is the final touch that completes the restoration process.
Remember to be patient and meticulous throughout the project to ensure the best results. Take the time to enjoy the process and admire your handiwork as you see your dresser transformed from a worn-out piece of furniture to a stunning and revitalized centerpiece for your home.
Now that you have the knowledge and techniques to strip paint off a dresser and refinish it, there’s no need to let an old piece of furniture go to waste. With some time, effort, and creativity, you can bring new life to your dresser and enjoy the satisfaction of a job well done.
Frequently Asked Questions about How To Strip Paint Off A Dresser
Was this page helpful?
At Storables.com, we guarantee accurate and reliable information. Our content, validated by Expert Board Contributors, is crafted following stringent Editorial Policies. We're committed to providing you with well-researched, expert-backed insights for all your informational needs.


0 thoughts on “How To Strip Paint Off A Dresser”