Articles
How To Replace Faucet Valve
Modified: December 7, 2023
Learn the step-by-step process of replacing a faucet valve with our informative articles. Find everything you need to know about faucet valve replacement here.
(Many of the links in this article redirect to a specific reviewed product. Your purchase of these products through affiliate links helps to generate commission for Storables.com, at no extra cost. Learn more)
Introduction
Replacing a faucet valve is a common home improvement task that can help restore the functionality and performance of your faucet. Over time, faucet valves can wear out, causing leaks or difficulty in controlling the water flow. By replacing the valve, you can ensure a smooth and efficient operation of your faucet, saving you from the hassle of dripping water and potential water damage.
In this step-by-step guide, we will walk you through the process of replacing a faucet valve. From gathering the necessary tools and materials to reassembling the handle and trim, we will cover all the essential steps to help you successfully complete this task.
Before we begin, please note that this guide is meant for informational purposes only. If you are unsure about any aspect of the process, it is always recommended to consult a professional plumber for assistance.
Now, let’s get started with gathering the tools and materials you will need for this project.
Key Takeaways:
- Replacing a faucet valve is a manageable home improvement task that can restore your faucet’s efficiency and prevent water damage. With the right tools and careful steps, you can successfully complete this project and enjoy a leak-free faucet.
- Turning off the water supply, removing the old valve, and installing the new valve are key steps in replacing a faucet valve. Attention to detail and proper reassembly are crucial for a successful and functional outcome.
Read more: How To Replace Shower Faucet Valve
Step 1: Gather Tools and Materials
Before you begin the process of replacing a faucet valve, it is important to gather all the necessary tools and materials. This will ensure that you have everything you need to complete the task without any interruptions. Here is a list of the tools and materials you will need:
- Adjustable wrench
- Phillips screwdriver
- Flathead screwdriver
- Allen wrench
- Plumber’s tape
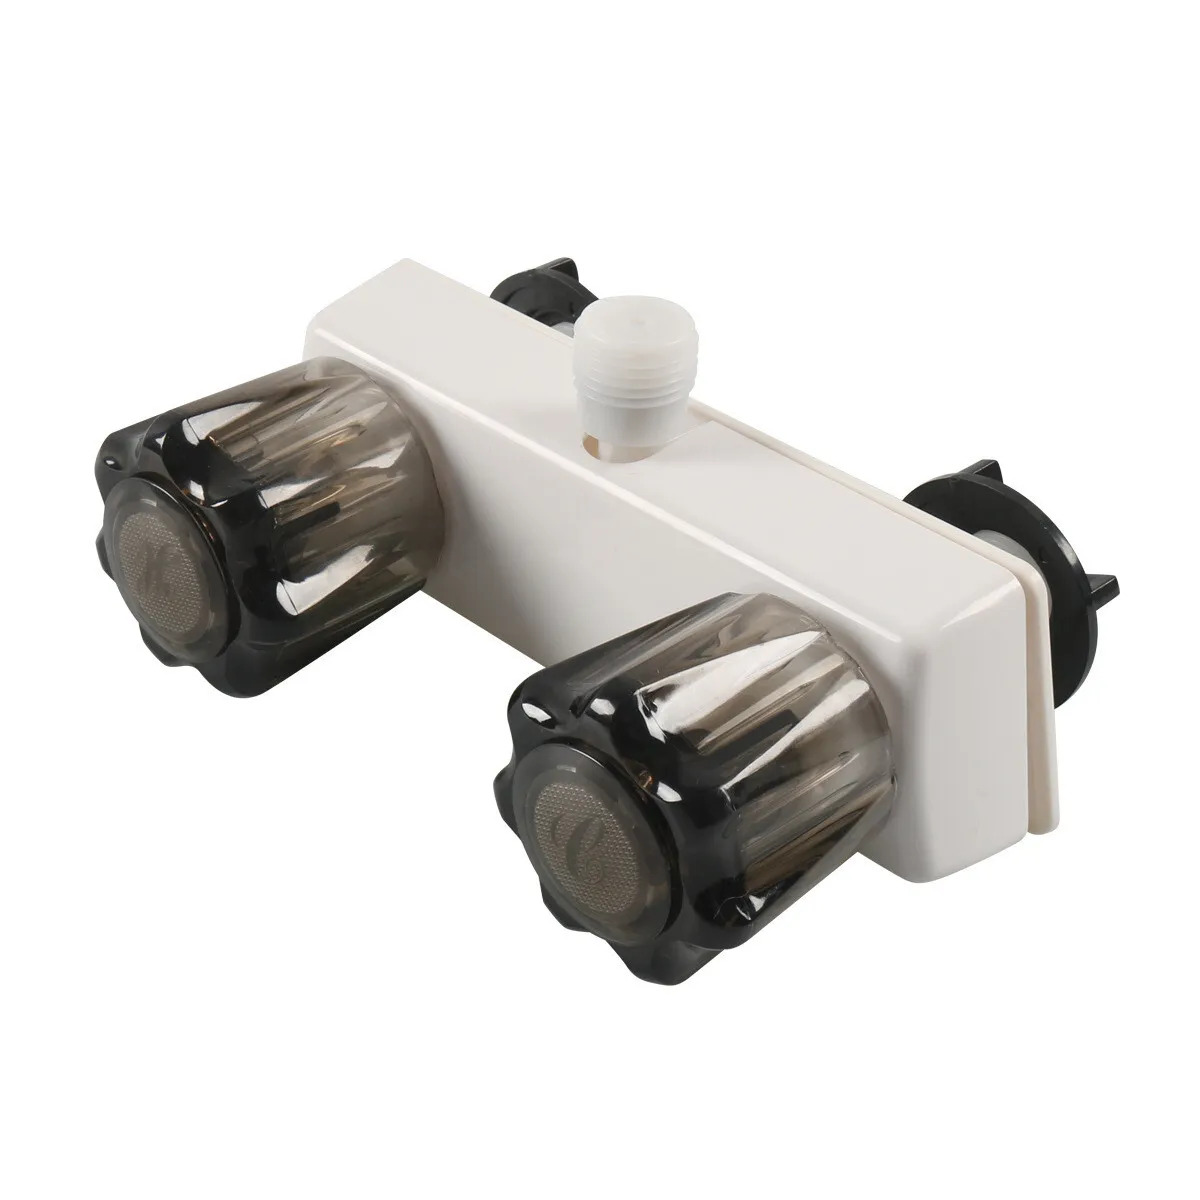
- New faucet valve
- Towels or rags
The adjustable wrench will be used to loosen and tighten various connections, while the Phillips and flathead screwdrivers will be needed to remove screws and trim. The Allen wrench might be necessary to remove specific handle screws, depending on your faucet model.
Make sure to have a roll of plumber’s tape on hand. This tape will help create a watertight seal between the different components of the faucet, preventing any potential leaks.
Lastly, you will need a new faucet valve. It is important to choose a valve that matches the make and model of your existing faucet to ensure compatibility.
Once you have gathered all the tools and materials, you are ready to move on to the next step: turning off the water supply.
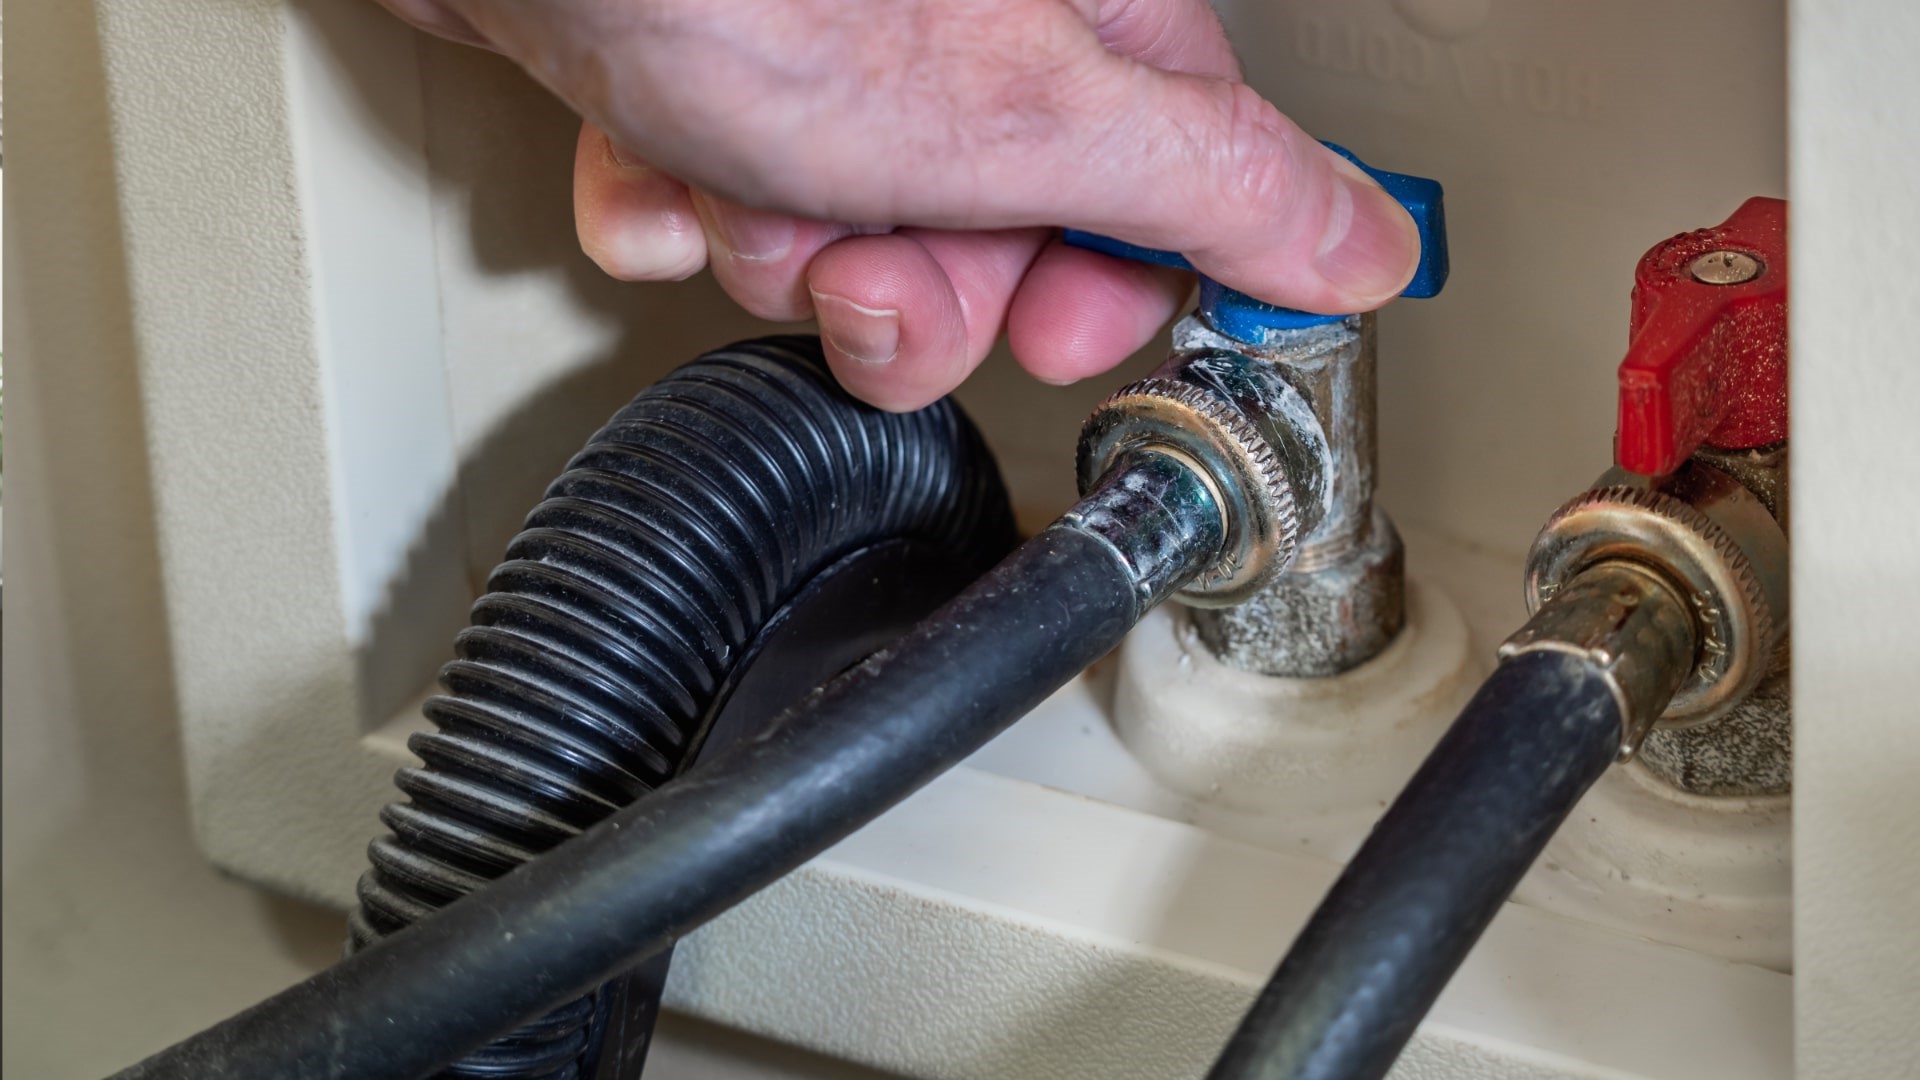
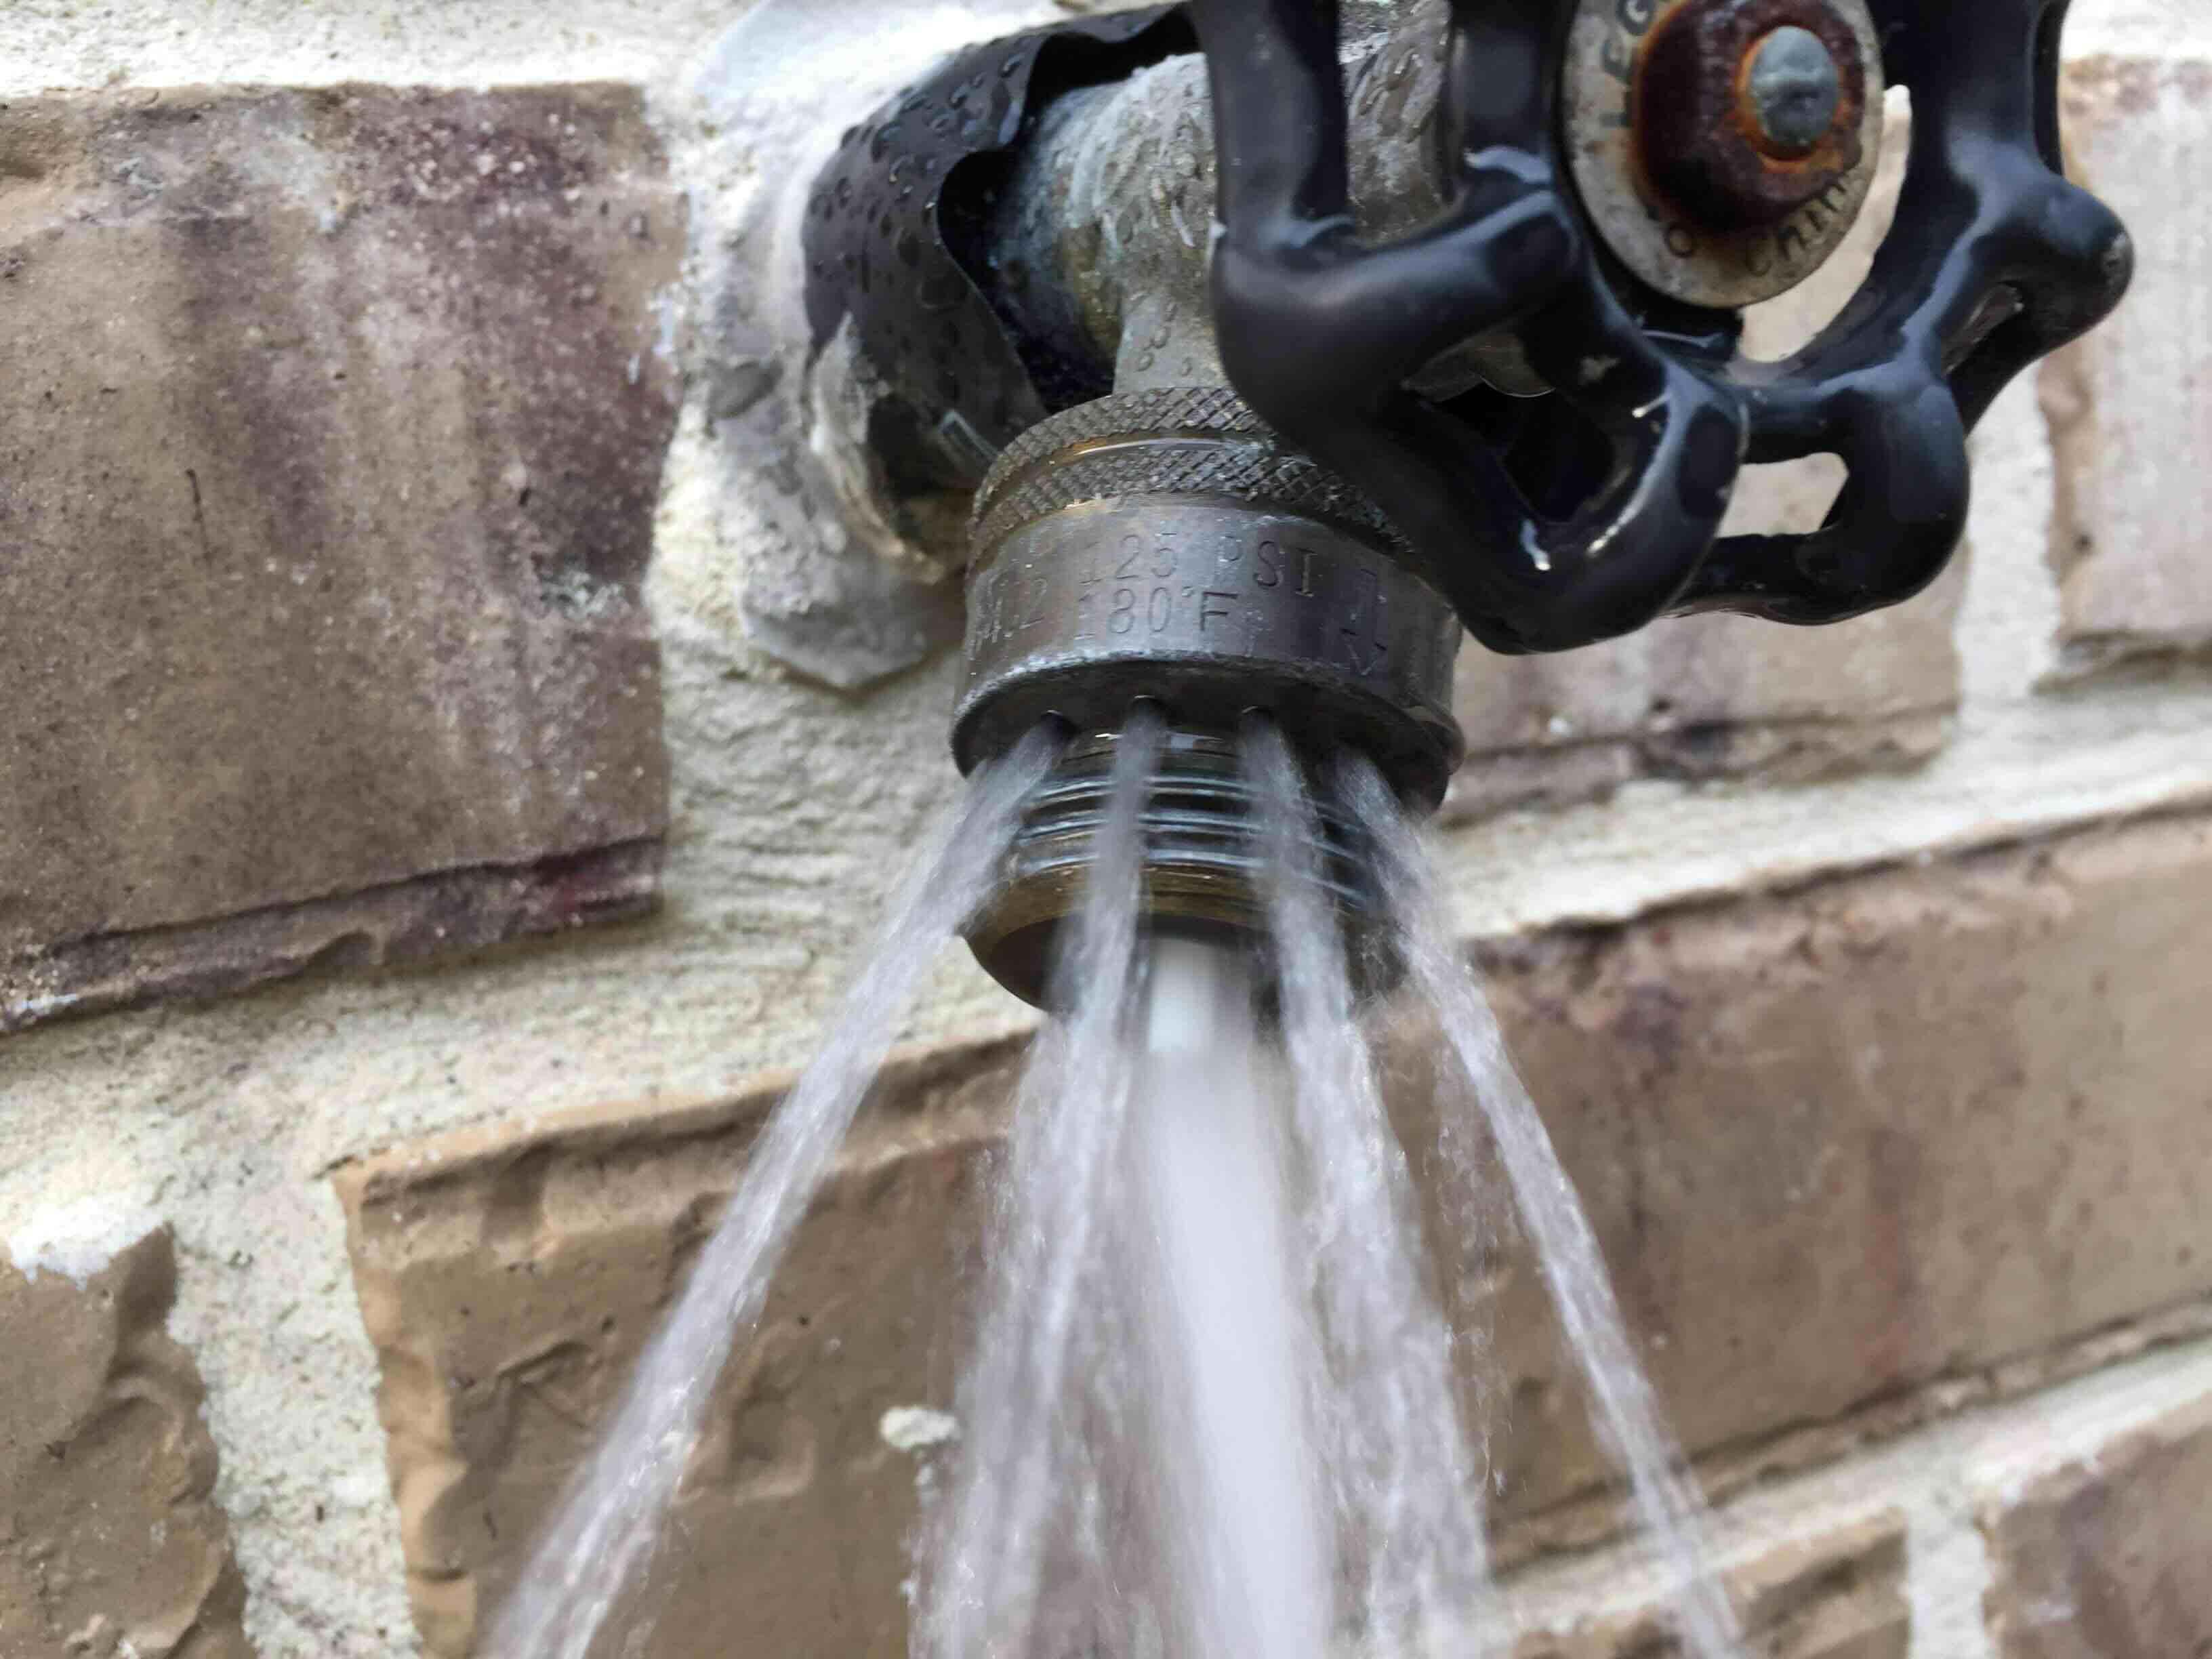
Step 2: Turn Off the Water Supply
Before you can begin working on replacing the faucet valve, it is crucial to turn off the water supply to avoid any potential leaks or water damage. Here’s how you can do it:
- Locate the main water shutoff valve in your home. This valve is typically located near the water meter or where the main water line enters your home.
- Using a wrench, turn the valve clockwise (to the right) to shut off the water flow. You should also turn off any intermediate shut-off valves that may be located under the sink or near the faucet.
- Once the water supply is turned off, open the faucet to release any remaining water in the lines. This will help relieve any pressure and prevent water from spraying when you later disconnect the components.
- Place a towel or rag under the sink to catch any water that may still be in the pipes or may leak while you work.
By ensuring the water supply is turned off, you can work on replacing the faucet valve safely and without any surprises. Now that you have successfully turned off the water supply, it’s time to move on to the next step: removing the handle and trim.
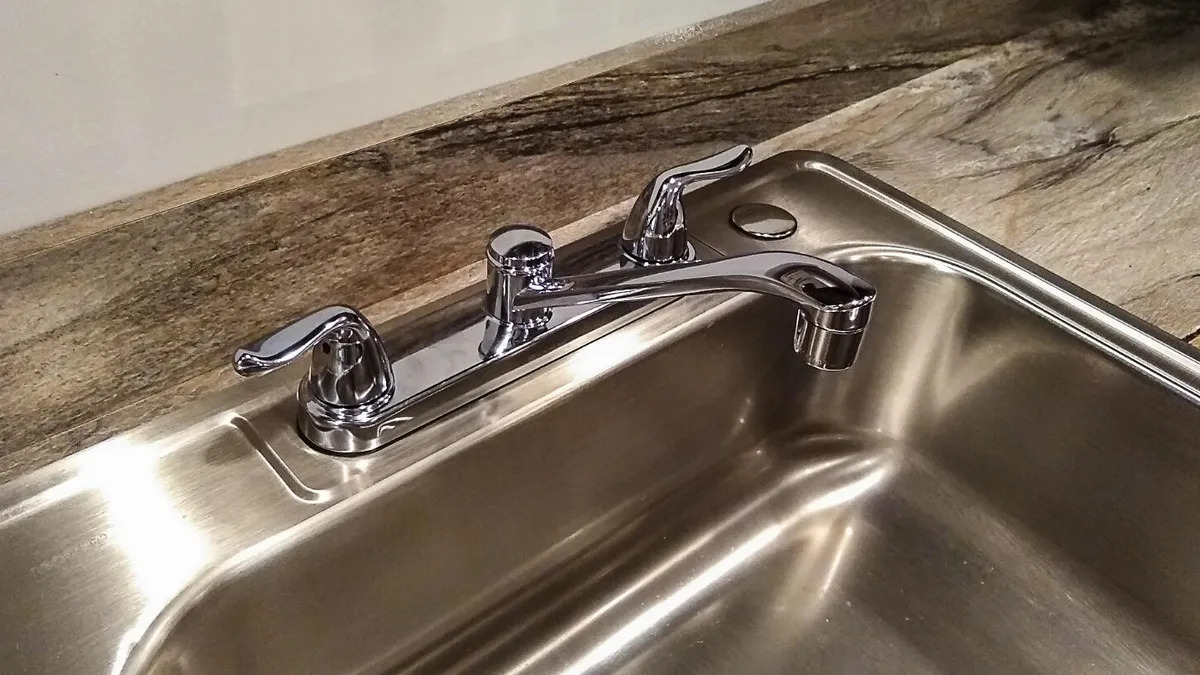
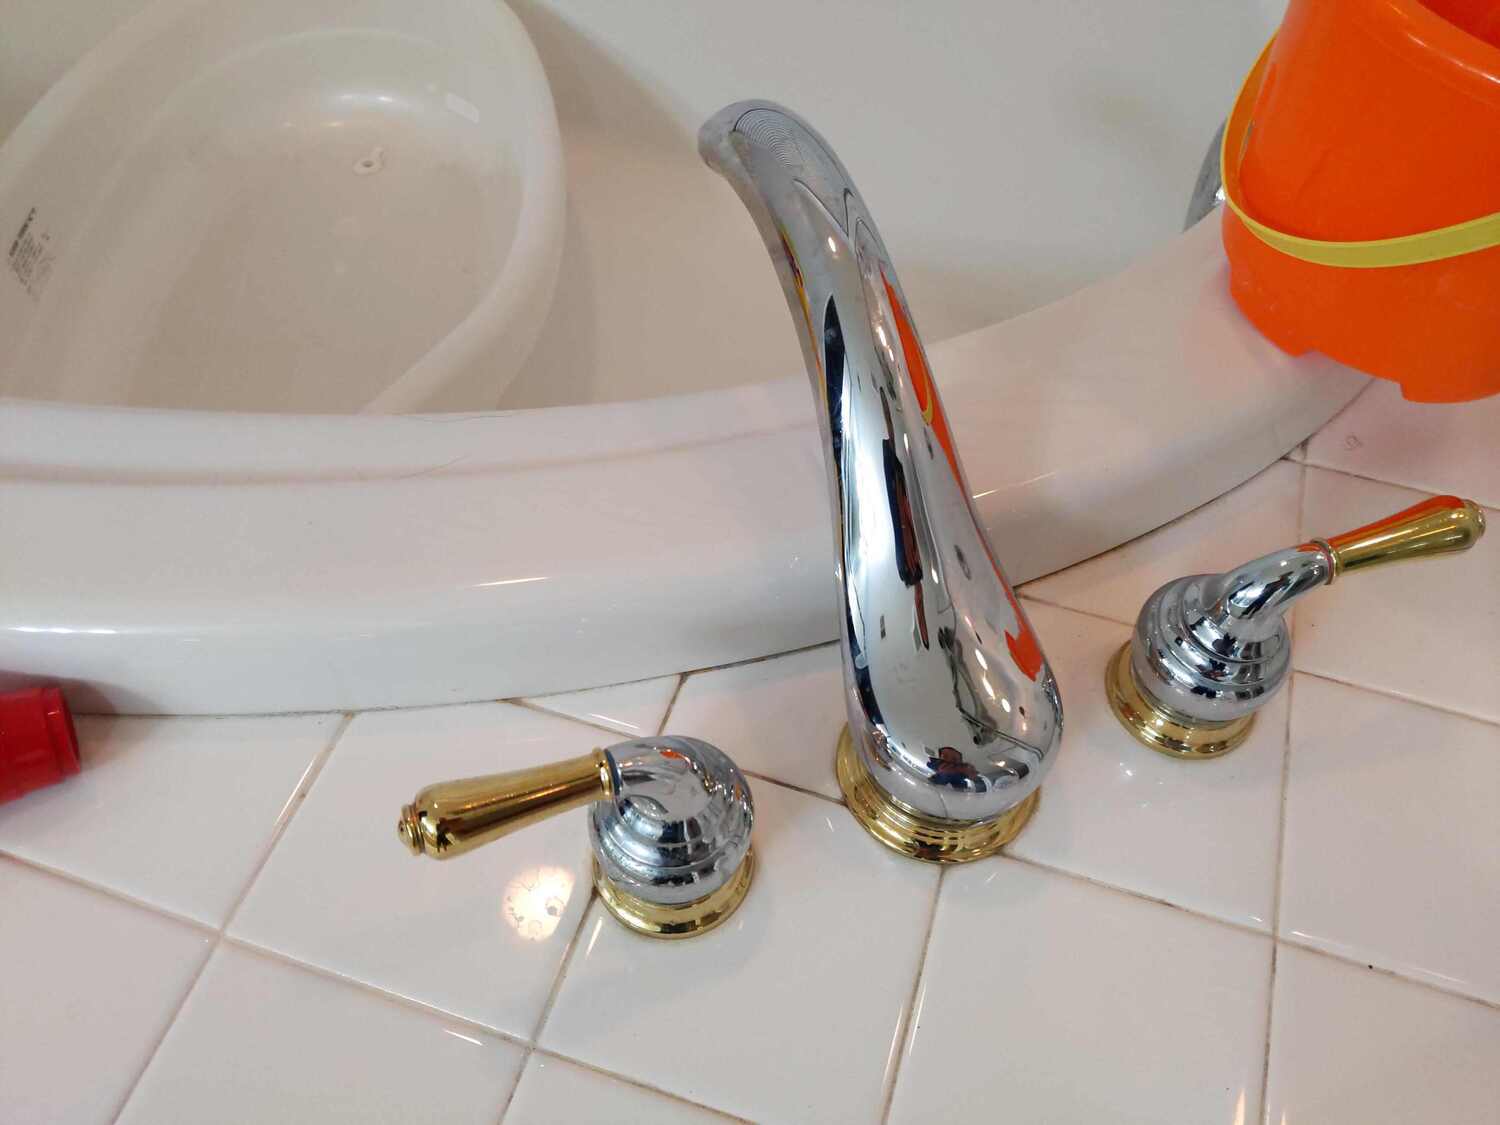
Step 3: Remove the Handle and Trim
Now that the water supply is turned off, it’s time to remove the handle and trim of the faucet. Here’s a step-by-step guide on how to do it:
- Start by locating the screw or set screw that secures the handle to the valve stem. This screw is typically concealed beneath a decorative cap or cover. Use a flathead or Phillips screwdriver (depending on the type of screw) to remove it.
- Once the screw or set screw is removed, gently pull the handle away from the faucet to expose the valve stem.
- Next, locate and remove any additional screws or fasteners that secure the trim or escutcheon plate to the valve body. These screws are usually located around the edge of the trim or underneath decorative caps. Use the appropriate screwdriver to remove them.
- With the screws removed, carefully pry off the trim or escutcheon plate using a flathead screwdriver. Take your time and apply even pressure to avoid damaging the trim or the surrounding surface.
- Once the trim is removed, you should have clear access to the valve itself. Take a moment to inspect the valve and its components for any signs of wear or damage.
By removing the handle and trim, you have now exposed the valve and can proceed with replacing it. Before moving on to the next step, be sure to set aside the handle, trim, and any screws or fasteners in a safe place to avoid misplacing them.
Now that the handle and trim have been removed, it’s time to move on to the next step: removing the old valve.
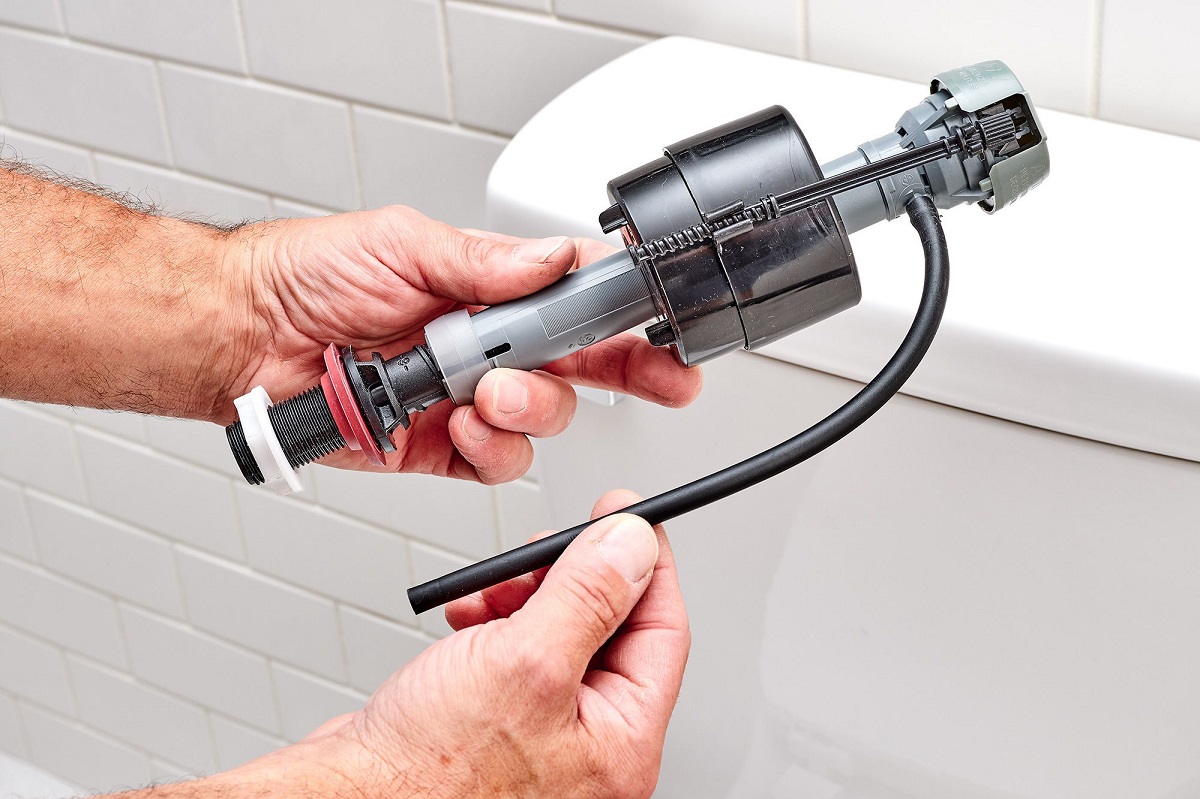
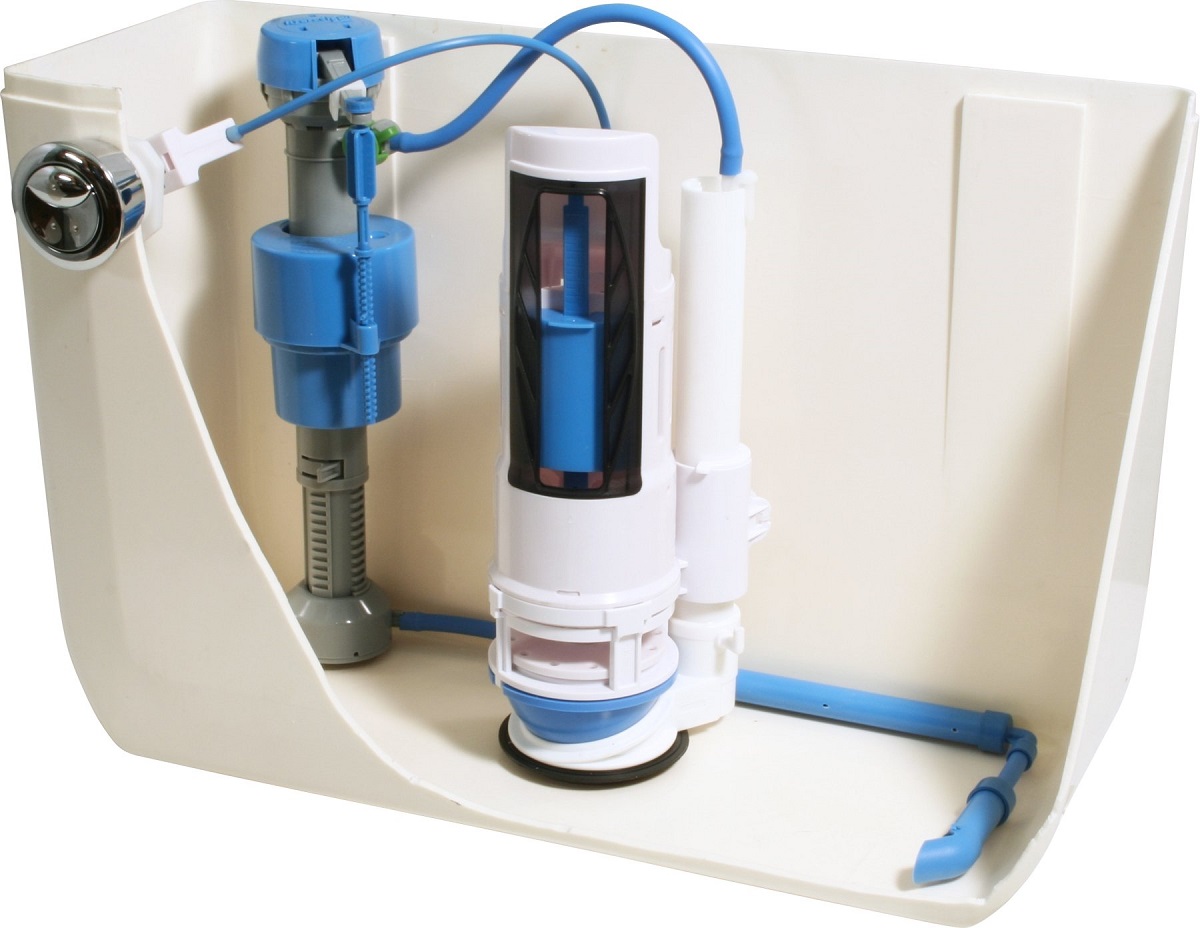
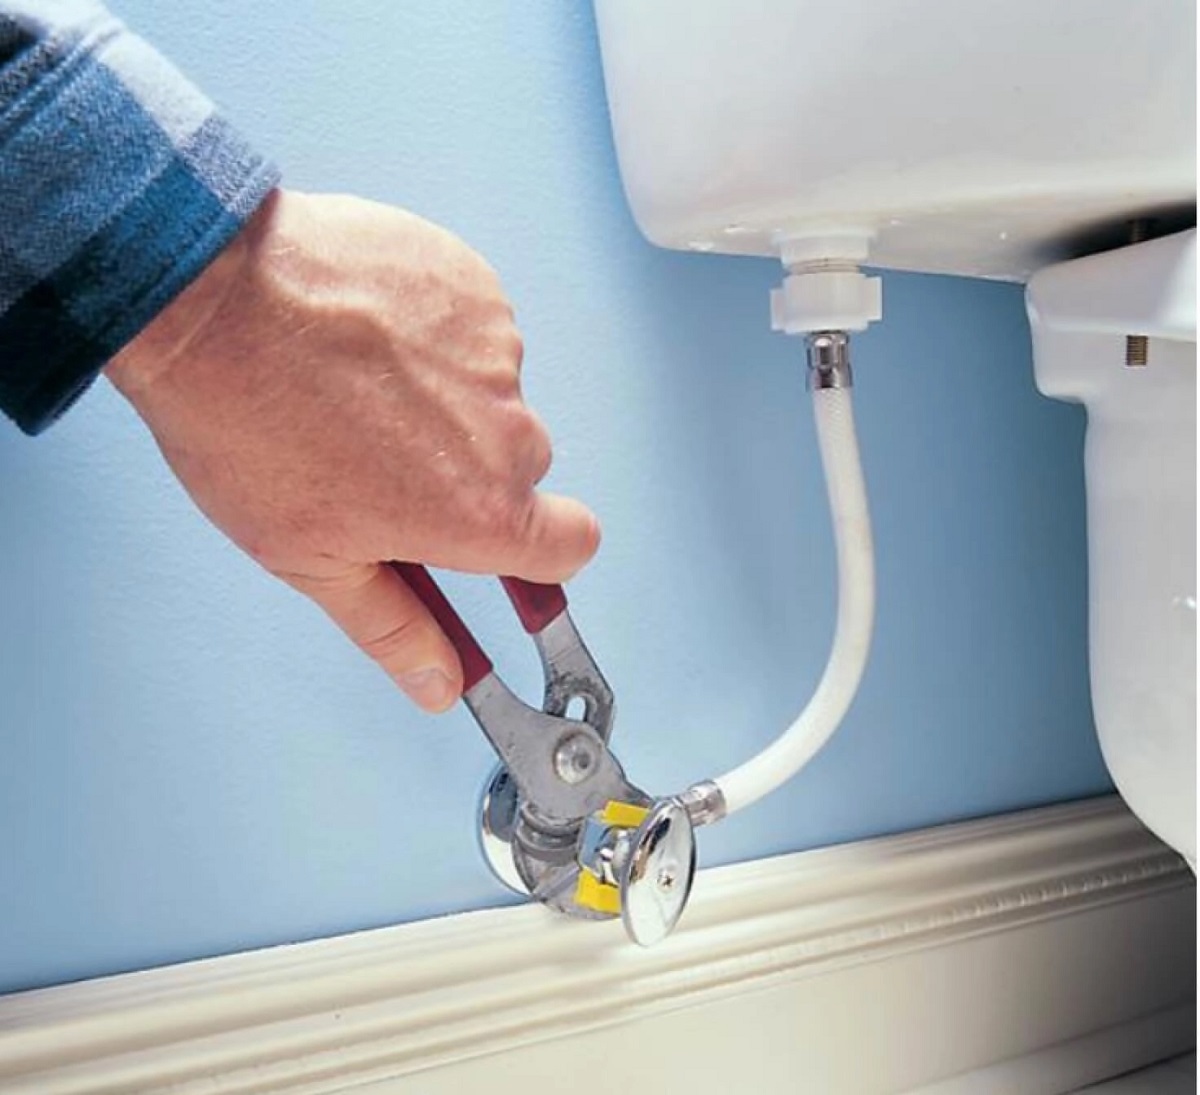
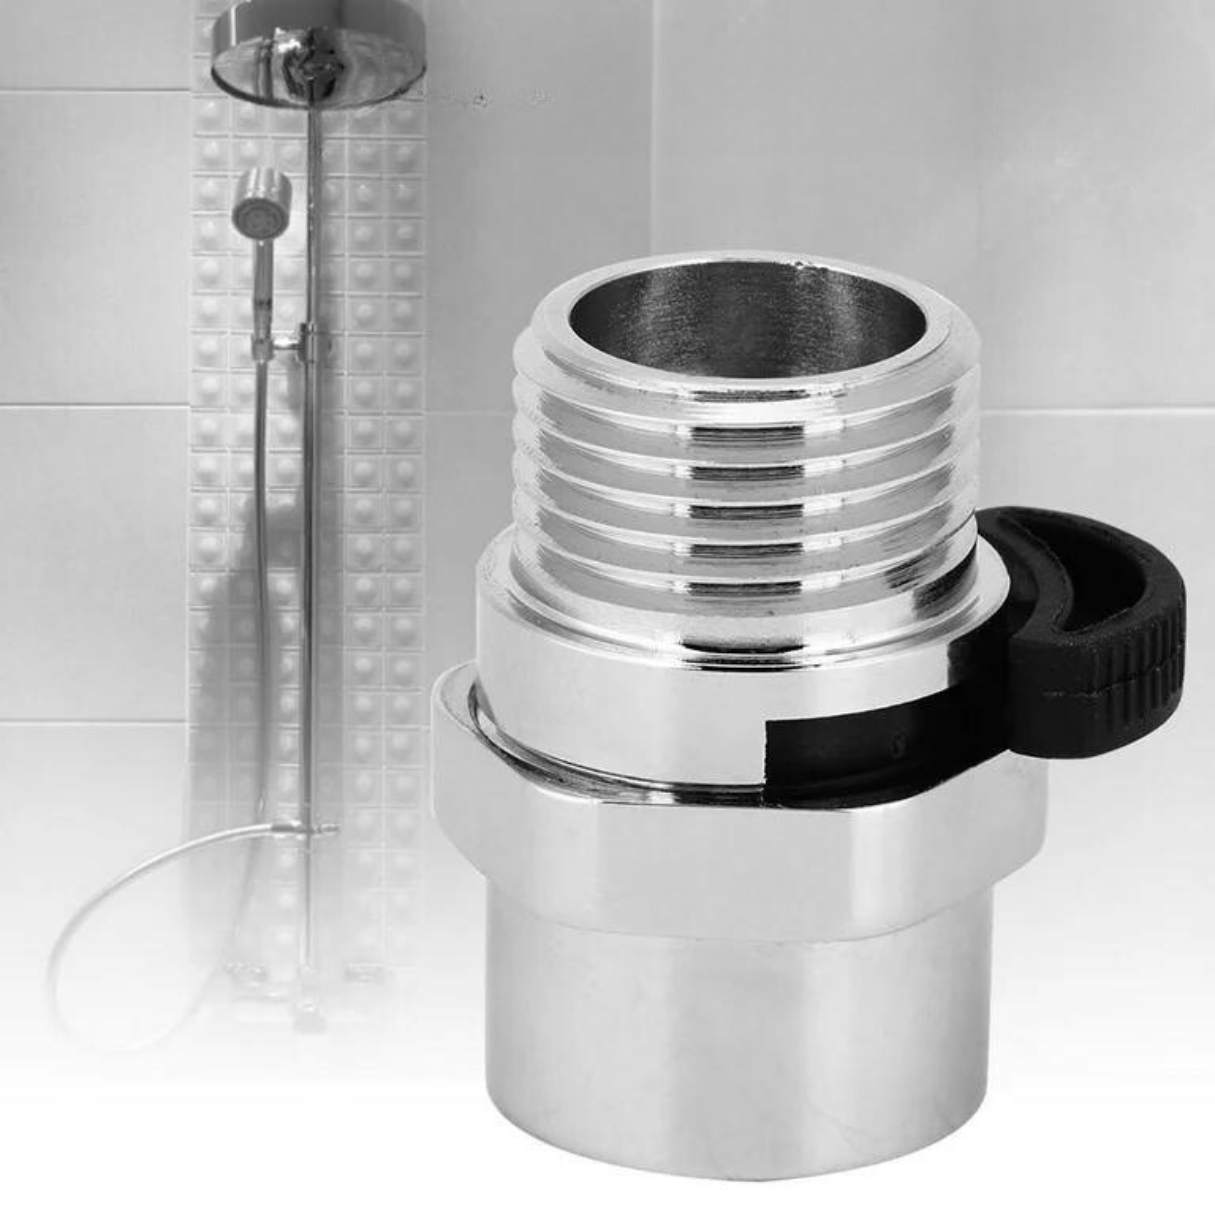
Step 4: Remove the Old Valve
With the handle and trim removed, you can now focus on removing the old valve from the faucet. Follow these steps to successfully remove the old valve:
- Inspect the valve and its connections to identify how it is attached. Common types of connections include compression fittings, threaded fittings, or soldered connections.
- Based on the type of connection, use the appropriate tools to disconnect the valve from the water lines. For compression fittings, use an adjustable wrench to loosen and disconnect the nut. For threaded fittings, use two wrenches to loosen and unscrew the connections in a counterclockwise direction. For soldered connections, use a propane torch to heat the solder and carefully detach the valve.
- Once the valve is disconnected from the water lines, inspect it for any remaining screws or fasteners that may be securing it to the faucet body. Use a screwdriver to remove any remaining screws.
- Gently pull the old valve out from the faucet body. If the valve is stuck, use penetrating oil or a valve puller tool to help loosen and remove it.
- Once the old valve is removed, carefully clean the inside of the faucet body to remove any debris or buildup that may affect the installation of the new valve.
Removing the old valve is an important step in the process of replacing a faucet valve. Take your time and be careful not to damage any surrounding components or the faucet body itself.
Now that the old valve has been removed, it’s time to proceed to the next step: installing the new valve.
When replacing a faucet valve, be sure to turn off the water supply before beginning the process. This will prevent any water from leaking out and causing a mess.
Read more: How To Replace A Bathtub Valve
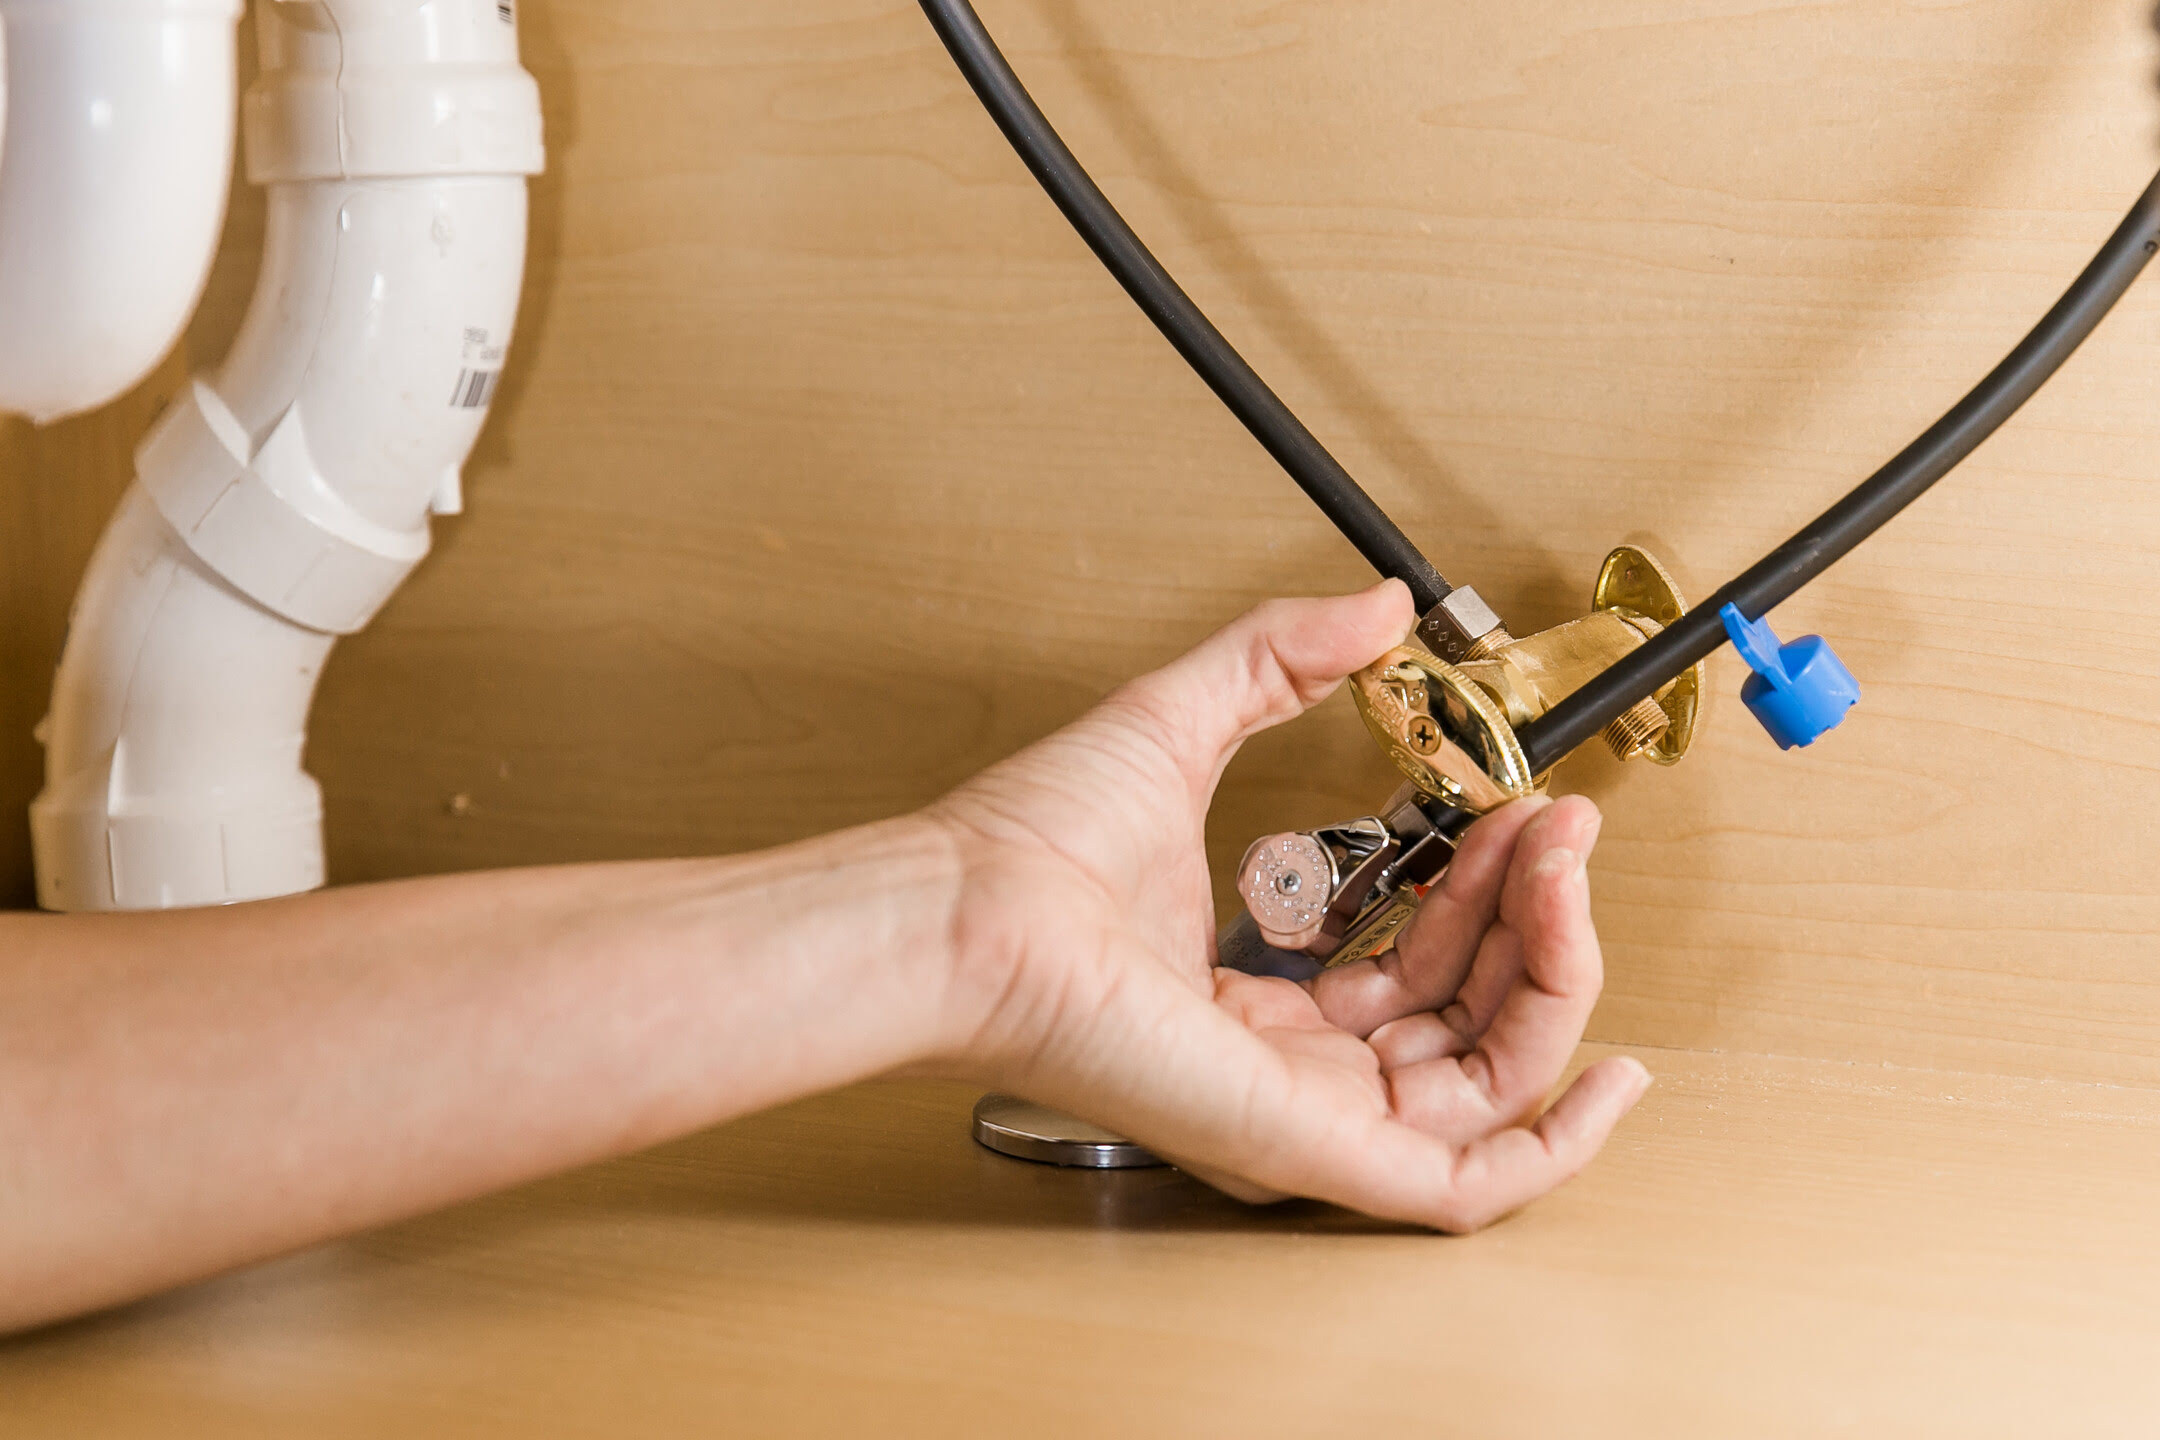
Step 5: Install the New Valve
Now that you have successfully removed the old valve, it’s time to install the new valve in your faucet. Follow these steps to ensure a proper installation:
- Take the new valve and examine it to ensure it matches the make and model of your faucet. This will ensure compatibility and a correct fit.
- Apply a layer of plumber’s tape to the threads of the new valve. This tape will help create a tight and secure seal between the valve and the faucet body.
- Gently insert the new valve into the faucet body, aligning the threads with the corresponding openings.
- Use a wrench or pliers to tighten the valve into place. Be careful not to overtighten, as this can cause damage to the valve or the faucet body.
- If the new valve requires any additional fasteners or screws, refer to the manufacturer’s instructions and securely attach them as needed.
- Double-check that the new valve is securely in place and properly aligned with the handle stem. Ensure that it moves smoothly without any obstruction.
By carefully installing the new valve, you are ensuring a reliable and leak-free operation of your faucet. Take your time to ensure each step is completed properly, and make any necessary adjustments to ensure a proper fit.
Now that the new valve is securely installed, it’s time to move on to the next step: reassembling the handle and trim.
Step 6: Reassemble the Handle and Trim
With the new valve installed, it’s time to reassemble the handle and trim of your faucet. Carefully follow these steps to ensure everything is put back together correctly:
- Take the handle and trim components that you previously removed and ensure they are clean and free of any debris or buildup. If needed, use a soft cloth or mild detergent to clean them.
- Align the handle with the valve stem and carefully slide it back into place. Make sure it fits snugly and securely.
- If your handle has a screw or set screw, reinsert it and tighten it using the appropriate screwdriver.
- Place the trim or escutcheon plate over the valve body, aligning it with the holes for the screws.
- Insert and tighten the screws or fasteners to secure the trim in place. Be careful not to overtighten and strip the screws or damage the trim.
- Give the handle a test turn to ensure it operates smoothly and there are no binding or sticking issues.
By reassembling the handle and trim properly, you are restoring the functionality and aesthetics of your faucet. Take your time to ensure each component is aligned correctly, and make any necessary adjustments to ensure a proper fit.
Now that the handle and trim are back in place, it’s time to move on to the final step: turning on the water supply.
Step 7: Turn on the Water Supply
With the faucet valve replaced and the handle and trim reassembled, it’s time to turn on the water supply and test your newly installed valve. Follow these steps to complete the process:
- Ensure that all the connections are tight and secure. Double-check that there are no leaks or drips around the valve, handle, or trim.
- Slowly turn on the water supply by turning the main water shutoff valve or any intermediate shut-off valves counterclockwise (to the left).
- Allow the water to flow for a few moments and check for any leaks. Inspect the valve, handle, and trim for any signs of water leakage.
- If there are no leaks, turn off the faucet and check for any drips or excess water around the spout. Tighten any necessary connections if needed.
- Once you are satisfied that the new valve is functioning correctly without any leaks or drips, you can consider the installation process complete.
By turning on the water supply and performing a thorough inspection, you can ensure that your new valve is properly installed and functioning as expected. If you notice any leaks or issues, it is recommended to revisit the previous steps to identify and resolve the problem.
Congratulations! You have successfully replaced the faucet valve and restored the functionality of your faucet. Regular maintenance and periodic inspections will help prolong the lifespan of your new valve and keep your faucet in optimal condition.
Thank you for following along with this step-by-step guide. If you have any further questions or need assistance, don’t hesitate to reach out to a professional plumber.
Conclusion
Replacing a faucet valve is a task that can greatly improve the performance and functionality of your faucet. By following the step-by-step guide outlined in this article, you can successfully replace a faucet valve and enjoy a leak-free and efficient faucet.
Throughout the process, we discussed the importance of gathering the necessary tools and materials, turning off the water supply, removing the handle and trim, removing the old valve, installing the new valve, reassembling the handle and trim, and finally, turning on the water supply. Each step is crucial in ensuring a successful valve replacement.
Remember, if you are unsure about any aspect of the process or face any difficulties, it is always recommended to consult a professional plumber for assistance. They have the expertise and knowledge to handle more complex situations and can ensure the job is done correctly.
Regular maintenance and periodic inspections of your faucet can help prevent issues and extend the lifespan of your new valve. By checking for leaks, drips, and other signs of wear, you can address any potential problems promptly and avoid costly repairs in the future.
We hope this guide has provided you with the necessary information and guidance to confidently replace a faucet valve. Enjoy your newly functioning faucet and the peace of mind that comes with a job well done!
Frequently Asked Questions about How To Replace Faucet Valve
Was this page helpful?
At Storables.com, we guarantee accurate and reliable information. Our content, validated by Expert Board Contributors, is crafted following stringent Editorial Policies. We're committed to providing you with well-researched, expert-backed insights for all your informational needs.

0 thoughts on “How To Replace Faucet Valve”