Home>Gardening & Outdoor>Outdoor Structures>How To Replace A Shed Roof
Outdoor Structures
How To Replace A Shed Roof
Modified: March 2, 2024
Learn how to replace a shed roof and keep your outdoor structure in top condition. Follow our step-by-step guide for a successful roof replacement.
(Many of the links in this article redirect to a specific reviewed product. Your purchase of these products through affiliate links helps to generate commission for Storables.com, at no extra cost. Learn more)
Introduction
When it comes to outdoor structures, a well-maintained shed not only enhances the aesthetic appeal of your property but also provides valuable storage space for tools, equipment, and seasonal items. However, over time, the elements can take a toll on the shed's roof, leading to wear, tear, and potential damage. Whether it's due to weathering, age, or a recent storm, a damaged shed roof can compromise the integrity of the entire structure, allowing moisture to seep in and wreak havoc on your belongings.
The good news is that replacing a shed roof is a manageable task that, with the right guidance, can be tackled effectively. By understanding the necessary steps and acquiring the essential materials and tools, you can restore your shed to its former glory and ensure its longevity for years to come. This comprehensive guide will walk you through the process of replacing a shed roof, empowering you to take on this project with confidence and precision.
Before diving into the practical steps of replacing a shed roof, it's crucial to emphasize the significance of safety throughout the entire undertaking. Prioritize safety measures, such as wearing protective gear and exercising caution when working at heights. Additionally, weather conditions should be taken into account, as working on a roof during adverse weather can be hazardous. By keeping safety at the forefront of your priorities, you can approach this project responsibly and minimize the risk of accidents or injuries.
With a commitment to safety and a willingness to invest time and effort, you can revitalize your shed by replacing its roof, ensuring that it remains a functional and visually appealing asset on your property. Let's embark on this journey of restoration and rejuvenation, equipping you with the knowledge and skills to complete this project successfully.
Key Takeaways:
- Safety, thorough assessment, and proper preparation are crucial for successfully replacing a shed roof. By prioritizing these steps, you can revitalize your shed and ensure its longevity.
- Gathering the right materials and tools, meticulously removing the old roof, and installing the new roofing material with precision are essential for a successful shed roof replacement.
Read more: How To Roof A Flat Roof Shed
Assessing the Damage
Before initiating the process of replacing a shed roof, it’s essential to conduct a thorough assessment of the existing damage. Start by visually inspecting the roof from both the interior and exterior of the shed. Look for signs of deterioration, such as missing or damaged shingles, water stains on the ceiling, or sagging areas in the roof structure. These indicators can point to underlying issues that need to be addressed during the replacement process.
Upon identifying the areas of concern, take note of the extent of the damage and consider the underlying causes. For instance, if the roof has been compromised by a recent storm, assess the impact and determine whether there are structural damages that need immediate attention. Understanding the root cause of the damage will inform the approach you take in replacing the roof, ensuring that the underlying issues are effectively resolved.
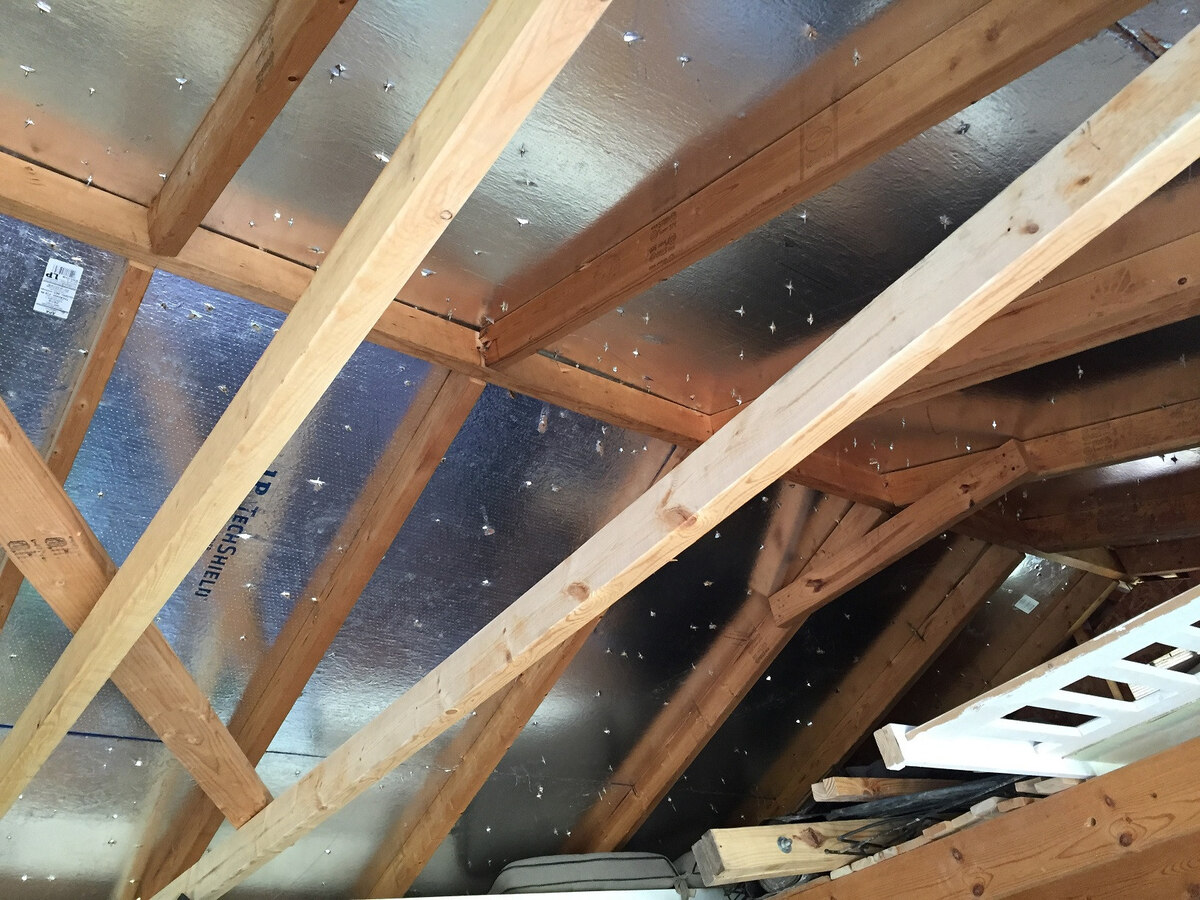
In some cases, the damage may be localized, affecting specific sections of the roof. However, it’s crucial to assess the overall condition of the roof to determine whether a partial or complete replacement is necessary. Pay attention to the roof’s underlying structure, including the trusses and sheathing, as these components play a vital role in the roof’s stability and longevity.
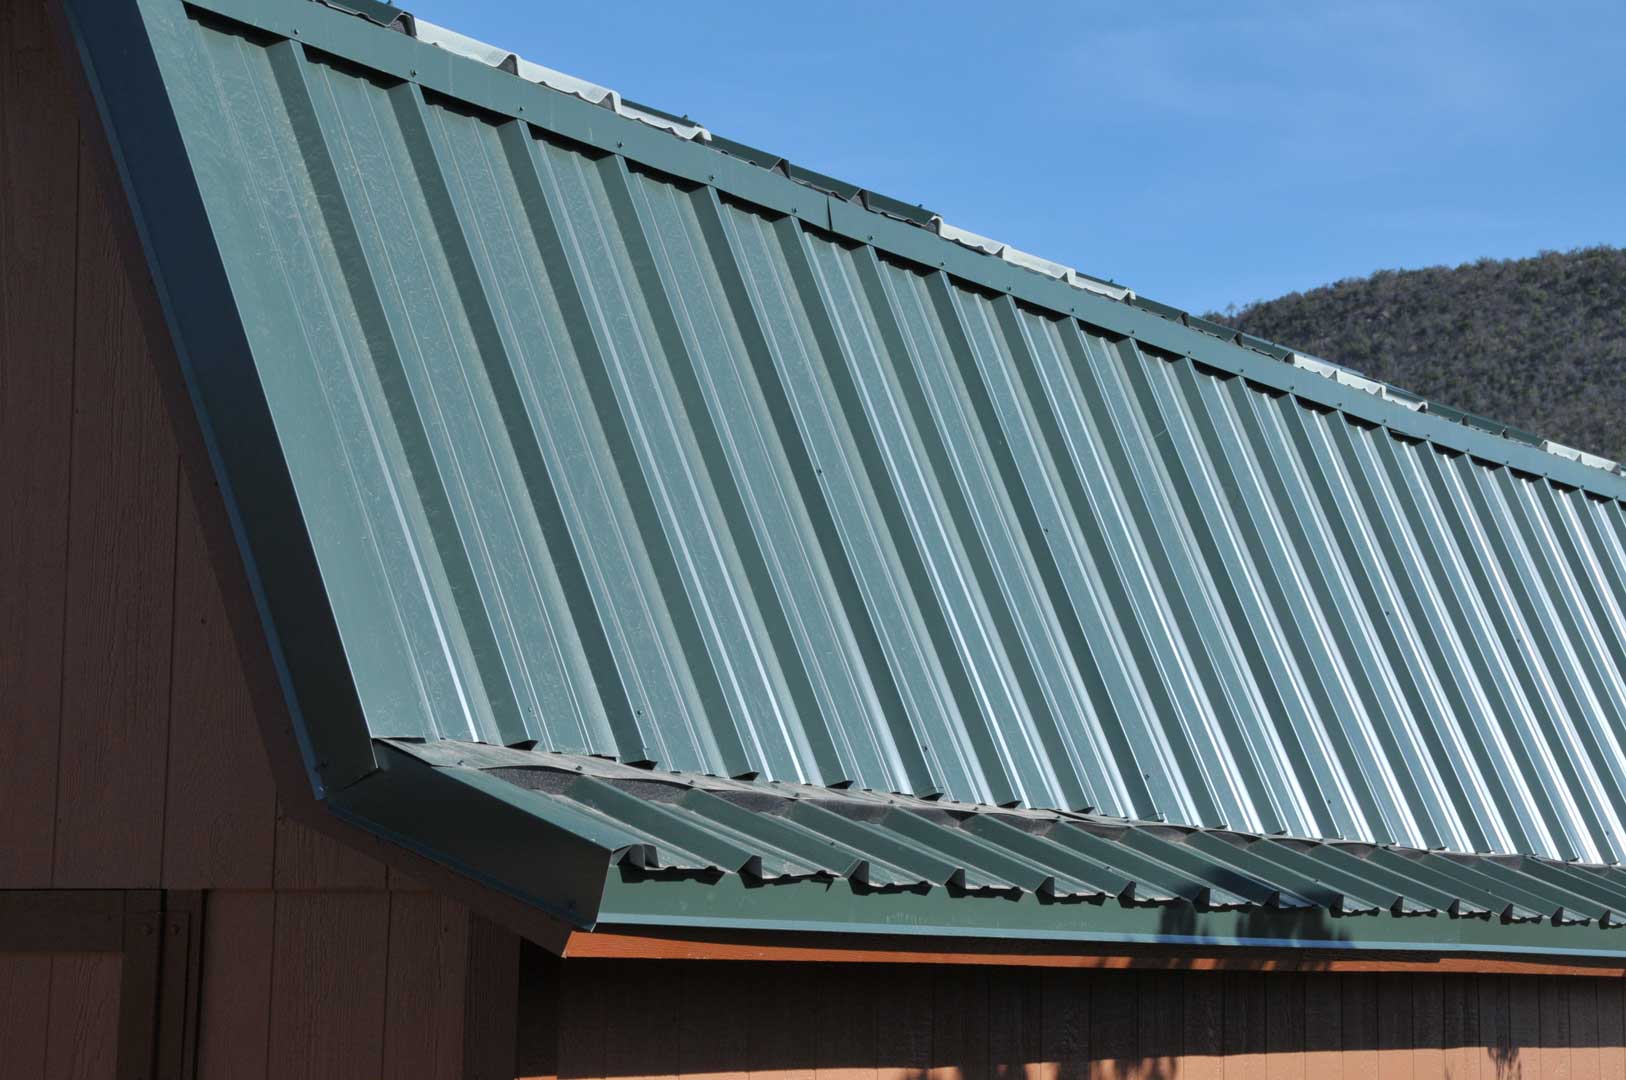
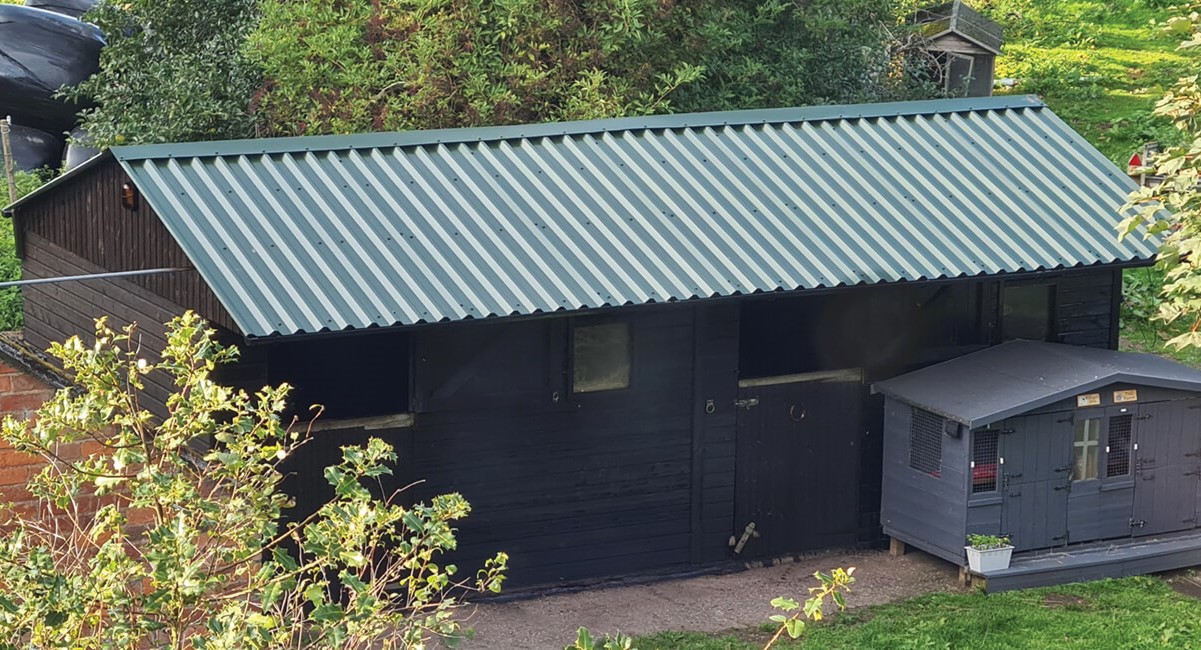
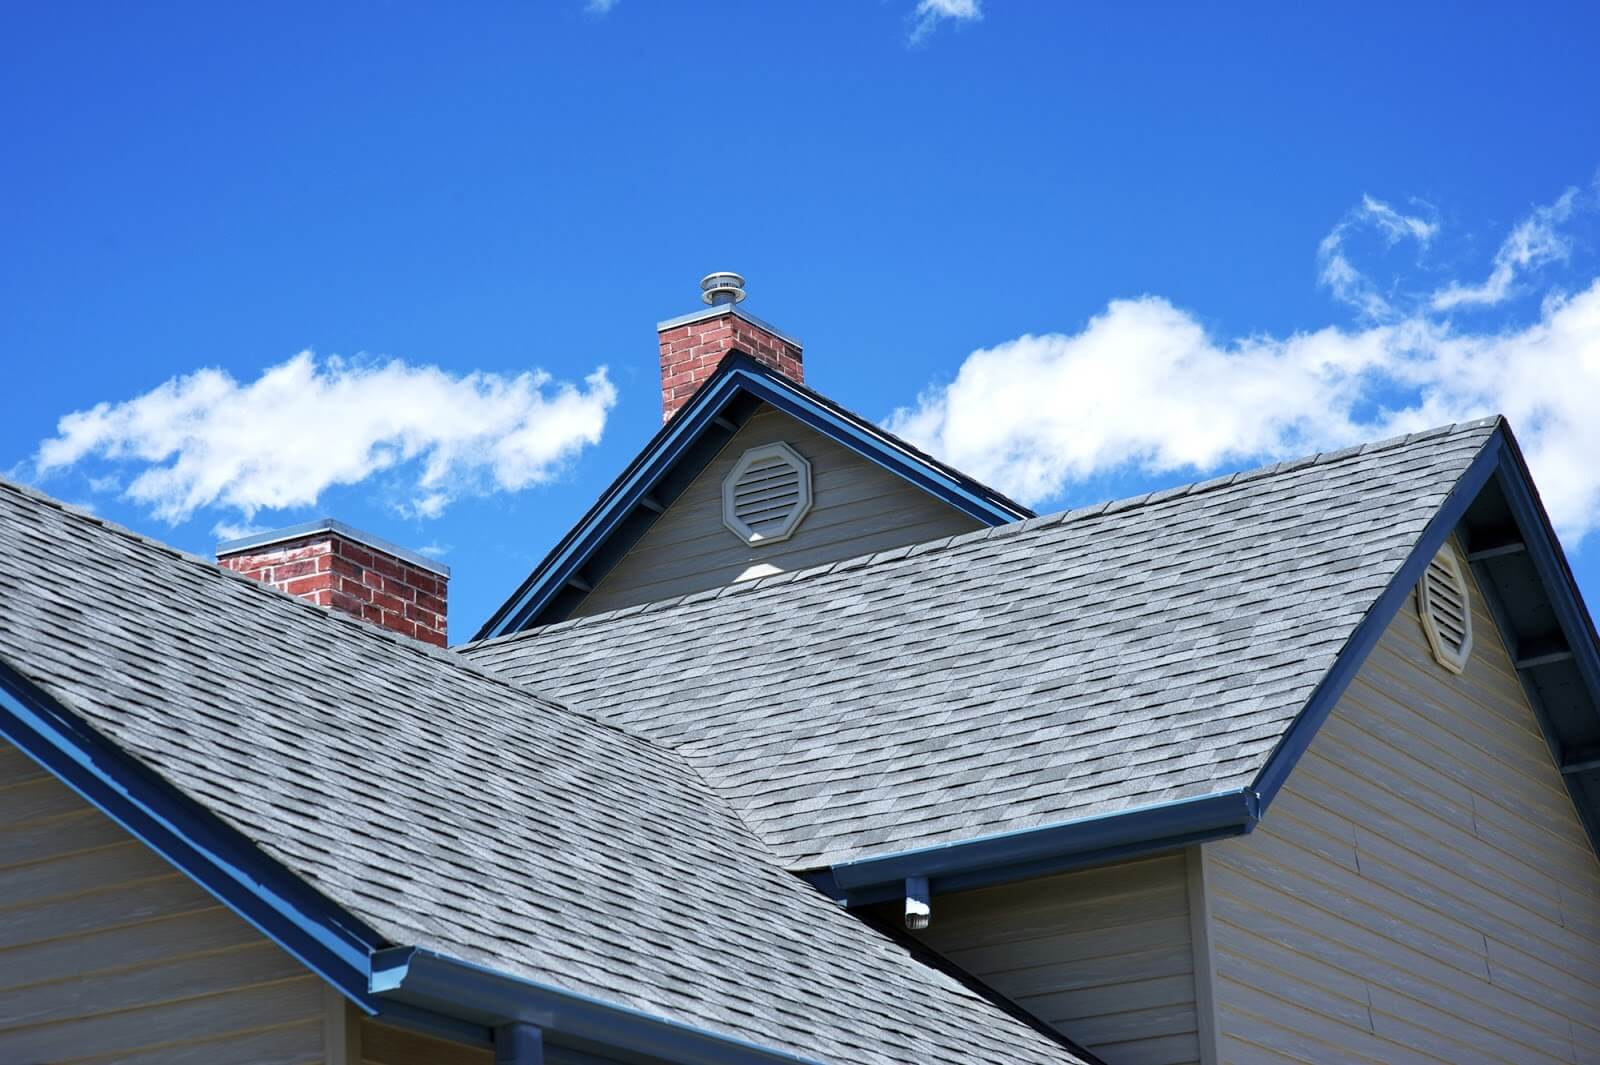
Additionally, consider the material and design of the existing roof. If the shed roof is constructed with asphalt shingles, metal panels, or another material, assess the condition of the roofing material and evaluate its lifespan. Understanding the type of material used will guide your decisions when selecting replacement materials, ensuring compatibility and durability.
During the assessment, take note of any potential safety hazards, such as loose debris or compromised structural elements. Clearing the work area of any obstructions and addressing safety concerns is paramount before proceeding with the replacement process. By conducting a comprehensive assessment of the damage, you’ll gain valuable insights that will inform the subsequent steps, setting the stage for a successful shed roof replacement.
Gathering Materials and Tools
Once you’ve assessed the damage and determined the scope of the shed roof replacement project, the next step is to gather the necessary materials and tools. Having the right supplies at your disposal will streamline the replacement process and ensure that you can address the damage effectively. Here’s a comprehensive list of materials and tools you’ll need:
Materials:
- Roofing Material: Depending on your preference and the existing shed design, you can choose from asphalt shingles, metal roofing panels, cedar shakes, or other suitable roofing materials. Ensure that the selected material aligns with the shed’s aesthetic and structural requirements.
- Underlayment: A high-quality roofing underlayment serves as a moisture barrier and enhances the roof’s weather resistance. Select an underlayment that complements the chosen roofing material and provides optimal protection.
- Fasteners: Invest in appropriate fasteners, such as roofing nails or screws, designed for the specific roofing material. The fasteners should be corrosion-resistant and capable of securely attaching the roofing material to the shed’s roof frame.
- Flashing: Flashing is essential for preventing water intrusion at vulnerable areas, such as roof intersections, vents, and chimneys. Acquire flashing components that are compatible with the chosen roofing material and ensure proper sealing.
- Sealant: A high-quality roofing sealant or caulk is indispensable for sealing joints, edges, and penetrations, safeguarding the roof against water infiltration and enhancing its overall integrity.
- Roofing Cement: Depending on the roofing material, roofing cement may be required to secure overlapping sections and reinforce the roof’s resistance to wind and moisture.
Tools:
- Roofing Hammer or Nail Gun: A roofing hammer with a claw or a nail gun equipped with appropriate nails is essential for securing the roofing material to the shed’s roof frame.
- Utility Knife: A sharp utility knife will facilitate precise cutting of roofing material and underlayment, ensuring a tailored fit and professional finish.
- Roofing Shovel or Pry Bar: These tools are instrumental in removing the old roofing material, allowing for a clean and efficient transition to the new roof installation.
- Measuring Tape: Accurate measurements are crucial in ensuring the proper alignment and coverage of the roofing material, making a measuring tape an indispensable tool.
- Safety Gear: Prioritize safety by equipping yourself with protective gear, including gloves, safety goggles, and a sturdy ladder to facilitate safe access to the roof.
By assembling the required materials and tools in advance, you’ll be well-prepared to embark on the shed roof replacement project with confidence and efficiency. With these essentials at your disposal, you can proceed to the next phase of removing the old roof and preparing the roof frame for the installation of the new roofing material.
Read more: How To Replace A Roof
Removing the Old Roof
With the materials and tools gathered, the next crucial step in replacing a shed roof is the meticulous removal of the old roofing material. This phase requires careful attention to detail and a methodical approach to ensure the safe and efficient extraction of the existing roof. Follow these steps to effectively remove the old roof:
Step 1: Clear the Work Area
Prior to commencing the removal process, clear the area around the shed to create a safe and unobstructed workspace. Remove any debris, tools, or equipment that may impede your progress or pose safety hazards during the roof removal.
Step 2: Inspect and Secure the Roof Frame
Inspect the shed’s roof frame for any signs of damage or deterioration. Ensure that the frame is structurally sound and capable of supporting the replacement roofing material. Secure any loose or protruding nails to minimize the risk of injuries during the removal process.
Step 3: Begin Removal of the Old Roofing Material
Using a roofing shovel or pry bar, carefully lift and remove the old shingles, panels, or roofing material from the shed’s roof. Exercise caution to avoid damaging the underlying roof structure, and dispose of the old material responsibly, adhering to local waste disposal regulations.
Read more: How To Tie A Shed Roof Into An Existing Roof
Step 4: Address Underlayment and Flashing
Inspect the underlayment and flashing beneath the old roofing material. Replace any damaged or deteriorated underlayment, ensuring that the roof’s protective barrier is in optimal condition before proceeding with the installation of the new roofing material.
Step 5: Clean the Roof Surface
After removing the old roofing material, thoroughly clean the roof surface to eliminate debris, nails, and any remnants of the previous roof. A clean and smooth surface sets the stage for a seamless installation of the new roofing material, promoting its longevity and performance.
By meticulously executing the process of removing the old roof, you pave the way for a successful transition to installing the new roofing material. With the old material cleared and the roof frame prepared, you’re poised to move forward with confidence, knowing that the foundation for the replacement roof is primed for the next phase of the project.
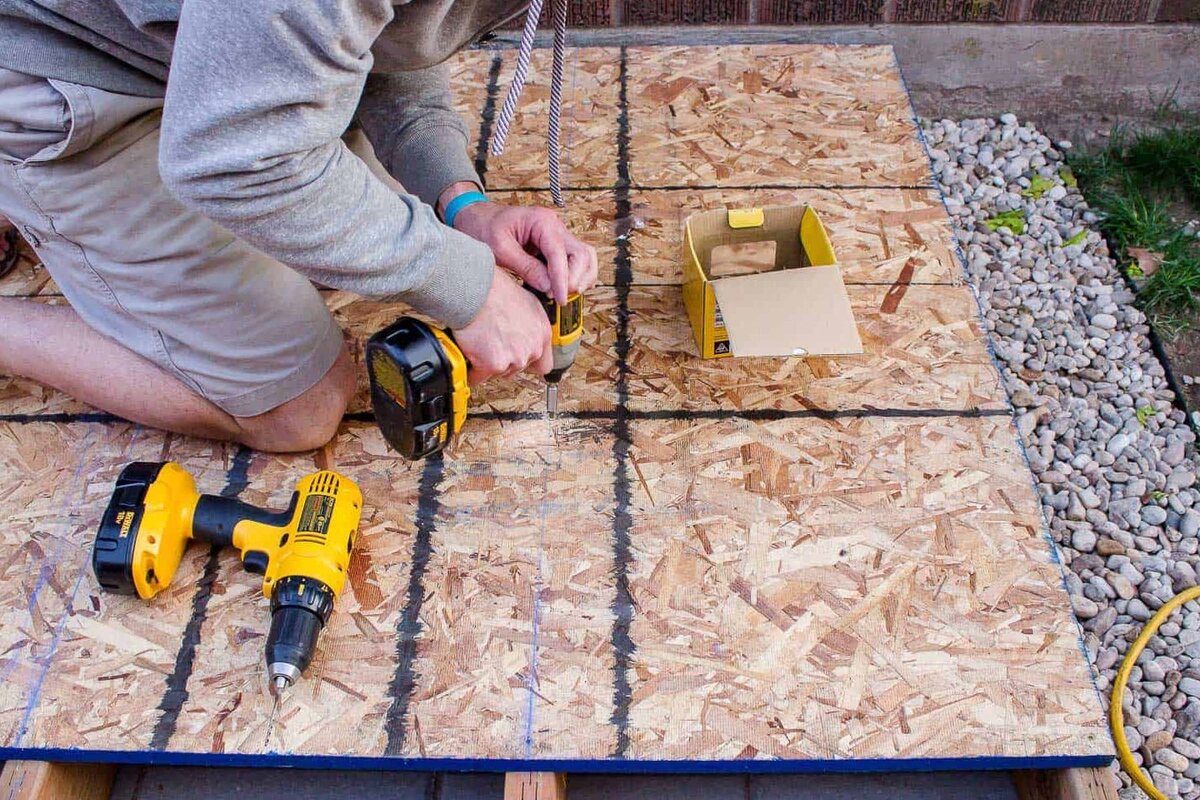
Preparing the Roof Frame
With the old roofing material removed, the focus shifts to preparing the roof frame to accommodate the installation of the new roofing material. This phase involves assessing the structural integrity of the frame, addressing any underlying issues, and ensuring that the framework is optimized to support and secure the new roof. Follow these essential steps to prepare the roof frame for the upcoming installation:
Step 1: Inspect the Roof Frame
Thoroughly examine the entire roof frame, including the trusses, rafters, and sheathing, for signs of damage, rot, or structural compromise. Address any areas of concern to fortify the frame and reinforce its stability, promoting the longevity of the new roof.
Read more: How To Attach Shed Roof To Existing Roof
Step 2: Repair and Reinforce
If any components of the roof frame exhibit damage or deterioration, take the necessary measures to repair and reinforce these areas. Replace compromised or rotted sections, and ensure that the frame is structurally sound and capable of withstanding the installation of the new roofing material.
Step 3: Ensure Proper Ventilation
Verify that the roof frame is equipped with adequate ventilation to facilitate air circulation and prevent moisture buildup. Proper ventilation is essential for regulating the temperature and humidity within the shed, contributing to the overall health and longevity of the new roof.
Step 4: Address Eaves and Overhangs
Inspect the eaves and overhangs of the roof, ensuring that they are free of debris and in good condition. Address any issues related to the eaves and overhangs, as these components play a crucial role in protecting the shed from water intrusion and enhancing the aesthetic appeal of the roof.
Step 5: Apply Protective Coatings (Optional)
If desired, consider applying protective coatings or treatments to the roof frame to enhance its resistance to moisture, UV exposure, and environmental elements. These additional protective measures can contribute to the long-term durability and performance of the roof frame.
By meticulously preparing the roof frame, you establish a robust and reliable foundation for the installation of the new roofing material. Addressing structural concerns, optimizing ventilation, and ensuring the integrity of the frame are pivotal steps that set the stage for a successful and enduring shed roof replacement.
Read more: How To Install A Shed Roof
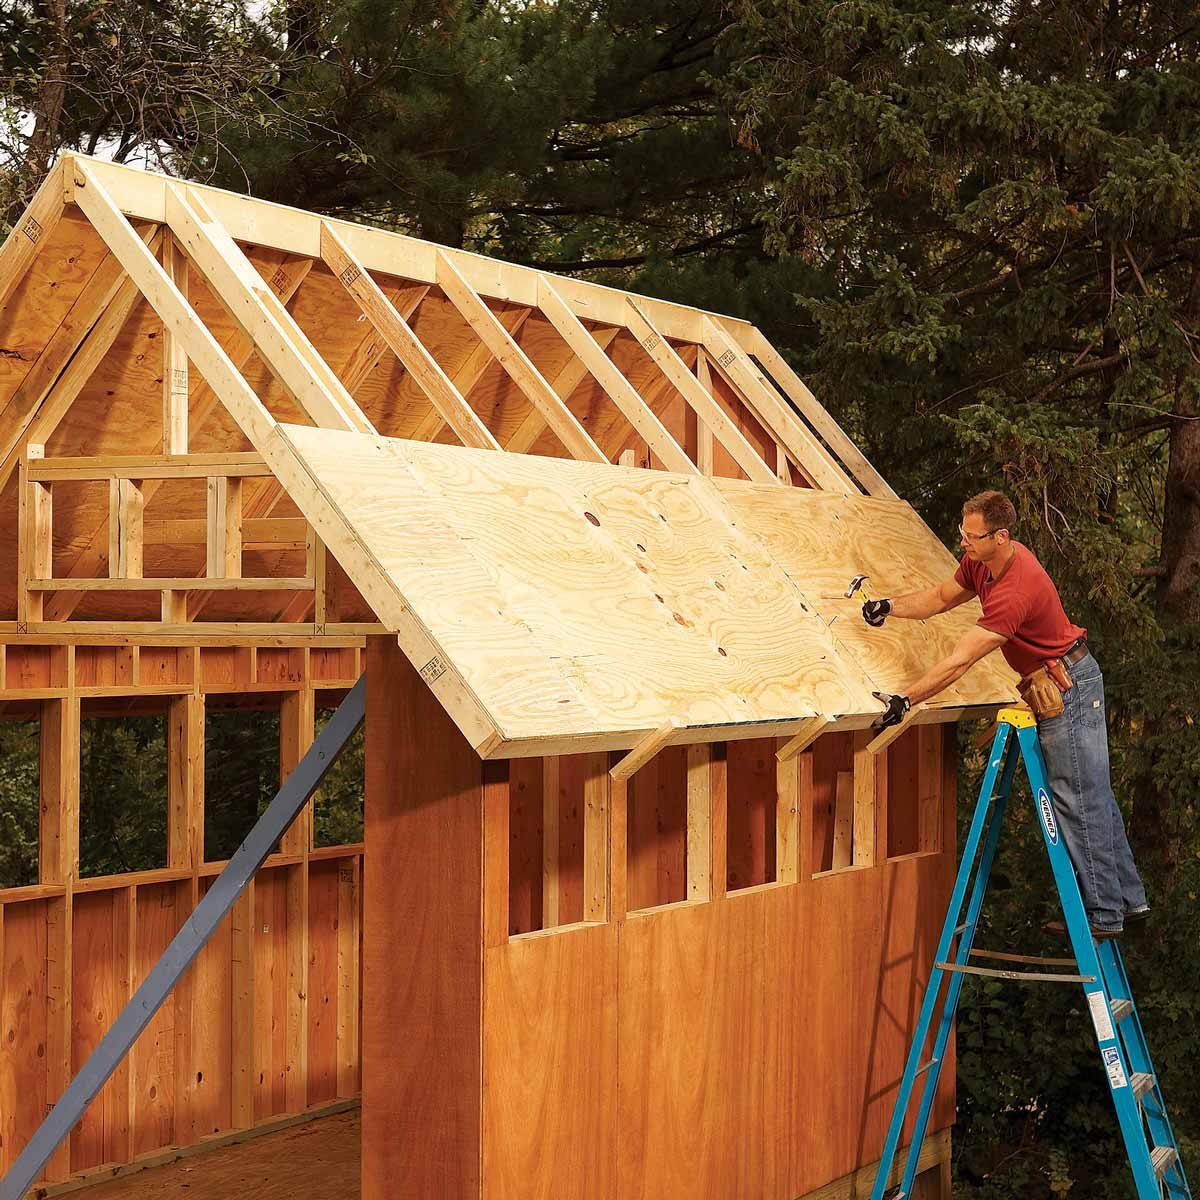
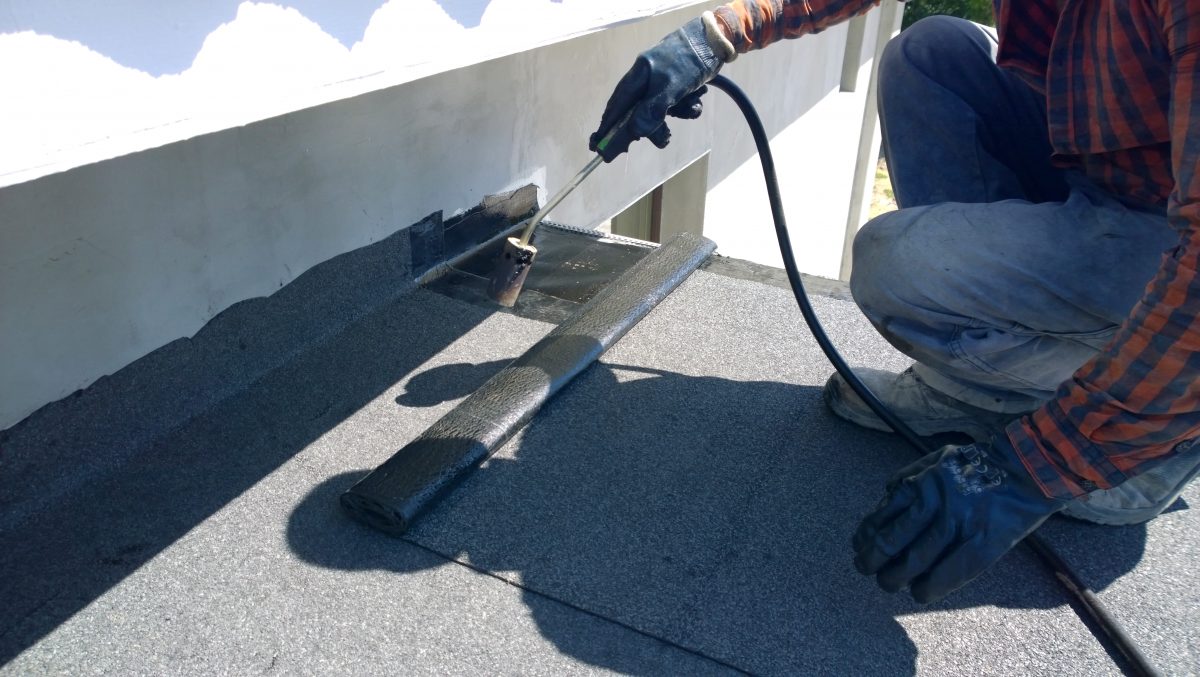
Installing the New Roof
With the roof frame meticulously prepared, you’re now ready to embark on the installation of the new roofing material, a pivotal phase that will rejuvenate the shed and fortify it against the elements. Whether you’ve opted for asphalt shingles, metal panels, cedar shakes, or another roofing material, the installation process demands precision, attention to detail, and a commitment to quality. Follow these essential guidelines to effectively install the new roof:
Step 1: Begin at the Bottom
Commence the installation at the bottom edge of the roof, ensuring a proper overhang and alignment of the first row of roofing material. Secure the initial row in place, adhering to the manufacturer’s guidelines and recommended fastening methods for the chosen roofing material.
Step 2: Progress Upward
Progress upward, overlapping each subsequent row of roofing material according to the specific installation instructions. Maintain consistent alignment and staggering of the material to promote effective water shedding and enhance the visual appeal of the roof.
Step 3: Address Flashing and Penetrations
Install flashing components at vulnerable areas, such as roof intersections, vents, and chimneys, to prevent water infiltration. Ensure that the flashing is properly integrated with the roofing material and that all penetrations are effectively sealed to safeguard the roof against moisture.
Read more: How To Build A Roof For A Shed
Step 4: Secure the Ridge and Hip
Secure the ridge and hip of the roof, ensuring a tight and durable finish that enhances the structural integrity and weather resistance of the entire roof. Follow the recommended techniques for securing the ridge and hip, providing a professional and secure culmination to the roof installation.
Step 5: Perform a Thorough Inspection
Upon completing the installation, conduct a comprehensive inspection of the new roof to verify the quality of the installation and address any potential issues. Look for proper fastening, alignment, and sealing, ensuring that the roof is primed to deliver long-lasting protection and performance.
By meticulously following the prescribed installation procedures and prioritizing precision and quality, you’ll successfully install the new roof, elevating the shed’s aesthetic appeal and fortifying it against the elements. With the new roof in place, the project transitions to the final phase of adding finishing touches to complete the rejuvenation of the shed.
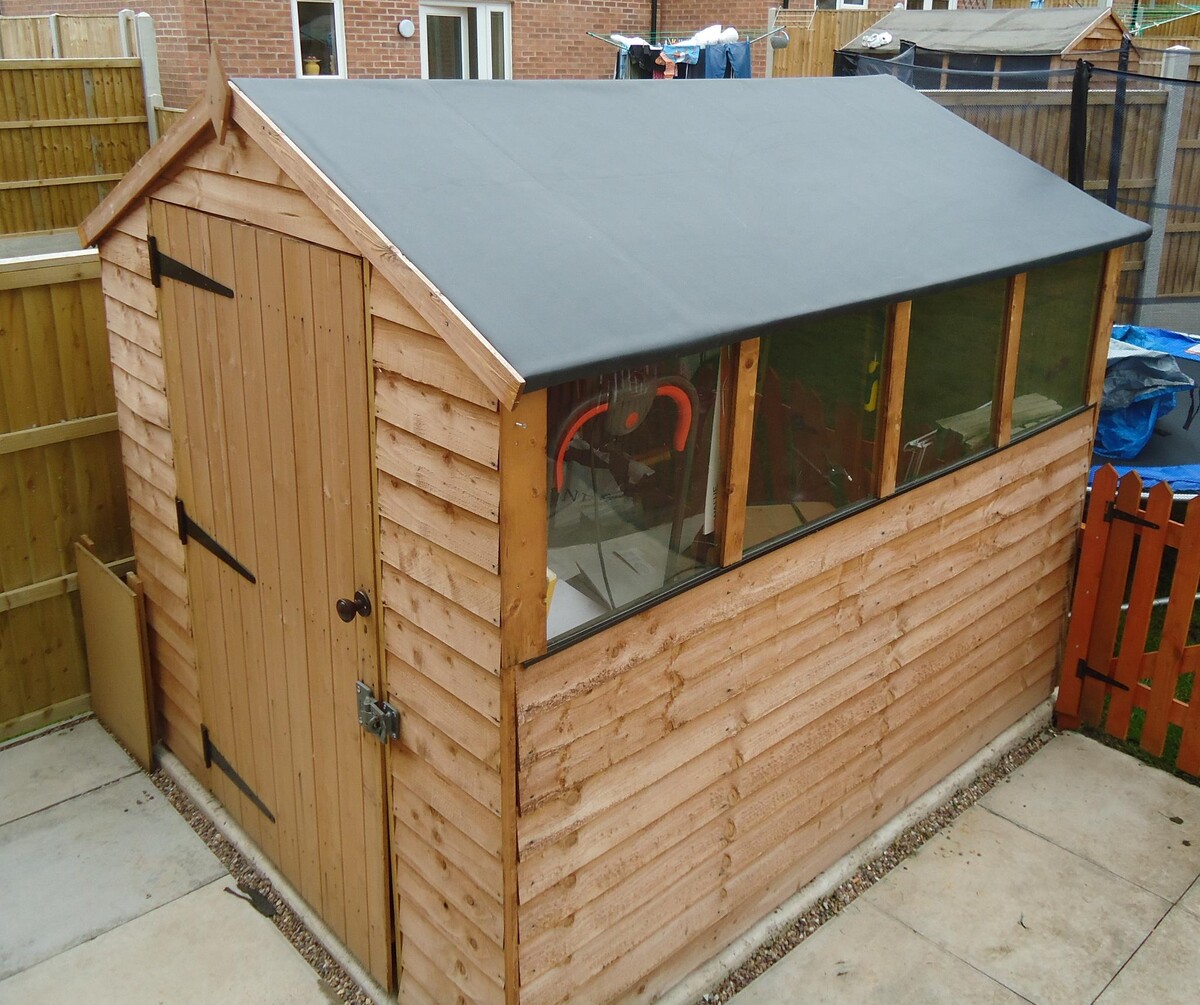
Finishing Touches
As the installation of the new roof culminates, attention turns to the essential finishing touches that will elevate the shed’s aesthetic appeal, enhance its functionality, and ensure the longevity of the newly replaced roof. These final steps encompass attention to detail and a commitment to refining the shed’s overall appearance and performance. Here are the key finishing touches to consider:
Step 1: Trim and Edge Detailing
Attend to the trim and edge detailing of the roof, ensuring that all exposed edges are neatly finished and sealed. Proper trim and edge detailing contribute to the overall visual cohesiveness and weather resistance of the roof, providing a polished and professional appearance.
Read more: How To Patch A Shed Roof
Step 2: Gutters and Downspouts
Assess the condition of the gutters and downspouts, and address any maintenance or replacement needs to facilitate proper drainage and protection against water accumulation. Well-maintained gutters and downspouts are integral in preserving the shed’s foundation and landscape.
Step 3: Sealant Application
Apply a final layer of sealant or caulk to seal any gaps, joints, or penetrations, ensuring a watertight and secure finish. The application of sealant reinforces the roof’s resistance to moisture and enhances its overall durability and weatherproofing capabilities.
Step 4: Exterior Maintenance
Conduct a comprehensive assessment of the shed’s exterior, addressing any maintenance needs, such as repainting, wood treatment, or structural repairs. A well-maintained exterior complements the newly replaced roof, contributing to the overall appeal and integrity of the shed.
Step 5: Landscape Enhancement
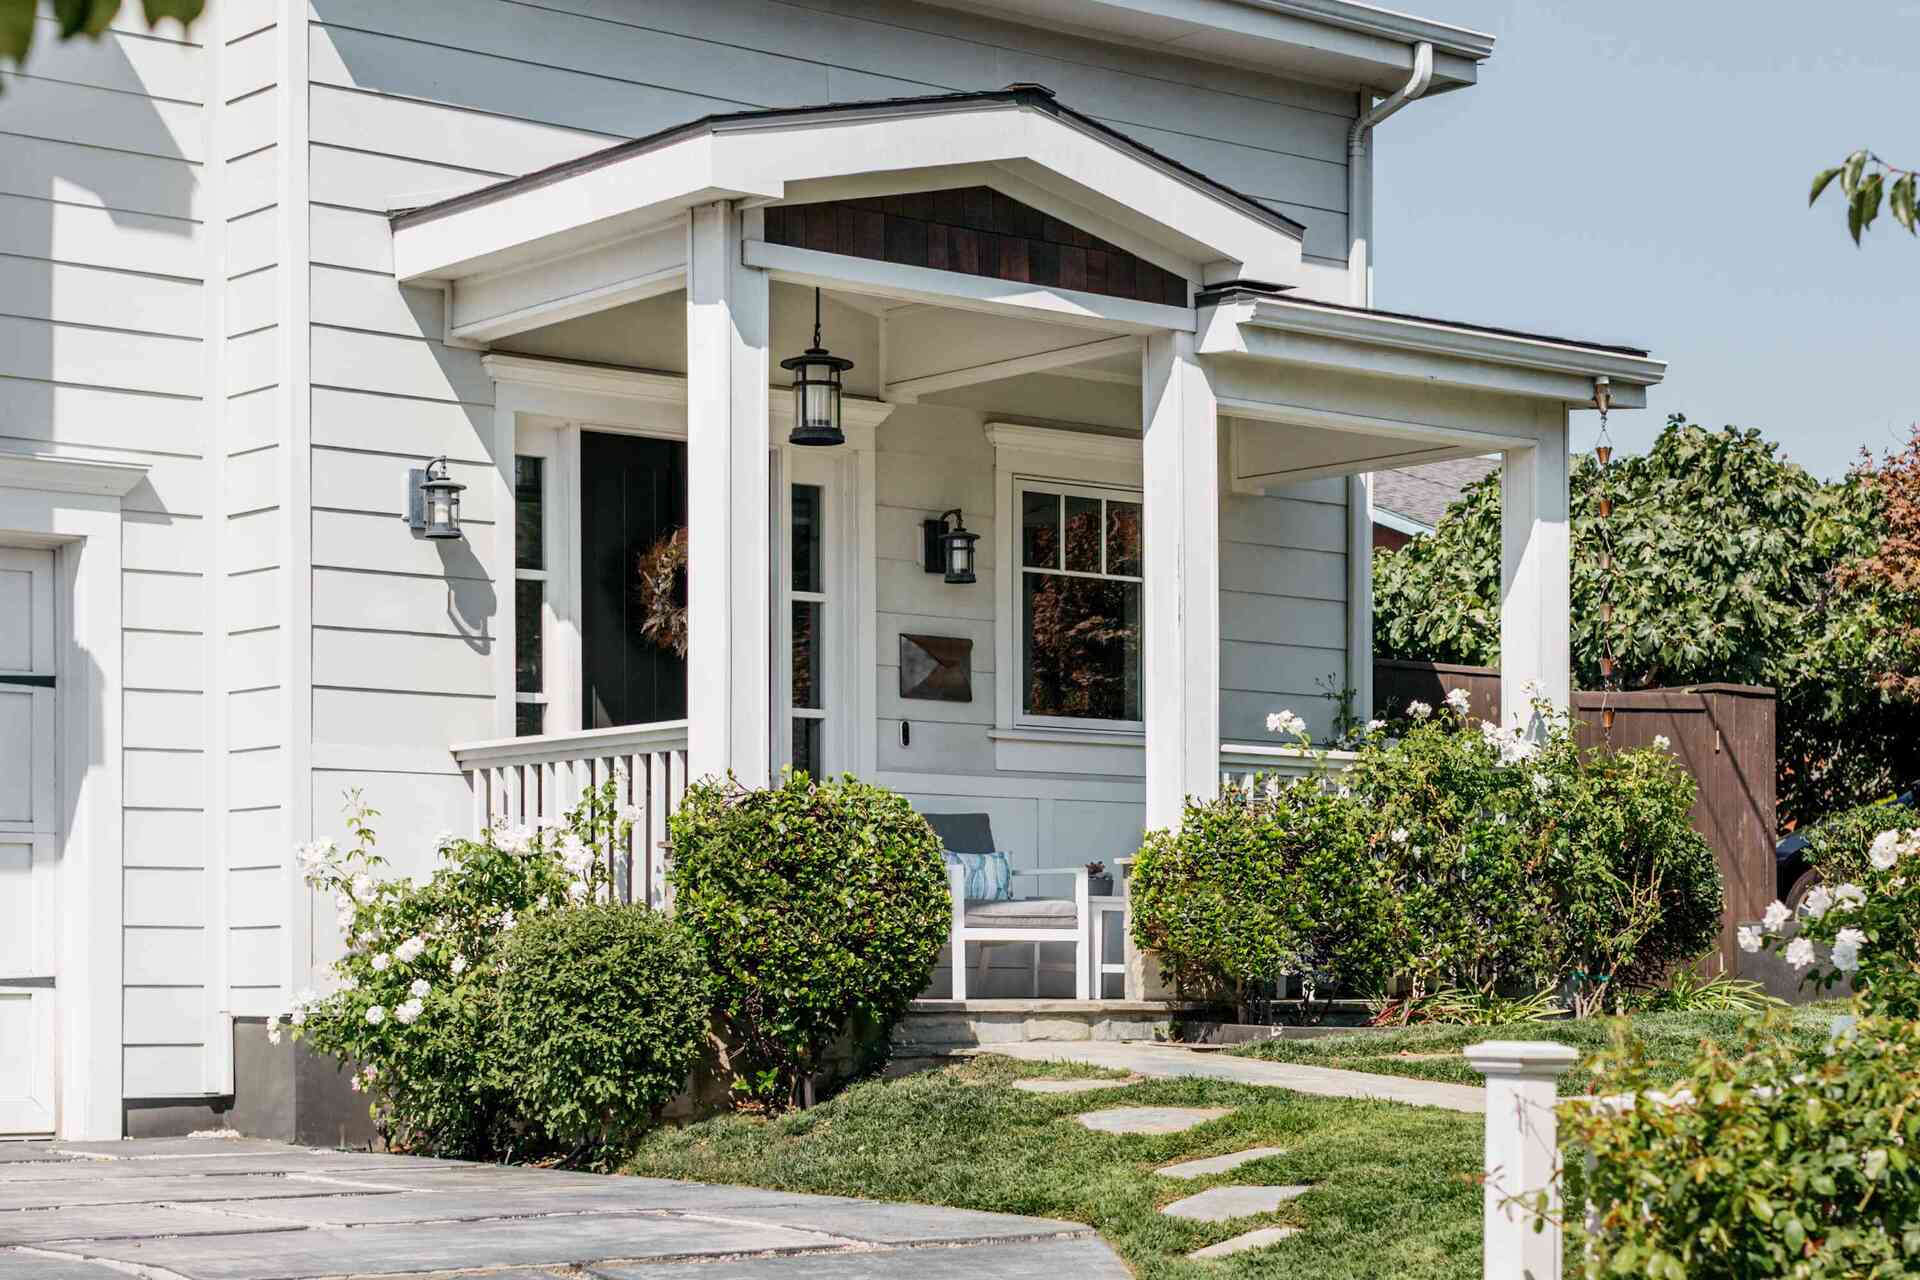
Consider landscaping enhancements around the shed to complement the rejuvenated structure. Strategic landscaping, such as planting shrubs, flowers, or creating a defined pathway, can accentuate the shed’s presence and integrate it harmoniously within the surrounding environment.
By attending to these essential finishing touches, you’ll complete the transformation of the shed, ensuring that the newly replaced roof is complemented by meticulous detailing and overall enhancements. These final steps contribute to the shed’s renewed functionality, visual appeal, and resilience, marking the successful culmination of the shed roof replacement project.
Read more: How To Refelt A Shed Roof
Conclusion
Embarking on the journey of replacing a shed roof is a testament to your commitment to maintaining and enhancing the functionality and visual appeal of your outdoor space. Throughout this comprehensive guide, you’ve gained valuable insights into the essential steps and considerations involved in this transformative project. By prioritizing safety, meticulous preparation, and quality execution, you’ve equipped yourself with the knowledge and skills to undertake the replacement of a shed roof with confidence and precision.
From the initial assessment of the damage to the meticulous installation of the new roofing material, each phase of the process plays a pivotal role in restoring and fortifying the shed. The careful removal of the old roof, the preparation of the roof frame, and the addition of finishing touches collectively contribute to the rejuvenation of the shed, ensuring its resilience against the elements and its enduring visual appeal.
As you reflect on the journey of replacing a shed roof, remember the significance of attention to detail, the value of quality materials and tools, and the transformative impact of the finishing touches. Whether you’ve opted for asphalt shingles, metal panels, or another roofing material, your dedication to this project has revitalized the shed, ensuring its relevance and functionality for years to come.
With the completion of the shed roof replacement project, take pride in the enhanced beauty and functionality of your outdoor space. Embrace the renewed sense of pride and satisfaction that comes with transforming a weathered and worn shed into a resilient and visually captivating structure. Your commitment to this endeavor serves as a testament to your dedication to maintaining and improving your property, creating a space that is both functional and aesthetically pleasing.
As you admire the newly replaced roof and the revitalized shed, take a moment to appreciate the journey you’ve undertaken and the skills you’ve acquired. Your ability to tackle this project with confidence and precision underscores your capability as a homeowner and your commitment to preserving the integrity of your property.
By embracing the process of replacing a shed roof, you’ve not only enhanced the shed’s structural integrity but also cultivated a deeper connection to your outdoor space. The knowledge and experience gained from this project will continue to serve you well as you embark on future endeavors to maintain and improve your property, creating a home that is a reflection of your dedication and care.
Congratulations on successfully completing the replacement of your shed roof, and may the rejuvenated shed stand as a testament to your commitment to quality, resilience, and the enduring beauty of your outdoor space.
Frequently Asked Questions about How To Replace A Shed Roof
Was this page helpful?
At Storables.com, we guarantee accurate and reliable information. Our content, validated by Expert Board Contributors, is crafted following stringent Editorial Policies. We're committed to providing you with well-researched, expert-backed insights for all your informational needs.
0 thoughts on “How To Replace A Shed Roof”