Home>Articles>How To Replace A Water Pump On A Mercury Outboard
Articles
How To Replace A Water Pump On A Mercury Outboard
Modified: October 19, 2024
Learn how to replace a water pump on a Mercury Outboard with our informative articles. Find step-by-step instructions and expert tips to complete this essential maintenance task.
(Many of the links in this article redirect to a specific reviewed product. Your purchase of these products through affiliate links helps to generate commission for Storables.com, at no extra cost. Learn more)
Introduction
Replacing a water pump on a Mercury outboard may seem like a daunting task, but with the right tools and a little knowledge, you can do it yourself and save money on expensive repairs. The water pump is a critical component of the outboard motor that ensures proper cooling and prevents overheating. Over time, the pump can wear out or become damaged, leading to a loss of water flow and potential engine damage.
In this article, we will guide you through the step-by-step process of replacing the water pump on a Mercury outboard. We will walk you through gathering the necessary tools and materials, preparing the boat and outboard motor for maintenance, draining the cooling system, removing the lower unit, locating and removing the water pump, installing the new water pump, reattaching the lower unit, and refilling the cooling system. By following these steps, you can ensure the longevity and performance of your outboard motor.
Before we dive into the process, it’s important to note that safety should always be a top priority when working on any machinery. Make sure you are wearing protective gear, such as gloves and safety glasses, and take any necessary precautions to prevent accidents. If you are unsure about any step of the process or lack the necessary tools or expertise, it’s always best to consult a professional.
Now, let’s gather our tools and get started on replacing the water pump on your Mercury outboard!
Key Takeaways:
- Replacing the water pump on a Mercury outboard is a manageable DIY task with the right tools and knowledge. Proper preparation, step-by-step guidance, and thorough testing ensure optimal outboard motor performance.
- Safety, attention to detail, and regular maintenance are crucial for successful water pump replacement. Following manufacturer guidelines and seeking professional help when needed will save time and money on repairs.
Step 1: Gather the necessary tools and materials
Before you begin replacing the water pump on your Mercury outboard, it’s important to gather all the required tools and materials. Having everything prepared in advance will make the process smoother and more efficient. Here is a list of the tools and materials you will need:
- Socket set with various sizes
- Wrench set
- Phillips and flathead screwdrivers
- Rubber mallet
- Pliers
- Replacement water pump kit
- Gasket sealant
- Shop rags or towels
- Container to catch coolant
- Clean water or coolant
It’s important to have the right tools for the job to ensure a successful water pump replacement. Make sure your socket set and wrench set have the necessary sizes to fit the bolts and nuts on your specific outboard model. Additionally, check that your screwdrivers are in good condition and have the correct sizes for any screws you may encounter.
The replacement water pump kit is a critical component and should be sourced from a reputable supplier. This kit typically includes a new impeller, housing, gaskets, and seals. It’s important to use the correct kit for your specific outboard model to ensure compatibility and proper function.
Gasket sealant is necessary to create a watertight seal between the water pump housing and the lower unit. Choose a sealant that is compatible with the materials of your outboard and follow the manufacturer’s instructions for proper application.
Having shop rags or towels on hand will help you clean any spills or messes during the water pump replacement process. It’s important to keep the work area clean and free of debris to prevent contamination and maintain optimal performance.
Lastly, you will need a container to catch the coolant when draining the cooling system. Ensure the container is clean and large enough to hold all the coolant that will be drained from the system. Before proceeding, it’s important to properly dispose of the coolant according to local regulations.
Now that you have all the necessary tools and materials ready, let’s move on to preparing the boat and outboard motor for maintenance.
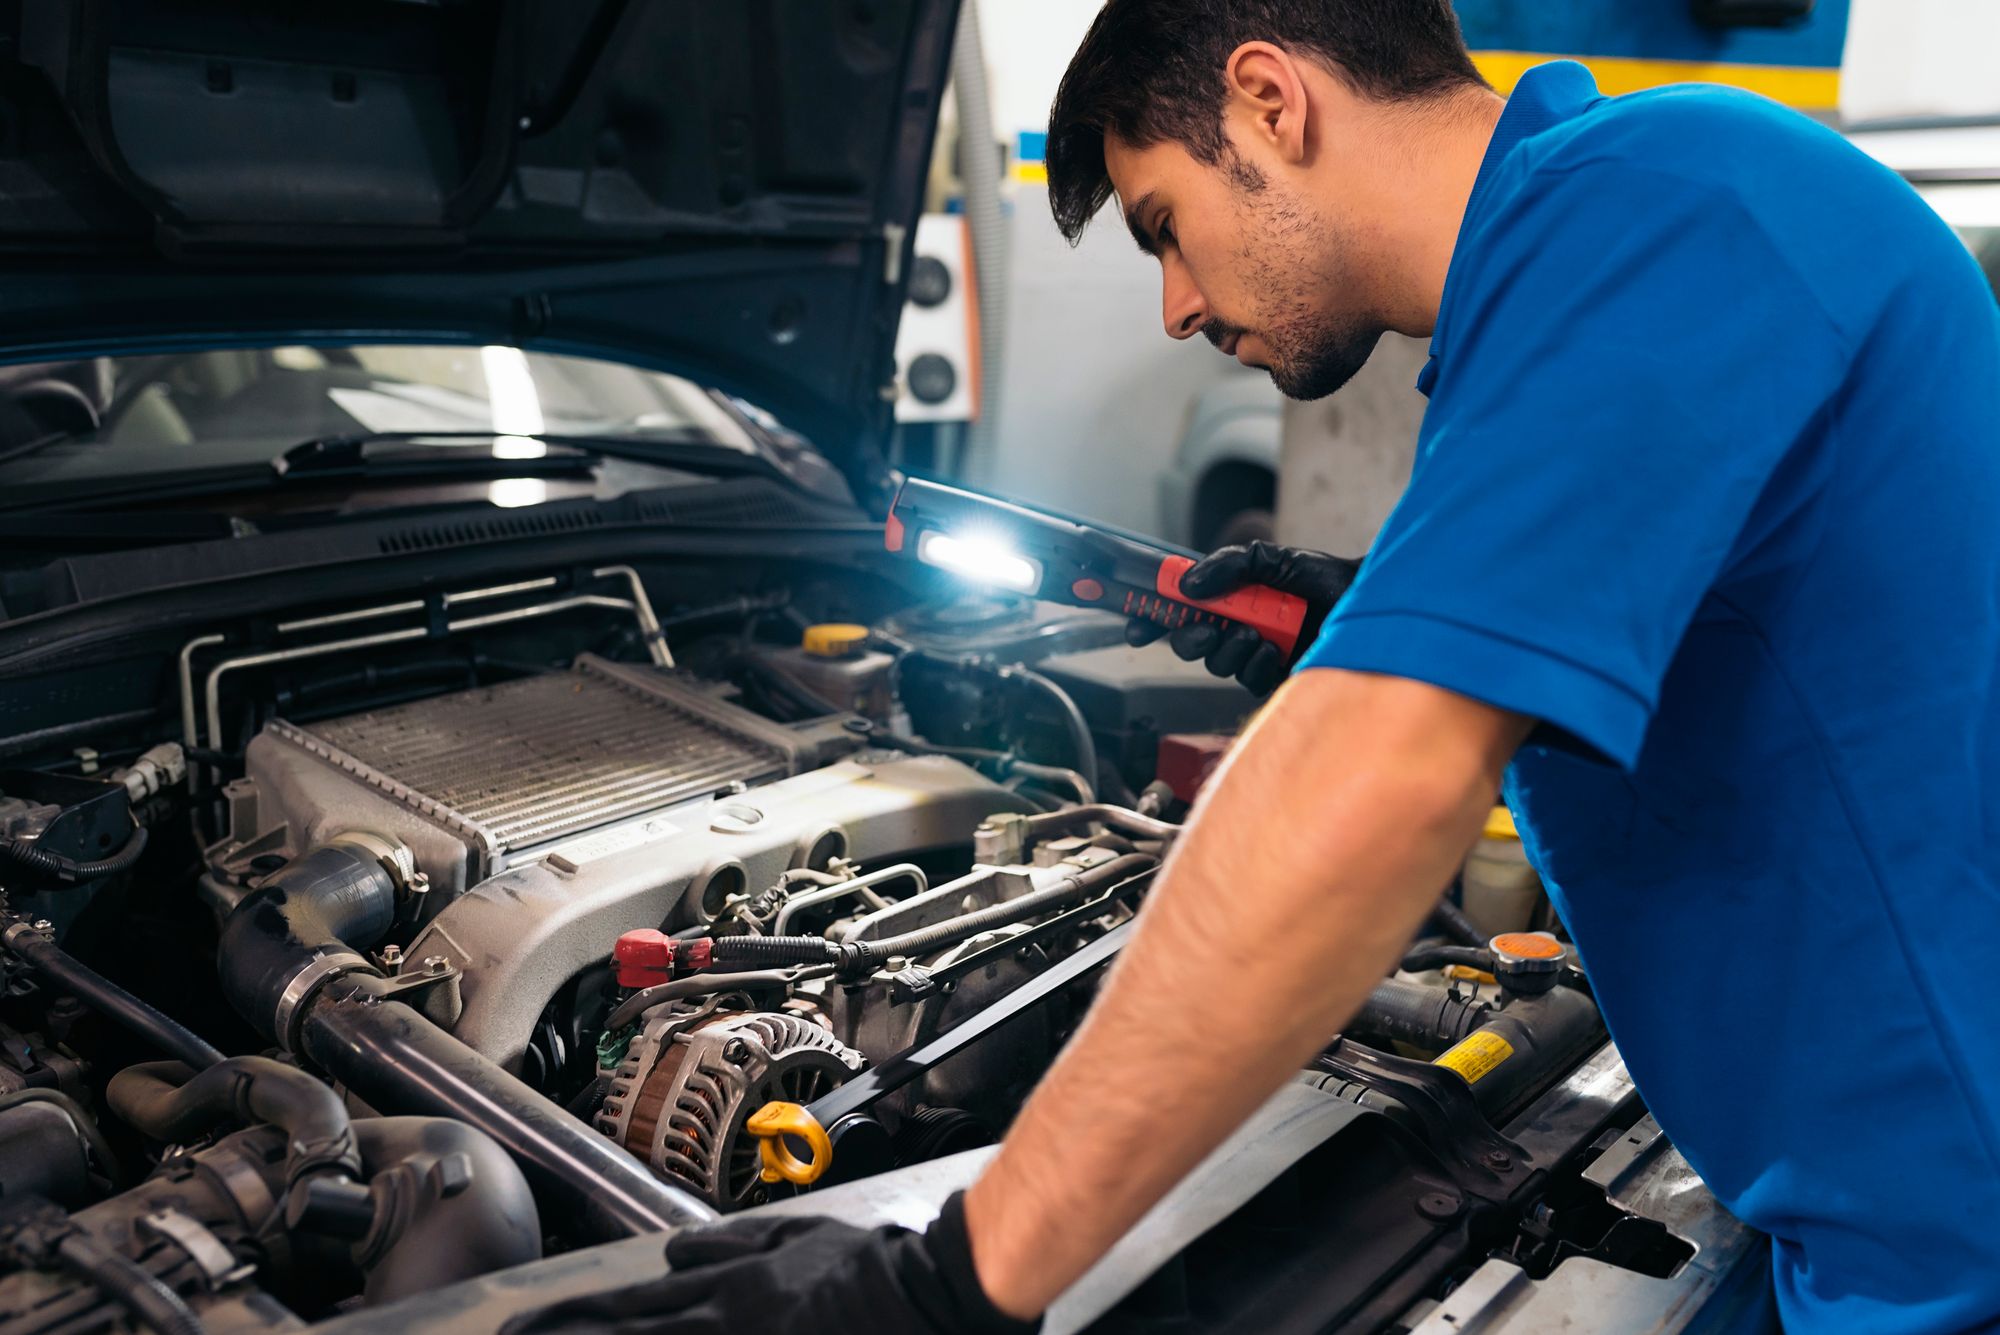
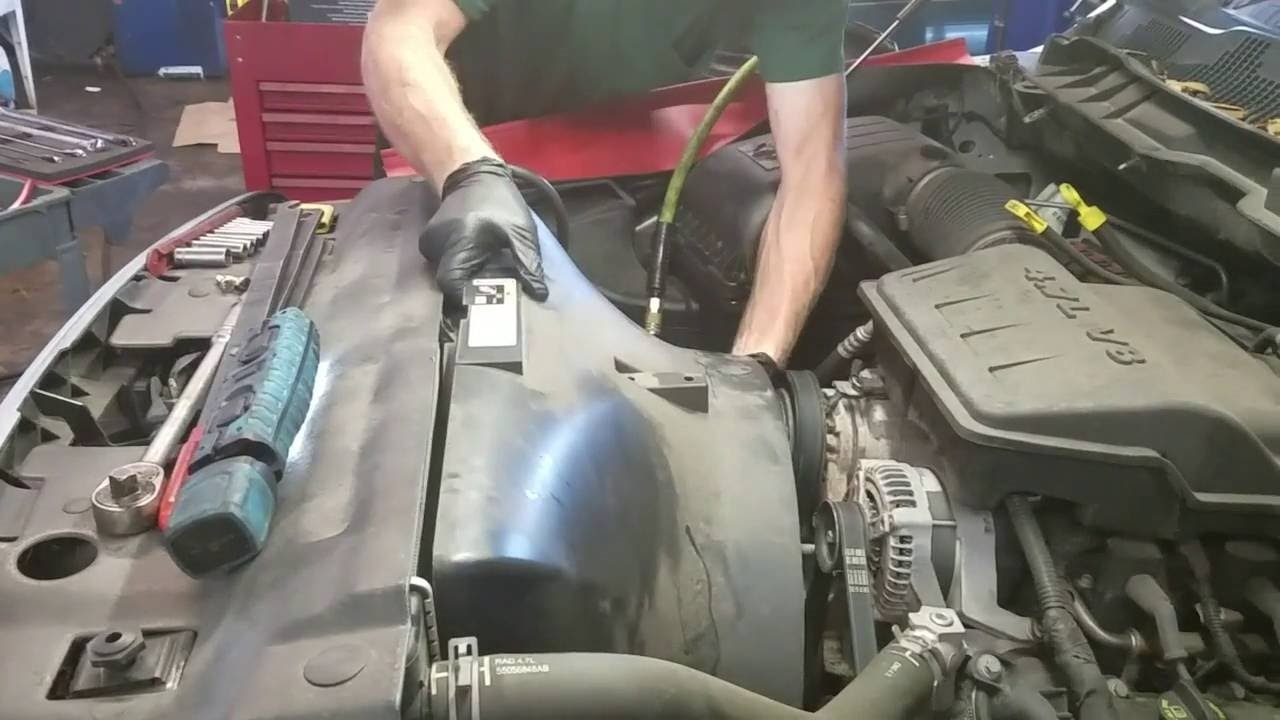
Step 2: Prepare the boat and outboard motor for maintenance
Before you can begin replacing the water pump on your Mercury outboard, it’s important to properly prepare the boat and outboard motor for maintenance. This step will ensure a safe and efficient working environment. Follow these guidelines to prepare your boat and outboard motor:
- Start by finding a well-ventilated and well-lit work area. This can be a garage, a driveway, or any other suitable spot where you can safely work on your outboard motor.
- Next, make sure the boat is securely supported on a trailer or boat stands. This will prevent the boat from shifting or moving during the maintenance process, ensuring your safety.
- Disconnect the battery cables to prevent any accidental engine starts. This step is crucial for your safety and to avoid any electrical issues during the maintenance process.
- Remove any cowlings or covers that are obstructing access to the outboard motor. This will allow you to fully inspect and work on the water pump without any hindrance.
- Have a clear understanding of your outboard’s specific model and configuration. Refer to the manufacturer’s manual or any relevant documentation to familiarize yourself with the motor’s layout and components.
- Inspect the lower unit for any signs of damage or wear. Look for cracks, leaks, or any other visible issues that may need attention. This step is important before proceeding with the water pump replacement.
- Clean the surface around the lower unit to ensure a clean working area. Use a clean rag or towel to remove any dirt, grime, or debris that may have accumulated.
Taking the time to properly prepare your boat and outboard motor for maintenance will ensure that the replacement process goes smoothly and reduces the risk of any accidents or damage. By creating a safe and organized workspace, you’ll be able to focus on the task at hand without any distractions or complications.
Once you have completed these preparations, you are ready to move on to the next step: draining the cooling system.
Step 3: Drain the cooling system
Before you can proceed with replacing the water pump on your Mercury outboard, it’s essential to drain the cooling system. This step ensures the safety of the working environment and prevents any coolant leakage during the water pump replacement. Follow these steps to drain the cooling system:
- Ensure that the outboard motor is in a vertical position, either by placing it in a motor well or using a motor support bracket. This will allow for proper drainage of the coolant.
- Locate the drain plug at the bottom of the outboard motor’s lower unit. The drain plug is typically situated on the lower part of the gear case and may have a hexagonal shape.
- Position a container beneath the drain plug to catch the coolant as it drains out. Make sure the container is large enough to hold all the coolant that will be drained.
- Using a wrench or socket, carefully loosen the drain plug by turning it counterclockwise. Slowly remove the drain plug, taking care not to lose it or drop it into the container.
- Allow the coolant to drain completely from the system. This process may take a few minutes, depending on the volume of coolant in the motor.
- Inspect the drained coolant for any signs of contamination or discoloration. If the coolant appears milky or contains debris, it may indicate a deeper issue with the cooling system that should be examined and addressed.
- Once all the coolant has drained out, replace the drain plug and tighten it securely. This will prevent any leakage or loss of coolant during the water pump replacement.
Draining the cooling system is a crucial step in the water pump replacement process. It ensures the safety of the working environment, as well as enables a clean and efficient replacement of the water pump. By following these steps, you will be ready to move on to the next step: removing the lower unit.
Before proceeding, it’s important to properly dispose of the drained coolant in accordance with local regulations. Consult your local waste management guidelines to ensure the safe and environmentally friendly disposal of coolant.
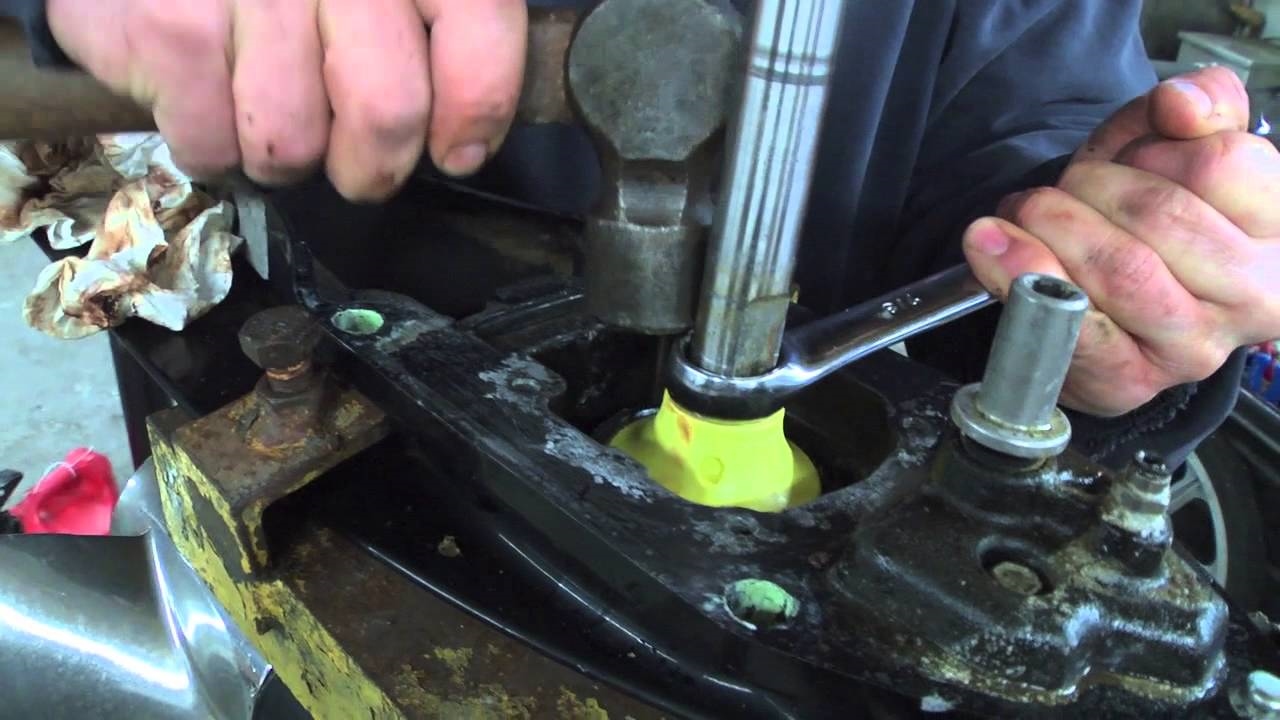
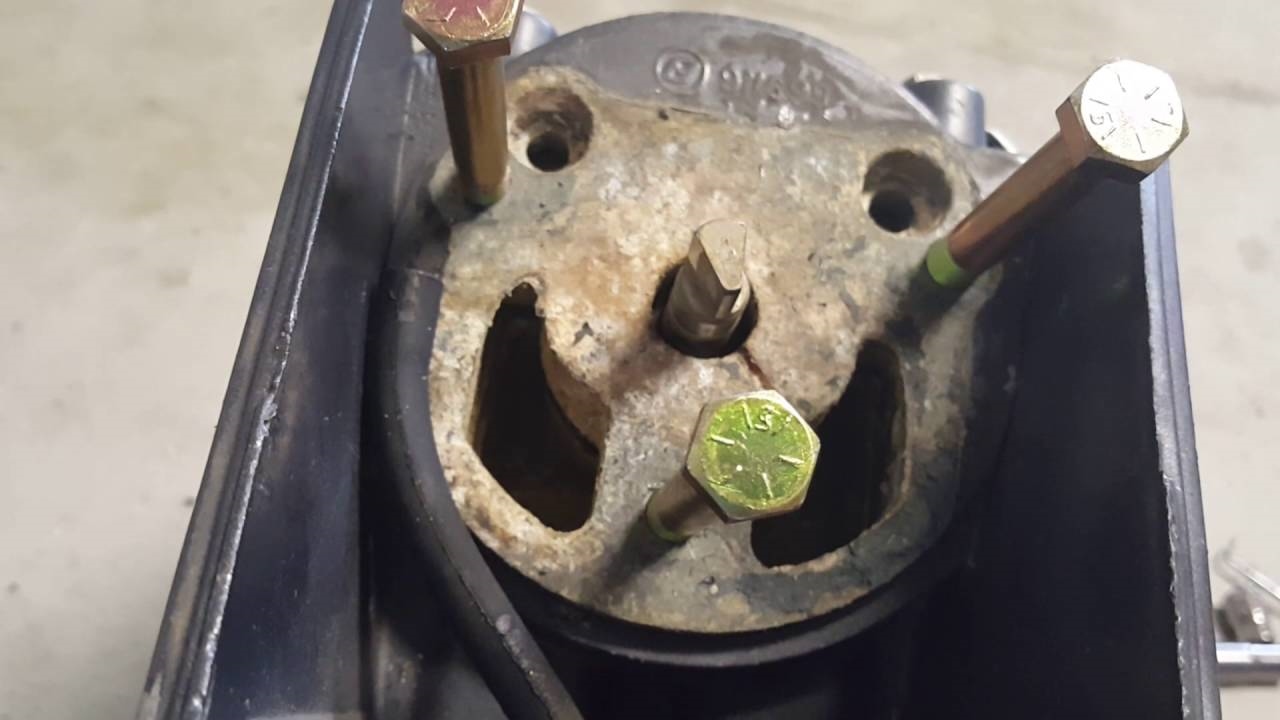
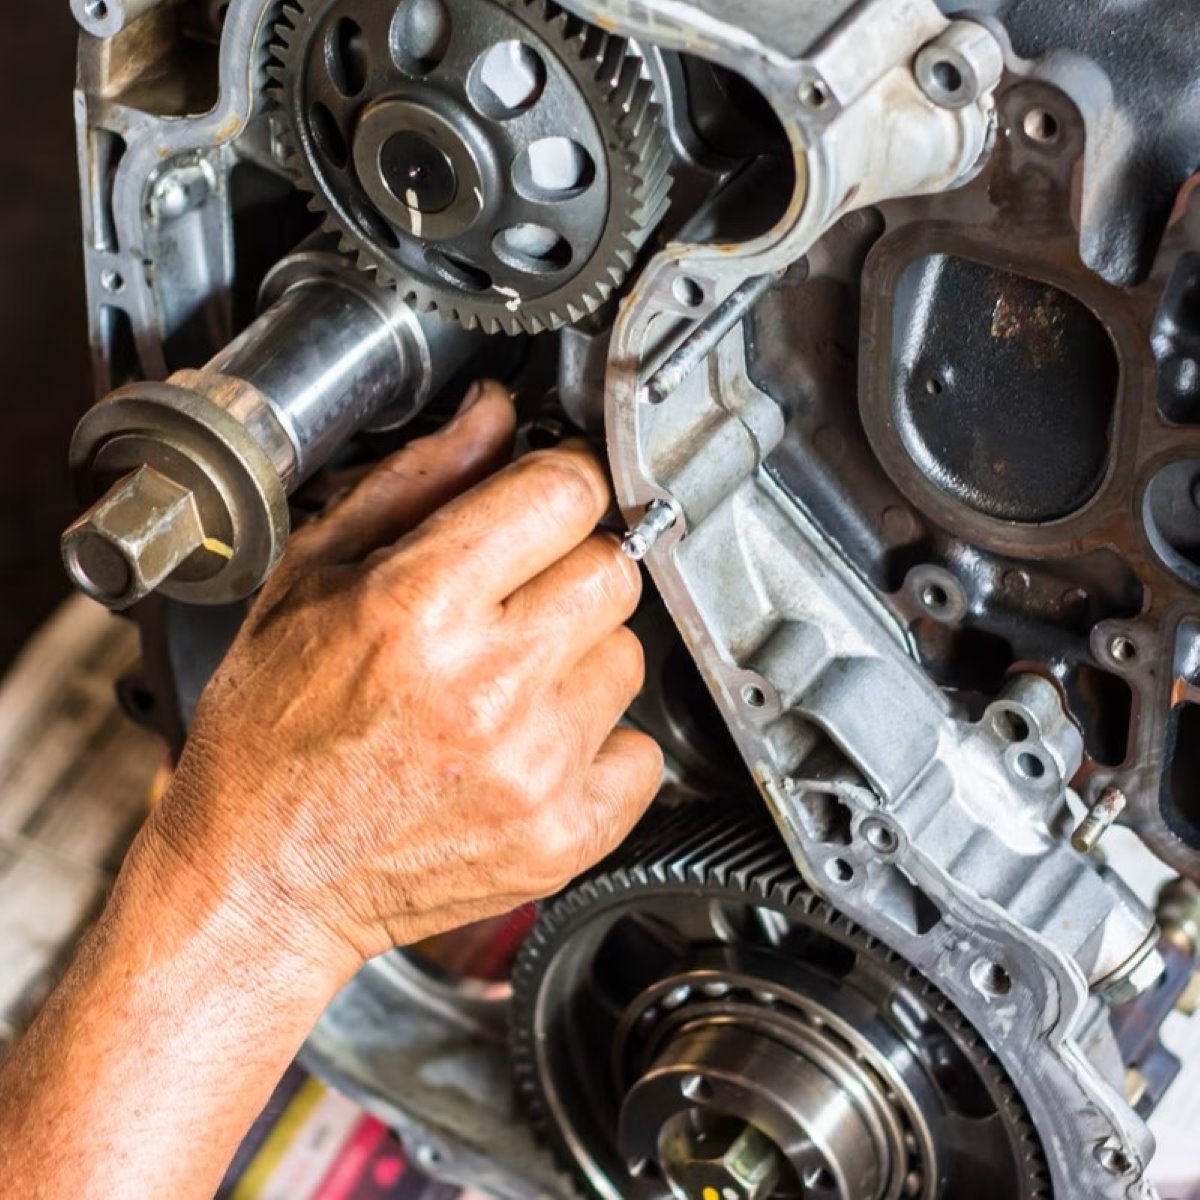
Step 4: Remove the lower unit
With the cooling system drained, it’s time to proceed with removing the lower unit of your Mercury outboard. Removing the lower unit will provide access to the water pump, allowing for its replacement. Follow these steps to remove the lower unit:
- Start by locating and removing the bolts that secure the lower unit to the outboard motor. These bolts are typically located on the sides and bottom of the lower unit. Use a socket or wrench to loosen and remove the bolts, carefully keeping track of their placement.
- Once the bolts are removed, gently tap the sides of the lower unit with a rubber mallet. This will help loosen the unit from its housing. Be cautious not to use excessive force that may cause damage.
- Carefully pull the lower unit downwards to detach it from the outboard motor. There may be some resistance due to seals and the water pump drive shaft, so a slight wiggle or twist motion may be required.
- Inspect the seals and gaskets on the lower unit for any signs of damage or wear. If you notice any cracks or deterioration, it would be advisable to replace them along with the water pump for optimal performance.
- Place the detached lower unit in a safe and clean area, ensuring that it is protected from any potential damage or contamination.
Removing the lower unit can be a delicate procedure, so it’s important to exercise caution and take your time. By following these steps, you will be able to safely detach the lower unit and gain access to the water pump.
Remember to keep track of the removed bolts and any components you encounter during this process. This will make the reassembly process much easier and ensure that everything is properly secured.
Now that the lower unit is removed, you are ready to move on to the next step: locating and removing the water pump.
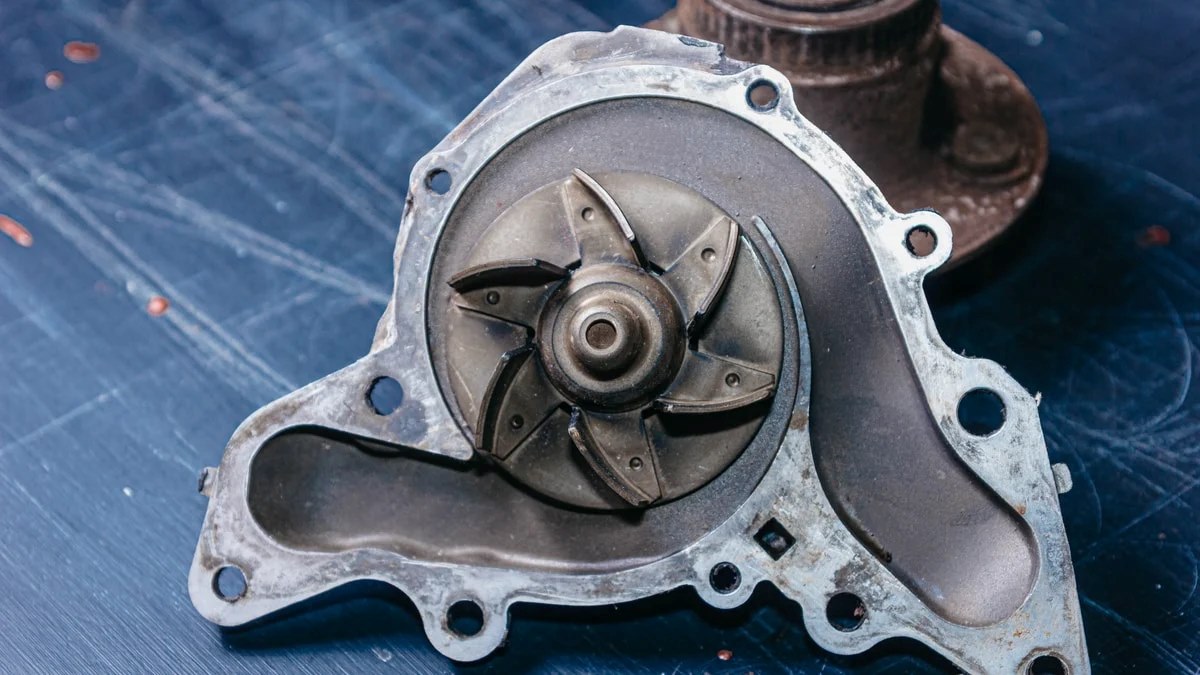
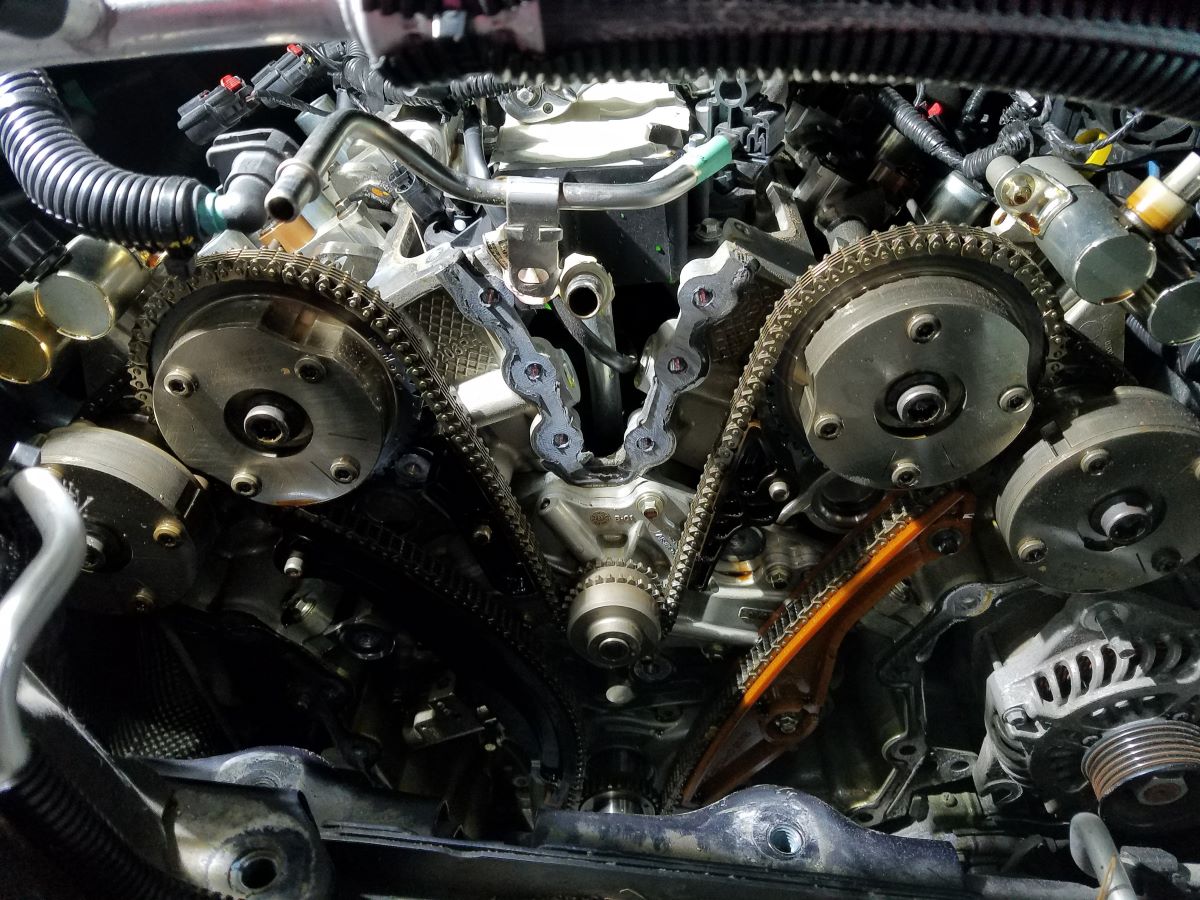
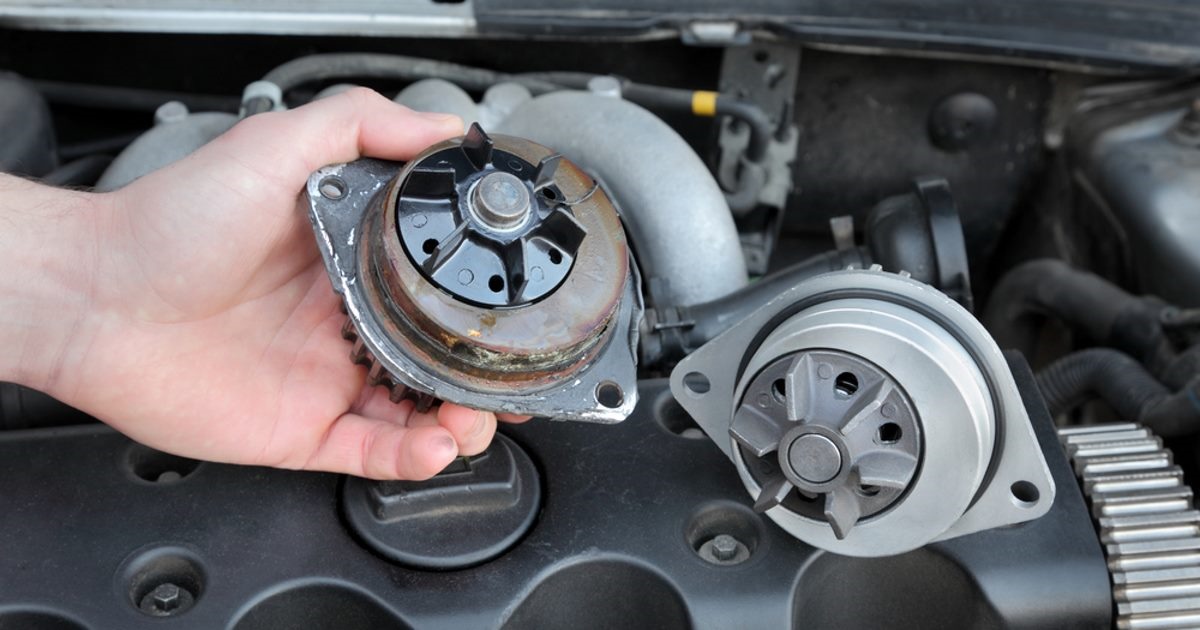
Step 5: Locate and remove the water pump
Now that the lower unit is detached, it’s time to locate and remove the water pump from your Mercury outboard. The water pump is responsible for circulating coolant to prevent the engine from overheating. Follow these steps to locate and remove the water pump:
- Inspect the area inside the lower unit where the water pump is located. Look for the impeller housing, which is usually a round or circular component.
- Remove any screws or bolts that secure the water pump housing to the lower unit. Use a Phillips or flathead screwdriver, depending on the type of fasteners used. Keep track of the removed screws and set them aside.
- Gently lift off the water pump housing, revealing the impeller inside. Take note of the position and orientation of the impeller for proper installation of the new water pump later.
- Inspect the impeller for any signs of damage or wear. Look for broken blades, excessive wear, or any debris that may be lodged in the impeller. If the impeller shows signs of damage, it is recommended to replace it with a new one from the water pump kit.
- Remove the impeller from the water pump housing. It may be secured with a screw or a key, depending on the specific model. Carefully loosen and remove any fasteners holding the impeller in place, and then take out the impeller.
- Inspect the water pump housing for any signs of wear or damage. Check for cracks, corrosion, or any other issues that may affect the performance of the water pump. If the housing is damaged, it is advisable to replace it along with the other components of the water pump kit.
- Clean the area inside the lower unit where the water pump was located. Use a clean cloth or brush to remove any debris or residue that may have accumulated.
By following these steps, you will be able to locate and remove the water pump from your Mercury outboard. Inspecting the impeller and water pump housing is crucial to identify any issues and determine if they need to be replaced. Remember to handle the components with care and keep track of the fasteners and parts that are removed.
With the water pump removed, you are now ready to move on to the next step: installing the new water pump.
When replacing the water pump on a Mercury outboard, make sure to disconnect the battery before starting the process to avoid any electrical accidents.
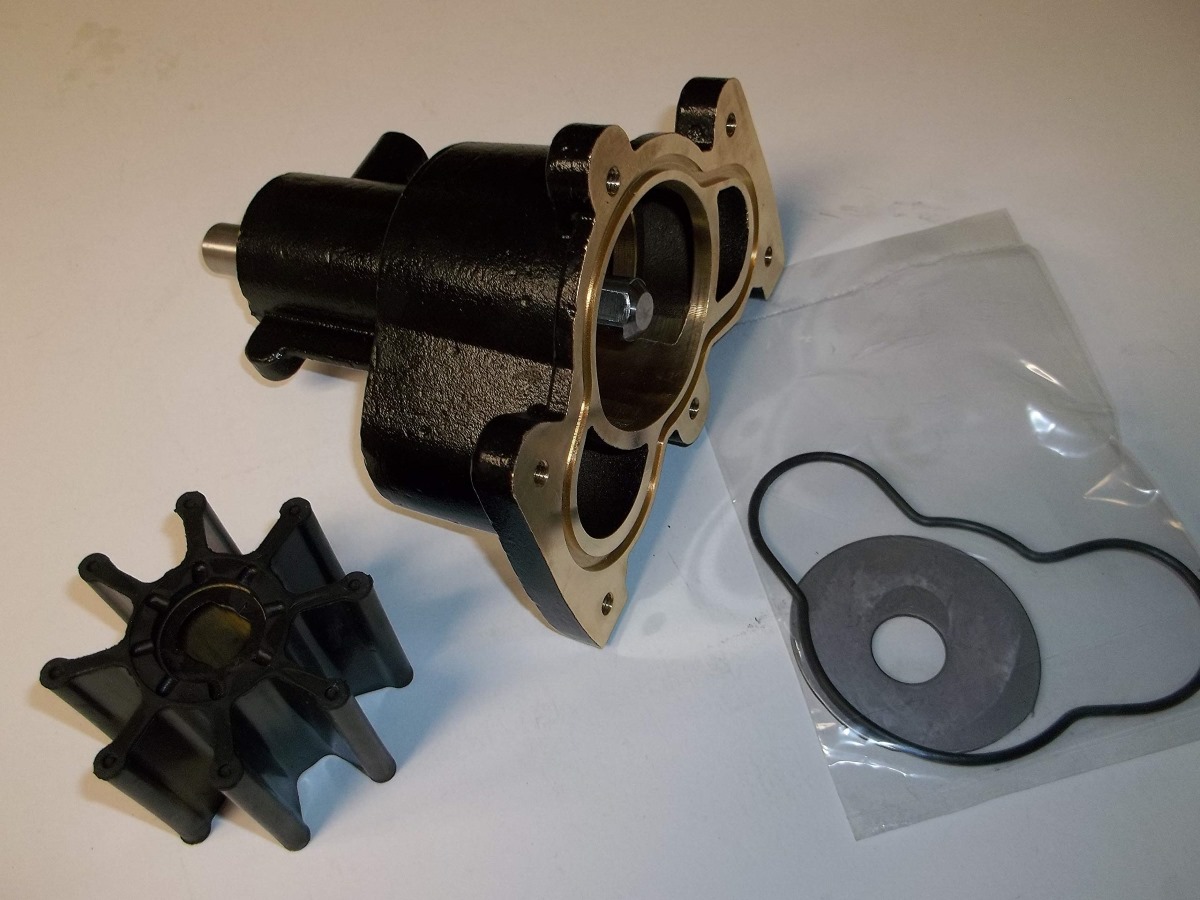
Step 6: Install the new water pump
With the old water pump removed, it’s time to install the new water pump on your Mercury outboard. The new water pump kit should include all the necessary components for a proper installation. Follow these steps to install the new water pump:
- Start by inspecting the new water pump components. Ensure that all the parts are present and in good condition. If any components are damaged or missing, it’s important to obtain a replacement before proceeding.
- Apply a thin layer of gasket sealant to the mating surface of the water pump housing. This will help create a watertight seal and prevent any leakage. Follow the manufacturer’s instructions for the specific sealant to use.
- Place the new impeller into the water pump housing. Make sure the impeller is properly aligned with the housing and fits securely. If needed, refer to the instructions provided with the new water pump kit for the correct orientation of the impeller.
- Secure the impeller in place using the appropriate screw or key, depending on the specific model. Ensure that it is securely fastened to prevent any issues during operation.
- Position the water pump housing over the impeller, aligning it with the mounting holes on the lower unit. Take care to avoid damaging the impeller or any other components during this step.
- Insert and tighten the screws or bolts to secure the water pump housing to the lower unit. Tighten them evenly and ensure that they are securely fastened but not overtightened, as it may cause damage.
- Double-check the position and alignment of the impeller. It should rotate freely and smoothly without any obstructions.
By following these steps, you will be able to successfully install the new water pump on your Mercury outboard. Properly aligning the impeller and securely fastening the housing are critical to ensure the optimal performance of the water pump.
Once the new water pump is installed, you are ready to move on to the next step: reattaching the lower unit.
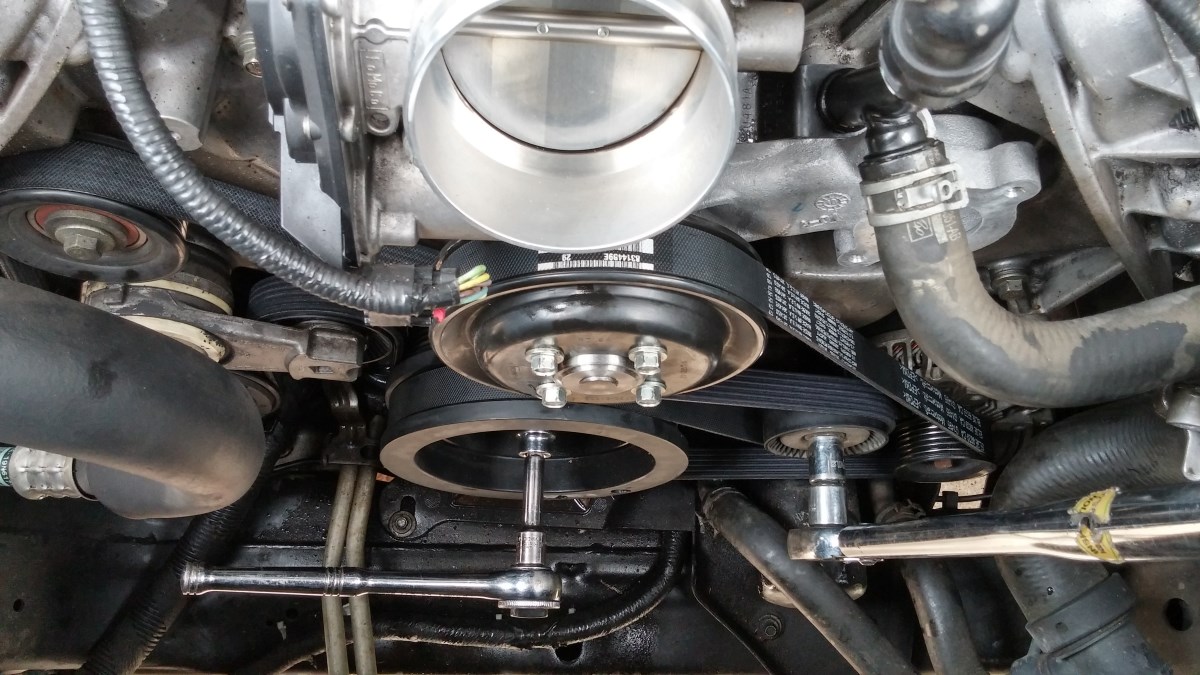
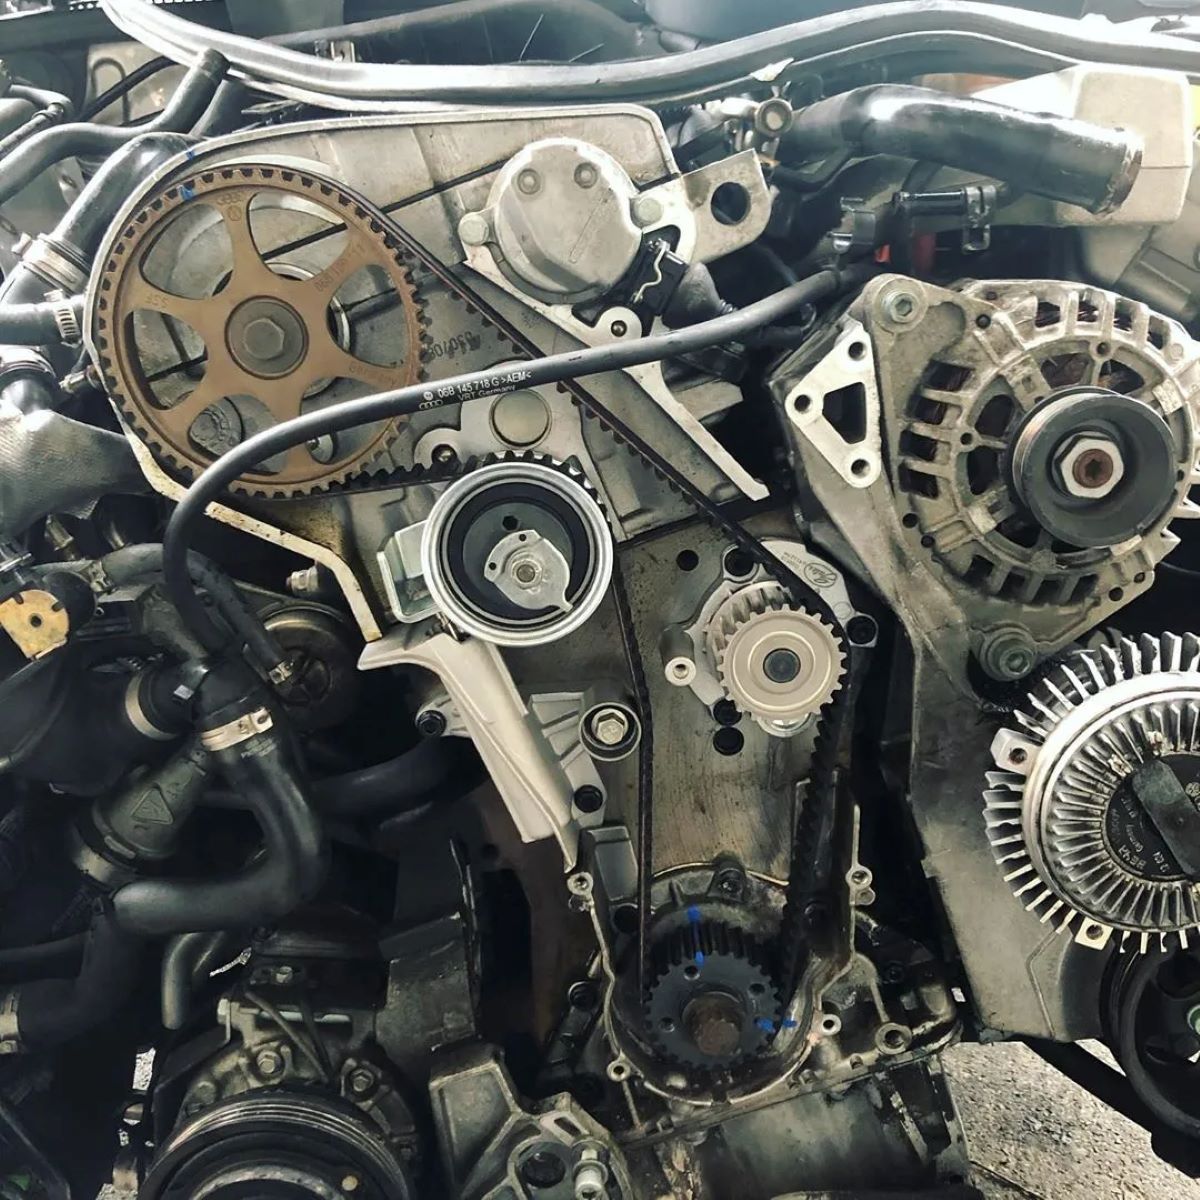
Step 7: Reattach the lower unit
With the new water pump installed, it’s time to reattach the lower unit to your Mercury outboard. Follow these steps to properly reattach the lower unit:
- Ensure that the mating surfaces of the lower unit and the outboard motor are clean and free from any debris or residue. Use a clean cloth or brush to remove any dirt or grime that may have accumulated.
- Align the lower unit with the outboard motor’s midsection and carefully slide it back into place. Take care not to damage any components or hoses during this process.
- Slowly push the lower unit upwards, making sure that it aligns with the driveshaft and water pump housing. The water pump drive shaft should properly engage with the impeller inside the water pump housing.
- Once the lower unit is fully seated, insert and tighten the bolts or screws that secure it to the outboard motor. Start by hand-tightening the bolts to ensure they align with the mounting holes, and then use a socket or wrench to securely tighten them. Follow the manufacturer’s recommended torque specifications if provided.
- Check the movement of the lower unit to ensure it rotates smoothly and freely without any obstructions. It should move up and down easily with the trim and tilt mechanisms if applicable.
- Inspect the seals and gaskets between the lower unit and the outboard motor. If they appear worn or damaged, it is recommended to replace them to prevent any water leakage.
By following these steps, you will be able to reattach the lower unit to your Mercury outboard. Proper alignment and secure fastening are crucial to maintain the integrity of the outboard motor and ensure its optimal performance.
Once the lower unit is reattached, you are ready to move on to the next step: refilling the cooling system.
Step 8: Refill the cooling system
After reattaching the lower unit, it’s time to refill the cooling system of your Mercury outboard. Properly refilling the cooling system is crucial to ensure adequate coolant circulation and prevent overheating. Follow these steps to refill the cooling system:
- Locate the coolant inlet on the outboard motor. This is typically a hose connection or a designated fill point. Refer to your outboard’s manual if you’re unsure of its location.
- Prepare a clean container to hold the coolant. It should be large enough to hold the amount of coolant needed for your specific outboard model.
- Using a funnel, carefully pour the coolant into the coolant inlet. Slowly fill the system, taking care not to overflow or spill any coolant. Ensure that the coolant level reaches the recommended level specified in your outboard’s manual.
- As you fill the system, you may notice air bubbles escaping. This is normal and indicates that air pockets are being released from the cooling system. Allow the system to self-bleed by continuing to fill until no more air bubbles are observed.
- Once the coolant level is correct and no more air bubbles are escaping, securely tighten the coolant inlet or replace any caps or covers that were removed.
- Inspect the surrounding area for any coolant spills or leaks. Use a clean cloth or towel to wipe away any spills and ensure a clean working environment.
By following these steps, you will be able to successfully refill the cooling system of your Mercury outboard. Maintaining the proper coolant level is crucial to ensure efficient cooling and prevent any overheating issues.
Once the cooling system is properly refilled, you are ready for the final step: testing the new water pump.
Step 9: Test the new water pump
With the cooling system refilled, it’s important to test the new water pump on your Mercury outboard to ensure it is functioning properly. Testing the water pump will help detect any issues and ensure that coolant is being circulated effectively. Follow these steps to test the new water pump:
- Start the outboard motor and let it idle. Allow the motor to run for a few minutes to warm up.
- Monitor the water stream or telltale indicator located on the side of the outboard motor. This indicator is a small stream of water that should be flowing steadily when the water pump is functioning correctly.
- If the water stream appears weak, intermittent, or does not flow at all, turn off the motor immediately. This may indicate a problem with the water pump, such as an obstruction or an improperly installed impeller.
- Check the impeller and water pump housing for any signs of damage or misalignment. Inspect the impeller blades to ensure they are in good condition and securely attached.
- If necessary, repeat the process of removing the lower unit and water pump to check and correct any issues with the water pump. Double-check the impeller orientation and reassemble everything properly.
- Restart the outboard motor and monitor the water stream again. If the water stream is steady, strong, and consistently flowing, it indicates that the new water pump is functioning correctly.
Testing the new water pump is essential to ensure the proper functioning of your outboard motor’s cooling system. If at any point you have concerns about the water pump’s performance or are uncertain about any steps in the process, it’s always best to consult a professional mechanic or dealer for assistance.
Once you have confirmed that the new water pump is working correctly, congratulations! You have successfully replaced the water pump on your Mercury outboard. Regular maintenance and inspection of the water pump will help keep your outboard running smoothly and extend the life of your motor.
Remember to always follow the manufacturer’s guidelines and recommended procedures when performing any maintenance or repairs on your outboard motor.
Conclusion
Replacing the water pump on your Mercury outboard may seem like a challenging task, but with the right tools, knowledge, and guidance, it can be done successfully. By following the step-by-step process outlined in this article, you can effectively replace the water pump and ensure the optimal performance of your outboard motor.
We began by gathering the necessary tools and materials, including a replacement water pump kit and gasket sealant. Proper preparation of the boat and outboard motor is crucial for safety and efficiency. Draining the cooling system, removing the lower unit, and locating and replacing the water pump were essential steps in the process.
Once the new water pump was installed, we reattached the lower unit, refilled the cooling system, and tested the new water pump to ensure it was functioning as intended. Proper testing and monitoring of the water stream will help identify any issues and address them promptly.
It’s important to remember that safety should always be a top priority when working on machinery. Wearing protective gear, following proper procedures, and seeking professional help if needed will ensure a smooth and successful water pump replacement process.
By regularly maintaining and inspecting the water pump, you can prevent potential issues and prolong the life of your outboard motor. Always refer to the manufacturer’s guidelines and recommendations for specific maintenance schedules and procedures.
Thank you for following this comprehensive guide on how to replace a water pump on a Mercury outboard. By taking the time to understand and execute these steps, you have successfully performed an essential maintenance task on your outboard motor, saving time and money on repairs.
Happy boating and enjoy the reliable performance of your newly replaced water pump!
Frequently Asked Questions about How To Replace A Water Pump On A Mercury Outboard
Was this page helpful?
At Storables.com, we guarantee accurate and reliable information. Our content, validated by Expert Board Contributors, is crafted following stringent Editorial Policies. We're committed to providing you with well-researched, expert-backed insights for all your informational needs.

0 thoughts on “How To Replace A Water Pump On A Mercury Outboard”