Articles
How To Replace Water Pump Dodge Ram 1500
Modified: August 28, 2024
Learn how to replace the water pump in your Dodge Ram 1500 with our comprehensive articles. Step-by-step instructions and helpful tips to ensure a successful pump replacement.
(Many of the links in this article redirect to a specific reviewed product. Your purchase of these products through affiliate links helps to generate commission for Storables.com, at no extra cost. Learn more)
Introduction
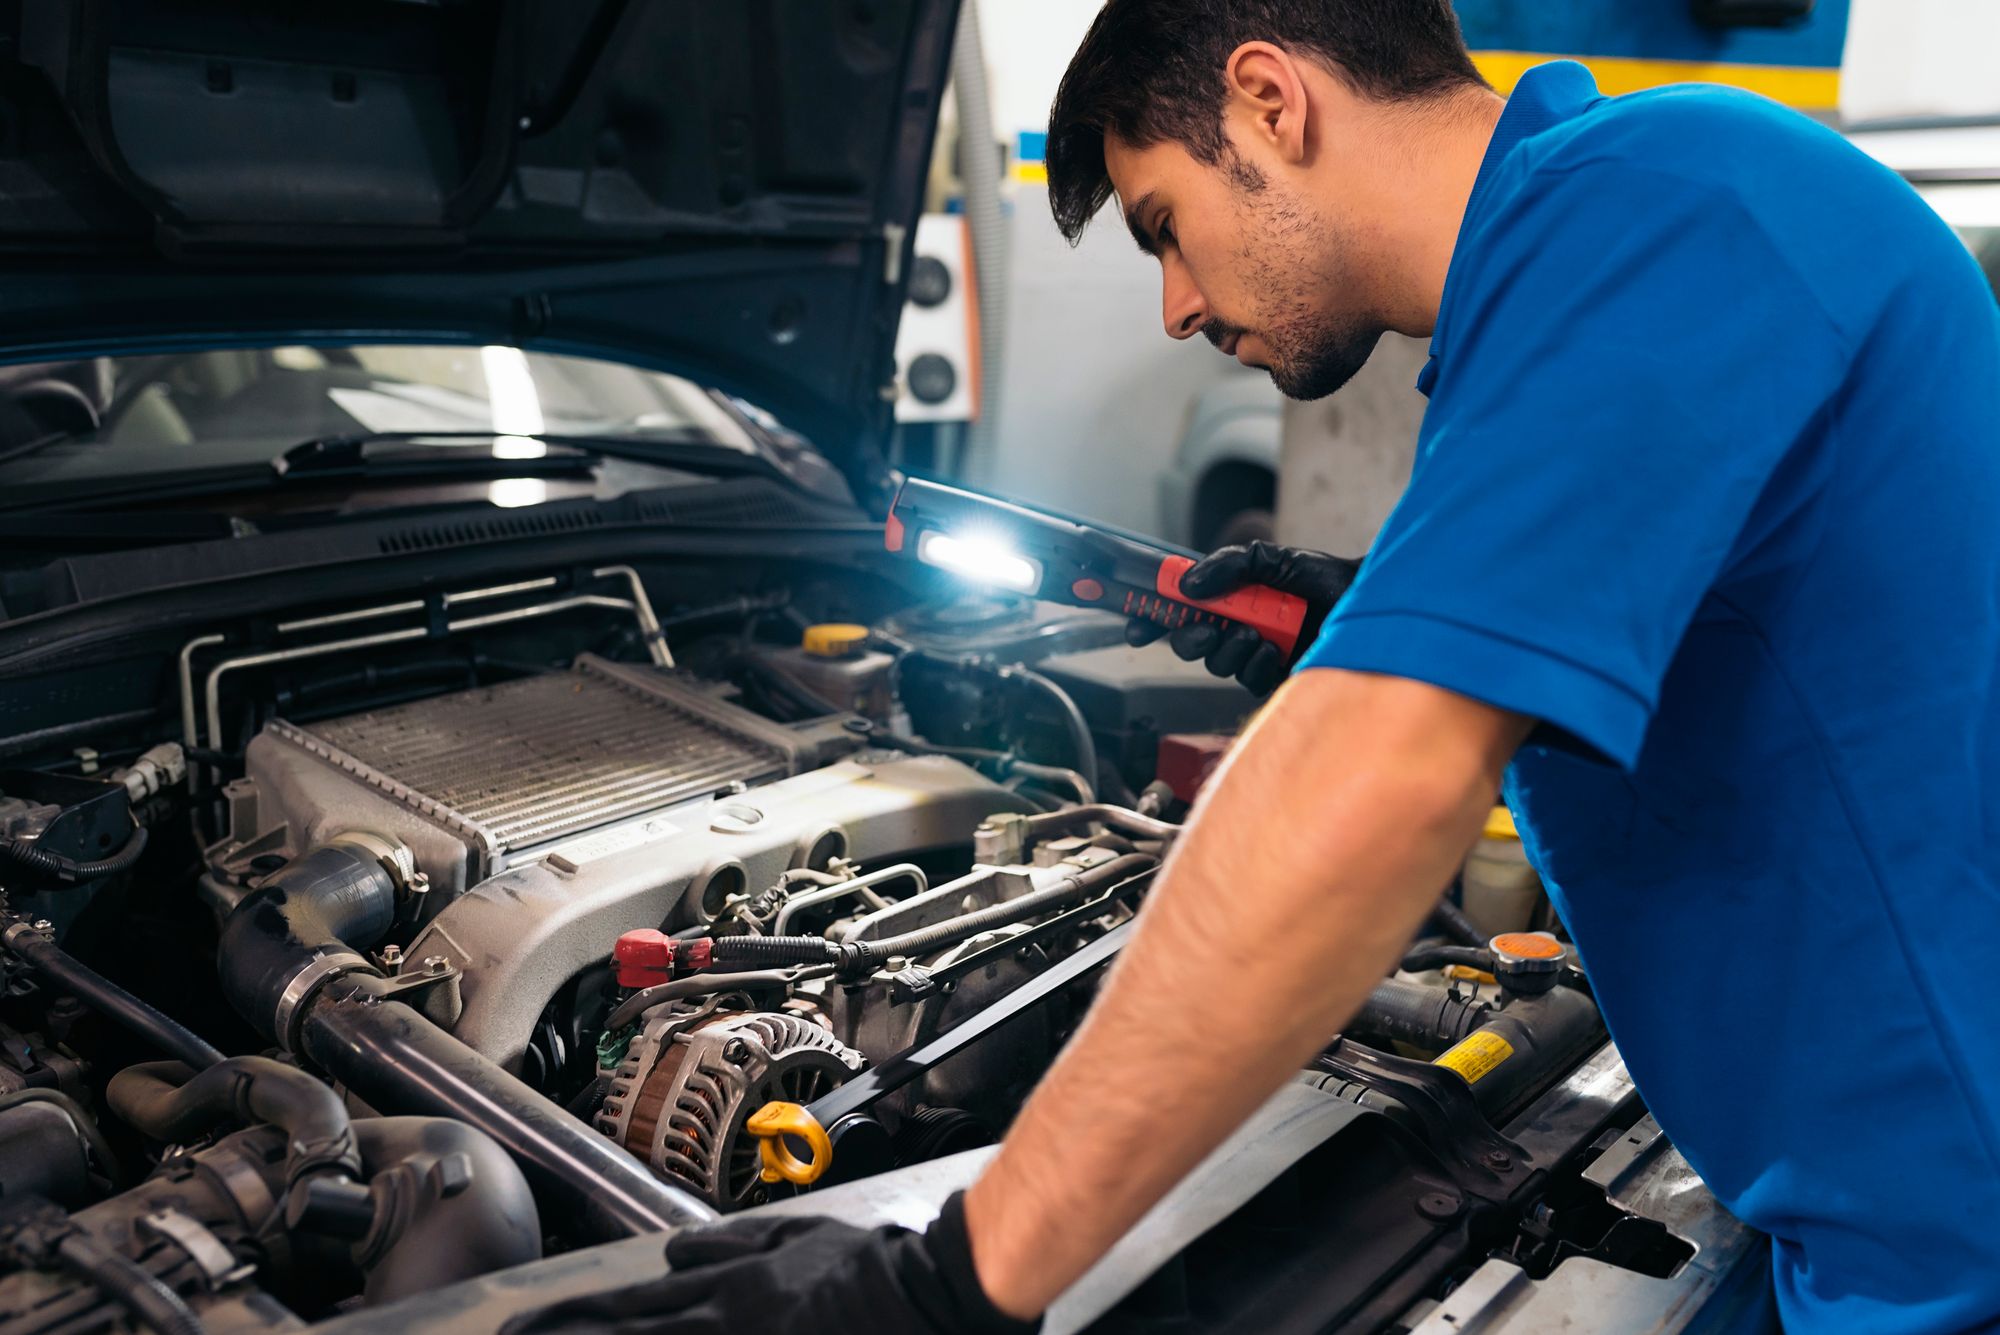
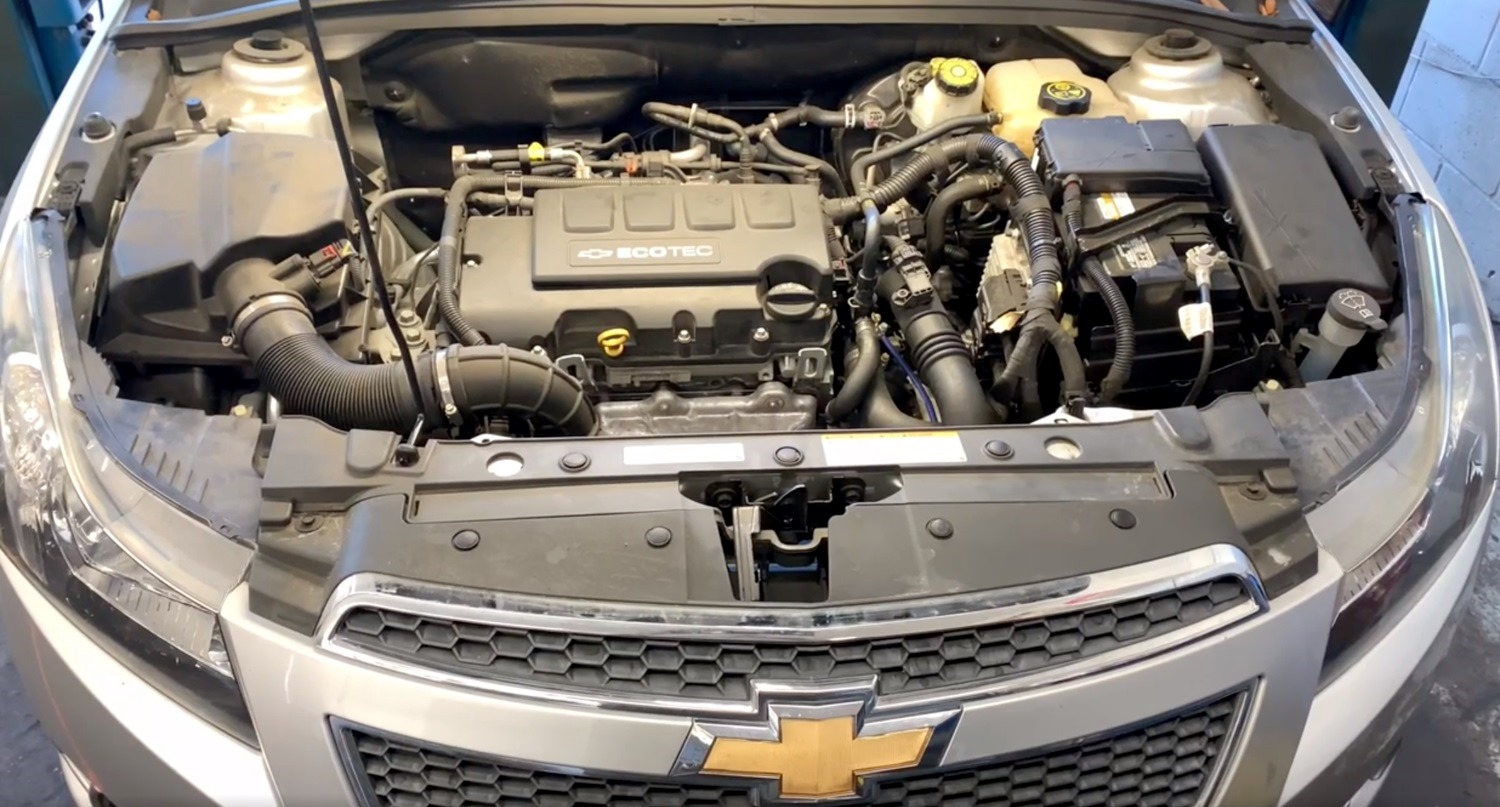
Welcome to our comprehensive guide on how to replace the water pump in a Dodge Ram 1500. The water pump is a crucial component of the vehicle’s cooling system, responsible for circulating coolant throughout the engine to regulate its temperature. Over time, the water pump may become worn or develop leaks, leading to engine overheating and potential damage.
Fortunately, with basic tools and some mechanical know-how, you can replace the water pump yourself and save on costly repairs at a dealership or auto shop. In this article, we will take you through the step-by-step process of replacing the water pump in your Dodge Ram 1500, ensuring that your truck’s cooling system operates efficiently.
Before we dive into the steps, it’s important to note that safety should always be a priority when working on your vehicle. Ensure that the engine is cool before starting the procedure, and take precautions such as wearing safety goggles and gloves.
Now, let’s gather the necessary tools and materials to begin the water pump replacement process.
Key Takeaways:
- DIY Water Pump Replacement
Save on costly repairs by replacing the water pump in your Dodge Ram 1500 yourself. With basic tools and our step-by-step guide, you can ensure efficient cooling system operation and keep your truck running smoothly. - Prioritize Safety and Maintenance
Prioritize safety, gather necessary tools, and follow the detailed steps to successfully replace the water pump. Proactively maintaining your vehicle’s cooling system can prevent overheating and potential engine damage, ensuring smooth travels ahead.
Read more: How To Change Water Pump On 2001 Dodge Ram
Step 1: Gather necessary tools and materials
Before you can begin replacing the water pump in your Dodge Ram 1500, it’s important to gather all the required tools and materials. Here’s a list of what you’ll need:
- Socket set
- Wrench set
- Ratchet
- Serpentine belt removal tool
- New water pump
- New gasket
- Coolant
- Plastic drain pan
- Clean rags or towels
Make sure you have all the necessary tools and materials on hand before you start the replacement process. This will help ensure a smooth and uninterrupted workflow.
Once you have everything ready, it’s time to move on to the next step – draining the cooling system.
Step 2: Drain the cooling system
Before you can remove the old water pump, you need to drain the cooling system to prevent coolant from spilling everywhere. Here’s how to do it:
- Start by opening the hood of your Dodge Ram 1500 and locating the radiator drain valve. The drain valve is usually located on the bottom of the radiator or the lower radiator hose.
- Place a plastic drain pan underneath the drain valve to catch the coolant.
- Using a wrench or pliers, carefully open the drain valve and allow the coolant to drain into the pan. Be cautious as the coolant may be hot.
- Once the coolant has finished draining, close the drain valve tightly.
- Dispose of the old coolant properly, as it is toxic to humans and animals.
Now that the cooling system has been drained, you can move on to the next step – removing the serpentine belt.
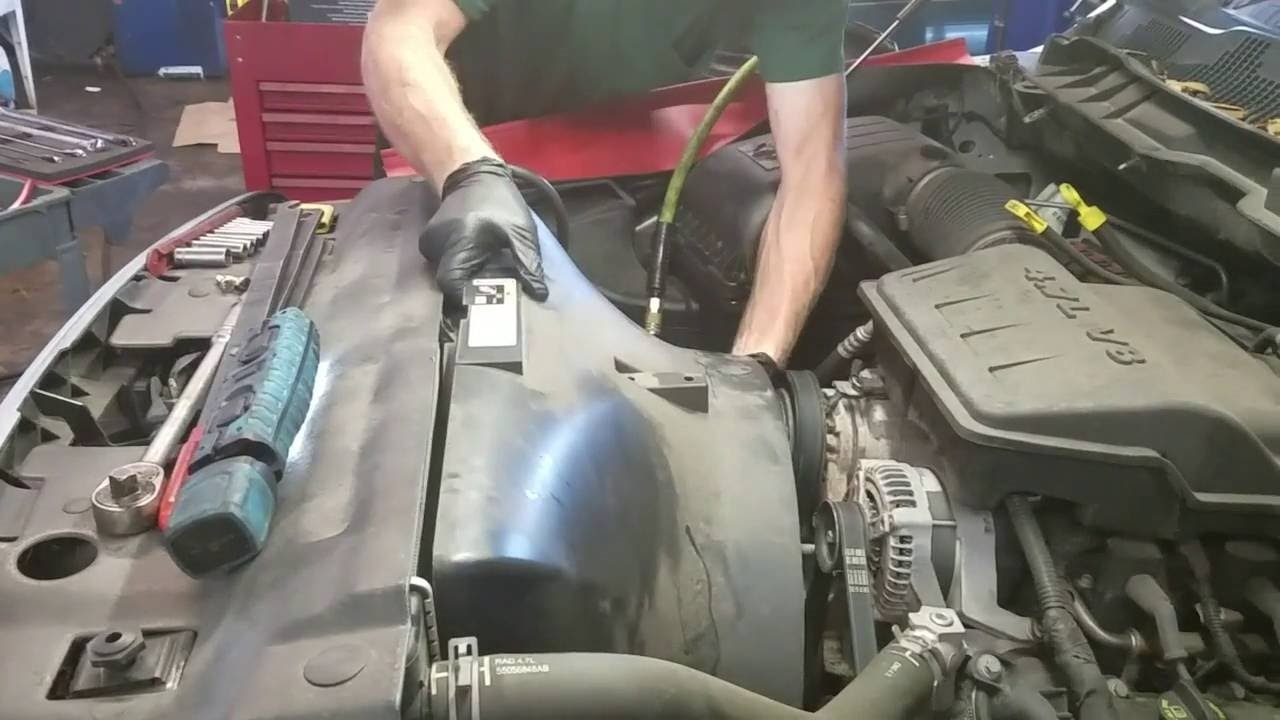
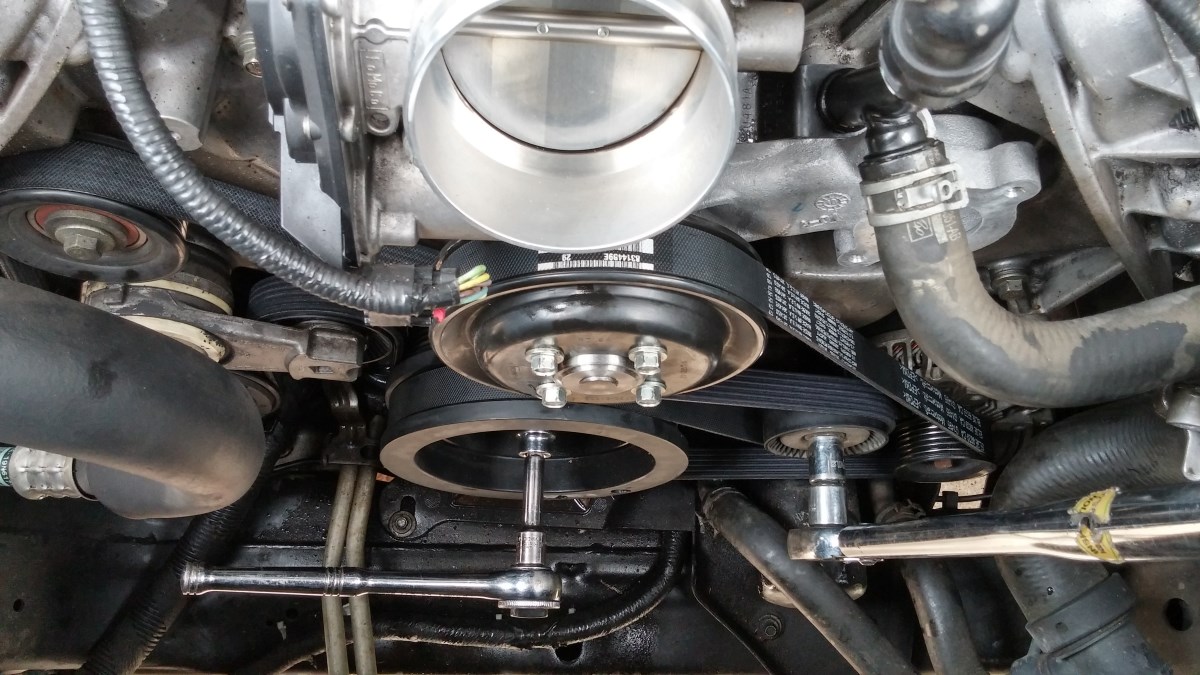
Step 3: Remove the serpentine belt
With the cooling system drained, it’s time to remove the serpentine belt in order to access the water pump. Follow these steps:
- Locate the belt tensioner, which is usually located near the top of the engine and has a pulley attached to it.
- Using a socket or wrench, insert it into the square hole on the tensioner and rotate it counterclockwise. This will release the tension on the belt.
- While holding the tensioner in its released position, slide the belt off of one of the pulleys. Slowly release the tensioner, allowing it to move back to its original position.
- Now, you can easily remove the serpentine belt from the remaining pulleys.
- Set the belt aside for now, as you will need to reinstall it later.
With the serpentine belt removed, you’re ready to move on to the next step – removing the fan and fan clutch.
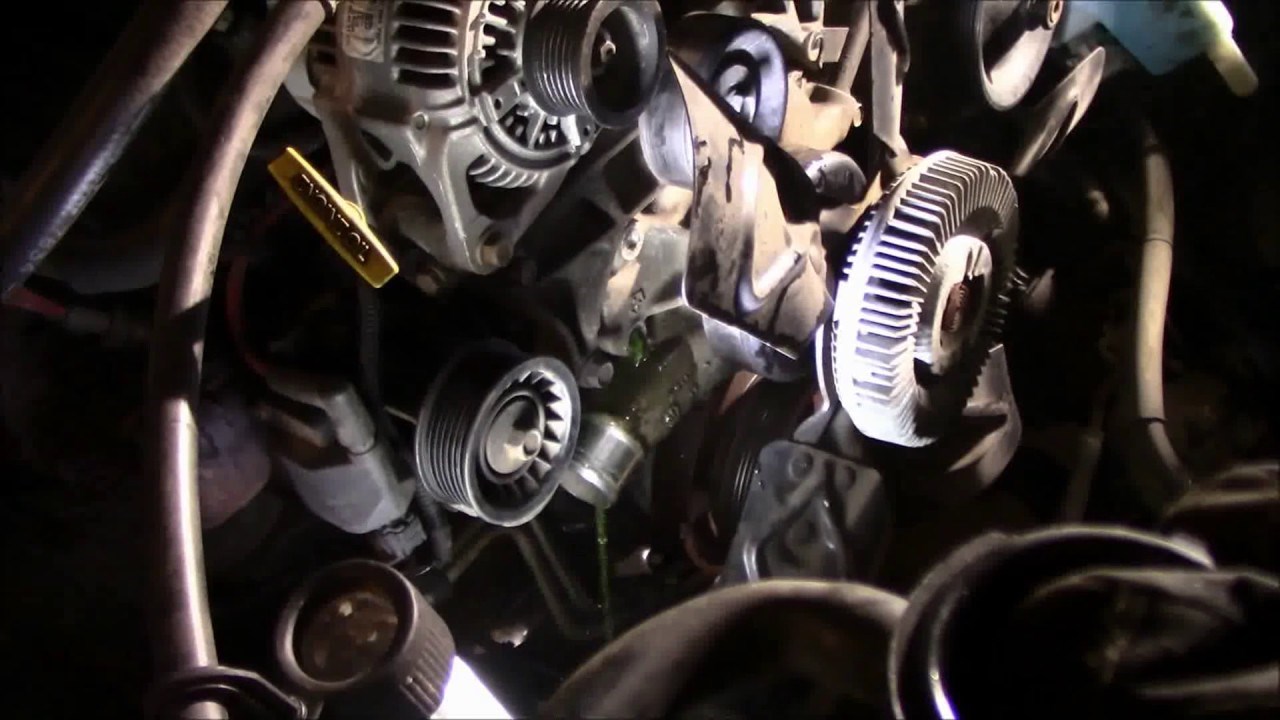
Step 4: Remove the fan and fan clutch
In order to gain access to the water pump, you’ll need to remove the fan and fan clutch. Here’s how to do it:
- Locate the fan clutch, which is attached to the front of the water pump.
- Using a wrench or a fan clutch removal tool, loosen the bolts or screws that hold the fan clutch to the water pump.
- Once the bolts are loose, carefully slide the fan and fan clutch assembly out of the engine compartment. Be cautious of any surrounding components.
- Set the fan and fan clutch assembly aside for now, as you will need to reinstall them later.
With the fan and fan clutch removed, you’re now ready to move on to the next step – disconnecting the hoses and electrical connectors from the water pump.
Read more: How To Remove Fan From Water Pump Dodge Ram
Step 5: Disconnect the hoses and electrical connectors from the water pump
Now that you have removed the fan and fan clutch, it’s time to disconnect the hoses and electrical connectors from the water pump. Follow these steps:
- Locate the hoses and electrical connectors that are connected to the water pump.
- Using pliers or a hose clamp tool, loosen the clamps that secure the hoses to the water pump.
- Once the clamps are loosened, carefully pull the hoses off of the water pump. It may be helpful to twist the hoses back and forth to break the seal.
- Set the hoses aside, making sure to keep track of which hose goes where.
- Next, locate the electrical connectors that are attached to the water pump. Carefully disconnect any electrical connectors by pressing the release tab and pulling them apart.
With the hoses and electrical connectors disconnected, you’re now ready to remove the bolts that secure the water pump in place. Move on to the next step to learn how.
When replacing the water pump on a Dodge Ram 1500, make sure to drain the coolant first to avoid a mess. Also, take note of the belt routing before removing it to make reinstallation easier.
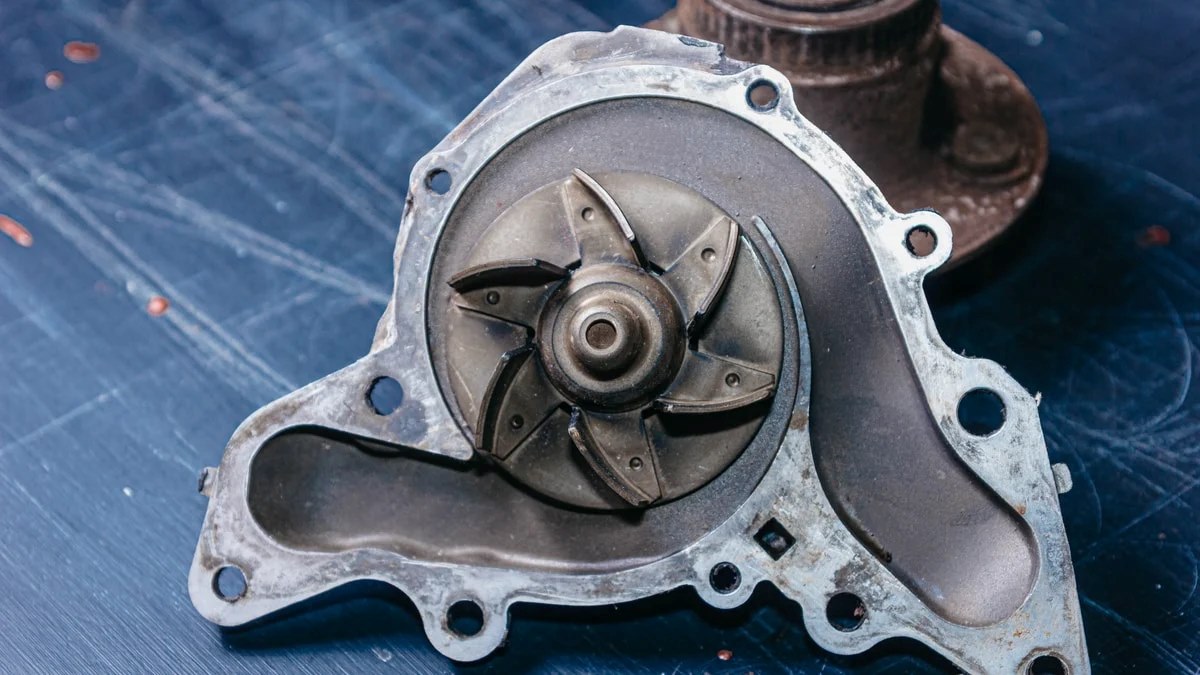
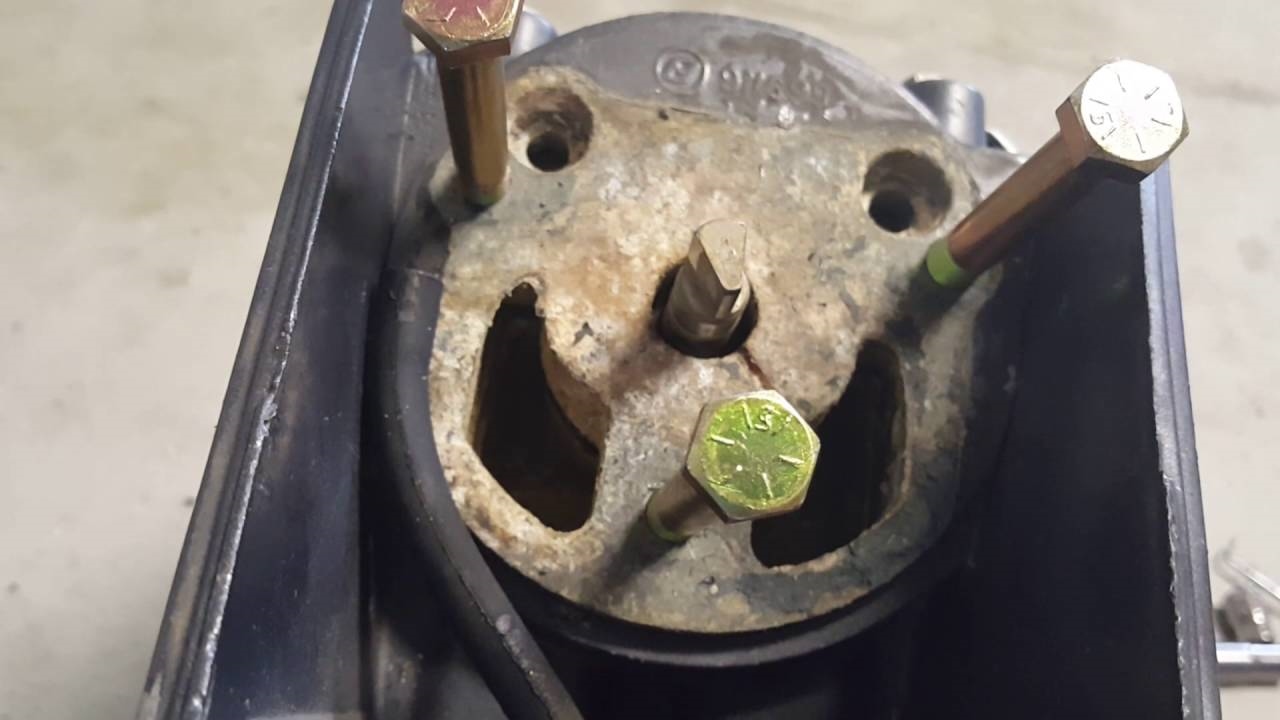
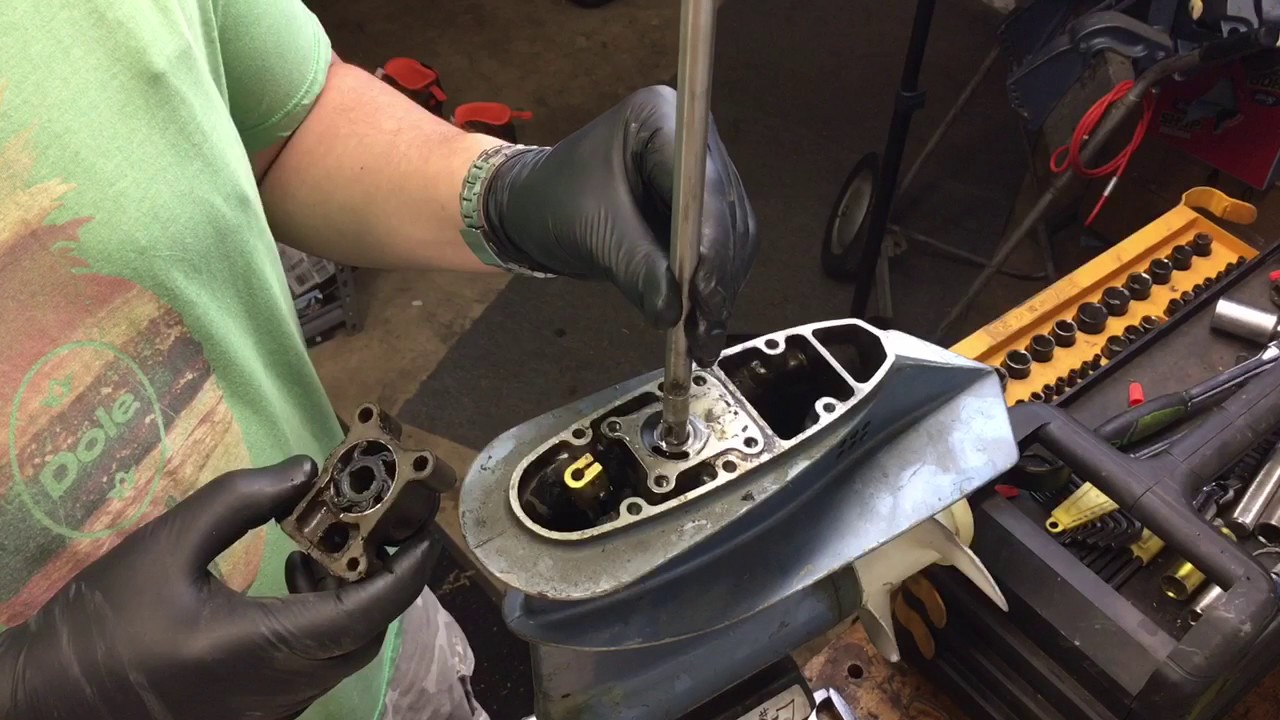
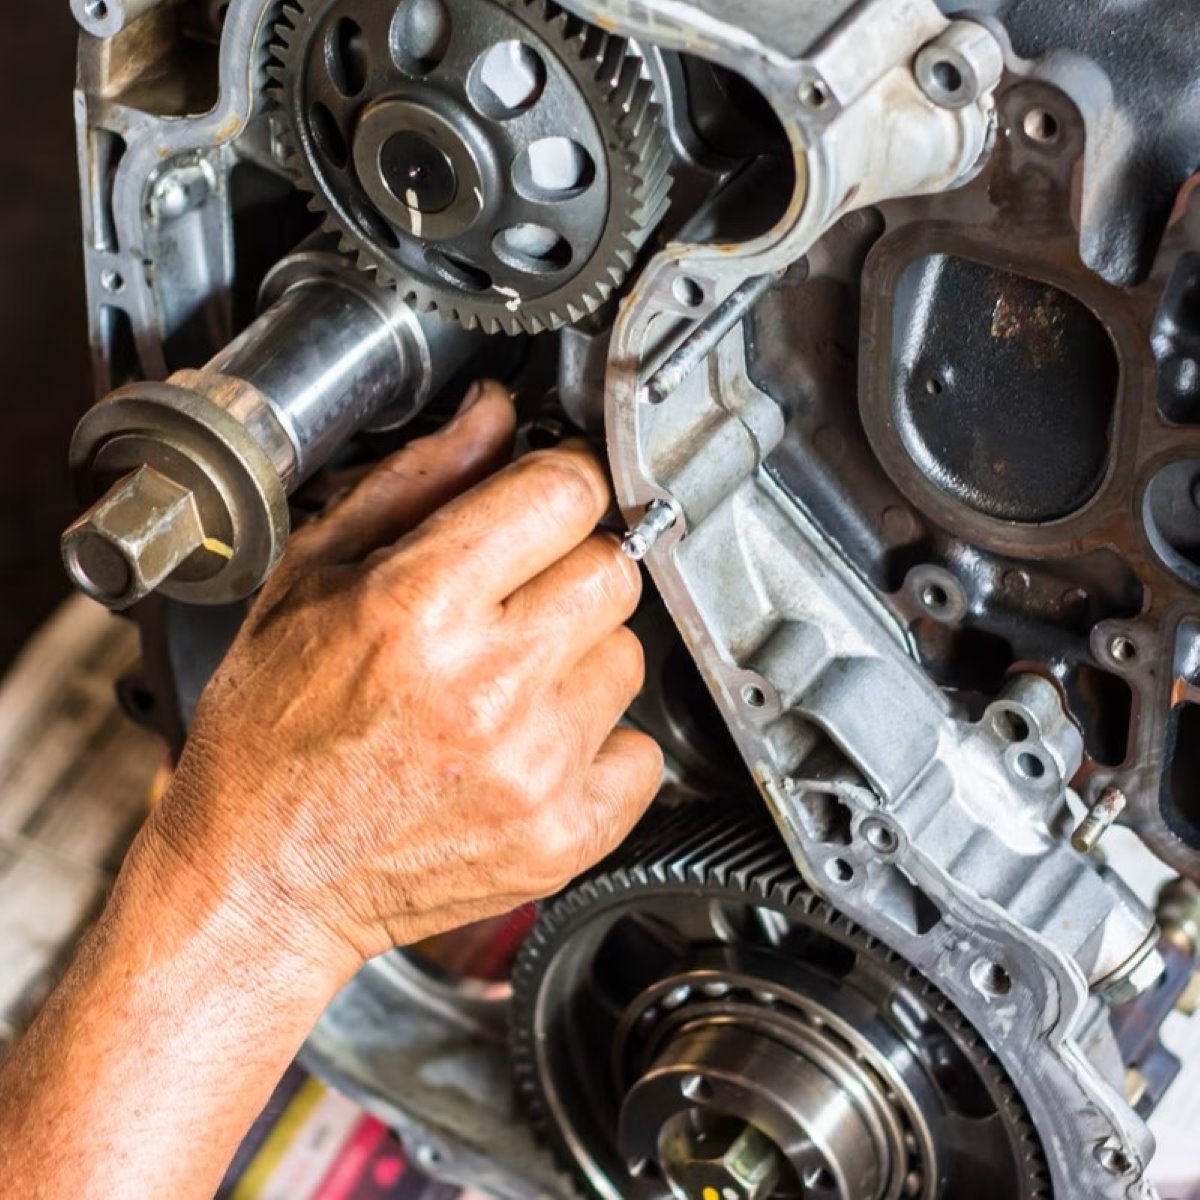
Step 6: Remove the water pump bolts
With the hoses and electrical connectors disconnected, it’s time to remove the bolts that secure the water pump in place. Follow these steps:
- Using a socket wrench or a suitable size socket, locate and loosen the bolts that hold the water pump in place. The number of bolts may vary depending on the specific model of your Dodge Ram 1500.
- Once the bolts are loosened, carefully remove them and set them aside. Keep track of the location of each bolt as they may vary in length.
- Gently tap the water pump with a rubber mallet or a piece of wood to loosen it from the engine block. Be careful not to damage the pump or surrounding components.
- Slowly pull the water pump away from the engine block, ensuring that there are no remaining components or hoses attached.
- Set the old water pump aside for disposal, as we will be installing a new one in the next step.
With the water pump removed, now it’s time to move on to the next step – installing the new water pump.
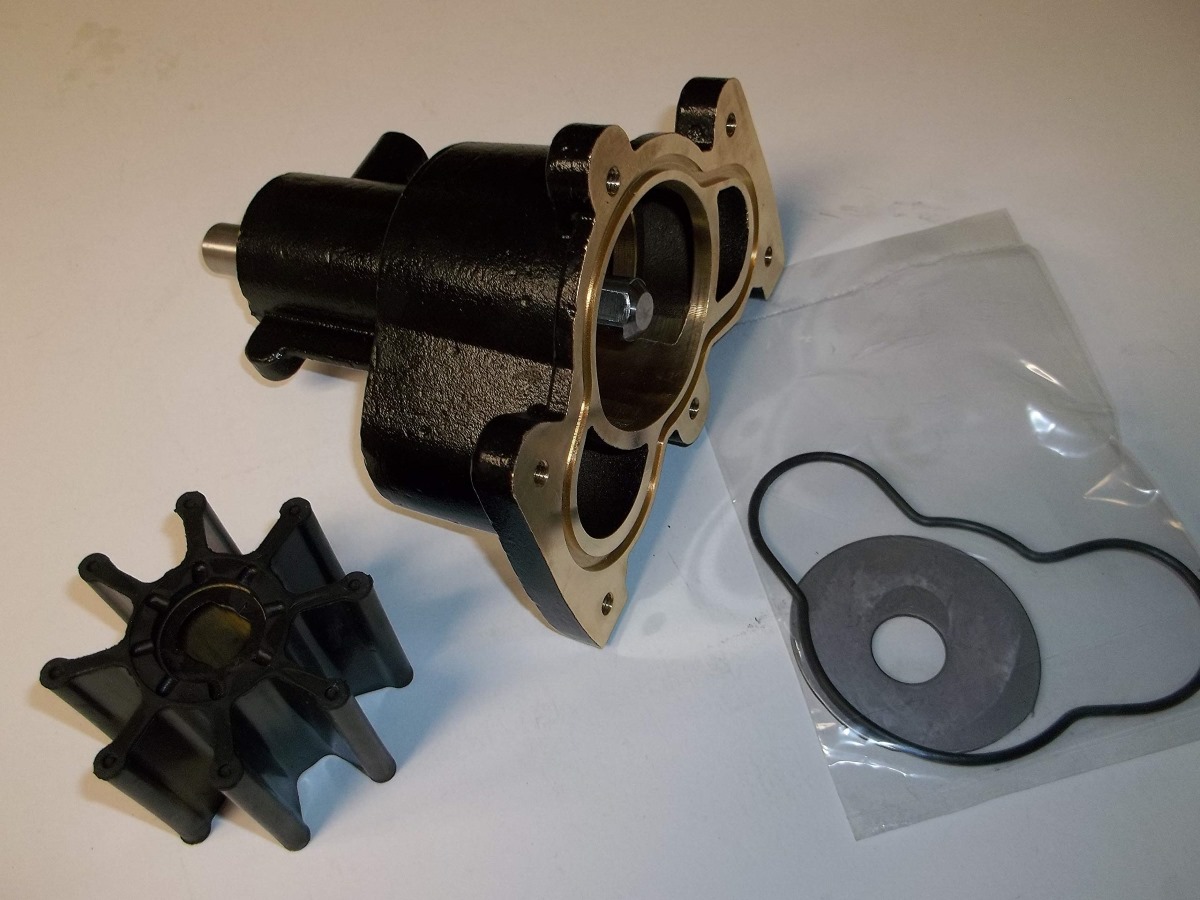
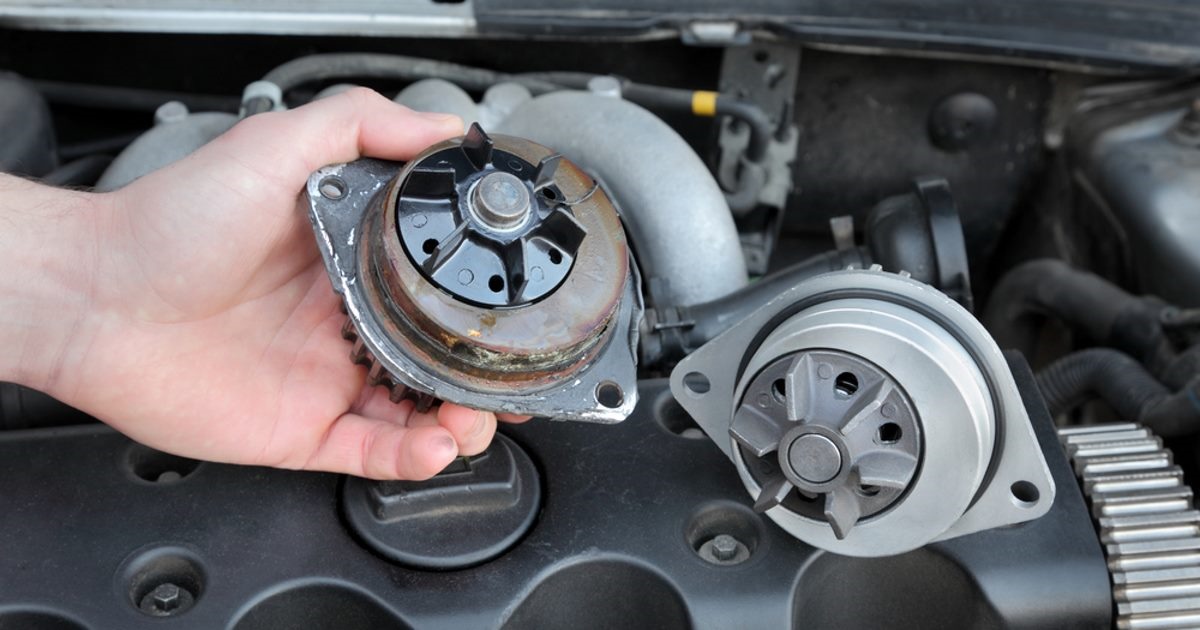
Step 7: Install the new water pump
Now that you have removed the old water pump, it’s time to install the new one. Follow these steps:
- Take the new water pump and ensure that it matches the specifications of your Dodge Ram 1500.
- Apply a thin layer of gasket sealant to the mating surface of the new water pump. This will create a secure seal and prevent leaks.
- Carefully position the new water pump onto the engine block, aligning the bolt holes with the corresponding holes on the engine block.
- Insert the bolts that came with the new water pump into their respective holes. Tighten them by hand to begin with.
- Using a socket wrench or a suitable size socket, gradually tighten the bolts in a crisscross pattern. This will ensure that the water pump is securely fastened without placing undue stress on any one area.
- Refer to the manufacturer’s specifications for the proper torque value for the water pump bolts, and tighten them accordingly.
Now that the new water pump is securely installed, it’s time to move on to the next step – reassembling the components.
Step 8: Reassemble the components
With the new water pump installed, it’s time to reassemble the components that were previously removed. Follow these steps:
- Retrieve the fan and fan clutch assembly that you set aside earlier.
- Carefully position the fan and fan clutch assembly back into place, aligning it with the water pump.
- Using a wrench or a fan clutch removal tool, tighten the bolts or screws that secure the fan and fan clutch assembly to the water pump. Make sure they are tightened securely.
- Reconnect any electrical connectors that were disconnected from the water pump earlier. Ensure that they are properly connected and secured.
- Retrieve the hoses that were removed from the water pump and slide them back onto their respective outlets. Ensure that the clamps are properly tightened to prevent any leaks.
With the components reassembled, you’re almost there! The next step is to refill the cooling system with coolant.
Step 9: Refill the cooling system
After reassembling the components, it’s crucial to refill the cooling system with coolant to ensure proper functionality. Follow these steps:
- Locate the radiator or coolant reservoir cap and remove it.
- Using a funnel, carefully pour the recommended coolant into the radiator or coolant reservoir. Refer to your vehicle’s owner manual for the appropriate coolant type and capacity.
- Slowly add the coolant until the level reaches the “full” mark on the reservoir or the radiator’s neck.
- Once the coolant is filled, replace the cap tightly to avoid any leaks.
Take a moment to inspect the area around the water pump and hoses for any signs of coolant leakage. If you notice any leaks, double-check the connections and tighten any loose clamps as necessary.
With the cooling system refilled, you’re almost done! The final step is to test the system for leaks.
Step 10: Test for leaks
After completing the water pump replacement and refilling the cooling system, it is essential to thoroughly test for any potential leaks. Here are the steps to follow:
- Start the engine and let it run for a few minutes, allowing the coolant to circulate.
- Observe the water pump and surrounding areas carefully for any signs of coolant leakage. Look for drips, puddles, or any visible wet spots.
- Inspect the hoses, connections, and gasket seal around the water pump for any signs of leakage.
- Check the radiator or coolant reservoir to ensure that the coolant level remains steady and does not drop significantly.
- Monitor the engine temperature gauge to ensure that it remains within the normal operating range.
- If you notice any leaks, stop the engine immediately and take necessary steps to address the issue. This may involve re-tightening the connections, replacing faulty components, or seeking professional assistance if needed.
It is crucial to fix any leaks promptly to prevent overheating and potential damage to the engine. Remember, a properly functioning water pump is essential for the cooling system’s efficiency.
Congratulations! You have successfully replaced the water pump in your Dodge Ram 1500. By following these steps and conducting the necessary tests, you can ensure the proper functioning of your truck’s cooling system for miles to come.
As always, if you are unsure or uncomfortable with performing this procedure yourself, it is advised to seek assistance from a qualified professional mechanic.
Stay safe and happy driving!
Conclusion
In conclusion, replacing the water pump in your Dodge Ram 1500 is a task that can be accomplished with some basic tools, careful attention to detail, and a little bit of patience. By following the step-by-step guide we have provided, you can successfully replace the water pump and restore the proper functioning of your truck’s cooling system.
Remember, the water pump is a critical component in regulating the engine’s temperature, and any issues with it can lead to overheating and potential engine damage. By proactively replacing a worn or leaking water pump, you can avoid costly repairs and maintain the performance and longevity of your vehicle.
Throughout the process, always prioritize safety by ensuring the engine is cool, using the proper safety equipment, and taking necessary precautions. Additionally, familiarize yourself with your vehicle’s owner manual for specific instructions and coolant recommendations.
By gathering the necessary tools and materials, draining the cooling system, removing the serpentine belt, and disconnecting hoses and electrical connectors, you can easily access and replace the water pump. Taking care during the installation process, reassembling the components, refilling the cooling system, and testing for leaks will complete the procedure.
If you ever feel uncertain or uncomfortable about the process, it is always recommended to seek assistance from a professional mechanic who can ensure the job is done correctly.
By successfully replacing the water pump, you are taking a proactive step in the maintenance and care of your Dodge Ram 1500. This will help keep it running smoothly and reliably for years to come.
Thank you for following our comprehensive guide. We hope you found it helpful, and we wish you smooth travels on the road ahead!
Frequently Asked Questions about How To Replace Water Pump Dodge Ram 1500
Was this page helpful?
At Storables.com, we guarantee accurate and reliable information. Our content, validated by Expert Board Contributors, is crafted following stringent Editorial Policies. We're committed to providing you with well-researched, expert-backed insights for all your informational needs.

0 thoughts on “How To Replace Water Pump Dodge Ram 1500”