Articles
How To Replace Water Pump Impeller Mercruiser
Modified: October 20, 2024
Learn how to replace the water pump impeller on your Mercruiser with our informative articles. Ensure smooth sailing with our step-by-step guides and expert tips.
(Many of the links in this article redirect to a specific reviewed product. Your purchase of these products through affiliate links helps to generate commission for Storables.com, at no extra cost. Learn more)
Introduction
Welcome to our comprehensive guide on how to replace the water pump impeller in a Mercruiser. The water pump impeller plays a crucial role in keeping your engine cool and preventing overheating. Over time, the impeller can wear out and lose its effectiveness, leading to potential engine damage.
Fortunately, replacing the water pump impeller in a Mercruiser is a relatively straightforward process that can save you both time and money. In this article, we will provide you with a step-by-step guide on how to successfully replace the water pump impeller in your Mercruiser, ensuring optimal engine performance and longevity.
Before we dive into the details, let’s take a moment to understand the importance of the water pump impeller and the signs that indicate it may need replacement. The water pump impeller is responsible for drawing water from the lake, river, or ocean and circulating it through the engine to dissipate heat. If the impeller becomes worn or damaged, it can fail to properly circulate the water, leading to an increased risk of engine overheating.
Now that we have a basic understanding of the purpose of the water pump impeller, let’s gather the necessary tools and materials to get started with the replacement process.
Key Takeaways:
- Regularly replacing the water pump impeller in your Mercruiser is crucial for preventing engine overheating and maintaining optimal performance. By following the detailed step-by-step guide, you can confidently perform this essential maintenance task and enjoy worry-free boating experiences.
- Proper preparation, thorough inspection, and meticulous testing are key elements of a successful water pump impeller replacement. By prioritizing safety and following manufacturer guidelines, you can ensure the longevity and reliability of your Mercruiser’s engine.
Read more: How To Change A Water Pump Impeller
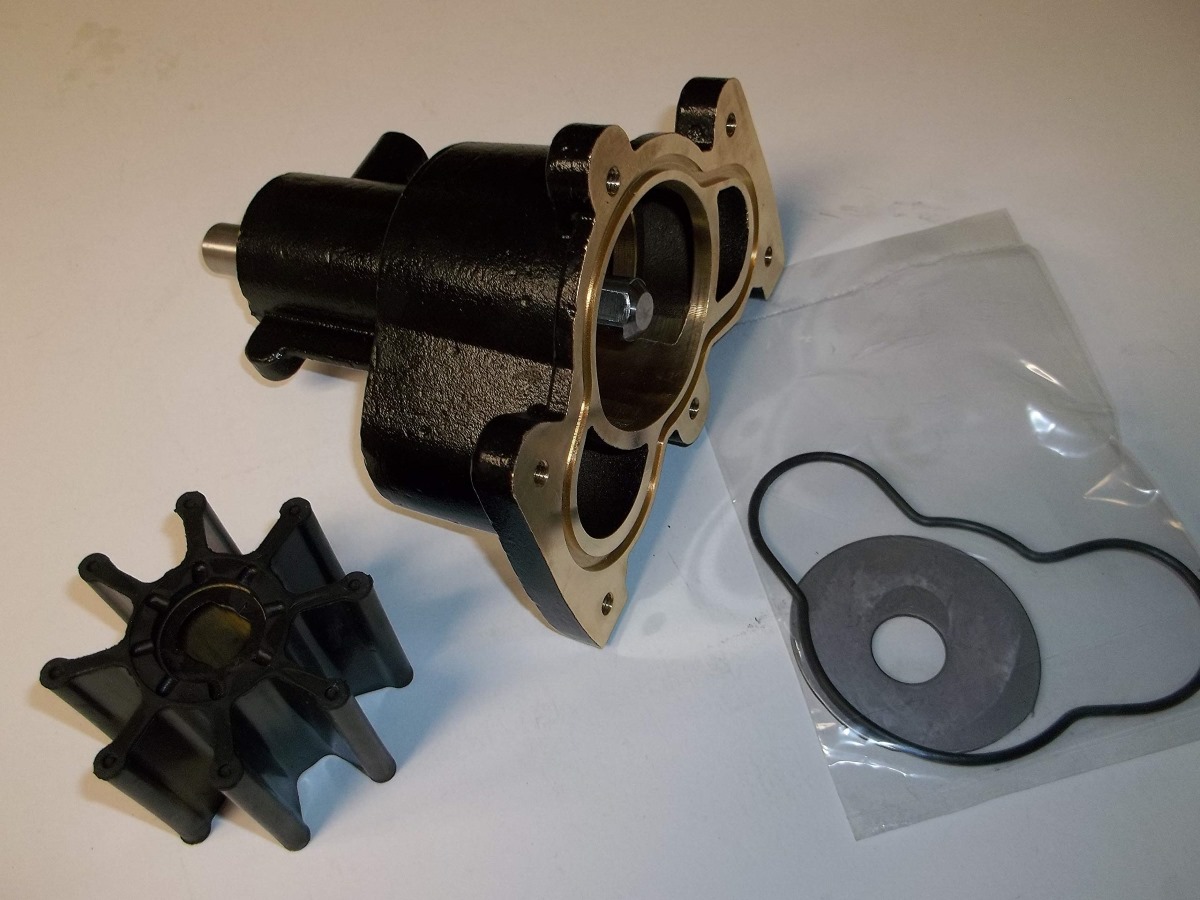
Overview of Water Pump Impeller Mercruiser
The water pump impeller in a Mercruiser is a crucial component that helps maintain optimal engine temperature by circulating water to dissipate heat. It’s located within the water pump housing and is responsible for drawing water from outside the boat and pushing it into the engine cooling system.
The impeller is typically made of a durable rubber or composite material that can withstand the wear and tear of constant use. However, over time, the impeller can become worn, damaged, or clogged with debris, affecting its efficiency and requiring replacement.
Identifying when the impeller needs replacement is important to prevent engine damage. If you notice any of the following signs, it’s likely time to replace the water pump impeller in your Mercruiser:
- Engine overheating: If your engine temperature rises above normal levels, it could be a sign that the impeller is not circulating water effectively.
- Lack of water flow: If you notice a decrease in water flow from the cooling system discharge, it indicates a problem with the impeller.
- Unusual noise: A damaged or worn impeller may produce strange noises, such as a rattling or grinding sound.
- Visible wear or damage: If you inspect the impeller and notice visible signs of wear, cracking, or missing blades, it’s time for a replacement.
Replacing the water pump impeller in a Mercruiser should be done as part of regular maintenance or when these signs of wear and tear are observed. It’s essential to have a reliable replacement impeller on hand before starting the process.
In the next section, we will provide a list of tools and materials you’ll need to complete the replacement successfully.
Tools and Materials Needed
Before you begin replacing the water pump impeller in your Mercruiser, it’s essential to gather the necessary tools and materials. This will ensure a smooth and efficient replacement process. Here’s a list of items you’ll need:
Tools:
- Socket wrench set
- Screwdriver set
- Adjustable wrench
- Pliers
- Channel locks
- Flush kit
- Sealant
Materials:
- New water pump impeller
- Gasket or O-ring (if not included with the impeller)
- Thread sealant
- Clean rags or towels
- Waterproof grease
The socket wrench set will be used to loosen and remove bolts, while the screwdriver set will come in handy for removing screws. The adjustable wrench will allow you to tighten and loosen various fittings, and pliers and channel locks will assist in gripping and manipulating components as needed.
The flush kit is essential for flushing out any debris or contaminants from the cooling system before and after the impeller replacement. It ensures that the new impeller operates in a clean and optimal environment.
Sealant and thread sealant are important for creating a watertight seal and preventing leaks. Ensure that you choose a sealant compatible with marine applications.
Of course, the centerpiece of this replacement process is the new water pump impeller. Make sure to purchase a high-quality impeller that is specifically designed for your Mercruiser model. It’s also advisable to have a spare gasket or O-ring on hand in case the one included with the impeller is damaged or degraded.
Lastly, have a supply of clean rags or towels ready to clean up any spills or residue, as well as waterproof grease for lubricating key components during reassembly.
With the necessary tools and materials assembled, you’re now ready to proceed with the water pump impeller replacement. We will guide you through the step-by-step process in the upcoming sections.
Read more: How Much It Cost To Replace Water Pump
Step 1: Preparation
Before diving into the water pump impeller replacement process, it’s important to take a few preparatory steps to ensure a smooth and successful procedure. The following are the necessary preparations:
1. Consult the Owner’s Manual:
Refer to your Mercruiser’s owner’s manual for specific instructions and diagrams related to the water pump impeller replacement. This will provide you with model-specific details and help you understand the location and components of the water pump housing.
2. Gather Tools and Materials:
Make sure you have all the necessary tools and materials listed in the previous section. Have them on hand and easily accessible before you begin the replacement process. This will save you time and ensure efficiency during the procedure.
3. Ensure Safety:
Take safety precautions to prevent accidents or damage. Wear protective gear such as goggles and gloves. Disconnect the boat’s battery to avoid any electrical mishaps during the replacement. And, if your boat is in the water, make sure it is securely anchored to prevent any movement while working on the water pump.
4. Disassemble Surrounding Components (if necessary):
Depending on the model and location of the water pump housing in your Mercruiser, you may need to remove or loosen surrounding components to gain access. This may involve removing belts, pulleys, or other parts connected to the water pump. Refer to the owner’s manual for guidance. Take pictures or make notes to aid in reassembly.
5. Flush the Cooling System:
Before starting the replacement, it’s crucial to flush the cooling system to remove any debris or contaminants. Connect a flush kit to the water intake on your Mercruiser and run freshwater through the system. This will help prevent any debris from entering the engine during the replacement process.
Once you’ve completed these preparatory steps, you’ll be ready to move on to Step 2: Removing the Water Pump Housing. Stay tuned for the detailed instructions in the next section!
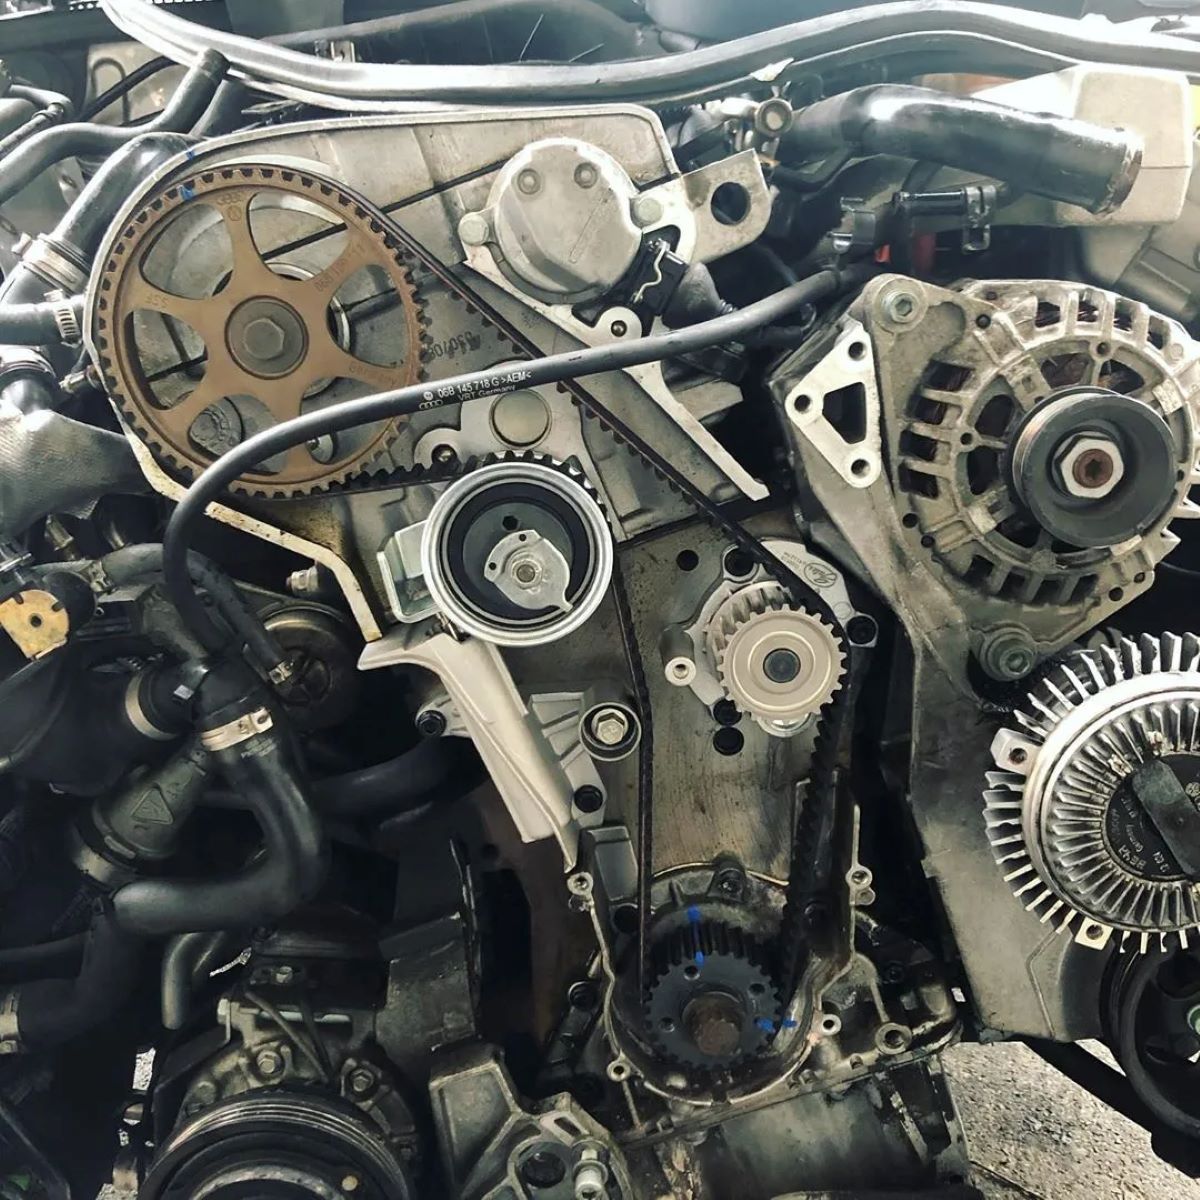
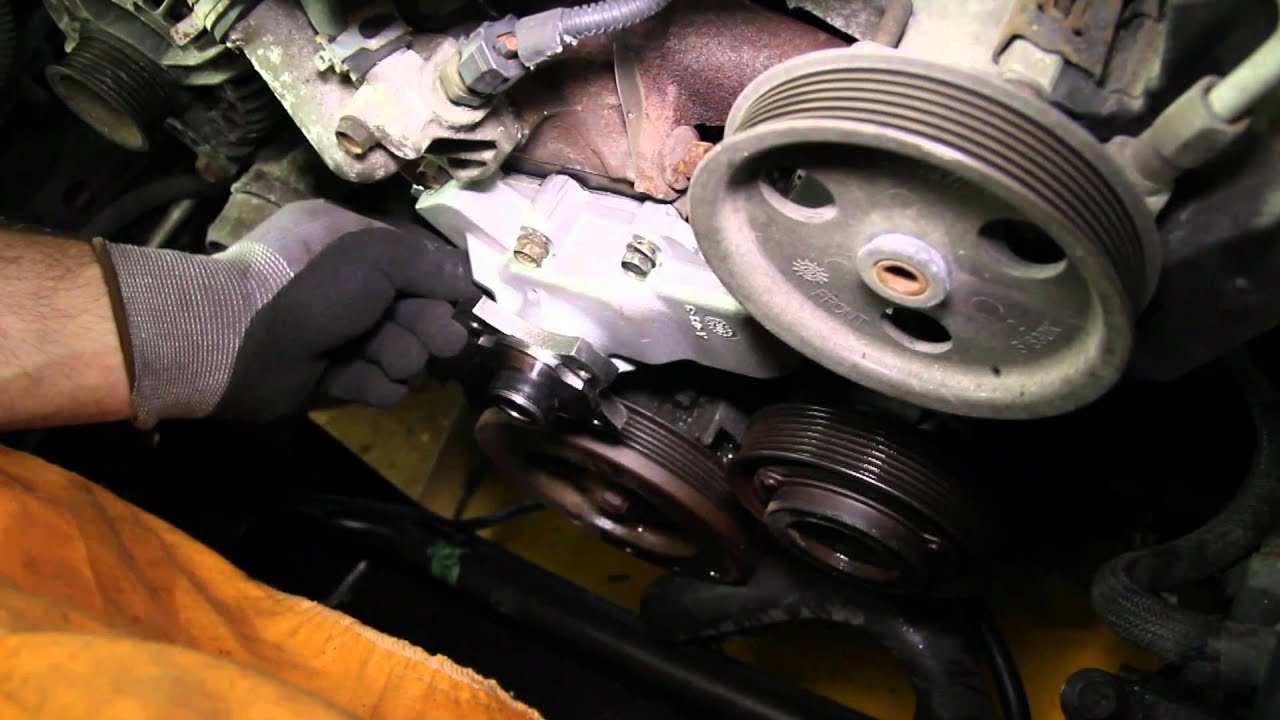
Step 2: Removing the Water Pump Housing
With the preparatory steps completed, it’s time to move on to the actual process of removing the water pump housing. Follow these step-by-step instructions:
1. Locate the Water Pump Housing:
Refer to your Mercruiser’s owner’s manual to identify the exact location of the water pump housing. Typically, it is located near the engine’s lower unit or on the side of the engine block. Take a moment to familiarize yourself with the components surrounding the water pump housing.
Read more: How To Replace Omc Cobra Water Pump
2. Drain the Cooling System:
Before removing the housing, it’s essential to drain the cooling system to prevent a messy spill. Locate the drain plugs or valves on the cooling system and open them to allow the coolant to safely drain out. Collect the coolant in a proper container for disposal or reuse.
3. Remove the Bolts or Screws:
Using the appropriate tools, carefully remove the bolts or screws that secure the water pump housing in place. Keep track of the bolts and their corresponding locations to ensure proper reassembly later. Place the removed bolts or screws in a safe location to prevent loss or mix-up.
4. Separate the Water Pump Housing:
Gently pull and separate the water pump housing from its mounting position. Be cautious not to damage any surrounding components or hoses while doing so. If the housing does not easily separate, use a light tapping motion or a rubber mallet to help loosen it.
5. Inspect the Housing and Gasket:
Once the water pump housing is removed, carefully inspect it for any signs of wear, damage, or corrosion. Additionally, inspect the gasket or O-ring between the housing and engine block for any wear or tears. If the gasket is damaged, it will need to be replaced.
Congratulations! You have successfully completed Step 2 by removing the water pump housing. In the next section, we will guide you through accessing the impeller itself.
Read more: How To Replace Water Pump Ford Taurus
Step 3: Accessing the Impeller
Now that you have removed the water pump housing, it’s time to move on to accessing the impeller. Follow these step-by-step instructions to proceed:
1. Locate the Impeller:
Inside the water pump housing, you will find the impeller. It is a disc-shaped component with small blades or vanes that move water through the cooling system. Take note of its position and orientation before proceeding.
2. Remove the Old Impeller:
To access the impeller, you may need to remove any additional components that are covering it. These can include plastic covers, gaskets, or plates. Carefully remove these components, taking note of their original positions for reassembly.
3. Inspect the Old Impeller:
Once the impeller is exposed, inspect it for any signs of wear, damage, or debris. Look for missing or broken blades, cracks, or excessive wear. If the impeller shows signs of deterioration, it must be replaced.
4. Clear Debris and Obstructions:
If you notice any debris or obstructions in the water pump housing or around the impeller, clear them out using a soft brush or compressed air. It’s important to ensure that the new impeller operates in a clean environment.
5. Lubricate the New Impeller:
Before installing the new impeller, apply a thin coat of waterproof grease to the blades and vanes. This will help the impeller move smoothly and promote better water circulation.
By following these steps, you have successfully accessed the impeller in your Mercruiser’s water pump. In the next section, we will guide you through removing the old impeller and installing the new one.
Step 4: Removing the Old Impeller
Now that you have accessed the impeller in your Mercruiser’s water pump, it’s time to remove the old impeller. Follow these step-by-step instructions to proceed:
1. Identify the Impeller Retention Method:
Before removing the old impeller, determine the type of retention method used. Your Mercruiser might utilize a retaining screw, a key, or a simply pressed-on impeller. Refer to your owner’s manual or manufacturer’s instructions for guidance.
2. Loosen or Remove the Retention Element:
If your impeller has a retaining screw, use the appropriate screwdriver to loosen and remove it. If it has a key, carefully slide it out using pliers or a small screwdriver. If it is simply pressed on, you will need to pull it off manually.
3. Remove the Old Impeller:
Gently pull the old impeller straight off the shaft, using even pressure. Be careful not to damage any surrounding components during this process. If the impeller is stuck, you can use a puller tool or apply gentle heat to help loosen it.
4. Inspect the Impeller and Shaft:
Once the old impeller is removed, inspect it for any signs of wear, damage, or debris. Check for missing or broken blades, cracks, or excessive wear. Also, inspect the shaft for any signs of damage or corrosion. If the impeller or shaft shows signs of deterioration, it’s crucial to replace the impeller.
5. Clean the Impeller Housing:
Take a moment to clean the impeller housing using a soft brush or a cloth. Remove any dirt, debris, or remnants of the old impeller from the housing. This will help ensure a clean and smooth installation of the new impeller.
By following these steps, you have successfully removed the old impeller from your Mercruiser’s water pump. In the next section, we will guide you through the process of installing the new impeller.
Read more: When Should Water Pump Be Replaced
Step 5: Installing the New Impeller
With the old impeller removed, it’s time to install the new impeller in your Mercruiser’s water pump. Follow these step-by-step instructions to proceed:
1. Align the New Impeller:
Take the new impeller and align it with the shaft, ensuring that the keyway (if applicable) matches up. It’s important to position the impeller correctly to ensure proper water flow and operation.
2. Press or Slide the Impeller on the Shaft:
Using even pressure and a twisting motion, carefully slide or press the new impeller onto the shaft. Ensure that it is secure and properly seated. If needed, you can use a lubricant or water pump grease to facilitate the installation.
3. Install the Retention Element:
If your impeller requires a retention element, now is the time to install it. Follow the manufacturer’s instructions for the specific method used in your Mercruiser. This can involve tightening a retaining screw, inserting a key, or aligning a press-on fit.
4. Check for Proper Alignment and Rotation:
Once the new impeller is installed, visually inspect it to ensure that it is aligned correctly. It should rotate freely without any obstructions. Manually rotate the impeller to confirm smooth movement. This is crucial for efficient water circulation.
5. Apply Thread Sealant (if necessary):
If your Mercruiser’s water pump housing requires thread sealant, apply a thin coat to the retaining screws or bolts before reassembling. Make sure to use a sealant suitable for marine applications.
By following these steps, you have successfully installed the new impeller in your Mercruiser’s water pump. In the next section, we will guide you through the reassembly of the water pump housing.
Step 6: Reassembling the Water Pump Housing
Now that the new impeller is installed, it’s time to reassemble the water pump housing in your Mercruiser. Follow these step-by-step instructions to proceed:
1. Replace the Gasket or O-Ring:
If the gasket or O-ring that sits between the water pump housing and the engine block is damaged or worn, replace it with a new one. Make sure the replacement gasket or O-ring is the correct size and shape for your specific Mercruiser model.
2. Position the Water Pump Housing:
Carefully position the water pump housing back in place, ensuring that it aligns correctly with the engine block. Take note of any alignment marks or indicators provided by the manufacturer to ensure proper positioning.
3. Insert the Retaining Bolts or Screws:
Insert the bolts or screws that secure the water pump housing to the engine block. Tighten them hand-tight initially, and then use the appropriate tools to securely tighten them, following the torque specifications provided by the manufacturer. Refer to the owner’s manual for specific torque requirements.
4. Reattach Additional Components:
If any additional components were removed or loosened during the removal process, reattach them now. Use the notes or pictures taken during disassembly to guide you in their proper placement and orientation.
5. Apply Sealant (if necessary):
If your Mercruiser’s water pump housing requires sealant, apply a thin and even layer around the mating surfaces of the housing and the engine block. Follow the manufacturer’s instructions for the specific type of sealant used.
Read more: How Long Does It Take To Replace Water Pump
6. Double-Check Connections:
Before proceeding, double-check all connections and components for proper positioning and tightness. Ensure that everything is securely fastened and aligned to prevent any leaks or malfunctions.
By following these steps, you have successfully reassembled the water pump housing in your Mercruiser. In the next and final section, we will guide you through the testing process and verification of proper operation.
Step 7: Testing and Verifying Proper Operation
Now that you have reassembled the water pump housing in your Mercruiser, it’s crucial to test and verify the proper operation of the new impeller. Follow these step-by-step instructions to ensure everything is functioning correctly:
1. Reconnect the Battery:
If you disconnected the boat’s battery as a safety measure, reconnect it now. This will restore power to the Mercruiser’s electrical systems, allowing you to properly test the water pump.
2. Refill the Cooling System:
Refill the cooling system with the appropriate coolant or a mixture of coolant and water, following the manufacturer’s recommendations. This will ensure that the water pump has sufficient fluid to circulate.
Read more: How To Replace Water Pump Dodge Ram 1500
3. Start the Engine:
Start the engine and allow it to idle for a few minutes while observing the water pump. Look for any signs of leaks, unusual noises, or abnormal vibrations. If everything appears normal, proceed to the next step.
4. Monitor Water Flow:
While the engine is running, observe the water flow from the cooling system discharge. Ensure that there is a steady and consistent flow of water. Lack of water flow or a diminished flow could indicate a problem with the impeller installation or other issues that require further investigation.
5. Check for Proper Engine Temperature:
Monitor the engine temperature gauge during the test run. Ensure that the temperature remains within the normal operating range, indicating that the new impeller is effectively circulating water and cooling the engine as intended.
6. Run the Engine at Various Speeds:
Take the boat out for a brief test run, gradually increasing the speed while monitoring the engine temperature and water flow. Ensure that the cooling system is functioning optimally across various engine speeds and load conditions.
Read more: How To Replace A Water Pump On A Ford F150
7. Final Inspection:
After the test run, inspect the water pump housing and surrounding components for any signs of leaks, loose connections, or abnormalities. Address any issues promptly to prevent further damage or complications.
By following these steps and conducting a thorough testing procedure, you can ensure that the new impeller in your Mercruiser is installed correctly and operating as intended. Remember, regular maintenance and periodic inspections will help maintain the longevity and performance of the water pump impeller.
Congratulations! You have successfully completed the water pump impeller replacement process in your Mercruiser. You can now enjoy smooth and reliable engine performance on your boating adventures!
Disclaimer: The information provided in this article is for general informational purposes only. Always refer to your Mercruiser’s owner’s manual and follow the manufacturer’s instructions for the specific procedures and guidelines related to your boat’s make and model.
Conclusion
Replacing the water pump impeller in your Mercruiser is an important maintenance task that ensures optimal engine cooling and prevents overheating. By following the step-by-step guide in this article, you have learned how to successfully replace the water pump impeller and restore proper water circulation in your Mercruiser.
Throughout the process, we discussed the importance of preparation, gathering the necessary tools and materials, and taking safety precautions. We covered the steps involved in removing the water pump housing, accessing the impeller, removing the old impeller, installing the new impeller, reassembling the water pump housing, and finally, testing and verifying proper operation.
Remember to consult your Mercruiser’s owner’s manual for model-specific instructions and torque specifications. Additionally, always use high-quality replacement parts and follow the manufacturer’s guidelines.
Regularly inspecting and replacing the water pump impeller in your Mercruiser will help ensure that your engine remains cool and protected from overheating, prolonging its lifespan. It’s important to be aware of signs of impeller wear such as engine overheating, reduced water flow, unusual noises, or visible wear on the impeller itself.
By following the steps outlined in this guide and conducting regular maintenance, you can confidently replace the water pump impeller in your Mercruiser and enjoy worry-free boating experiences.
Remember, if you are unsure or uncomfortable performing this task yourself, it is always best to consult a professional marine technician who can assist you. Your safety and the proper functioning of your boat’s engine should always be the top priority.
Now that you have the knowledge and understanding of replacing the water pump impeller in your Mercruiser, you are well-equipped to keep your engine running smoothly and efficiently. Happy boating!
Disclaimer: The information provided in this article is for general informational purposes only. Always refer to your Mercruiser’s owner’s manual and follow the manufacturer’s instructions for the specific procedures and guidelines related to your boat’s make and model.
Frequently Asked Questions about How To Replace Water Pump Impeller Mercruiser
Was this page helpful?
At Storables.com, we guarantee accurate and reliable information. Our content, validated by Expert Board Contributors, is crafted following stringent Editorial Policies. We're committed to providing you with well-researched, expert-backed insights for all your informational needs.
0 thoughts on “How To Replace Water Pump Impeller Mercruiser”