Articles
How To Replace A Water Pump
Modified: February 22, 2024
Learn how to replace a water pump with step-by-step instructions and helpful tips in this comprehensive article. Explore our expert advice on replacing water pumps.
(Many of the links in this article redirect to a specific reviewed product. Your purchase of these products through affiliate links helps to generate commission for Storables.com, at no extra cost. Learn more)
Introduction
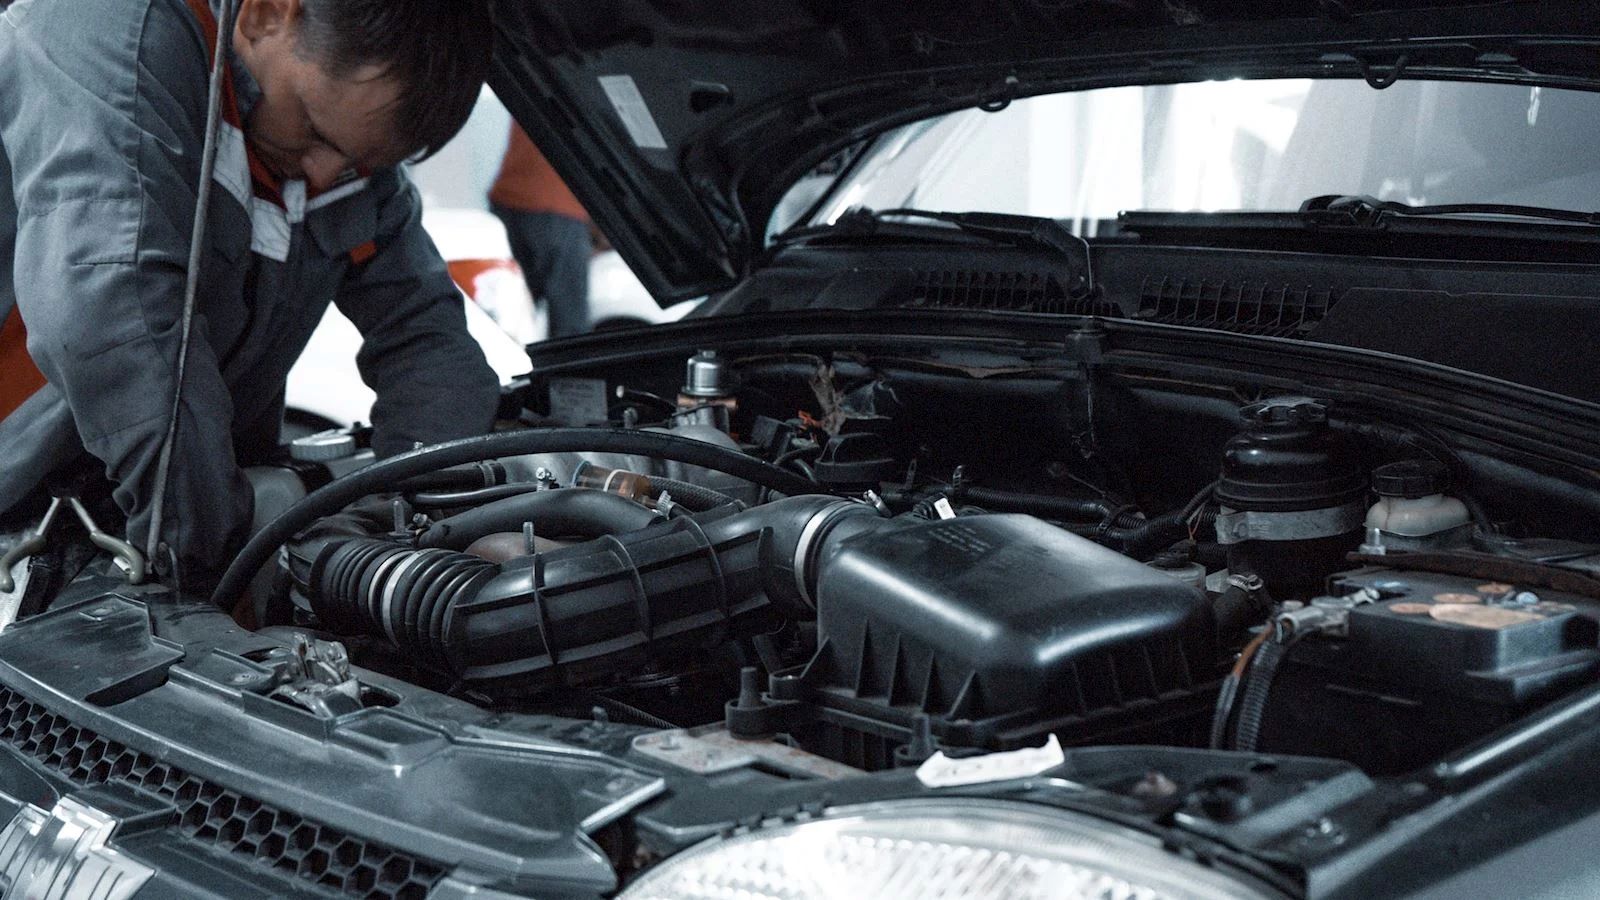
Replacing a water pump in your vehicle may seem like a daunting task, but with the right tools and a little know-how, you can tackle this project with confidence. The water pump is a crucial component of your vehicle’s cooling system, responsible for circulating coolant through the engine to prevent overheating.
Over time, water pumps can wear out or develop leaks, compromising their effectiveness and potentially causing engine damage. It is important to replace a faulty water pump promptly to ensure the continued performance and longevity of your vehicle.
In this article, we will guide you through the step-by-step process of replacing a water pump. From gathering the necessary tools and materials to reassembling the cooling system, we will cover everything you need to know to successfully complete this repair.
Before we begin, it’s important to note that the specific steps and procedures may vary depending on the make and model of your vehicle. Always consult your vehicle’s manual for detailed instructions and refer to the manufacturer’s recommendations and safety precautions.
Now, let’s dive into the first step of the process – gathering the required tools and materials.
Key Takeaways:
- Replacing a water pump is a manageable DIY project with the right tools and know-how. Proper preparation, careful installation, and thorough testing are essential for a successful repair.
- Attention to detail, patience, and adherence to manufacturer’s guidelines are crucial for a smooth water pump replacement. Regular maintenance and timely repairs ensure the longevity of your vehicle’s cooling system.
Read more: How To Replace A Water Pump On A Honda Civic
Step 1: Gather the Required Tools and Materials
Before you start replacing the water pump, it’s essential to gather all the necessary tools and materials. This will ensure that you have everything you need within reach and minimize any interruptions during the process.
Here are the tools and materials you will need:
- Socket set
- Ratchet
- Wrench set
- Flathead screwdriver
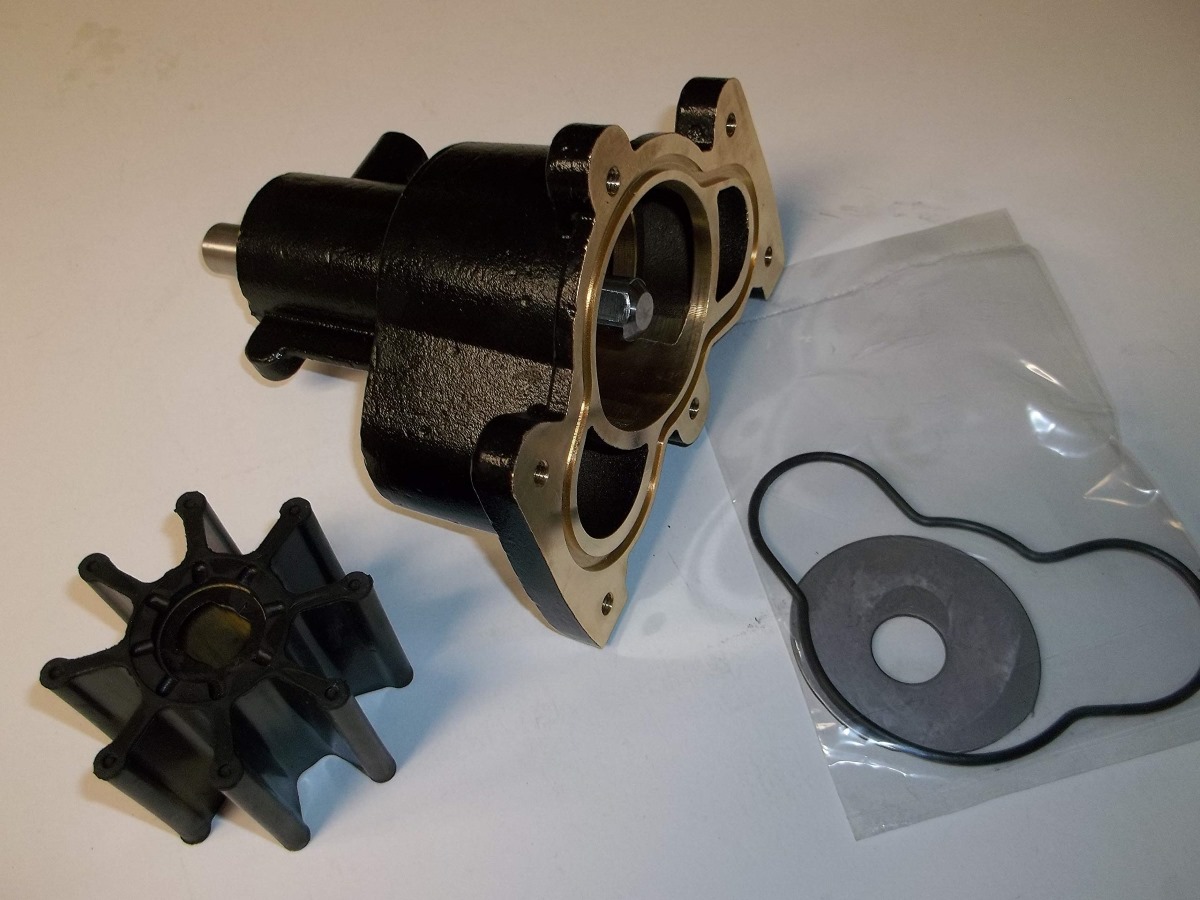
- New water pump
- New gasket
- Coolant
- Container for draining coolant
- Clean cloth or shop towel
- Thread sealant
The socket set and ratchet will be essential for removing bolts and fasteners, while the wrench set may come in handy for accessing hard-to-reach areas. The flathead screwdriver will be useful for prying off components and removing the old gasket.
When purchasing a new water pump, it’s crucial to ensure that it is compatible with your vehicle’s make and model. Consult the manufacturer’s specifications or check with your local auto parts store to find the correct water pump for your vehicle.
Additionally, you will need a new gasket to create a tight seal between the water pump and the engine. Using a new gasket is essential to prevent any leaks or complications after the replacement.
Lastly, make sure you have enough coolant to refill the system after the replacement. Check your vehicle’s manual for the correct coolant type and quantity required.
Once you have gathered all the tools and materials, you are ready to move on to the next step – draining the cooling system.
Step 2: Drain the Cooling System
Before you can replace the water pump, you need to drain the cooling system to prevent any spills or coolant leaks during the process.
Follow these steps to drain the cooling system:
- Ensure that the engine is cool to the touch. It’s important to never attempt to drain the cooling system when the engine is hot, as it can lead to serious burns.
- Locate the radiator drain valve or petcock. It is typically located at the bottom of the radiator or on one of the radiator hoses.
- Place a container or drain pan underneath the drain valve to catch the coolant.
- Slowly open the drain valve or petcock counterclockwise to initiate the coolant flow. Be cautious as the coolant may be under pressure.
- Allow the coolant to drain completely into the container. This may take a few minutes.
- Once all the coolant has been drained, close the drain valve or petcock by turning it clockwise.
It is important to properly dispose of the old coolant in an environmentally friendly manner. Check with your local recycling center or waste disposal facility for guidelines on how to dispose of coolant safely.
After draining the coolant, it is a good idea to inspect it for any signs of contamination or debris. If the coolant appears dirty or has visible particles, it may indicate an underlying issue with the cooling system that should be addressed before proceeding.
With the cooling system drained, you can now move on to the next step – removing the old water pump.
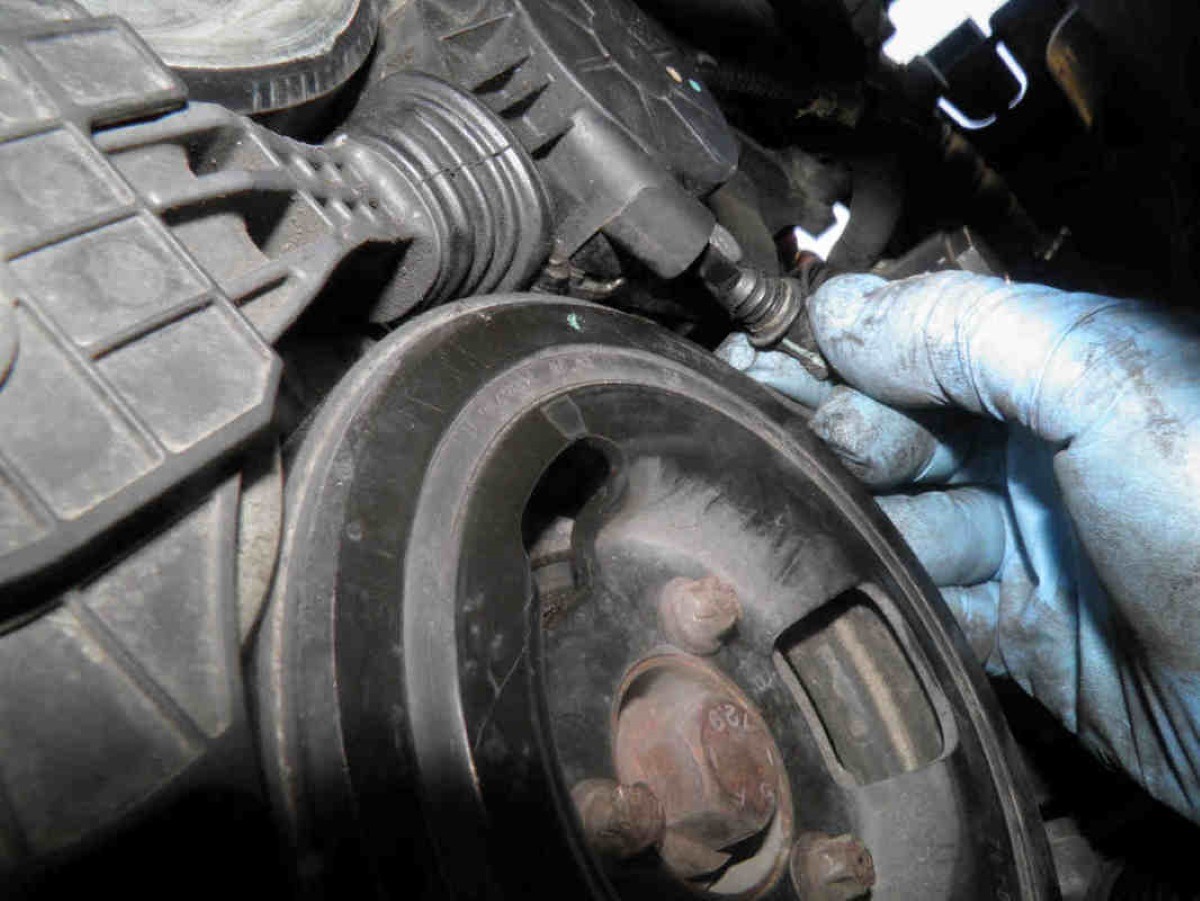
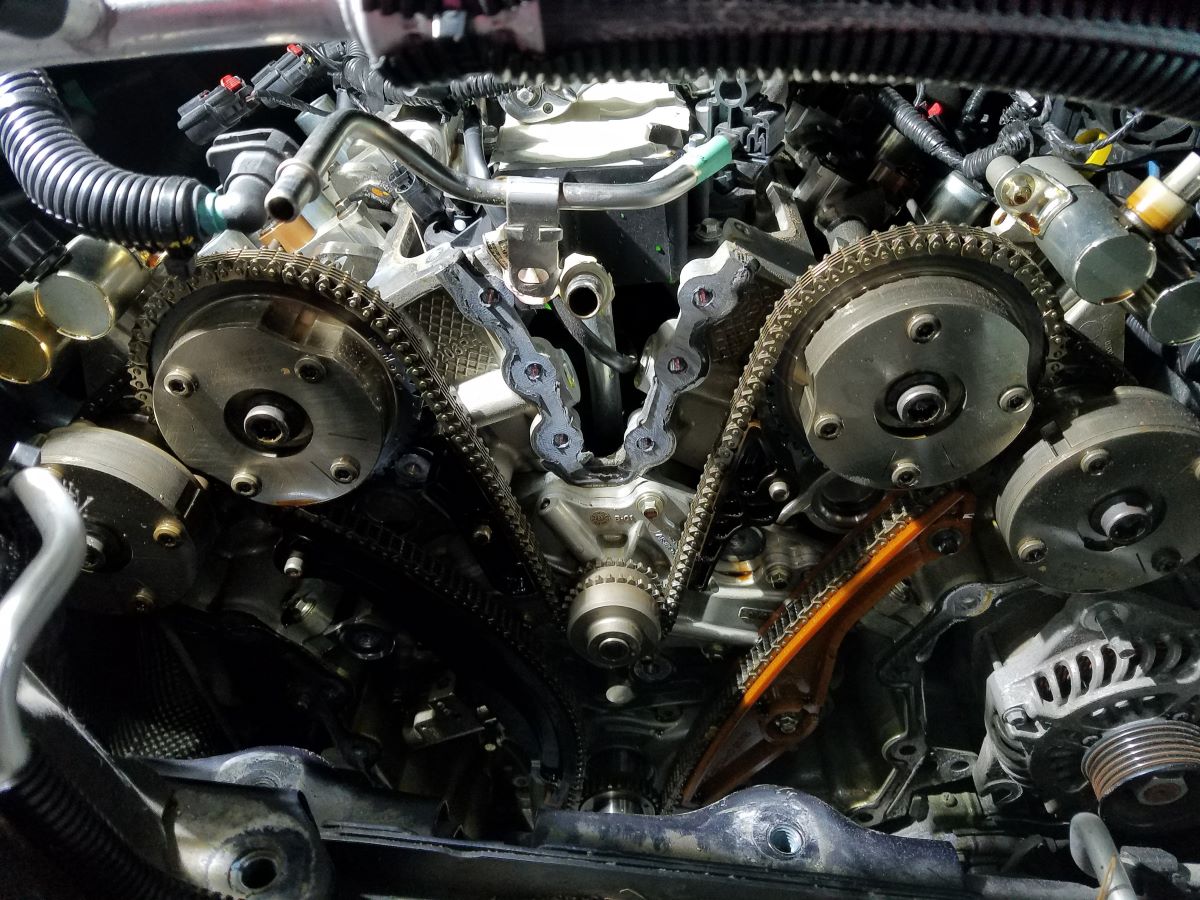
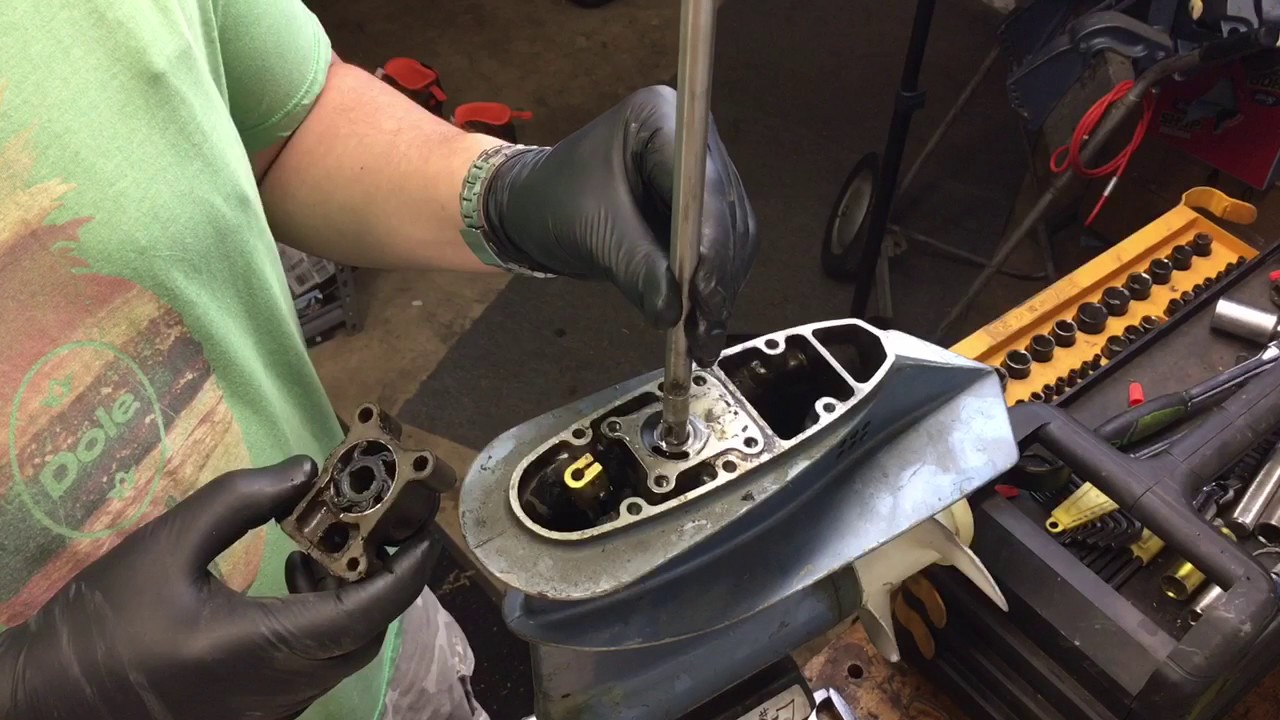
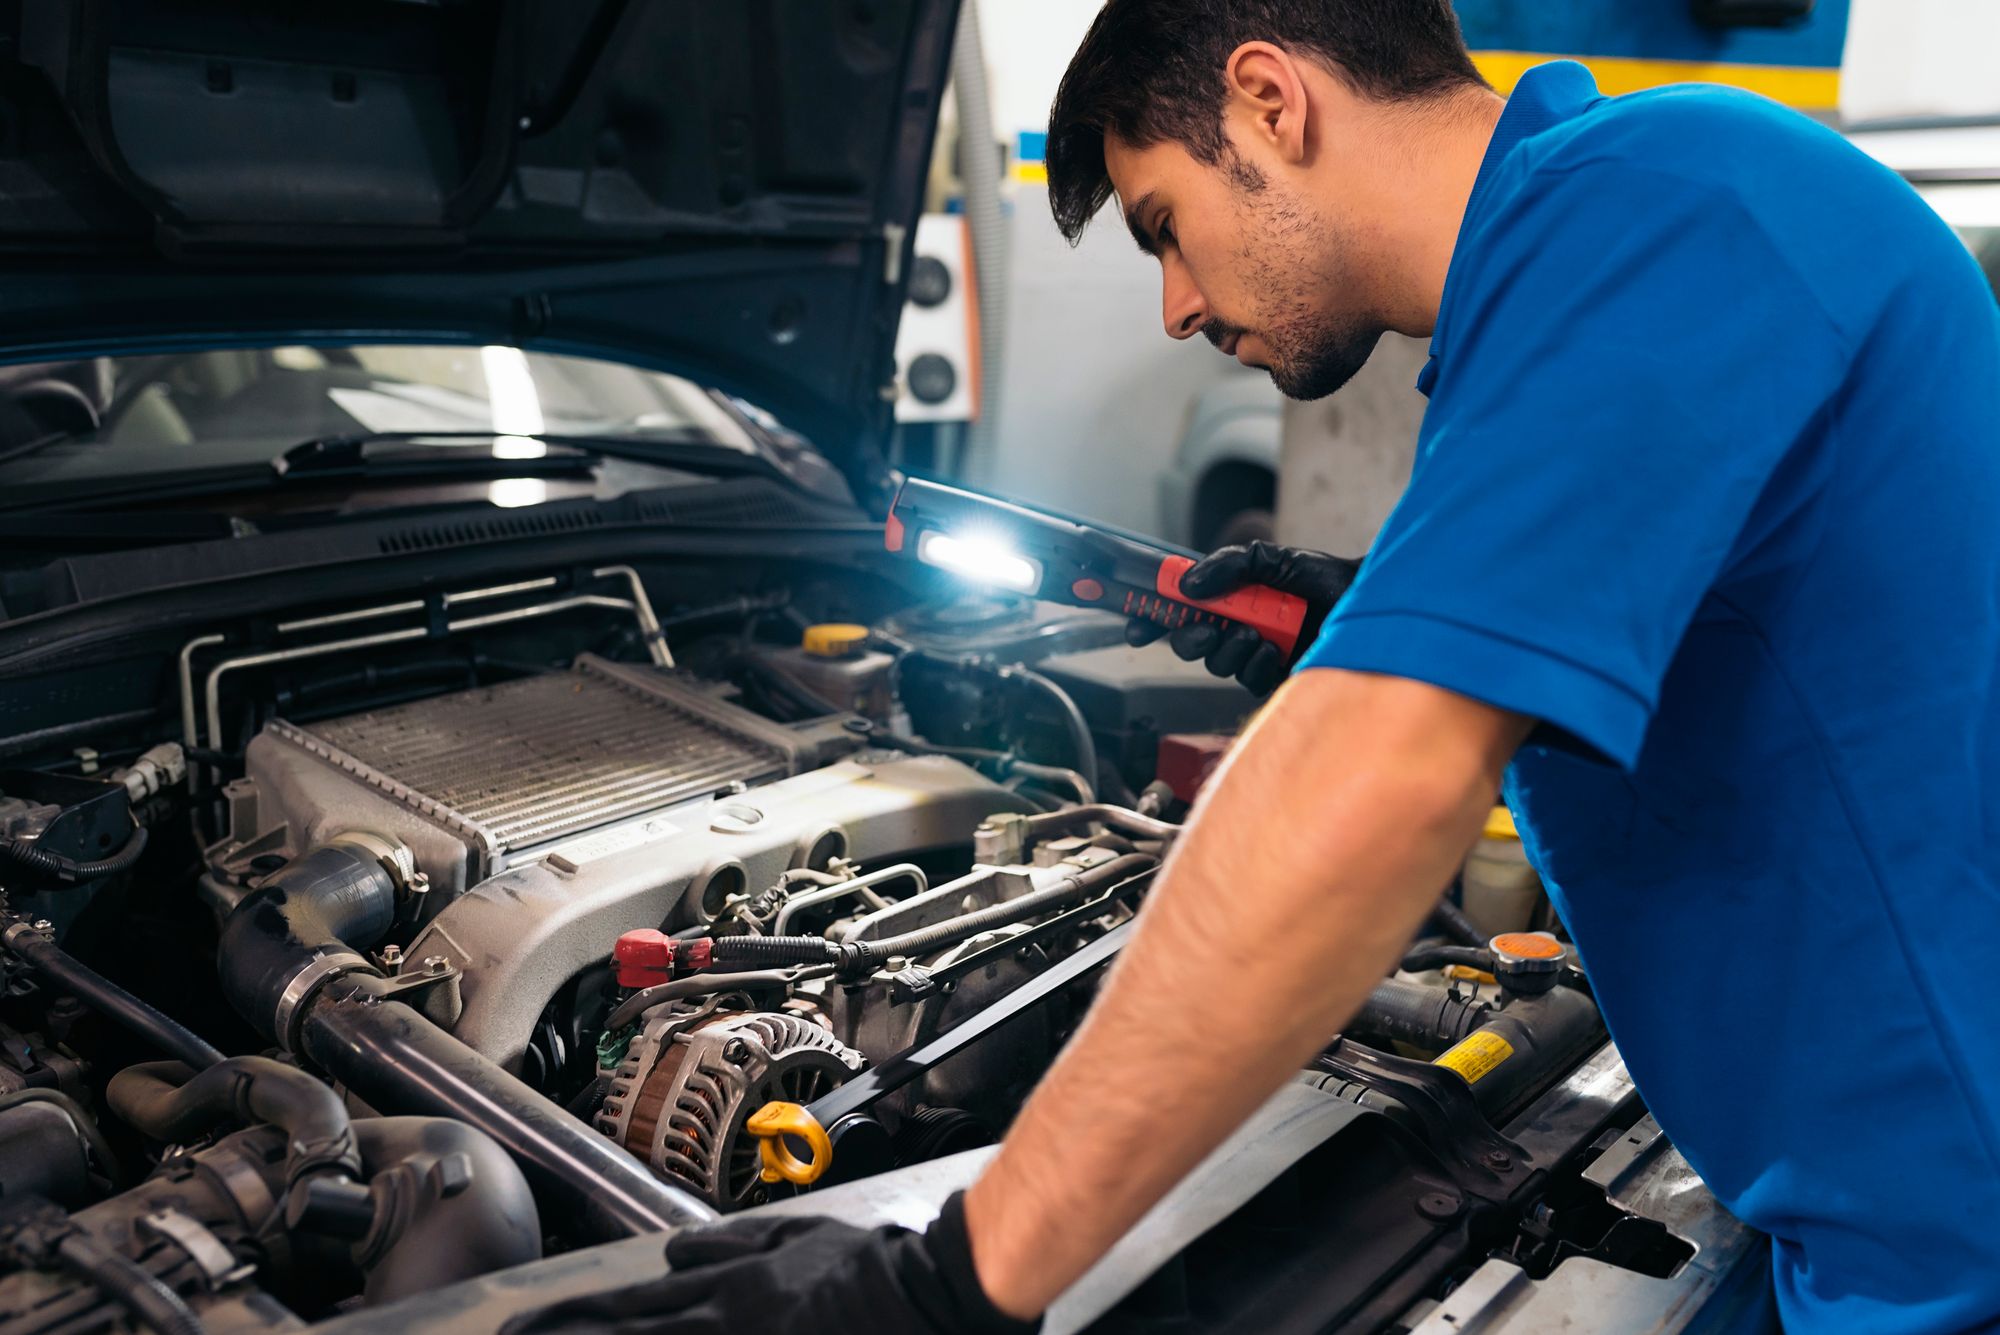
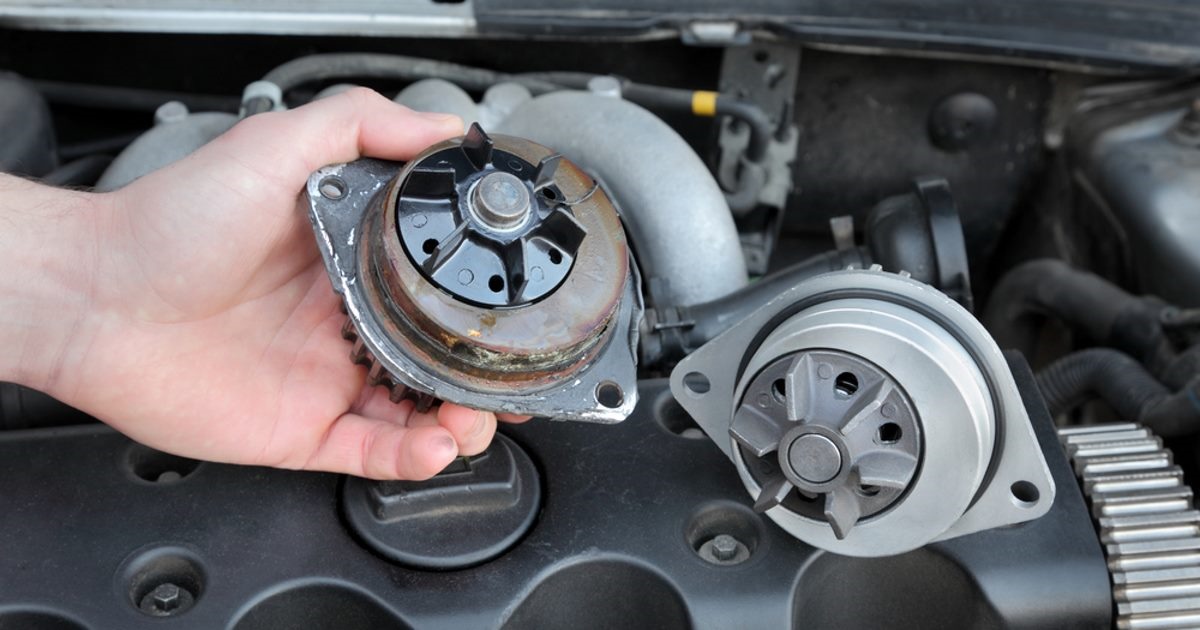
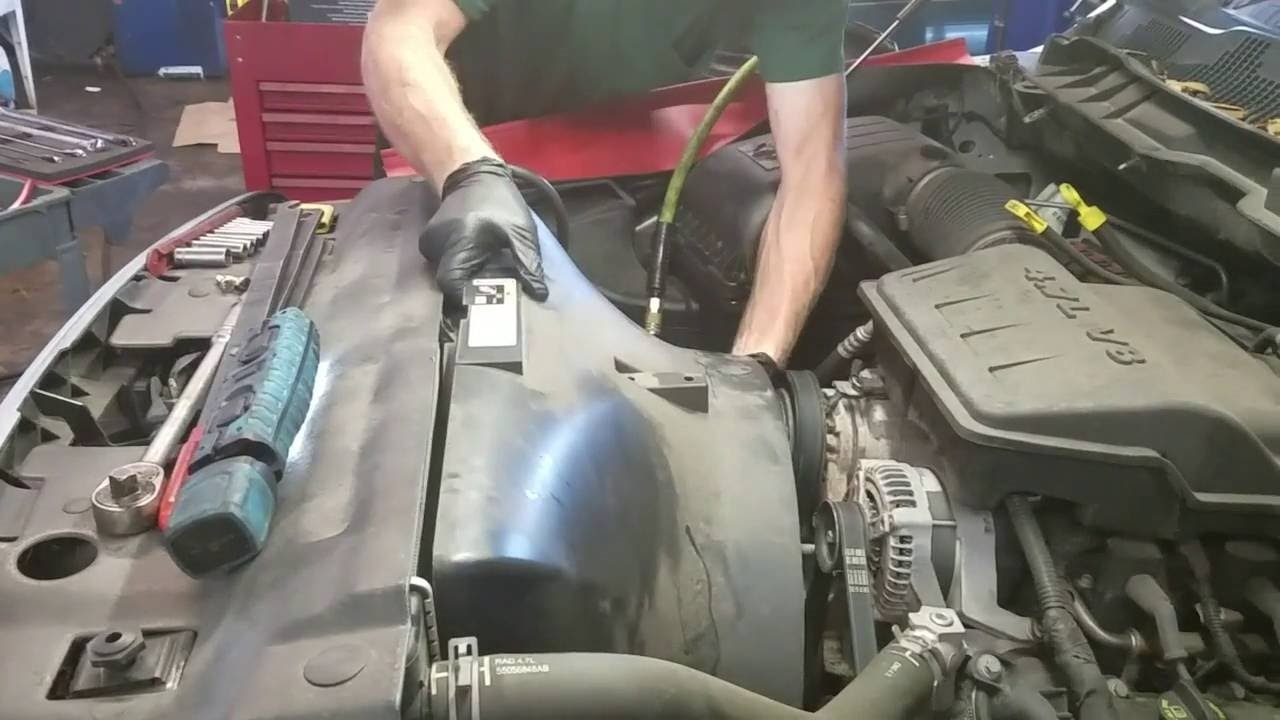
Step 3: Remove the Old Water Pump
With the cooling system drained, it’s time to remove the old water pump from your vehicle. Follow these steps to safely and effectively remove the old water pump:
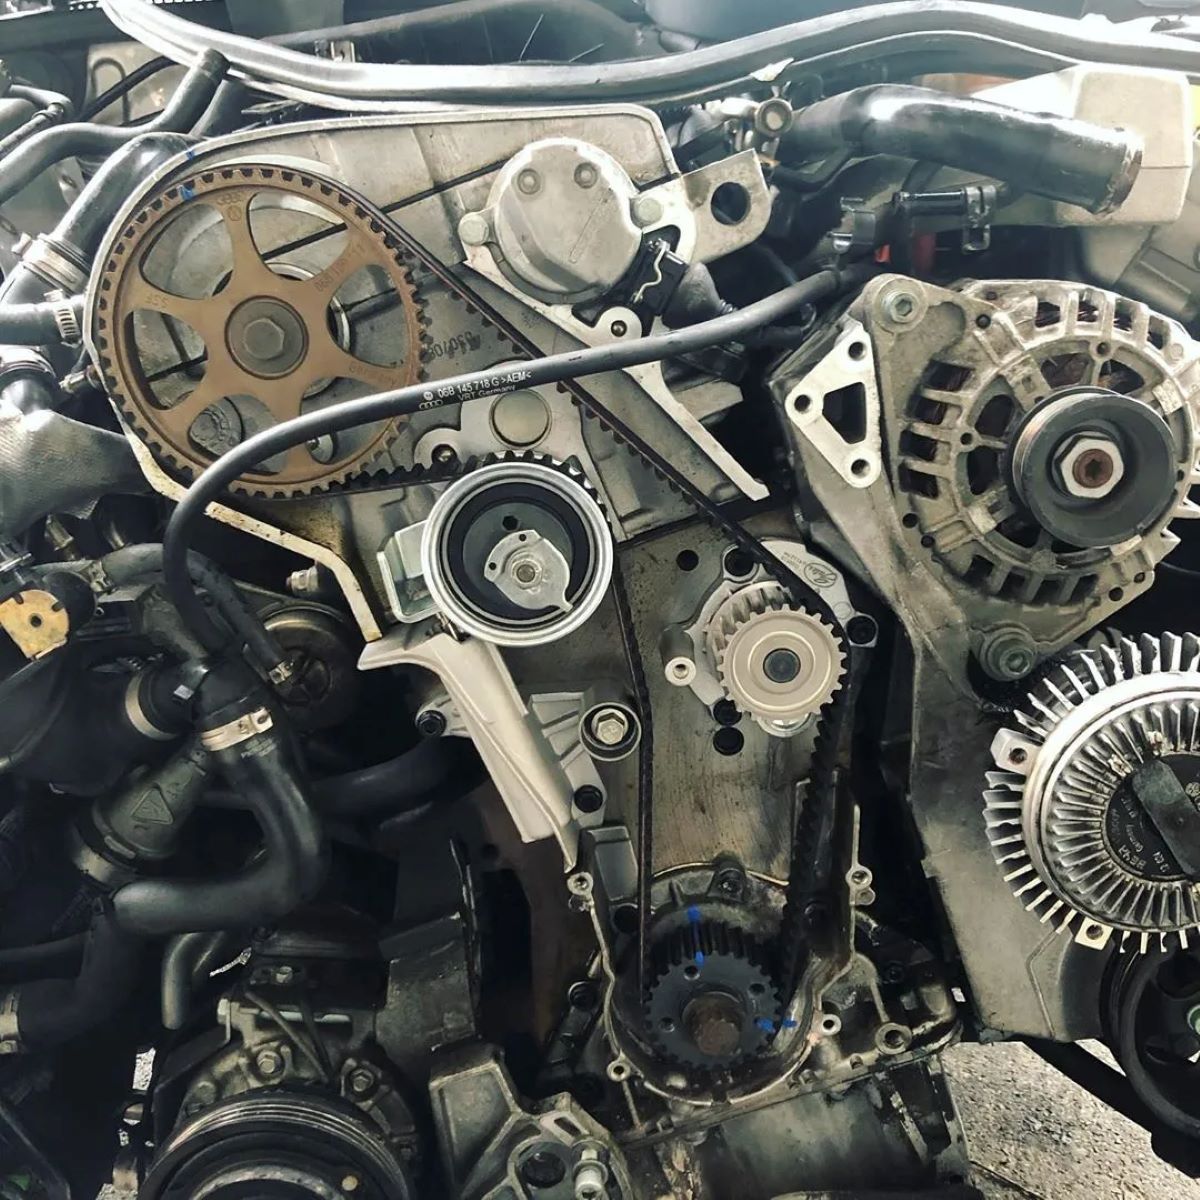
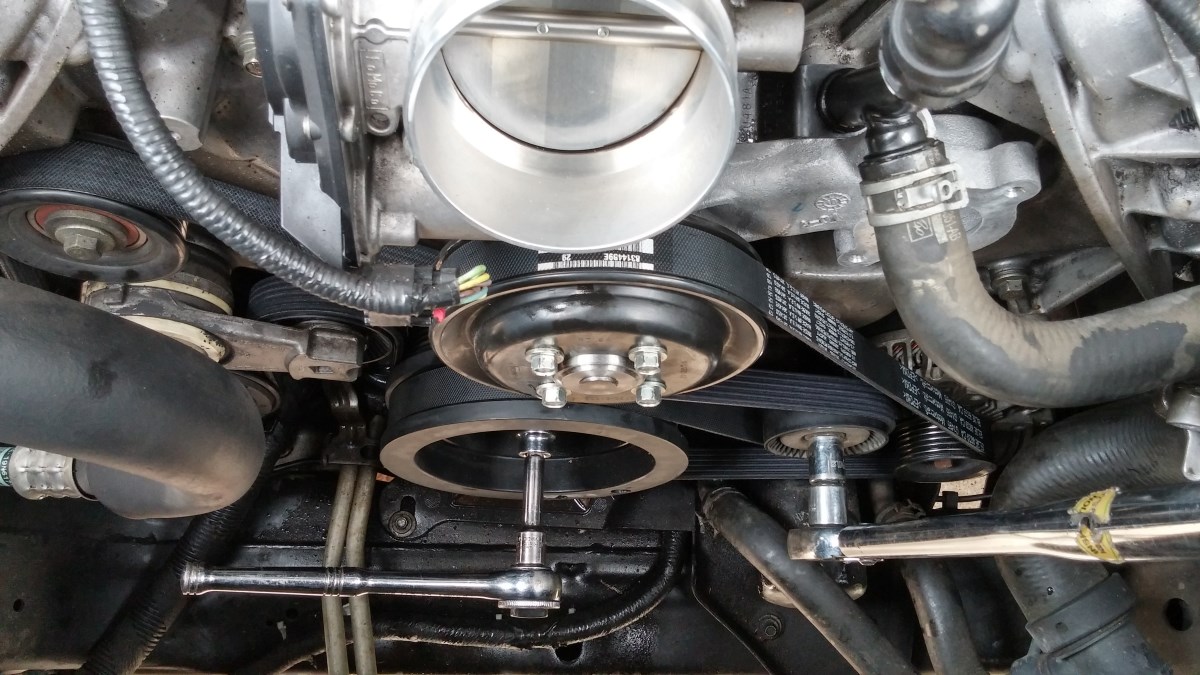
- Locate the water pump. It is typically attached to the engine block and driven by the serpentine belt or a separate drive belt. Consult your vehicle’s manual or documentation if you are unsure of its exact location.
- Disconnect any components that are obstructing access to the water pump. This may include hoses, belts, or brackets. Use your wrench set or ratchet and socket set to remove any fasteners holding these components in place.
- Once the area around the water pump is clear, carefully disconnect the hoses connected to the water pump. Be prepared for some coolant to spill out as you disconnect the hoses. Have a towel or container nearby to catch any coolant.
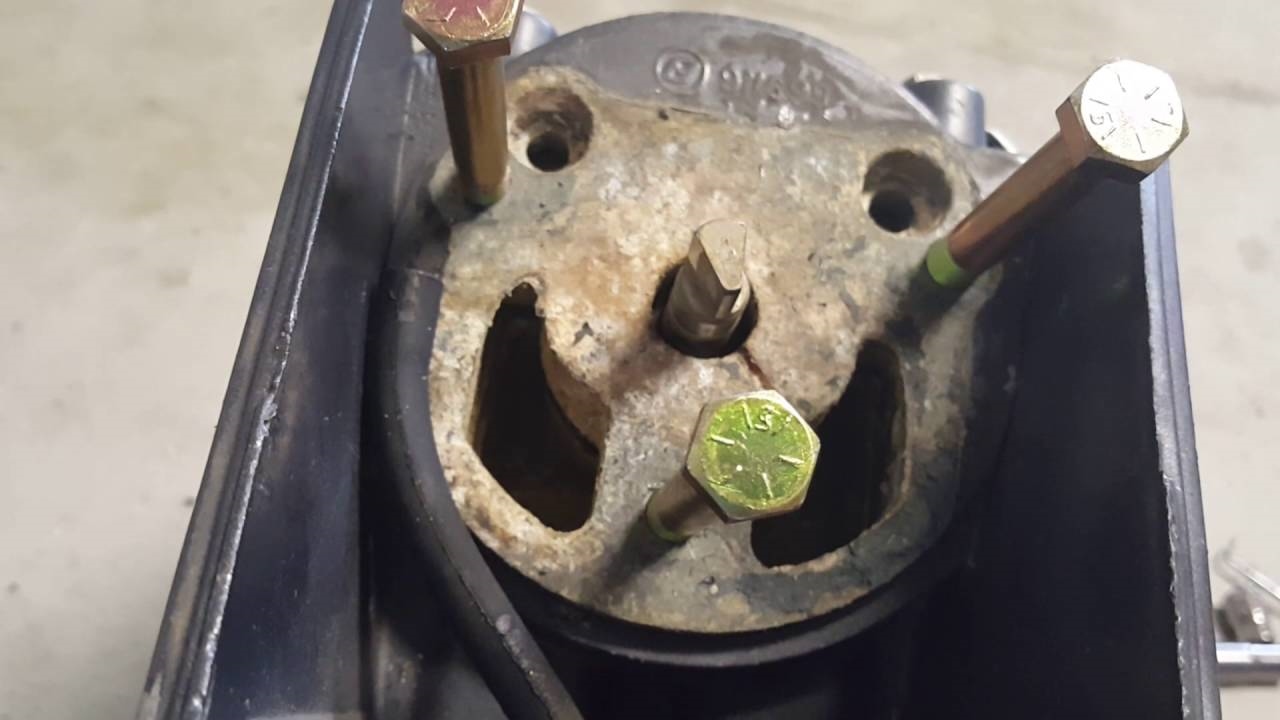
- Remove the bolts or fasteners that secure the water pump to the engine block. Use your ratchet and socket set or wrench set to do this. Keep track of these bolts as you will need them to install the new water pump.
- Gently pry the old water pump away from the engine block. You may need to use a flathead screwdriver or a rubber mallet to loosen it if it is stuck in place.
- Inspect the old water pump for any signs of damage or wear. Look for cracks, leaks, or excessive corrosion. If the water pump appears to be in poor condition, it is a good idea to replace it, even if it is not the direct cause of your current issue.
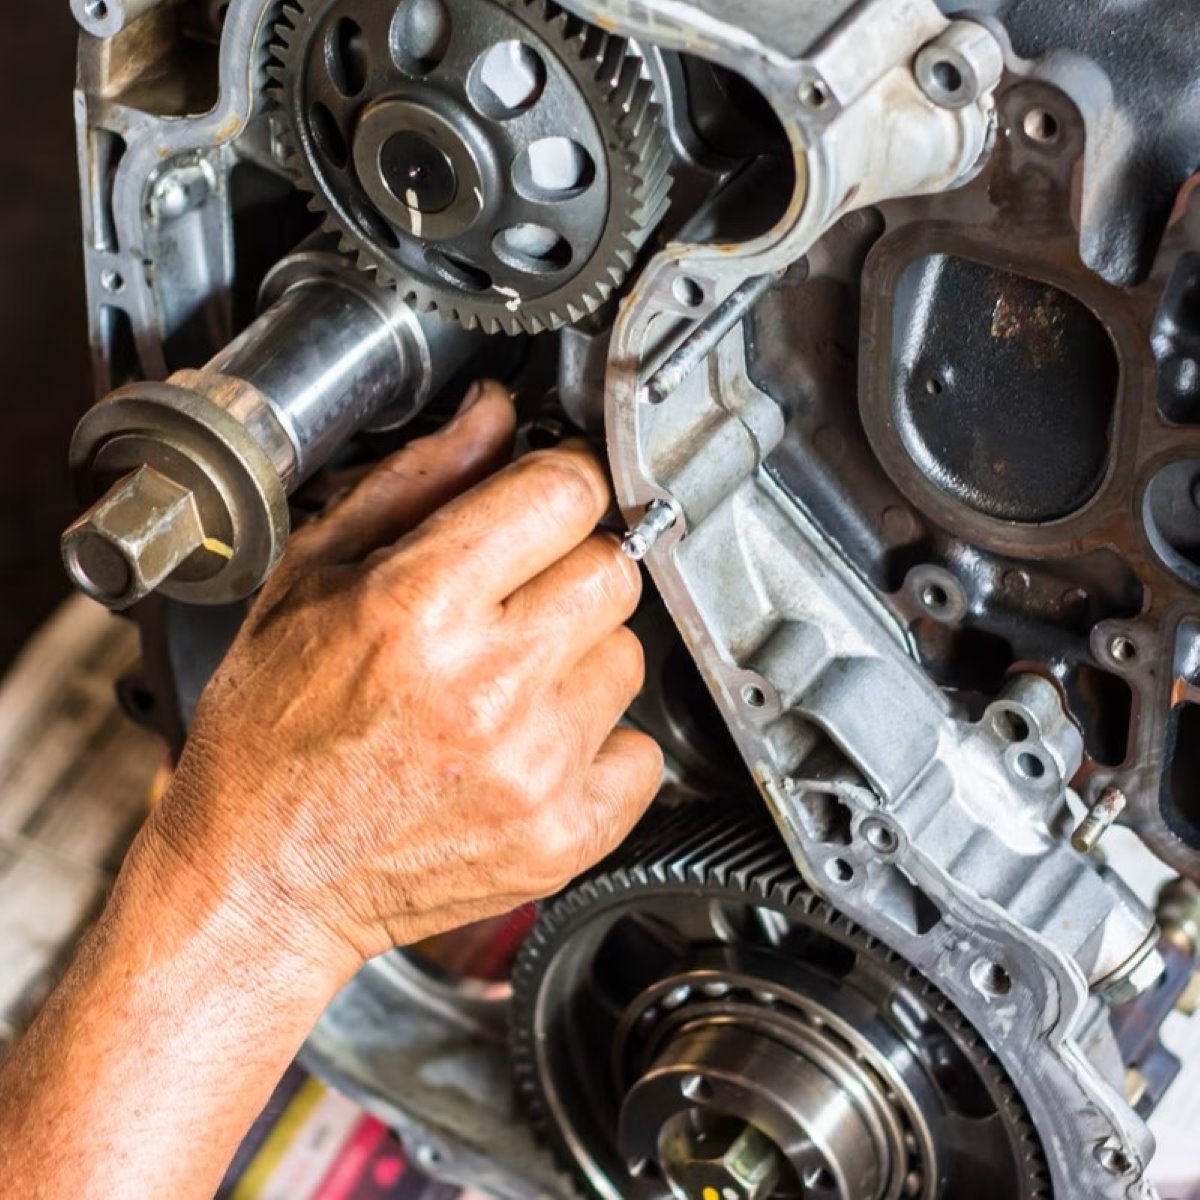
- Clean the mounting surface on the engine block where the water pump sits. Remove any leftover gasket material or debris using a clean cloth or shop towel. It is crucial to have a clean and smooth surface for proper installation of the new water pump.
Once you have successfully removed the old water pump and cleaned the mounting surface, you are now ready to move on to the next step – cleaning the gasket surface.
Step 4: Clean the Gasket Surface
Before installing the new water pump, it is crucial to clean the gasket surface thoroughly. This will ensure a proper seal and prevent any leaks or complications down the line.
Follow these steps to clean the gasket surface:
- Use a clean cloth or shop towel to wipe away any remaining debris or residue on the mounting surface. Pay close attention to any corners or crevices where gasket material or dirt may be lodged.
- If there are any stubborn remnants of the old gasket remaining, you can use a gasket scraper or a flathead screwdriver to carefully remove them. Be cautious not to scratch or damage the surface while doing this.
- After removing all visible traces of the old gasket, apply a mild degreaser or engine cleaner to the gasket surface. Use a clean cloth or shop towel to scrub the surface and remove any grease or oil. Make sure to thoroughly clean the entire surface.
- Rinse the gasket surface with clean water to remove any residue from the degreaser or cleaner. Dry it thoroughly using a clean cloth or allow it to air dry before proceeding.
- Inspect the gasket surface to ensure that it is clean and free of any debris or contaminants. Any leftover residue can affect the performance and longevity of the new gasket and water pump.
It is important to note that the gasket surface should be completely dry before installing the new water pump. Any moisture or remaining debris can compromise the effectiveness of the gasket and lead to leaks.
With the gasket surface cleaned and ready, it’s time to move on to the next step – installing the new water pump.
Read more: How Much It Cost To Replace Water Pump
Step 5: Install the New Water Pump
Now that you have cleaned the gasket surface, it’s time to install the new water pump. Follow these steps to ensure proper installation:
- Take the new water pump and carefully position it onto the mounting surface. Make sure it aligns properly with the bolt holes on the engine block.
- Insert the bolts or fasteners into the designated holes and hand-tighten them. Do not fully tighten them just yet, as you may need to make adjustments during the installation process.
- Refer to the manufacturer’s instructions or your vehicle’s manual to determine if any thread sealant or gasket adhesive is required. If so, apply a thin layer to the threads of the bolts before tightening them.
- Use your ratchet and socket set or wrench set to gradually and evenly tighten the bolts in a crisscross or star pattern. This will help ensure a proper and consistent seal. Be careful not to overtighten the bolts, as it can damage the water pump or the mounting surface.
- Double-check that the water pump is securely attached and properly aligned. Wiggle it gently to confirm that it is not loose or wobbly.
- Reconnect the hoses that were previously disconnected, ensuring that they are properly aligned and securely fastened. Use a torque wrench if specified by the manufacturer to achieve the correct tightening torque.
Once you have installed the new water pump and reconnected the hoses, you are now ready to move on to the next step – replacing the gasket.
When replacing a water pump, always make sure to drain the coolant first to avoid a messy and potentially dangerous situation.
Step 6: Replace the Gasket
Replacing the gasket is a crucial step in the water pump replacement process. It ensures a proper seal between the water pump and the engine, preventing any leaks or complications. Follow these steps to replace the gasket:
- Place the new gasket onto the mounting surface. Ensure that it aligns properly with the bolt holes and completely covers the surface area.
- Apply a thin layer of gasket adhesive or sealant to both sides of the gasket. This will help create a tight and secure seal between the water pump and the engine.
- Carefully position the water pump onto the gasket. Make sure it aligns with the bolt holes on the engine block and sits flush against the gasket surface.
- Insert the bolts or fasteners into the designated holes and hand-tighten them. Do not fully tighten them just yet, as you may need to make adjustments during the installation process.
- Refer to the manufacturer’s instructions or your vehicle’s manual for the specific tightening torque specifications. Use your ratchet and socket set or wrench set to gradually and evenly tighten the bolts, following the recommended torque values.
- Double-check that the gasket is properly aligned and that there are no gaps or misalignments. This is crucial for a tight and effective seal.
- Inspect the area around the gasket for any excess adhesive or sealant. If necessary, wipe away any residue using a clean cloth or shop towel.
Proper installation of the gasket is essential to prevent any coolant leaks or difficulties with the cooling system. Take your time and ensure that the gasket is securely in place before moving on to the next step.
With the gasket replaced, it’s time to move on to the next step – reassembling the cooling system.
Step 7: Reassemble the Cooling System
After replacing the water pump and gasket, it’s time to reassemble the cooling system. Follow these steps to ensure a proper reassembly:
- Reconnect any components that were previously disconnected, such as hoses, belts, or brackets. Make sure they are properly aligned and securely fastened.
- Refer to your vehicle’s manual or documentation to ensure that all hoses and connections are correctly routed. Ensure that there are no kinks or twists in the hoses, as this can restrict the flow of coolant.
- If necessary, replace any damaged or worn-out hoses or clamps before reassembling the cooling system. It’s important to have all components in good condition for optimal performance.
- Inspect the belts for signs of wear or damage. If needed, replace the belts to ensure proper operation of the cooling system.
- Make sure all fasteners, including bolts and nuts, are tightened to the specified torque values. This will help prevent any loose components or potential leaks in the system.
Once you have reassembled the cooling system, take a few moments to double-check all connections and components. Ensure that everything is properly secured and aligned.
With the cooling system reassembled, you are now ready to move on to the next step – refilling the cooling system with fresh coolant.
Step 8: Refill the Cooling System
With the cooling system reassembled, it’s time to refill it with fresh coolant. Follow these steps to properly refill the cooling system:
- Refer to your vehicle’s manual or documentation to determine the correct type and quantity of coolant required. It is important to use the recommended coolant to ensure optimal performance and prevent any compatibility issues.
- Locate the coolant reservoir or radiator cap. If using the coolant reservoir, remove the cap. If using the radiator cap, ensure that the engine is cool to the touch before removing it.
- Carefully pour the coolant into the reservoir or radiator opening. Use a funnel to prevent any spills or overflow.
- Monitor the fluid level as you pour the coolant. Stop pouring when the fluid reaches the recommended level indicated on the reservoir or radiator.
- Once the coolant is filled, replace the reservoir cap or radiator cap securely.
- Start the engine and allow it to run for a few minutes. This will help circulate the coolant throughout the system.
- During the engine’s warm-up period, monitor the coolant level closely. It may drop initially as air pockets are released. Add more coolant as needed to maintain the recommended level.
It is essential to properly dispose of any excess or old coolant in an environmentally friendly manner. Consult your local recycling center or waste disposal facility for guidelines on how to dispose of coolant safely.
With the cooling system refilled, you are now ready to move on to the final step – testing for leaks.
Step 9: Test for Leaks
After completing the water pump replacement and refilling the cooling system, it is crucial to test for any potential leaks. Follow these steps to ensure that your repair is successful:
- Allow the engine to run for several minutes to reach operating temperature. Keep a close eye on the temperature gauge to ensure that the engine does not overheat.
- Inspect the area around the water pump and gasket for any signs of coolant leaks. Look for drips, wet spots, or puddles of coolant. Check the hose connections, clamps, and the water pump itself.
- If you notice any leaks, immediately shut off the engine. Check that all connections are secure and tighten any loose clamps or fasteners. If necessary, remove the water pump and gasket and retrace the installation steps to identify and resolve the issue.
- If there are no visible leaks, carefully touch the area around the water pump and gasket to feel for any signs of coolant. Be cautious, as the engine and coolant may still be hot.
- Monitor the coolant level over the next few days of driving. Check for any sudden drops in the level or any signs of coolant leaks under the vehicle. If you notice any issues, it is essential to address them promptly to prevent further damage to the cooling system.
Testing for leaks ensures that the water pump replacement has been successful and that the cooling system is functioning properly. It provides peace of mind and helps prevent any potential issues down the line.
With the water pump replacement complete and no signs of leaks, congratulations! You have successfully replaced the water pump in your vehicle. Regularly monitor the coolant level and keep an eye out for any unusual behaviors or signs of coolant leaks to ensure the continued performance of your vehicle’s cooling system.
Remember, if you have any doubts or concerns during the water pump replacement process, it is always recommended to consult a professional mechanic or refer to your vehicle’s manual for further guidance.
Conclusion
Replacing a water pump may seem like a complex task, but with the right tools, materials, and knowledge, it is a repair that you can tackle yourself. A properly functioning water pump is crucial for maintaining your vehicle’s cooling system and preventing engine overheating.
In this article, we have provided a comprehensive guide on how to replace a water pump. Starting from gathering the required tools and materials to testing for leaks, we have covered the step-by-step process to help you successfully complete this repair.
Remember to consult your vehicle’s manual or manufacturer’s instructions for specific guidelines and torque specifications. This will ensure that you follow the recommended procedures tailored to your particular vehicle make and model.
Throughout the replacement process, it is essential to pay attention to detail, take your time, and follow each step carefully. This will help avoid mistakes and ensure a safe and effective repair.
By following this guide and taking the necessary precautions, you can confidently replace the water pump in your vehicle, saving time and money on professional repairs.
However, if you are unsure or uncomfortable with performing this repair yourself, it is always recommended to seek assistance from a qualified mechanic or automotive professional.
Remember, regular maintenance and timely repairs are key to keeping your vehicle running smoothly and prolonging its lifespan. So, don’t hesitate to address any water pump issues promptly to maintain the efficiency and reliability of your vehicle’s cooling system.
We hope this article has been helpful in guiding you through the process of replacing a water pump. Happy repairing!
Frequently Asked Questions about How To Replace A Water Pump
Was this page helpful?
At Storables.com, we guarantee accurate and reliable information. Our content, validated by Expert Board Contributors, is crafted following stringent Editorial Policies. We're committed to providing you with well-researched, expert-backed insights for all your informational needs.

0 thoughts on “How To Replace A Water Pump”