Home>Articles>How To Tell If Your Outboard Motor Water Pump Is Bad
Articles
How To Tell If Your Outboard Motor Water Pump Is Bad
Modified: October 20, 2024
Learn how to determine if your outboard motor water pump is faulty with these helpful articles on diagnosing and repairing common problems.
(Many of the links in this article redirect to a specific reviewed product. Your purchase of these products through affiliate links helps to generate commission for Storables.com, at no extra cost. Learn more)
Introduction
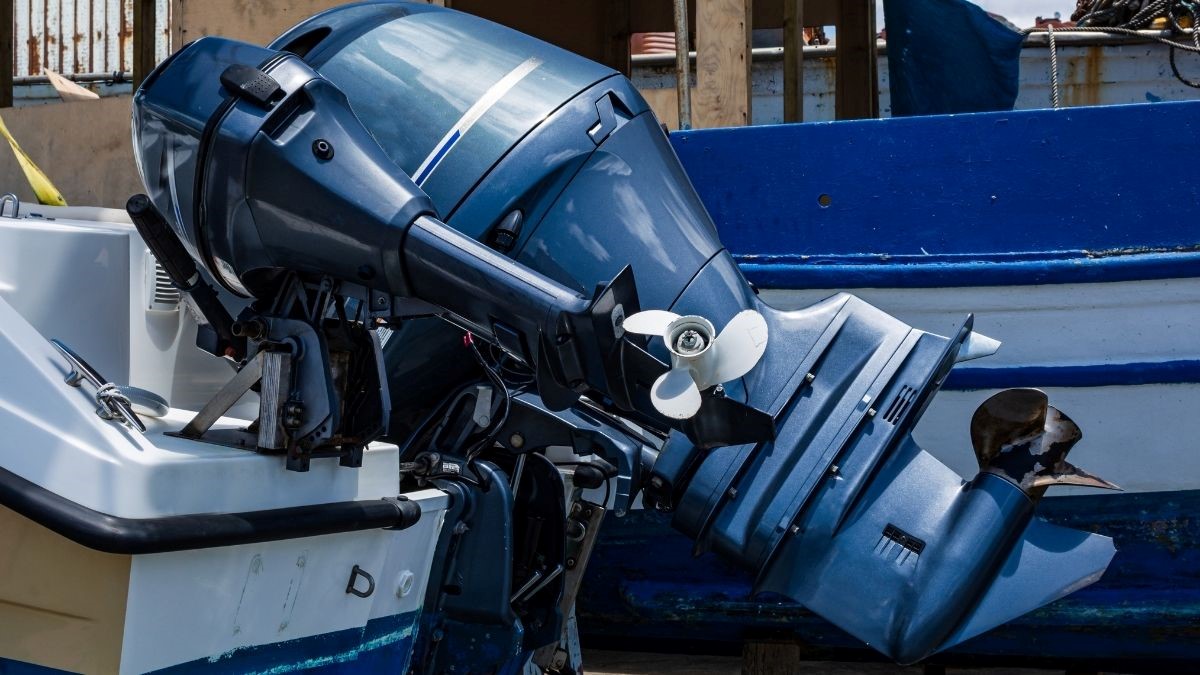
Welcome to our comprehensive guide on how to tell if your outboard motor water pump is bad. The water pump is a crucial component of your outboard motor, responsible for keeping it cool during operation. Over time, the water pump can wear out or develop issues that affect its functionality, potentially resulting in engine damage or overheating.
It’s important to be able to recognize the signs of a faulty water pump so that you can take the necessary steps to address the problem. In this article, we will discuss the various indicators that your outboard motor water pump may be bad and guide you through the process of checking for potential issues and replacing the pump if necessary.
If you’re an avid boater or rely on your outboard motor for work or recreational activities, understanding the health of your water pump is essential. Ignoring the signs of a bad water pump puts your engine at risk and can lead to costly repairs down the line. By proactively monitoring and maintaining your water pump, you can ensure the smooth and efficient operation of your outboard motor.
So, let’s dive in and learn how to identify if your outboard motor water pump is bad and what steps you can take to resolve any issues.
Key Takeaways:
- Recognize the signs of a bad outboard motor water pump, such as overheating, low water flow, unusual noises, water leakage, and increased fuel consumption, to prevent engine damage and costly repairs.
- Regularly inspect and maintain your water pump by checking for potential issues, replacing faulty components, and seeking professional assistance when needed to ensure the smooth and reliable operation of your outboard motor.
Read more: How To Tell If Your House Water Pump Is Bad
Signs of a Bad Outboard Motor Water Pump
Recognizing the signs of a bad outboard motor water pump is crucial for maintaining the performance and longevity of your motor. Here are some common indicators that there may be an issue with your water pump:
- Overheating: One of the most noticeable signs of a bad water pump is an engine that consistently runs hotter than normal. If your temperature gauge shows a continuous rise in temperature or if you notice steam coming from the motor, it is likely that your water pump is not functioning correctly. It’s important to address overheating issues as soon as possible to prevent damage to the engine.
- Low Water Flow: If you notice a decrease in the amount of water flowing out of the cooling system, it may indicate a problem with the water pump. Insufficient water flow can lead to inadequate cooling and potential damage to the motor. Keep an eye out for reduced or weak water flow from the telltale or pee hole.
- Audible Clunking or Grinding: If you hear unusual sounds coming from your motor, such as clunking or grinding noises, it could be a sign of a failing water pump. These noises may indicate worn-out bearings or impellers within the water pump, which can impair its functionality.
- Water Leakage: Any visible signs of water leakage around the water pump housing or any wet patches near the pump area may point to a faulty water pump. Leakage can indicate a damaged seal or gasket, and should be addressed promptly to prevent further issues.
- Increased Fuel Consumption: A malfunctioning water pump can cause improper cooling, leading to decreased engine efficiency. As a result, the engine may require more fuel to compensate for the lack of proper cooling, resulting in increased fuel consumption. If you notice a significant increase in fuel usage without any other apparent cause, it’s worth investigating the water pump.
It’s important to note that while these signs are common indicators of a bad water pump, they may also be symptoms of other engine-related problems. Therefore, it’s recommended to seek professional assistance if you are unsure about the cause of these issues or if you need help diagnosing the specific problem with your outboard motor water pump.
Checking the Water Pump for Potential Issues
Once you’ve identified the signs of a potential problem with your outboard motor water pump, it’s crucial to conduct a thorough inspection to determine the exact issue. Here are the steps to check the water pump for potential issues:
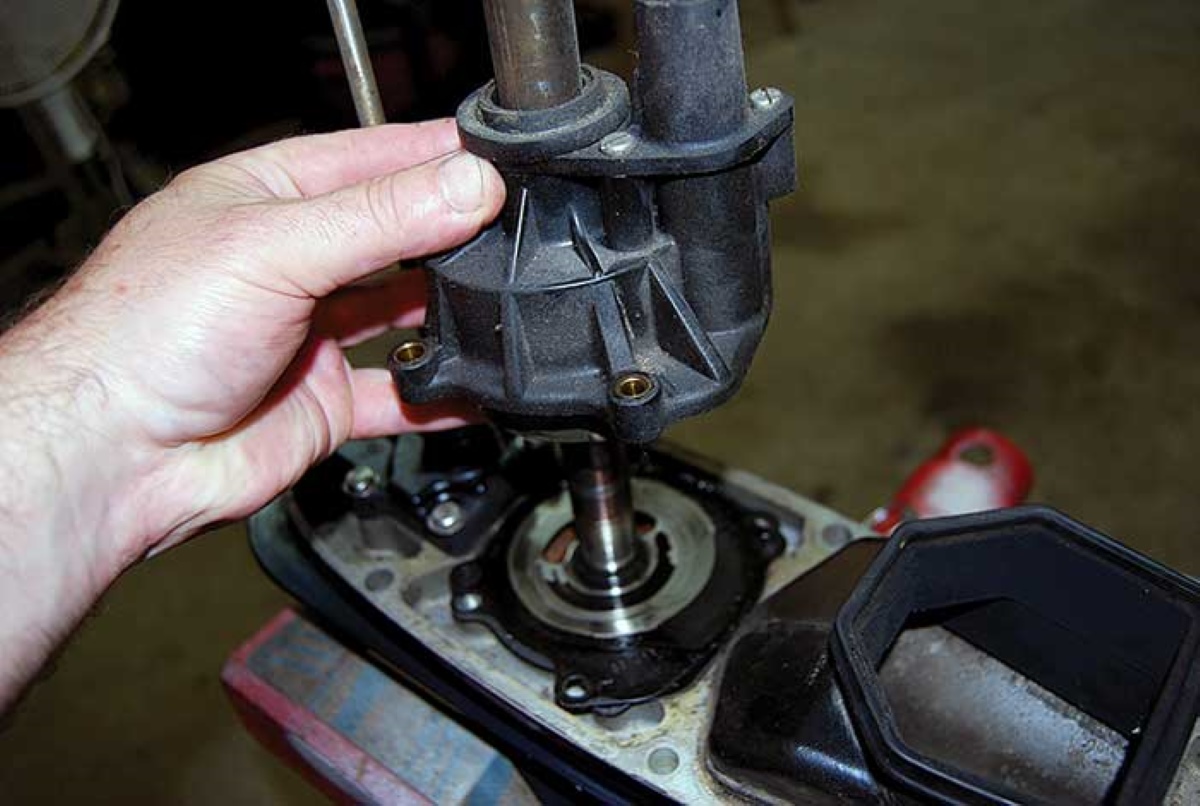
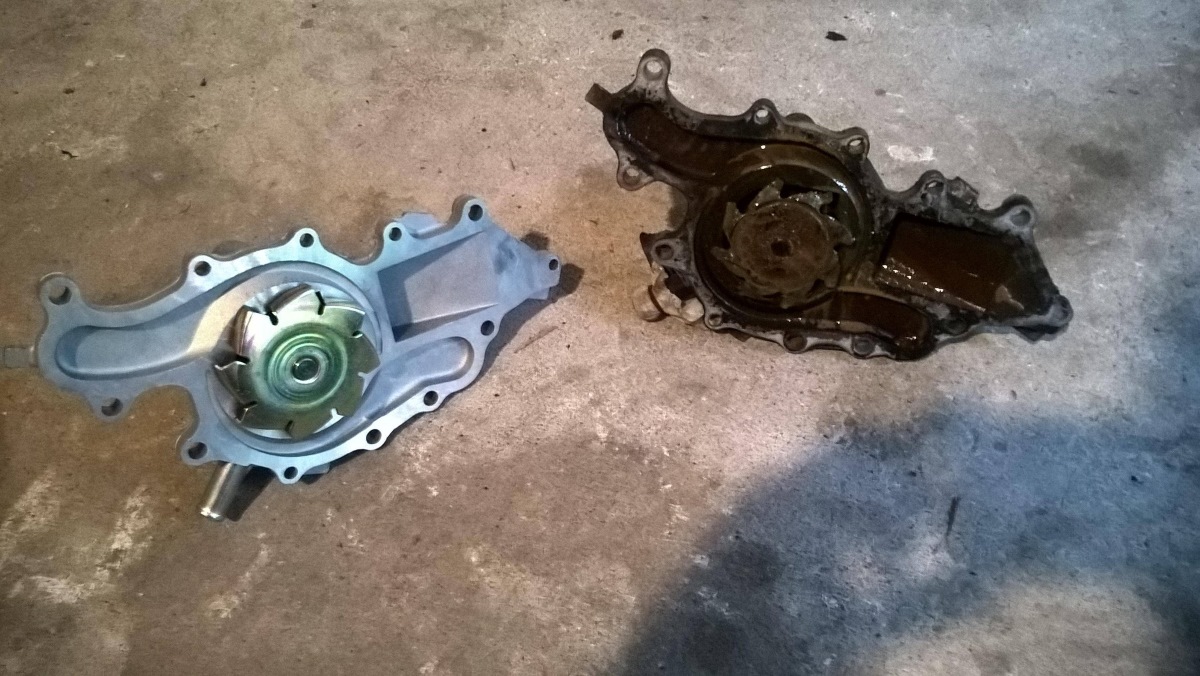
- Visual Inspection: Start by visually inspecting the water pump and surrounding components. Look for any signs of damage, such as cracks or corrosion, on the water pump housing, impeller, or gaskets. Check for loose or worn-out belts and ensure that all connections are secure. Additionally, inspect the cooling system hoses and fittings for any signs of leakage.
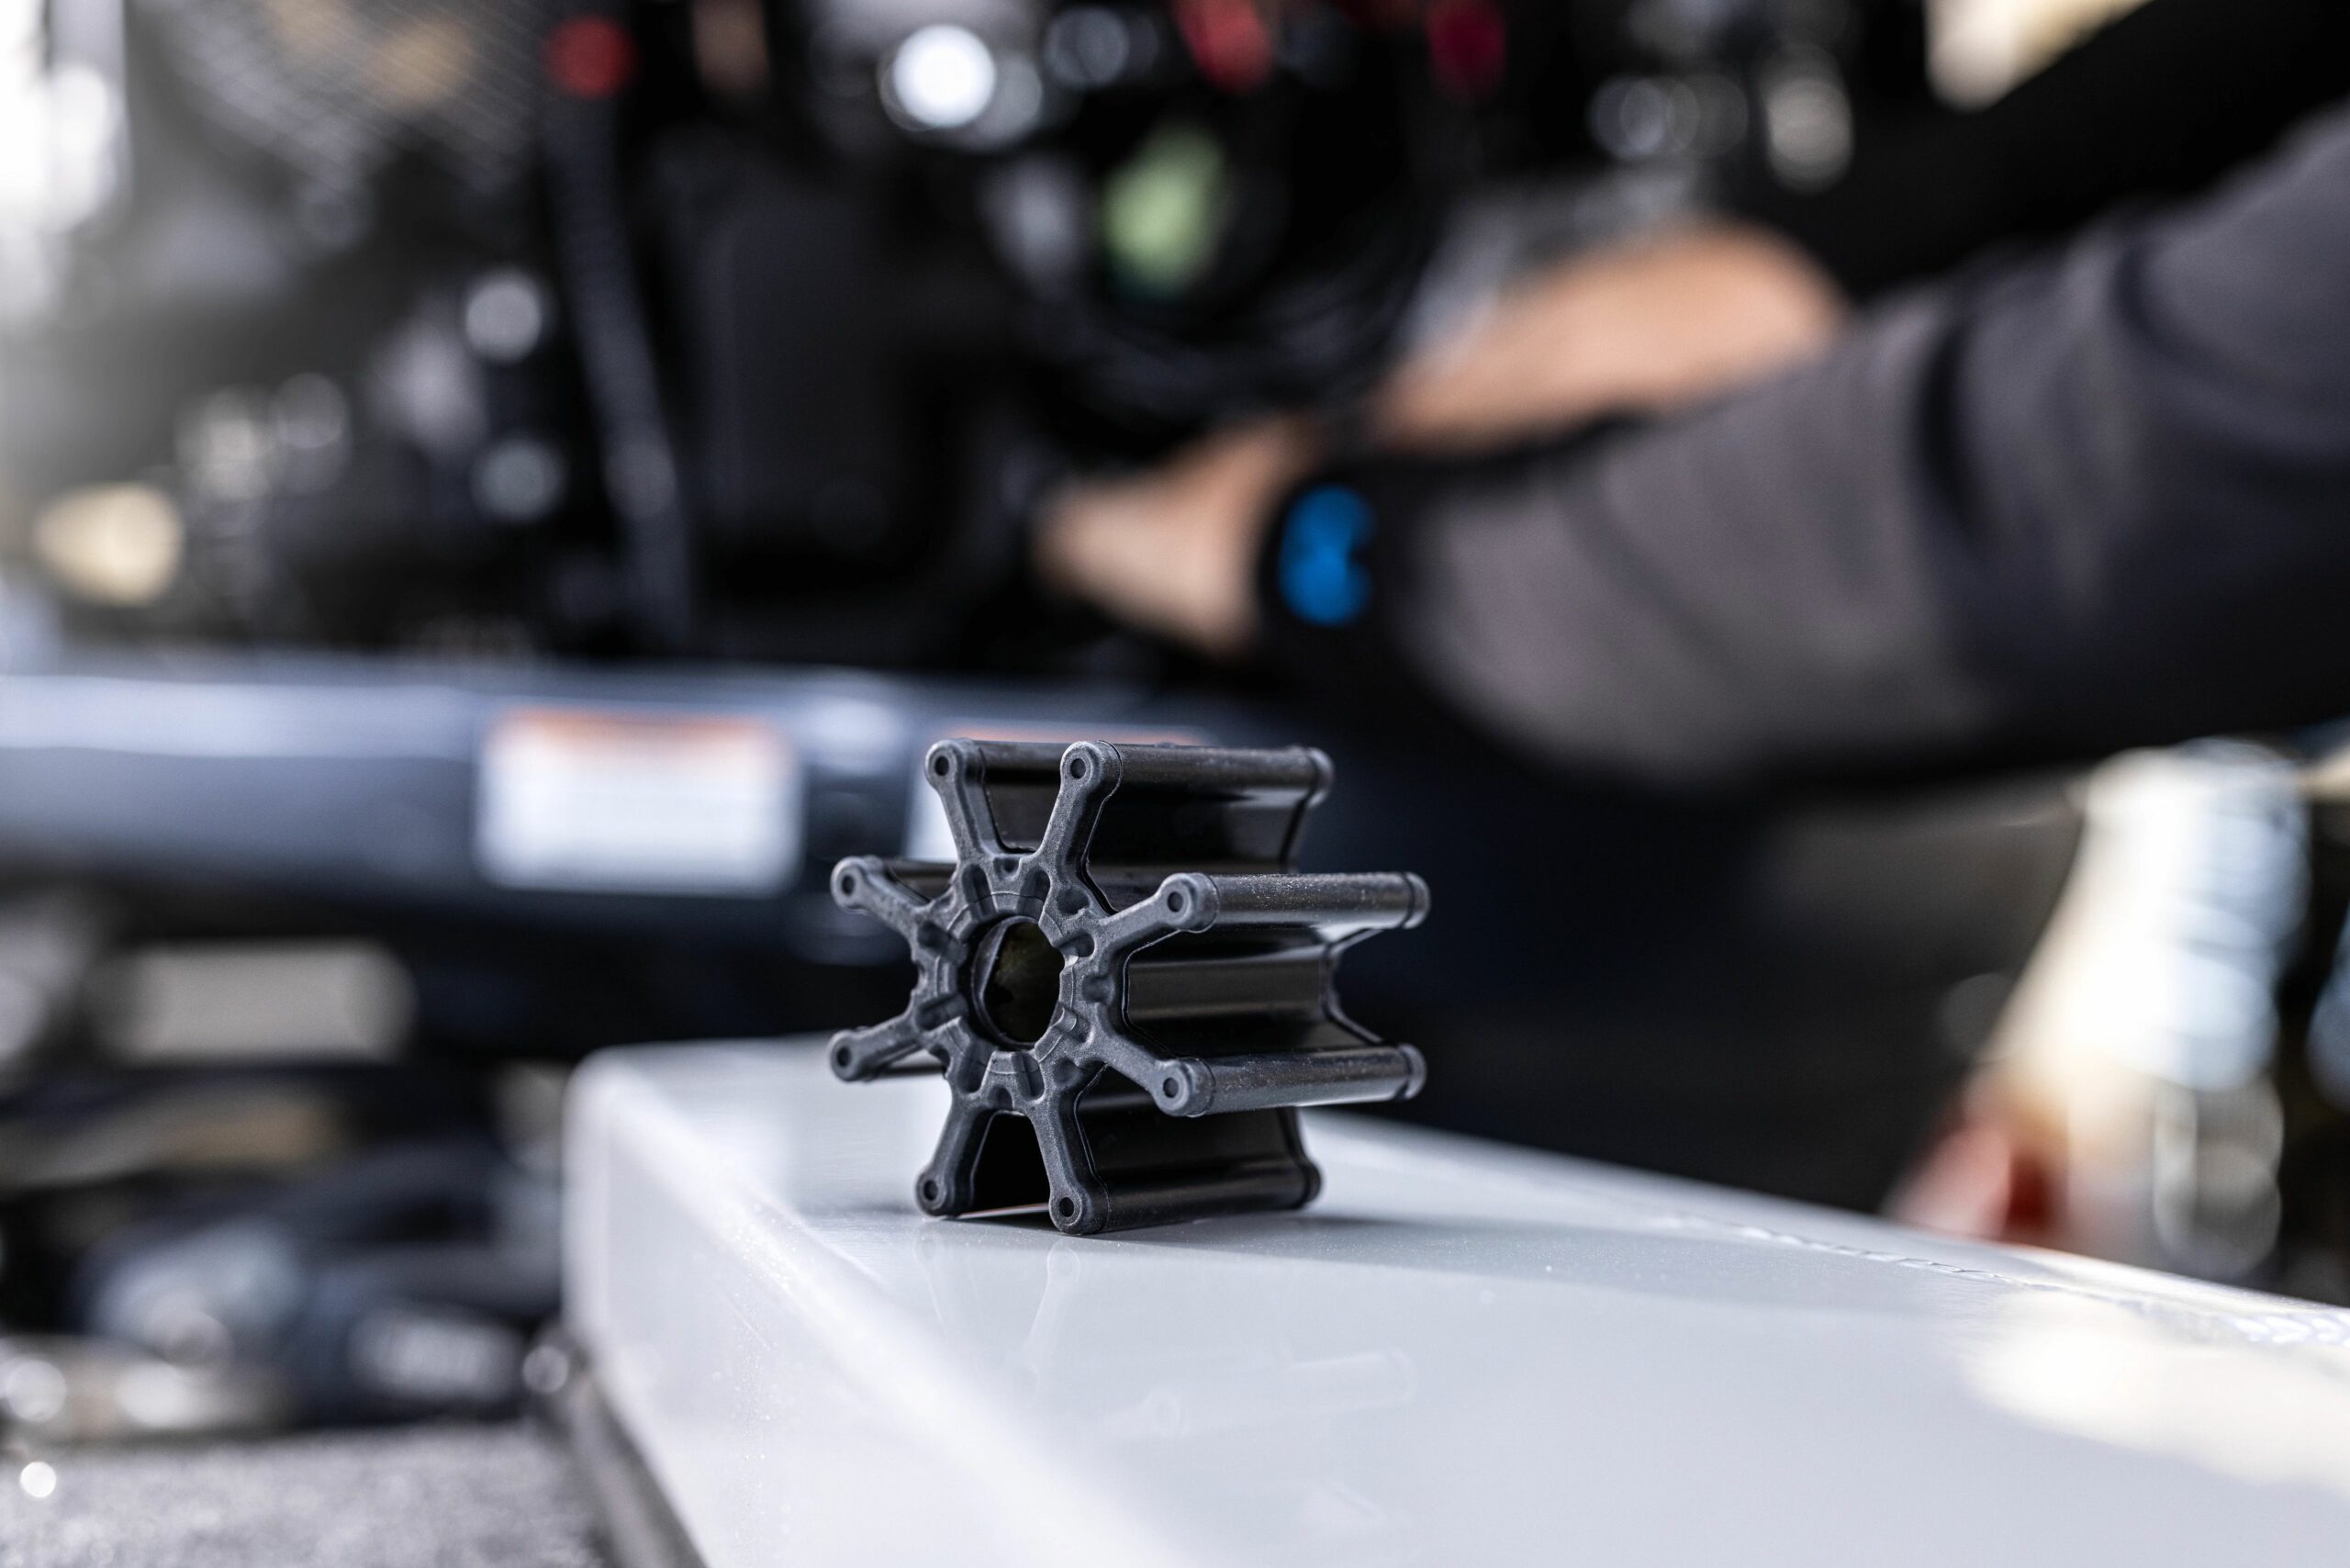
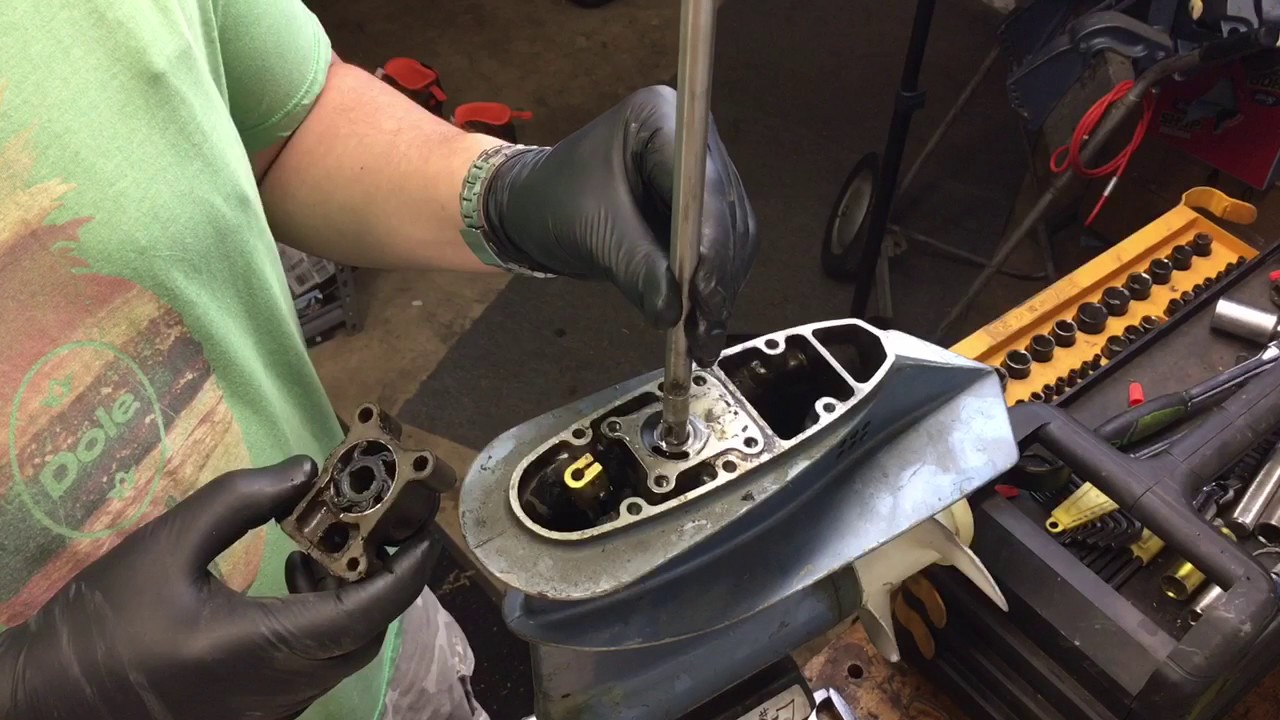
- Impeller Inspection: Next, remove the water pump impeller cover. Depending on the make and model of your outboard motor, the location of the cover may vary. Inspect the impeller for any signs of wear, such as missing or damaged blades. If the impeller appears worn or damaged, it may need to be replaced.
- Check for Flexibility: Gently press on the impeller blades to check for flexibility. The blades should be flexible but not overly loose or stiff. If the blades feel excessively loose or rigid, it may indicate an issue with the impeller or the housing.
- Test the Water Pump: To test the functionality of the water pump, you can use a water hose or a flushing attachment specifically designed for outboard motors. Attach the hose or flushing attachment to the water intake on the lower unit of the motor. Start the motor and ensure that water flows freely from the telltale or pee hole. Observe the water flow for any signs of obstruction or irregular patterns.
- Pressure Test: If you suspect a leak in the cooling system, you can perform a pressure test. This involves using a pressure tester to pressurize the cooling system and check for any loss of pressure. If the system loses pressure, it may indicate a faulty seal or gasket that needs to be replaced.
Remember, if you are uncomfortable performing these checks on your own or if you’re unsure about the procedure, it’s always advisable to seek the help of a qualified marine mechanic or technician. They have the expertise and experience to accurately diagnose any issues with your outboard motor water pump and provide the necessary repairs or replacements.
Regularly check the water stream coming from the tell-tale hole while the outboard motor is running. If the stream is weak or non-existent, it may indicate a bad water pump.
Steps to Replace a Faulty Water Pump
If you have determined that your outboard motor water pump is indeed faulty and needs to be replaced, here are the general steps to follow for a successful replacement:
- Gather the Necessary Tools and Parts: Before starting the replacement process, make sure you have all the required tools and replacement parts. This may include a socket set, screwdrivers, pliers, a replacement water pump kit (including a new impeller, gaskets, seals, and o-rings), and any other specific tools recommended by your outboard motor manufacturer.
- Prepare the Motor: Start by turning off the motor and disconnecting the battery to ensure safety. Then, tilt the motor up and secure it in an upright position using an appropriate engine support device or transom saver. This will provide better access to the water pump area.
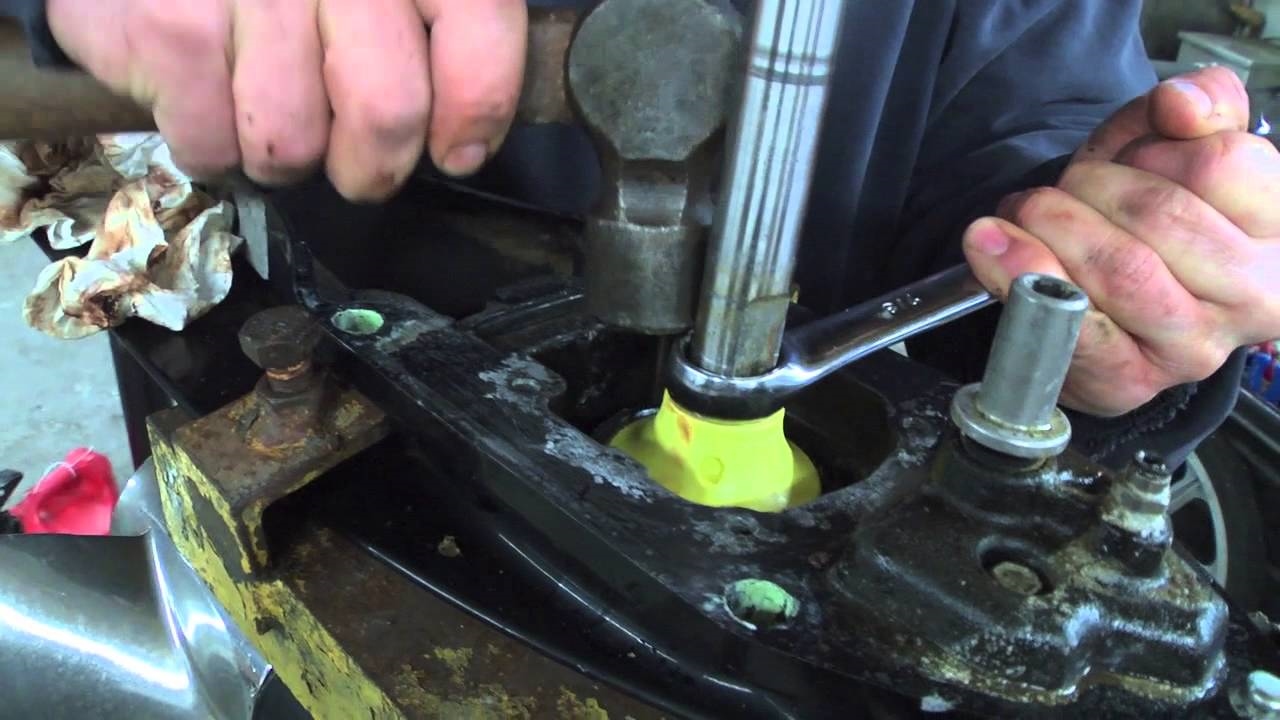
- Remove the Lower Unit: Depending on your outboard motor model, you may need to remove the lower unit to access the water pump. Refer to your motor’s specific service manual for detailed instructions on how to remove the lower unit. Typically, this involves disconnecting the shift linkage, removing the trim tab, disconnecting the driveshaft, and unbolting the lower unit from the motor.
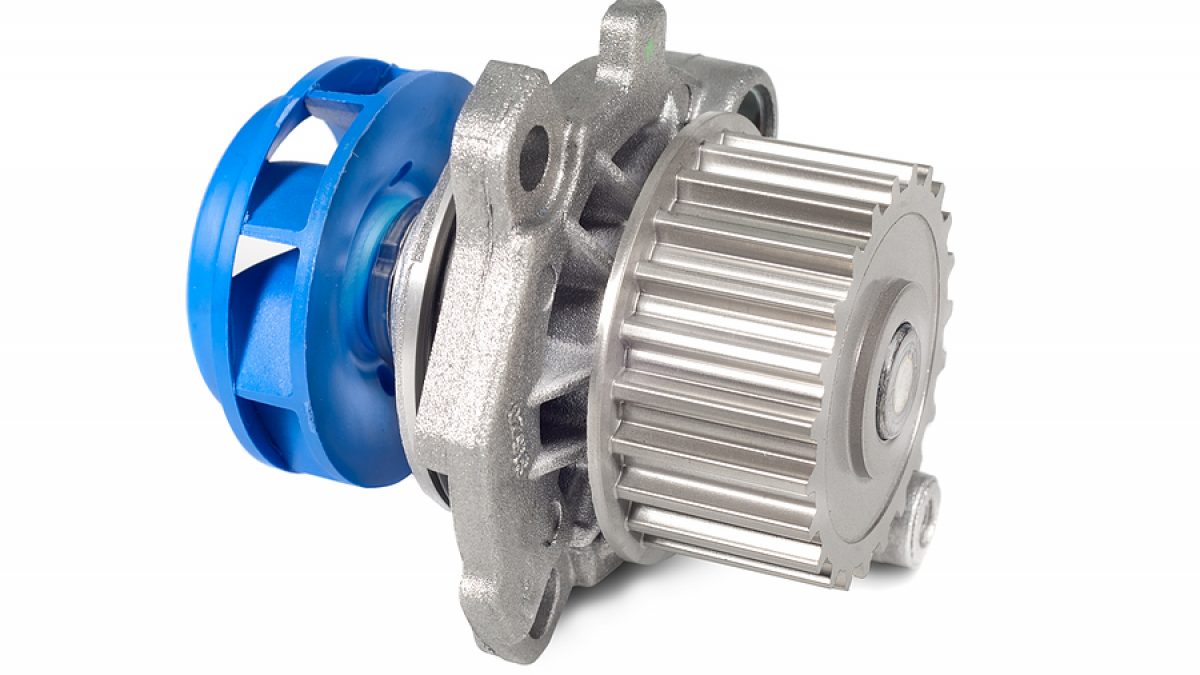
- Replace the Water Pump Components: Once the lower unit is removed, locate the water pump housing and remove any retaining bolts or screws. Carefully take out the old impeller, gaskets, seals, and o-rings. Clean the housing thoroughly and lubricate the new impeller with a suitable marine grease. Install the new impeller, gaskets, seals, and o-rings according to the provided instructions in the replacement kit.
- Reassemble and Test: Reattach the water pump housing to the lower unit, ensuring all bolts or screws are securely tightened. Reinstall the lower unit onto the motor, reconnect the driveshaft, shift linkage, and trim tab. Double-check all connections and make sure everything is properly aligned. Reconnect the battery and start the motor. Run it in a test tank or in the water and observe for proper water flow and cooling.
Keep in mind that the above steps provide a general overview of the water pump replacement process. It’s essential to consult your motor’s service manual for manufacturer-specific instructions and guidelines. If you’re uncertain or uncomfortable performing the replacement yourself, it’s best to seek professional assistance from a qualified marine mechanic or technician.
Replacing a faulty water pump in a timely manner is crucial for the continued performance and longevity of your outboard motor. Regular maintenance and inspection of the water pump can help you detect and address any issues early on, preventing more significant problems and costly repairs in the future.
Conclusion
Taking care of your outboard motor water pump is essential for the smooth and reliable operation of your motor. Recognizing the signs of a bad water pump and knowing how to check for potential issues can help you catch problems early on and prevent more severe damage to your engine.
In this guide, we discussed the common signs of a bad outboard motor water pump, including overheating, low water flow, unusual noises, water leakage, and increased fuel consumption. We also explored the steps to check the water pump for potential issues, such as visual inspection, impeller examination, flexibility check, and water flow testing.
If you determine that your water pump is indeed faulty, it’s crucial to follow the appropriate steps to replace it. Gathering the necessary tools and replacement parts, preparing the motor, removing the lower unit, replacing the water pump components, and reassembling and testing the motor are all crucial steps to ensure a successful water pump replacement.
Remember, if you’re unsure about any aspect of checking or replacing your water pump, it’s always best to consult your outboard motor’s service manual or seek professional assistance from a qualified marine mechanic or technician.
By proactively monitoring the health of your outboard motor water pump and addressing any issues promptly, you can enjoy peace of mind on the water, knowing that your motor is running efficiently and reliably. Regular maintenance and care of your water pump will help extend the lifespan of your outboard motor and ensure many enjoyable boating adventures in the years to come.
Curious about maintaining your outboard motor in top condition? After learning how to diagnose a faulty water pump, it's natural to wonder about optimal replacement times. Don't miss our detailed guide on knowing precisely when to consider a water pump replacement. This next read is packed with practical advice, ensuring your water adventures continue smoothly without unexpected interruptions. Dive into the specifics and keep your motor running efficiently year after year.
Frequently Asked Questions about How To Tell If Your Outboard Motor Water Pump Is Bad
Was this page helpful?
At Storables.com, we guarantee accurate and reliable information. Our content, validated by Expert Board Contributors, is crafted following stringent Editorial Policies. We're committed to providing you with well-researched, expert-backed insights for all your informational needs.


0 thoughts on “How To Tell If Your Outboard Motor Water Pump Is Bad”