Articles
How To Replace A Water Pump On A Ford F150
Modified: October 19, 2024
Learn how to replace a water pump on a Ford F150 with our informative articles. Get expert tips and step-by-step instructions to tackle this repair.
(Many of the links in this article redirect to a specific reviewed product. Your purchase of these products through affiliate links helps to generate commission for Storables.com, at no extra cost. Learn more)
Introduction
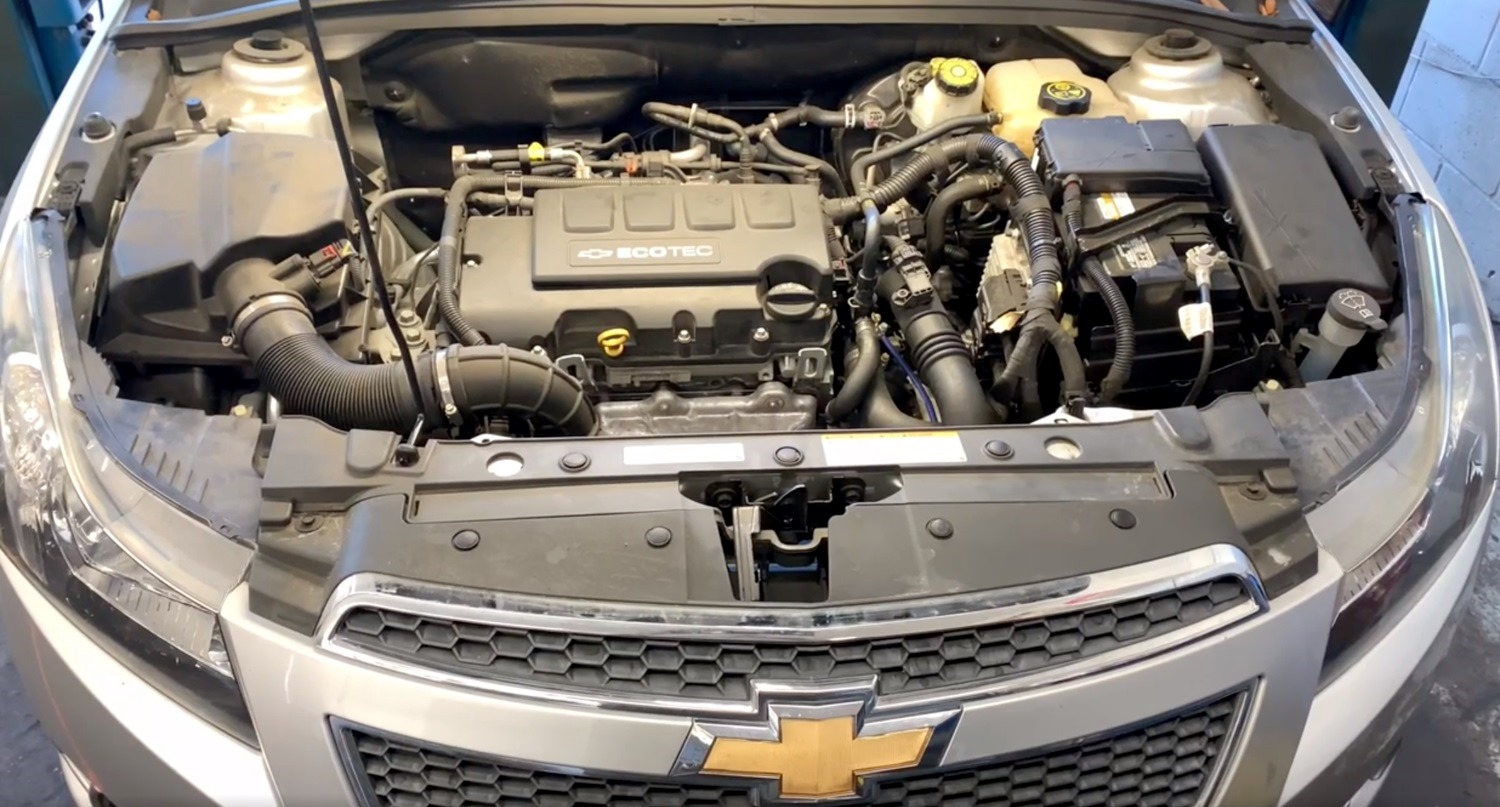
Replacing a water pump on a Ford F150 is a task that every truck owner may have to tackle at some point. The water pump is a crucial component of the engine’s cooling system, responsible for circulating coolant to keep the engine at the optimal temperature. Over time, the water pump can wear out or develop leaks, leading to overheating and potential engine damage.
In this article, we will guide you through the step-by-step process of replacing a water pump on a Ford F150. By following these instructions and using the right tools, you can save yourself a trip to the mechanic and successfully replace the water pump in your own garage. So, let’s dive in and get started!
Key Takeaways:
- DIY Success
By following this guide, you can confidently replace the water pump on your Ford F150, saving time and money while ensuring the proper function of the cooling system. Embrace the satisfaction of a DIY success! - Maintenance Matters
Regular maintenance and periodic checks of the cooling system are crucial for the longevity and optimal performance of your vehicle. Stay proactive and enjoy smooth, trouble-free driving experiences.
Read more: How To Program Ford F150 Garage Door Opener
Step 1: Gather Necessary Tools and Supplies
Before you begin replacing the water pump on your Ford F150, it’s important to gather all the necessary tools and supplies. Having everything ready beforehand will save you time and frustration during the process. Here are the tools and supplies you’ll need:
- Socket wrench set
- Combination wrench set
- Adjustable pliers
- Scraper or gasket remover
- New water pump
- New gaskets and seals
- Coolant (make sure it’s compatible with your vehicle’s specifications)
- Drain pan
- Gloves and safety glasses
Ensure that you have the correct sizes of wrenches and sockets to fit the bolts and fasteners on your Ford F150. It’s also a good idea to have a repair manual or online guide specific to your vehicle model for reference during the process.
Once you have gathered all the necessary tools and supplies, you are ready to move on to the next step.
Step 2: Drain the Cooling System
Before you can replace the water pump on your Ford F150, you need to drain the cooling system to prevent any spills or leaks during the process. Follow these steps to drain the cooling system:
- Make sure the engine is cool: It’s important to ensure that the engine has cooled down completely before attempting to drain the coolant. Working with a hot engine can be dangerous and can cause burns.
- Locate the radiator drain plug: Look for the drain plug at the bottom of the radiator. The exact location may vary depending on the model year.
- Place a drain pan underneath: Position a drain pan underneath the drain plug to catch the coolant as it drains out.
- Open the drain plug: Using a wrench or pliers, carefully loosen and remove the drain plug. Allow the coolant to flow into the drain pan.
- Drain the overflow tank: In some cases, there may be an overflow tank connected to the cooling system. Make sure to drain any coolant from the overflow tank as well.
- Dispose of the coolant properly: Coolant is toxic and harmful to the environment. Dispose of the drained coolant according to local regulations or take it to a designated recycling center.
Once the cooling system has been drained completely, you can move on to the next step. Make sure to clean up any spills or coolant residue to prevent slipping hazards in your workspace.
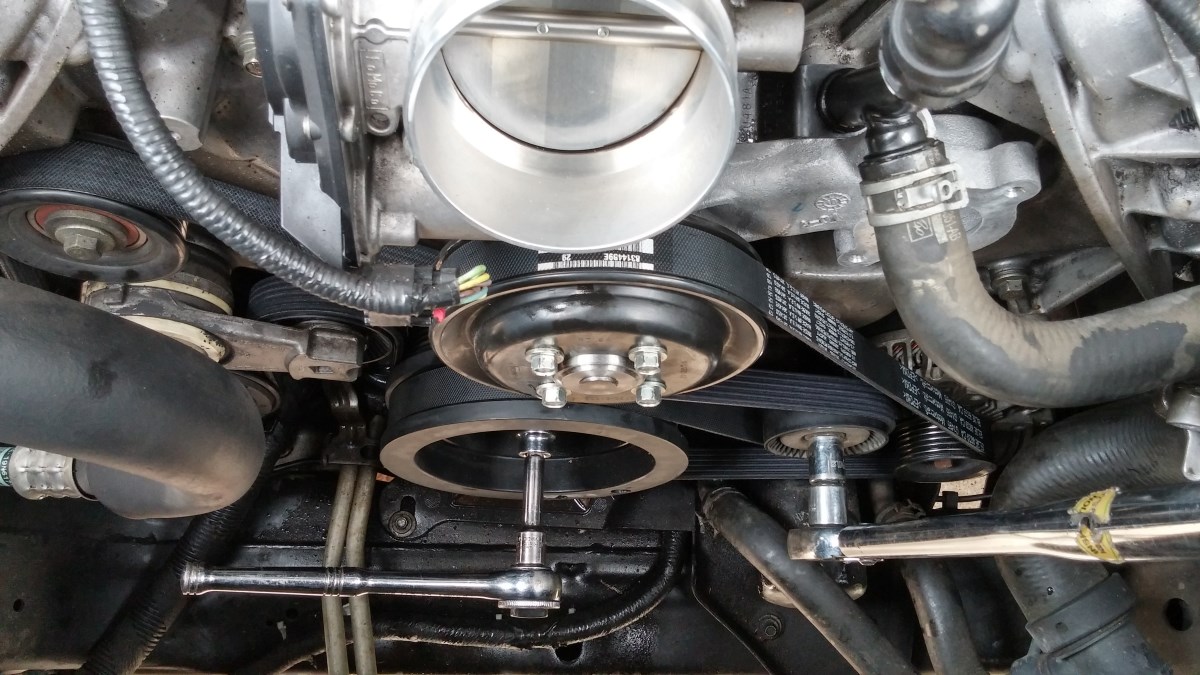
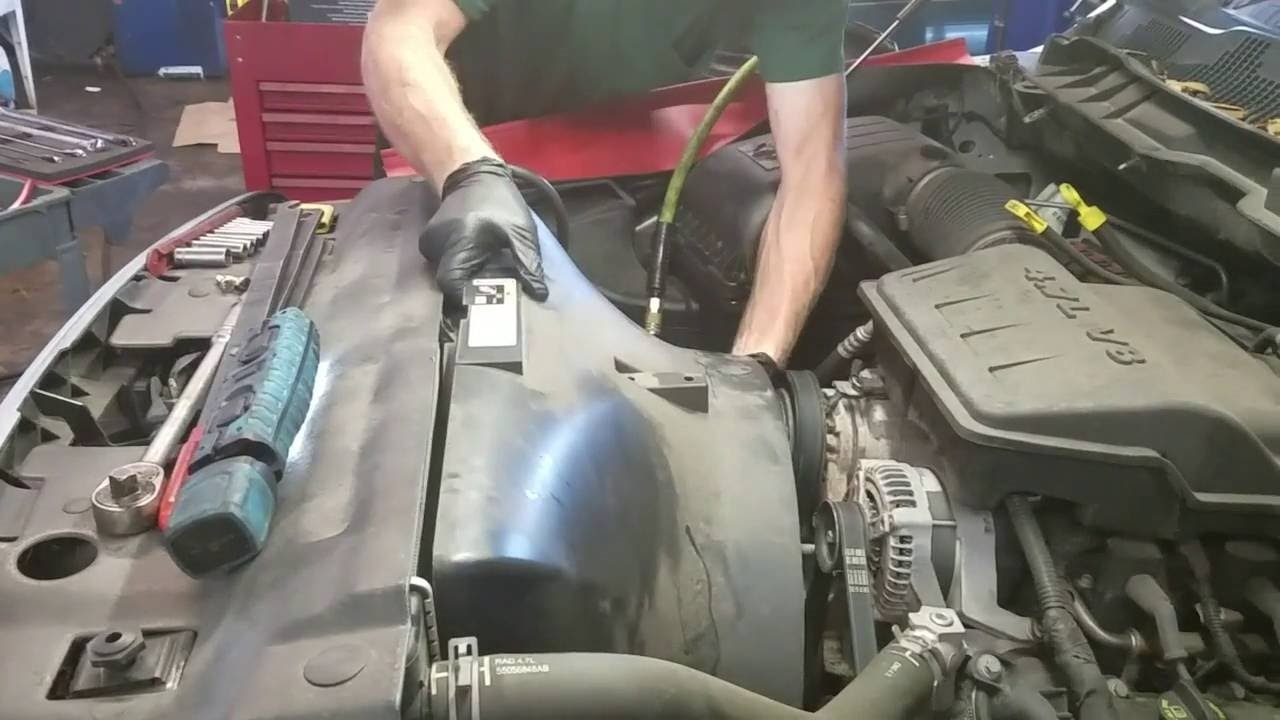
Step 3: Remove the Serpentine Belt
The serpentine belt on your Ford F150 is responsible for driving various components, including the water pump. Before you can access and remove the water pump, you’ll need to remove the serpentine belt. Here’s how:
- Locate the belt tensioner: The belt tensioner is a spring-loaded pulley that applies tension to the serpentine belt. Use a wrench or socket to rotate the tensioner and release the tension on the belt.
- Slide the belt off the pulleys: With the tension released, carefully slide the belt off the pulleys, making a mental note of its routing. If necessary, take a picture or draw a diagram to help you remember the belt’s path.
- Inspect the belt: While the belt is off, take a moment to inspect it for signs of wear or damage. If the belt is worn, cracked, or frayed, it’s a good idea to replace it along with the water pump.
Removing the serpentine belt will provide you with better access to the water pump and make the removal process easier. Keep in mind that some vehicles may have an automatic tensioner that requires a specific tool to release the tension. Refer to your vehicle’s repair manual for detailed instructions on how to remove the serpentine belt for your specific model.
Once you have successfully removed the serpentine belt, you can move on to the next step in replacing the water pump.
Step 4: Disconnect Hoses and Electrical Connections
With the serpentine belt removed, you can now proceed to disconnecting the hoses and electrical connections attached to the water pump. Here is what you need to do:
- Identify the hoses: Locate the hoses connected to the water pump. There will typically be an inlet and outlet hose connected to the pump.
- Loosen the hose clamps: Use pliers or a screwdriver to loosen the hose clamps securing the hoses to the water pump. Slide the clamps away from the pump to allow for easier removal.
- Disconnect the hoses: Carefully pull the hoses off the water pump, taking note of their positions and orientations. Some coolant may spill out, so be prepared with a towel or drain pan to catch any liquid.
- Disconnect electrical connections: In addition to the hoses, there may be electrical connections attached to the water pump. These connections may include sensors or wiring harnesses. Unplug any electrical connections, being careful not to damage the connectors.
When disconnecting hoses and electrical connections, be gentle to avoid breaking or damaging any components. If necessary, mark or label the connections to ensure proper reinstallation later. By disconnecting these components, you are preparing the water pump for removal and replacement.
Once all the hoses and electrical connections are disconnected, you can proceed to the next step in the water pump replacement process.
Read more: How To Replace Water Pump Ford Taurus
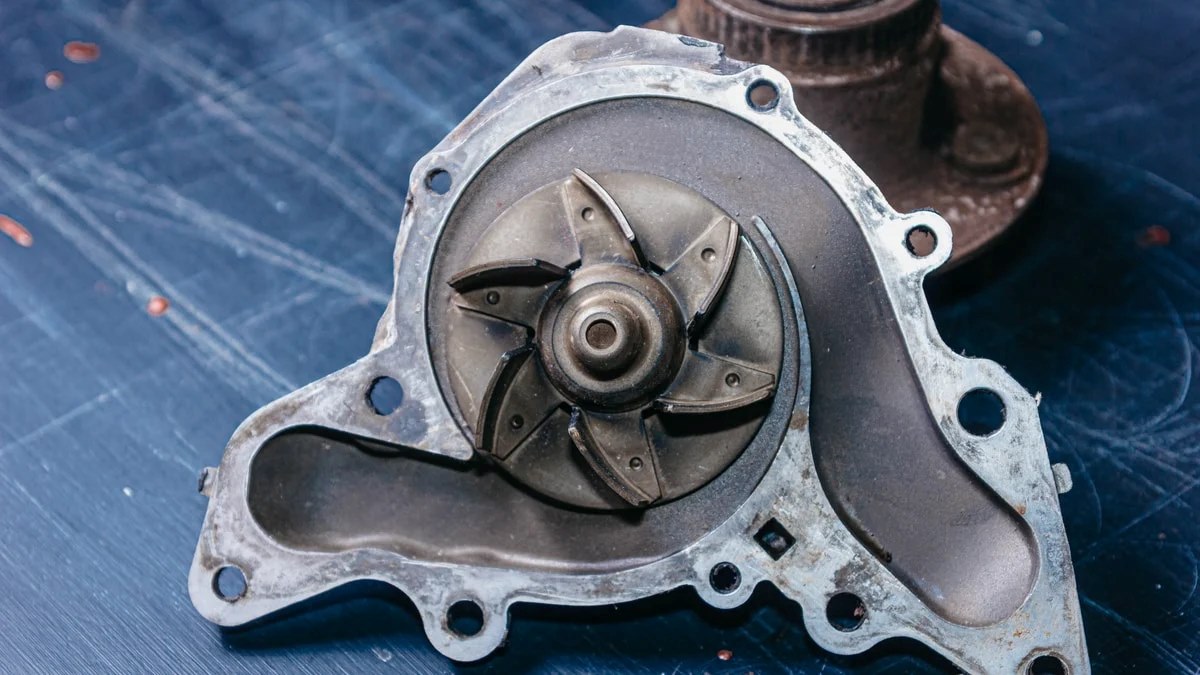
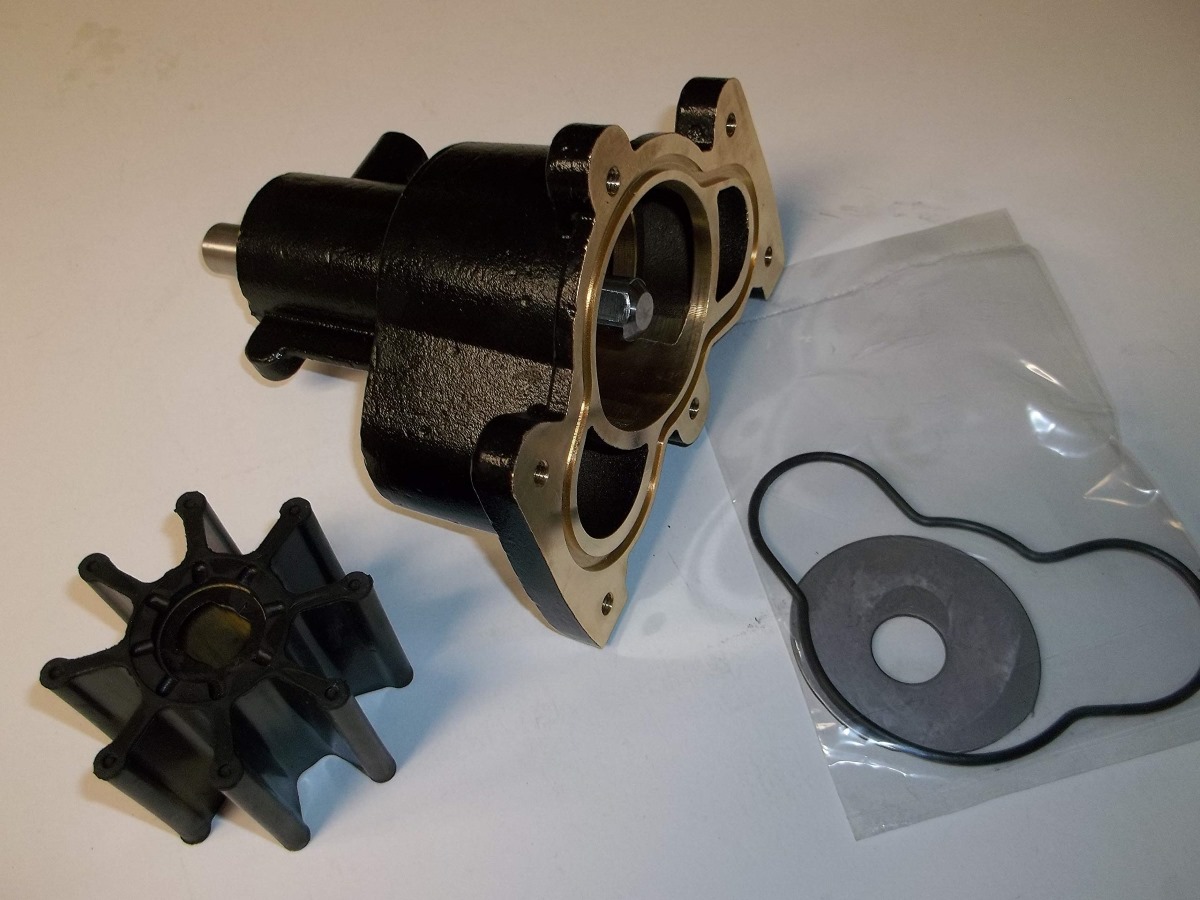
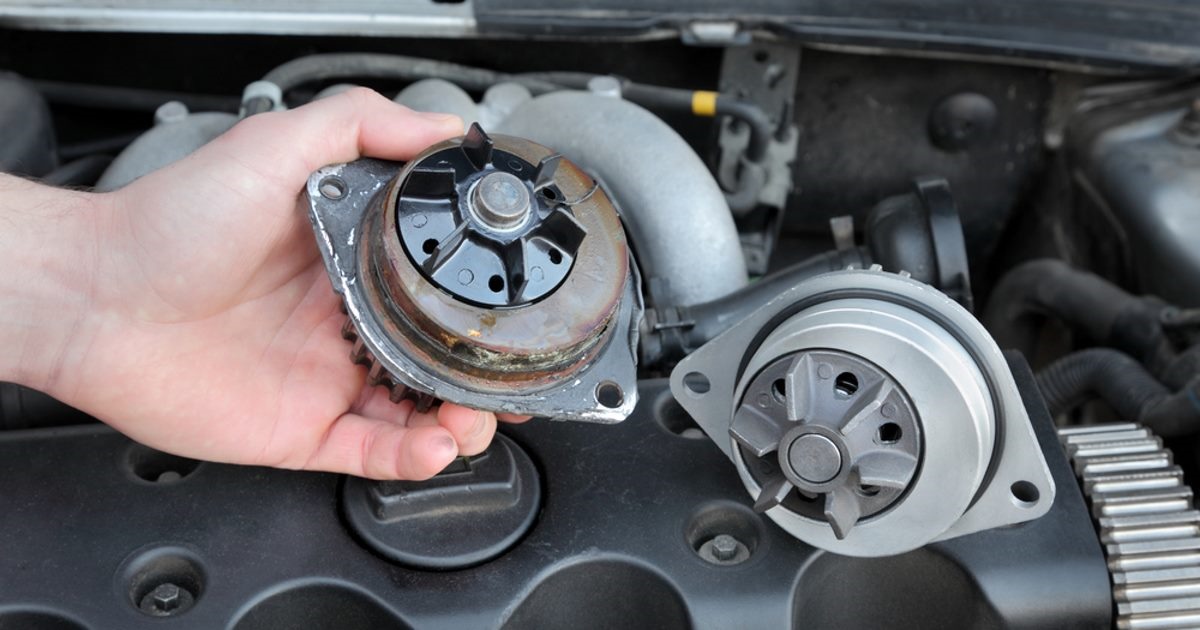
Step 5: Remove the Water Pump
Now that you have disconnected the hoses and electrical connections, you can proceed to remove the old water pump from your Ford F150. Here’s how:
- Locate the water pump: The water pump is typically located on the engine block, near the front of the vehicle. It is secured in place with bolts.
- Remove the mounting bolts: Using the appropriate socket or wrench, carefully remove the mounting bolts that secure the water pump to the engine block. Keep track of the bolts and their locations, as they may be different lengths.
- Gently pry the water pump: With the bolts removed, you may need to gently pry the water pump away from the engine block. Be careful not to damage the mating surfaces or any surrounding components.
- Remove the old gasket: Once the water pump is detached, take a moment to remove the old gasket that is seated between the pump and the engine block. Use a scraper or gasket remover to carefully scrape off any remnants of the old gasket.
When removing the water pump, be cautious of any coolant that may still be present in the pump or surrounding area. You can place a drain pan underneath to catch any excess coolant.
Inspect the old water pump for any signs of wear or damage. It’s recommended to replace the water pump if it is leaking, making noise, or shows signs of corrosion. Additionally, replacing the gasket is essential for ensuring a proper seal when installing the new water pump.
With the old water pump removed, you are now ready to move on to the next steps in the water pump replacement process.
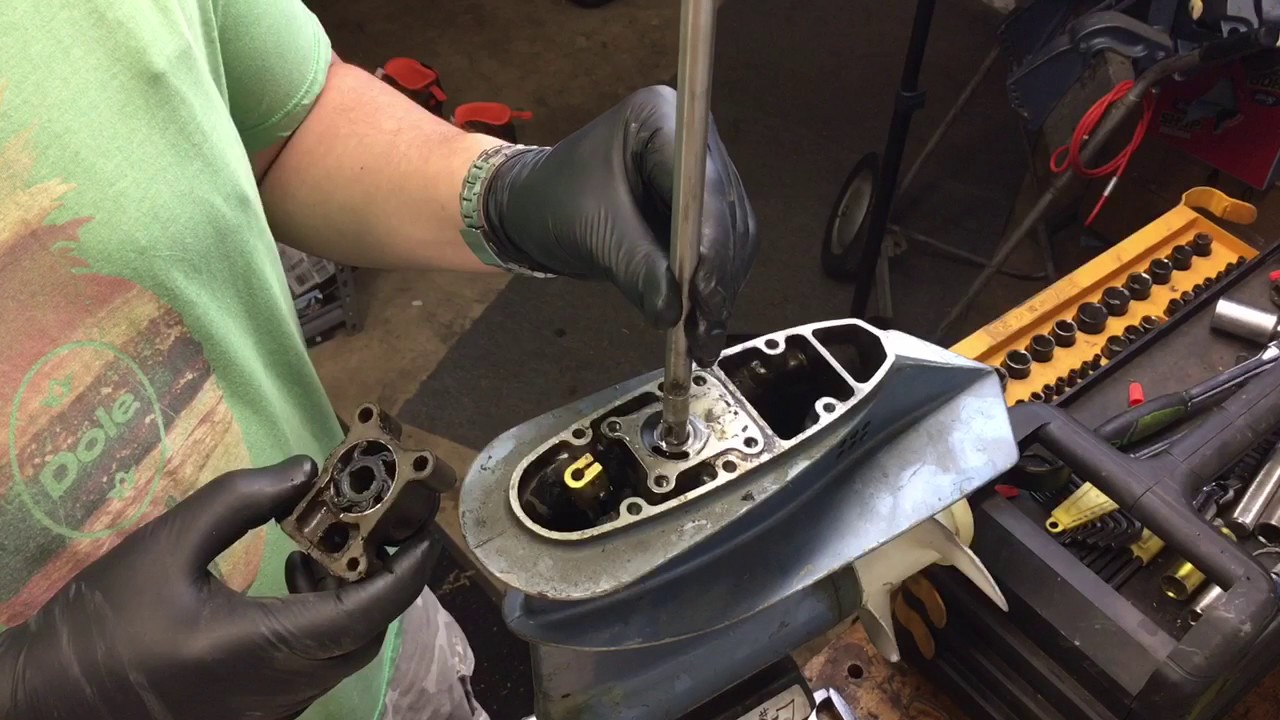
Step 6: Clean and Prepare the Engine Block
With the old water pump removed, it’s essential to clean and prepare the engine block before installing the new water pump. This step ensures a proper seal and optimal performance. Follow these steps to clean and prepare the engine block:
- Inspect the engine block: Take a moment to inspect the engine block for any signs of corrosion, debris, or residue. Use a flashlight if needed to get a clear view.
- Clean the mating surface: Use a scraper or gasket remover to clean the mating surface where the water pump sits. Remove any old gasket material or debris, ensuring a smooth and clean surface.
- Inspect the coolant passages: Take the opportunity to inspect the coolant passages in the engine block for any blockages or buildup. If necessary, use a coolant passage brush or compressed air to clear any obstructions.
- Clean the engine block: Wipe down the engine block with a clean, lint-free cloth or paper towels to remove any remaining debris or residue. Ensure that the surface is completely dry before moving on to the next step.
By cleaning and preparing the engine block, you are creating a clean and smooth surface for the new water pump and gasket to make a proper seal. This step is crucial for preventing leaks and ensuring the longevity of the water pump.
Once the engine block is clean and prepared, you are ready to proceed to the next step in the water pump replacement process.
When replacing the water pump on a Ford F150, be sure to drain the coolant first to avoid a messy and potentially dangerous spill. Use a drain pan to catch the coolant and dispose of it properly.
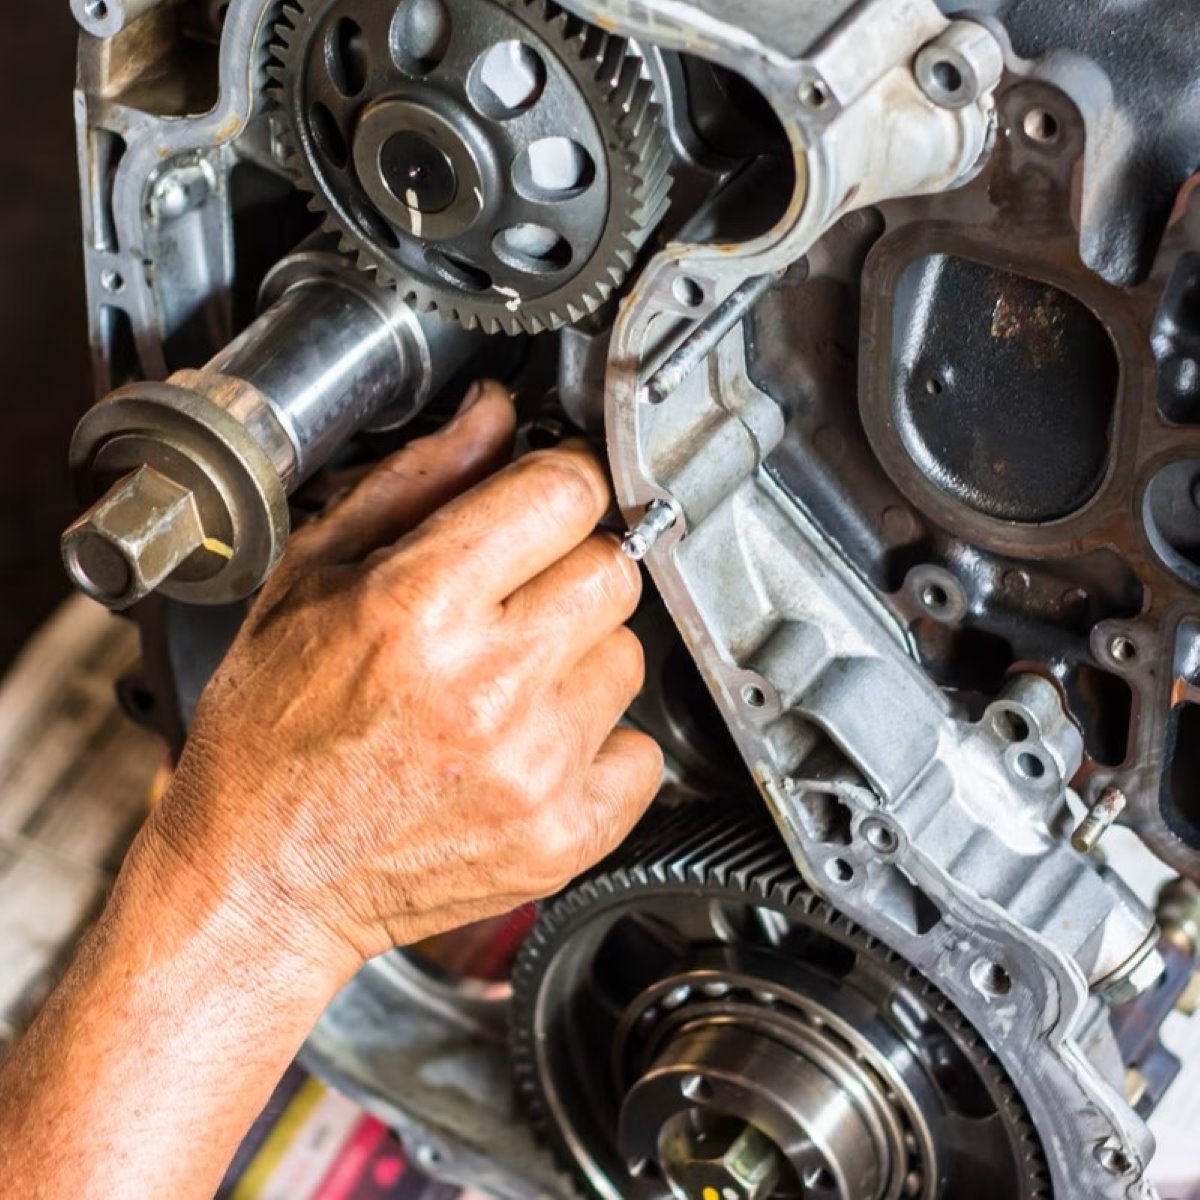
Step 7: Install the New Water Pump
With the engine block clean and prepared, it’s time to install the new water pump onto your Ford F150. Follow these steps to ensure a proper installation:
- Apply a thin layer of sealant: Before installing the new water pump, apply a thin layer of a suitable sealant to the mounting surface on the engine block. This helps create a tight and reliable seal between the pump and the block.
- Position the new gasket: Place the new gasket onto the mounting surface of the water pump. Ensure that the gasket is aligned properly and fits securely.
- Align the new water pump: Carefully align the new water pump with the mounting holes on the engine block. Take note of any alignment marks or arrows on the pump to ensure proper orientation.
- Insert and tighten the mounting bolts: Insert the mounting bolts through the water pump and into the engine block. Start by hand-tightening the bolts and then use the appropriate socket or wrench to tighten them to the manufacturer’s specified torque.
- Double-check the alignment: After tightening the mounting bolts, double-check that the water pump is properly aligned and seated against the engine block. Ensure that there are no gaps or misalignments.
When installing the new water pump, be cautious not to overtighten the mounting bolts, as this can damage the pump or create leaks. Follow the manufacturer’s recommended torque specifications for the specific model of your Ford F150.
By properly installing the new water pump, you are setting the stage for a reliable and efficient cooling system. With the pump securely in place, you can move on to the next steps to complete the water pump replacement.
Step 8: Reconnect Hoses and Electrical Connections
Now that the new water pump is installed, it’s time to reconnect the hoses and electrical connections to ensure proper coolant flow and functionality. Follow these steps to reconnect the hoses and electrical connections:
- Reattach the hoses: Take the hoses that you previously disconnected and carefully slide them back onto the water pump. Make sure the hoses are properly aligned and seated on their respective connections.
- Tighten the hose clamps: Using pliers or a screwdriver, tighten the hose clamps to secure the hoses onto the water pump. Ensure that the clamps are tight enough to prevent any leaks, but be careful not to overtighten and damage the hoses.
- Reconnect the electrical connections: If there were any electrical connections, such as sensors or wiring harnesses, that were disconnected, reconnect them to the water pump. Ensure that each connection is secure and properly aligned.
When reconnecting hoses and electrical connections, pay close attention to the routing and orientation to ensure everything is properly connected. It’s a good idea to refer to any photos or diagrams you took earlier as a reference.
By reattaching the hoses and electrical connections, you are restoring the coolant flow and electrical functionality, allowing your Ford F150’s cooling system to operate effectively.
With the hoses and electrical connections reconnected, you can move on to the next step in the water pump replacement process.
Read more: What Size Tool Box For F150
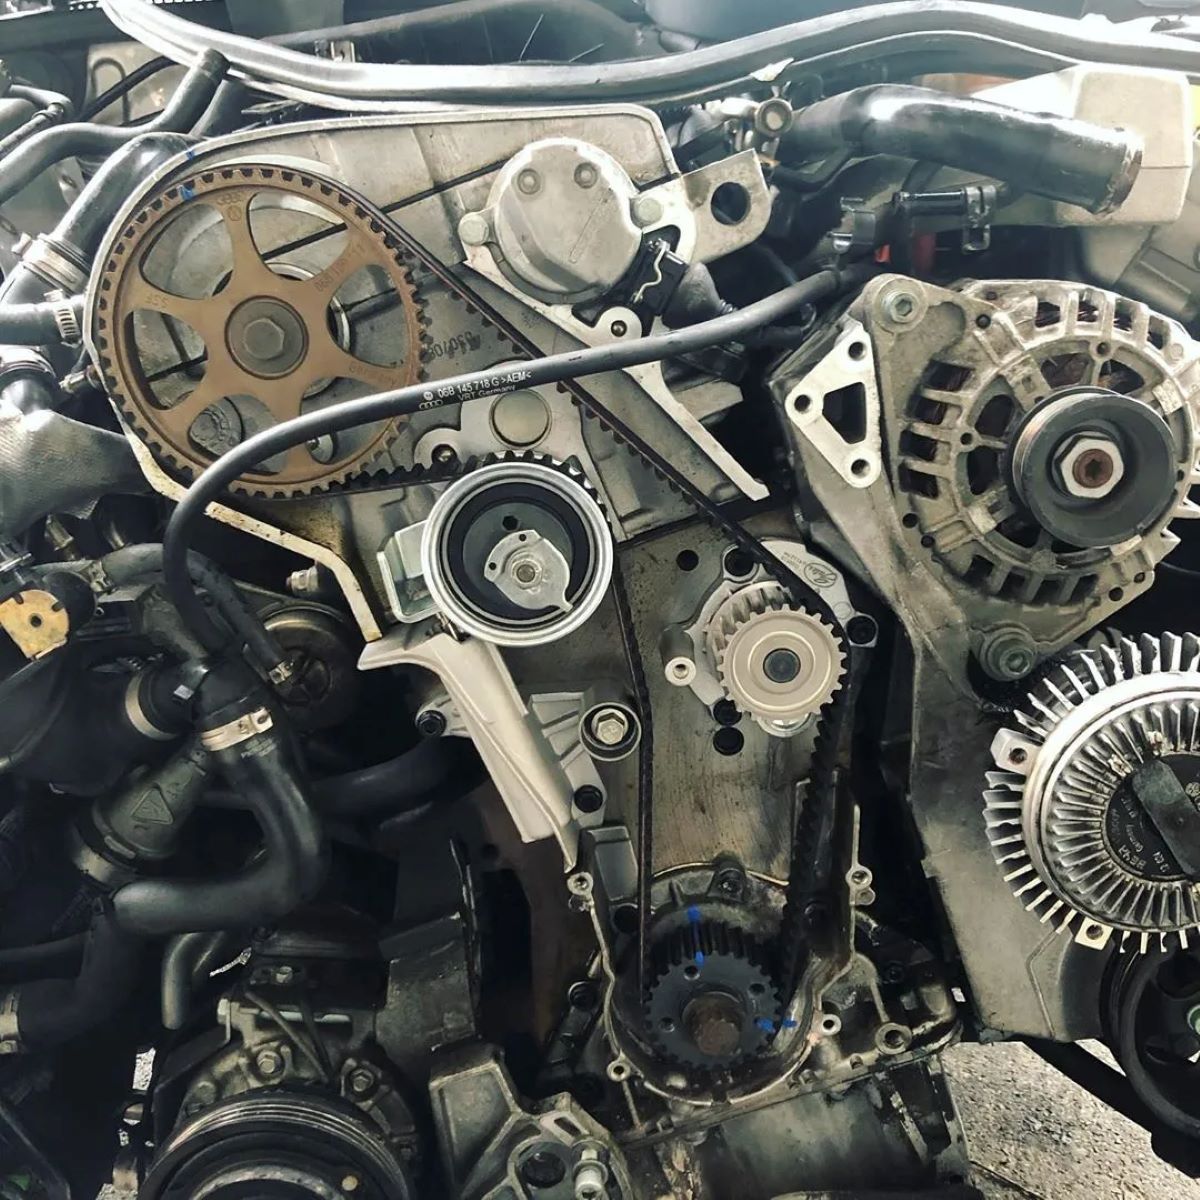
Step 9: Install the Serpentine Belt
With the hoses and electrical connections reconnected, it’s time to install the serpentine belt back onto your Ford F150. Proper installation of the belt ensures that the various components are driven correctly. Follow these steps to install the serpentine belt:
- Refer to the belt routing diagram: Before installing the belt, refer to the belt routing diagram located in your vehicle’s engine compartment. This diagram shows the correct path for the serpentine belt to follow around the various pulleys.
- Locate the belt tensioner: Find the belt tensioner, which is typically a spring-loaded pulley. This pulley keeps tension on the belt.
- Rotate the belt tensioner: Use a wrench or socket to rotate the belt tensioner in the direction specified by the manufacturer. This will relieve the tension and allow you to install the belt.
- Route the belt around the pulleys: With the tension released, carefully route the belt around the pulleys according to the belt routing diagram. Make sure the belt is properly seated on each pulley.
- Double-check the belt alignment: After installing the belt, visually inspect it to ensure that it is properly aligned and seated on each pulley. It should follow the correct path without any twists or misalignments.
It’s important to note that specific Ford F150 models may have different belt routing configurations. Therefore, it’s crucial to refer to the belt routing diagram specific to your vehicle to ensure correct installation.
Once the serpentine belt is properly installed and aligned, you can move on to the final steps in replacing the water pump.
Step 10: Refill the Cooling System
Now that the serpentine belt is installed, it’s time to refill the cooling system with fresh coolant. Follow these steps to properly refill the cooling system of your Ford F150:
- Locate the radiator fill cap: Find the radiator fill cap, typically located on the radiator or coolant reservoir.
- Open the radiator fill cap: Carefully remove the radiator fill cap, ensuring that the engine has cooled down sufficiently to prevent any hot coolant from escaping.
- Prepare the coolant mixture: Prepare a coolant mixture using the recommended coolant for your vehicle. Refer to your vehicle’s owner manual or consult a repair manual for the correct coolant type and mixture ratio.
- Pour the coolant into the radiator: Slowly pour the coolant mixture into the radiator until it reaches the recommended fill level. Take your time to prevent any spills or overflow.
- Bleed any air bubbles: To remove any potential air bubbles in the cooling system, squeeze the radiator hoses a few times to help release trapped air. This ensures that the coolant circulates properly.
- Check the coolant level: As the coolant settles, recheck the coolant level in the radiator or reservoir and top off if necessary. Make sure the coolant level is within the recommended range.
It’s important to note that the cooling system may require bleeding to remove air pockets. Refer to your vehicle’s manual for any specific bleeding procedures.
Once you have refilled the cooling system and verified the coolant level, you can move on to the final steps in the water pump replacement process to ensure everything is properly installed and functioning.
Step 11: Check for Leaks and Test the Water Pump
After refilling the cooling system, it’s crucial to check for any leaks and test the functionality of the newly installed water pump. Follow these steps to ensure everything is working properly:
- Start the engine: Start the engine and allow it to idle for a few minutes. Keep a close eye on the temperature gauge to ensure it stays within the normal operating range.
- Inspect for leaks: While the engine is running, visually inspect the area around the water pump and the hoses for any signs of coolant leaks. Check for dripping or pooling coolant.
- Listen for abnormal noises: Pay attention to any unusual noises coming from the water pump or the cooling system. Any grinding, whining, or squeaking sounds could indicate a problem.
- Monitor the coolant level: Keep an eye on the coolant level in the radiator or reservoir as the engine runs. It should remain stable within the recommended range. If it drops significantly, there may be a leak.
- Check for proper heat distribution: Feel the upper and lower radiator hoses to ensure they are both getting hot. This indicates that the coolant is circulating properly through the system.
- Perform a visual inspection: After the engine has run for a while, visually inspect the water pump, hoses, and connections again to ensure there are no signs of new leaks or abnormalities.
If you notice any leaks, abnormal noises, or overheating, it may indicate an issue with the water pump installation or other components. In such cases, it’s recommended to seek professional assistance or consult a repair manual to troubleshoot the problem.
By performing these checks and tests, you can ensure that the water pump is functioning correctly, the cooling system is in good working order, and there are no leaks that could cause potential damage to your Ford F150’s engine. Once you have confirmed everything is in proper working condition, you have successfully completed the water pump replacement process.
Conclusion
Congratulations! You have successfully replaced the water pump on your Ford F150. By following the step-by-step instructions in this guide, you have saved time and money by performing the replacement yourself. Replacing a water pump is a critical maintenance task that ensures the proper function of the cooling system and prevents engine damage due to overheating.
Throughout the process, you learned the importance of gathering the necessary tools and supplies, draining the cooling system, removing the serpentine belt, disconnecting hoses and electrical connections, removing the old water pump, cleaning and preparing the engine block, installing the new water pump, reconnecting hoses and electrical connections, installing the serpentine belt, refilling the cooling system, and checking for leaks and testing the water pump.
Remember, safety should always be a priority. Ensure the engine is cool before starting any work, wear gloves to protect your hands, and use caution when handling coolant and working around a running engine.
If you encountered any difficulties or have concerns about the water pump replacement, it’s essential to consult a repair manual specific to your Ford F150 model or seek professional assistance. Proper installation and maintenance of the water pump are crucial for the longevity and optimal performance of your vehicle.
With your newly installed water pump, you can trust that your Ford F150’s engine will stay cool and protected, allowing for smooth and trouble-free driving experiences. Regular maintenance and periodic checks of the cooling system will help identify any potential issues early on, ensuring the continued reliability of your vehicle.
Thank you for following this guide, and we hope it has been helpful in your water pump replacement journey. Happy driving!
Now that you've mastered replacing your Ford F150's water pump, you might wonder about the best time for this essential maintenance. Don't miss our detailed guide on optimal timings for water pump replacement to keep your vehicle in peak condition. Understanding when to undertake this task not only prevents future breakdowns but also ensures your truck runs smoothly, saving you time and money on unnecessary repairs.
Frequently Asked Questions about How To Replace A Water Pump On A Ford F150
Was this page helpful?
At Storables.com, we guarantee accurate and reliable information. Our content, validated by Expert Board Contributors, is crafted following stringent Editorial Policies. We're committed to providing you with well-researched, expert-backed insights for all your informational needs.


0 thoughts on “How To Replace A Water Pump On A Ford F150”