Articles
How To Replace A Water Pump On A Honda Civic
Modified: February 22, 2024
Learn how to replace the water pump on a Honda Civic with these informative articles. Get step-by-step instructions and expert tips to complete the job successfully.
(Many of the links in this article redirect to a specific reviewed product. Your purchase of these products through affiliate links helps to generate commission for Storables.com, at no extra cost. Learn more)
Introduction
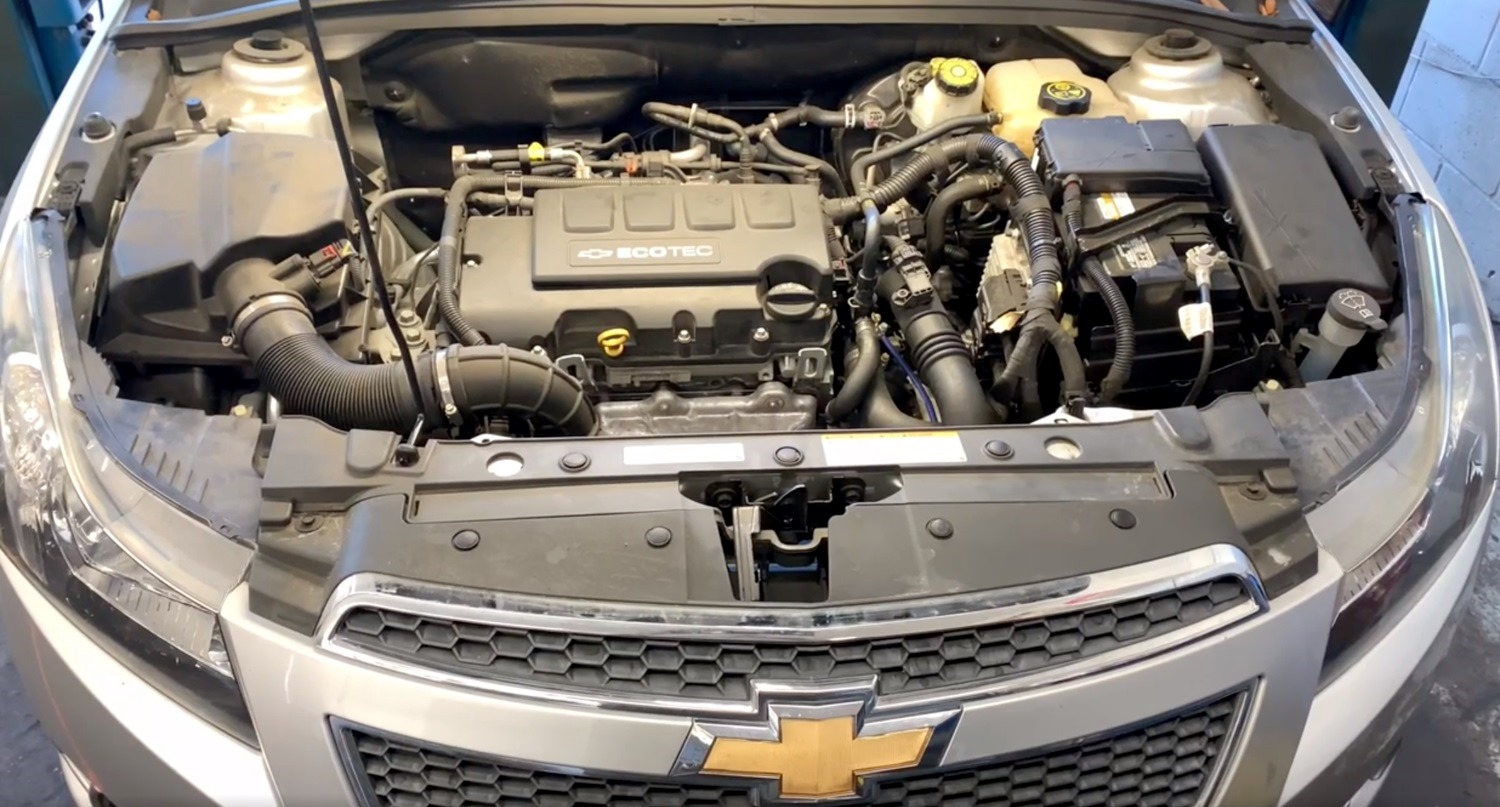
Welcome to this step-by-step guide on how to replace a water pump on a Honda Civic. The water pump plays a crucial role in cooling your engine by circulating coolant throughout the system. Over time, the water pump can wear out or develop leaks, leading to engine overheating and potential damage.
Replacing the water pump on your Honda Civic is a task that can be accomplished with some basic tools and a little bit of patience. By following these steps, you can save money on expensive repairs and ensure the proper functioning of your vehicle.
Before we dive into the details, it’s important to note that this guide is specifically for the Honda Civic model. While some of the steps may be similar for other vehicles, it’s crucial to consult your vehicle’s manual or seek professional advice if you are unsure about the procedure for your specific make and model.
Now, let’s gather our tools and materials and get started on replacing the water pump on your Honda Civic!
Key Takeaways:
- Replacing the water pump on your Honda Civic is a manageable DIY task that can save you time and money, ensuring the proper functioning of your engine’s cooling system.
- Properly gathering tools, draining coolant, and following step-by-step instructions are crucial for a successful water pump replacement. Prioritize safety and consult your vehicle’s manual for specific details.
Read more: How To Replace Water Pump On 97 Honda Accord
Tools and Materials Needed
Before beginning the water pump replacement process, it’s essential to gather all the necessary tools and materials. Having everything prepared beforehand will help ensure a smooth and efficient procedure. Here is a list of the tools and materials you will need:
- Socket Set
- Ratchet
- Wrench Set
- Screwdriver Set
- Pliers
- Drain Pan
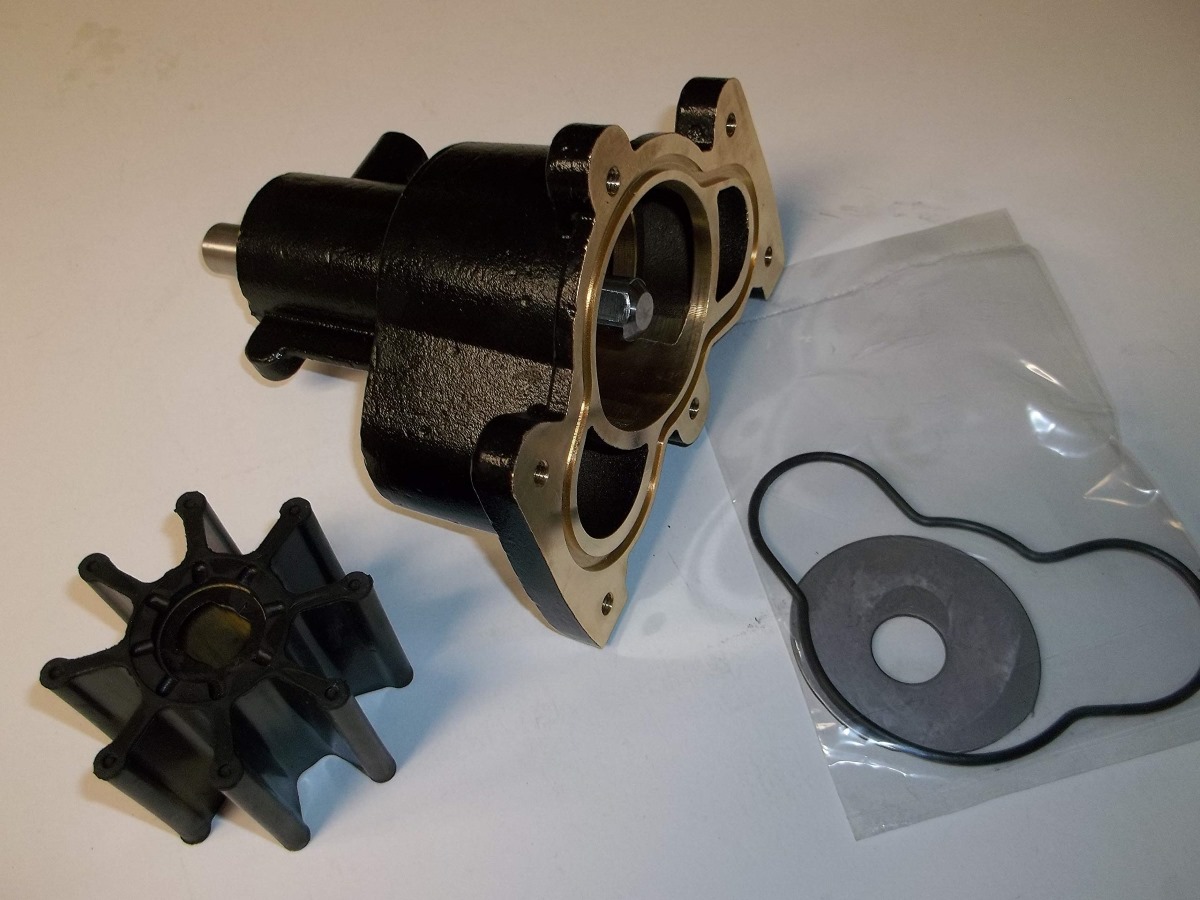
- New Water Pump
- New Gasket
- Coolant
- Funnel
- Gasket Sealant (if necessary)
- Shop Towels
Make sure you have the correct size sockets, wrenches, and screwdrivers to fit the bolts and fasteners on your vehicle. It’s also a good idea to have a drain pan to catch any coolant that may spill during the process.
When purchasing a new water pump, make sure it is compatible with your Honda Civic’s year, make, and model. It’s recommended to buy a water pump that comes with a new gasket to ensure a proper seal. If the gasket is not included, you may need to purchase a new one separately.
Lastly, make sure you have enough coolant to refill the system after the replacement. Consult your vehicle’s manual or contact a trusted auto parts store to determine the correct coolant type and quantity needed.
Now that you have all the necessary tools and materials, it’s time to start the water pump replacement process step by step. Let’s continue to the next section where we will gather the necessary supplies.
Step 1: Gather Necessary Supplies
Before you begin the water pump replacement process on your Honda Civic, it’s important to gather all the necessary supplies. By having everything prepared, you can streamline the process and avoid any delays. Here’s what you’ll need for this step:
- Socket set
- Ratchet
- Wrench set
- Screwdriver set
- Pliers
- Drain pan
Make sure you have the correct sizes of sockets, wrenches, and screwdrivers to fit the bolts and fasteners on your vehicle. It’s always a good idea to refer to your vehicle’s manual for the exact sizes needed. Additionally, having a set of pliers can come in handy for various tasks throughout the process.
A drain pan is essential for collecting the coolant that will be drained from the system. This will help prevent any spills and make the cleanup process easier. It’s important to properly dispose of used coolant according to local environmental regulations.
Once you have gathered all the necessary tools, you’re ready to move on to the next step: draining the coolant. Make sure you have a safe and well-ventilated area to perform the following steps. It’s also recommended to wear protective gloves and eyewear to avoid any potential injuries.
Now that you’ve gathered the necessary supplies, let’s move on to step 2: draining the coolant from your Honda Civic.
Step 2: Drain the Coolant
Draining the coolant is an important step before removing the water pump on your Honda Civic. This ensures that the system is free of coolant and prevents any spills during the replacement process. Here’s how to drain the coolant:
- Start by ensuring that your engine is cool. It’s important to never work on a hot engine as it can cause severe burns.
- Locate the radiator drain plug or petcock. This is usually located at the bottom of the radiator. You may need to slide under the vehicle to access it.
- Place a drain pan underneath the drain plug to catch the coolant as it drains. Make sure the pan is large enough to hold the entire coolant capacity of your vehicle.
- Using pliers or a wrench, carefully loosen the radiator drain plug or open the petcock. Allow the coolant to drain completely into the pan.
- Once all the coolant has drained, tighten the drain plug or close the petcock securely.
- Dispose of the used coolant properly according to local environmental regulations. Contact a local recycling center or auto parts store for guidance on how to dispose of coolant responsibly.
It’s important to note that coolant is toxic and should never be ingested. Keep children and pets away from the draining area to ensure their safety. Also, be cautious of any spills on the ground, as coolant can cause slippery surfaces.
Now that the coolant has been drained, you’re ready to move on to the next step: removing the drive belts. This is an essential step in gaining access to the water pump for replacement.
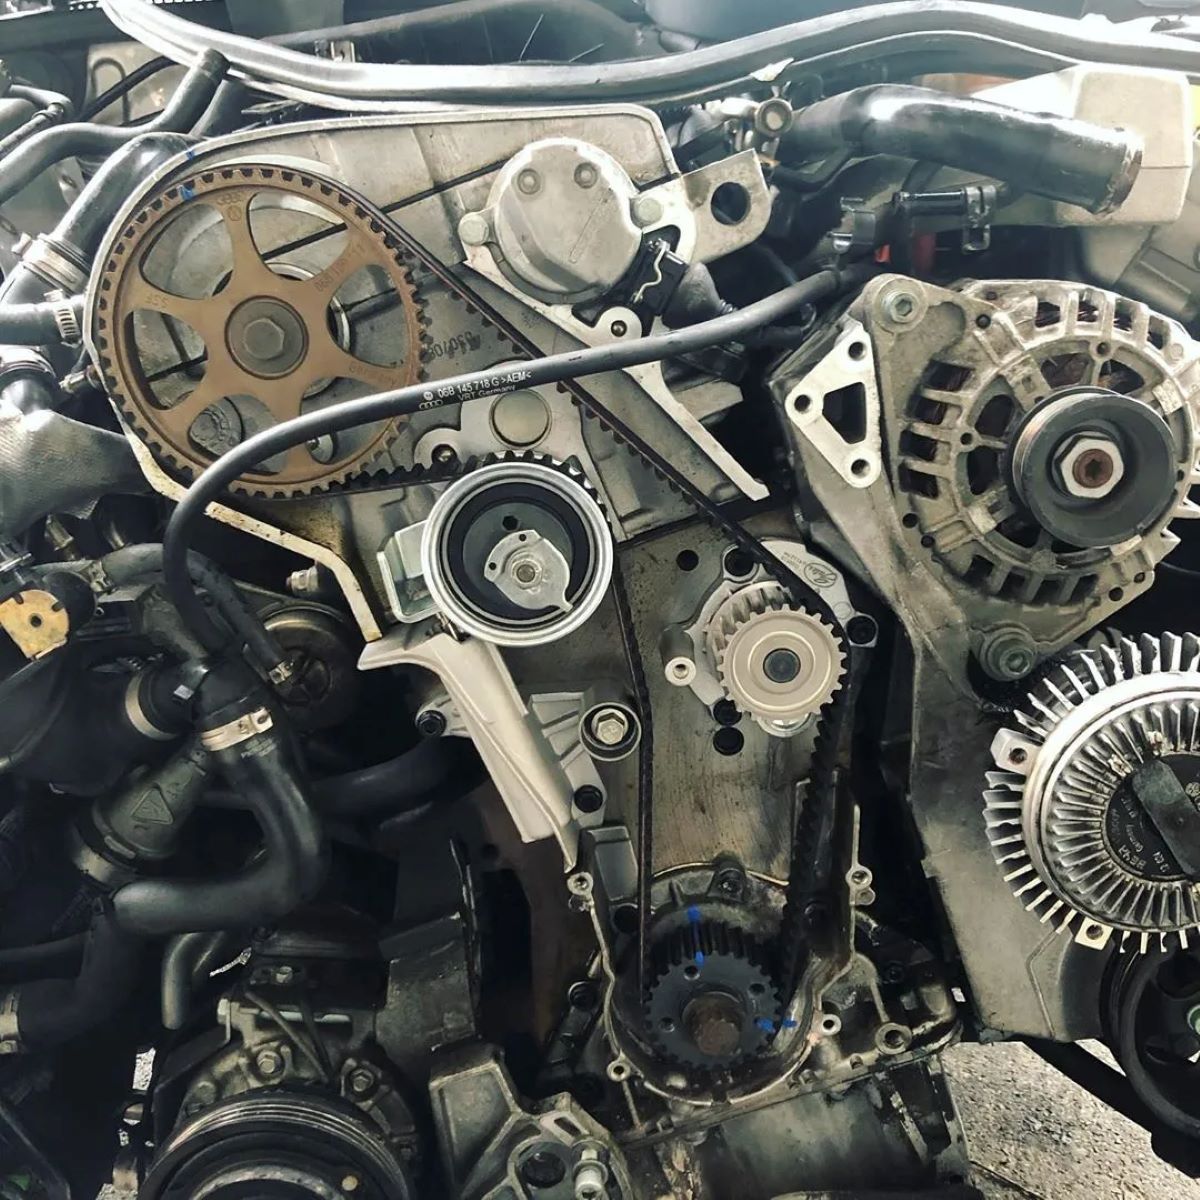
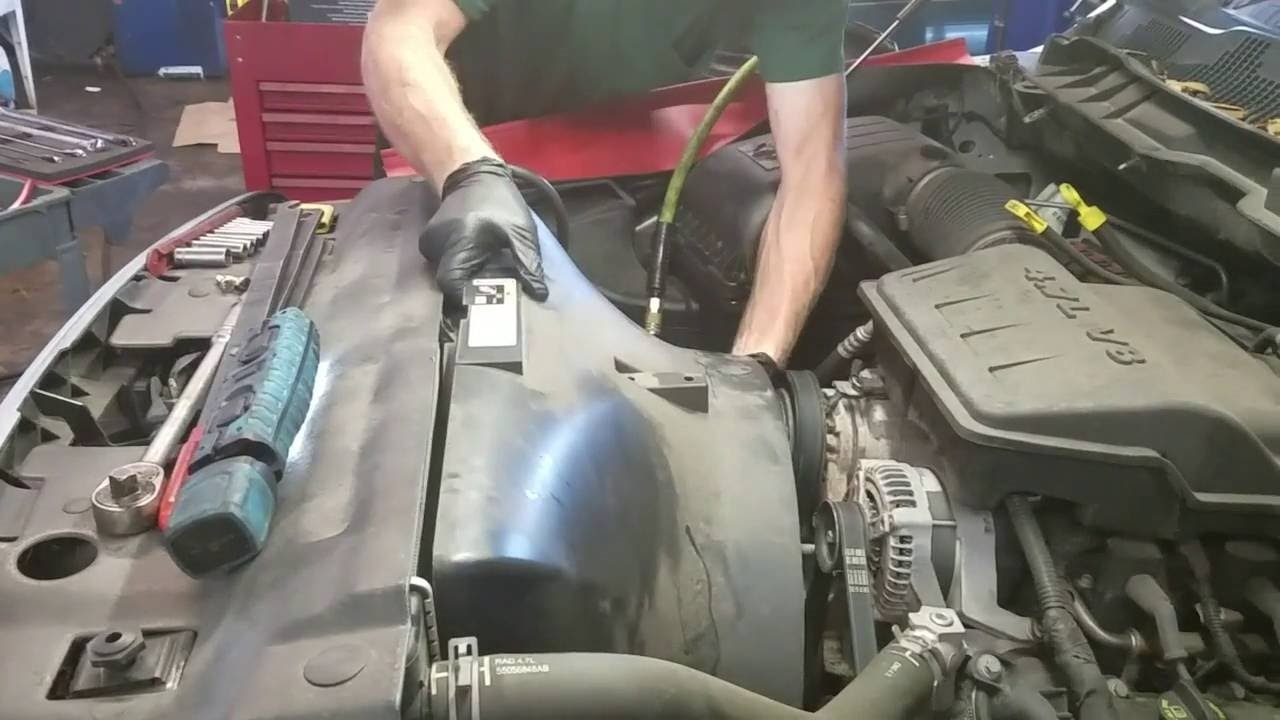
Step 3: Remove the Drive Belts
In order to access and remove the water pump on your Honda Civic, you’ll need to remove the drive belts that are connected to the water pump pulley. Here’s a step-by-step guide on how to remove the drive belts:
- Locate the drive belts on your engine. There are typically two belts, one for the alternator and one for the power steering pump.
- Identify the belt tensioner for each belt. The belt tensioner is responsible for keeping the belts tight around the pulleys.
- Using a wrench or socket, rotate the belt tensioner in the direction that relieves tension on the belt. This will allow you to easily slip the belt off the pulleys.
- Carefully slide the belt off the pulleys and set it aside.
- Repeat the same process for the other drive belt, removing it from the pulleys.
It’s essential to pay attention to the routing of the belts as you remove them so that you can reinstall them correctly later. If necessary, take a picture or make note of the belt routing to ensure proper installation.
Once the drive belts have been removed, you can move on to the next step: removing the water pump pulley. This step will allow you to access the water pump for replacement. Be sure to follow the manufacturer’s instructions and take precautions to ensure your safety throughout the process.
Read more: How To Replace A Water Pump
Step 4: Remove the Water Pump Pulley
With the drive belts removed, you can now proceed to remove the water pump pulley on your Honda Civic. The water pump pulley is connected to the water pump and needs to be detached to access the water pump itself. Follow these steps to remove the water pump pulley:
- Locate the water pump pulley, which is typically located near the center of the engine.
- Using a wrench or socket, loosen the bolts securing the pulley to the water pump. The number of bolts may vary depending on your vehicle model.
- Once the bolts are loosened, carefully remove the bolts and set them aside in a safe place.
- Gently pull the water pump pulley away from the water pump. It may be snug, so some force may be required.
- Inspect the pulley for any damage or signs of wear. If necessary, replace the pulley before installing the new water pump.
It’s important to handle the water pump pulley with care to avoid any damage during removal. If the bolts are stubborn and difficult to loosen, applying a penetrating oil such as WD-40 can help loosen them.
Once the water pump pulley is removed, you’re one step closer to replacing the water pump. In the next step, we’ll guide you through the process of removing the old water pump itself. This is a critical step in ensuring the functionality and longevity of your engine.
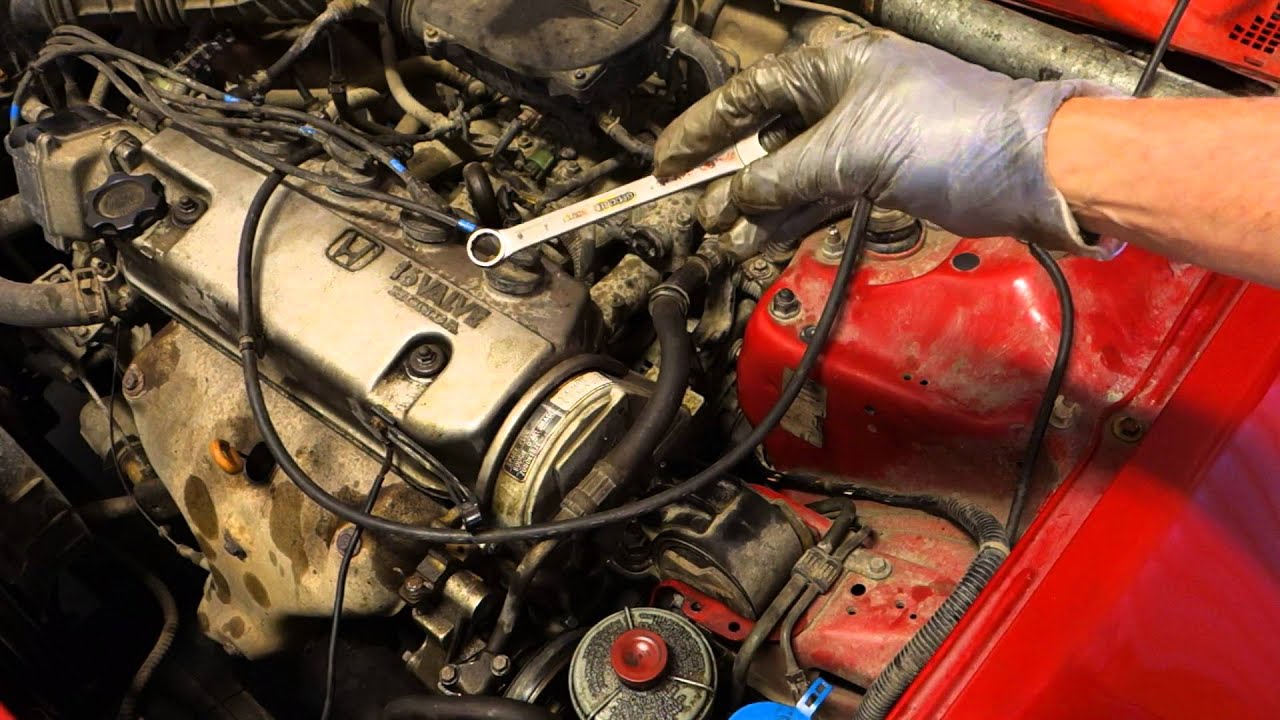
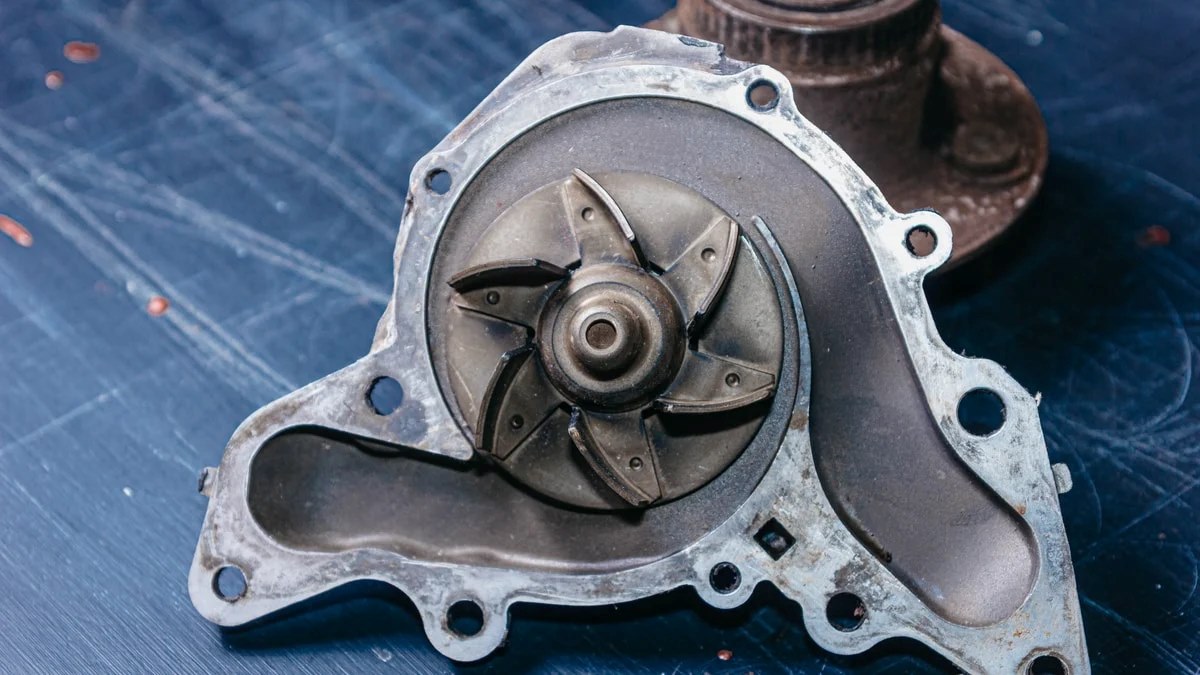
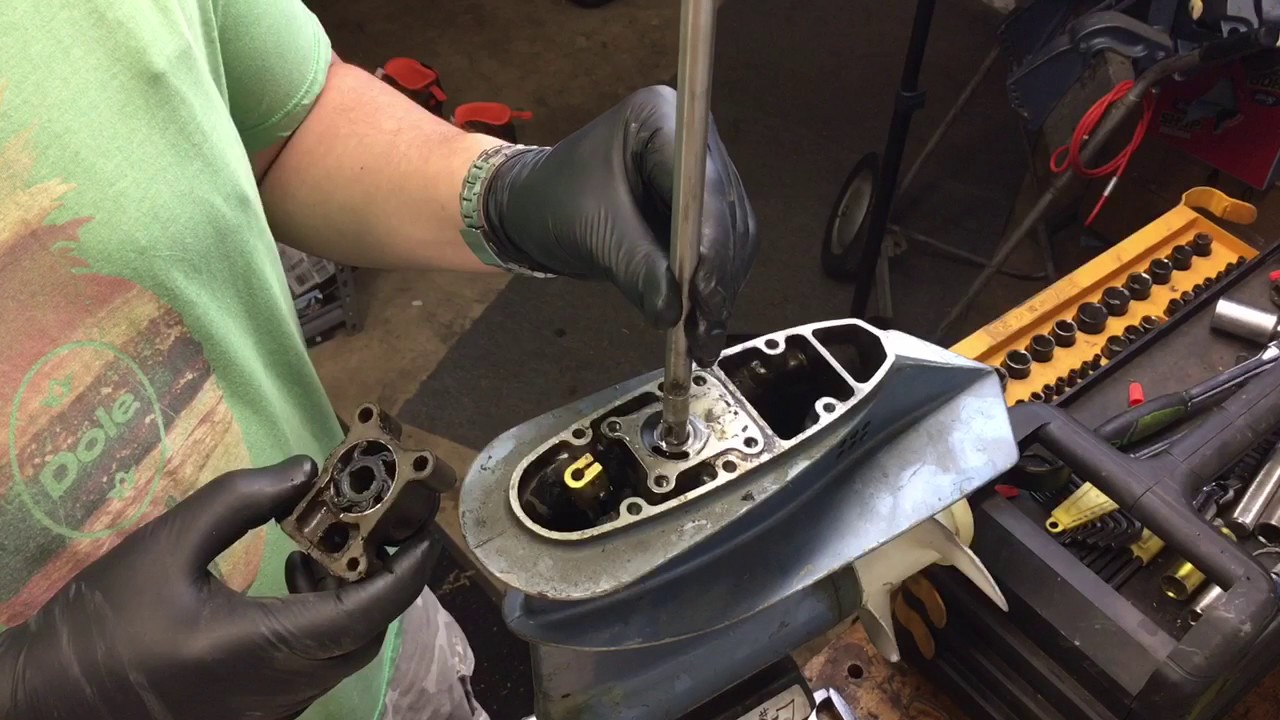
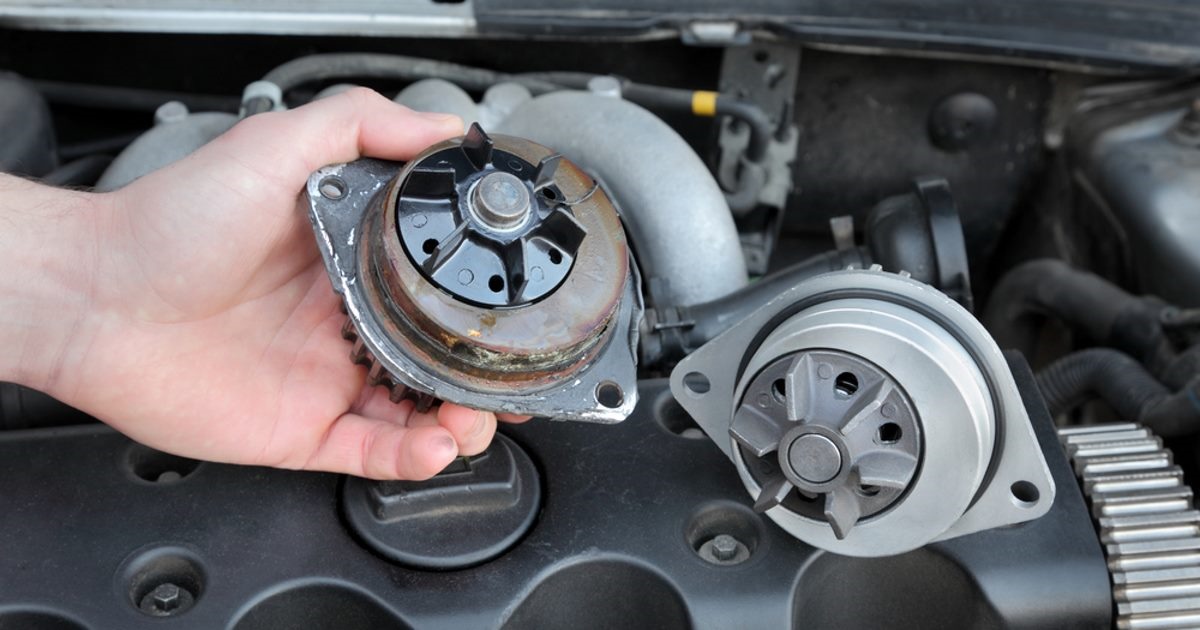
Step 5: Remove the Water Pump
Now that the water pump pulley is out of the way, it’s time to remove the old water pump from your Honda Civic. The water pump is responsible for circulating coolant throughout the engine to regulate its temperature. Follow these steps to properly remove the water pump:
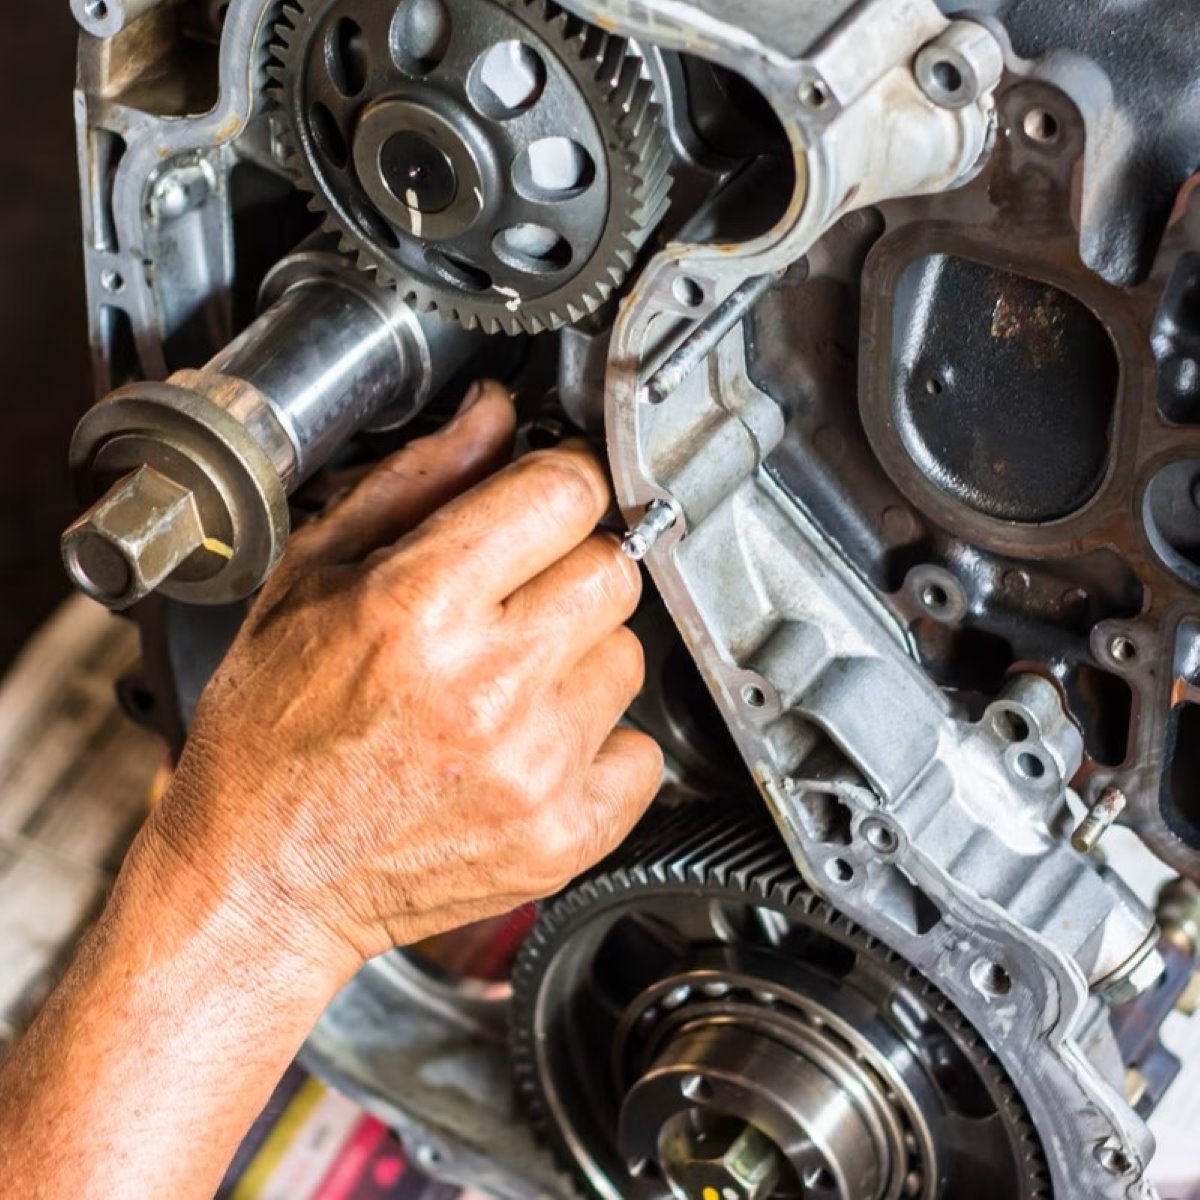
- Locate the water pump, which is typically positioned near the engine block and connected to the engine by bolts.
- Using a wrench or socket, begin loosening and removing the bolts securing the water pump to the engine block. Take note of the bolt sizes and locations, as they vary depending on your vehicle model.
- As you remove each bolt, be careful to support the weight of the water pump to prevent any sudden movements or damage to nearby components.
- Once all the bolts are removed, gently pull the water pump away from the engine block.
- Inspect the old water pump for any signs of damage or wear, such as leaking coolant or a worn-out impeller. If necessary, replace the water pump with a new one for optimal performance.
As you remove the old water pump, be cautious of any remaining coolant that may spill. It’s a good idea to place a drain pan underneath to catch any drips and protect the surrounding area.
After successfully removing the old water pump, it’s time to prepare the engine block for the installation of the new water pump. In the following step, we will guide you through the process of cleaning and preparing the engine block to ensure a proper seal and functionality.
When replacing the water pump on a Honda Civic, make sure to drain the coolant first to avoid a messy and potentially dangerous spill. Use a drain pan to catch the coolant and dispose of it properly.
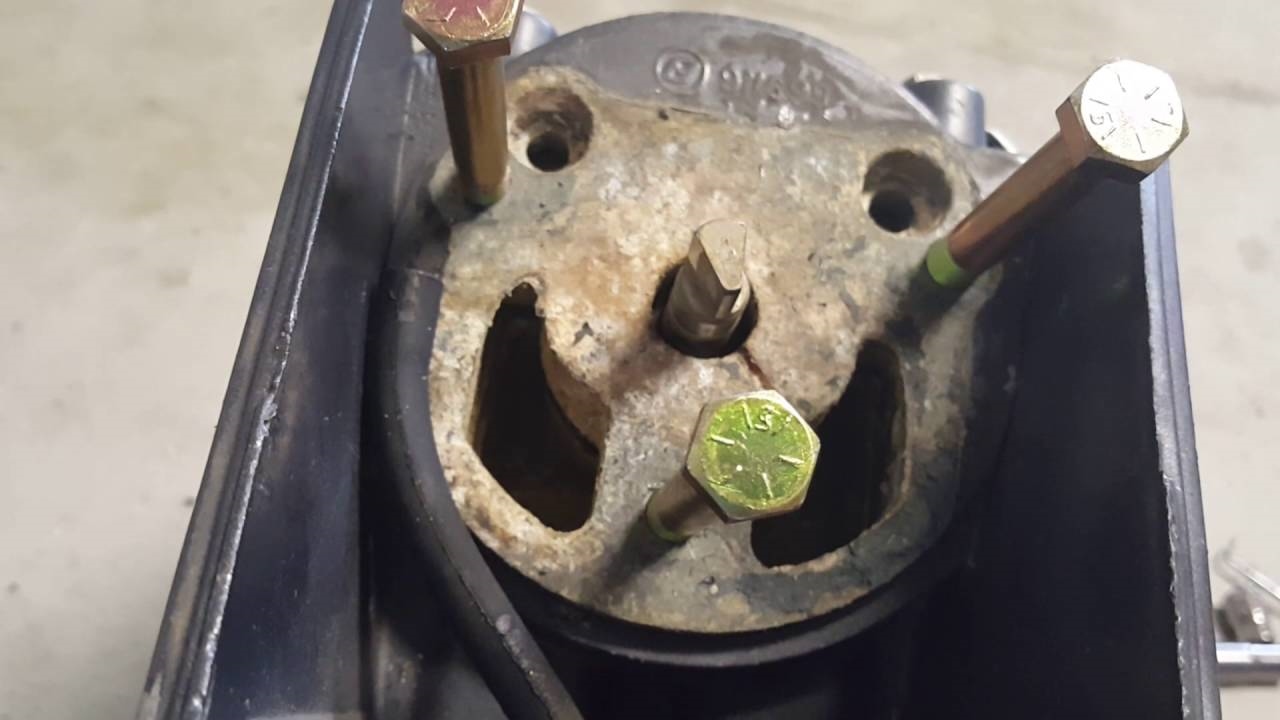
Step 6: Clean and Prepare the Engine Block
Now that the old water pump has been removed, it’s important to clean and prepare the engine block before installing the new water pump. This step ensures a proper seal and optimal performance of the new water pump. Follow these steps to clean and prepare the engine block:
- Inspect the engine block for any residue or debris around the area where the water pump was seated. Use a clean shop towel or rag to wipe away any dirt, grime, or coolant residue.
- Thoroughly clean the mating surface of the engine block where the water pump attaches. Make sure to remove any old gasket material or sealant that may be present. You can use a gasket scraper or a plastic scraper to gently scrape away the old material.
- After removing the old gasket material, use a suitable engine cleaner or degreaser to clean the mating surface. Apply the cleaner and scrub the surface with a clean brush or rag to remove any remaining residue.
- Rinse the mating surface with clean water to remove any excess cleaner or degreaser. Pat it dry with a clean, lint-free cloth.
- Inspect the mating surface for any signs of damage, such as cracks or pitting. If you notice any significant damage, consult a professional for further evaluation and repair.
- If necessary, apply a thin layer of gasket sealant to the new water pump gasket. This will help ensure a proper seal between the water pump and the engine block.
It’s crucial to ensure that the mating surface is clean and free of any debris or old gasket material. This will ensure a tight and leak-free seal when installing the new water pump.
With the engine block cleaned and prepared, you’re now ready to move on to the next step: installing the new water pump. This is an exciting moment, as it brings you closer to completing the replacement process and getting your Honda Civic back in optimal working condition.
Step 7: Install the New Water Pump
With the engine block cleaned and prepared, it’s time to install the new water pump on your Honda Civic. The new water pump will ensure proper cooling system functionality and prevent any potential leaks. Follow these steps to install the new water pump:
- Position the new water pump in place, aligning the bolt holes with those on the engine block.
- Carefully insert and tighten the bolts that secure the water pump to the engine block. Make sure to tighten the bolts evenly and follow the specified torque settings for your vehicle model.
- Double-check that the water pump is securely fastened to the engine block. Ensure that all the bolts are tightened to the proper specifications.
- If your new water pump came with a new gasket, place it between the water pump and the engine block. Make sure the gasket is properly aligned and seated.
- Ensure that any gasket sealant that was applied is spread evenly across the mating surface.
It’s crucial to follow the manufacturer’s instructions and torque specifications when installing the water pump. This will ensure secure fastening and prevent any potential leaks or damage to the engine block.
Once the new water pump is securely installed, you can move on to the next step: reinstalling the water pump pulley. This step will bring us closer to completing the water pump replacement process on your Honda Civic.
Read more: How To Replace Water Pump Ford Taurus
Step 8: Reinstall the Water Pump Pulley
Now that the new water pump is securely in place, it’s time to reinstall the water pump pulley on your Honda Civic. The water pump pulley helps drive the water pump and allows it to circulate coolant throughout the engine. Follow these steps to reinstall the water pump pulley:
- Align the bolt holes on the water pump pulley with the corresponding holes on the water pump.
- Insert and hand-tighten the bolts that secure the water pump pulley to the water pump. Make sure the pulley is positioned correctly.
- Using a wrench or socket, tighten the bolts securely. Be sure to follow the specified torque settings for your vehicle model.
- Ensure that the water pump pulley is tightly fastened to the water pump, as any looseness can cause issues with the belt system.
It’s important to ensure that the water pump pulley is securely fastened to the water pump. This will prevent any slippage or misalignment of the drive belts, ensuring proper functionality of the cooling system.
With the water pump pulley successfully reinstalled, you’re now one step closer to completing the water pump replacement process. In the next step, we’ll guide you through reinstalling the drive belts, an important component in the engine’s operation.
Step 9: Install the Drive Belts
With the water pump pulley securely in place, it’s time to reinstall the drive belts on your Honda Civic. The drive belts play a crucial role in powering various components of the engine, such as the alternator and power steering pump. Follow these steps to install the drive belts:
- Refer to your vehicle’s manual or belt routing diagram to ensure the correct placement and routing of the drive belts.
- Begin by locating the belt tensioner for each drive belt. The belt tensioner is responsible for keeping the belts tight around the pulleys.
- Using a wrench or socket, rotate the belt tensioner in the appropriate direction to relieve tension on the belt.
- Place the drive belt onto the appropriate pulleys, following the belt routing diagram for guidance.
- Carefully release the belt tensioner, allowing it to apply tension to the belt. Make sure the belt is properly seated on each pulley.
- Repeat the same process for the other drive belt, ensuring proper placement and tension.
It’s crucial to follow the correct belt routing and ensure proper tension on the drive belts. Incorrect installation or improper tension can lead to belt slippage, reduced performance, or damage to engine components.
Once the drive belts are properly installed and tensioned, you’re almost done with the water pump replacement process. In the next step, we’ll walk you through refilling the coolant to complete the procedure and ensure your engine stays cool and protected.
Step 10: Refill the Coolant
Now that the water pump and drive belts are back in place, it’s time to refill the coolant in your Honda Civic. Proper coolant levels are essential for maintaining the engine’s temperature and protecting it from overheating. Follow these steps to refill the coolant:
- Locate the coolant reservoir or radiator cap on your vehicle. Consult your vehicle’s manual if you’re unsure of their exact location.
- Remove the coolant reservoir cap or radiator cap, taking caution as the engine may still be hot.
- Using a funnel, pour coolant into the reservoir or radiator until it reaches the recommended level. Refer to your vehicle’s manual for the appropriate type and quantity of coolant.
- Once the coolant reservoir or radiator is filled, check for any signs of coolant leaks around the water pump and other connections.
- If necessary, top off the coolant again to ensure it reaches the appropriate level.
- Replace and tighten the coolant reservoir cap or radiator cap securely.
It’s important to use the correct type and mixture of coolant as specified by your vehicle’s manufacturer. Improper coolant can potentially cause damage to the engine or lead to overheating issues.
After refilling the coolant, you’re almost finished with the water pump replacement process. In the next step, we’ll guide you through checking for any leaks and ensuring the proper functioning of the cooling system.
Step 11: Check for Leaks
After completing the water pump replacement and refilling the coolant, it’s crucial to check for any coolant leaks in your Honda Civic. Identifying and addressing leaks early on can prevent further damage and ensure the proper functioning of the cooling system. Follow these steps to check for leaks:
- Start the engine and allow it to run for a few minutes to circulate the coolant.
- Observe the area around the water pump, gasket, and other connections for any signs of coolant leaks. Look for drips, puddles, or any wet spots.
- Check the coolant reservoir or radiator for any signs of leakage or drops in the coolant level.
- If you notice any leaks, tighten the affected connections or replace any damaged seals or gaskets as necessary.
- Continue to monitor for leaks as the engine warms up. Be attentive to any unusual smells or signs of overheating.
- If you do not notice any leaks and the coolant level remains stable, it indicates a successful replacement and proper sealing of the water pump.
It’s important to perform this leak check to ensure the integrity of the cooling system. If you notice any persistent leaks or other issues, it’s recommended to consult a professional mechanic for further inspection and repairs.
With the coolant checked and any leaks addressed, you have completed the water pump replacement process on your Honda Civic. Regularly monitor the coolant level and overall performance of the engine to ensure its optimal functioning for years to come.
Congratulations on successfully replacing the water pump on your Honda Civic!
Conclusion
Replacing the water pump on your Honda Civic is a manageable task that can save you time and money compared to taking your vehicle to a professional mechanic. With the right tools, materials, and step-by-step guidance, you can successfully replace the water pump and ensure the proper functioning of your engine’s cooling system.
Throughout this guide, we’ve covered the necessary tools and materials, as well as the step-by-step process to replace the water pump on your Honda Civic. From gathering the necessary supplies to checking for leaks, each step is essential in completing the water pump replacement successfully.
Remember to consult your vehicle’s manual for any specific instructions or torque specifications that may be unique to your Honda Civic model. If you encounter any difficulties or have concerns, don’t hesitate to seek professional assistance.
By replacing the water pump, you’re taking proactive measures to maintain the performance and longevity of your Honda Civic. Properly circulating coolant helps prevent overheating and protects your engine from potential damage.
We hope this guide has provided you with the knowledge and confidence to tackle the water pump replacement on your Honda Civic. Remember to always prioritize your safety and take necessary precautions while working on your vehicle.
Thank you for following this comprehensive guide. We wish you success in replacing the water pump and keeping your Honda Civic running smoothly for many miles to come!
Frequently Asked Questions about How To Replace A Water Pump On A Honda Civic
Was this page helpful?
At Storables.com, we guarantee accurate and reliable information. Our content, validated by Expert Board Contributors, is crafted following stringent Editorial Policies. We're committed to providing you with well-researched, expert-backed insights for all your informational needs.

0 thoughts on “How To Replace A Water Pump On A Honda Civic”