Home>Furniture & Design>Outdoor Furniture>How To Change Bulb In Outdoor Light Fixture
Outdoor Furniture
How To Change Bulb In Outdoor Light Fixture
Modified: March 1, 2024
Learn how to change a bulb in an outdoor light fixture with our expert tips. Keep your outdoor furniture well-lit and stylish. Get the best outdoor furniture and design ideas.
(Many of the links in this article redirect to a specific reviewed product. Your purchase of these products through affiliate links helps to generate commission for Storables.com, at no extra cost. Learn more)
Introduction
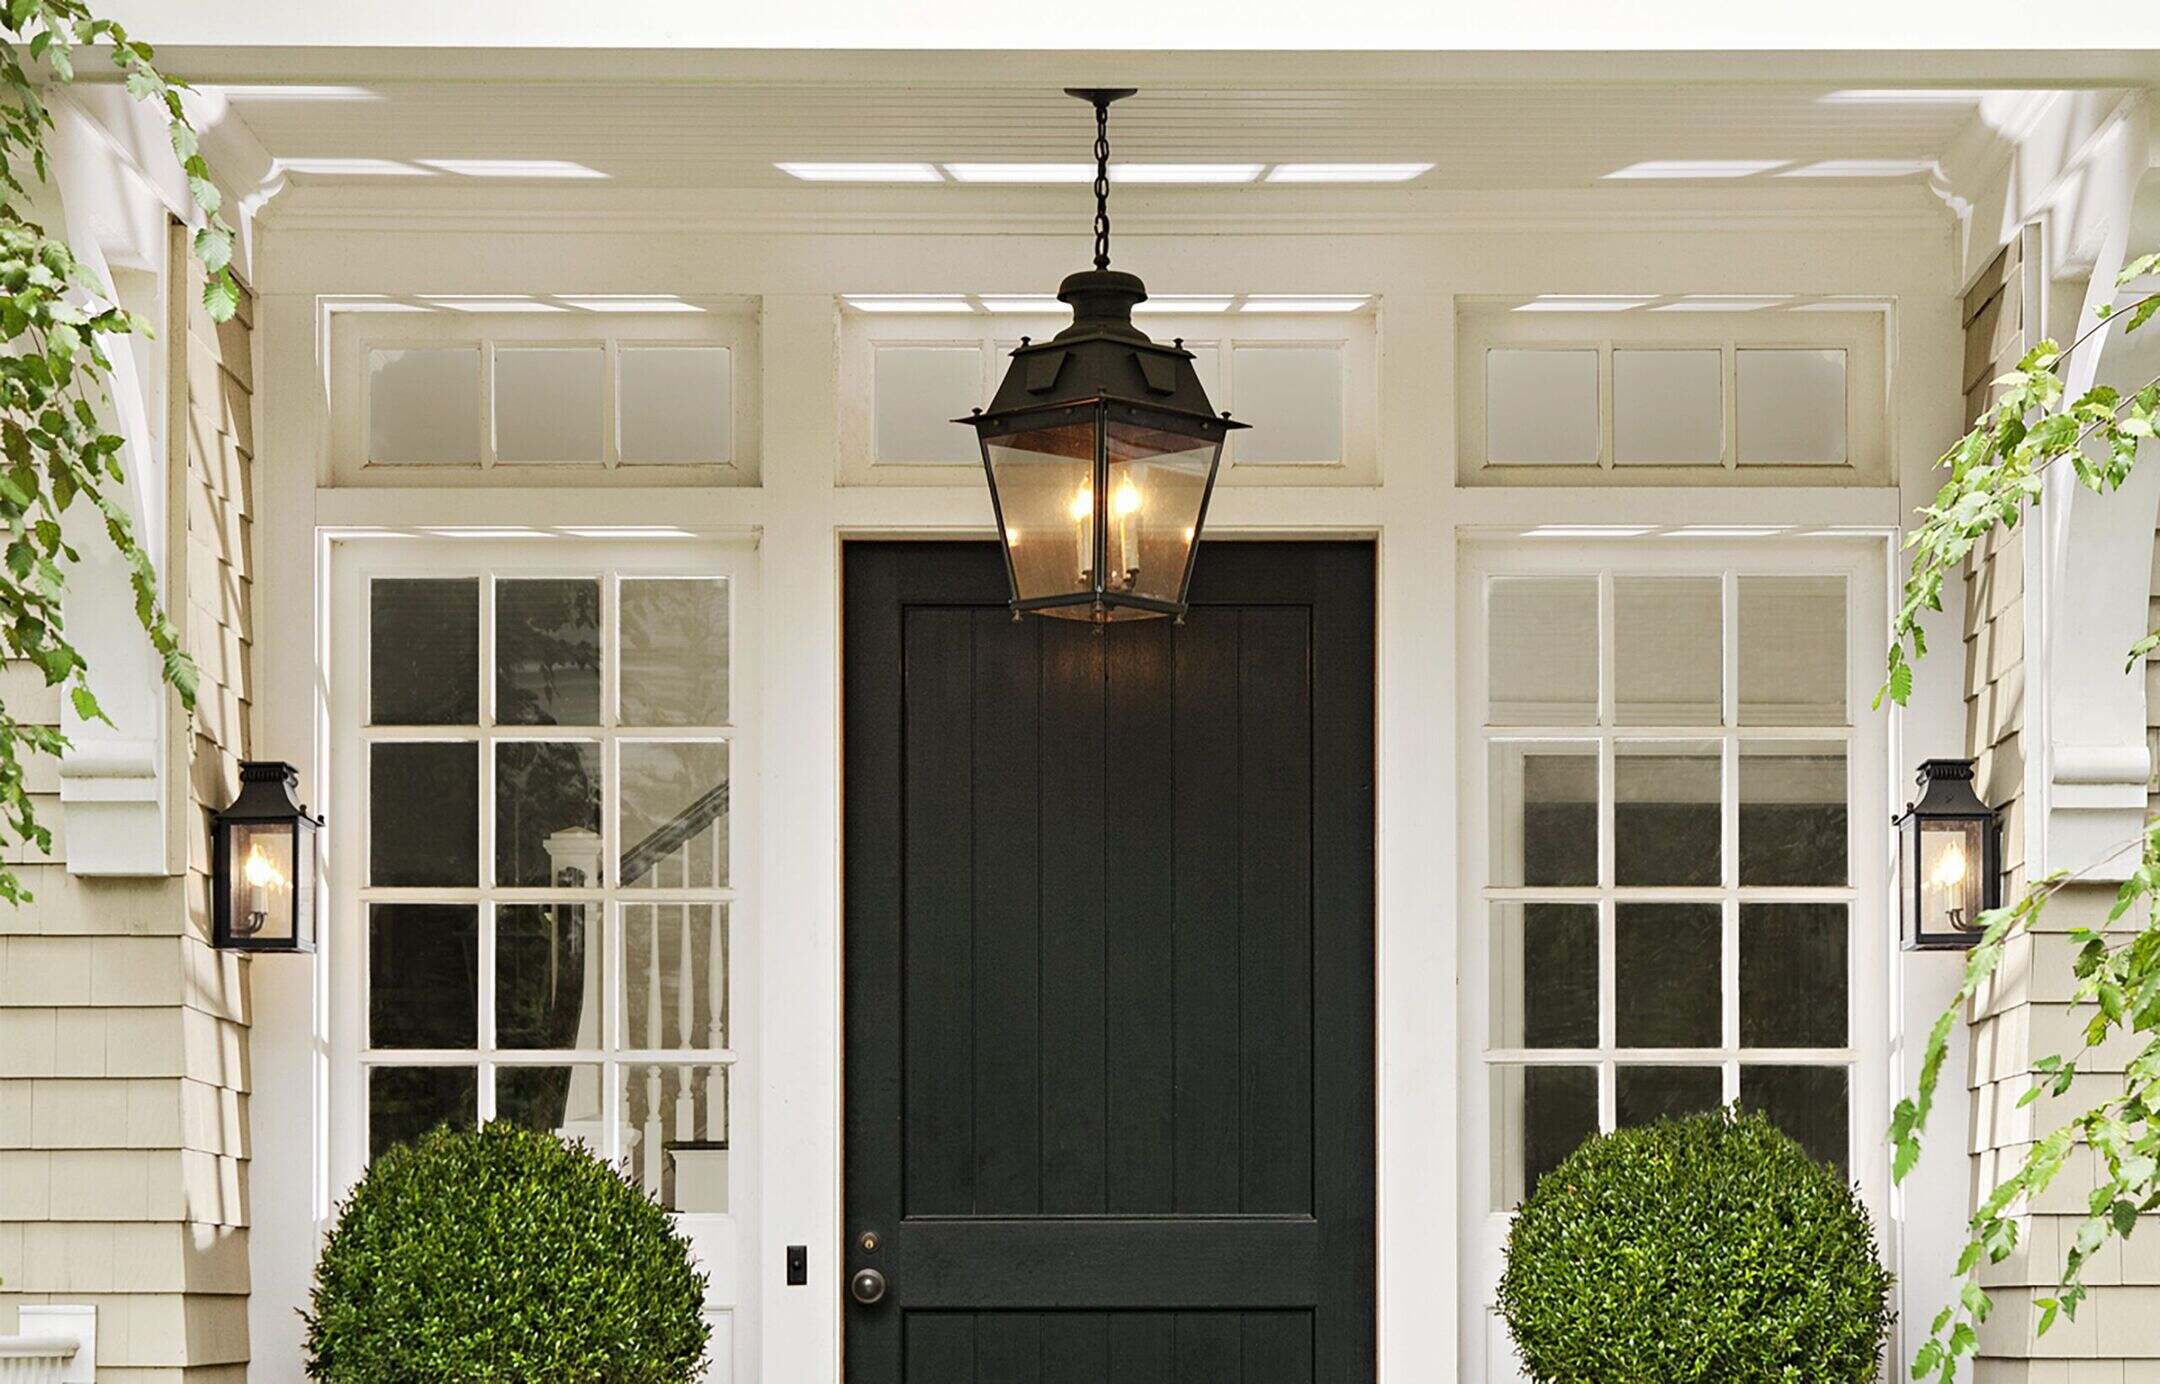
Welcome to the world of outdoor lighting! Whether you're a seasoned outdoor design enthusiast or a novice homeowner looking to spruce up your outdoor space, understanding how to change a bulb in an outdoor light fixture is a fundamental skill. Outdoor lighting not only enhances the aesthetics of your home but also provides safety and security during the evening hours. When a bulb burns out, it's essential to address the issue promptly to maintain the functionality and ambiance of your outdoor lighting.
In this comprehensive guide, we'll walk you through the process of changing a bulb in an outdoor light fixture, covering everything from safety precautions to the necessary tools and step-by-step instructions. By the end of this tutorial, you'll feel confident and empowered to tackle this task with ease. So, let's dive into the world of outdoor lighting and shed some light on how to keep your outdoor space illuminated and inviting.
Key Takeaways:
- Stay safe when changing outdoor light bulbs by turning off power, using a sturdy ladder, and wearing protective gear. Prioritize safety to avoid accidents and ensure a successful bulb replacement process.
- Gather the right tools and materials, follow step-by-step instructions, and test the new bulb to effectively change outdoor light fixtures. Enjoy a well-lit and inviting outdoor space with proper maintenance.
Read more: How To Change Outdoor Sensor Light Bulb
Safety Precautions
Before embarking on the task of changing a bulb in an outdoor light fixture, it’s crucial to prioritize safety. Outdoor lighting fixtures are often exposed to the elements and may be located in elevated or hard-to-reach areas, necessitating extra caution. Here are some essential safety precautions to keep in mind:
- Power Off: Ensure that the power to the outdoor light fixture is switched off before attempting to replace the bulb. This can typically be done by turning off the corresponding switch in your home’s electrical panel or at the fixture itself.
- Allow Cooling: If the outdoor light has been in use, allow it to cool down before attempting to handle the fixture or remove the bulb. Hot bulbs can cause burns if touched.
- Sturdy Ladder: If the fixture is located in a high or difficult-to-reach area, use a sturdy and properly positioned ladder to access it safely. Avoid standing on chairs or unstable surfaces.
- Protective Gear: Consider wearing gloves to protect your hands from sharp edges or residual heat. Safety glasses can also be beneficial, especially when working in dusty or debris-filled outdoor environments.
- Weather Conditions: Take into account the weather conditions when working on outdoor fixtures. If it’s raining or windy, consider postponing the task to ensure your safety and prevent damage to the fixture.
By adhering to these safety precautions, you can minimize the risk of accidents and ensure a secure environment while addressing your outdoor lighting needs. Remember, prioritizing safety is the first step towards a successful and incident-free bulb replacement process.
Tools and Materials Required
Before diving into the process of changing a bulb in an outdoor light fixture, it’s essential to gather the necessary tools and materials to ensure a smooth and efficient experience. Here’s a comprehensive list of what you’ll need:
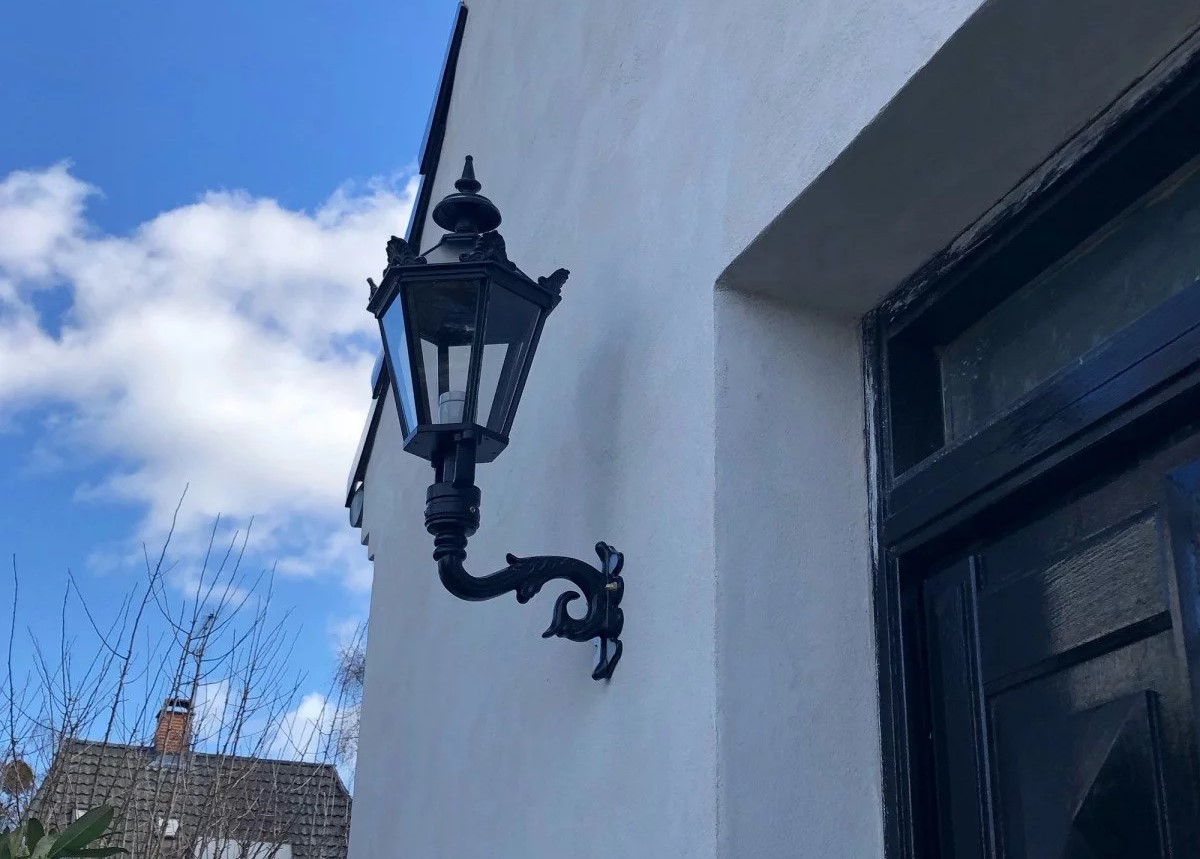
- Replacement Bulb: Identify the type and size of the bulb needed for your specific outdoor light fixture. This may include incandescent, LED, CFL, or halogen bulbs. Refer to the fixture’s manual or markings for the correct specifications.
- Ladder: Depending on the height and accessibility of the fixture, a sturdy ladder may be required to safely reach and work on the outdoor light.
- Gloves: A pair of protective gloves can shield your hands from any residual heat or sharp edges on the fixture.
- Safety Glasses: To protect your eyes from dust, debris, or potential splinters during the bulb replacement process.
- Screwdriver: In some cases, a screwdriver may be necessary to remove the cover or access panel of the outdoor light fixture.
- Cleaning Cloth: A soft cleaning cloth can be handy for wiping down the fixture or removing any accumulated dirt or grime.
- Lubricating Spray (Optional): If the fixture’s components seem stiff or difficult to maneuver, a lubricating spray can help ease the process.
By ensuring that you have the appropriate replacement bulb and the necessary tools and materials on hand, you’ll be well-prepared to tackle the task of changing the bulb in your outdoor light fixture. With these essentials at your disposal, you can proceed with confidence and efficiency, ensuring a successful and hassle-free bulb replacement process.
Make sure the power is off before changing the bulb. Use a ladder if needed and wear gloves to protect your hands. Twist the old bulb counterclockwise to remove it, then insert the new bulb and twist it clockwise to secure it.
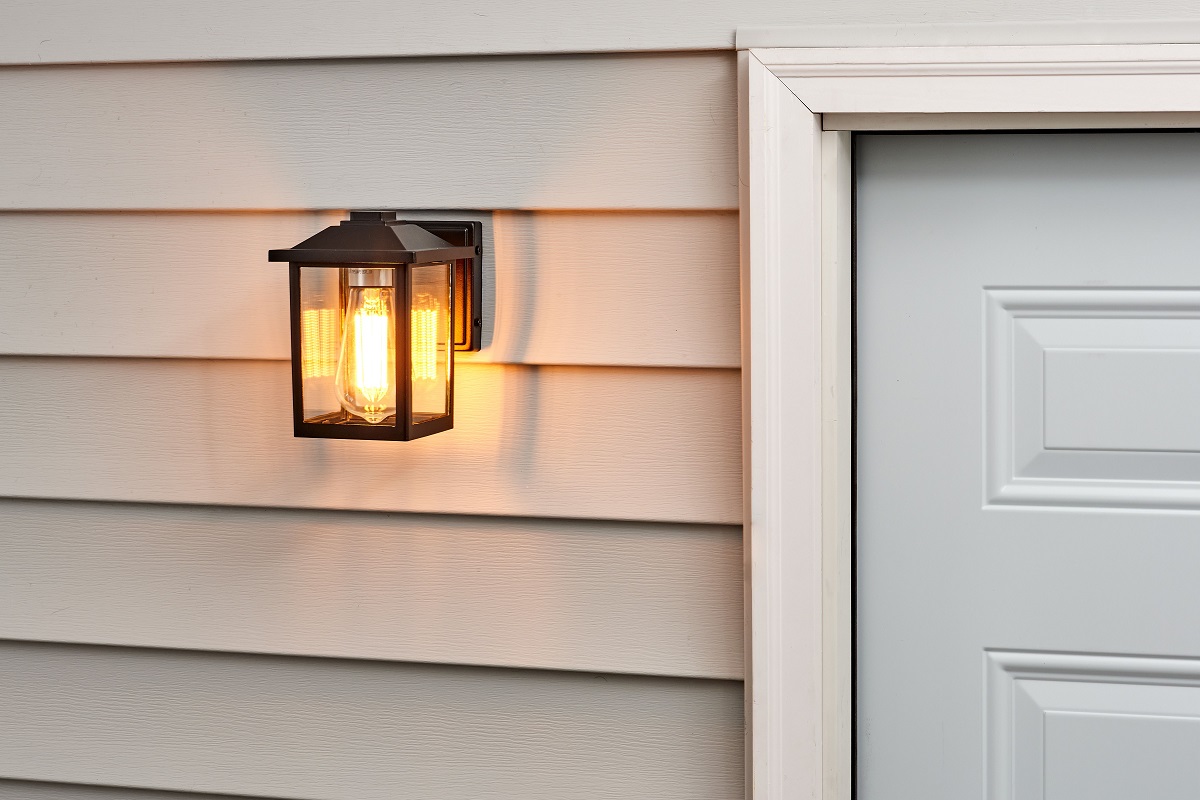
Steps to Change Bulb in Outdoor Light Fixture
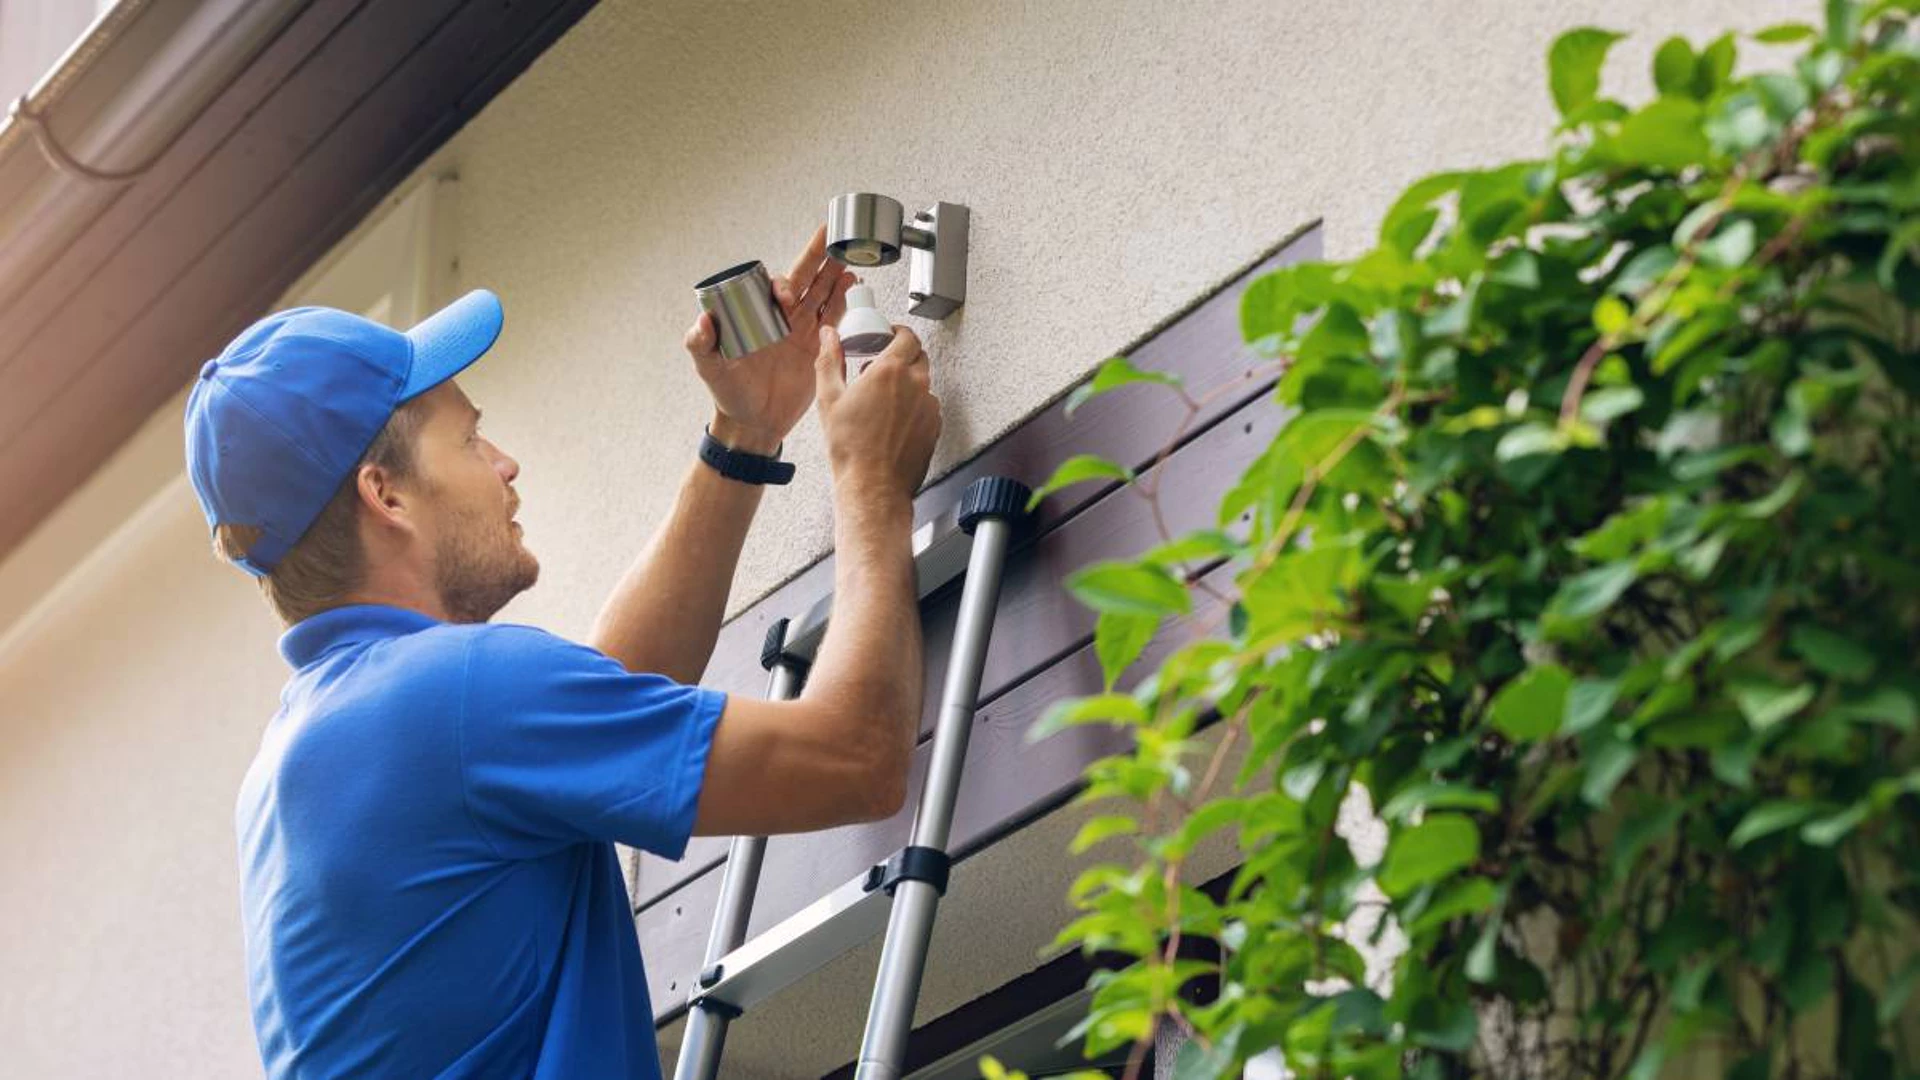
Now that you’re equipped with the essential safety precautions, tools, and materials, it’s time to delve into the step-by-step process of changing a bulb in an outdoor light fixture. Follow these clear and concise instructions to complete the task effectively:
- Turn Off Power: Begin by switching off the power to the outdoor light fixture. This can usually be done by turning off the corresponding switch in your home’s electrical panel or at the fixture itself.
- Allow Cooling: If the outdoor light has been in use, allow it to cool down before proceeding with the bulb replacement to avoid burns.
- Access the Fixture: Use a sturdy ladder to safely reach the outdoor light fixture. Ensure that the ladder is stable and positioned on a flat surface.
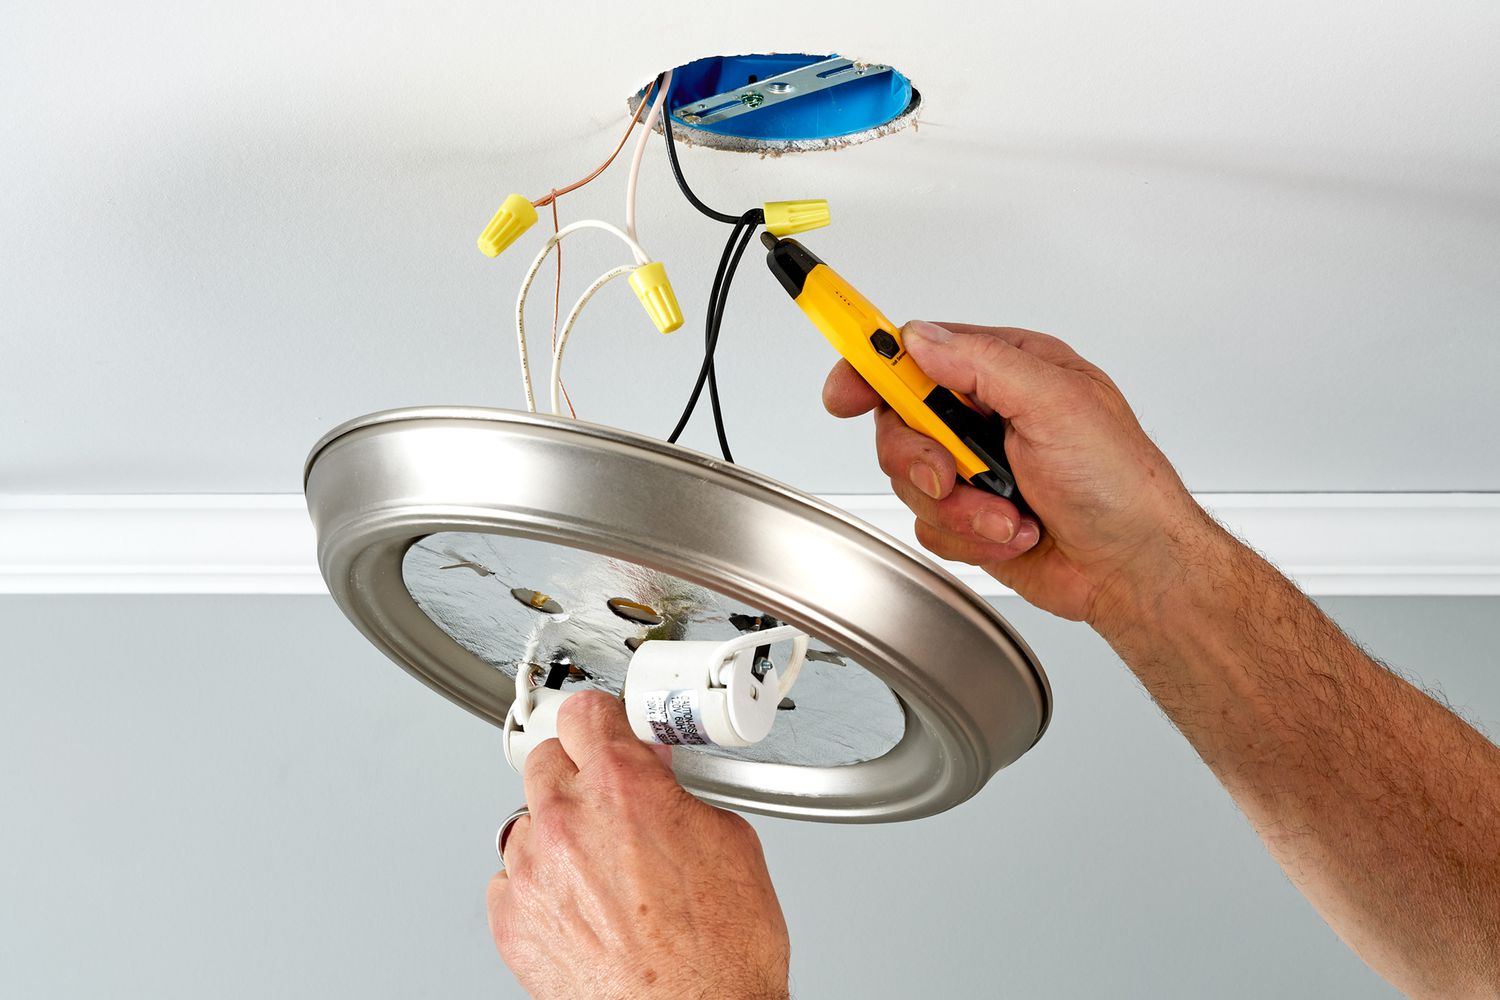
- Remove Cover or Access Panel: If the fixture has a cover or access panel, carefully remove it using a screwdriver if necessary. Set the cover aside in a safe place.
- Remove Old Bulb: Gently unscrew or unclip the old bulb from its socket. Be cautious when handling the bulb to avoid breakage or injury. Dispose of the old bulb properly according to local regulations.
- Insert New Bulb: Carefully insert the new bulb into the socket, ensuring a secure fit. If the bulb requires a twisting motion to lock into place, follow the manufacturer’s instructions for proper installation.
- Replace Cover or Access Panel: Once the new bulb is in place, reattach the cover or access panel to the fixture. Ensure that it is secured properly to protect the bulb and internal components.
- Turn On Power: After confirming that the new bulb is securely installed and the cover is in place, switch the power back on to the outdoor light fixture.
Following these steps will enable you to successfully change the bulb in your outdoor light fixture, restoring its functionality and illuminating your outdoor space once again. Remember to handle the bulb and fixture with care throughout the process to ensure a safe and effective bulb replacement.
Testing the New Bulb
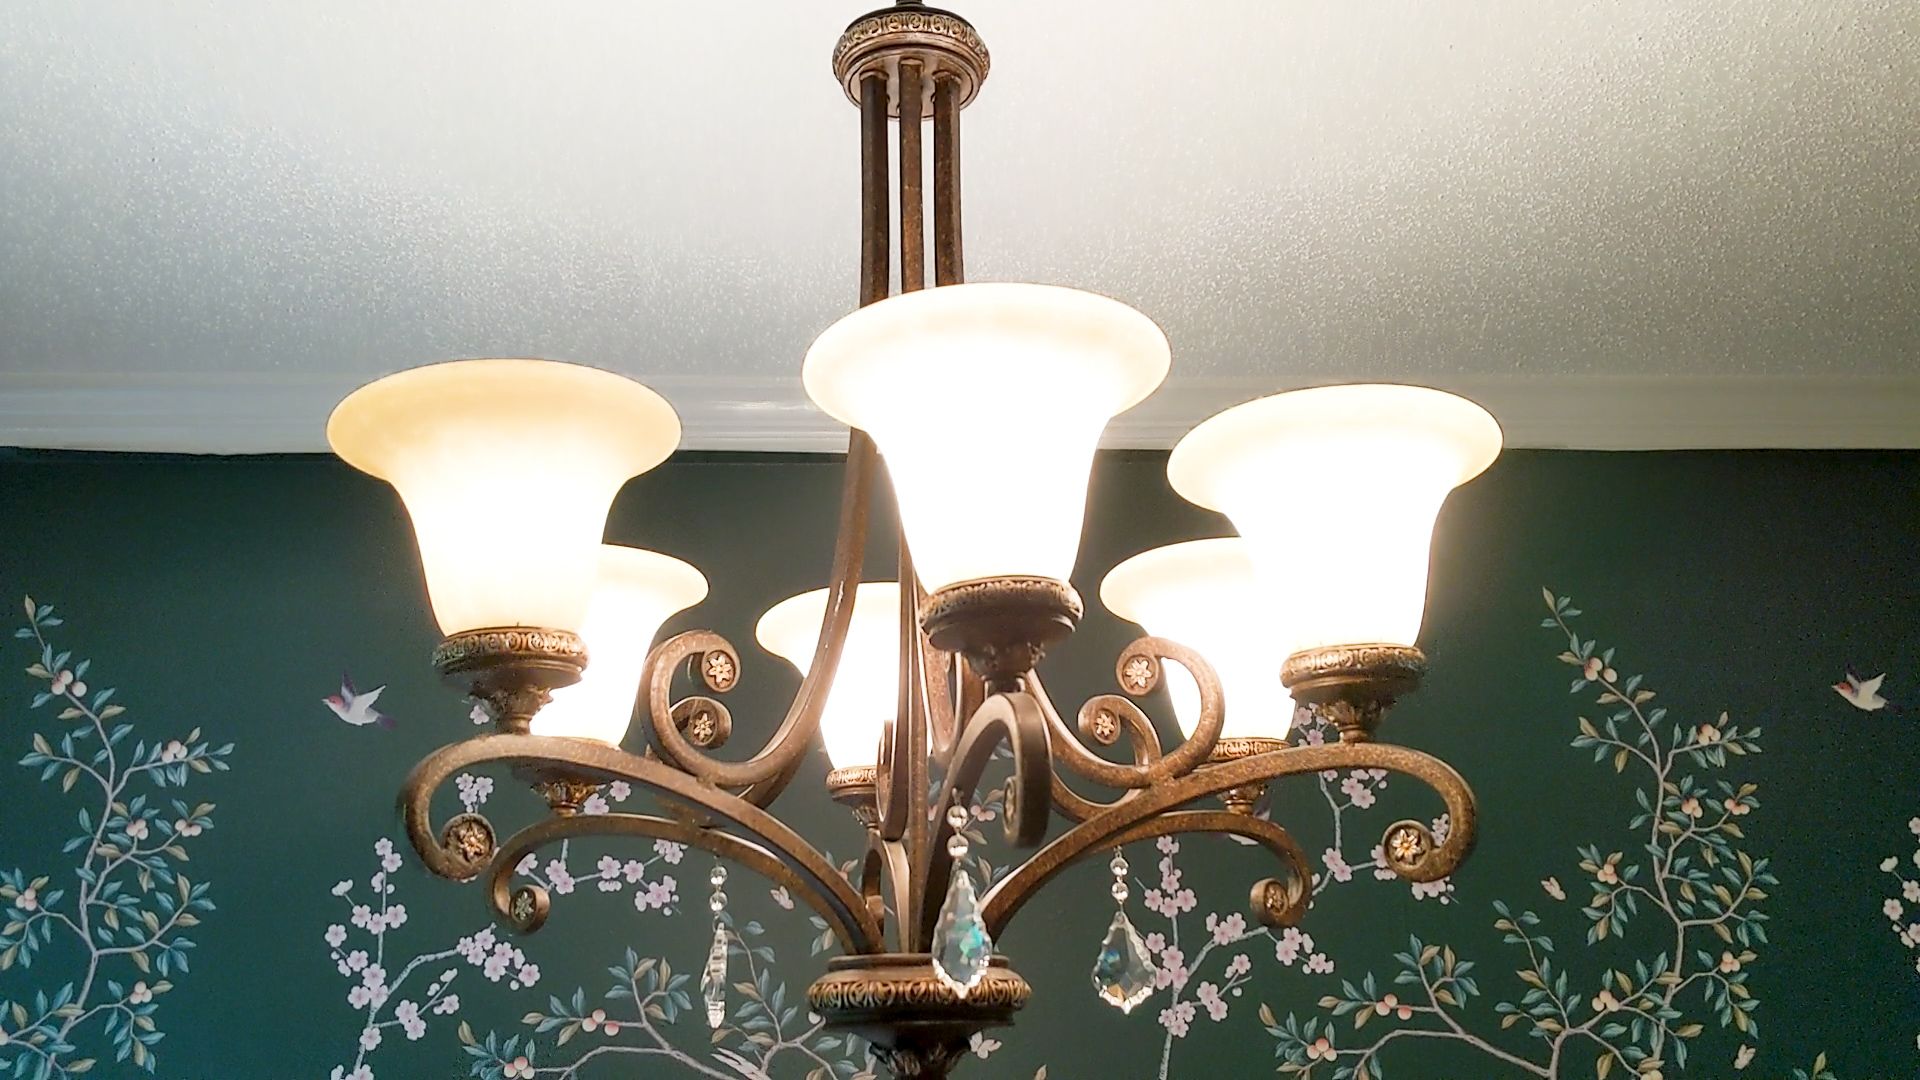
After successfully changing the bulb in your outdoor light fixture, it’s crucial to test the new bulb to ensure proper functionality and illumination. This final step in the process allows you to verify that the replacement bulb is working as intended. Here’s how to test the new bulb:
- Switch On the Light: Turn on the power to the outdoor light fixture and observe the newly installed bulb. Check for any signs of flickering, dimness, or irregularities in the light output.
- Inspect the Illumination: Assess the brightness and quality of the light emitted by the new bulb. Ensure that the illumination adequately covers the intended area and provides the desired level of visibility and ambiance.
- Observe for Any Issues: Watch the light for a few moments to detect any potential issues such as intermittent operation, unusual buzzing sounds, or excessive heat emission from the bulb or fixture.
- Make Adjustments if Necessary: If you notice any irregularities or concerns during the testing phase, consider rechecking the bulb’s installation and the fixture’s components. It may be necessary to revisit the previous steps to address any issues that arise.
By carefully testing the new bulb and observing its performance, you can ensure that the replacement process has been completed successfully. This final evaluation allows you to address any potential issues promptly, guaranteeing that your outdoor light fixture operates optimally and provides the desired illumination for your outdoor space.
Read more: How To Change Outdoor Lantern Light Bulb
Conclusion
Congratulations on successfully navigating the process of changing a bulb in your outdoor light fixture! By following the safety precautions, gathering the necessary tools and materials, and executing the step-by-step instructions, you’ve not only restored the functionality of your outdoor lighting but also gained valuable insight into maintaining and managing your home’s exterior illumination.
As you bask in the renewed glow of your outdoor space, it’s important to recognize the impact of well-maintained outdoor lighting. Beyond its practical purpose, outdoor lighting contributes to the ambiance, safety, and overall appeal of your home. Whether you’re hosting evening gatherings, enhancing your landscaping, or simply enjoying the tranquility of your outdoor environment, properly functioning light fixtures play a pivotal role.
Remember, the knowledge and skills you’ve acquired in this process can be applied to future maintenance and improvement projects. Regularly inspecting and maintaining your outdoor lighting fixtures can prolong their lifespan and ensure a consistently inviting and secure outdoor atmosphere.
By prioritizing safety, staying equipped with the right tools, and confidently addressing maintenance tasks, you’re actively enhancing your outdoor living experience. The ability to change a bulb in an outdoor light fixture is just one facet of your broader journey in creating a harmonious and welcoming outdoor environment.
As you continue to explore the realm of outdoor design and home maintenance, may your outdoor lighting serve as a beacon of warmth and hospitality, illuminating the path to countless memorable moments and cherished experiences in your outdoor oasis.
Here’s to a brilliantly lit and inviting outdoor space that reflects your unique style and facilitates unforgettable gatherings and relaxation.
Frequently Asked Questions about How To Change Bulb In Outdoor Light Fixture
Was this page helpful?
At Storables.com, we guarantee accurate and reliable information. Our content, validated by Expert Board Contributors, is crafted following stringent Editorial Policies. We're committed to providing you with well-researched, expert-backed insights for all your informational needs.


0 thoughts on “How To Change Bulb In Outdoor Light Fixture”