Home>Home Appliances>Lighting Appliances>How To Change A Ceiling Light Fixture
Lighting Appliances
How To Change A Ceiling Light Fixture
Modified: August 27, 2024
Learn how to change a ceiling light fixture with our step-by-step guide. Upgrade your lighting appliances easily and safely.
(Many of the links in this article redirect to a specific reviewed product. Your purchase of these products through affiliate links helps to generate commission for Storables.com, at no extra cost. Learn more)
Introduction
Changing a ceiling light fixture can instantly transform the ambiance of a room, adding a touch of elegance or modernity while brightening up the space. Whether you're looking to upgrade to a more stylish fixture or simply need to replace a worn-out one, this guide will walk you through the process step by step. With the right tools, a bit of know-how, and a dash of confidence, you can tackle this project with ease.
A new ceiling light fixture has the power to redefine the aesthetic appeal of any room, serving as a focal point that ties the decor together. From sleek and minimalist designs to ornate and vintage-inspired options, the possibilities are endless. By taking the time to change a ceiling light fixture, you can infuse your personal style into the room and create a welcoming atmosphere for yourself and your guests.
In addition to the aesthetic benefits, updating a ceiling light fixture can also improve the functionality of the space. Modern fixtures often come with energy-efficient LED bulbs, providing ample illumination while reducing energy consumption. Furthermore, the installation of a new fixture allows you to address any existing wiring or mounting issues, ensuring that the lighting system operates safely and reliably.
Whether you're a seasoned DIY enthusiast or a novice looking to expand your home improvement skills, changing a ceiling light fixture is a manageable project that yields satisfying results. By following the steps outlined in this guide, you'll gain the confidence to tackle similar tasks in the future and enhance the overall appeal and functionality of your living space. So, roll up your sleeves, gather your tools, and let's embark on this illuminating journey together.
Key Takeaways:
- Transform your living space by changing a ceiling light fixture. It’s a creative journey that adds style and functionality to your room, creating a warm and inviting ambiance for you and your guests.
- Changing a ceiling light fixture is a manageable DIY project that yields satisfying results. It’s a transformative adventure that allows you to infuse your personal style into the room while enhancing its functionality.
Read more: How To Replace Ceiling Light Fixture
Step 1: Gather the necessary tools and materials
Before embarking on the journey of changing a ceiling light fixture, it's essential to gather the necessary tools and materials to ensure a smooth and efficient process. Here's a comprehensive list of items you'll need:
Tools:
- Screwdriver: Both flathead and Phillips screwdrivers may be required to remove the existing fixture and install the new one.
- Wire cutter/stripper: This tool is essential for cutting and stripping the electrical wires to prepare them for connection.
- Voltage tester: It's crucial to have a voltage tester to ensure that the power is off before working on the electrical connections.
- Ladder or step stool: Depending on the height of the ceiling, a stable and secure ladder or step stool will be necessary to reach the fixture.
- Pliers: A pair of pliers can be handy for bending and securing wires during the installation process.
Materials:
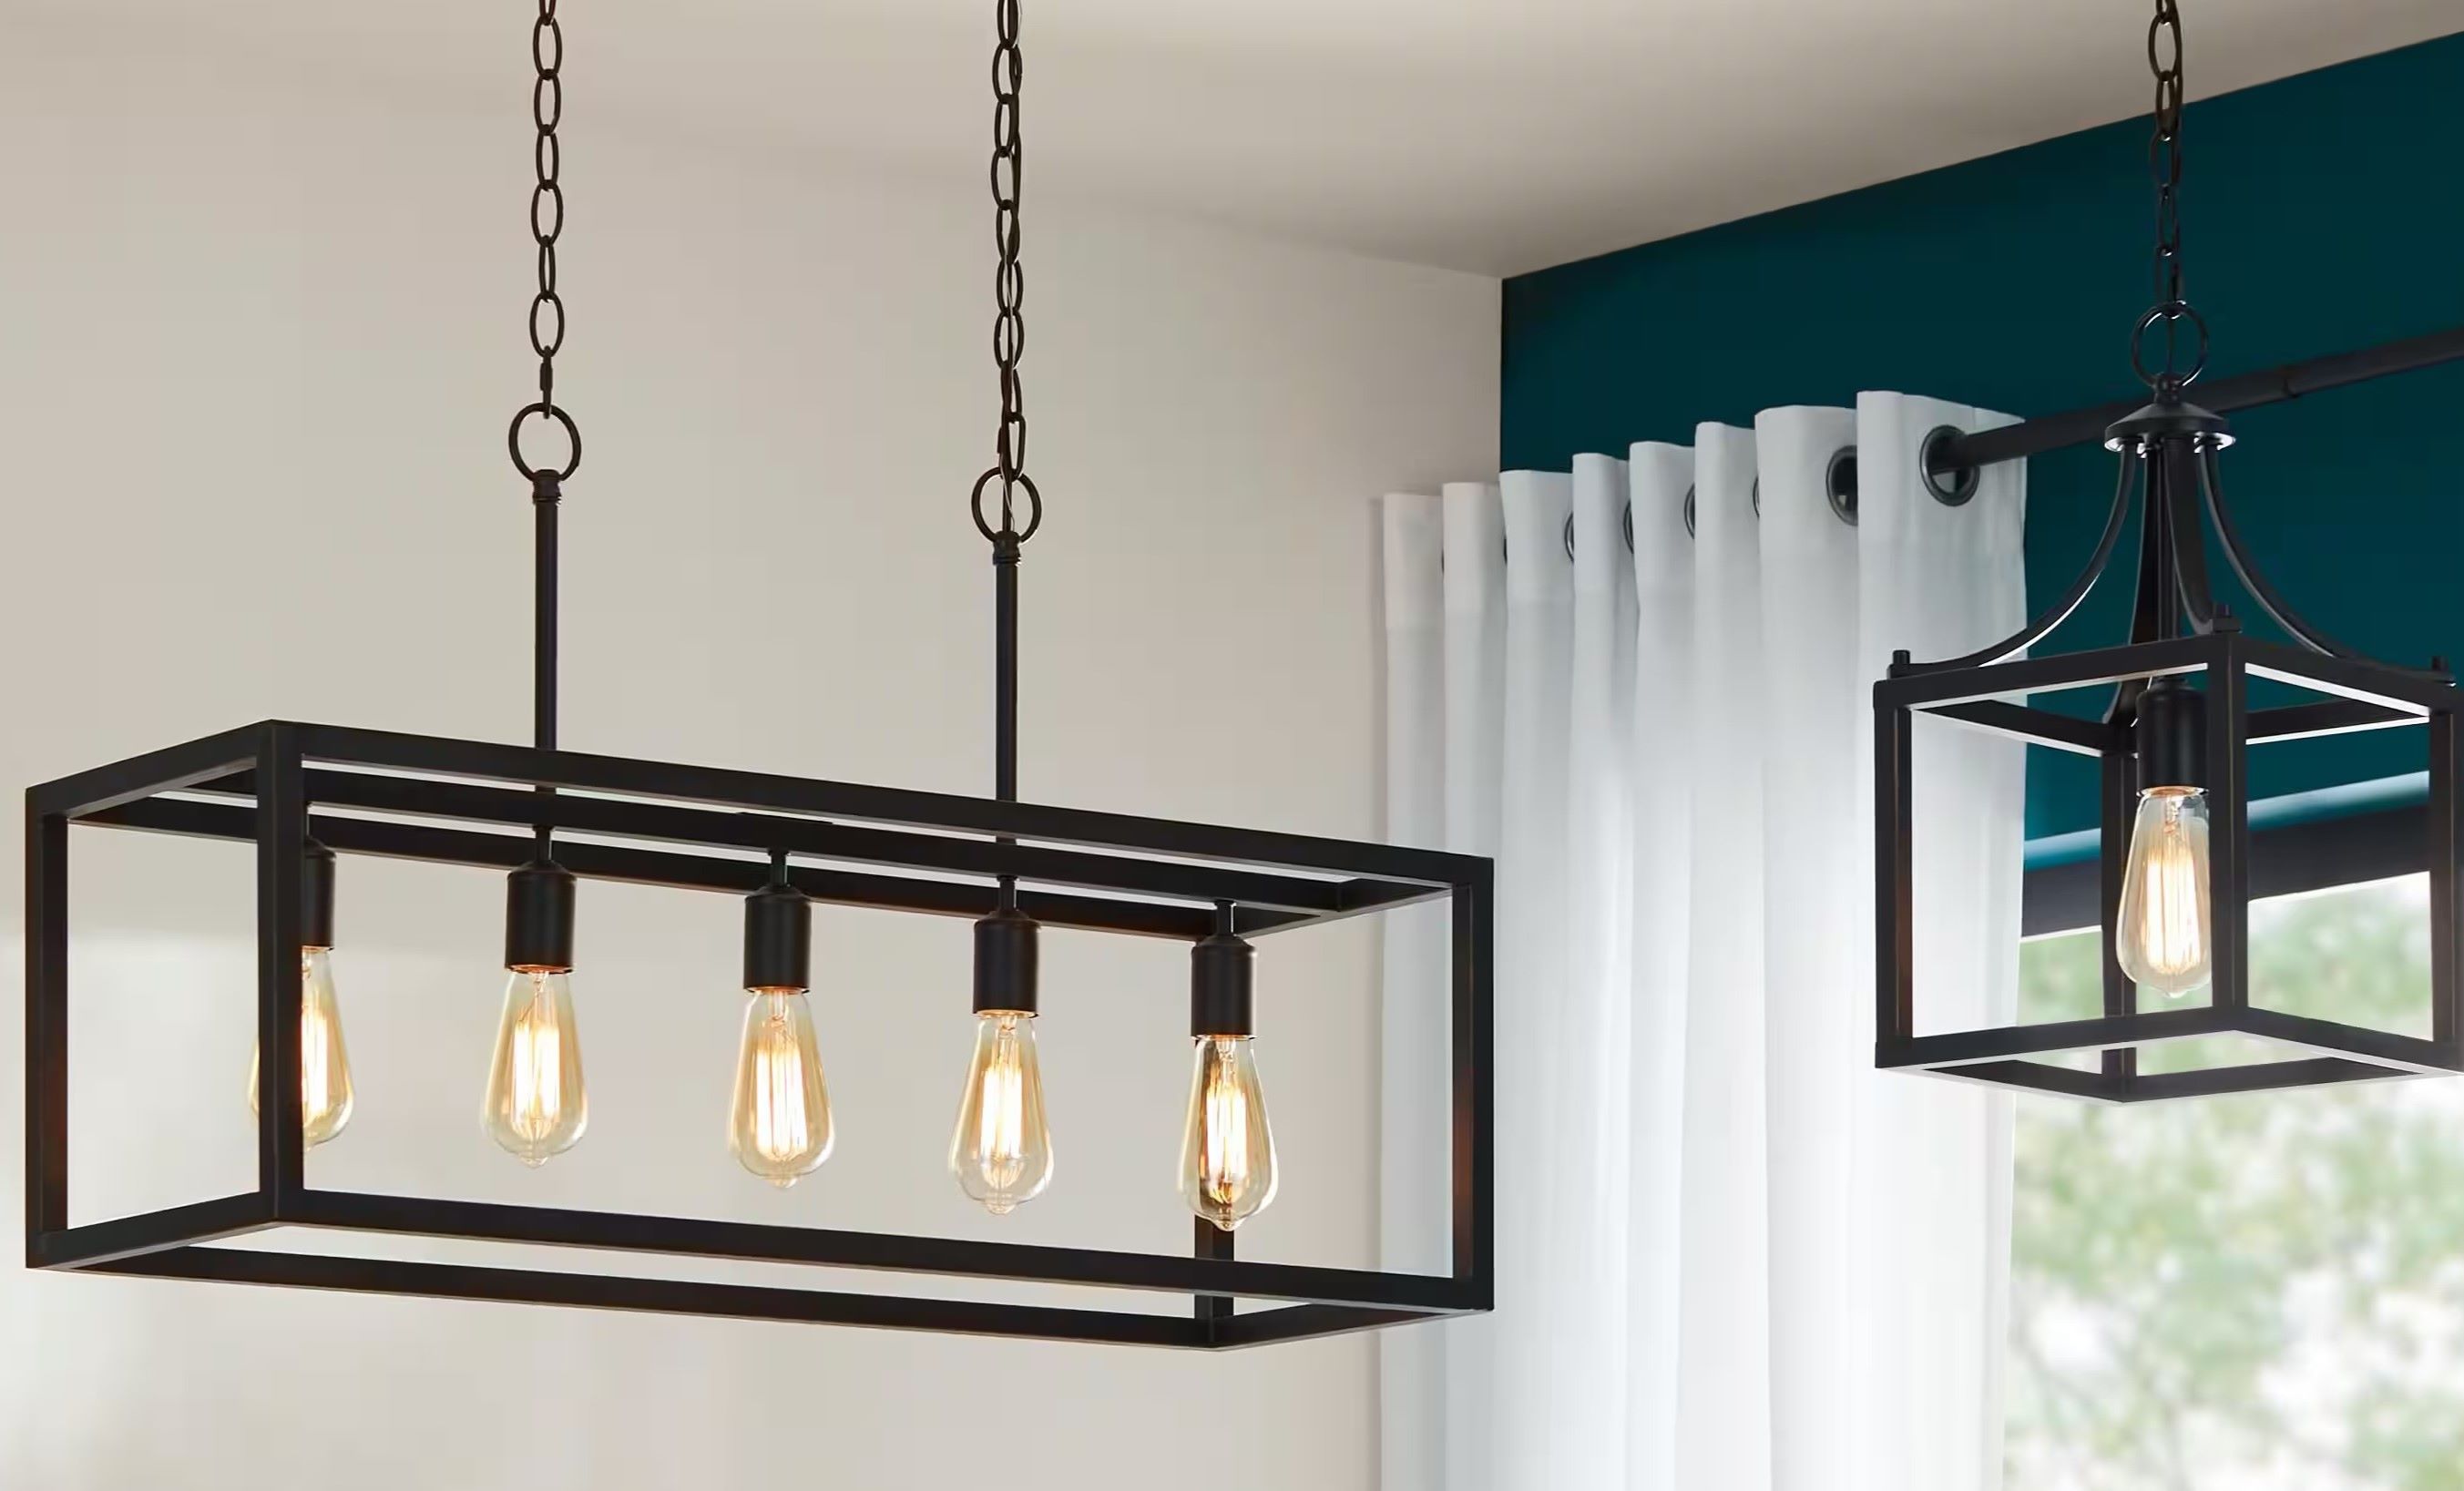
- New light fixture: Select a fixture that complements the room's decor and meets your lighting needs.
- Wire nuts: These small, twist-on connectors are used to secure the electrical connections between the fixture wires and the house wiring.
- Electrical tape: It's essential for insulating and securing wire connections.
- Optional mounting bracket: If the new fixture requires a different mounting bracket than the existing one, ensure that you have the appropriate bracket for installation.
- Owner's manual: While not a physical tool, having the owner's manual for the new fixture on hand can provide valuable guidance during the installation process.
By gathering these tools and materials in advance, you'll be well-prepared to tackle the task of changing a ceiling light fixture. Having everything at your fingertips will streamline the process and minimize interruptions, allowing you to focus on the installation and enjoy the rewarding experience of enhancing your living space with a new lighting centerpiece.
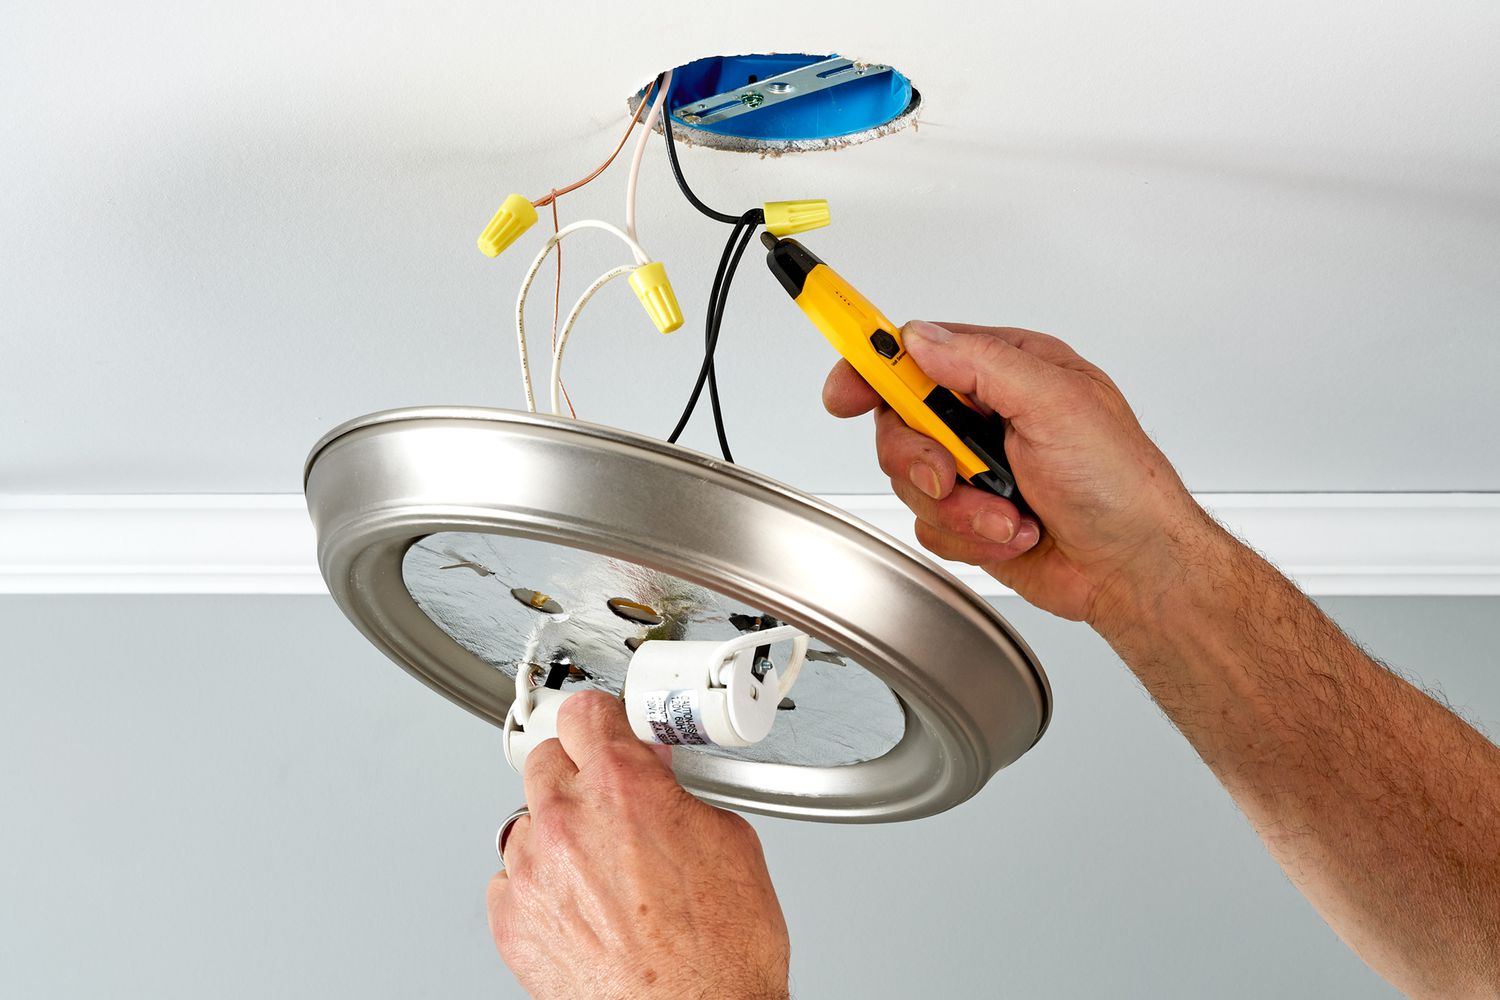
Step 2: Turn off the power
Before beginning any work on the ceiling light fixture, it is absolutely crucial to ensure that the power supply to the fixture is completely turned off. This step is paramount for your safety and the integrity of the electrical components. Here's a detailed guide on how to safely turn off the power:
-
Locate the Circuit Breaker: The first step is to locate the circuit breaker that controls the power supply to the light fixture. Circuit breakers are typically found in the main electrical panel of the house. It's essential to identify the correct breaker that controls the specific area where the fixture is located.
-
Switch Off the Breaker: Once you've identified the correct breaker, switch it to the "off" position. It's a good practice to verify that the power has been successfully cut off by testing the light switch associated with the fixture. If the light does not turn on, the power has been effectively disconnected.
-
Use a Voltage Tester: For an added layer of safety, use a voltage tester to confirm that there is no electrical current flowing to the fixture. This handheld device can detect the presence of electrical voltage and is a reliable way to ensure that the power is indeed off before proceeding with the next steps.
-
Secure the Breaker: To prevent accidental power restoration while you're working on the fixture, it's advisable to secure the breaker with a lock or a tag to indicate that maintenance work is in progress. This precautionary measure adds an extra level of safety and provides a visual reminder to others in the household.
By diligently following these steps to turn off the power, you can proceed with the confidence that the electrical circuit is safely deactivated. This foundational precaution sets the stage for the subsequent steps of removing the old fixture and installing the new one without any risk of electrical hazards. Remember, safety should always be the top priority when working with electrical systems, and taking the time to ensure that the power is off is a non-negotiable aspect of the process.
Read more: How To Change Chandelier Light Fixture
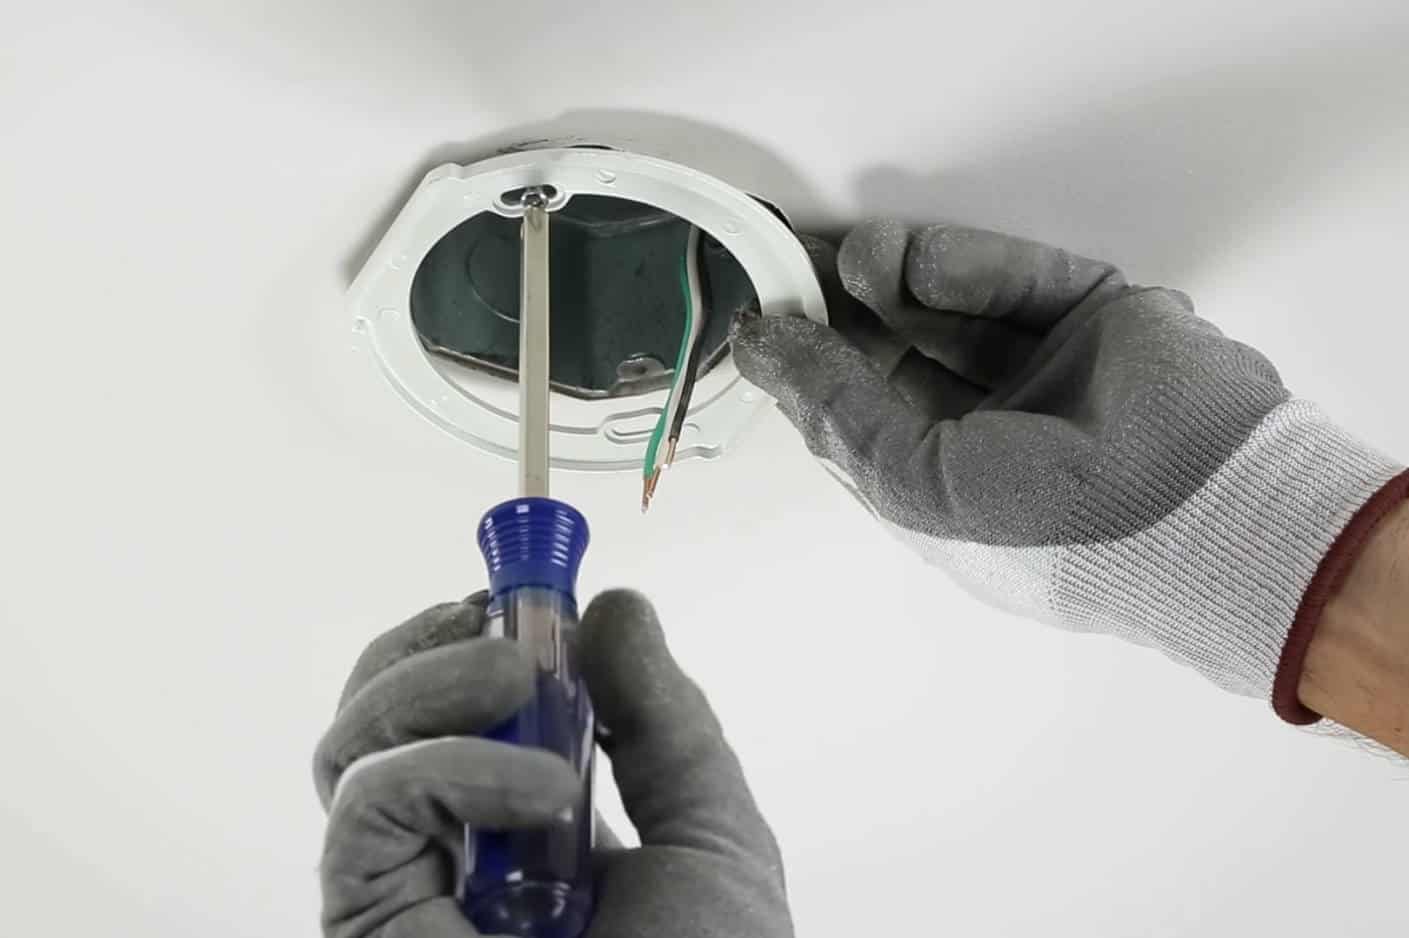
Step 3: Remove the old fixture
With the power safely turned off, it's time to bid farewell to the old ceiling light fixture and make way for its stylish replacement. Removing the old fixture is a straightforward process that involves careful disconnection and detachment. Here's a detailed guide on how to remove the old fixture:
-
Remove the Fixture Cover: Start by unscrewing or unclipping the cover or canopy of the old fixture. In most cases, the cover is secured in place with screws or decorative nuts. Once removed, set it aside along with any accompanying hardware.
-
Disconnect the Wires: Carefully lower the fixture to access the wiring. Identify the wire connections, which typically include black (hot), white (neutral), and sometimes a green or bare copper wire (ground). Using a voltage tester, ensure that there is no electrical current present before proceeding. Once confirmed, loosen the wire nuts connecting the fixture wires to the house wiring and disconnect the wires. It's essential to keep the wires separated and prevent them from falling back into the electrical box.
-
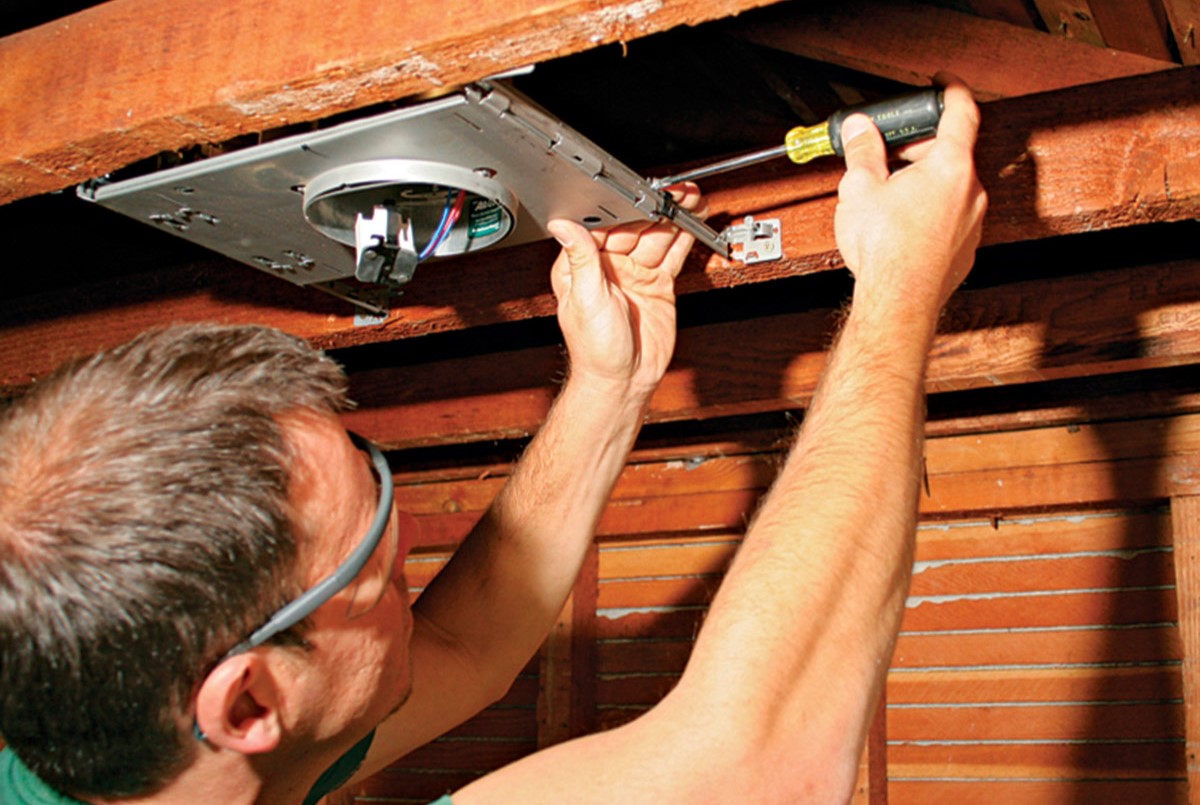
Unscrew the Mounting Bracket: If the fixture is secured to a mounting bracket, unscrew and remove the fixture from the bracket. Some fixtures may be directly attached to a mounting strap or electrical box without a separate bracket. In such cases, carefully detach the fixture from the mounting point.
-
Inspect the Mounting Hardware: With the fixture removed, take a moment to inspect the mounting hardware and electrical box. Ensure that the mounting bracket or strap is secure and in good condition. If any components appear damaged or worn, this is an opportune time to replace them to ensure a stable foundation for the new fixture.
-
Clear the Workspace: Once the old fixture and any accompanying hardware are removed, clear the workspace of any debris or dust. This prepares the area for the installation of the new fixture and ensures a clean and organized work environment.
By following these steps to remove the old fixture, you'll successfully clear the way for the installation of a fresh and stylish ceiling light fixture. With the old fixture gracefully retired, it's time to usher in the new centerpiece that will illuminate and elevate the ambiance of your living space.
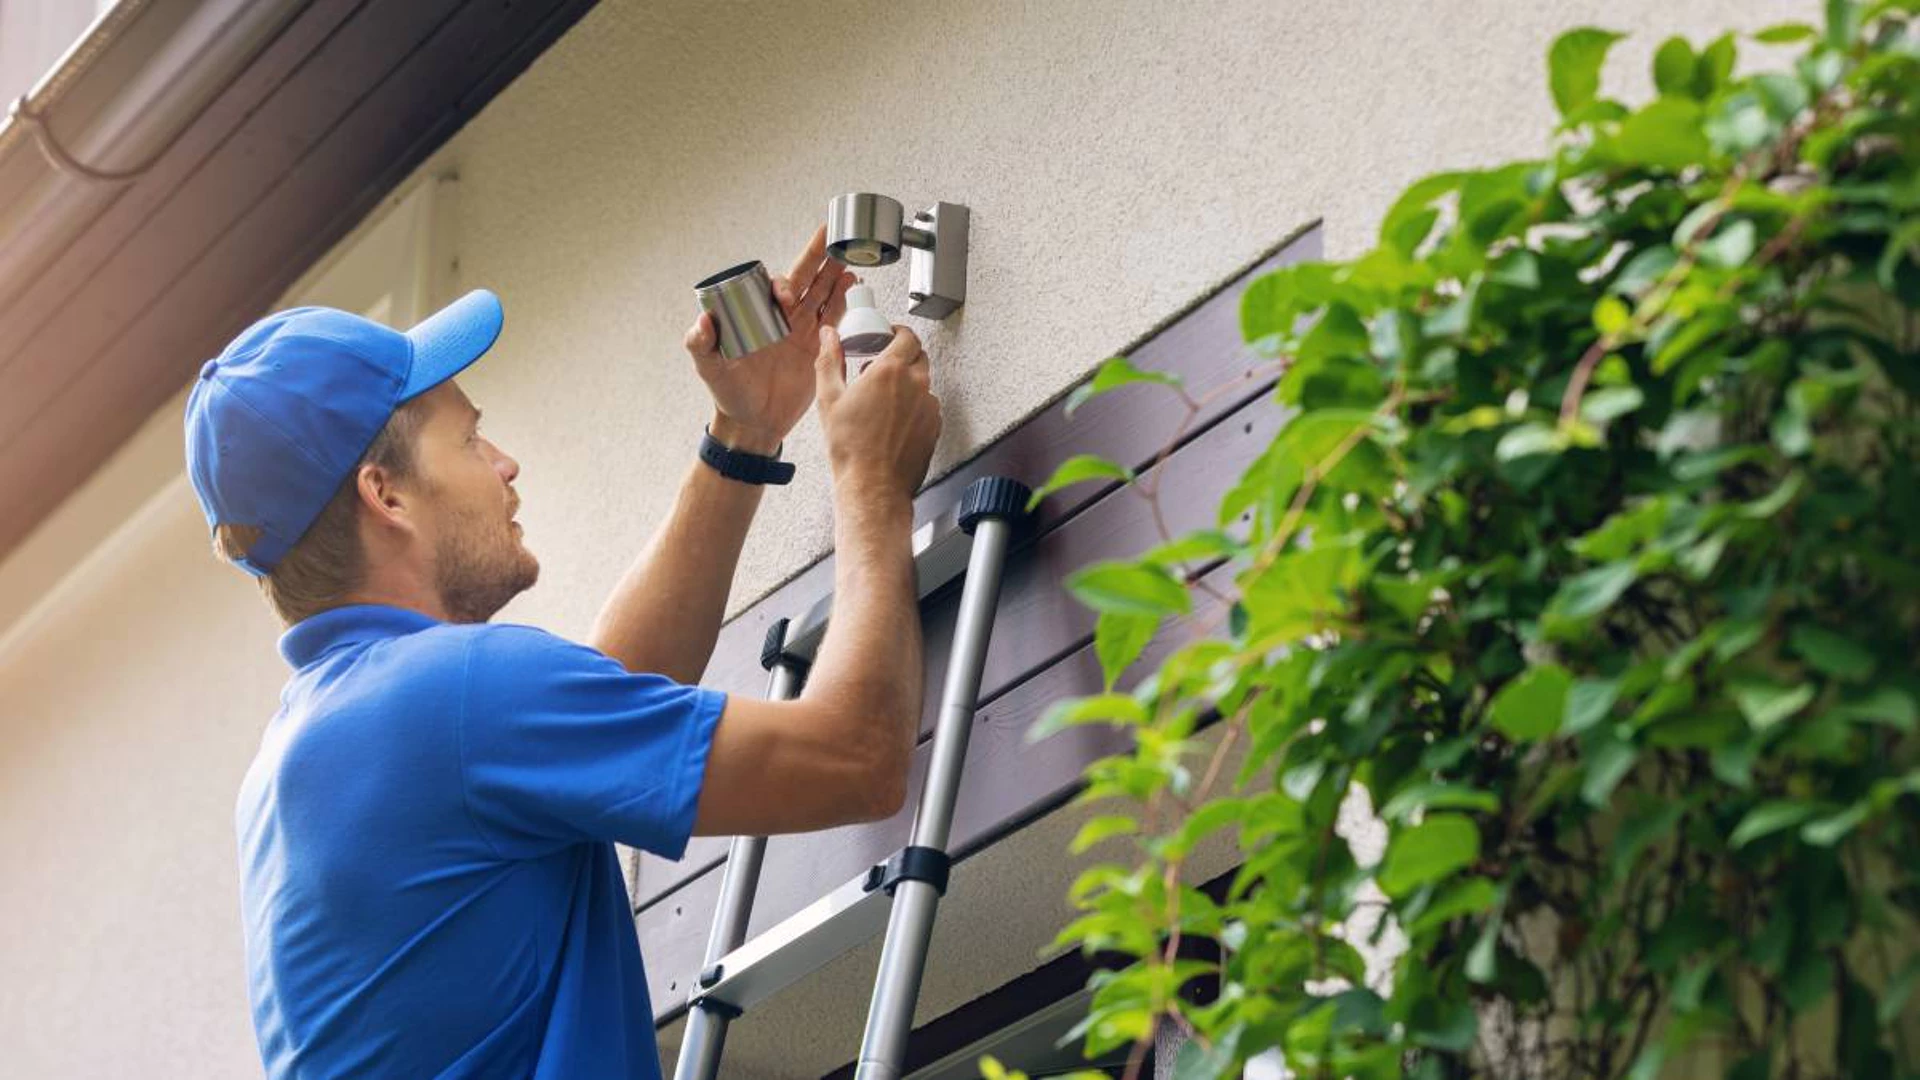
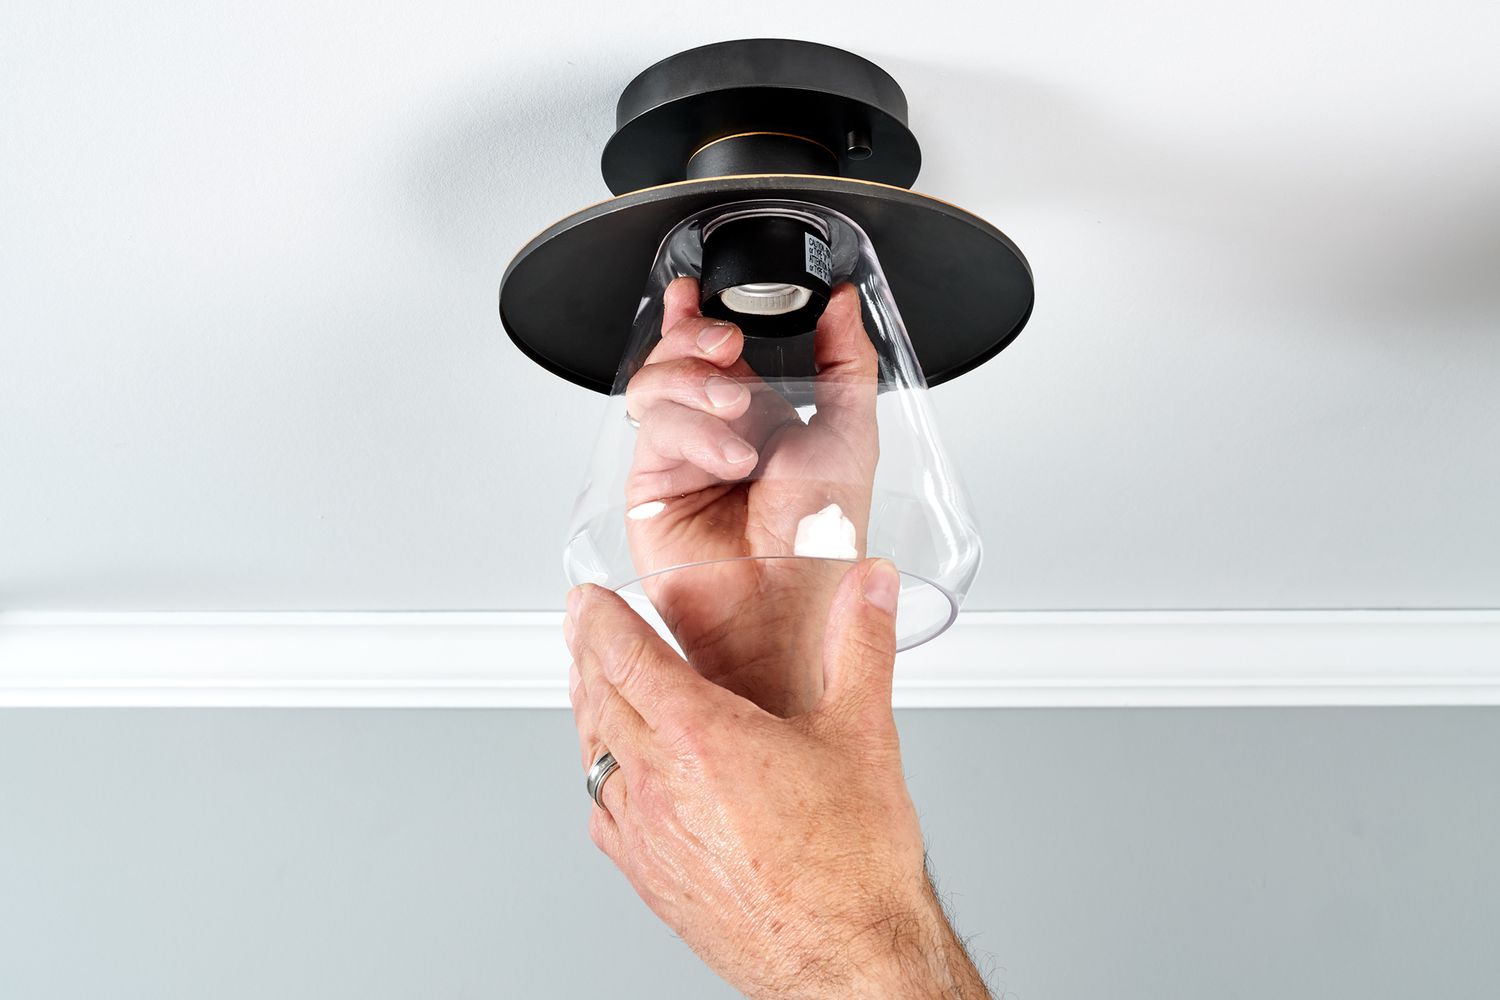
Step 4: Install the new fixture
With the old fixture gracefully retired, it's time to usher in the new centerpiece that will illuminate and elevate the ambiance of your living space. The installation of a new ceiling light fixture is an exciting opportunity to infuse your personal style into the room while enhancing its functionality. Here's a detailed guide on how to install the new fixture:
-
Prepare the New Fixture: Before mounting the new fixture, carefully unpack and inspect all components to ensure that everything is in good condition. Refer to the manufacturer's instructions to familiarize yourself with the fixture's specific assembly and installation requirements. If the new fixture includes a mounting bracket that differs from the existing one, follow the manufacturer's guidelines for attaching the bracket to the electrical box securely.
-
Connect the Wires: Begin by connecting the wires of the new fixture to the house wiring. Match the corresponding wires, typically black to black (hot), white to white (neutral), and green or bare copper to the ground wire. Use wire nuts to secure the connections, ensuring that they are tight and insulated with electrical tape for added safety. If the fixture includes a chain or rod for suspension, carefully thread the wires through it before making the connections.
-
Secure the Fixture: Once the wires are connected, carefully lift the new fixture and align it with the mounting bracket or strap. Secure the fixture in place by tightening the mounting screws or decorative nuts, depending on the design of the fixture. Ensure that the fixture is level and firmly attached to the ceiling, making any necessary adjustments to achieve a balanced and aesthetically pleasing installation.
-
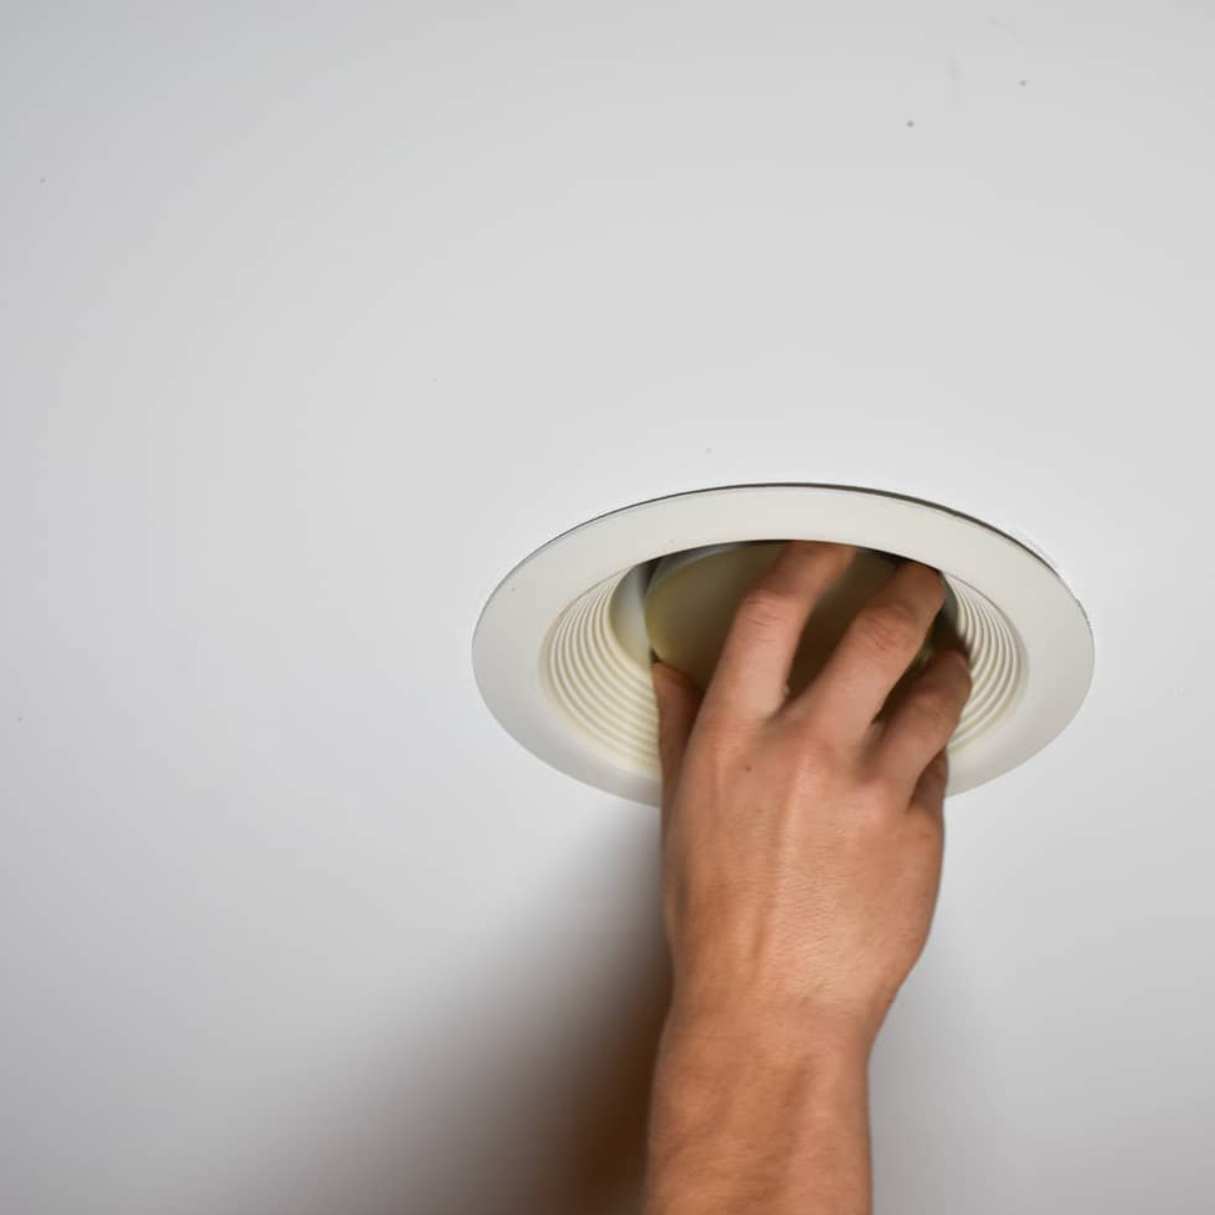
Install the Bulbs: With the fixture securely mounted, insert the appropriate light bulbs as recommended by the manufacturer. Whether it's energy-efficient LED bulbs or vintage filament bulbs, ensure that they are compatible with the fixture and provide the desired illumination for the room. Take care not to overtighten the bulbs, as this can damage the sockets or affect the electrical connections.
-
Attach the Cover or Canopy: If the new fixture includes a cover or canopy, carefully position it over the fixture and secure it in place using the provided screws or clips. This step adds the finishing touch to the installation, concealing the electrical components and completing the aesthetic appeal of the fixture.
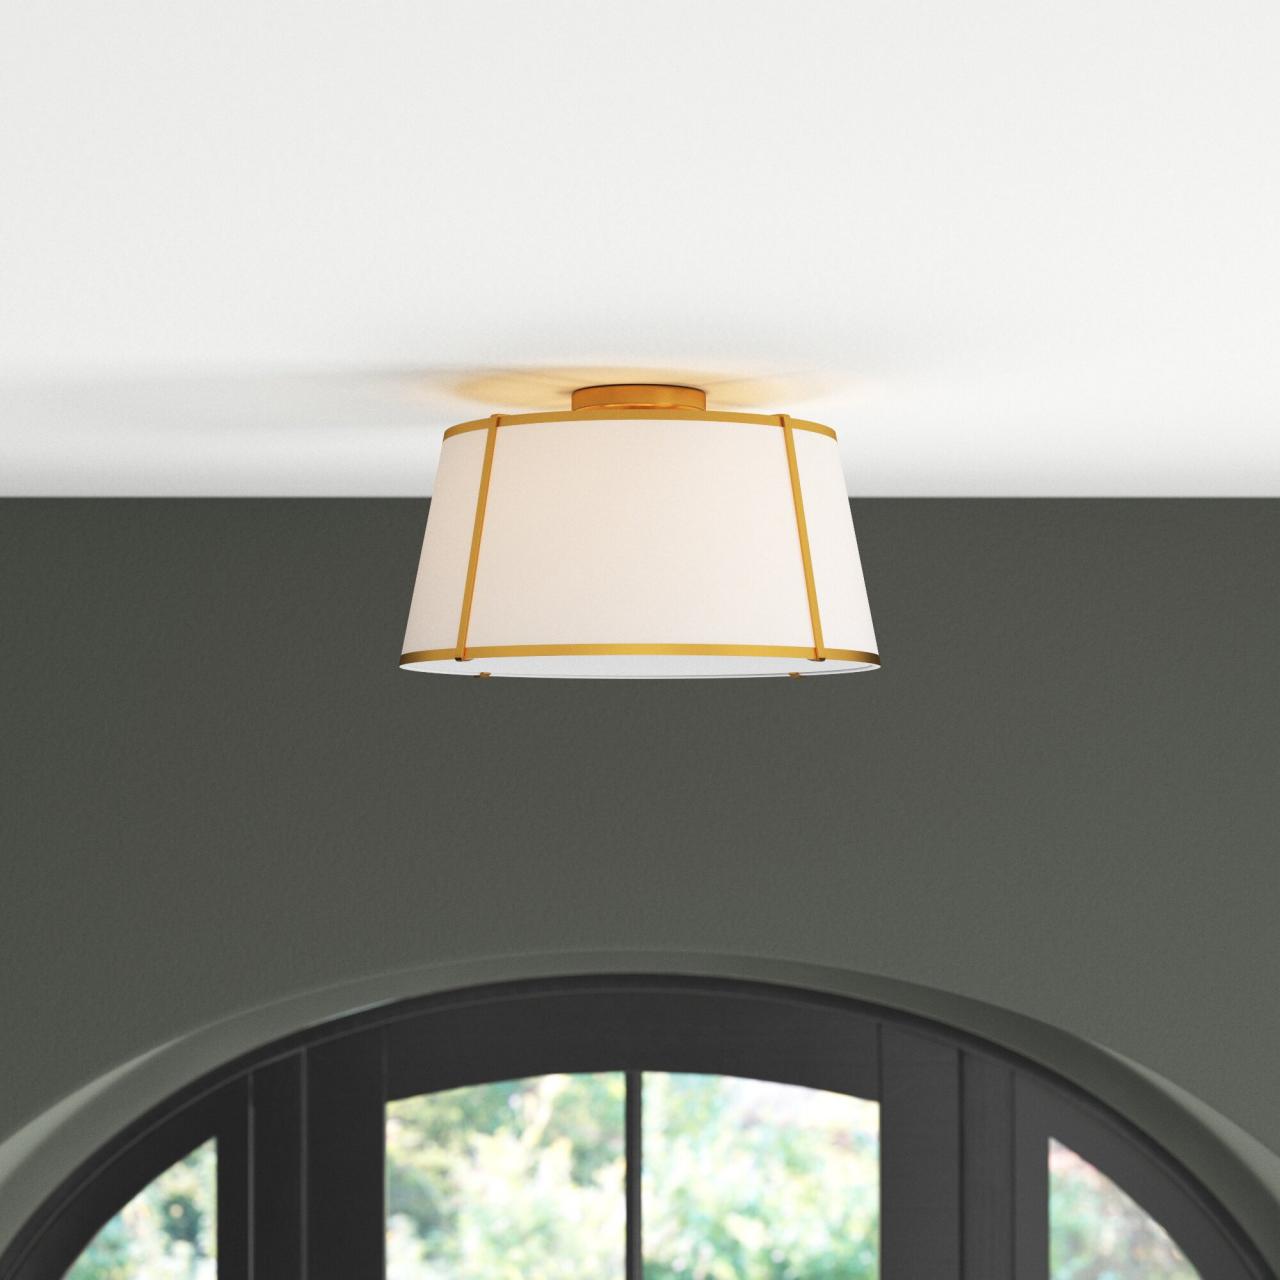
By following these steps to install the new fixture, you'll bring your vision to light and transform the room with a captivating and functional ceiling light fixture. With the installation complete, the room will be bathed in a warm and inviting glow, creating a welcoming atmosphere for relaxation, productivity, or social gatherings. Enjoy the transformative power of your new ceiling light fixture and bask in the radiant ambiance it brings to your living space.
Make sure to turn off the power at the breaker before starting. Use a voltage tester to double check. Always follow the manufacturer’s instructions and use the right tools for the job.
Step 5: Turn the power back on
With the new ceiling light fixture securely installed and the finishing touches in place, the final step is to restore power to the fixture and bask in the radiant illumination it provides. However, it's crucial to approach this step with the same attention to safety and precision that guided the earlier stages of the process. Here's a detailed guide on how to safely turn the power back on:
-
Return to the Circuit Breaker: Carefully make your way back to the main electrical panel where the circuit breaker for the light fixture is located. Take a moment to ensure that all tools and materials are clear of the panel, maintaining a clutter-free and safe working environment.
-
Identify the Correct Breaker: Locate the breaker that was previously switched off to disconnect the power supply to the fixture. It's essential to double-check the breaker to confirm that it is indeed the one associated with the fixture. If the breakers are labeled, verify that the label corresponds to the correct area of the house.
-
Switch On the Breaker: With a deliberate and steady motion, switch the breaker to the "on" position. As the breaker is engaged, listen for any audible clicks or indications that the power supply is being restored. It's a good practice to have a clear line of sight to the fixture or a nearby light switch to observe any immediate changes in the lighting.
-
Test the Fixture: Once the breaker is turned on, test the functionality of the new ceiling light fixture by flipping the associated light switch. If all connections and installations have been carried out correctly, the fixture should illuminate the room with a warm and inviting glow. Take a moment to appreciate the transformation and the impact of the new lighting on the ambiance of the space.
-
Verify Stability and Functionality: After the fixture is powered on, observe it for a few moments to ensure that it is stable, free from flickering, and providing consistent illumination. If any issues are detected, such as flickering or dimming, it's advisable to turn off the power and inspect the connections and installations to address any potential issues.
By diligently following these steps to turn the power back on, you can confidently conclude the installation process and revel in the captivating glow of your new ceiling light fixture. With safety at the forefront and a meticulous approach to each stage of the process, you've successfully transformed the room with a stylish and functional lighting centerpiece. Embrace the renewed ambiance and the inviting allure of your newly installed ceiling light fixture, knowing that your efforts have illuminated the space with both elegance and practicality.
Conclusion
In conclusion, the process of changing a ceiling light fixture is not just a practical home improvement task; it's a transformative journey that allows you to infuse your personal style into the living space while enhancing its functionality. By following the steps outlined in this guide, you've embarked on an illuminating adventure that culminates in the installation of a captivating and functional lighting centerpiece.
As you reflect on the journey from gathering the necessary tools and materials to turning off the power, removing the old fixture, installing the new fixture, and finally restoring the power, it becomes evident that changing a ceiling light fixture is a rewarding endeavor that yields tangible and aesthetic rewards.
The act of selecting a new fixture that complements the room's decor and meets your lighting needs is a creative expression of your personal style and vision for the space. Whether you opt for a sleek and modern design or a vintage-inspired fixture, your choice has the power to redefine the ambiance and visual appeal of the room.
Furthermore, the installation process itself is an opportunity to hone your DIY skills and gain confidence in working with electrical components. Each step, from connecting the wires to securing the fixture and testing its functionality, represents a triumph of precision and attention to detail.
As the power is restored and the new fixture bathes the room in a warm and inviting glow, you can revel in the tangible impact of your efforts. The renewed ambiance and functionality of the space serve as a testament to your dedication to creating a welcoming and aesthetically pleasing environment for yourself and your guests.
Ultimately, changing a ceiling light fixture transcends the realm of home improvement; it's a journey of creativity, craftsmanship, and the transformative power of lighting. By embracing this process, you've not only enhanced the visual appeal and functionality of your living space but also gained valuable skills and confidence to tackle future DIY projects with enthusiasm and expertise.
So, as you bask in the radiant ambiance created by your newly installed ceiling light fixture, take pride in the journey you've undertaken and the remarkable transformation you've brought to your living space. With each flick of the switch, you'll be reminded of the illuminating journey that culminated in a space that reflects your unique style and a warm, inviting glow that welcomes you home.
Frequently Asked Questions about How To Change A Ceiling Light Fixture
Was this page helpful?
At Storables.com, we guarantee accurate and reliable information. Our content, validated by Expert Board Contributors, is crafted following stringent Editorial Policies. We're committed to providing you with well-researched, expert-backed insights for all your informational needs.


0 thoughts on “How To Change A Ceiling Light Fixture”