Home>Furniture & Design>Outdoor Furniture>How To Test An Outdoor Light Fixture
Outdoor Furniture
How To Test An Outdoor Light Fixture
Modified: February 18, 2024
Learn how to properly test and troubleshoot your outdoor light fixture with our comprehensive guide. Ensure your outdoor furniture and design is well-lit and functional.
(Many of the links in this article redirect to a specific reviewed product. Your purchase of these products through affiliate links helps to generate commission for Storables.com, at no extra cost. Learn more)
Introduction
Welcome to the world of outdoor lighting! Whether you're a seasoned outdoor design enthusiast or a novice homeowner looking to spruce up your outdoor space, understanding how to test an outdoor light fixture is an essential skill. Outdoor light fixtures not only illuminate your surroundings but also contribute to the ambiance and safety of your outdoor area. However, like any electrical component, outdoor light fixtures can experience issues over time, such as flickering, dimming, or complete failure. Knowing how to test these fixtures can save you time and money by allowing you to diagnose and address problems without the need for professional assistance.
In this comprehensive guide, we'll walk you through the step-by-step process of testing an outdoor light fixture. From safety precautions to the tools and materials you'll need, we've got you covered. By following these instructions, you'll gain the confidence to troubleshoot and maintain your outdoor lighting, ensuring that your outdoor space remains beautifully illuminated for years to come.
So, grab your tools and let's dive into the world of outdoor light fixture testing. But before we get started, it's crucial to emphasize the importance of safety when working with electrical components. Let's begin with a brief overview of the safety precautions you should always keep in mind when testing outdoor light fixtures.
Key Takeaways:
- Prioritize safety by turning off the power, using insulated tools, and wearing protective gear when testing outdoor light fixtures. This ensures a secure environment and prevents accidents.
- Gather essential tools and materials, such as screwdrivers, wire strippers, replacement bulbs, and electrical tape, to effectively test and troubleshoot outdoor light fixtures. Be well-prepared for any issues that may arise.
Read more: How To Seal Outdoor Light Fixture
Safety Precautions
Before embarking on any electrical work, it’s paramount to prioritize safety. Outdoor light fixtures are directly connected to your home’s electrical system, and mishandling them can lead to serious injury or damage. Here are some essential safety precautions to observe when testing an outdoor light fixture:
- Turn Off the Power: Always turn off the power supply to the outdoor light fixture at the circuit breaker or fuse box before beginning any testing or maintenance. This step is non-negotiable and ensures that you won’t be working with live electrical currents.
- Use Insulated Tools: When handling the light fixture and its components, use insulated tools to minimize the risk of electrical shock. Insulated tools are designed to provide a barrier against electric current, offering an additional layer of protection.
- Wear Protective Gear: It’s advisable to wear appropriate protective gear, such as insulated gloves and safety goggles, to shield yourself from potential electrical hazards and debris.
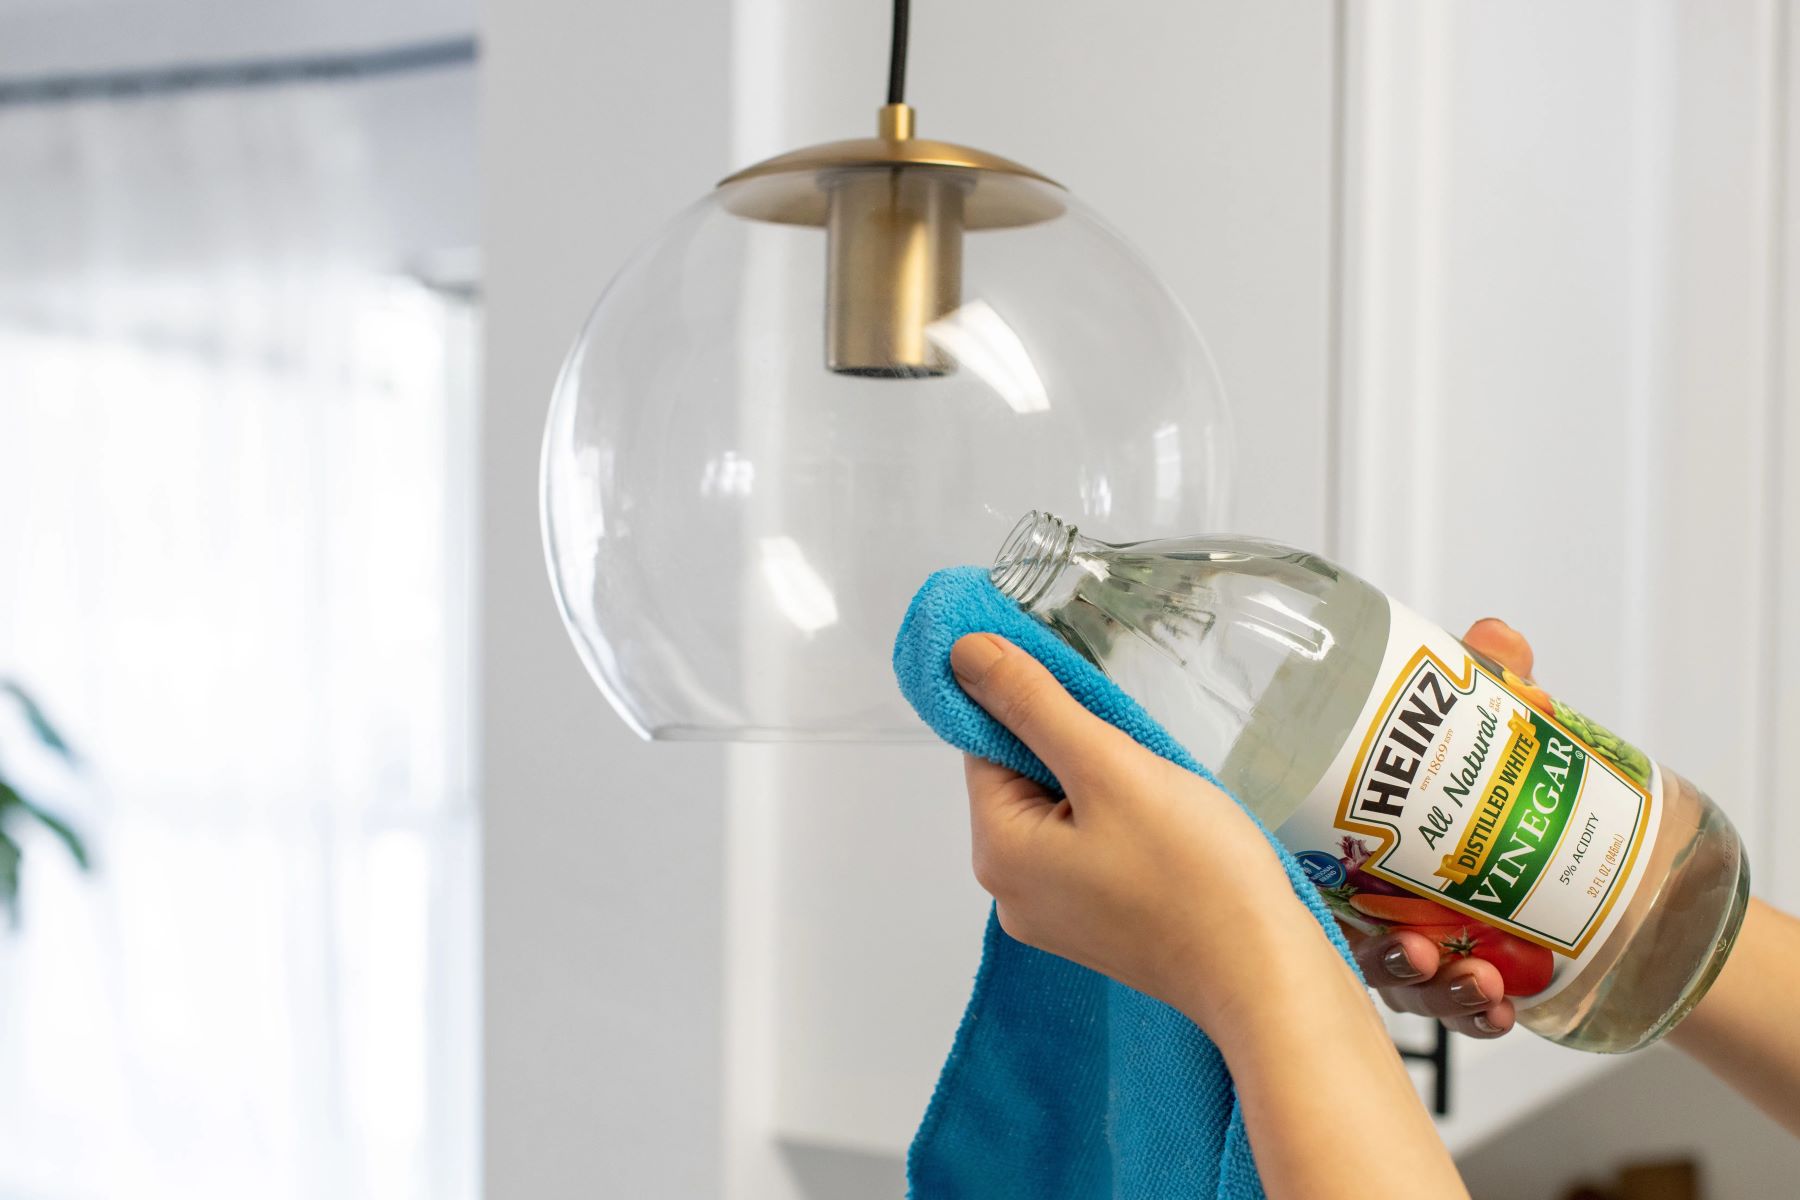
- Check for Moisture: Before touching the light fixture, ensure that the surrounding area is dry to prevent the risk of electric shock. Moisture and electricity do not mix well, so exercising caution in damp conditions is crucial.
- Inspect Wiring Carefully: When examining the wiring within the fixture, do so with care and attention. Avoid tugging or pulling on the wires, as this could lead to disconnection or damage.
- Seek Professional Help if Unsure: If you encounter complex wiring issues or feel uncertain about the testing process, it’s best to seek the assistance of a qualified electrician. Your safety should always be the top priority.
By adhering to these safety precautions, you’ll create a secure environment for testing your outdoor light fixture. Remember, a cautious approach can prevent accidents and ensure a smooth testing process.
Tools and Materials
Before delving into the testing process, it’s essential to gather the necessary tools and materials. By having these items on hand, you’ll be well-prepared to assess and troubleshoot your outdoor light fixture. Here’s a list of the tools and materials you’ll need:
Tools:
- Screwdriver Set: A set of screwdrivers, including flathead and Phillips head varieties, will enable you to remove the fixture's cover and access its internal components.
- Wire Strippers: If you need to inspect or replace the wiring, wire strippers will allow you to cleanly and safely remove insulation from the wires.
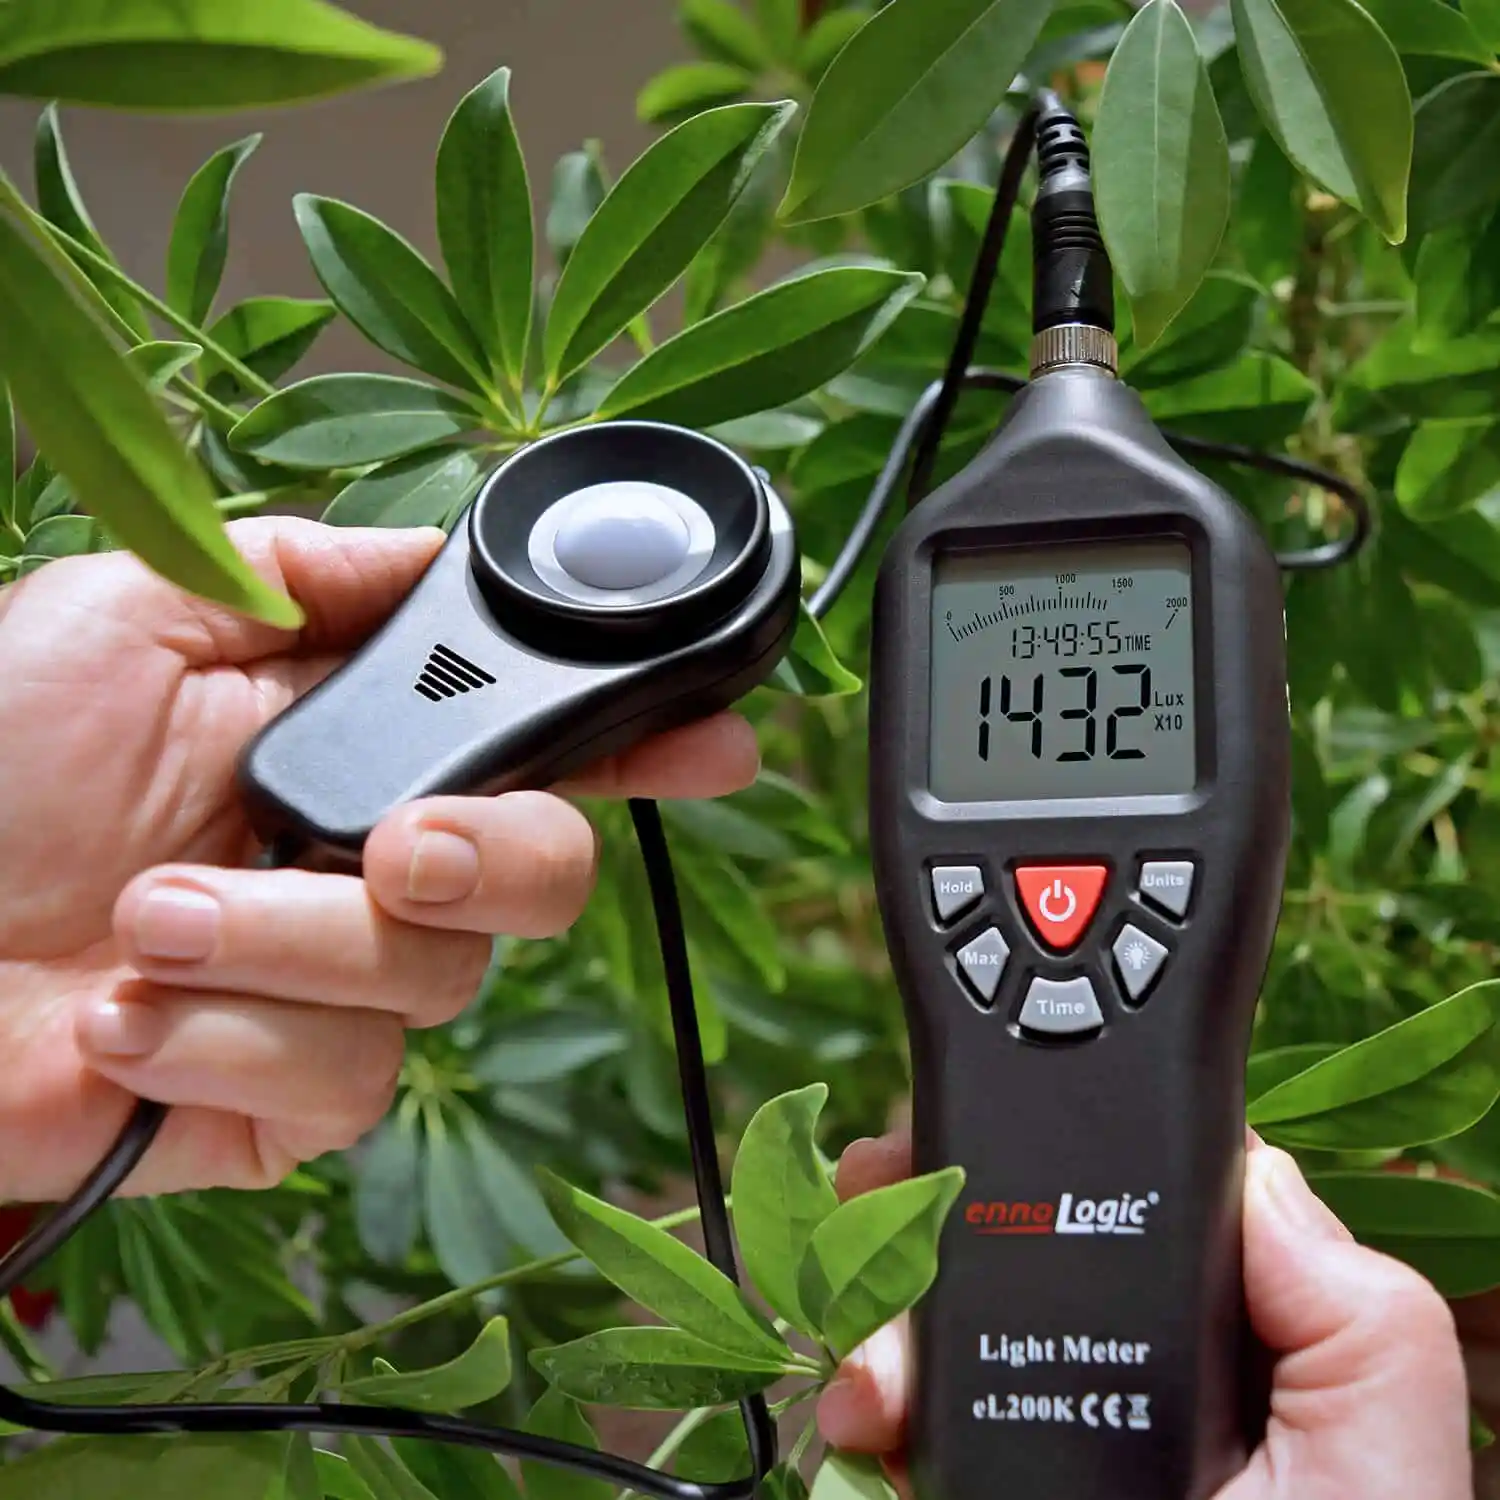
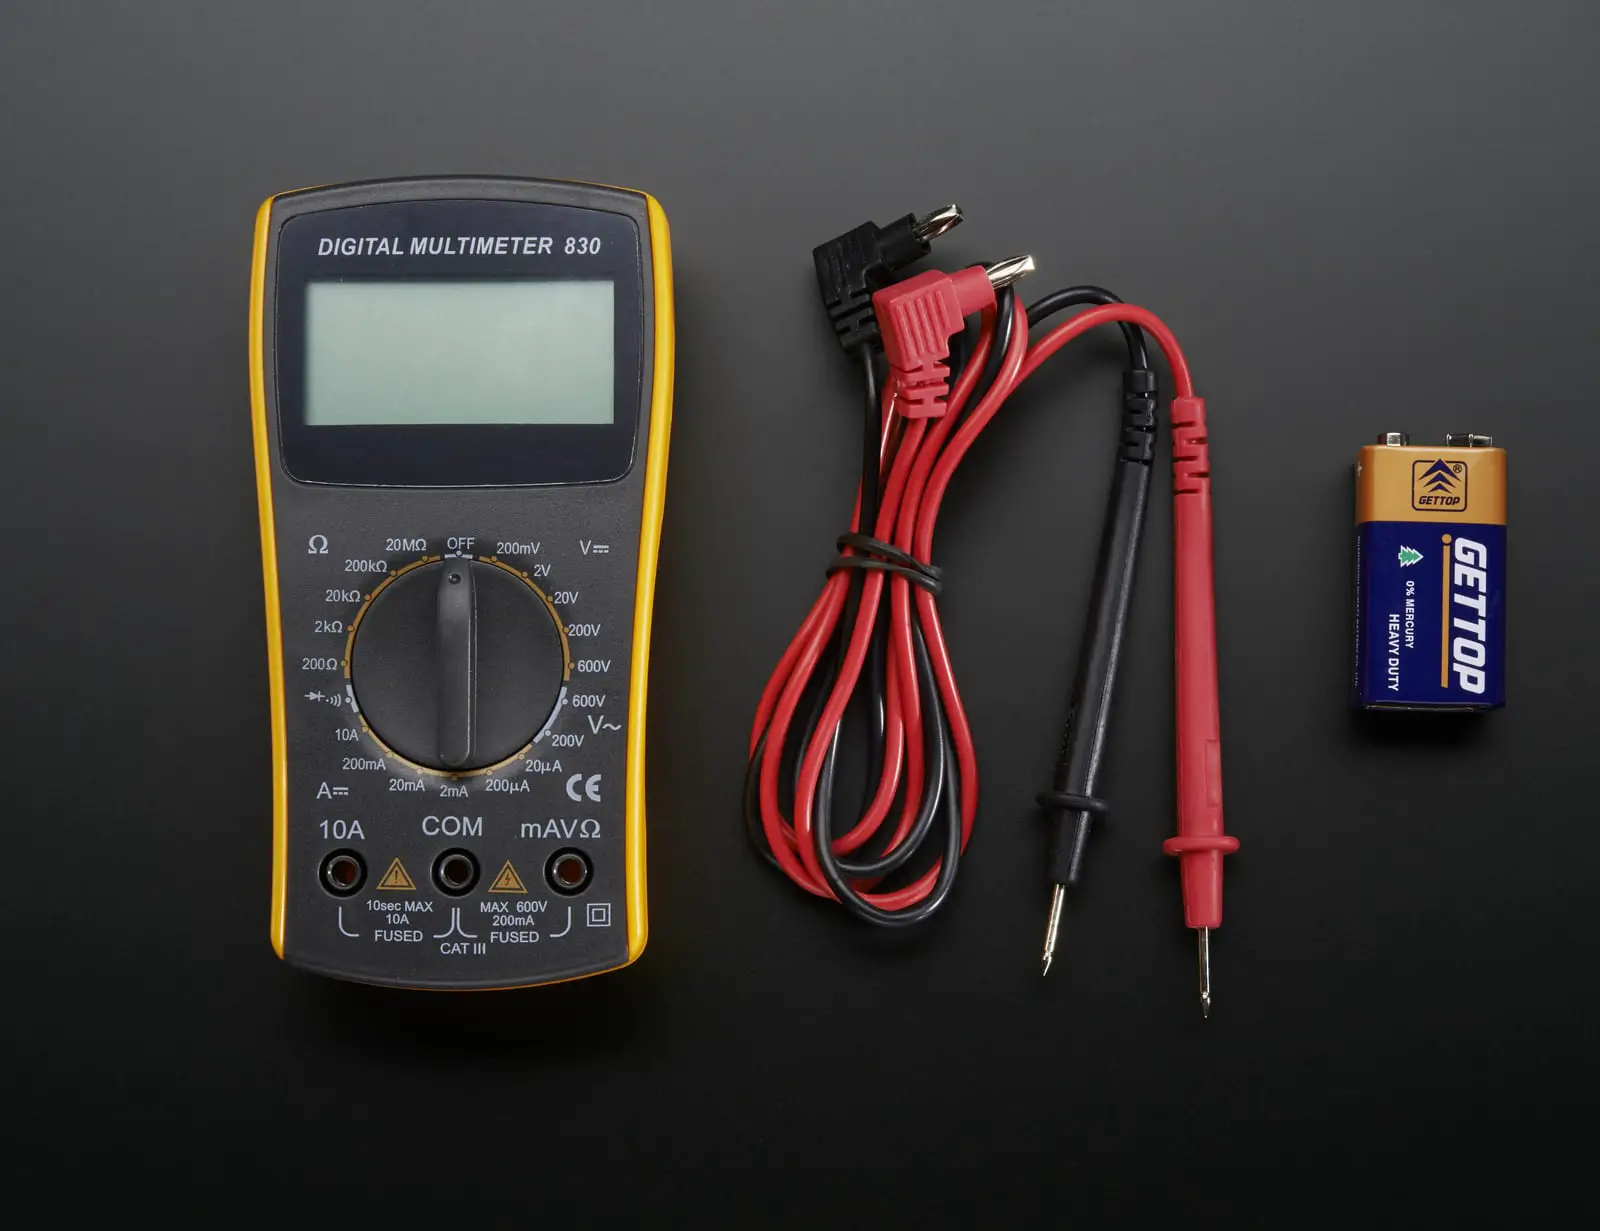
- Electrical Tester: An electrical tester, such as a voltage tester or multimeter, is crucial for checking the presence of electrical current and diagnosing any issues within the fixture.
- Insulated Gloves: Insulated gloves provide an extra layer of protection against electrical shock when handling the fixture and its wiring.
- Step Ladder: Depending on the height of the fixture, a sturdy step ladder will facilitate safe and convenient access during the testing process.
Materials:
- Replacement Bulbs: If your fixture uses replaceable bulbs, having spare bulbs on hand allows you to test the fixture with new components if necessary.
- Electrical Tape: Electrical tape can be used to secure and insulate wire connections, providing added safety and stability.
- Wire Nuts: In case you need to reconnect or replace wiring, wire nuts are essential for securely fastening wires together.
- Circuit Tester: A non-contact circuit tester can help identify live wires and verify that the power has been successfully turned off before beginning any work.
By ensuring that you have these tools and materials at your disposal, you’ll be equipped to conduct a thorough assessment of your outdoor light fixture and address any issues that may arise. With everything in place, you’re ready to proceed with the testing process.
Read more: How To Waterproof Outdoor Light Fixture
Step 1: Turn Off Power
Before initiating any work on the outdoor light fixture, the first and most critical step is to deactivate the power supply. This precaution is vital for your safety and prevents the risk of electrical shock or injury. Follow these steps to safely turn off the power:
- Locate the Circuit Breaker or Fuse Box: Identify the circuit breaker or fuse box that controls the power supply to the outdoor light fixture. If you’re unsure which breaker or fuse corresponds to the fixture, consult your home’s electrical panel diagram or seek assistance from a qualified electrician.
- Switch Off the Power: Once you’ve located the correct breaker or fuse, switch it to the “off” position to cut off the electricity flow to the fixture. For added safety, it’s advisable to use a non-contact circuit tester to verify that the power has been successfully disconnected. This tool can detect the presence of live wires and provide peace of mind before proceeding with the testing process.
- Test the Fixture: After turning off the power, test the outdoor light fixture by flipping its switch to ensure that it no longer illuminates. This step confirms that the power has been effectively shut off and that the fixture is safe to handle.
By diligently following these steps to deactivate the power supply, you’ll create a secure environment for testing the outdoor light fixture. Prioritizing safety at this stage sets the foundation for a smooth and risk-free testing process, allowing you to proceed with confidence.
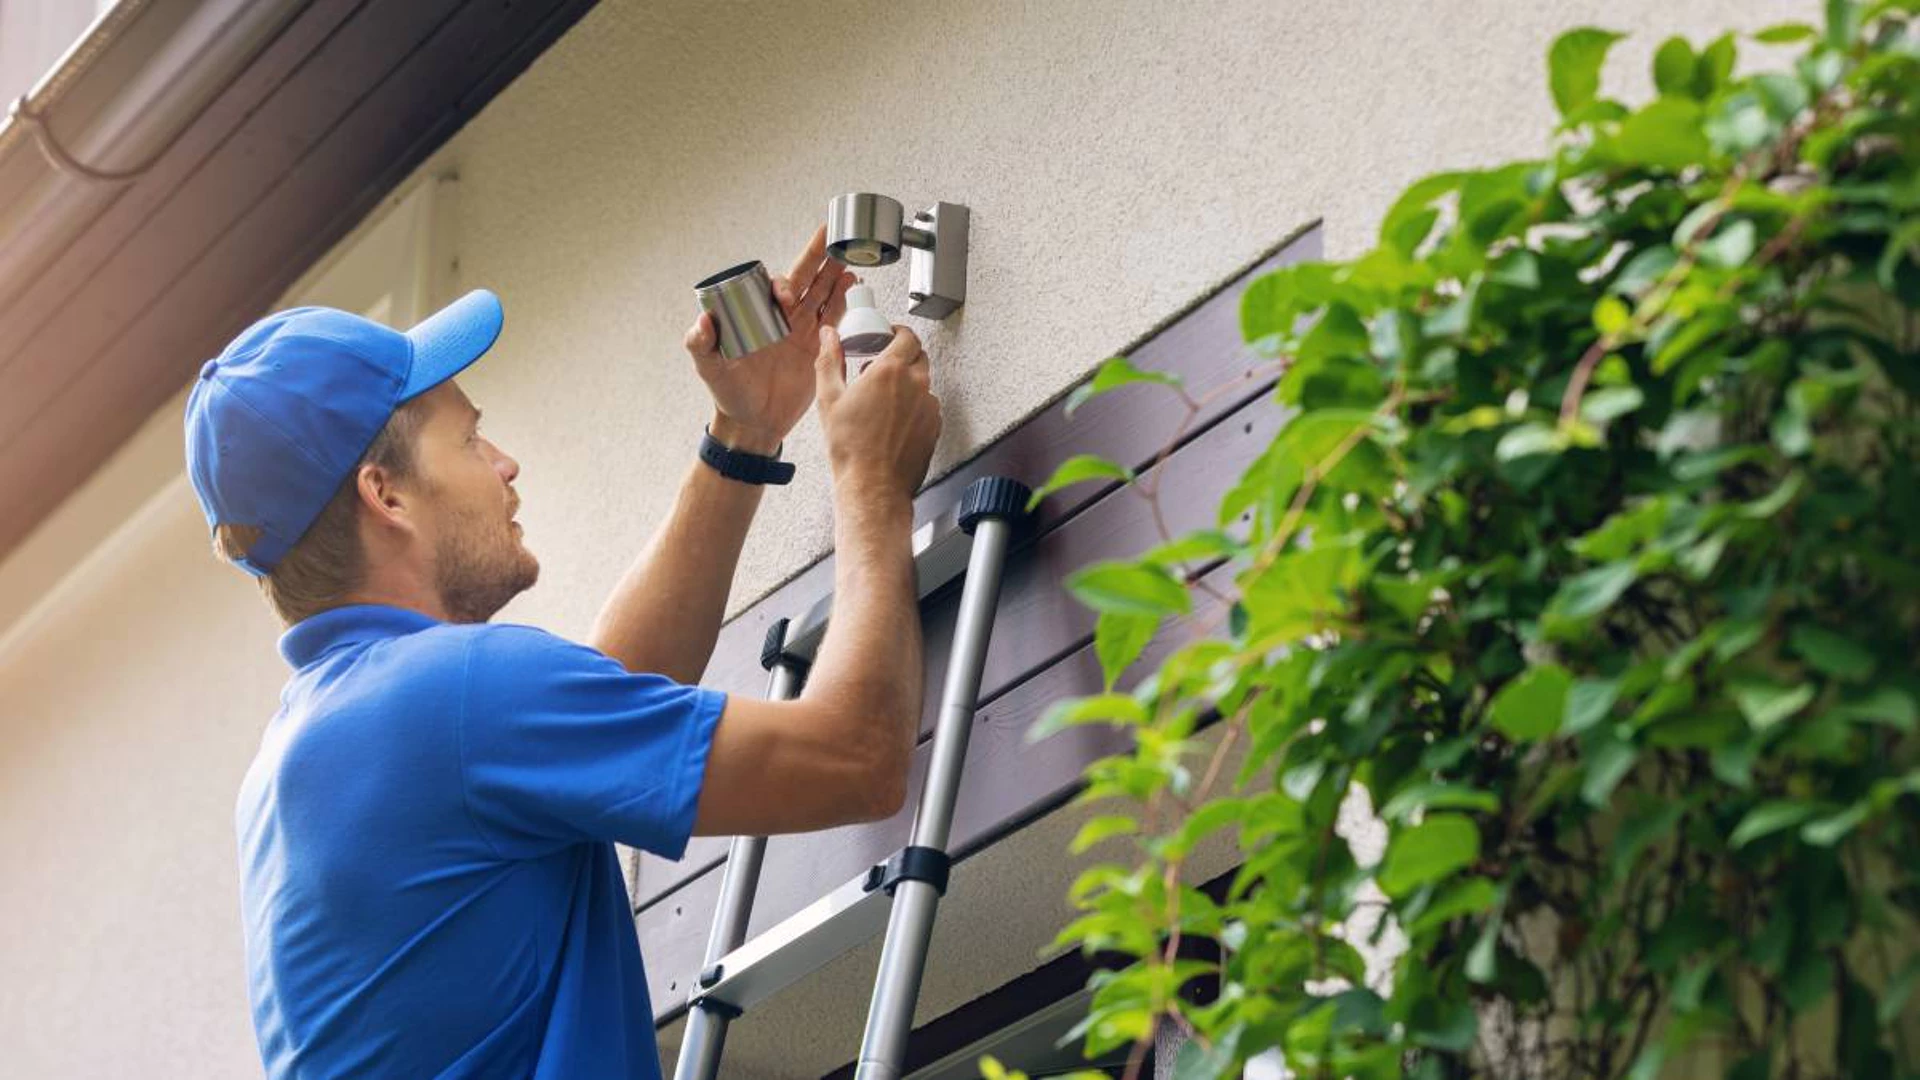
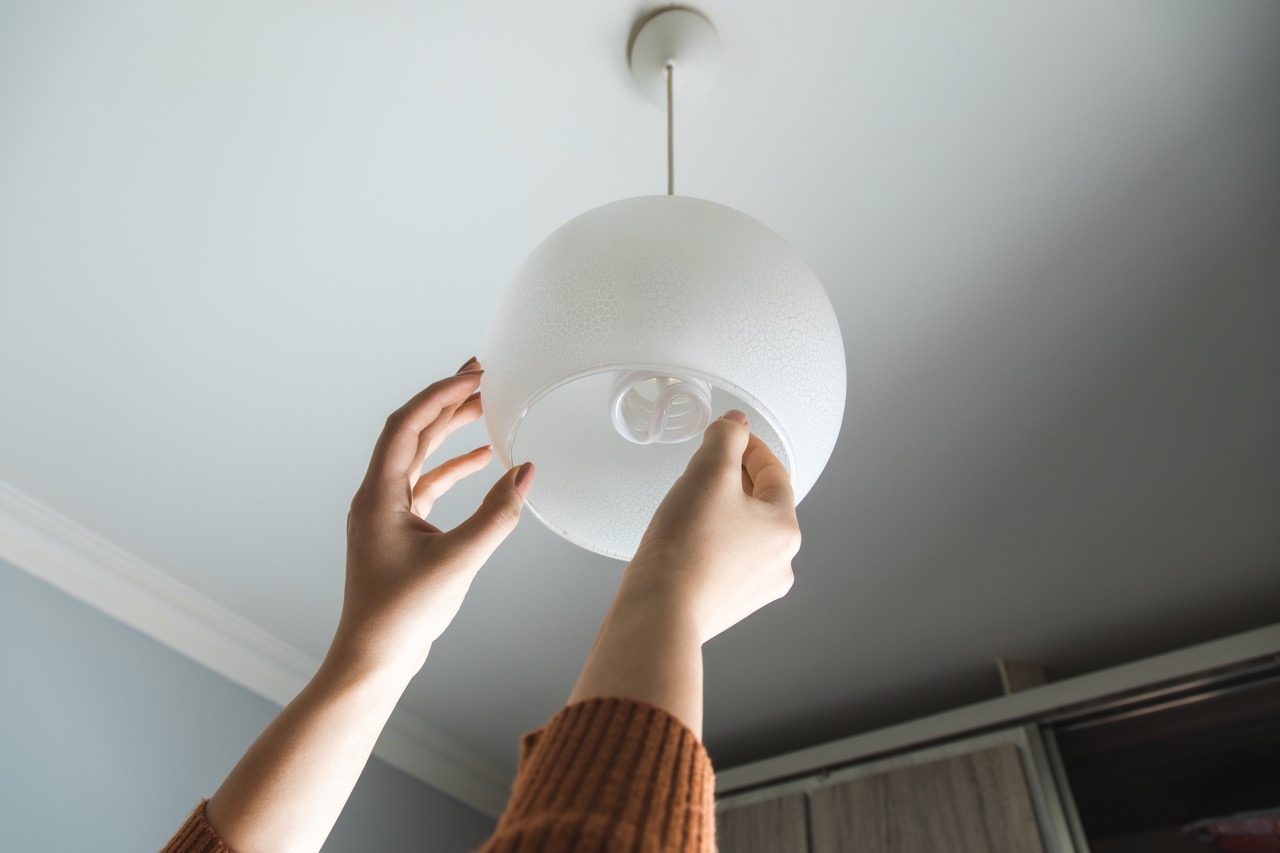
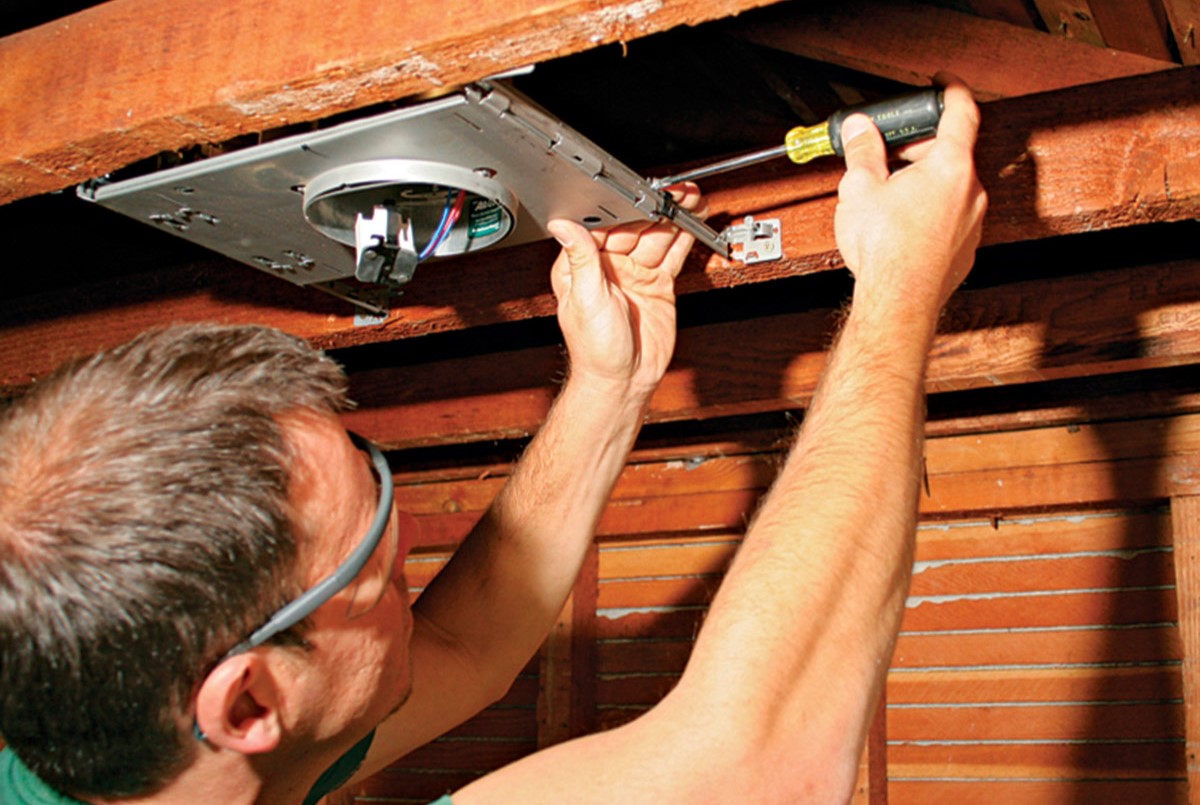
Step 2: Remove the Fixture
With the power supply safely deactivated, you can now proceed to remove the outdoor light fixture for thorough inspection and testing. Follow these steps to carefully detach the fixture:
- Access the Fixture: If your outdoor light fixture is mounted on a wall or ceiling, use a suitable ladder to gain access to the fixture. Ensure that the ladder is stable and positioned on a level surface before ascending.
- Remove the Cover or Housing: Using the appropriate screwdriver from your toolset, carefully unscrew and remove the cover or housing of the fixture. Set aside the screws and cover for reassembly later.
- Disconnect the Wiring: Once the internal components are accessible, identify the wiring connections. Depending on the fixture’s design, you may encounter wire nuts securing the connections. Use caution when disconnecting the wires to avoid damaging the fixture or the electrical wiring within your home.
- Support the Fixture: As you detach the fixture, ensure that it is adequately supported to prevent it from accidentally falling or sustaining damage. If necessary, have a helper assist you in safely lowering and handling the fixture.
- Inspect the Mounting Bracket: With the fixture removed, inspect the mounting bracket or base to ensure that it is securely attached to the mounting surface. Any signs of damage or instability should be noted for potential remediation.
By methodically following these steps, you can safely detach the outdoor light fixture from its mounting, preparing it for thorough inspection and testing. With the fixture removed, you’ll be able to closely examine its components and wiring, facilitating the diagnostic process as you work towards identifying and resolving any issues.
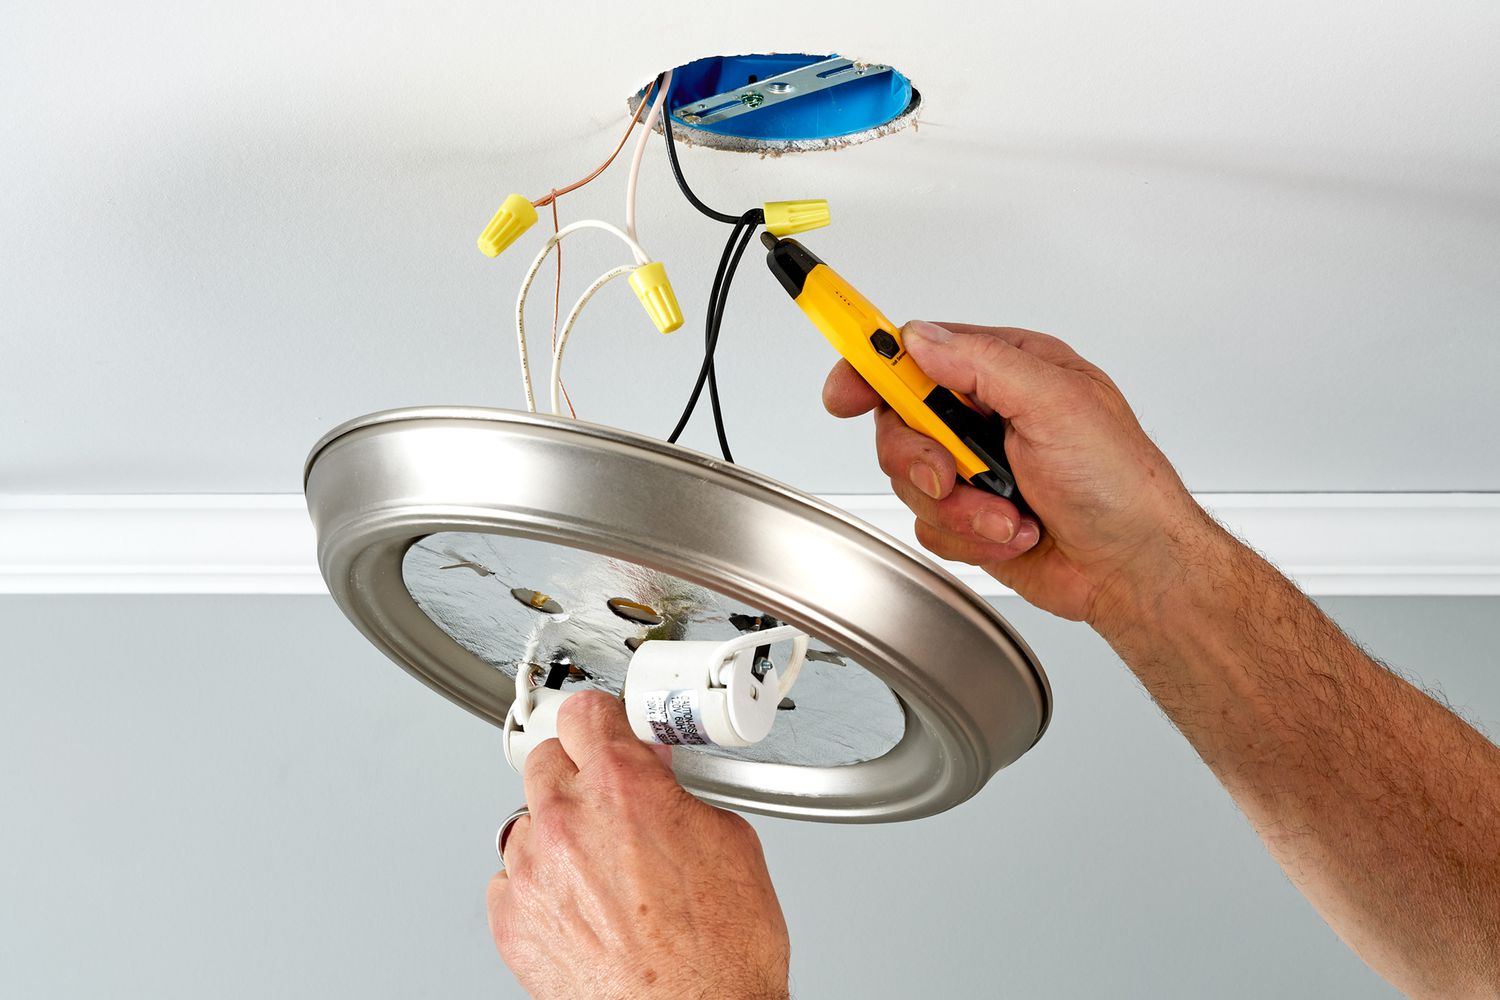
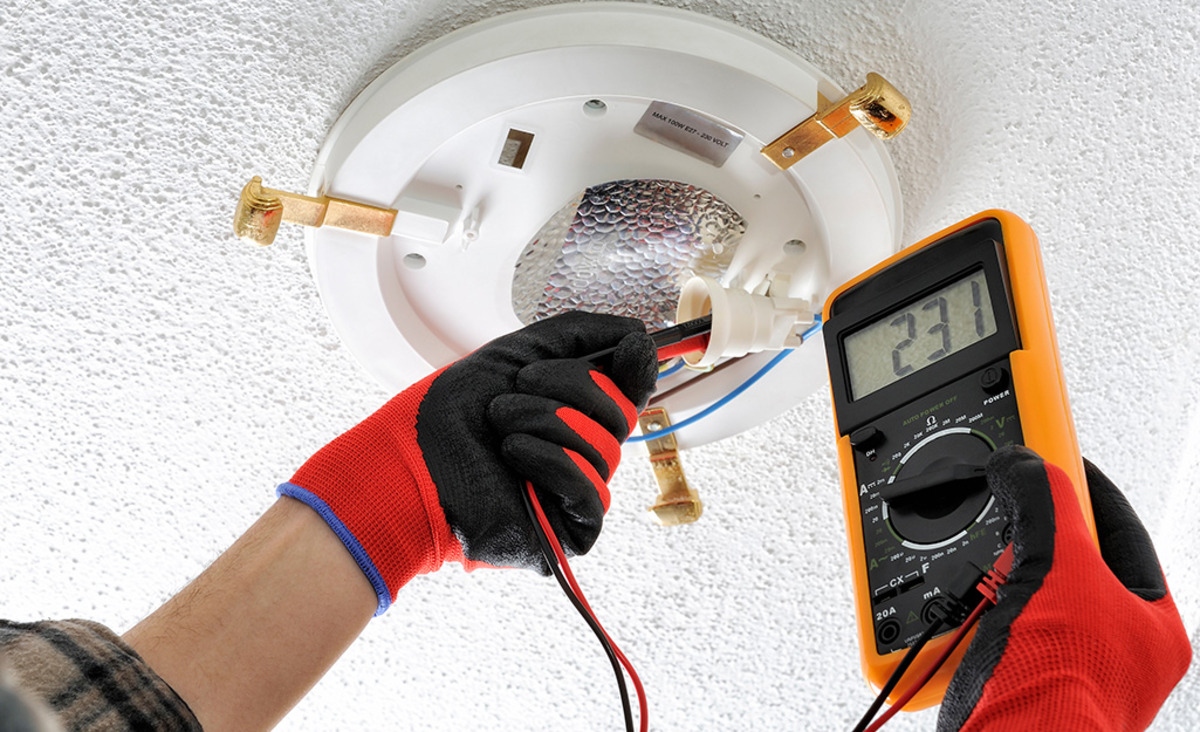
Step 3: Inspect Wiring
With the outdoor light fixture removed from its mounting, it’s time to focus on inspecting the wiring and internal components. A careful examination of the wiring is crucial for identifying any issues that may be affecting the fixture’s performance. Follow these steps to conduct a thorough inspection of the wiring:
- Examine the Wiring Connections: Carefully inspect the wiring connections within the fixture. Look for any signs of fraying, damage, or loose connections that could impede the flow of electricity. If you notice any compromised wiring, it may need to be repaired or replaced.
- Check for Corrosion or Rust: In outdoor environments, wiring and electrical components are susceptible to corrosion and rust due to exposure to the elements. Look for any signs of corrosion on the wiring, terminals, or connectors, as this can hinder the electrical conductivity and overall functionality of the fixture.
- Assess Insulation Integrity: Verify the condition of the insulation surrounding the wiring. Any exposed or deteriorated insulation poses a safety hazard and can lead to electrical shorts or malfunctions. Ensure that the wiring is adequately insulated to prevent the risk of electrical faults.
- Inspect Grounding Connections: If the fixture includes grounding wires, check that they are securely connected and effectively grounded. Proper grounding is essential for electrical safety and can prevent the buildup of excess voltage in the fixture.
- Document and Address Issues: As you inspect the wiring, make note of any identified issues or areas requiring attention. Documenting these findings will guide your troubleshooting efforts and help you formulate a plan for addressing the observed issues.
By meticulously examining the wiring and related components, you’ll gain valuable insights into the condition of the electrical system within the outdoor light fixture. Identifying and addressing any wiring-related issues is a crucial step in the testing process, paving the way for a comprehensive evaluation of the fixture’s functionality.
Before testing an outdoor light fixture, make sure to turn off the power at the circuit breaker to avoid any electrical accidents. Then, use a voltage tester to check for any live wires before touching the fixture.
Step 4: Test the Light Fixture
With the wiring inspected and any identified issues addressed, it’s time to proceed with testing the functionality of the outdoor light fixture. By systematically testing the fixture, you can pinpoint any operational irregularities and determine the necessary course of action. Follow these steps to conduct a thorough evaluation of the light fixture:
- Replace Bulbs (If Applicable): If your outdoor light fixture utilizes replaceable bulbs, consider replacing them with new, functioning bulbs. This simple step can eliminate potential bulb-related issues and ensure that the fixture is operating with optimal lighting elements.
- Reconnect the Fixture: Carefully reconnect the fixture’s wiring, ensuring that all connections are secure and properly insulated. Double-check the wiring to confirm that it is reconnected as per the manufacturer’s specifications.
- Restore Power Supply: Turn the power supply back on at the circuit breaker or fuse box, reinstating electricity to the outdoor light fixture. Exercise caution and be mindful of any changes in the fixture’s behavior as the power is restored.
- Test the Fixture’s Operation: With the power restored, test the functionality of the light fixture by activating its switch or control mechanism. Observe the fixture’s performance, paying attention to factors such as brightness, flickering, or any unusual behavior that may indicate underlying issues.
- Check for Sensor Activation (If Applicable): If your outdoor light fixture incorporates motion sensors or photocells, test their activation and responsiveness. Ensure that these components are functioning as intended and accurately detecting environmental stimuli.
- Observe for Consistency: Monitor the fixture’s operation over a brief period to assess its consistency and stability. Note any intermittent or erratic behavior that could signal persistent issues requiring further attention.
By systematically testing the light fixture and its components, you’ll gain valuable insights into its operational status and potential areas of concern. Observing the fixture’s behavior under various conditions will inform your troubleshooting process and guide you in addressing any identified issues effectively.
Step 5: Reinstall the Fixture
After thoroughly testing the functionality of the outdoor light fixture and addressing any identified issues, it’s time to proceed with the reinstallation process. Reinstalling the fixture properly is essential for ensuring its continued performance and longevity. Follow these steps to securely reinstall the light fixture:
- Prepare the Mounting Surface: Inspect the mounting surface to ensure that it is clean, stable, and free from any debris or obstructions. Address any irregularities or damage to the mounting area before proceeding with the reinstallation.
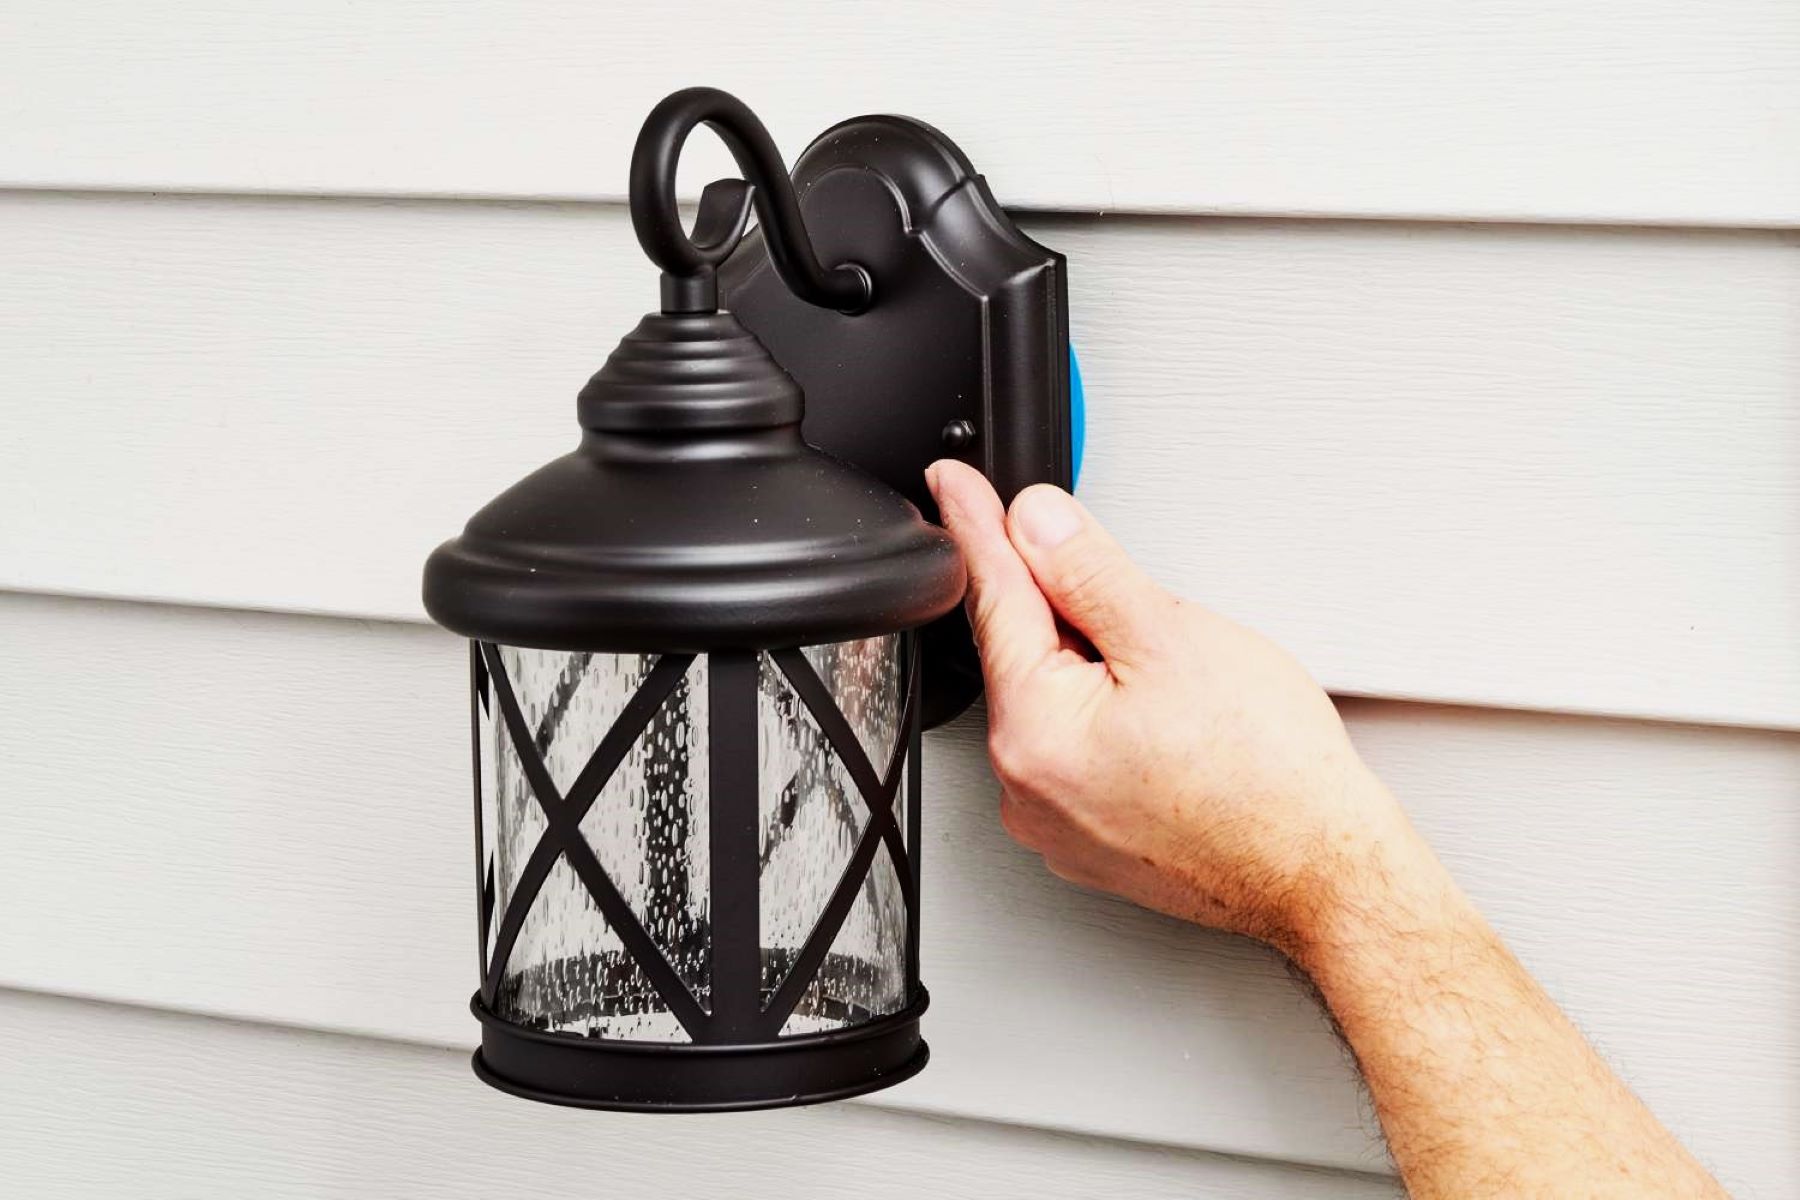
- Position the Fixture: Carefully position the light fixture at the mounting location, aligning it with the mounting bracket or base. Ensure that the fixture is oriented correctly and securely seated against the mounting surface.
- Reconnect the Wiring: Reconnect the fixture’s wiring in accordance with the manufacturer’s specifications, ensuring that the connections are secure and properly insulated. Exercise caution to prevent any strain on the wiring during the reconnection process.
- Secure the Fixture: Using the appropriate screws and fasteners, secure the fixture to the mounting surface. Follow the manufacturer’s guidelines for fastening the fixture in place, taking care to achieve a stable and flush installation.
- Reattach the Cover or Housing: Once the fixture is securely mounted, reattach the cover or housing using the designated screws. Confirm that the cover is properly aligned and fastened to provide protection for the fixture’s internal components.
- Restore Power Supply: With the fixture reinstalled, restore the power supply to the outdoor light fixture by switching on the circuit breaker or fuse. Verify that the fixture is operational and functioning as expected following the reinstallation.
By diligently following these steps, you can ensure the successful reinstallation of the outdoor light fixture, setting the stage for its continued performance and reliability. A secure and properly installed fixture contributes to the overall safety and aesthetics of your outdoor space, enhancing its functionality and visual appeal.
Conclusion
Congratulations! You’ve successfully navigated the process of testing an outdoor light fixture, gaining valuable insights into its functionality and ensuring that it contributes to the illumination and ambiance of your outdoor space. By following the step-by-step guide outlined in this comprehensive tutorial, you’ve equipped yourself with the knowledge and skills to troubleshoot and maintain outdoor light fixtures with confidence and precision.
Throughout this journey, you’ve embraced essential safety precautions, meticulously inspected the wiring, and systematically tested the fixture’s operation. These efforts have empowered you to identify and address potential issues, fostering a safe and well-lit outdoor environment for your enjoyment and convenience.
Remember, regular maintenance and testing are key to preserving the performance and longevity of outdoor light fixtures. By incorporating these practices into your routine, you can proactively address any emerging issues and ensure that your outdoor lighting continues to enhance your outdoor living spaces for years to come.
As you conclude this testing process, take pride in your newfound expertise and the enhanced functionality of your outdoor light fixture. Your dedication to maintaining a well-lit and inviting outdoor environment reflects your commitment to both safety and aesthetics, creating a welcoming atmosphere for gatherings, relaxation, and leisure activities.
With your outdoor light fixture successfully tested and reinstalled, take a moment to appreciate the transformative impact of effective outdoor lighting. Whether illuminating pathways, accentuating landscaping features, or enhancing outdoor entertaining areas, your well-maintained light fixture contributes to the overall allure and functionality of your outdoor space.
As you integrate the insights gained from this testing process into your outdoor maintenance routine, you’ll continue to enjoy the benefits of a well-lit and visually captivating outdoor environment. Your proactive approach to testing and maintenance exemplifies your dedication to creating an inviting and secure outdoor oasis for yourself, your family, and your guests.
Embrace the knowledge and skills you’ve acquired, and let the radiance of your meticulously tested outdoor light fixture illuminate your outdoor experiences with warmth and charm.
Frequently Asked Questions about How To Test An Outdoor Light Fixture
Was this page helpful?
At Storables.com, we guarantee accurate and reliable information. Our content, validated by Expert Board Contributors, is crafted following stringent Editorial Policies. We're committed to providing you with well-researched, expert-backed insights for all your informational needs.


0 thoughts on “How To Test An Outdoor Light Fixture”