Home>Articles>How To Replace A Brake Light Bulb On A 2017 Hyundai Elantra
Articles
How To Replace A Brake Light Bulb On A 2017 Hyundai Elantra
Modified: December 7, 2023
Looking for articles on how to replace the brake light bulb on a 2017 Hyundai Elantra? Find step-by-step instructions and helpful tips here.
(Many of the links in this article redirect to a specific reviewed product. Your purchase of these products through affiliate links helps to generate commission for Storables.com, at no extra cost. Learn more)
Introduction
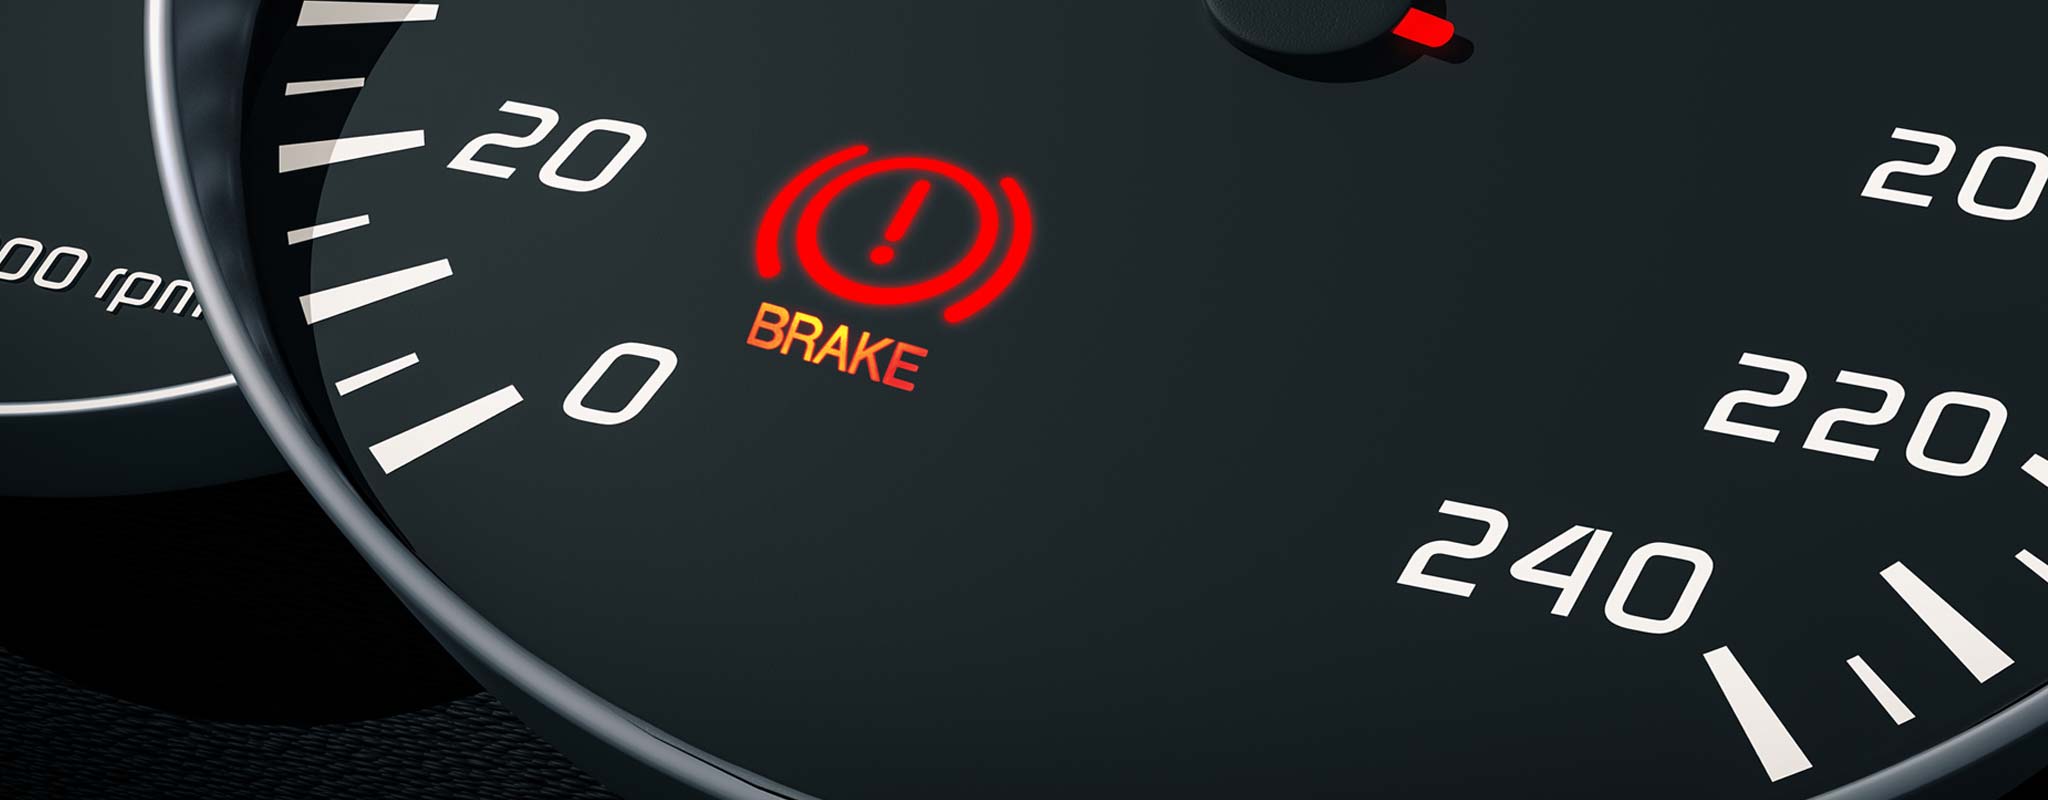
The brake light bulb on your 2017 Hyundai Elantra is an essential component for ensuring your safety on the road. It alerts drivers behind you when you apply the brakes, allowing them to react accordingly and prevent any potential accidents. Over time, the brake light bulb may burn out or become dim, reducing its effectiveness. Thankfully, replacing the brake light bulb is a simple task that you can easily do yourself.
In this article, we will guide you through the process of replacing the brake light bulb on your 2017 Hyundai Elantra. We will provide you with a step-by-step walkthrough, along with the tools and materials you will need. By following these instructions, you will be able to restore the functionality of your brake lights and drive with confidence.
Before we dive into the steps, let’s take a look at the tools and materials you will need for this task.
Key Takeaways:
- Ensure safety by preparing the vehicle, inspecting the housing, and testing the brake lights after replacing the bulb. Drive with confidence knowing your 2017 Hyundai Elantra is equipped with properly functioning brake lights.
- Save time and money by easily replacing the brake light bulb yourself. Follow the step-by-step guide and use the necessary tools and materials for a smooth and efficient process.
Read more: How To Change A Brake Light Bulb
Tools and Materials Needed
Before you get started, gather the following tools and materials:
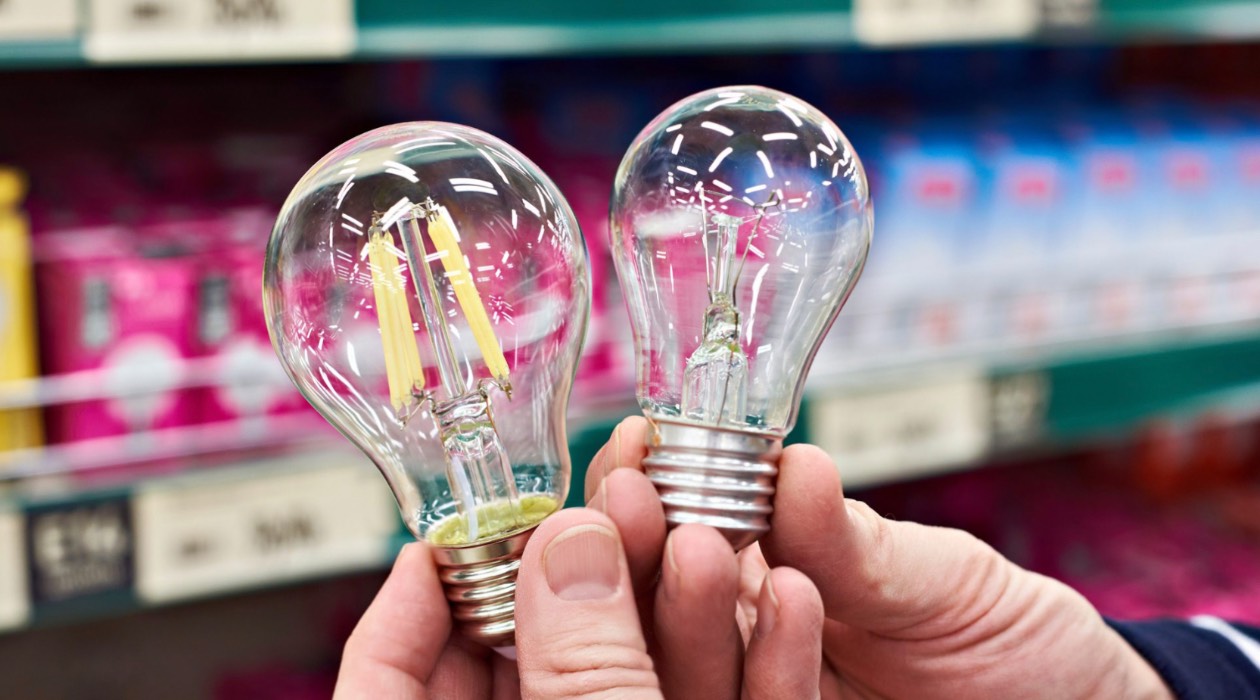
- Replacement brake light bulb (make sure it is compatible with your 2017 Hyundai Elantra)
- Socket wrench with appropriate socket size
- Flat-head screwdriver
- Clean cloth or towel
Having these tools and materials ready will ensure a smooth and efficient process. Now let’s move on to the step-by-step guide on how to replace the brake light bulb.
Step 1: Prepare the Vehicle
Before you start working on replacing the brake light bulb, take the following steps to ensure your safety:
- Turn off the engine and engage the parking brake. This will prevent the vehicle from accidentally moving while you are working on it.
- Locate the fuse box inside the vehicle and remove the brake light fuse. This will prevent any electrical current from flowing to the brake lights while you are handling the bulb, reducing the risk of electrical shock.
- Open the trunk of your Hyundai Elantra and locate the access panel for the brake light assembly.
Now that you have prepared the vehicle, you can move on to the next step of removing the old brake light bulb.
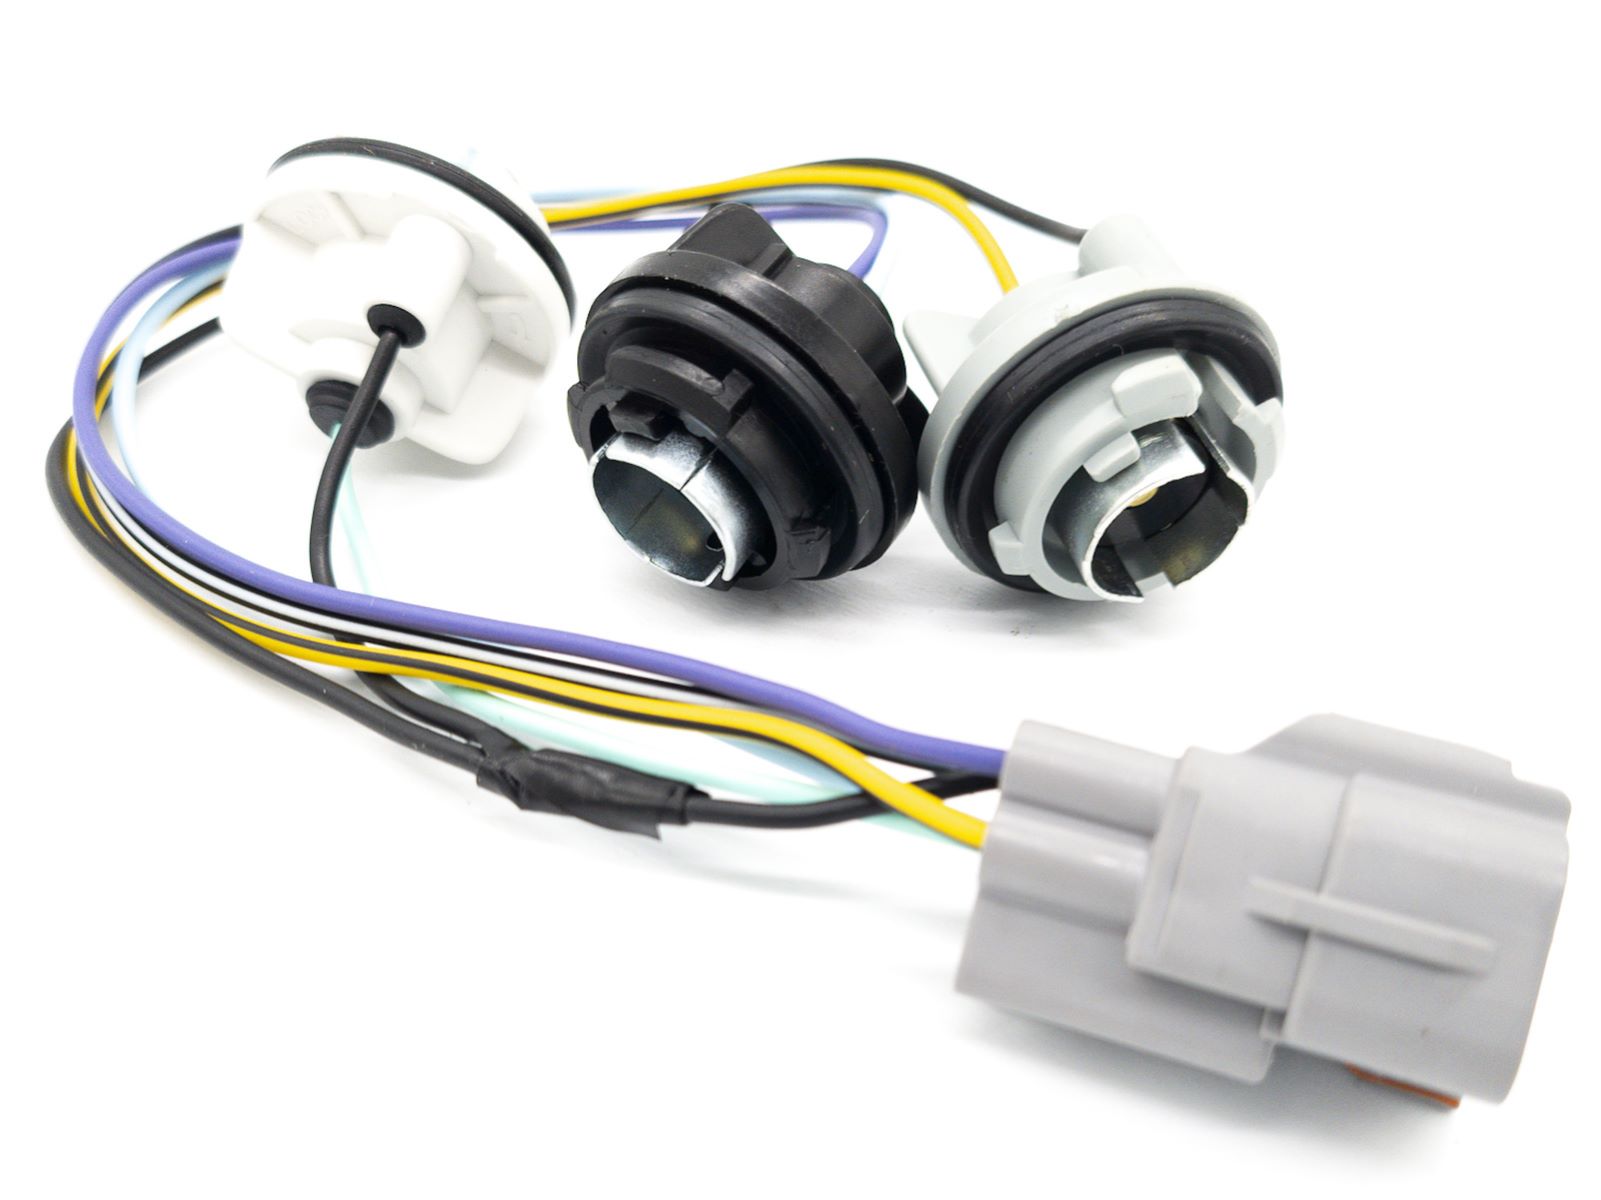
Step 2: Remove the Old Brake Light Bulb
Now it’s time to remove the old brake light bulb. Follow these steps:
- Using a flat-head screwdriver, gently pry open the access panel for the brake light assembly. Be careful not to apply excessive force to avoid damaging the panel.
- Once the access panel is open, locate the brake light bulb socket. It should be connected to a wiring harness.
- To remove the socket, twist it counterclockwise until it loosens. This will release it from the housing.
- With the socket loosened, carefully pull it out of the housing. Take note of the orientation and position of the socket, as this will guide you when installing the new brake light bulb.
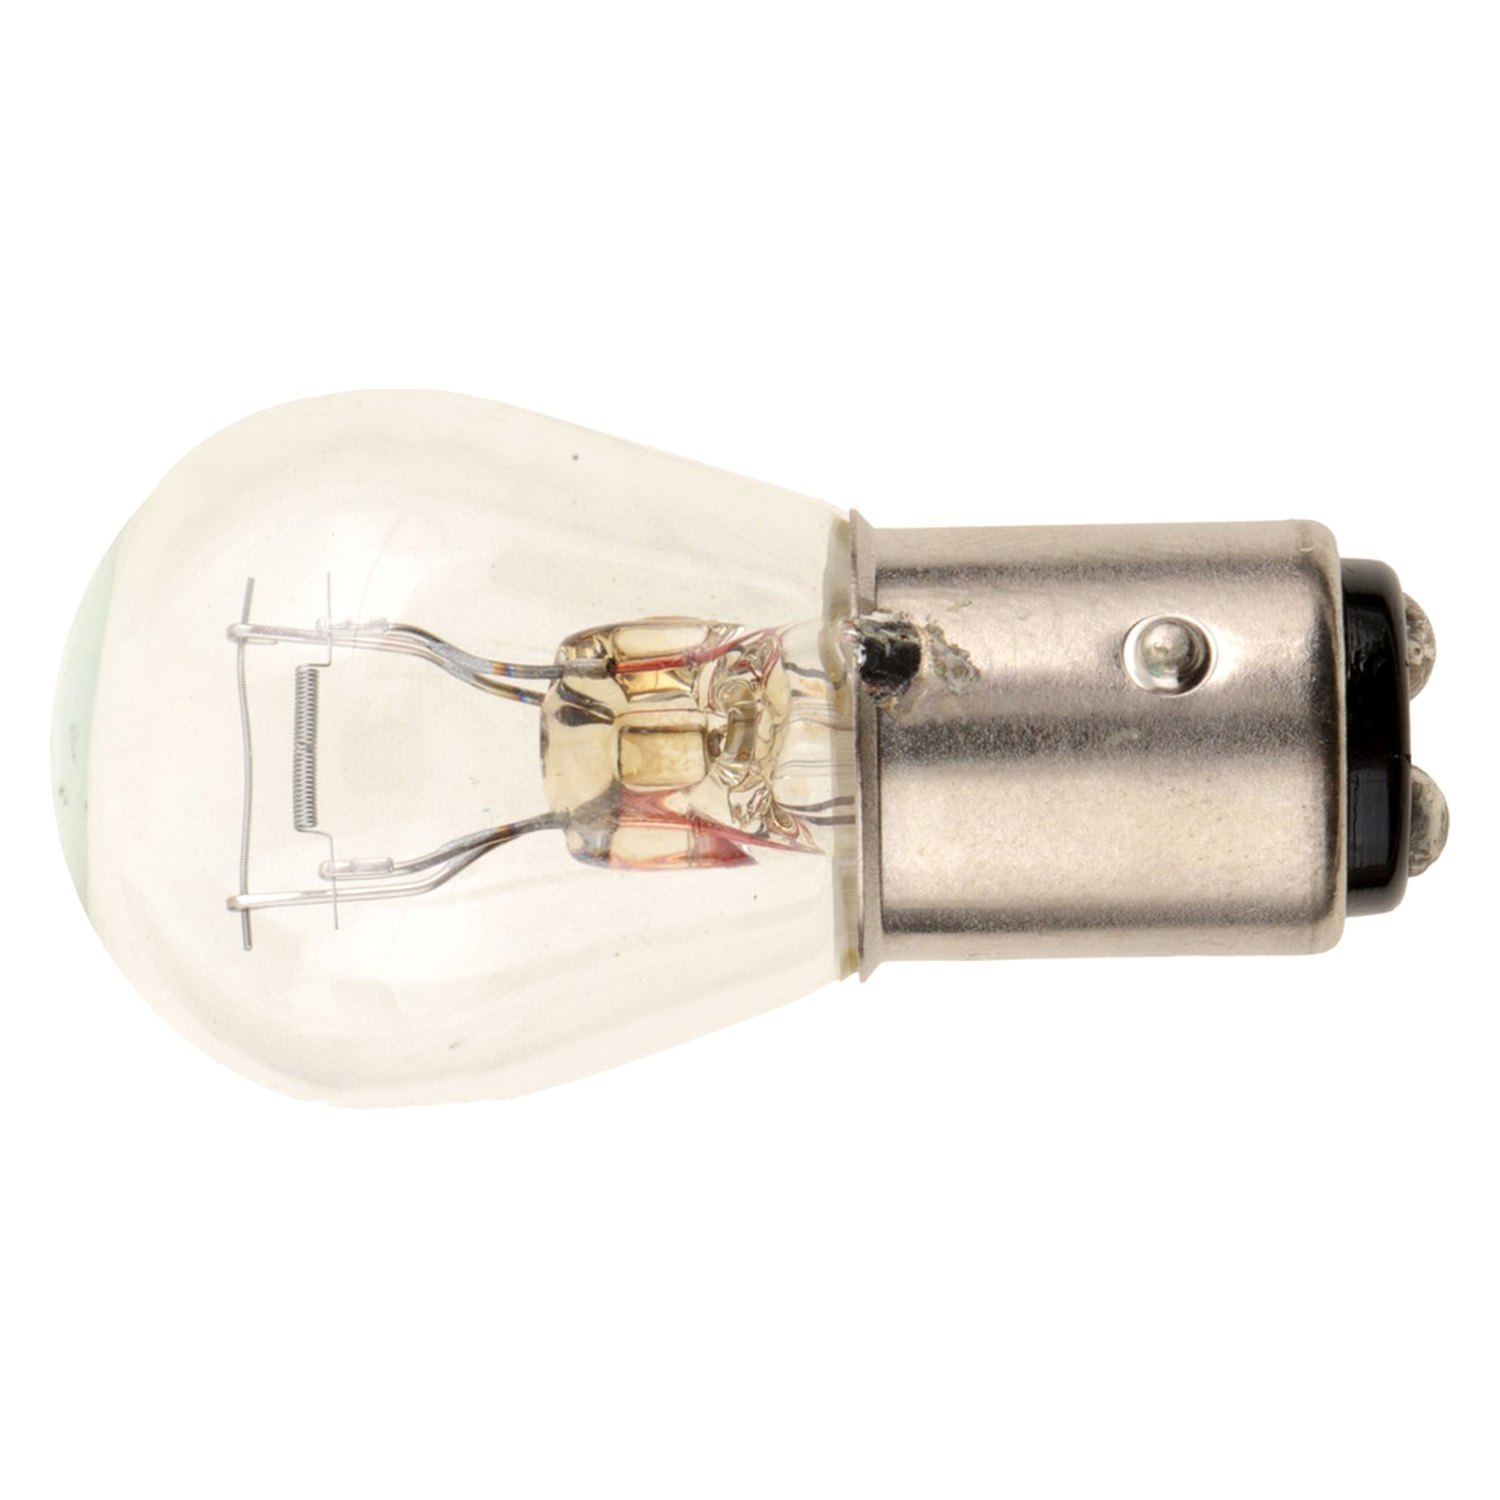
- Next, manipulate the old brake light bulb to remove it from the socket. Depending on the type of bulb, you may need to push and twist, or simply pull it out.
- Once the old brake light bulb is removed, place it aside and dispose of it properly. Do not attempt to reuse a burned-out bulb.
With the old brake light bulb removed, it’s time to move on to the next step of inspecting and cleaning the brake light housing.
To replace the brake light bulb on a 2017 Hyundai Elantra, first, open the trunk and locate the back of the brake light assembly. Twist and remove the bulb socket, then replace the old bulb with a new one and reassemble the socket.
Step 3: Inspect and Clean the Brake Light Housing
Before installing the new brake light bulb, it’s important to inspect and clean the brake light housing. Follow these steps:
- Take a close look at the inside of the brake light housing. Check for any dirt, debris, or corrosion that may have accumulated over time. If you notice any buildup, use a clean cloth or towel to gently wipe it away.
- Inspect the contacts inside the housing where the bulb socket connects. Look for any signs of damage or corrosion. If you see any, use a small amount of electrical contact cleaner and a cotton swab to clean the contacts.
- Once you have cleaned the housing, visually inspect it for any cracks or defects. If you notice any serious damage, it may be necessary to replace the housing.
By ensuring that the brake light housing is clean and in good condition, you are setting the stage for a successful installation of the new brake light bulb. Now, let’s move on to the next step of installing the new brake light bulb.
Read more: How To Replace Pool Light Bulb
Step 4: Install the New Brake Light Bulb
With the brake light housing inspected and cleaned, it’s time to install the new brake light bulb. Follow these steps:
- Take the new brake light bulb and line up the pins or contacts on the bulb with the slots or connections in the socket. Make sure the bulb is securely seated and properly aligned.
- Once the bulb is in position, push it into the socket and twist it clockwise until it locks into place. Ensure that the bulb is securely fastened to avoid any loose connections.
- Grab the socket and align it with the orientation and position you observed when removing the old bulb. Insert the socket back into the brake light housing and twist it clockwise to lock it in place.
- Give the socket a gentle tug to ensure it is securely attached to the housing.
- Close the access panel for the brake light assembly by pressing it firmly or snapping it shut, depending on the design.
Now that the new brake light bulb is installed, it’s time to move on to the final step of testing the brake lights.
Step 5: Test the Brake Lights
After replacing the brake light bulb, it’s important to test the functionality of the brake lights to ensure everything is working properly. Follow these steps:
- Get inside your Hyundai Elantra and turn on the ignition. Make sure the vehicle is in park and the parking brake is still engaged.
- Ask someone to stand behind your vehicle and observe the brake lights as you apply the brakes.
- Gently press the brake pedal and check if both brake lights illuminate. The lights should be bright and easily visible.
- If both brake lights work correctly, congratulations! You have successfully replaced the brake light bulb. If one or both lights do not function or appear dim, double-check the installation of the bulb and socket. Ensure they are properly connected and aligned.
- If you have inspected the installation and the brake lights still do not work, there may be an electrical issue that requires further investigation. In this case, it is recommended to consult a professional mechanic.
By testing the brake lights, you can be confident that your 2017 Hyundai Elantra is equipped with properly functioning brake lights, ensuring your safety on the road. Now, let’s conclude our tutorial on replacing the brake light bulb.
Conclusion
Replacing the brake light bulb on your 2017 Hyundai Elantra is a relatively simple task that you can easily do yourself. By following the step-by-step instructions provided in this article and using the necessary tools and materials, you can restore the functionality of your brake lights and drive with confidence.
Remember to always prepare the vehicle by turning off the engine, engaging the parking brake, and removing the brake light fuse before starting any work. Take the time to inspect and clean the brake light housing, ensuring it is free from dirt, debris, and corrosion. When installing the new brake light bulb, make sure it is aligned correctly and securely fastened in the socket. Finally, test the brake lights to ensure they illuminate brightly when the brake pedal is pressed.
By taking care of the maintenance and replacement of your brake light bulbs, you can enhance your visibility on the road and contribute to the overall safety of yourself and other drivers. Remember, if you encounter any issues or doubts during the process, it is always best to consult a professional for assistance.
Thank you for reading this guide on how to replace the brake light bulb on your 2017 Hyundai Elantra. Drive safely!
Frequently Asked Questions about How To Replace A Brake Light Bulb On A 2017 Hyundai Elantra
Was this page helpful?
At Storables.com, we guarantee accurate and reliable information. Our content, validated by Expert Board Contributors, is crafted following stringent Editorial Policies. We're committed to providing you with well-researched, expert-backed insights for all your informational needs.


0 thoughts on “How To Replace A Brake Light Bulb On A 2017 Hyundai Elantra”