Articles
How To Clean Corroded Light Bulb Sockets
Modified: May 6, 2024
Learn the effective methods for cleaning corroded light bulb sockets with step-by-step instructions and helpful tips. Browse our informative articles for easy solutions.
(Many of the links in this article redirect to a specific reviewed product. Your purchase of these products through affiliate links helps to generate commission for Storables.com, at no extra cost. Learn more)
Introduction
Light bulb sockets play a crucial role in ensuring that your home is well-lit and functional. However, over time, these sockets can become corroded, obstructing the flow of electricity and causing issues with your lighting fixtures. Corroded light bulb sockets not only diminish the effectiveness of your lighting but can also pose safety hazards.
Understanding the common causes of corroded light bulb sockets and knowing how to clean them is essential for maintaining a well-lit and safe environment in your home. In this article, we will discuss the common causes of corrosion in light bulb sockets and guide you through the steps to clean and restore them to their optimal condition.
Before we dive into the cleaning process, it is important to note that safety should always be your top priority. Make sure to disconnect the power source and wear protective gloves and eyewear to prevent accidents or injuries while working on the light bulb sockets.
Let’s get started and find out how to clean corroded light bulb sockets effectively!
Key Takeaways:
- Regular maintenance and inspection of light bulb sockets can prevent corrosion, ensuring a well-lit and safe home environment. Prioritize safety, thorough cleaning, and testing for optimal functionality.
- Understanding the common causes of corrosion and following the cleaning steps can effectively restore light bulb sockets. Remember to disconnect power, inspect for corrosion, and test the socket for proper functionality.
Read more: How To Wire A Light Bulb Socket
Common Causes of Corroded Light Bulb Sockets
Corrosion in light bulb sockets can occur due to various factors. Understanding the common causes can help you take preventive measures to avoid future corrosion and ensure the longevity of your lighting fixtures. Here are some of the most common causes of corroded light bulb sockets:
- Moisture and Humidity: Exposure to moisture and high humidity levels is one of the primary causes of corrosion in light bulb sockets. When moisture seeps into the socket, it can react with the metal components, leading to rust and corrosion.
- Aging Sockets: Just like any other electrical component, light bulb sockets deteriorate over time. As sockets age, they become more prone to corrosion. The constant heating and cooling of the metal can weaken it, making it more susceptible to corrosion.
- Chemical Exposure: Light bulb sockets can come into contact with chemicals from cleaning products or other substances. These chemicals can react with the metal, causing corrosion to occur.
- Poor Installation: Improper installation of light bulbs can also contribute to socket corrosion. When bulbs are not securely screwed into the socket, they can create gaps, allowing moisture and dust to enter, leading to corrosion.
- Poor Electrical Connections: Loose or faulty electrical connections within the socket can cause arcing, which generates heat and can lead to corrosion over time. It is important to ensure that all connections are secure and properly tightened.
By understanding these common causes, you can take appropriate steps to minimize the risk of corrosion in your light bulb sockets. Regular inspection and maintenance can help identify early signs of corrosion and prevent it from worsening.
Tools and Materials Needed
Before you start cleaning corroded light bulb sockets, gather the following tools and materials:
- Gloves and Safety Eyewear: Protect your hands and eyes by wearing gloves and safety eyewear throughout the cleaning process.
- Flashlight: A flashlight will help you get a clear view of the socket and identify any signs of corrosion.
- Isopropyl Alcohol: Isopropyl alcohol is an effective cleaning agent that can help remove corrosion and dirt from the socket.
- Cotton Swabs or Soft Cloth: Use cotton swabs or a soft cloth to apply the cleaning solution to the socket and remove any corrosion.
- Small Brush: A small brush, such as a toothbrush or a specialized electrical brush, can be handy for scrubbing away stubborn corrosion.
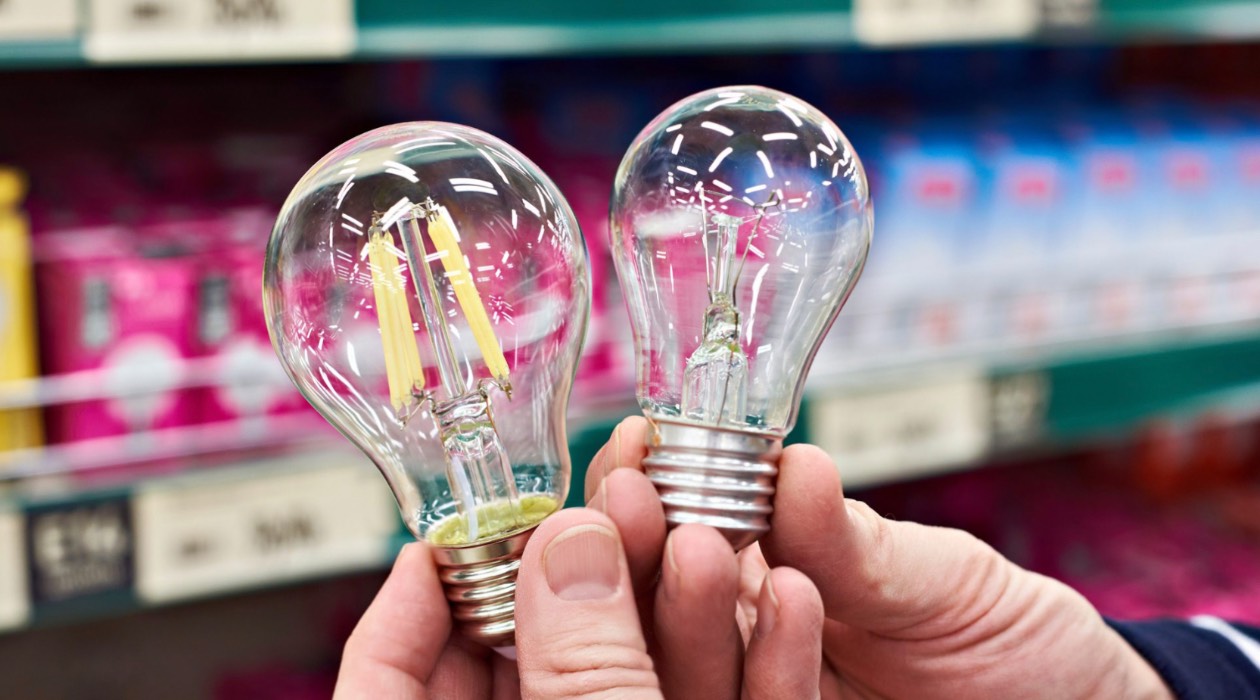
- Light Bulb: Have a new light bulb ready to replace the old one once the socket is cleaned.
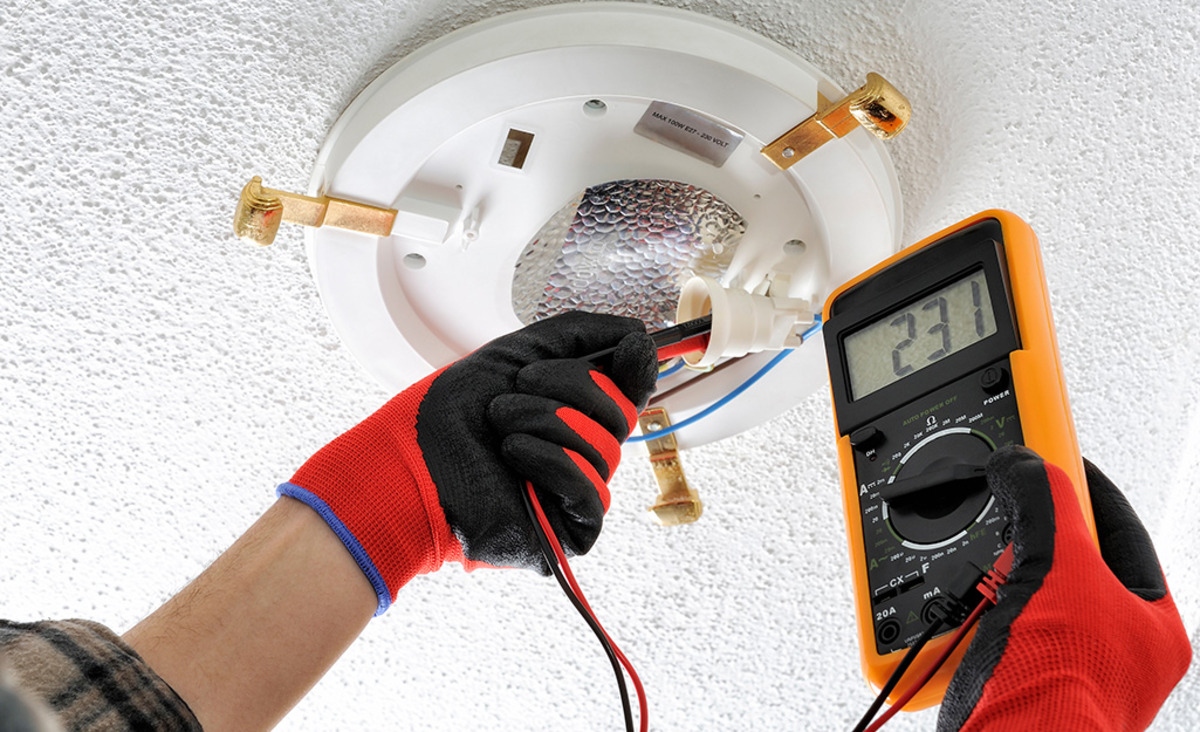
- Multimeter (Optional): If you want to check the electrical conductivity of the socket, a multimeter can be useful.
Having these tools and materials prepared beforehand will ensure a smooth and efficient cleaning process. Remember to always work with caution and follow safety guidelines to avoid accidents or damage to the electrical system.
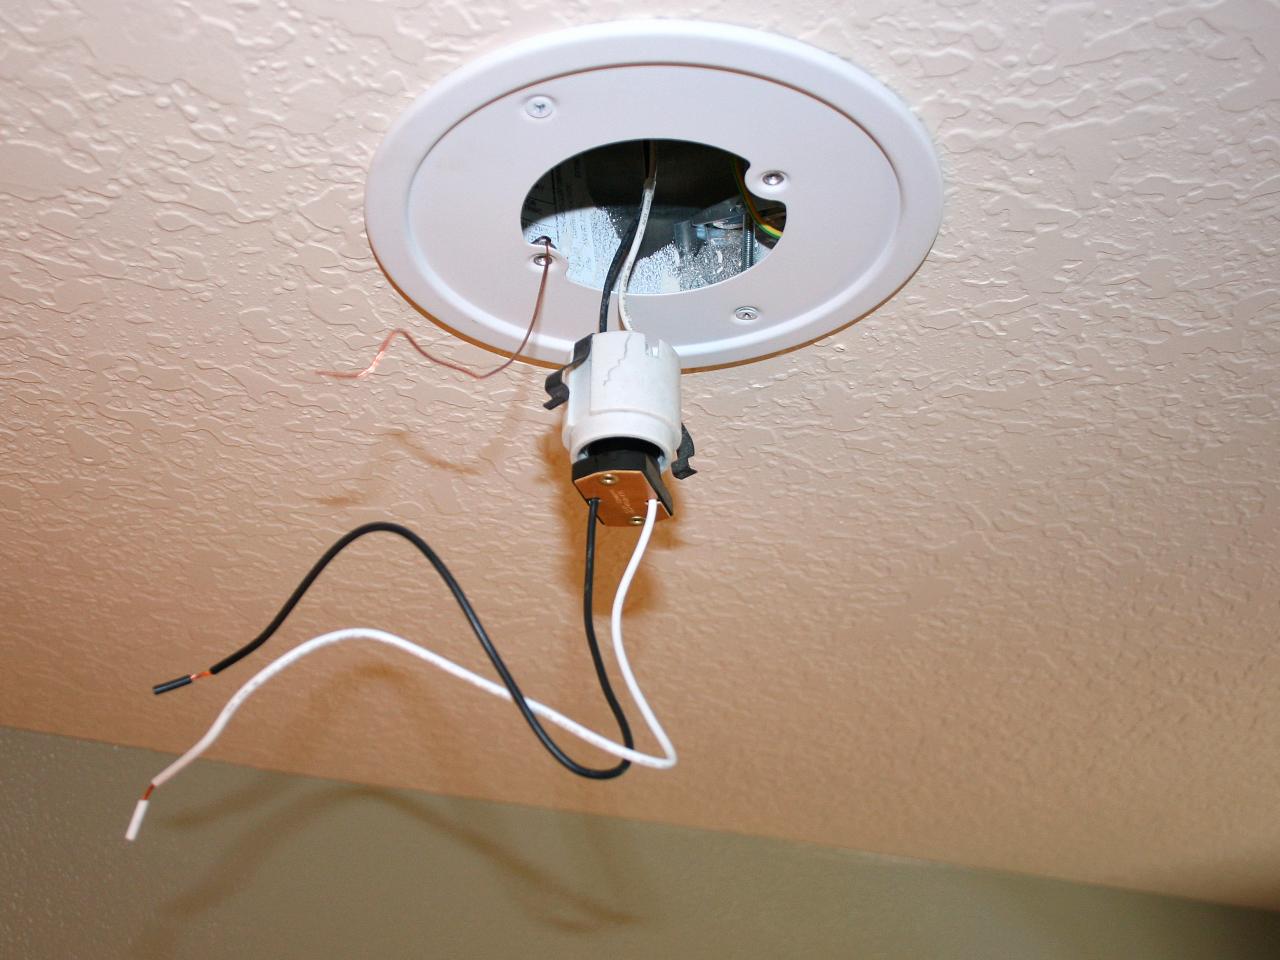
Step 1: Disconnect Power
The first and most important step in cleaning corroded light bulb sockets is to disconnect the power source. This step ensures your safety and prevents any electrical accidents or damage while working on the socket. Follow these instructions to disconnect the power:
- Switch Off the Power: Locate the circuit breaker panel or the fuse box in your home and switch off the power to the area where the light bulb socket is located. If you are unsure which breaker controls the power to the specific socket, it is recommended to turn off the main power switch to be extra cautious.
- Test the Socket: After turning off the power, you can double-check whether the power is truly disconnected by trying to turn on the light switch connected to the socket. If the light does not turn on, you can proceed with confidence knowing that the power is successfully disconnected.
- Secure the Power Switch: To avoid any accidental switching on of the power while you are working, you can tape or cover the light switch with a note indicating that maintenance is being carried out. This will serve as a reminder to anyone in the vicinity to avoid turning on the power during the cleaning process.
It is crucial to ensure the power is completely turned off before proceeding to the next steps. This will minimize the risk of electric shock or damage to the socket. Once the power is disconnected, you can move on to the next step of removing the light bulb from the socket.
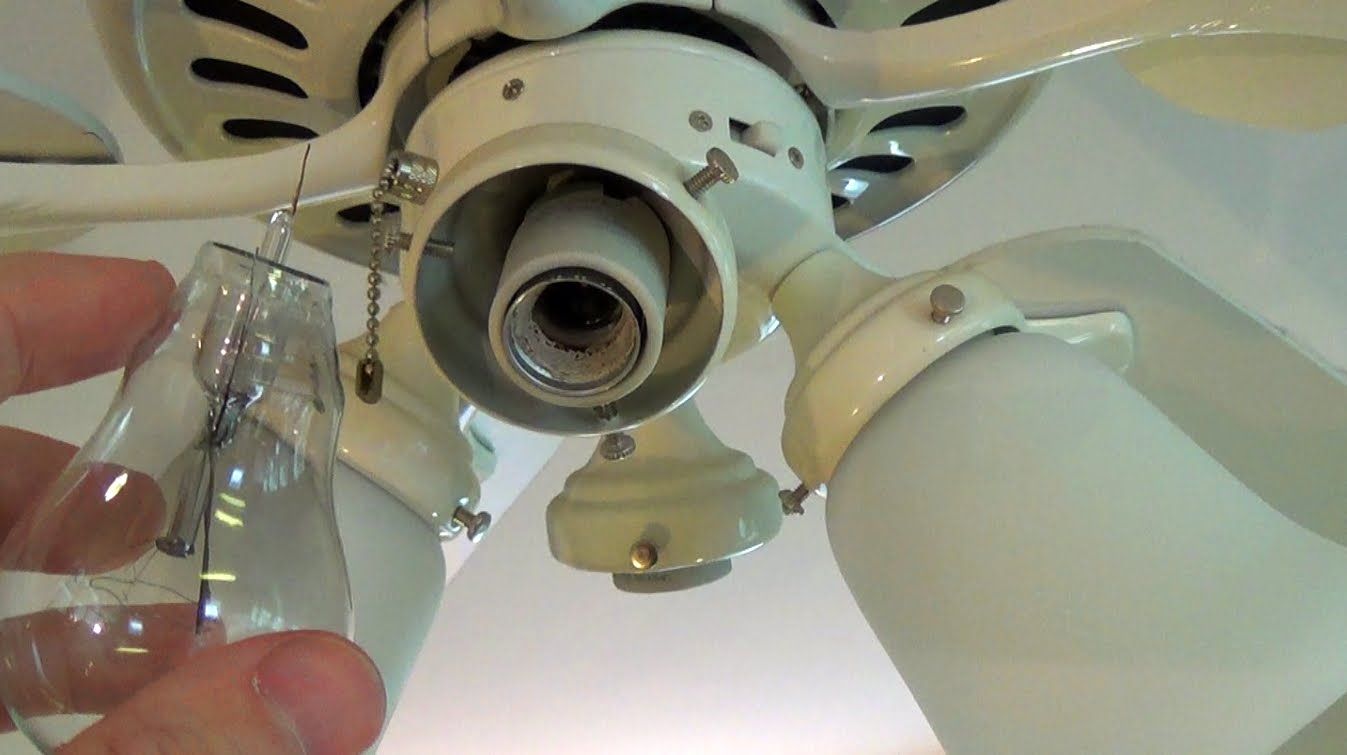
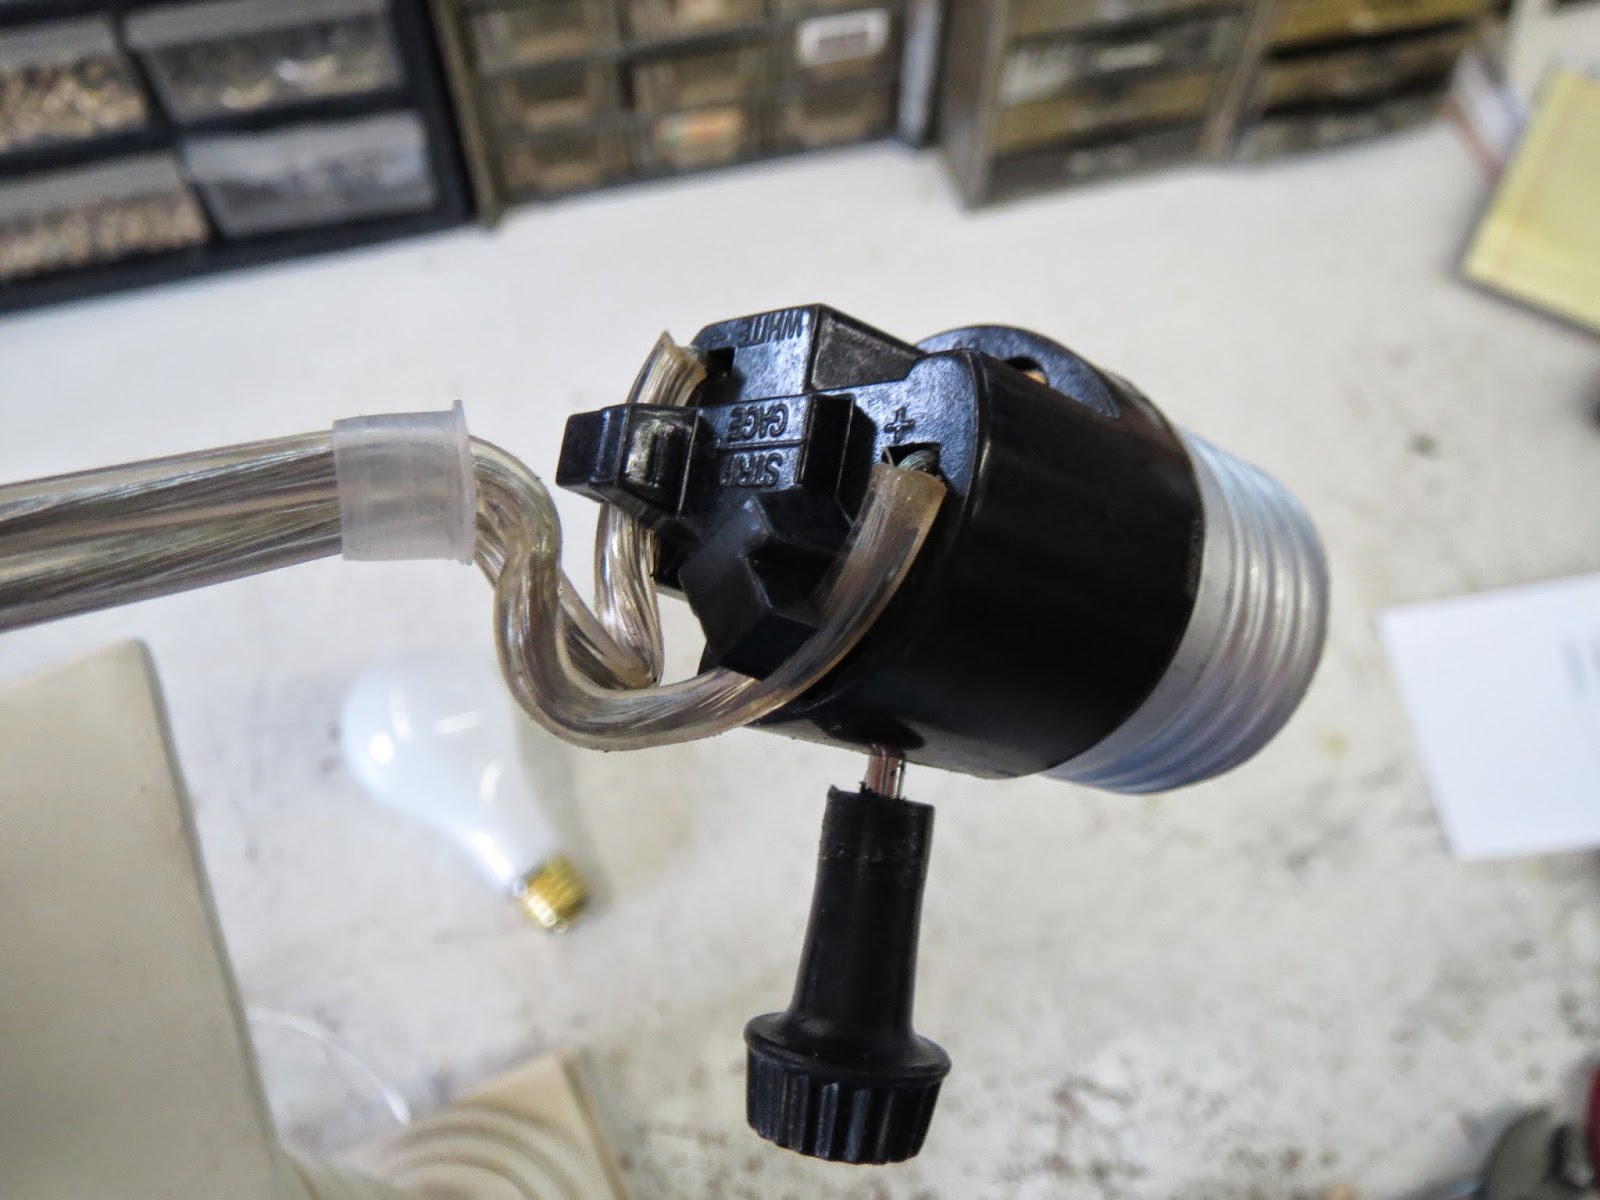
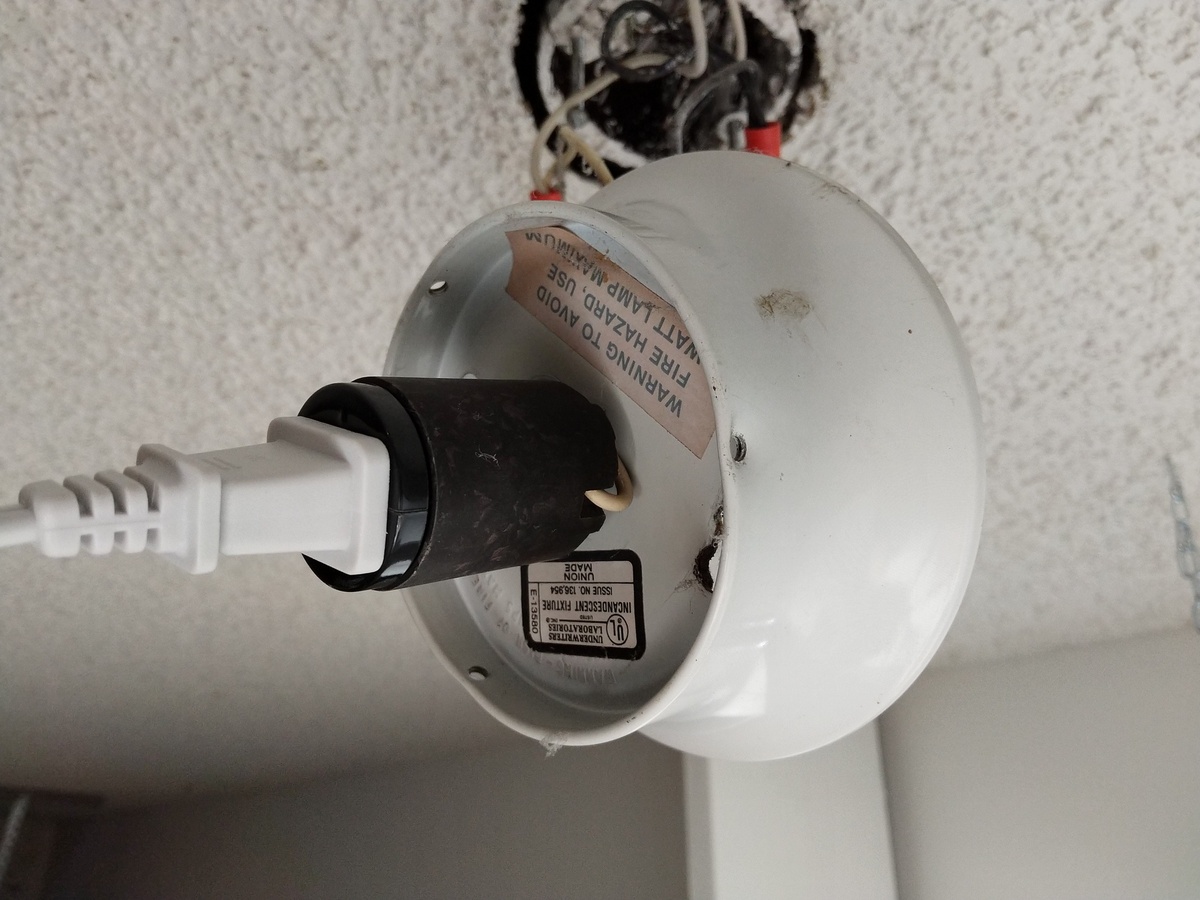
Step 2: Remove the Light Bulb
After disconnecting the power, the next step in cleaning corroded light bulb sockets is to remove the light bulb from the socket. Follow these instructions to safely remove the light bulb:
- Allow the Bulb to Cool: If the light bulb has been recently used, give it enough time to cool down before attempting to remove it. This will help prevent burns or injury from hot surfaces.
- Turn Counterclockwise: To remove the light bulb, hold the bulb firmly and gently rotate it counterclockwise. Most light bulbs have right-hand threads, meaning they are screwed in by turning clockwise and unscrewed by turning counterclockwise.
- Remove Carefully: Once the bulb is loose, carefully pull it out of the socket. Be mindful not to exert excessive force or twist the bulb, as it could break and potentially cause injury.
- Inspect the Bulb: Take a moment to inspect the removed light bulb for any signs of corrosion or damage. This will give you an indication of the condition of the socket and whether further cleaning or replacement is necessary.
By following these steps, you can safely detach the light bulb from the corroded socket. Remember to handle the bulb with care to avoid any accidents or damage.
Read more: How To Replace Light Bulb Socket
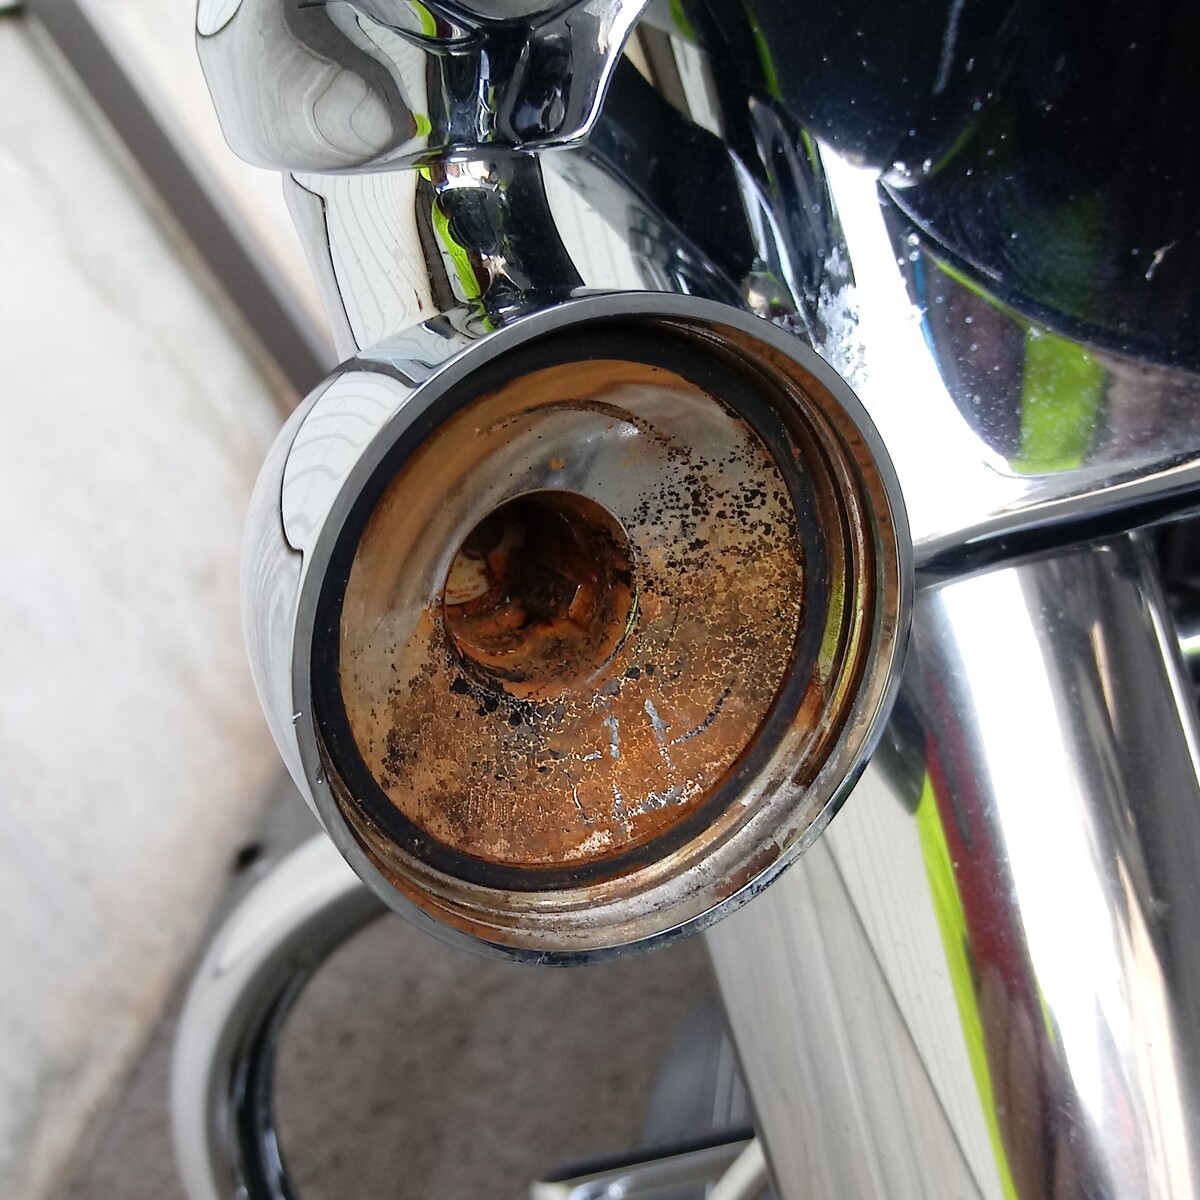
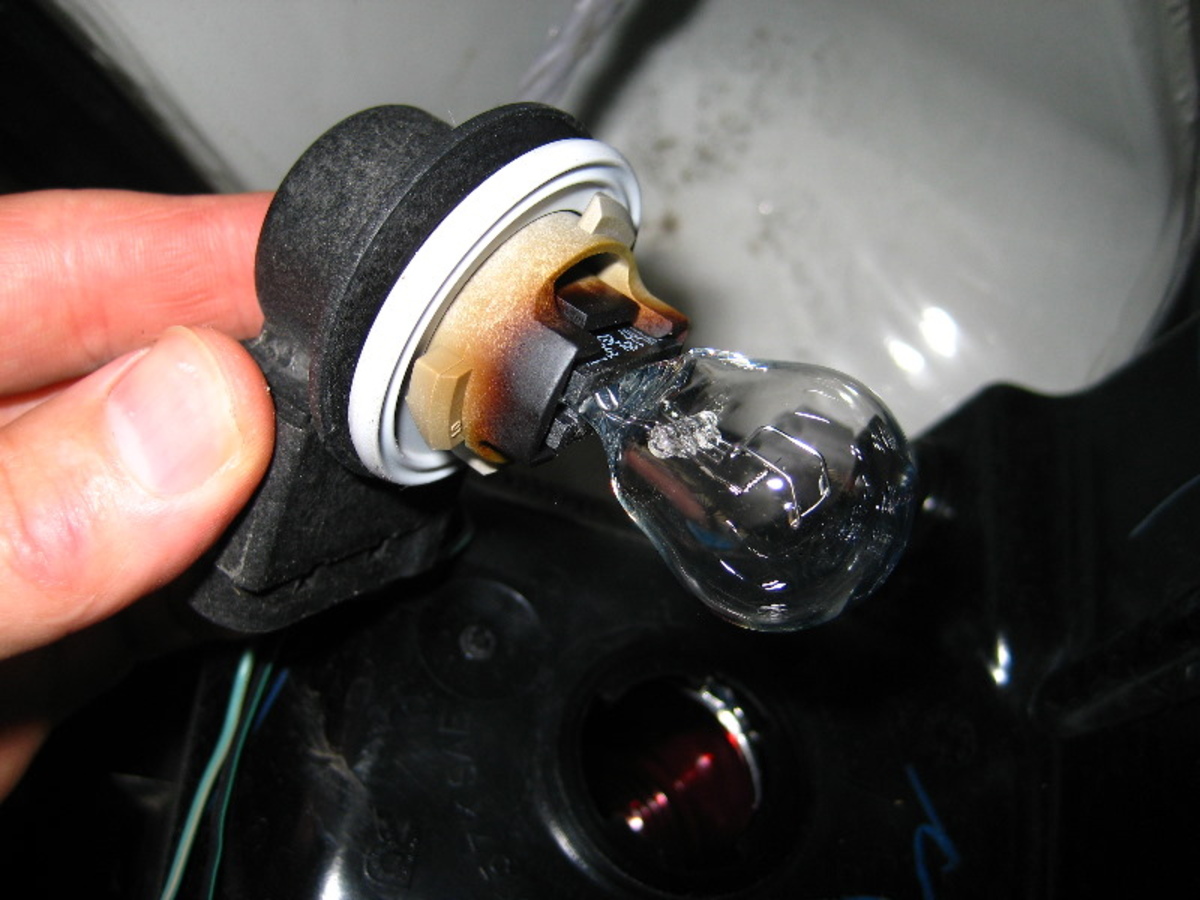
Step 3: Inspect for Corrosion
Once you have successfully removed the light bulb from the socket, it’s time to inspect the socket for signs of corrosion. By carefully examining the socket, you can determine the severity of the corrosion and decide on the appropriate cleaning method. Follow these steps to inspect for corrosion:
- Use a Flashlight: Use a flashlight to illuminate the interior of the socket. This will allow you to get a clear view of any corrosion or debris that may be present.
- Look for Rust or Discoloration: Examine the socket’s interior for any signs of rust or discoloration. Corrosion can appear as a brownish or greenish buildup on the metal contacts or as a general deterioration of the socket’s surface.
- Check for Loose or Damaged Contacts: Inspect the contacts inside the socket to ensure they are secure and undamaged. Loose or bent contacts can contribute to poor electrical connections and may require additional attention.
- Inspect Insulation and Wiring: Take a moment to inspect the socket’s insulation and wiring. Look for any frayed or damaged wires that may require repair or replacement.
By conducting a thorough inspection of the socket, you can assess the extent of the corrosion and determine the best course of action. If the corrosion is minor, you may be able to clean the socket and restore its functionality. However, if the corrosion is severe or the socket is damaged, it may be necessary to replace the entire socket for optimal safety and performance.
Use a small piece of fine-grit sandpaper to gently rub the inside of the corroded light bulb socket. This will help remove any corrosion and improve the connection for the new light bulb.
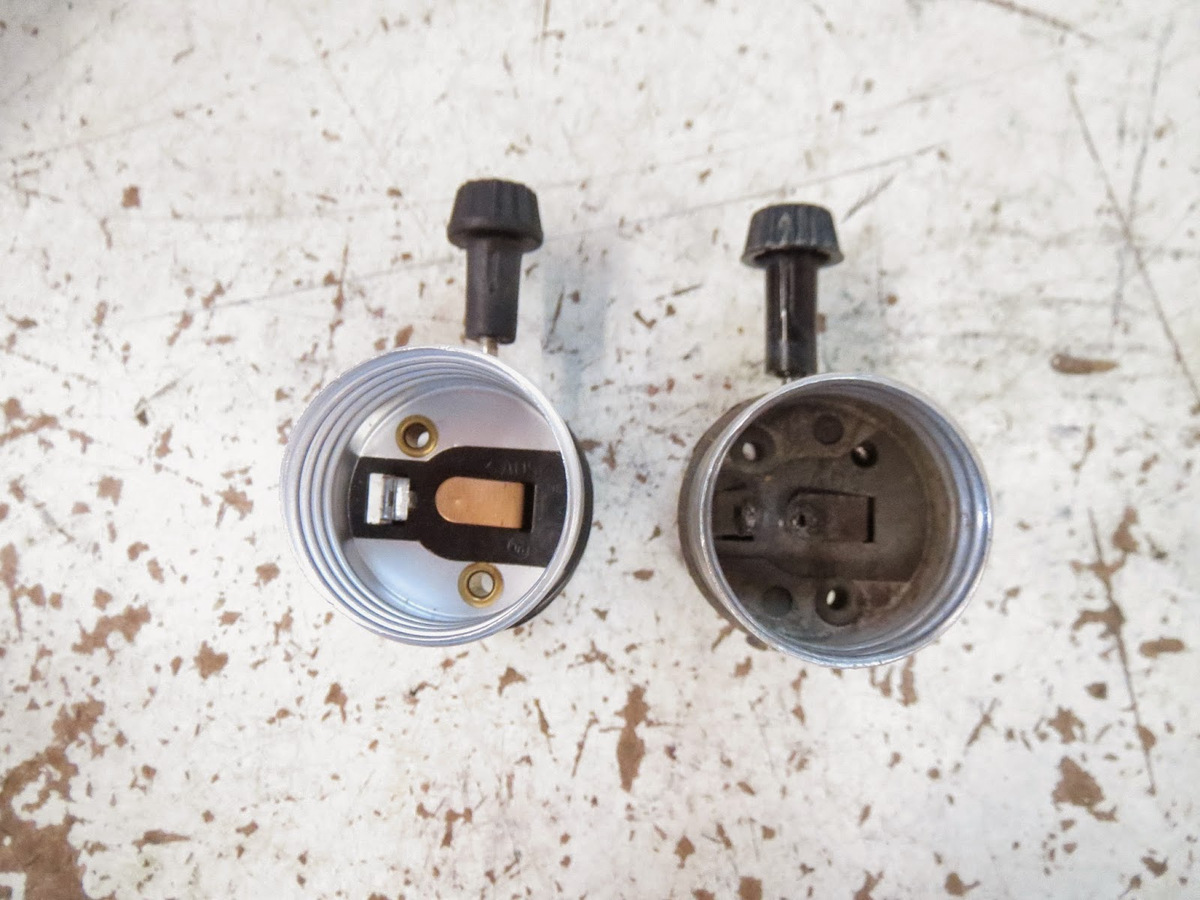
Step 4: Clean the Light Bulb Socket
Now that you have inspected the light bulb socket and identified any corrosion or debris, it’s time to clean the socket. Cleaning the socket will help remove the corrosion and restore proper electrical conductivity. Follow these steps to clean the light bulb socket:
- Prepare Your Cleaning Solution: To clean the socket, prepare a cleaning solution by mixing isopropyl alcohol with water in a 1:1 ratio. This solution is effective in breaking down corrosion and dirt.
- Apply the Cleaning Solution: Dip a cotton swab or a soft cloth into the cleaning solution. Gently rub the soaked cotton swab or cloth on the interior surfaces of the socket, focusing on areas with visible corrosion or buildup.
- Scrub Stubborn Corrosion: For stubborn corrosion, use a small brush, such as a toothbrush or an electrical brush, to scrub the affected areas. Be gentle to avoid damaging the socket.
- Remove Excess Cleaning Solution: After cleaning, use a dry cloth or another cotton swab to remove any excess cleaning solution from the socket. You want to ensure that the socket is dry before proceeding.
It is important to note that if the corrosion is extensive or the socket is severely damaged, it may be necessary to replace the socket rather than attempting to clean it. Safety should always be the top priority, so use your judgment to determine the best course of action.
By following these steps and cleaning the light bulb socket thoroughly, you can remove corrosion and improve the electrical connection within the socket.
Step 5: Dry the Socket
After cleaning the light bulb socket, it is crucial to ensure that it is completely dry before proceeding. Moisture can contribute to further corrosion and electrical issues. Follow these steps to dry the socket effectively:
- Air Dry: Allow the socket to air dry naturally. Leave it exposed to the air for a few minutes to facilitate the evaporation of any remaining moisture.
- Use Compressed Air: If you want to speed up the drying process, you can use compressed air. Point the nozzle of the compressed air canister into the socket and blow out any moisture that may be present. Be cautious not to use excessive force, as it could damage the socket or components.
- Inspect for Dampness: After drying, visually inspect the socket to ensure that it is completely dry. Look for any signs of remaining moisture or condensation.
Ensuring that the socket is thoroughly dry will help prevent future corrosion and maintain optimal electrical conductivity. Once you are confident that the socket is dry, you can proceed to the next step of reinstalling the light bulb.
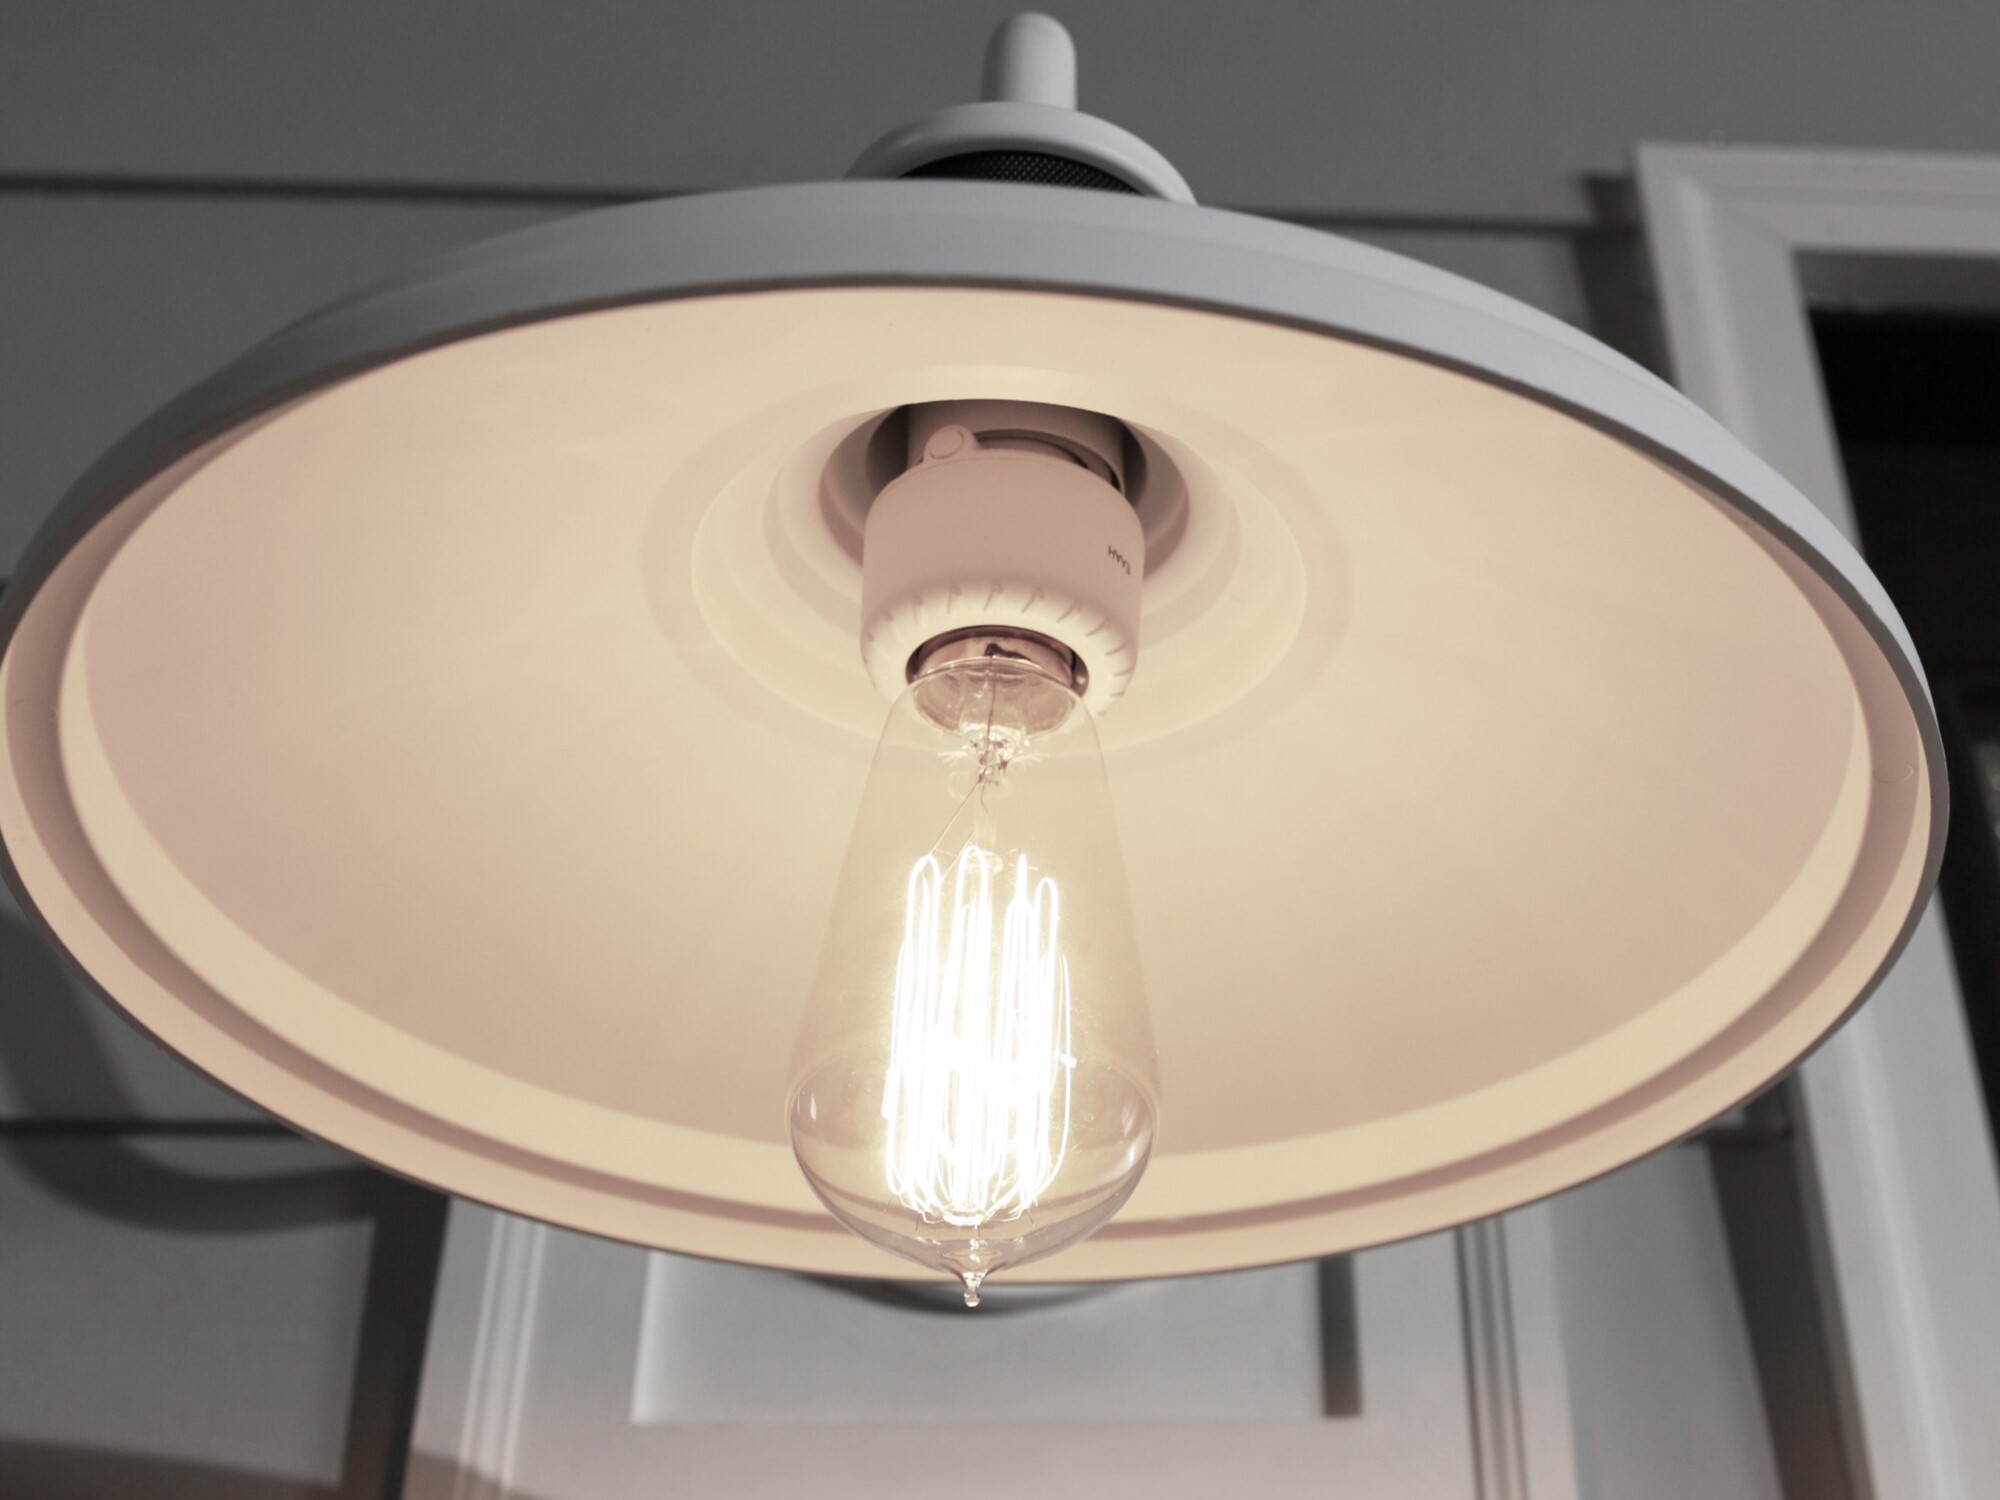
Step 6: Reinstall the Light Bulb
With the cleaned and dry light bulb socket, it’s time to reinstall the light bulb. Follow these steps to correctly reinstall the light bulb:
- Match the Bulb Type: Ensure that you have the correct replacement light bulb that matches the socket’s specifications. Refer to the bulb’s packaging or consult the manufacturer’s guidelines for compatibility.
- Align the Base: Align the base of the light bulb with the socket’s contacts. Make sure that the base is straight and properly centered within the socket.
- Turn Clockwise: Gently insert the base of the light bulb into the socket and rotate it clockwise. Apply a slight amount of pressure to securely screw the bulb into place. Avoid overtightening, as it can damage the socket.
- Test the Installation: Once the bulb is securely installed, gently give it a small twist clockwise to ensure it is properly seated. Then, switch on the power to the socket and test the light bulb to confirm that it is working correctly.
It is important to note that if the socket is still showing signs of corrosion or if the bulb does not light up, additional cleaning or socket replacement may be needed. Safety should always be the priority, so double-check all connections before completing the installation.
By following these steps, you can reinstall the light bulb securely and ensure that it is functioning properly in the cleaned socket.
Step 7: Test the Socket
The final step in the process of cleaning a corroded light bulb socket is to test the socket and ensure that it is functioning correctly. Testing the socket will help confirm that the cleaning process was successful and that the electrical connection has been restored. Follow these steps to test the socket:
- Switch On the Power: Turn on the power to the socket by flipping the circuit breaker or switch associated with it. Ensure that the power is flowing to the socket.
- Turn On the Light: Switch on the light connected to the socket and check if the light bulb illuminates properly. If the light turns on without any issues, it indicates that the socket is working effectively.
- Verify Stability: Observe the light bulb for any flickering or instability. A stable and consistent light output indicates a good electrical connection within the socket.
- Test Multiple Bulbs: If possible, try testing the socket with different light bulbs to further ensure its functionality. This can help rule out any issues specific to the initially used bulb.
If the light bulb fails to turn on or exhibits any abnormalities, it may indicate that further maintenance is needed. In such cases, it is recommended to consult a professional electrician for assistance.
By conducting a thorough test of the socket, you can ensure that the cleaning process has been successful and that the socket is ready to provide optimal lighting once again.
Conclusion
Cleaning corroded light bulb sockets is an essential maintenance task that can help improve the performance and longevity of your lighting fixtures. By following the steps outlined in this article, you can effectively clean the sockets and restore their functionality. However, it is important to exercise caution and prioritize safety throughout the process.
Remember to always disconnect the power source before working on the socket and wear protective gear to prevent any accidents or injuries. Additionally, thoroughly inspect the socket for corrosion, clean it using the appropriate cleaning solution, and ensure that it is fully dry before reinstalling the light bulb.
Regular maintenance and inspection of light bulb sockets can help prevent future corrosion and electrical issues. If you encounter severe corrosion or damage that cannot be adequately cleaned, it may be necessary to replace the socket with a new one to maintain safety and proper functionality.
By taking the time to clean and maintain your light bulb sockets, you can ensure a well-lit and safe environment in your home. Remember to test the socket after cleaning to confirm that it is working correctly, and if you have any concerns or doubts, consult a professional electrician for assistance.
With these steps and a proactive approach to maintenance, you can keep your light bulb sockets in optimal condition and enjoy reliable lighting throughout your home.
Now that you've mastered cleaning corroded light bulb sockets, why not tackle more projects around your house? From sprucing up spaces to fixing fixtures, our guides have got your back. For those itching to get hands-on, our article on DIY home improvement offers plenty of projects to keep you busy. If you're unsure about what tasks need tackling next, our home maintenance tips article lays out essential checks and fixes that every homeowner should consider. Jump right in and make your home as welcoming and functional as possible!
Frequently Asked Questions about How To Clean Corroded Light Bulb Sockets
Was this page helpful?
At Storables.com, we guarantee accurate and reliable information. Our content, validated by Expert Board Contributors, is crafted following stringent Editorial Policies. We're committed to providing you with well-researched, expert-backed insights for all your informational needs.


0 thoughts on “How To Clean Corroded Light Bulb Sockets”