Home>Articles>How To Replace American Standard Toilet Flapper
Articles
How To Replace American Standard Toilet Flapper
Modified: October 20, 2024
Learn how to replace the American Standard toilet flapper with step-by-step instructions and helpful articles.
(Many of the links in this article redirect to a specific reviewed product. Your purchase of these products through affiliate links helps to generate commission for Storables.com, at no extra cost. Learn more)
Introduction
When it comes to household plumbing, one common issue that many homeowners encounter is a faulty toilet flapper. The toilet flapper is an essential component that controls the flow of water from the tank to the bowl during a flush. Over time, the flapper can wear out or become damaged, leading to water leakage and inefficiency.
If you have an American Standard toilet and need to replace the flapper, don’t worry! This article will guide you through the step-by-step process of replacing the American Standard toilet flapper. With a few simple tools and a little bit of time, you can save money by tackling this DIY project on your own.
Before we dive into the details, it’s essential to understand the importance of this repair. A faulty flapper can lead to water wastage and an increased water bill. Additionally, a leaking flapper can cause your toilet to constantly run, which can be both annoying and disruptive. By replacing the flapper, you can restore proper flushing and prevent any potentially costly water damage.
So, let’s get started and learn how to replace the American Standard toilet flapper in a few easy steps!
Key Takeaways:
- Replacing the American Standard toilet flapper is a simple DIY project that can save money on water bills and prevent water wastage. With the right tools and a little patience, restoring proper toilet functionality is easily achievable.
- Properly identifying, installing, and testing the new flapper, as well as making necessary adjustments, ensures efficient flushing and prevents water leakage. This DIY project is a cost-effective way to maintain a well-functioning toilet.
Read more: How To Install American Standard Toilet
Step 1: Gather the necessary tools and materials
Before you begin the process of replacing the American Standard toilet flapper, it’s crucial to gather all the necessary tools and materials. Having everything at hand will make the task much more manageable and save you time. Here’s what you’ll need:
- A new American Standard toilet flapper (make sure to purchase the correct size and model for your specific toilet)
- Adjustable wrench or pliers
- Sponge or towel
- Bucket or container
The new flapper is the most crucial component, as it needs to be specifically designed for your American Standard toilet model. Consult your toilet’s user manual or look for the model number inside the tank to ensure you purchase the correct flapper.
The adjustable wrench or pliers will be used to loosen and tighten the various connections during the replacement process. Having a wrench or pliers with a wide opening range ensures you can work with any size nuts or bolts you may encounter.
A sponge or towel comes in handy to soak up any residual water in the tank. This will prevent water from spilling onto the floor and keep your work area clean and dry. Additionally, have a bucket or container nearby to dispose of any excess water that you remove from the tank.
Once you’ve gathered all the necessary tools and materials, you’re ready to move on to the next step of replacing the American Standard toilet flapper.
Step 2: Shut off the water supply
Before you begin working on replacing the American Standard toilet flapper, it’s crucial to shut off the water supply to the toilet. This will prevent any water from flowing into the tank and allow you to work on the flapper without any risk of flooding. Follow these steps to shut off the water supply:
- Locate the water shut-off valve behind or near the toilet. It is typically a small valve connected to a pipe coming out of the wall or floor.
- Turn the shut-off valve clockwise (or to the right) until it is fully closed. This will stop the flow of water to the toilet tank.
- Flush the toilet once after shutting off the water supply. This will remove any water remaining in the tank and make the replacement process easier and cleaner.
By shutting off the water supply, you ensure that no water will disrupt your work as you replace the flapper. It’s important to note that the shut-off valve may vary in design depending on your plumbing setup. If you’re having trouble locating the shut-off valve or if it’s not working correctly, it’s recommended to consult a professional plumber.
Once you have successfully shut off the water supply and flushed the toilet, you can proceed to the next step of removing the tank lid and flushing the toilet to prepare for the flapper replacement.
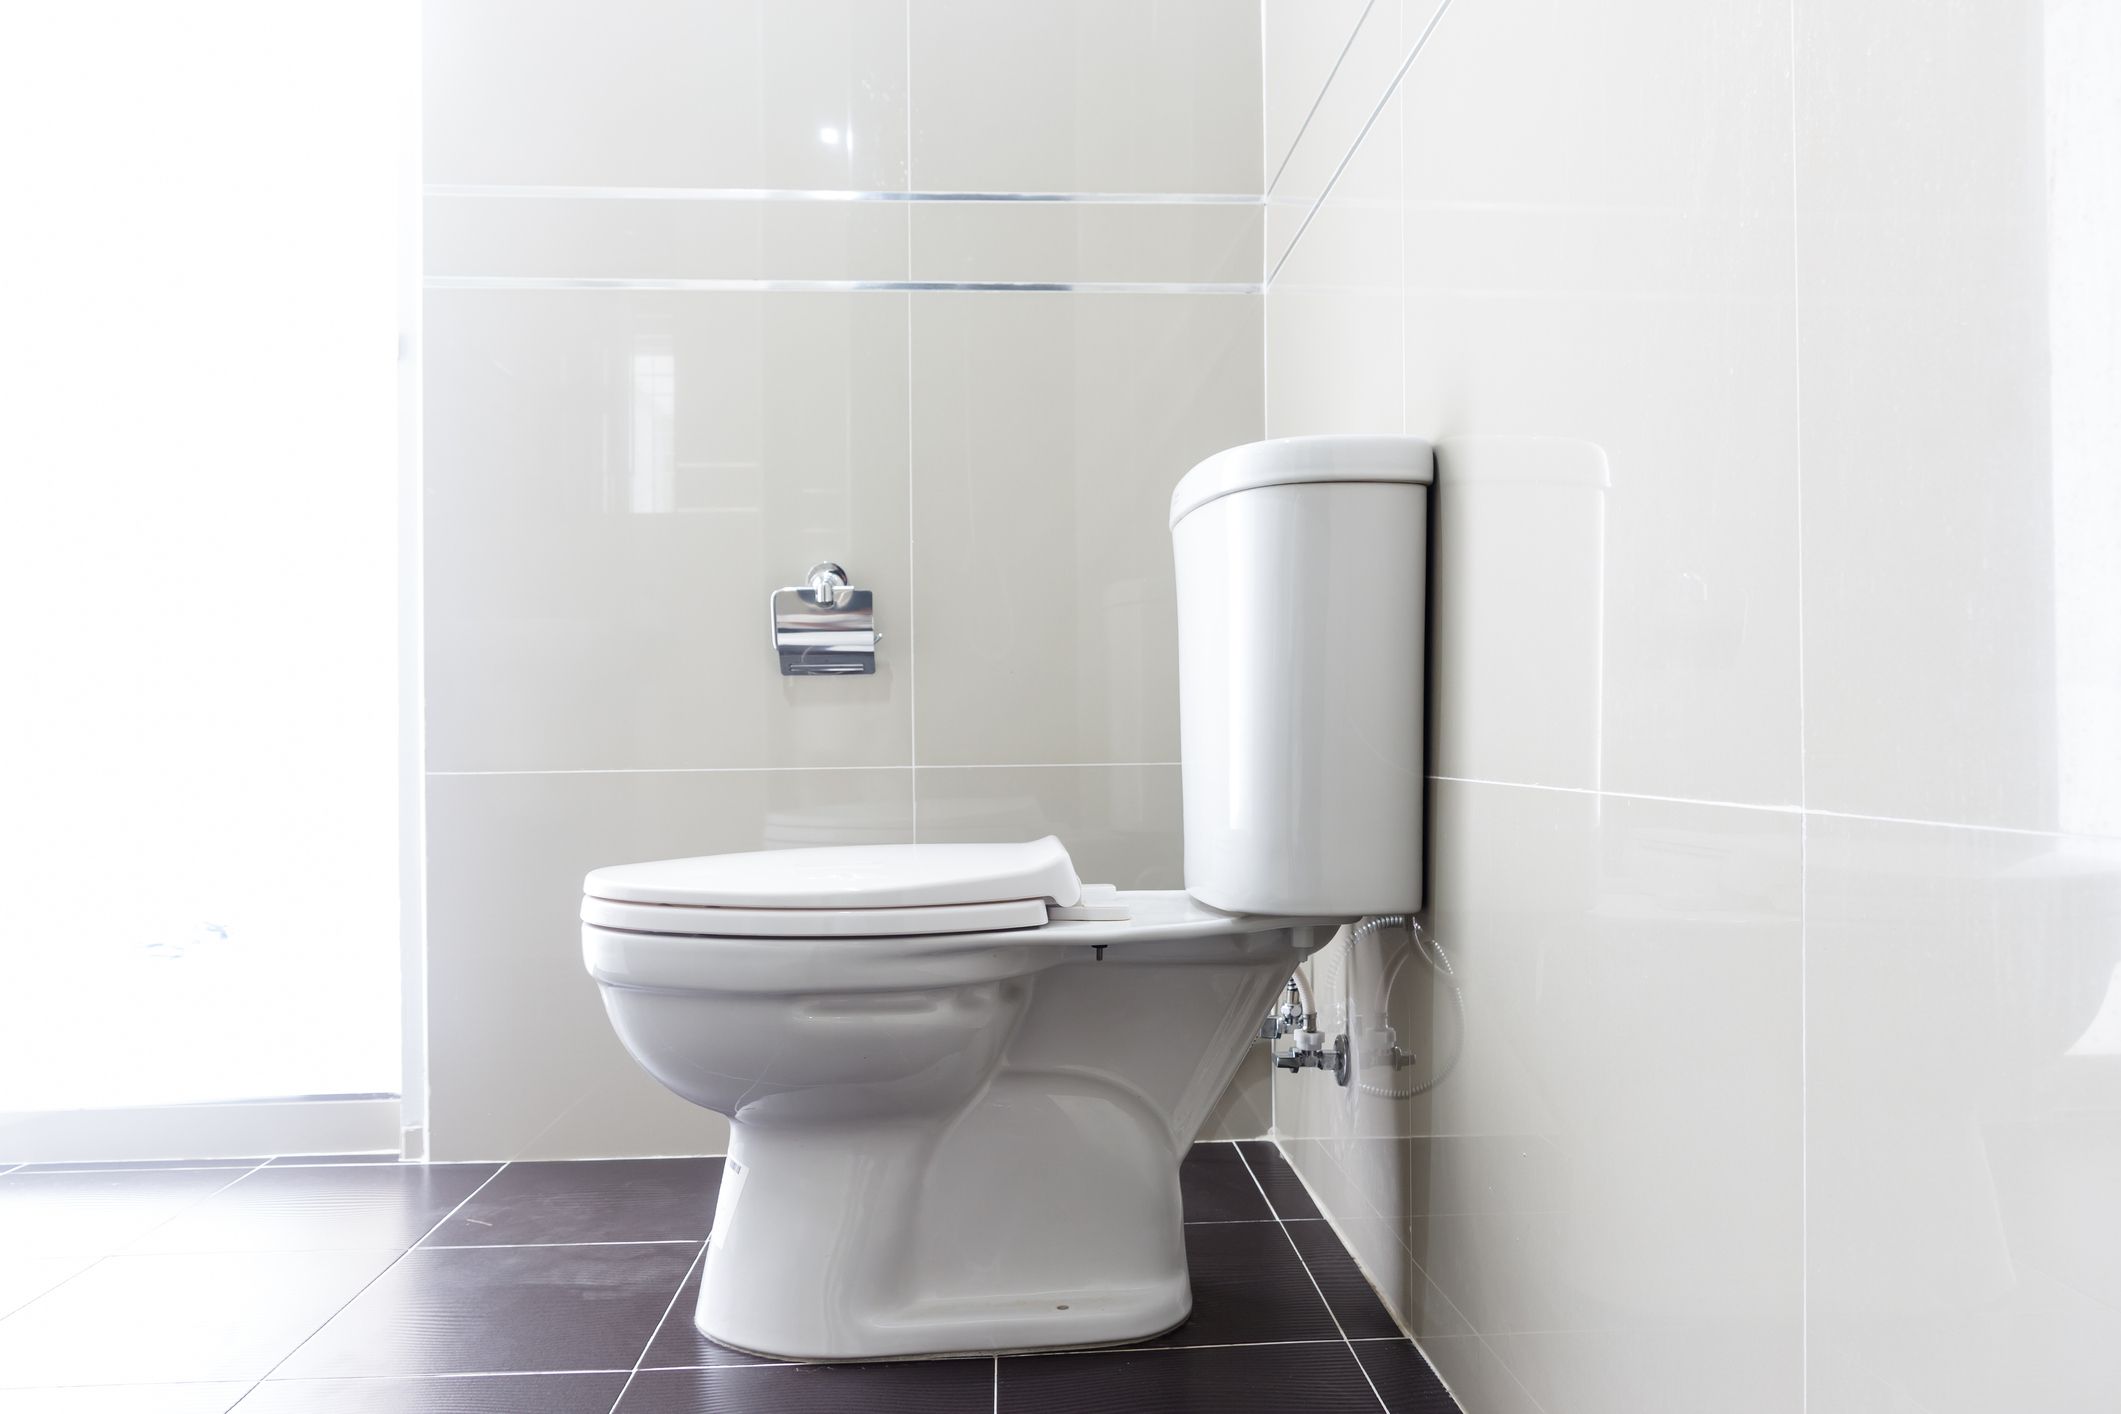
Step 3: Remove the tank lid and flush the toilet
Now that you have shut off the water supply to the toilet, it’s time to remove the tank lid and flush the toilet. This step will prepare the toilet for the flapper replacement by emptying the tank and giving you access to the internal components. Follow these steps:
- Locate and carefully remove the tank lid. The lid is typically placed on top of the tank and can be easily lifted off. Set it aside in a safe place to avoid any accidental damage.
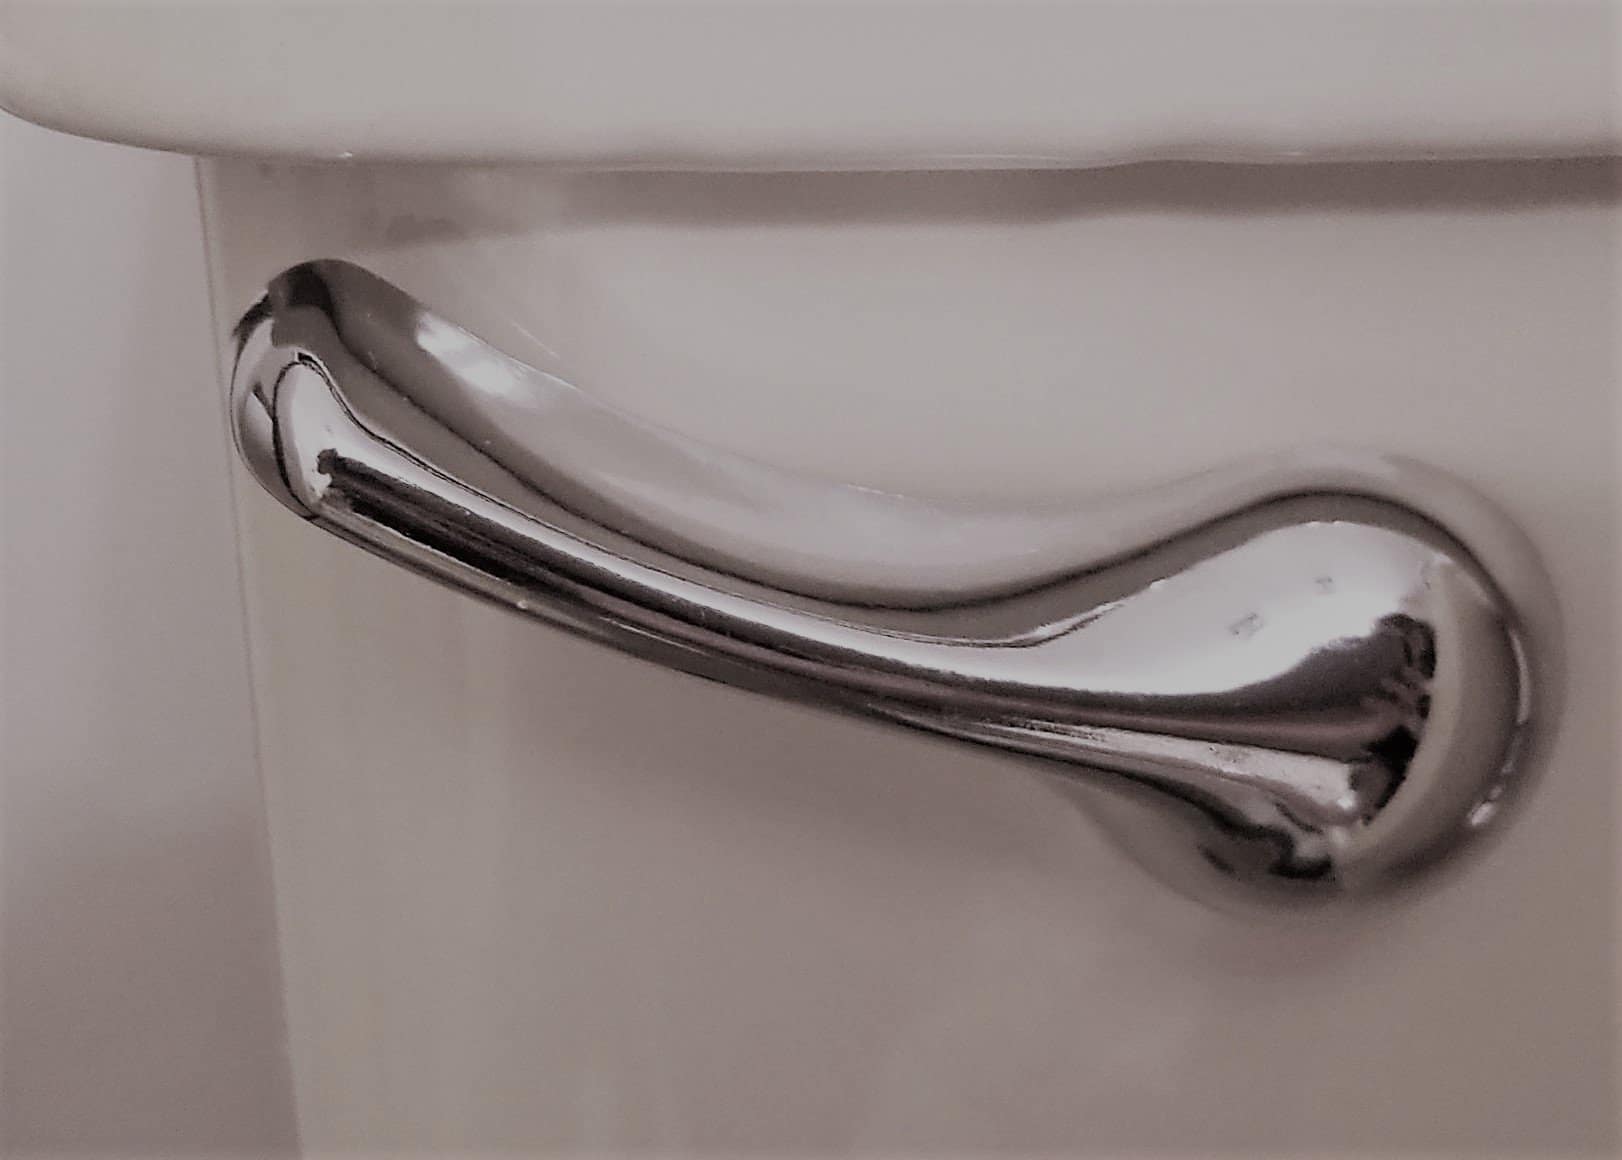
- Identify the flush handle or button on the front or top of the tank. This is the mechanism used to flush the toilet.
- Press and hold down the flush handle or button to initiate a flush. This will drain the water from the tank into the bowl and empty it completely.
- Continue to hold down the flush handle or button until all the water has been flushed out. Use a sponge or towel to soak up any remaining water in the tank to prevent spills.
Removing the tank lid and flushing the toilet allows you to work with a dry tank and better access the flapper and its surrounding components. It’s important to handle the tank lid with care to avoid any cracks or damage. Keep it in a safe place away from the work area.
With the tank empty and the water flushed out, you’re now ready to move on to the next step of identifying the type of flapper you have.
Step 4: Identify the type of flapper
Before you proceed with replacing the American Standard toilet flapper, it’s essential to identify the type of flapper your toilet currently has. Different toilet models may have different types of flappers, and knowing the correct type will ensure that you select the right replacement. Follow these steps to identify the type of flapper:
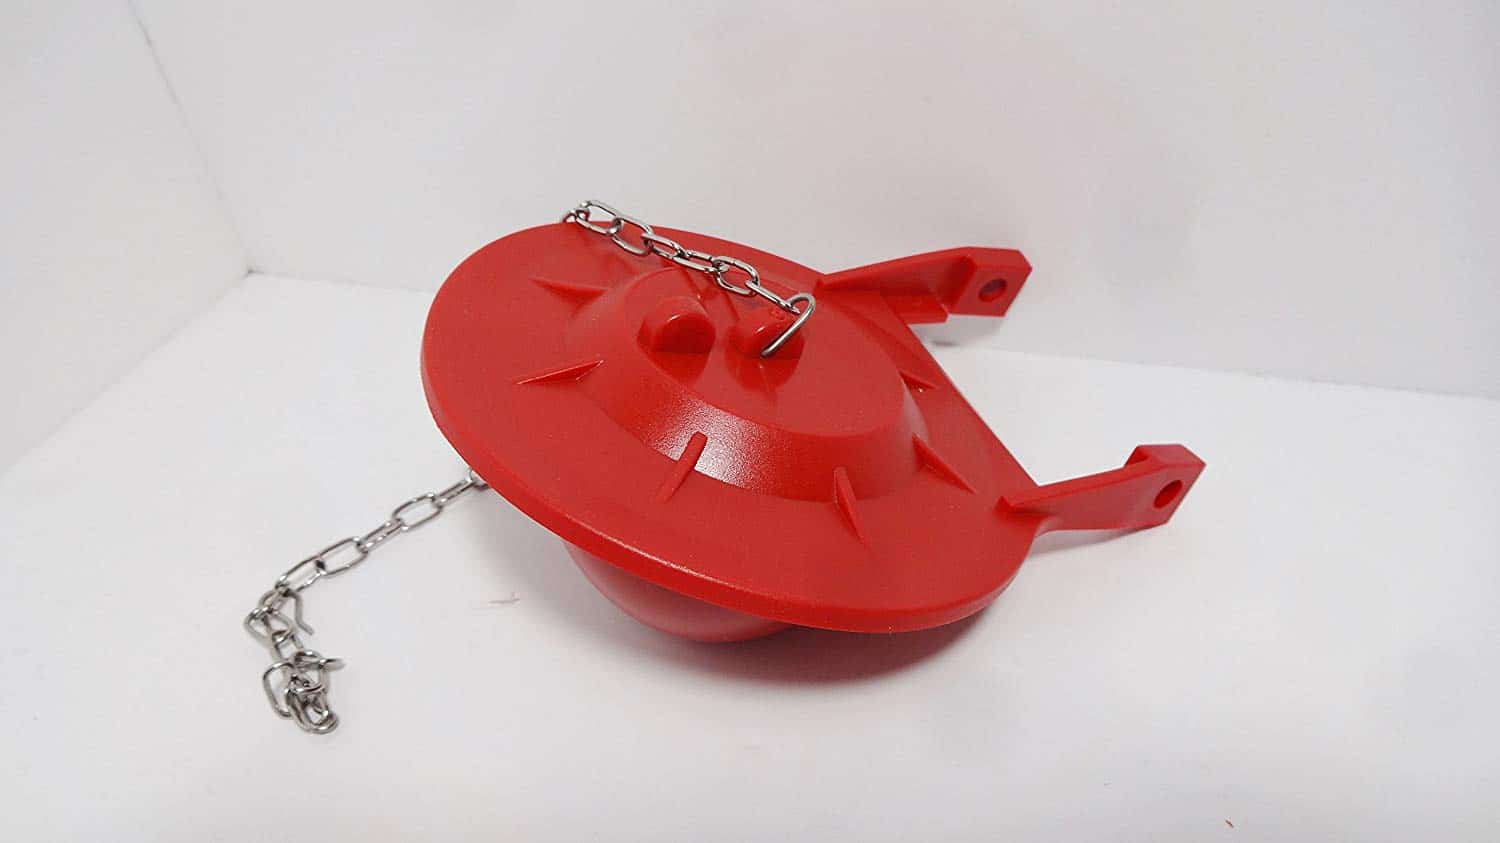
- Observe the current flapper in your toilet tank. Pay attention to its shape, size, and any distinguishing features.
- Take note of the color and material of the flapper. Flappers can be made of rubber, plastic, or other materials.
- Inspect the flapper’s attachment mechanism. It may be connected to the flush valve through a chain, a strap, or other types of connectors.
- Check if there are any additional components or devices connected to the flapper, such as a float or overflow tube.
By carefully examining the existing flapper, you can determine its specific characteristics and select a replacement that matches those specifications. It’s important to find a flapper that fits properly and functions correctly with your American Standard toilet model.
If you have difficulty identifying the type of flapper or if you’re unsure about which replacement to choose, consult your toilet’s user manual or contact a plumbing professional for guidance.
Once you have determined the type of flapper your toilet requires, you’re ready to move on to the next step of disconnecting the chain or strap from the flapper.
Step 5: Disconnect the chain or strap from the flapper
Now that you have identified the type of flapper in your American Standard toilet, it’s time to disconnect the chain or strap that connects the flapper to the flush valve. This step is necessary to remove the old flapper and prepare for the installation of the new one. Follow these steps:
- Locate the chain or strap attached to the flapper. It is usually connected to a small rod or lever on the flush valve.
- Inspect how the chain or strap is attached to the flapper. It may be secured with a small clip, pin, or ring.
- Using your fingers or a pair of pliers, carefully unhook or detach the chain or strap from the flapper attachment point.
- Once detached, set the chain or strap aside to be reconnected later with the new flapper.
It’s important to handle the chain or strap with care to avoid any damage or tangling. Take note of how it was attached to the old flapper so that you can easily reconnect it to the new flapper later.
By disconnecting the chain or strap from the old flapper, you are now ready to remove the old flapper and proceed with the installation of the new one. Proper disconnection ensures a smooth transition and allows for a seamless replacement process.
In the next step, we’ll cover how to remove the old flapper from your American Standard toilet.
When replacing an American Standard toilet flapper, be sure to turn off the water supply to the toilet before starting. This will prevent any water from flowing while you work.
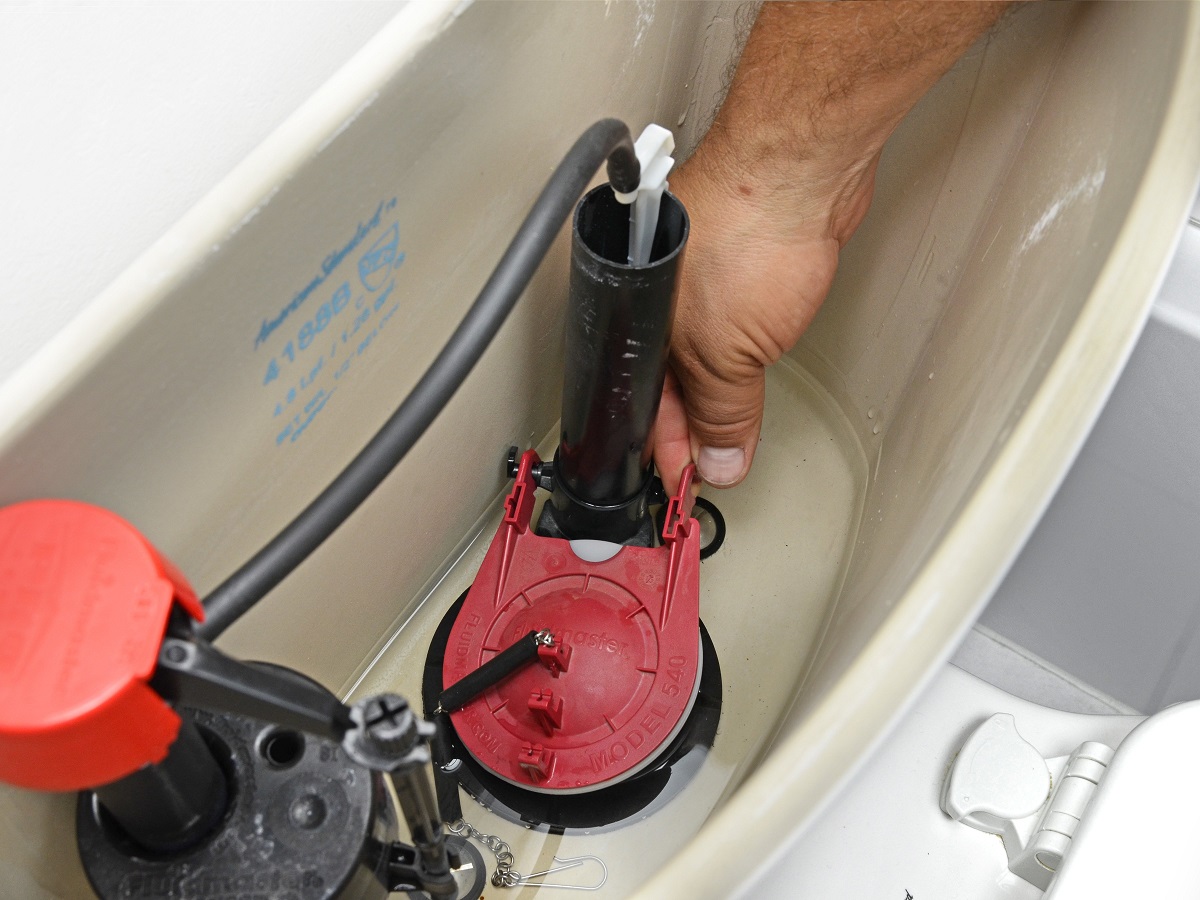
Step 6: Remove the old flapper
Now that you have disconnected the chain or strap from the flapper, it’s time to remove the old flapper from your American Standard toilet. Removing the old flapper is a crucial step in the replacement process, as it allows you to install the new flapper and restore the proper functionality of your toilet. Follow these steps:
- Inspect how the old flapper is attached to the flush valve. It may be secured with a simple plastic or metal hinge mechanism.
- If the flapper is attached with a hinge mechanism, gently lift or unhook the flapper from the hinge to detach it from the flush valve. If the flapper is secured by other means, follow the manufacturer’s instructions for removal.
- Once detached, carefully lift the old flapper out of the flush valve and set it aside for proper disposal.
- Take a moment to inspect the flush valve opening to ensure it is clean and free from any debris or buildup. Use a sponge or cloth to wipe away any residue, if necessary.
Removing the old flapper requires gentle handling to avoid causing any damage to the surrounding components. Take note of how the old flapper was attached to the flush valve, as this will guide you when installing the new flapper.
Properly disposing of the old flapper is important for environmental reasons. Check with your local waste management guidelines on how to dispose of the old flapper correctly.
With the old flapper removed, you’re now ready to install the new flapper in your American Standard toilet. This will be covered in the next step.
Step 7: Install the new flapper
Now that you have removed the old flapper, it’s time to install the new flapper in your American Standard toilet. Installing the new flapper will restore the proper functioning of your toilet and prevent any water leakage. Follow these steps to install the new flapper:
- Take the new flapper out of its packaging and inspect it for any defects or damage.
- Position the new flapper over the flush valve opening, ensuring that it aligns properly.
- If the flapper has a hinge mechanism, secure it onto the hinge by simply pushing or snapping it into place. If it uses a different attachment method, follow the manufacturer’s instructions for proper installation.
- Check that the new flapper sits flat and flush against the flush valve opening, creating a tight seal.
When installing the new flapper, it’s crucial to ensure a proper alignment and secure attachment. A snug fit will prevent any water from seeping out and ensure the efficient flushing of your toilet.
It’s important to note that some new flappers may come with additional components, such as a float or overflow tube. If your new flapper has these extra parts, follow the manufacturer’s instructions to properly position and attach them during the installation process.
With the new flapper installed, you’re one step closer to completing the replacement process. The next step involves reconnecting the chain or strap to the flapper, which will be covered in detail.
Step 8: Reconnect the chain or strap to the flapper
Now that you have successfully installed the new flapper, it’s time to reconnect the chain or strap to the flapper. This step is crucial to ensure proper operation and functionality of the flapper in your American Standard toilet. Follow these steps to reconnect the chain or strap:
- Locate the chain or strap that you previously disconnected from the old flapper.
- Take the chain or strap and attach it to the designated attachment point on the new flapper. This may involve hooking it onto a clip, pin, or ring.
- Ensure that the chain or strap is properly connected and secured to the flapper. It should have some slack, allowing for smooth movement when the toilet is flushed.
Take note of the length of the chain or strap and adjust it if necessary. It should have enough length to allow the flapper to fully open and close during each flush without getting tangled or caught on other components.
Reconnecting the chain or strap ensures that the flapper is effectively controlled and opened when the toilet is flushed. It allows for a smooth and efficient flushing process, preventing any water leakage or improper operation.
With the chain or strap securely attached to the new flapper, you’re ready to move on to the next step and test the functionality of the newly installed flapper.
Step 9: Test the new flapper
Now that you have reconnected the chain or strap to the new flapper, it’s time to test the functionality of the newly installed flapper in your American Standard toilet. Testing the flapper is essential to ensure that it seals properly and functions correctly during each flush. Follow these steps to test the new flapper:
- Turn on the water supply to the toilet by turning the shut-off valve counterclockwise (or to the left).
- Allow the tank to fill up with water. You will hear the sound of water flowing into the tank, indicating that the water supply has been restored.
- Observe the new flapper and ensure that it remains closed, creating a watertight seal. There should be no water trickling into the bowl.
- Flush the toilet by pressing the flush handle or button. Observe the new flapper as it lifts and allows the water to flow from the tank into the bowl.
- After flushing, observe the flapper as it closes tightly, sealing off the flow of water. There should be no water continuously running into the bowl.
During the testing process, pay close attention to any signs of water leakage or improper sealing of the flapper. If you notice any issues, adjust the chain or strap length accordingly to ensure proper function and a watertight seal.
If the new flapper passes the testing phase with no leakage and operates smoothly, congratulations! You have successfully replaced the American Standard toilet flapper. However, if you encounter any issues or water continues to leak, consider consulting a professional plumber for further assistance.
With the new flapper installed and tested, you’re ready to move on to the final step: adjusting the flapper if necessary.
Step 10: Adjust the flapper, if necessary
After testing the functionality of the newly installed flapper in your American Standard toilet, you may find that some adjustments are needed to ensure optimal performance. Fine-tuning the flapper can help prevent water leakage, maintain a proper seal, and improve the overall flushing efficiency. Follow these steps to adjust the flapper, if necessary:
- Observe the flapper during a flush and note its behavior. Pay attention to the speed at which it closes and the angle at which it rests when closed.
- If the flapper is closing too slowly, causing prolonged water flow, adjust the chain or strap length to create a quicker and more decisive closure.
- If the flapper is closing too forcefully, resulting in a loud noise or potential splashing, adjust the chain or strap length to allow for a more gradual and controlled closure.
- If the flapper is not sealing properly, leading to water leakage into the bowl, adjust the chain or strap length to ensure a tighter seal when closed.
- Test the flapper after each adjustment by flushing the toilet and observing its behavior. Continue to make slight adjustments until you achieve the desired performance.
By making these adjustments, you can optimize the function of the flapper and fine-tune it to suit your specific toilet’s needs. Remember, small modifications to the chain or strap length can make a significant difference in the flapper’s operation and prevent any water-related issues.
It’s important to note that the adjustment process may require a bit of trial and error. Be patient and persist in finding the perfect balance for your flapper to ensure efficient flushing and a watertight seal.
With the new flapper adjusted to the desired specifications, you have completed the process of replacing and adjusting the American Standard toilet flapper. Enjoy the restored functionality and water-saving benefits of your properly functioning toilet!
Conclusion
Replacing the American Standard toilet flapper is a relatively simple and cost-effective DIY project that can save you money on water bills and prevent water wastage. By following the step-by-step guide outlined in this article, you can successfully replace a faulty flapper and restore the proper functioning of your toilet.
The process begins with gathering the necessary tools and materials, including a new American Standard toilet flapper, adjustable wrench or pliers, sponge or towel, and a bucket or container. With these items at hand, you can proceed to shut off the water supply and remove the tank lid, allowing you to access the flapper.
Identifying the type of flapper you have is crucial before proceeding with the replacement. Carefully disconnecting the chain or strap from the old flapper will enable you to remove the old flapper and prepare for the installation of the new one.
Installing the new flapper is a straightforward process, followed by reconnecting the chain or strap. Once everything is securely in place, it’s important to test the new flapper for proper functionality, ensuring a tight seal and efficient flushing.
If necessary, make adjustments to the flapper to optimize its performance, allowing for a quicker or more gradual closure and a tighter seal. Fine-tuning the flapper will result in improved efficiency and prevent water leakage.
In conclusion, replacing the American Standard toilet flapper is a DIY project that can be easily accomplished with the right tools and a little bit of patience. By following the steps outlined in this guide, you can solve water leakage issues and restore the proper functioning of your toilet, saving water and money in the process.
Remember, if you encounter any difficulties or are unsure about any step of the process, it’s always advisable to consult a professional plumber for assistance.
Excited about tackling more home improvement projects? If fixing your toilet sparked an interest, dive into our guide on toilet repair, perfect for keeping your bathroom in top shape. Or maybe it's time to upgrade with a stylish American Standard toilet seat, ensuring comfort and durability. And for those who've just swapped out a flapper, why not check out our recommendations for the best flapper replacements to ensure your repairs last? Each guide offers practical advice and smart solutions for your home.
Frequently Asked Questions about How To Replace American Standard Toilet Flapper
Was this page helpful?
At Storables.com, we guarantee accurate and reliable information. Our content, validated by Expert Board Contributors, is crafted following stringent Editorial Policies. We're committed to providing you with well-researched, expert-backed insights for all your informational needs.


0 thoughts on “How To Replace American Standard Toilet Flapper”