

Articles
How To Replace Window Glass Quickly
Modified: February 6, 2024
Learn how to replace window glass quickly with our informative articles. Find step-by-step guides, tips, and tricks for a hassle-free glass replacement.
(Many of the links in this article redirect to a specific reviewed product. Your purchase of these products through affiliate links helps to generate commission for Storables.com, at no extra cost. Learn more)
Introduction
Replacing window glass can be a daunting task, especially if you’ve never done it before. However, with the right tools and some step-by-step guidance, you can quickly and easily replace window glass in no time. Whether you have a broken window or you simply want to upgrade to a more energy-efficient glass, this article will guide you through the process.
Before we jump into the steps, it’s important to mention that safety should be your top priority. Make sure to wear protective gloves and goggles to prevent any injuries. Additionally, if you’re not comfortable with handling glass or using power tools, it’s always best to seek professional help.
Now that we have our safety measures in place, let’s dive into the step-by-step process of replacing window glass.
Key Takeaways:
- Replacing window glass is a manageable DIY project with the right tools and guidance. Prioritize safety, gather materials, follow step-by-step instructions, and enjoy the benefits of a beautifully functioning window.
- Properly replacing window glass improves energy efficiency, enhances home aesthetics, and ensures window longevity. Regular maintenance and care prevent future issues and extend window lifespan.
Read more: How To Replace Window Glass In Vinyl Frame
Step 1: Gather the necessary tools and materials
Before you begin the window glass replacement process, it’s crucial to gather all the necessary tools and materials. Having everything you need at hand will make the entire process smoother and more efficient. Here are the tools and materials you’ll need:
- Gloves and goggles – to protect your hands and eyes
- Tape measure – for accurate measurements
- Glass cutter – to cut the replacement glass to the correct size
- Putty knife – for removing old putty or caulk from the window frame
- Glazier’s points – to secure the glass in the frame
- Glazing compound or silicone caulk – to seal the glass in the frame
- Hammer – for driving in the glazier’s points
- Plastic shims – for leveling the glass in the frame
- Window cleaner – to clean the new glass before installation
- Lint-free cloth or newspaper – for wiping down the glass
Once you have gathered all the necessary tools and materials, you’ll be well-prepared to move on to the next step of the window glass replacement process.
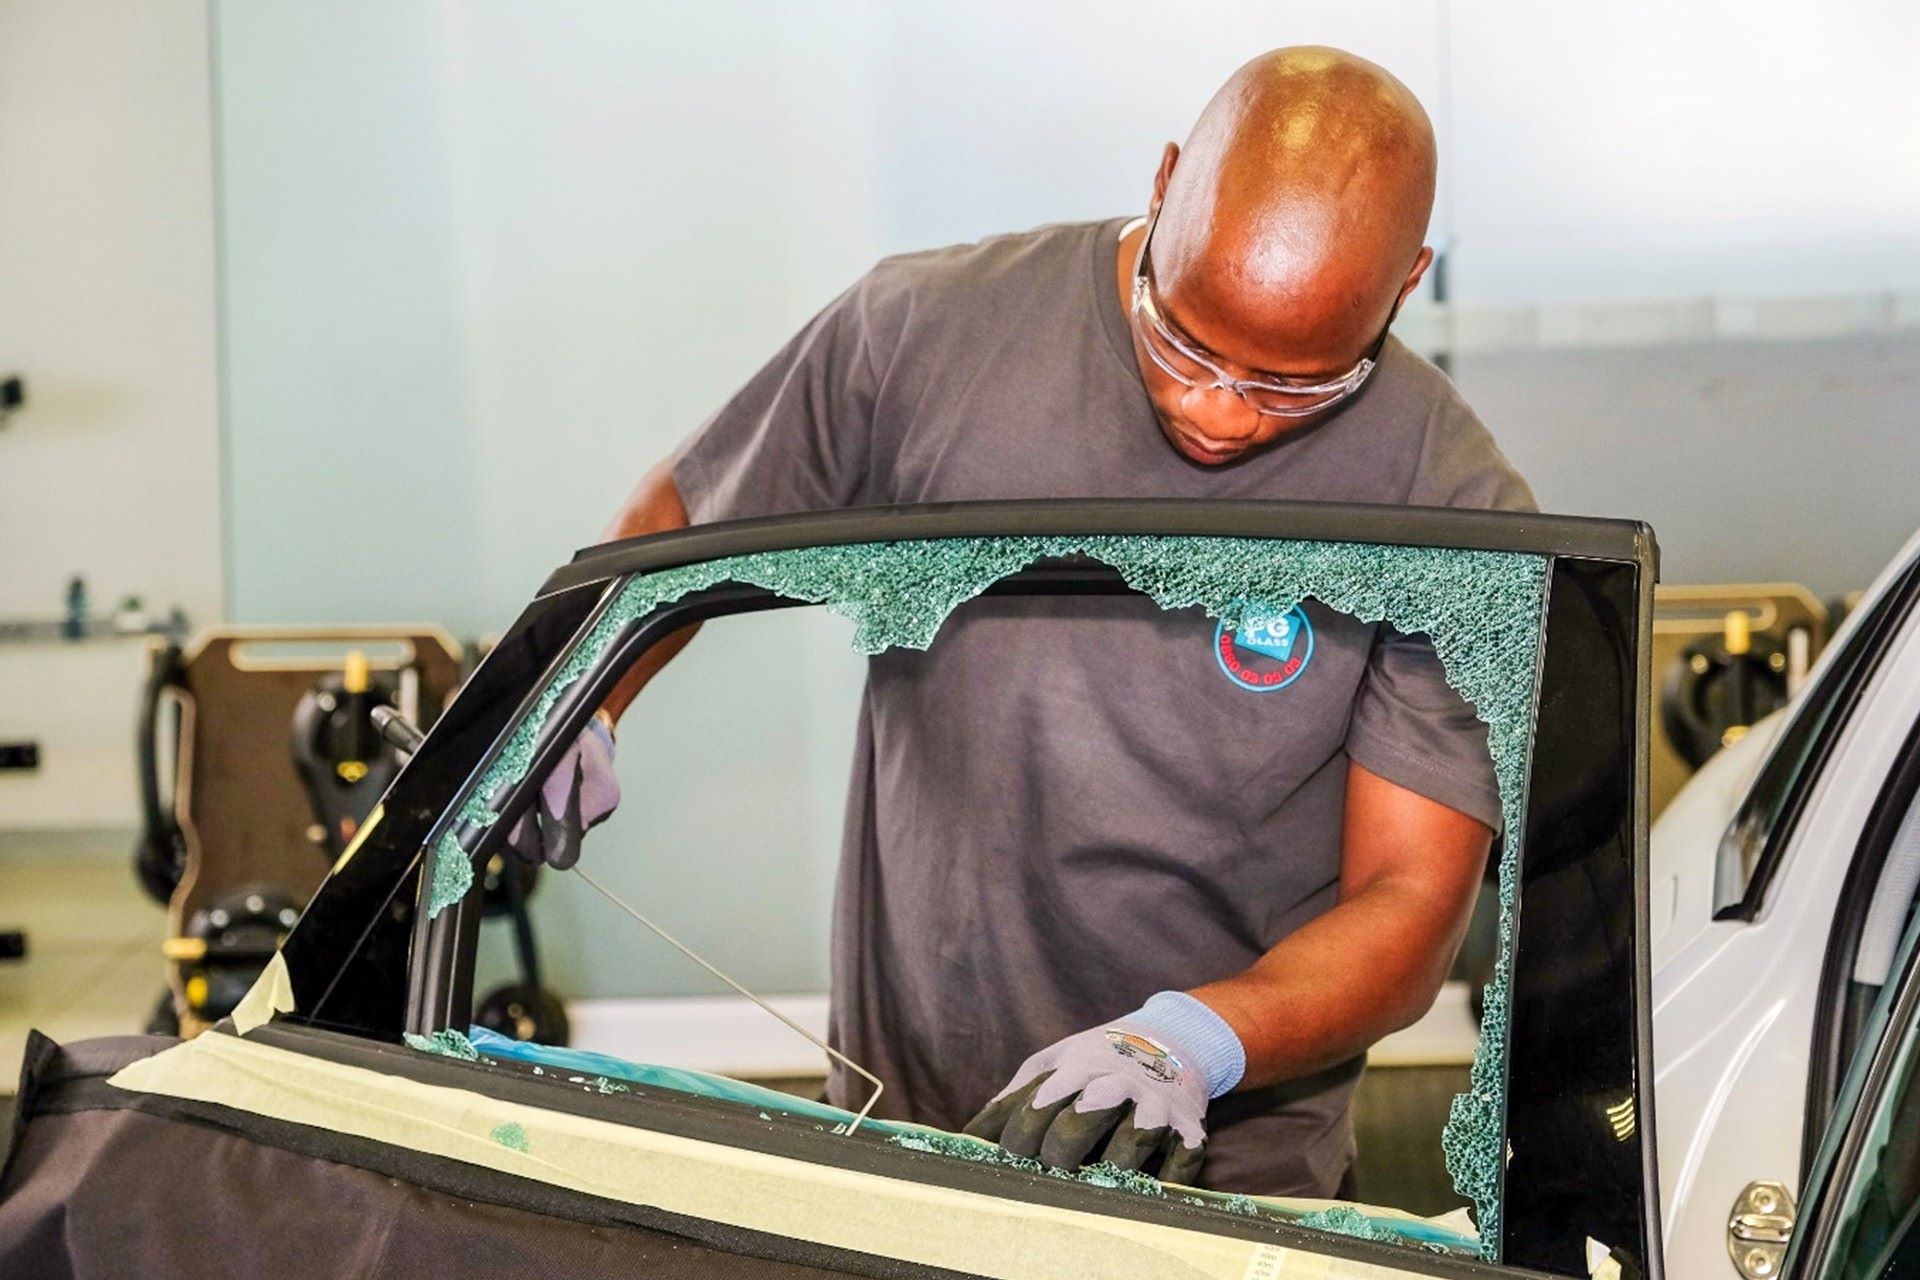
Step 2: Remove the broken window glass
With your tools and materials ready, it’s time to remove the broken window glass. Follow these steps:
- Put on your gloves and goggles for protection.
- Carefully remove any remaining glass shards from the window frame using gloved hands or a putty knife. Be cautious not to injure yourself in the process.
- Once the glass shards are cleared, inspect the frame for any remaining fragments or debris. Use a vacuum or brush to remove any small pieces.
- Next, use a putty knife to scrape away the old putty or caulk from around the window frame. Be gentle to avoid damaging the frame.
- Some window frames may have glazier’s points securing the glass. Use pliers or a hammer to remove these points.
- If your window has a removable sash, carefully detach it by unscrewing or releasing any clips or latches.
- Once the sash is removed, you can easily access the broken glass. Take a firm grip on the glass and carefully pull it out of the frame.
- Dispose of the broken glass safely in a designated glass disposal container.
By following these steps, you’ll successfully remove the broken window glass and prepare the window frame for the installation of the new glass.
Step 3: Prepare the window frame
After removing the broken window glass, it’s important to properly prepare the window frame before installing the new glass. Follow these steps:
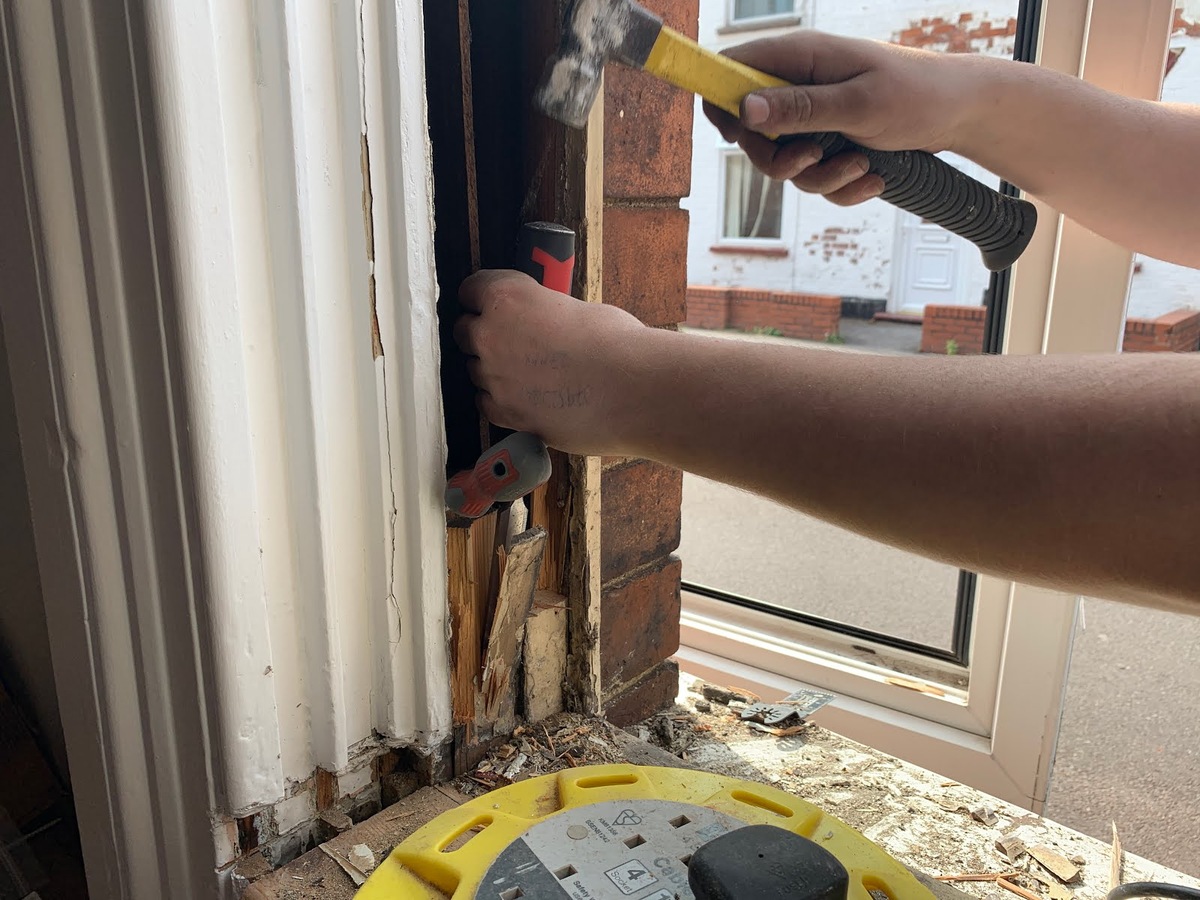
- Inspect the window frame for any damage or signs of decay. If you notice any issues, such as rot or termite damage, it may be necessary to repair or replace the frame before proceeding.
- Using a putty knife or scraper, remove any remaining traces of old putty or caulk from the window frame. Make sure to clean out any debris or loose particles.
- If the frame has any cracked or damaged wood, use wood filler to repair the areas. Allow sufficient time for the filler to dry and sand it smooth.
- Check that the window frame is plumb and level. Use shims as needed to adjust the frame and ensure a proper fit for the new glass.
- If necessary, apply a coat of primer to the repaired or exposed wood areas to protect against moisture and promote better adhesion.
- Inspect the glazing rebate, which is the groove where the glass will sit. Remove any dirt or debris using a brush or vacuum cleaner.
- Apply a thin layer of linseed oil to the glazing rebate to improve the adhesion of the glazing compound.
By properly preparing the window frame, you’ll create a clean and stable base for installing the new glass. This step is essential for ensuring a secure and durable window glass replacement.
Step 4: Measure and cut the replacement glass
With the window frame prepared, it’s time to measure and cut the replacement glass to ensure a proper fit. Follow these steps:
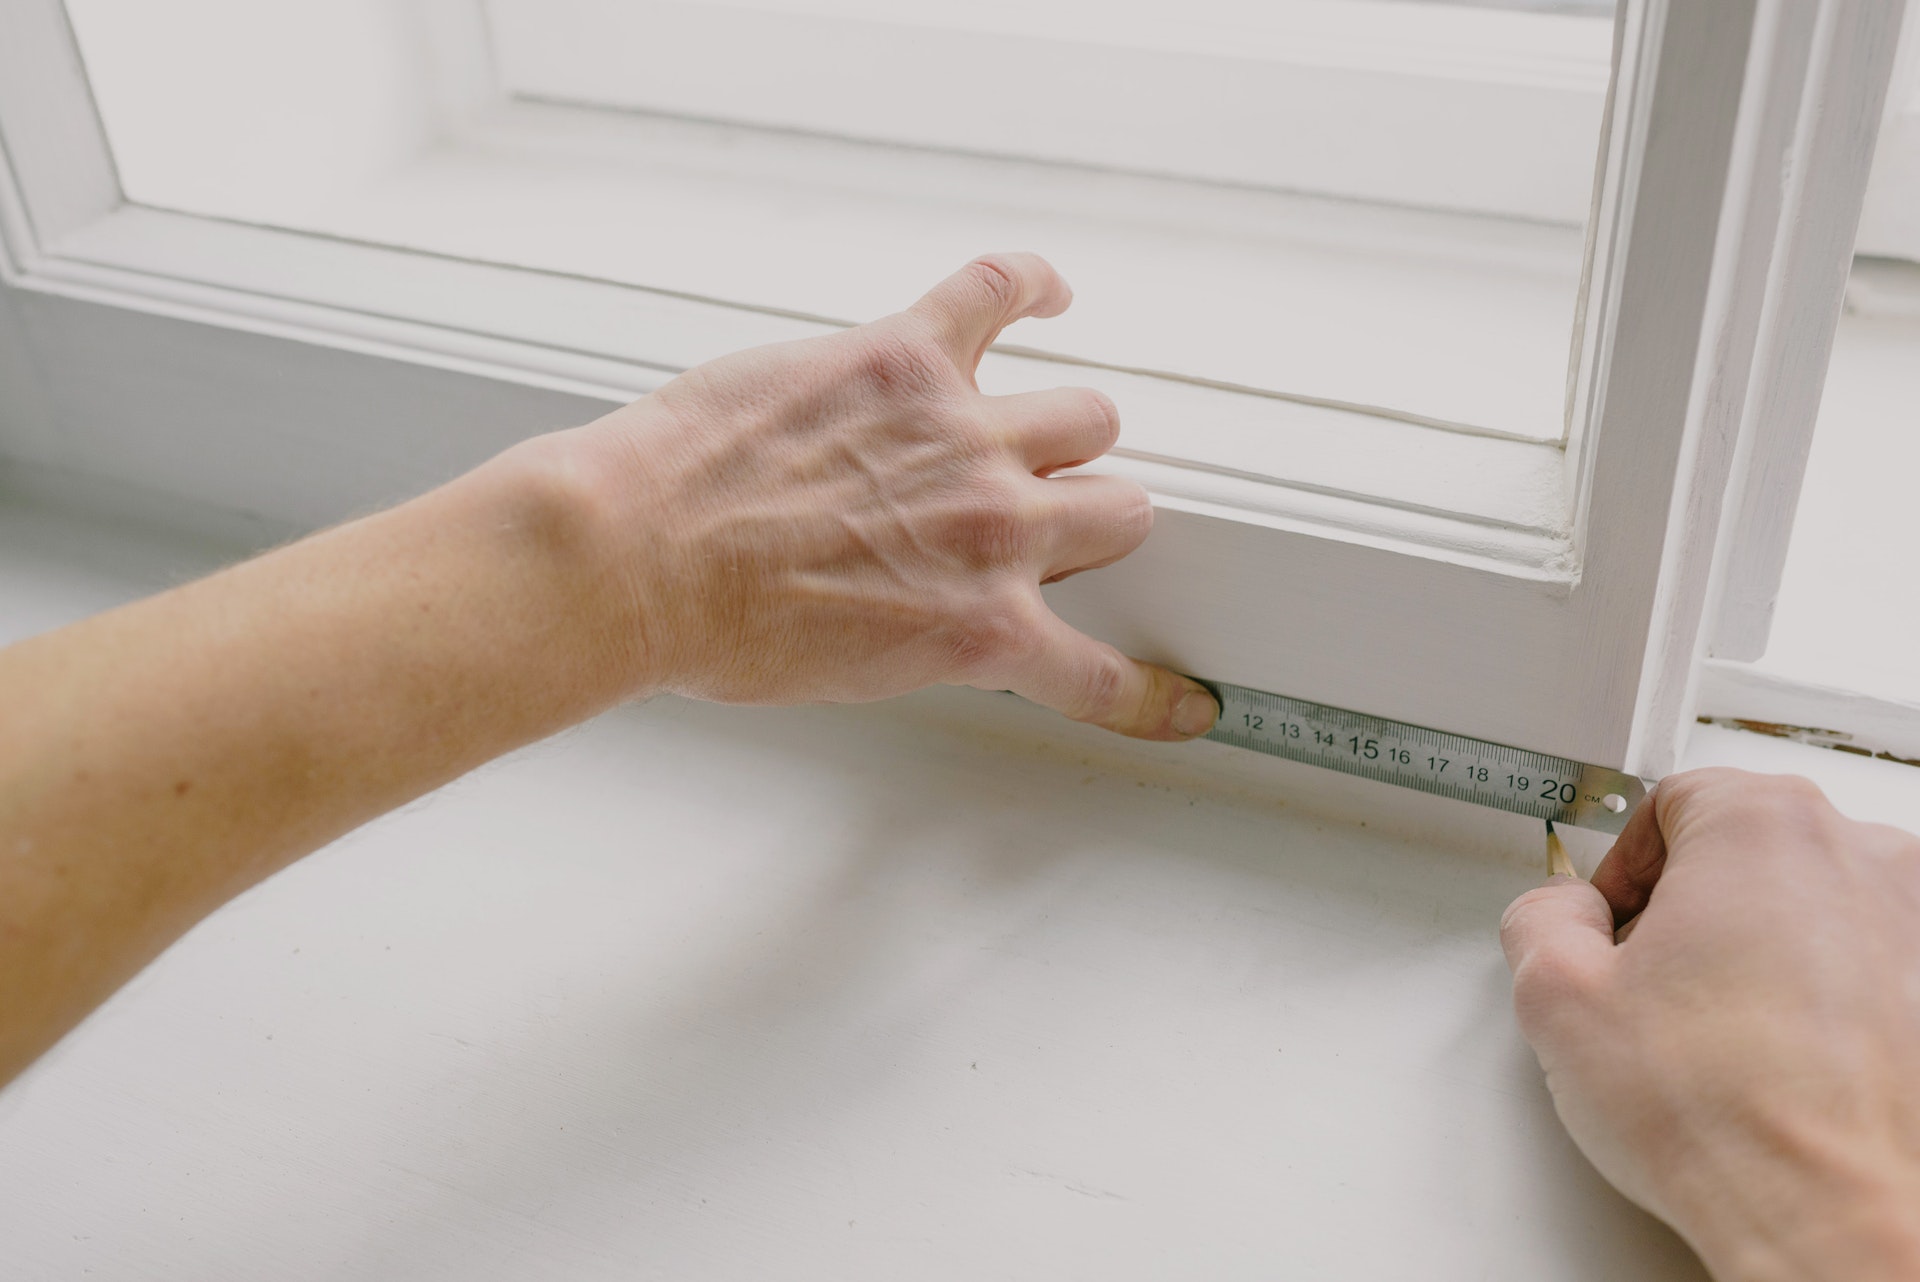
- Start by measuring the opening of the window frame. Measure the width and height at multiple points to account for any irregularities.
- Subtract a small fraction of an inch from both the width and height measurements. This will allow for a slight gap that allows the glass to expand and contract with temperature changes.
- Using a tape measure, transfer the adjusted measurements to the replacement glass. Mark the glass using a pencil or a grease pencil.
- Ensure your glass cutter is sharp and in good condition. Place a straightedge along the marked lines and carefully score the glass using firm, even pressure.
- Once the glass is scored, carefully break it along the score line. Use pliers or running pliers to grip the glass on both sides of the scored line and apply gentle pressure to snap it apart.
- After the glass is cut to the proper size, double-check the fit by placing it into the window frame. It should fit snugly with a slight gap for expansion and contraction.
- If the glass is too large, trim it down using a glass grinder or a straight-edge and a carbide wheel glass cutter.
- Be sure to wear gloves and eye protection when handling the cut glass to avoid injuries from sharp edges.
By accurately measuring and cutting the replacement glass, you’ll ensure a precise fit that allows for proper functionality and a professional-looking window glass replacement.
When replacing window glass quickly, make sure to measure the dimensions accurately before purchasing the new glass. This will ensure a seamless and efficient replacement process.
Step 5: Install the new glass into the window frame
Now that you have the replacement glass cut to the correct size, it’s time to install it into the window frame. Follow these steps:
- Apply a thin, even layer of glazing compound or silicone caulk to the glazing rebate of the window frame. This will act as a sealant and help hold the glass in place.
- Carefully place the new glass into the window frame, ensuring that it fits snugly into the glazing compound or caulk.
- Use glazier’s points to secure the glass in place. Place the points about 6 to 8 inches apart along the edge of the glass, using a hammer to gently tap them into the frame.
- If the window has multiple panes, repeat the process for each pane, making sure to properly align them within the frame.
- Check that the glass is level and properly positioned within the frame. Adjust as necessary using shims to create an even and balanced installation.
- Once the glass is securely in place, use a putty knife to apply additional glazing compound or caulk around the edges of the glass. Smooth it out for a clean and professional finish.
- Allow the glazing compound or caulk to dry according to the manufacturer’s instructions.
By following these steps, you’ll successfully install the new glass into the window frame, creating a secure and weatherproof seal.
Step 6: Seal the window frame
After installing the new glass, it’s essential to seal the window frame to ensure proper insulation and protection against the elements. Follow these steps to seal the window frame:
- Inspect the edges of the window frame to ensure there are no gaps or cracks.
- Using a caulk gun, apply a bead of silicone caulk along the edges where the window frame meets the wall or siding. This will create a watertight seal and prevent any drafts.
- Smooth the caulk with a caulk smoothing tool or your finger to ensure a clean and neat finish.
- Check for any gaps or areas that may need additional caulk. Fill in any remaining gaps and smooth the caulk again.
- If the window frame requires painting, make sure to select a high-quality exterior paint that is suitable for the material of the frame. Apply the paint according to the manufacturer’s instructions, allowing sufficient time to dry between coats.
- Inspect the window frame and ensure that the sealant and paint are fully cured and dry before proceeding.
By properly sealing the window frame, you’ll improve energy efficiency, reduce drafts, and protect the window glass from moisture and damage.
Step 7: Test and clean the new window glass
With the window glass installed and the frame sealed, it’s time to test and clean the new glass to ensure it’s in proper working condition and looks its best. Follow these steps:
- Carefully open and close the window to test its functionality. Check for any stiffness or resistance that may indicate the need for adjustments.
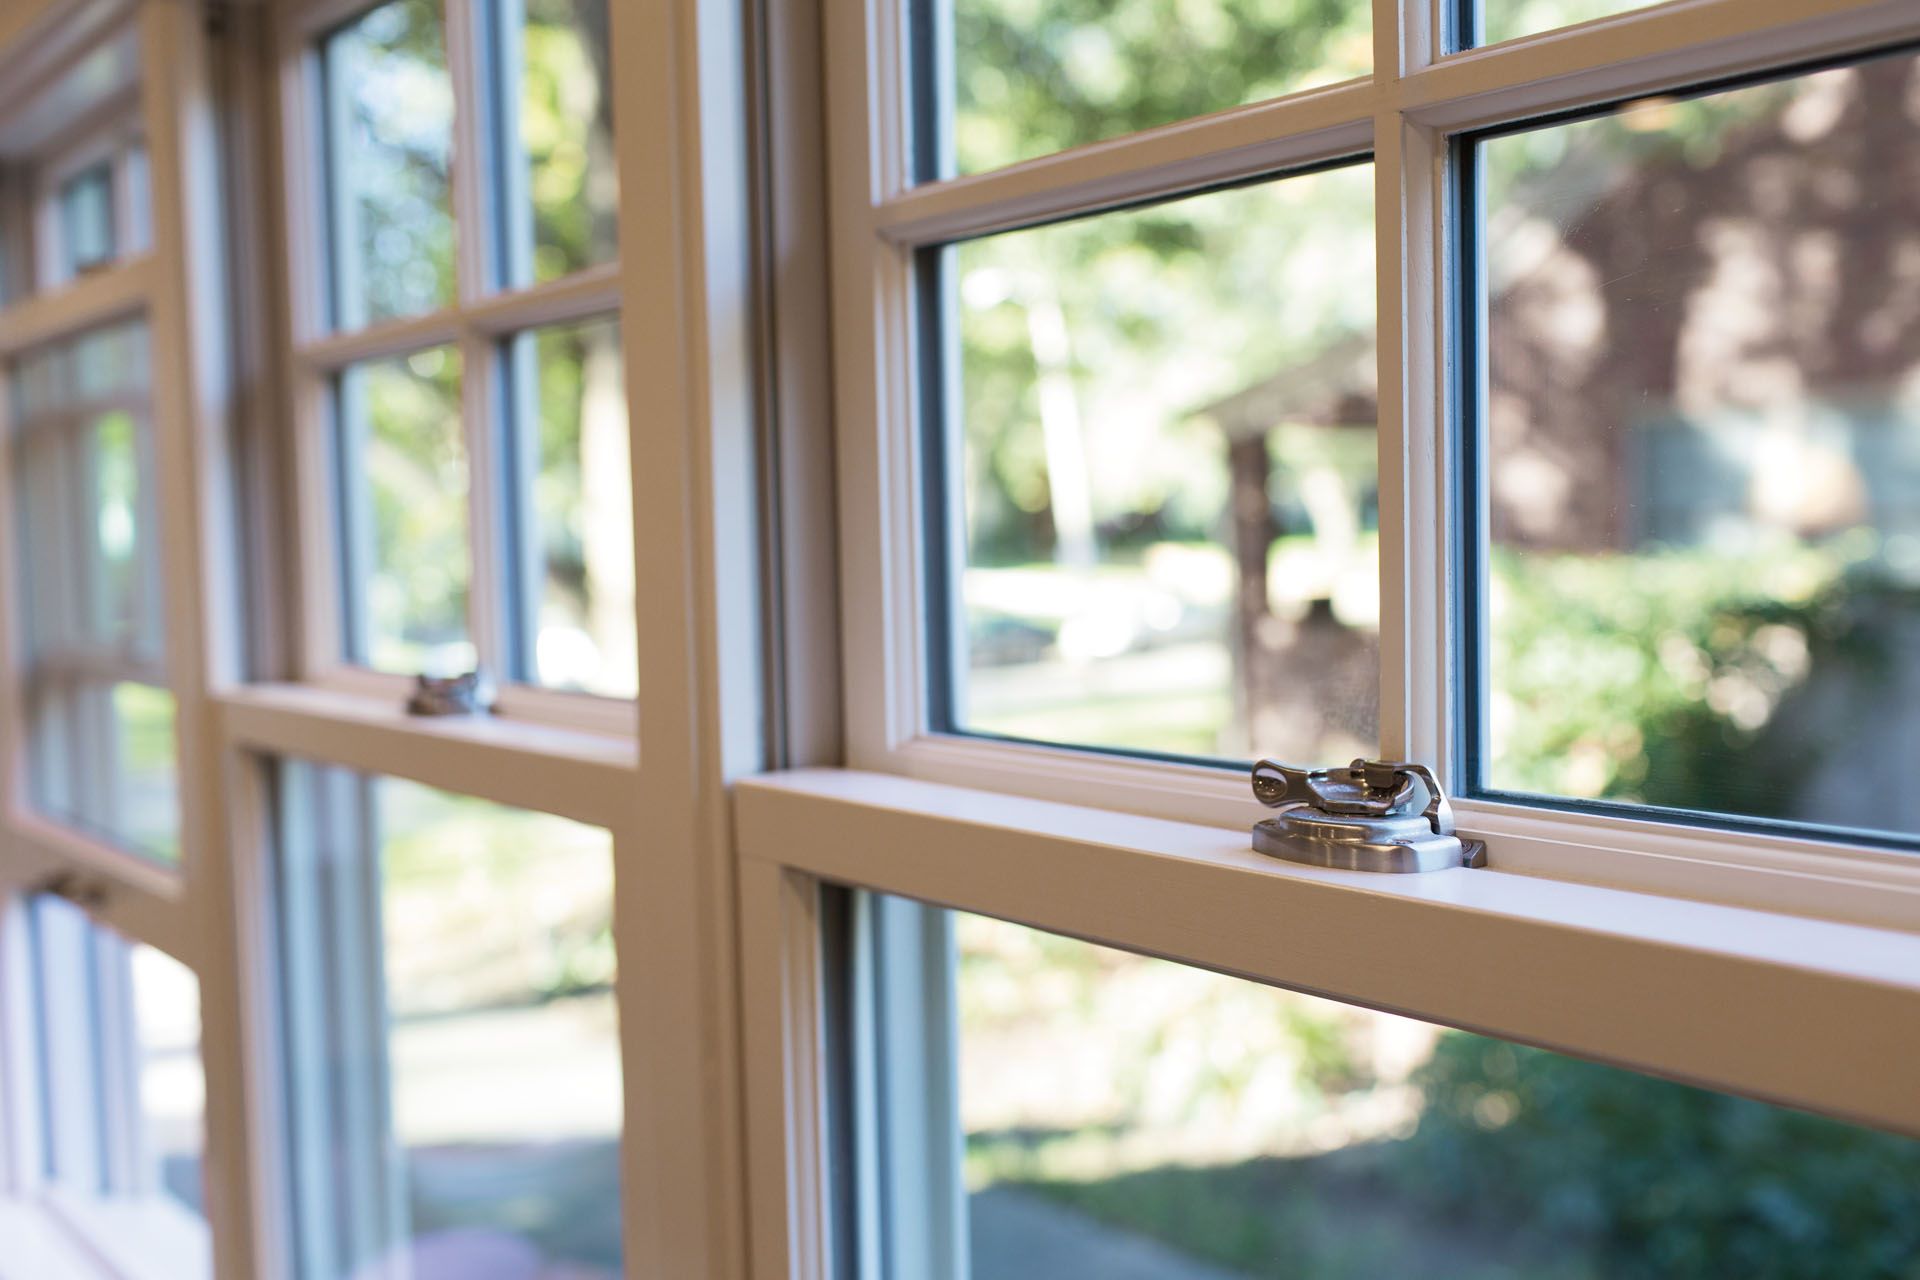
- If the window has a locking mechanism, make sure it properly engages and secures the window in place.
- Inspect the window to ensure there are no gaps or drafts around the edges. If you notice any leaks, apply additional caulk or weatherstripping to seal the gaps.
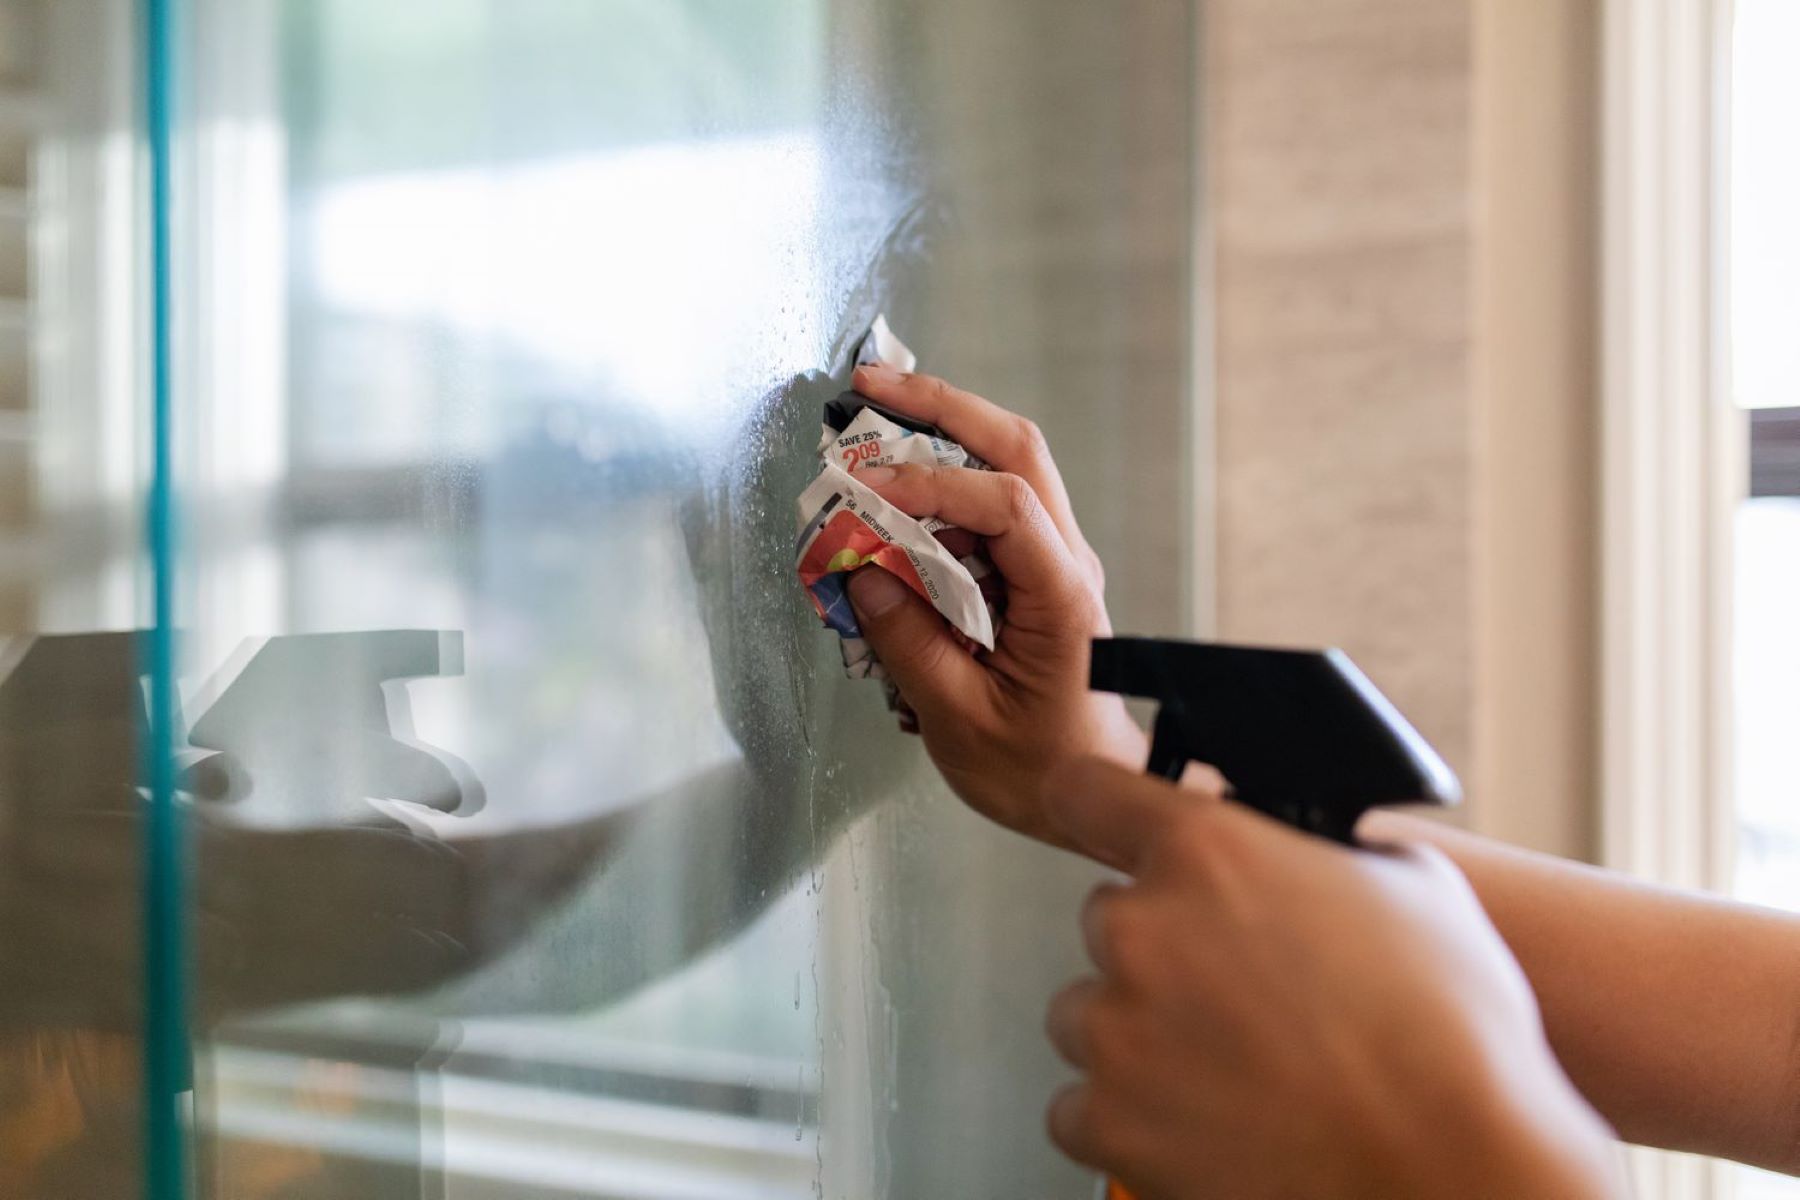
- Give the new glass a thorough cleaning. Use a window cleaner or a mixture of mild soap and water to clean both sides of the glass.
- Wipe the glass dry with a lint-free cloth or use newspaper to prevent streaks.
- If there are any stubborn spots or residue on the glass, you can use a glass cleaner and a non-abrasive sponge to gently scrub the area.
- Once the glass is clean and dry, take a step back and admire your newly replaced window glass!
By testing and cleaning the new window glass, you’ll ensure that it functions properly and looks crystal clear, enhancing the overall appearance and functionality of your window.
Conclusion
Replacing window glass may seem like a daunting task, but with the right tools, materials, and step-by-step guidance, it can be a manageable project to undertake. By following the steps outlined in this article, you can quickly and efficiently replace window glass and restore the beauty and functionality of your windows.
Remember to prioritize safety by wearing protective gear and exercising caution when handling glass and using tools. If you’re unsure or uncomfortable with any aspect of the process, it’s always best to seek professional assistance.
Gathering the necessary tools and materials, removing the broken window glass, preparing the window frame, measuring and cutting the replacement glass, installing the new glass, sealing the window frame, and testing and cleaning the glass are all critical steps in the window glass replacement process.
By taking the time to properly replace your window glass, you can improve energy efficiency, enhance the aesthetics of your home, and ensure the longevity of your windows. Regular maintenance and care will also help prevent future issues and extend the lifespan of your windows.
With the knowledge and confidence gained from this article, you can now tackle window glass replacement and enjoy the benefits of a beautifully functioning window in your home.
Frequently Asked Questions about How To Replace Window Glass Quickly
Was this page helpful?
At Storables.com, we guarantee accurate and reliable information. Our content, validated by Expert Board Contributors, is crafted following stringent Editorial Policies. We're committed to providing you with well-researched, expert-backed insights for all your informational needs.



0 thoughts on “How To Replace Window Glass Quickly”