Home>Furniture & Design>Interior Design Trends>How To Replace Sunroof Glass
Interior Design Trends
How To Replace Sunroof Glass
Modified: February 18, 2024
Learn how to replace sunroof glass and stay updated on the latest interior design trends. Get expert tips and ideas for a stylish and functional space.
(Many of the links in this article redirect to a specific reviewed product. Your purchase of these products through affiliate links helps to generate commission for Storables.com, at no extra cost. Learn more)
Introduction
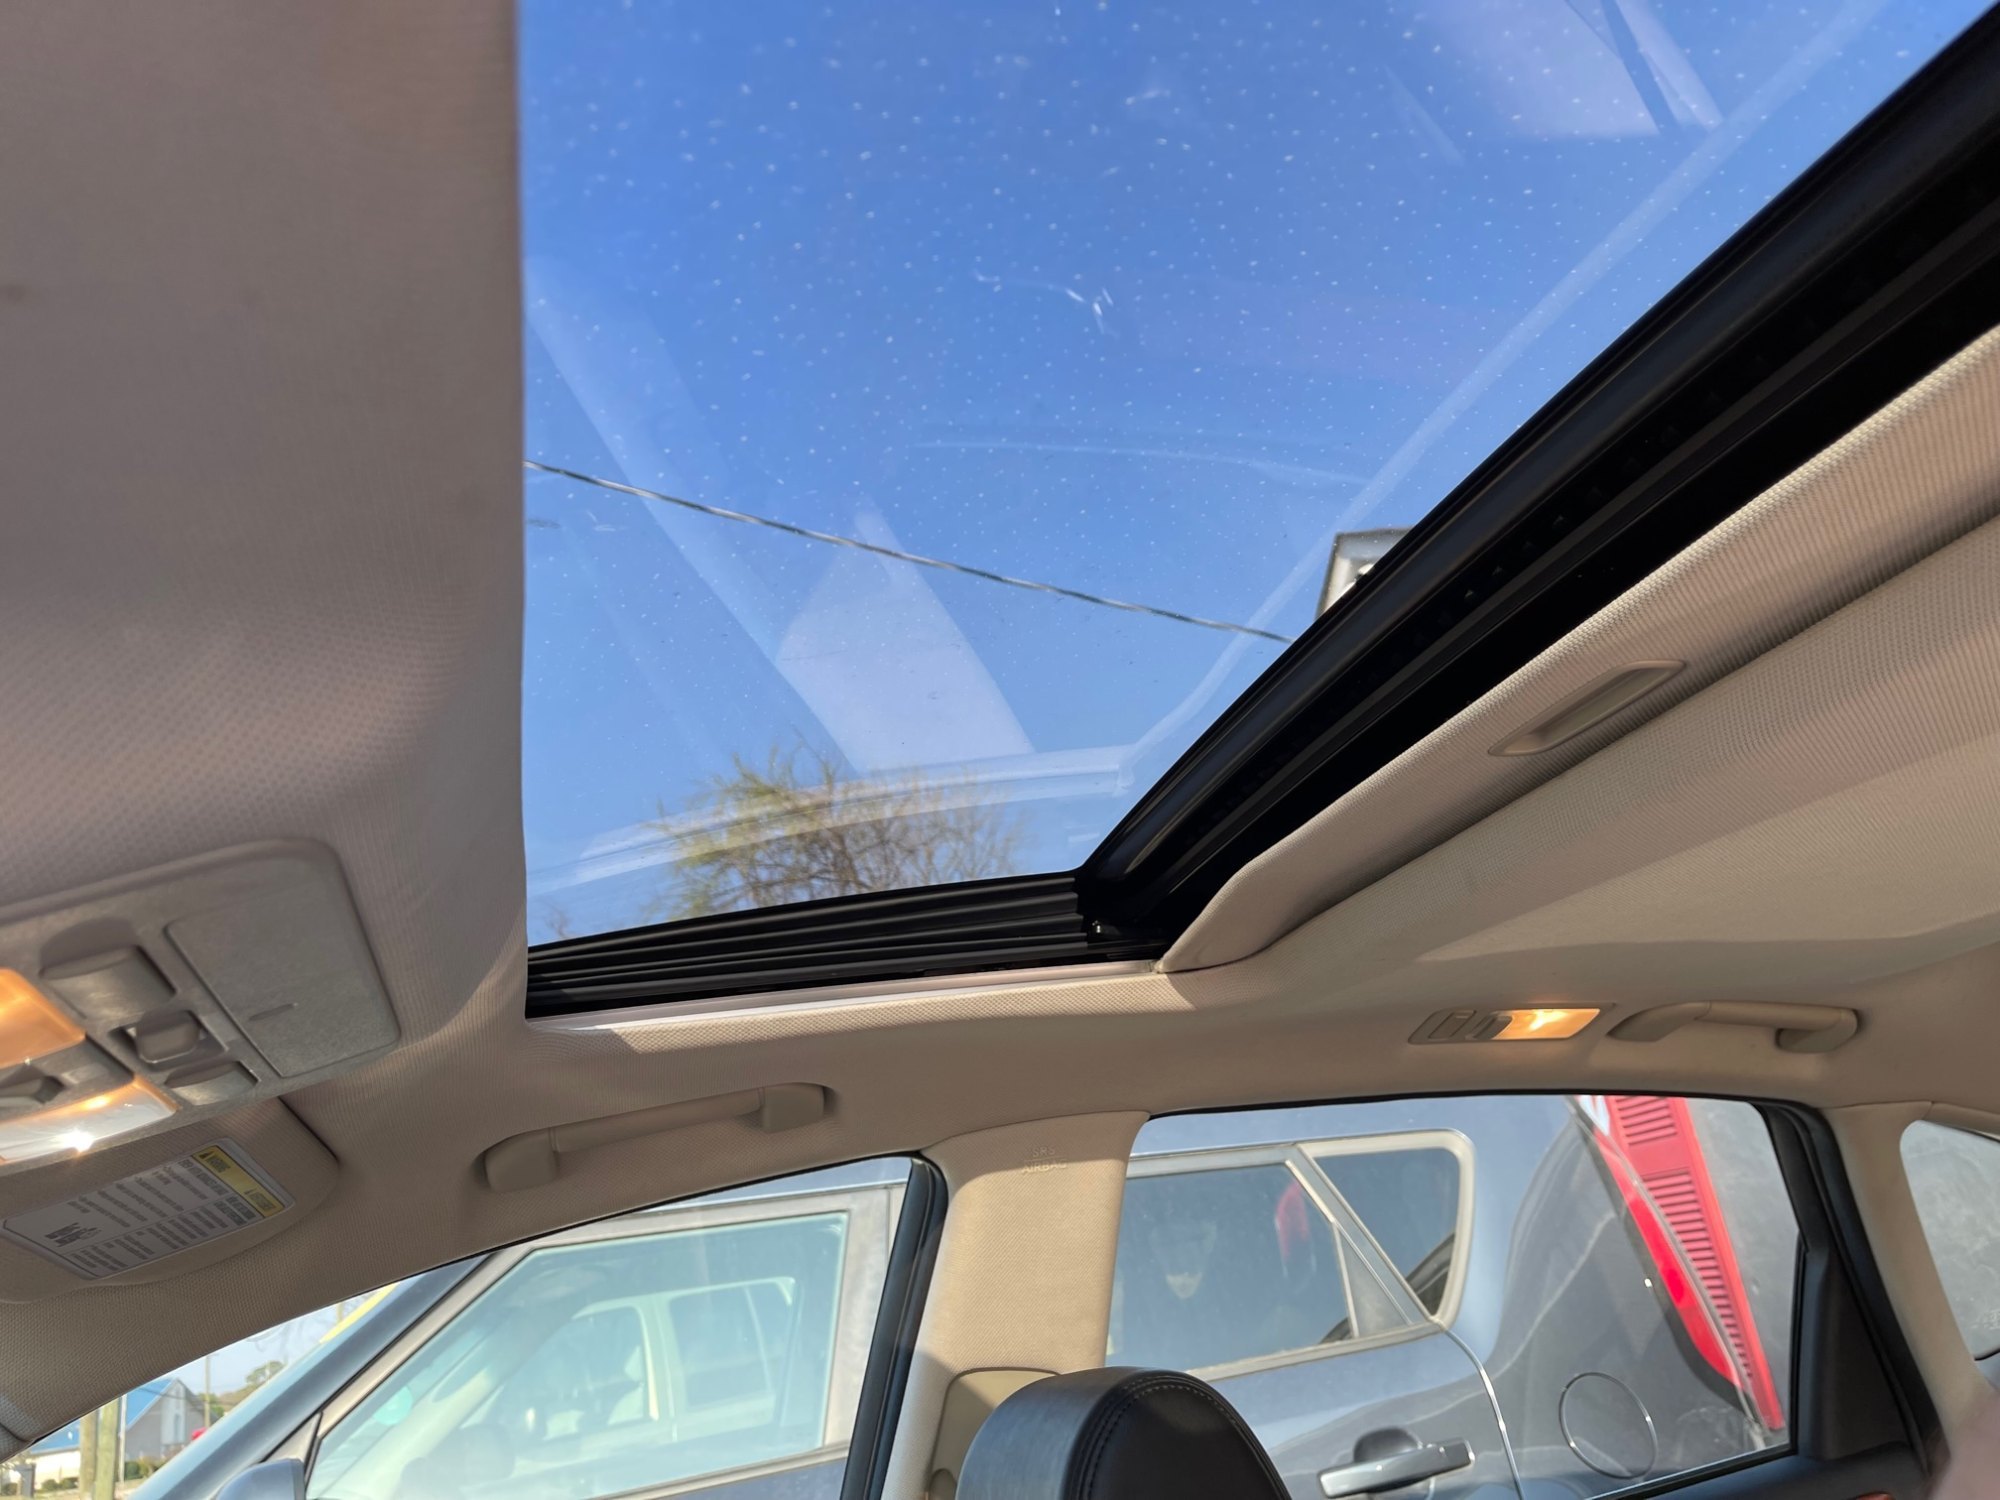
Replacing the sunroof glass in your vehicle can seem like a daunting task, but with the right tools, materials, and guidance, it can be a manageable and rewarding project. Whether your sunroof glass has been damaged or you simply want to upgrade to a new, more modern style, this step-by-step guide will walk you through the process, ensuring that you can enjoy a fully functional and aesthetically pleasing sunroof once again.
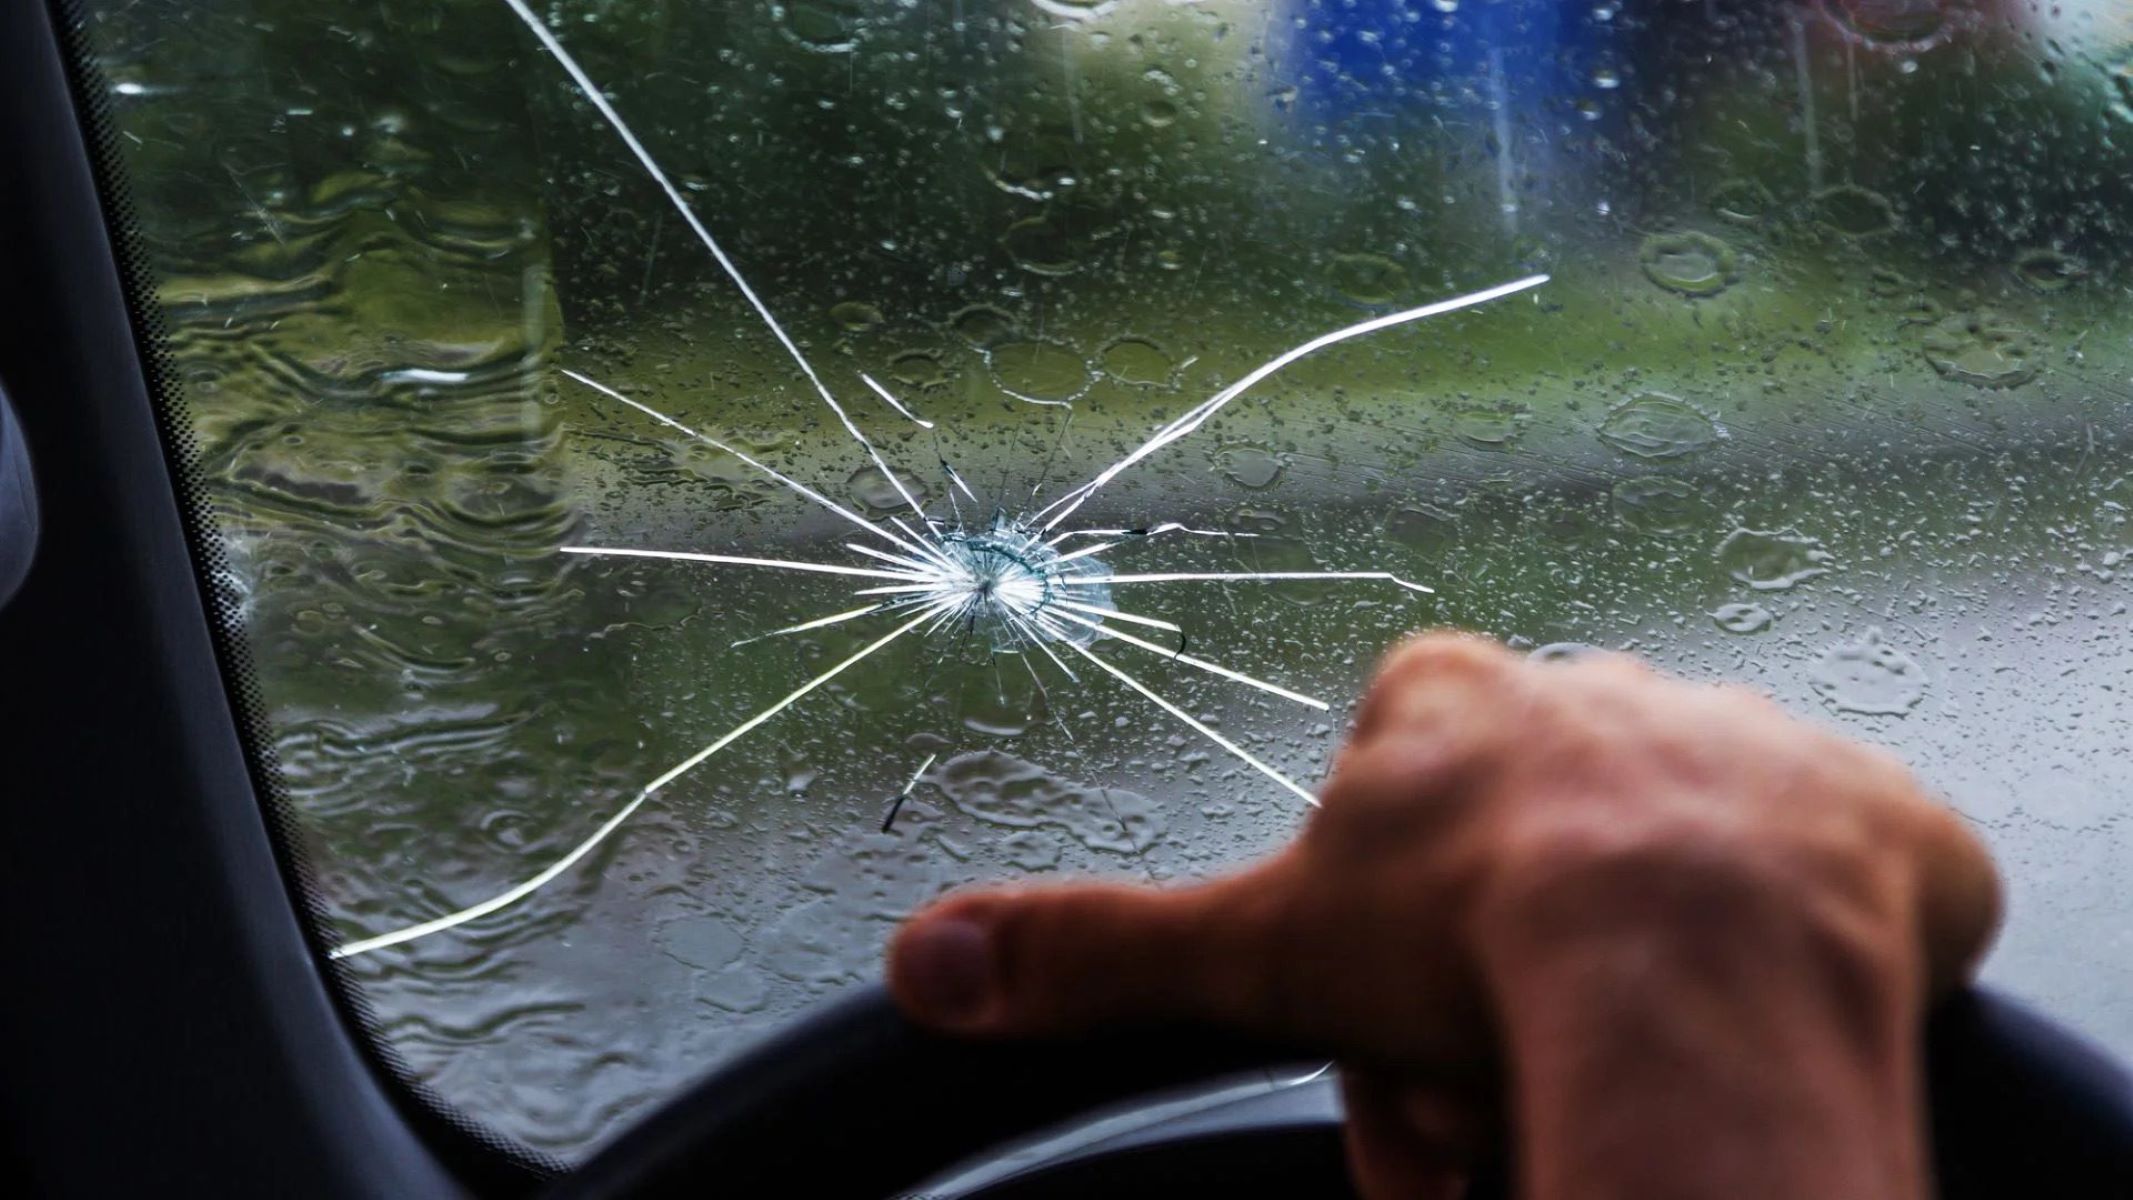
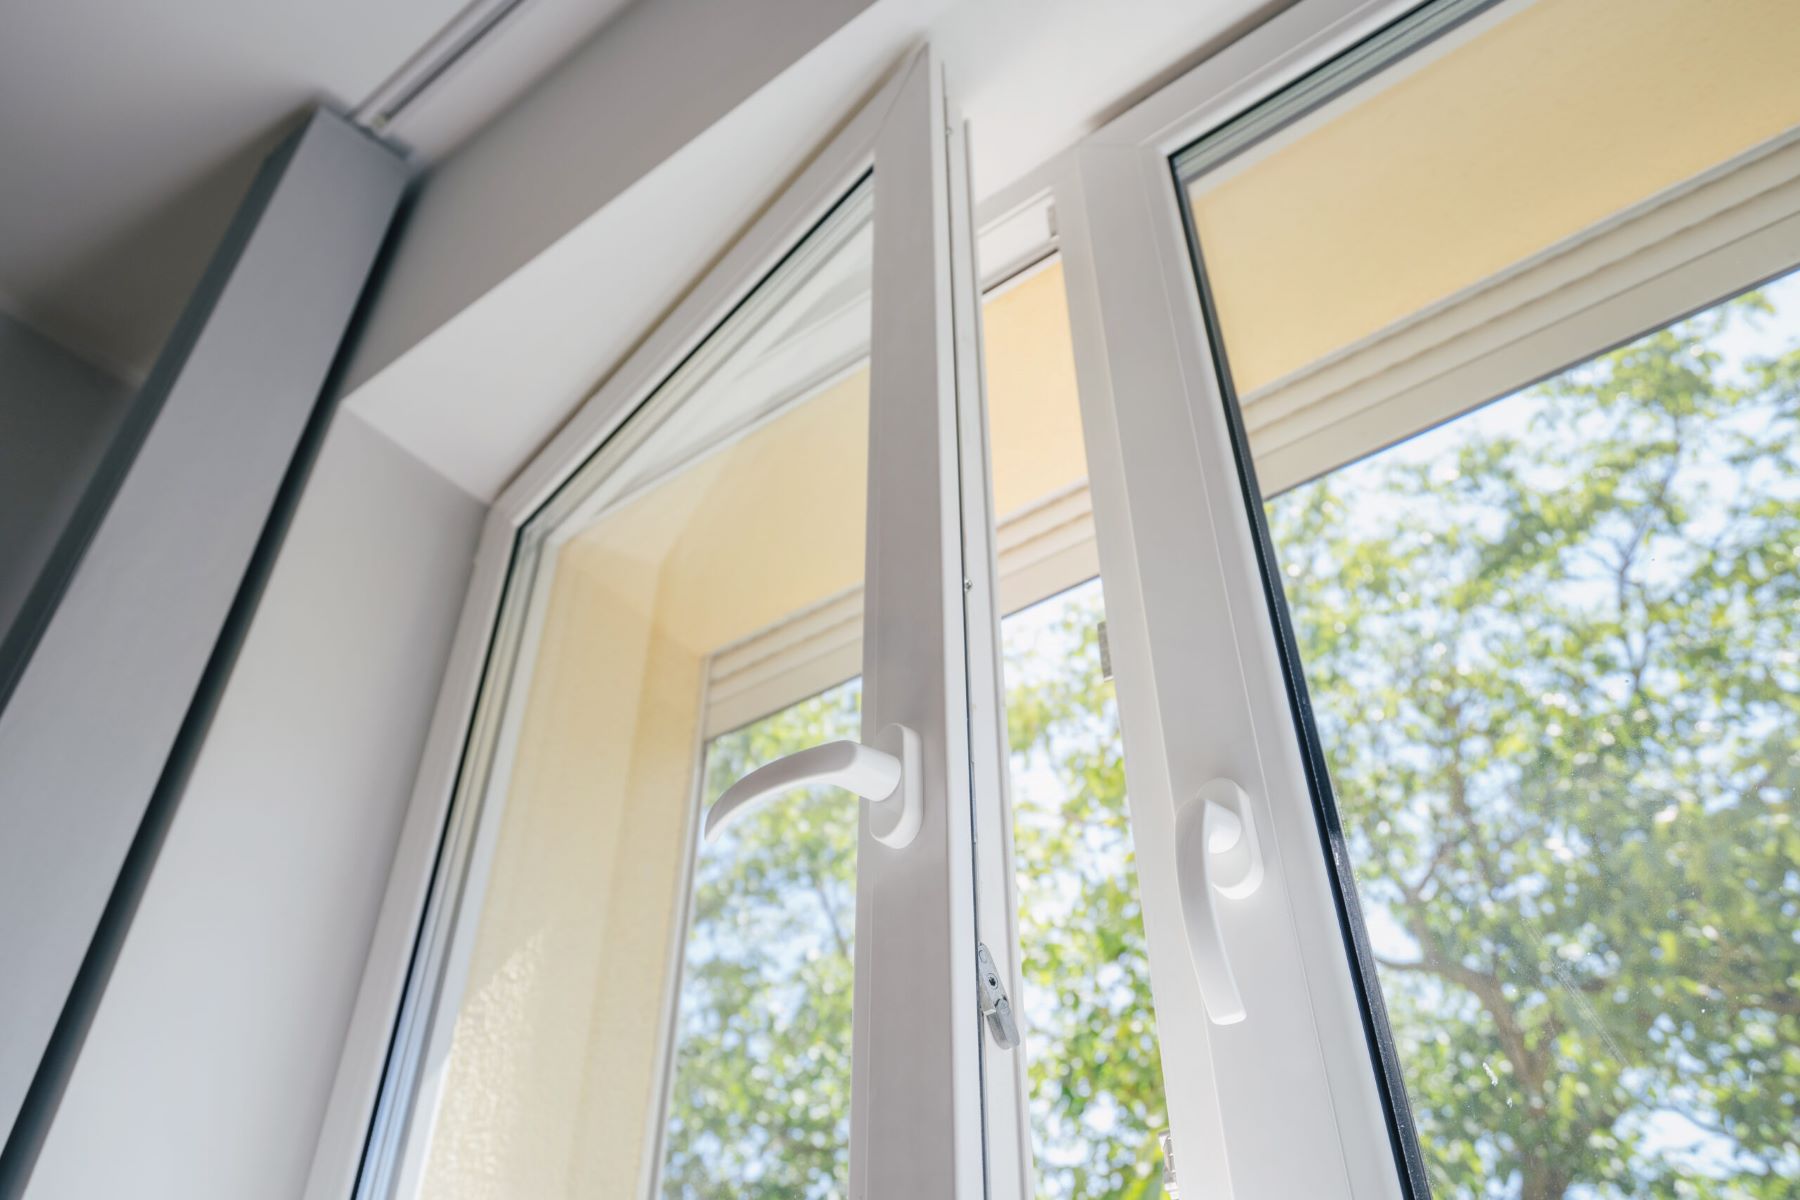
A clear, intact sunroof glass is essential for enjoying the natural light and fresh air while driving, making it a valuable feature in any vehicle. Over time, however, the glass may become scratched, cracked, or otherwise compromised, detracting from the overall appearance and functionality of the sunroof. By replacing the sunroof glass, you can restore its original beauty and functionality, enhancing your driving experience.
Before embarking on this project, it's important to gather all the necessary tools and materials, ensuring that you have everything you need to complete the task efficiently and safely. From protective gear to specialized tools for removing and installing the glass, being well-prepared is key to a successful sunroof glass replacement.
In the following steps, we will guide you through the process of removing the old sunroof glass, cleaning the sunroof frame, and installing the new glass. Additionally, we will cover testing the sunroof operation to ensure that the replacement has been carried out effectively.
By following this comprehensive guide, you can take pride in accomplishing a significant repair or upgrade to your vehicle, all while saving on costly professional installation fees. So, roll up your sleeves, gather your tools, and let's get started on replacing your sunroof glass!
Key Takeaways:
- Replacing sunroof glass is a manageable DIY project that restores functionality and enhances the driving experience. With the right tools and careful steps, you can save on professional fees and enjoy a renewed sunroof.
- Thoroughly cleaning the sunroof frame and testing the new glass ensures a seamless replacement. By following the steps, you can take pride in your accomplishment and gain confidence for future DIY automotive projects.
Read more: How To Replace Glass In A Door
Step 1: Gather Necessary Tools and Materials
Before diving into the sunroof glass replacement process, it's crucial to ensure that you have all the essential tools and materials at your disposal. This step sets the foundation for a smooth and efficient replacement procedure, minimizing the risk of delays or complications. Here's a comprehensive list of the items you'll need:
Tools:
- Safety Gear: Prioritize safety by wearing protective gloves and safety goggles to shield your hands and eyes from potential debris and sharp edges during the replacement process.
- Screwdriver Set: A set of screwdrivers, including flathead and Phillips head varieties, will be necessary for removing screws and fasteners securing the sunroof assembly.
- Trim Removal Tools: These specialized tools are designed to safely remove interior trim pieces without causing damage to the surrounding surfaces.
- Vacuum Cleaner: Having a vacuum on hand can help to swiftly clean up any glass shards or debris that may result from removing the old sunroof glass.
- Lint-Free Cloths: Use these cloths to wipe down the sunroof frame and ensure a clean surface for installing the new glass.
- Adhesive Remover: If the old glass is secured with adhesive, an adhesive remover will be essential for effectively detaching it from the frame.
Materials:
- Replacement Sunroof Glass: Ensure that you have the correct replacement glass for your vehicle's make and model. It's advisable to acquire the glass from a reputable supplier to guarantee a precise fit and quality.
- Adhesive (if applicable): Depending on the sunroof design, you may need adhesive to secure the new glass in place. Be sure to use a high-quality adhesive recommended for automotive applications.
- Rubbing Alcohol: This will be used to clean the sunroof frame before installing the new glass, promoting proper adhesion and a secure fit.
- Protective Tarp or Blanket: Lay down a tarp or blanket to protect the interior of the vehicle from any debris or accidental damage during the replacement process.
By gathering these tools and materials beforehand, you'll be well-equipped to tackle the sunroof glass replacement with confidence and precision. This proactive approach sets the stage for a successful and satisfying DIY project, ensuring that you can seamlessly progress to the next steps of removing the old sunroof glass and preparing for the installation of the new glass.
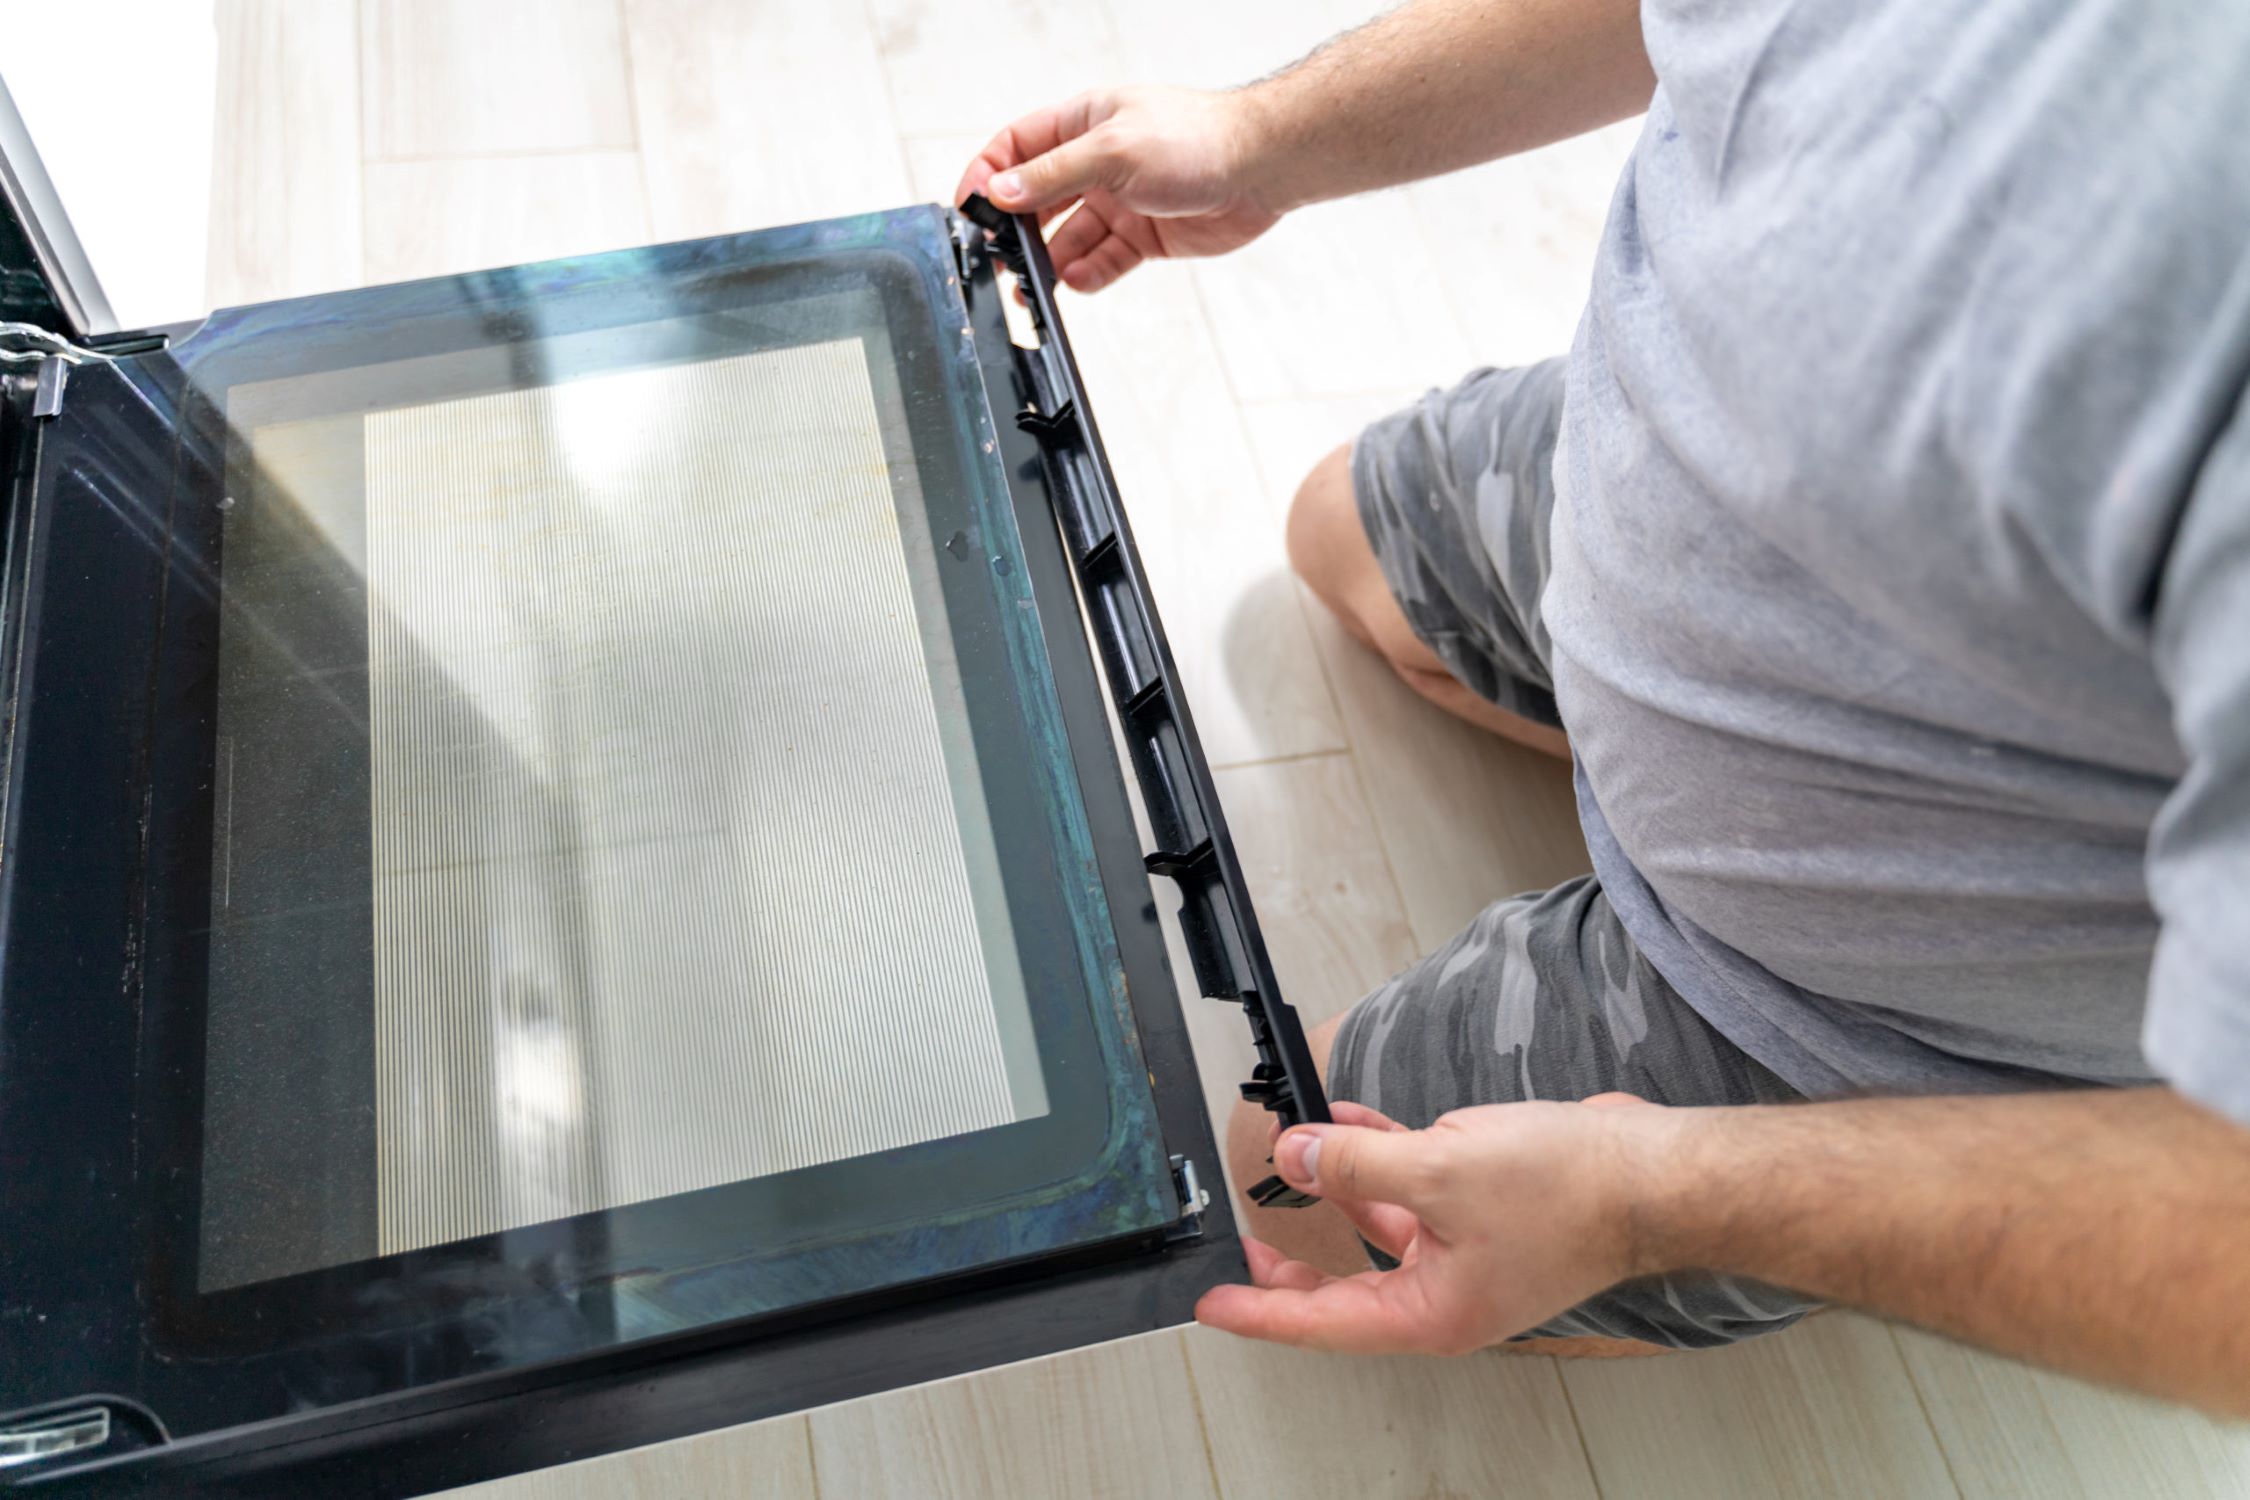
Step 2: Remove the Old Sunroof Glass
Removing the old sunroof glass is a critical step in the replacement process, requiring precision and care to avoid damage to the surrounding components and interior of the vehicle. By following these detailed instructions, you can effectively and safely remove the old sunroof glass, paving the way for the installation of the new glass.
-
Open the Sunroof: Begin by fully opening the sunroof to access the glass and its surrounding frame. Ensure that the sunroof is positioned to allow convenient and unobstructed removal of the glass.
-
Remove the Interior Trim: Using the appropriate trim removal tools, carefully detach the interior trim surrounding the sunroof. This may include plastic moldings, headliner panels, or any other components that obstruct access to the glass.
-
Unfasten the Retaining Hardware: Locate and remove any screws, bolts, or clips securing the sunroof glass to the frame. These fasteners are typically found along the edges of the glass and may require a suitable screwdriver or wrench for removal.
-
Detach the Glass: With the retaining hardware removed, gently lift and maneuver the old sunroof glass out of its position. Exercise caution to prevent the glass from shattering or causing damage to the surrounding areas. If the glass is adhered to the frame, use an adhesive remover to carefully detach it.
-
Clean the Sunroof Frame: Once the old glass has been removed, take the opportunity to thoroughly clean the sunroof frame. Use a vacuum to remove any debris or glass fragments, followed by a lint-free cloth dampened with rubbing alcohol to ensure a clean and smooth surface for the new glass installation.
By methodically following these steps, you can successfully remove the old sunroof glass without complications, setting the stage for the subsequent cleaning of the sunroof frame and the installation of the new glass. This careful and systematic approach ensures that the replacement process progresses smoothly, ultimately restoring the functionality and aesthetic appeal of your vehicle's sunroof.
Read more: How To Replace A Pane Of Glass
Step 3: Clean the Sunroof Frame
After successfully removing the old sunroof glass, the next crucial step in the replacement process is to thoroughly clean the sunroof frame. This meticulous cleaning is essential to ensure a pristine surface for the installation of the new glass, promoting proper adhesion and a secure fit. By following these detailed cleaning procedures, you can prepare the sunroof frame for the seamless integration of the replacement glass.
-
Remove Debris and Residue: Begin by carefully inspecting the sunroof frame for any debris, glass fragments, or adhesive residue left behind from the old glass. Use a vacuum cleaner with a soft brush attachment to gently remove any loose particles, ensuring that the frame is free from obstructions.
-
Wipe Down the Frame: With the debris removed, take a lint-free cloth and dampen it with rubbing alcohol. Thoroughly wipe down the entire sunroof frame, paying close attention to the areas where the new glass will be installed. This step effectively removes any remaining residue, grease, or contaminants that could hinder the adhesion of the replacement glass.
-
Inspect for Damage: While cleaning the frame, take the opportunity to inspect it for any signs of damage, corrosion, or rust. Address any issues promptly to ensure that the frame provides a stable and secure foundation for the new glass. If necessary, consider applying a rust inhibitor or protective coating to mitigate potential corrosion.
-
Allow for Drying: After cleaning the sunroof frame, allow it to air dry completely before proceeding with the installation of the new glass. This ensures that the rubbing alcohol evaporates entirely, leaving behind a clean and dry surface conducive to optimal adhesion.
By meticulously cleaning the sunroof frame and adhering to these comprehensive steps, you can effectively prepare the surface for the installation of the new glass. This proactive approach not only promotes a secure and durable bond between the frame and the replacement glass but also contributes to the overall longevity and performance of the sunroof. With the frame impeccably cleaned and inspected, you are now ready to proceed to the next pivotal step: installing the new sunroof glass.
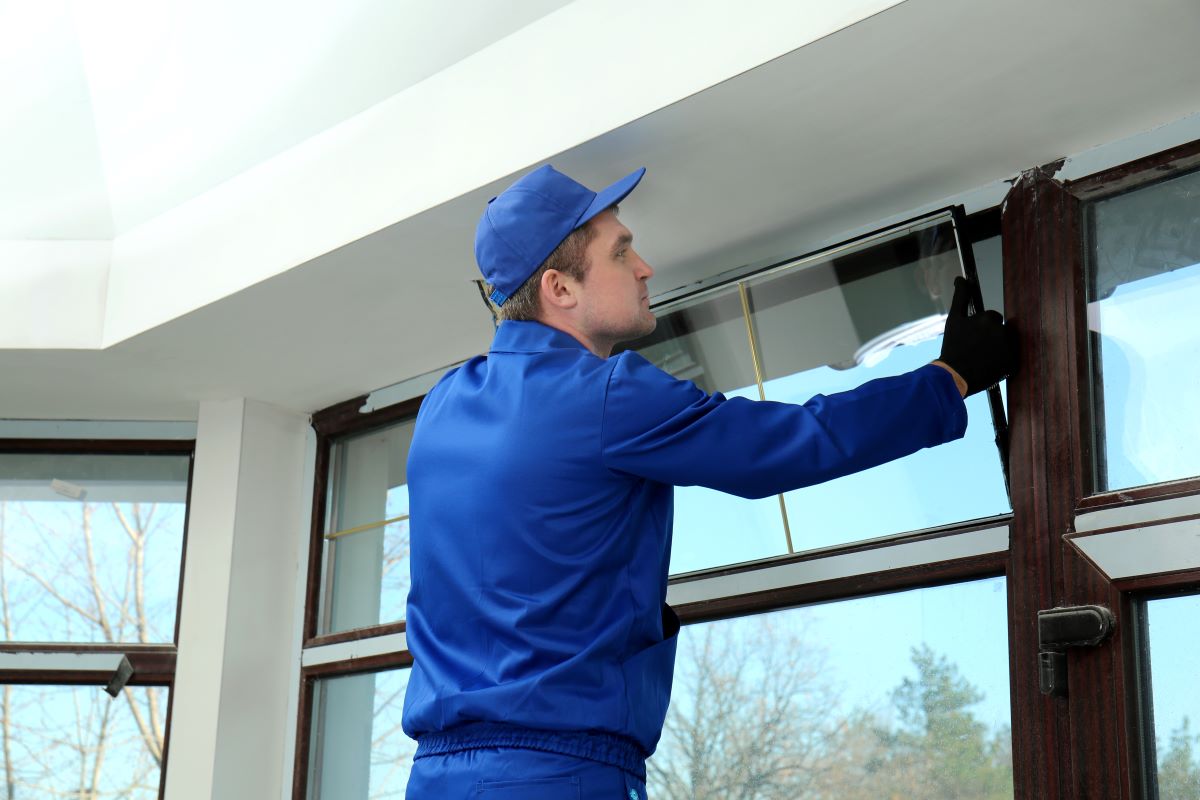
Step 4: Install the New Sunroof Glass
With the sunroof frame meticulously cleaned and prepared, the installation of the new sunroof glass marks a pivotal phase in the replacement process. This step demands precision, attention to detail, and a methodical approach to ensure a seamless and secure fit for the new glass. By following these comprehensive guidelines, you can effectively install the replacement sunroof glass, revitalizing the functionality and aesthetic appeal of your vehicle's sunroof.
1. Positioning the New Glass
Carefully place the new sunroof glass onto the clean and dry frame, ensuring that it aligns perfectly with the designated opening. Take note of any alignment markers or guides that facilitate the correct positioning of the glass within the frame.
2. Securing the Glass
If the sunroof design requires adhesive for securing the glass, apply a high-quality automotive adhesive to the designated areas on the frame. Exercise caution to apply the adhesive evenly and sparingly, preventing excess adhesive from seeping onto the glass or surrounding surfaces.
Read more: How To Replace Glass Stovetop
3. Aligning and Pressing the Glass
Once the adhesive is applied, gently lower the new glass into position, aligning it precisely with the frame. Apply even pressure along the edges of the glass to ensure a secure bond with the adhesive. Take care to avoid excessive force that could potentially damage the glass or compromise the adhesion.
4. Fastening Retaining Hardware
If the new glass is secured with retaining hardware such as screws or clips, carefully reattach these components to the frame. Use the appropriate tools to tighten the hardware securely, ensuring that the glass remains firmly in place without any undue movement.
5. Verifying Proper Alignment
After installing the new sunroof glass, visually inspect the alignment and fit from both the interior and exterior perspectives. Confirm that the glass sits flush within the frame and aligns evenly with the surrounding surfaces. Any misalignment or irregularities should be promptly addressed to ensure a proper fit.
6. Allowing for Adhesive Cure Time
If adhesive was used during the installation, adhere to the recommended cure time specified by the adhesive manufacturer. This crucial step allows the adhesive to set and create a strong, durable bond between the glass and the frame, contributing to the long-term stability of the installation.
By meticulously following these steps, you can effectively install the new sunroof glass, culminating in a rejuvenated and fully functional sunroof. This meticulous approach not only ensures a seamless replacement process but also contributes to the overall safety, performance, and aesthetic appeal of your vehicle's sunroof. With the new glass securely in place, you are now ready to proceed to the final step: testing the sunroof operation to confirm the success of the replacement.
Read more: How To Replace A Watch Glass
Step 5: Test the Sunroof Operation
After successfully installing the new sunroof glass, it is imperative to conduct a comprehensive test of the sunroof operation to ensure that the replacement has been carried out effectively. This critical step allows you to verify the functionality, alignment, and sealing of the new glass, providing peace of mind and assurance that your vehicle's sunroof is fully operational.
1. Functional Testing
Begin by testing the opening and closing functionality of the sunroof. Activate the sunroof controls and observe the smoothness and stability of the glass as it moves along its designated path. Pay close attention to any unusual noises, resistance, or hesitations during the operation, as these may indicate potential issues that require attention.
2. Alignment Verification
While testing the sunroof operation, visually inspect the alignment of the new glass within the frame. Ensure that the glass maintains a consistent and flush alignment with the surrounding surfaces throughout the entire opening and closing cycle. Any deviations or misalignments should be carefully noted for further assessment.
3. Leak and Seal Check
To assess the effectiveness of the new glass installation, conduct a thorough leak and seal check. Use a gentle stream of water or a hose to simulate rainfall and observe the sunroof for any signs of water ingress. Pay close attention to the edges and seals of the glass, as well as the drainage channels, to confirm that the replacement glass provides a watertight seal.
Read more: How Much Does Sunroof Repair Cost
4. Sunroof Drainage Evaluation
During the testing phase, verify that the sunroof drainage channels are clear and functional. This can be achieved by pouring a small amount of water into the sunroof drainage channels and observing the unobstructed flow of water away from the sunroof assembly. Any signs of blockages or inadequate drainage should be promptly addressed to prevent potential water accumulation and related issues.
5. Safety Sensor Assessment
If your vehicle is equipped with a sunroof safety sensor, ensure that it is fully operational after the glass replacement. Test the sensor by obstructing the sunroof's path during closure, prompting the sensor to halt the movement of the glass. This test confirms that the safety features are functioning as intended, contributing to the overall safety of the sunroof system.
By meticulously conducting these tests, you can confidently affirm the success of the sunroof glass replacement, ensuring that the new glass integrates seamlessly with the sunroof assembly. Any identified issues or concerns should be addressed promptly to uphold the optimal performance and reliability of your vehicle's sunroof.
With the comprehensive testing phase completed, you can take pride in accomplishing a significant repair or upgrade to your vehicle, all while saving on costly professional installation fees. The successful replacement of the sunroof glass not only enhances the aesthetic appeal of your vehicle but also contributes to a renewed driving experience, allowing you to enjoy the natural light and fresh air with confidence and peace of mind.
Conclusion
In conclusion, the process of replacing the sunroof glass in your vehicle is a rewarding endeavor that not only restores the functionality and aesthetic appeal of the sunroof but also empowers you to take charge of essential maintenance and upgrades. By following the comprehensive steps outlined in this guide, you have successfully navigated through the meticulous process of gathering the necessary tools and materials, removing the old sunroof glass, cleaning the sunroof frame, installing the new glass, and testing the sunroof operation.
Through careful preparation and attention to detail, you have revitalized your vehicle's sunroof, ensuring that it provides a seamless and enjoyable experience for years to come. The proactive approach to gathering the essential tools and materials set the stage for a smooth and efficient replacement process, minimizing the risk of delays or complications. The meticulous removal of the old sunroof glass, coupled with the thorough cleaning of the sunroof frame, provided a pristine foundation for the installation of the new glass.
The installation of the new sunroof glass, marked by precision and methodical steps, culminated in a rejuvenated and fully functional sunroof. By conducting a comprehensive test of the sunroof operation, you have verified the success of the replacement, affirming the seamless integration of the new glass with the sunroof assembly.
As you reflect on the accomplishment of replacing the sunroof glass, take pride in the knowledge that you have not only enhanced the driving experience but also saved on costly professional installation fees. The renewed functionality and aesthetic appeal of your vehicle's sunroof stand as a testament to your dedication to maintaining and improving your vehicle.
Moving forward, the skills and confidence gained from this project can extend to other aspects of vehicle maintenance and DIY projects, empowering you to tackle future endeavors with assurance and proficiency. Whether it's a repair, upgrade, or customization, the experience gained from replacing the sunroof glass serves as a foundation for future automotive projects, fostering a sense of independence and accomplishment.
In essence, the successful replacement of the sunroof glass embodies the spirit of DIY automotive maintenance, where meticulous attention to detail, proactive preparation, and a methodical approach yield tangible and gratifying results. As you embark on future automotive ventures, may the knowledge and skills acquired from this endeavor continue to inspire and empower you in your automotive pursuits.
Frequently Asked Questions about How To Replace Sunroof Glass
Was this page helpful?
At Storables.com, we guarantee accurate and reliable information. Our content, validated by Expert Board Contributors, is crafted following stringent Editorial Policies. We're committed to providing you with well-researched, expert-backed insights for all your informational needs.


0 thoughts on “How To Replace Sunroof Glass”