Articles
How To White Wash Wood Furniture
Modified: September 2, 2024
Learn how to white wash your wood furniture and give it a fresh, rustic look. Our step-by-step guide will help you transform your furniture with ease!
(Many of the links in this article redirect to a specific reviewed product. Your purchase of these products through affiliate links helps to generate commission for Storables.com, at no extra cost. Learn more)
Introduction
Welcome to our comprehensive guide on how to white wash wood furniture! If you’re looking to give your furniture a fresh, rustic look, white washing is a fantastic technique to consider. This popular furniture finishing technique involves applying a translucent white paint or stain to wood, allowing the natural grain to show through while giving it a beautifully aged appearance.
White washing wood furniture adds character and charm to any space, whether it’s a farmhouse-style dining room or a coastal-inspired living room. With the right tools and techniques, you can transform your furniture and create a stunning focal point in your home.
In this article, we’ll take you through the step-by-step process of white washing wood furniture. We’ll discuss the benefits of this technique, the tools and materials needed, and provide you with helpful tips and tricks along the way.
So, if you’re ready to give your furniture a fresh, new look, let’s dive in and learn how to white wash wood furniture!
Key Takeaways:
- White washing wood furniture enhances its natural beauty, adds rustic charm, and complements various interior styles. The process involves preparing the surface, applying the white wash solution, and sealing for extra protection.
- Tips for white washing include experimenting with dilution, working in natural light, and embracing imperfections. Sealing the white wash adds durability, and regular maintenance ensures the furniture’s longevity and appearance.
Read more: How To Paint Wood Furniture White
What is White Washing?
White washing is a technique that has been used for centuries to achieve a beautiful, weathered look on wood surfaces. It involves applying a thin, semi-transparent white paint or stain to the wood, allowing the natural grain and texture to show through. The end result is a soft, muted appearance that adds a touch of vintage charm and elegance to any piece of furniture.
The history of white washing dates back to ancient times when it was primarily used to protect and beautify wooden structures. In those days, lime and water were often mixed together to create a homemade white wash solution. This solution was then applied to surfaces such as walls, fences, and furniture, offering both a protective layer and a visually appealing finish.
Today, white washing has become a popular choice for furniture enthusiasts and interior designers looking to achieve a rustic or coastal-inspired look. By using white wash, you can transform a piece of furniture into a timeless and elegant piece that complements a variety of interior styles.
One of the key benefits of white washing is that it allows you to add a hint of color and texture to your wood furniture without completely covering the natural beauty of the grain. Unlike solid paints or stains that create an opaque finish, white washing gives a more subtle and delicate look. It retains the warmth and character of the wood while lending a soft and dreamy atmosphere to your space.
White washing is also a versatile technique as it can be applied to a variety of wood surfaces. Whether you have a solid wood table, chairs, cabinets, or even a wooden accent wall, white washing can enhance the unique texture and features of each piece.
Now that we have a clear understanding of what white washing is and its historical significance, let’s delve into the benefits it offers for your wood furniture.
Benefits of White Washing Wood Furniture
White washing wood furniture offers a range of benefits that make it a popular choice for both DIY enthusiasts and interior designers. Let’s explore some of the key advantages:
- Enhances the Natural Beauty: White washing allows the natural grain and texture of the wood to shine through. It brings out the unique characteristics of each piece, showcasing the natural beauty and depth of the wood.
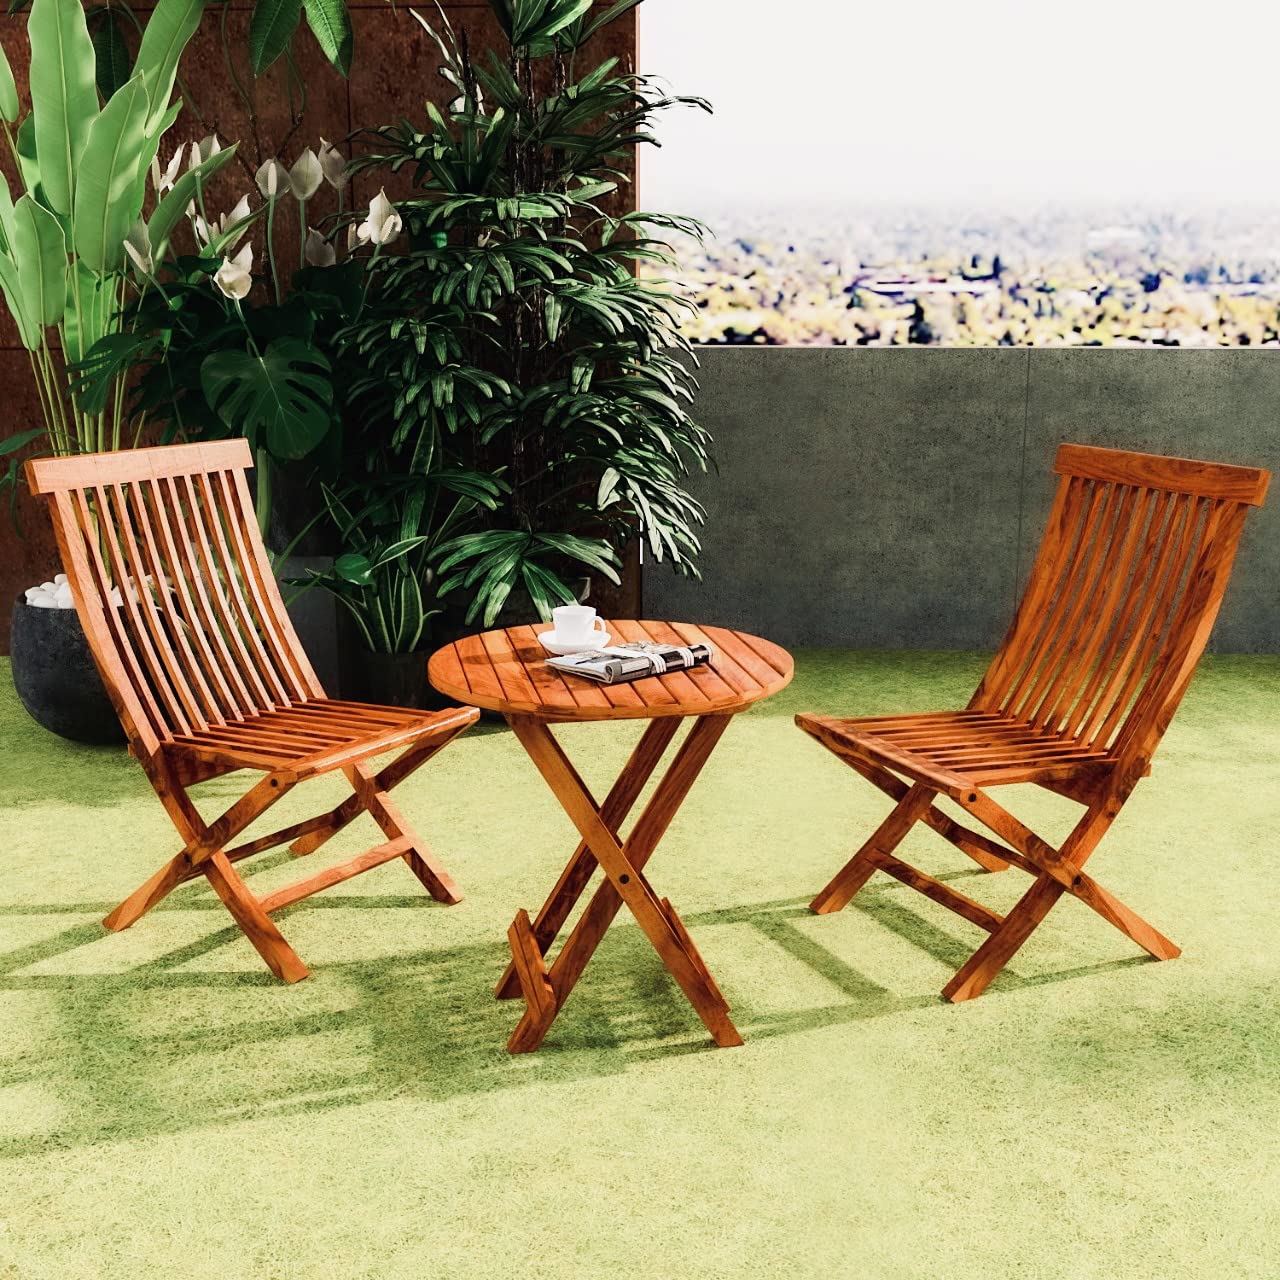
- Adds a Rustic, Aged Look: If you’re a fan of rustic or vintage aesthetics, white washing can help you achieve that weathered, time-worn look. It gives the furniture a charming, aged appearance, making it a perfect fit for farmhouse-style or cottage-inspired interiors.
- Increases Versatility: White washed furniture blends seamlessly into various design styles. Whether you have a coastal, shabby chic, or Scandinavian-themed interior, the soft and neutral white tones of white washed furniture can easily complement and elevate your space.
- Provides Visual Interest and Texture: The translucent nature of white washing adds depth and visual interest to the wood. It creates a subtle layer of color and texture, giving the furniture a visually appealing and unique look.
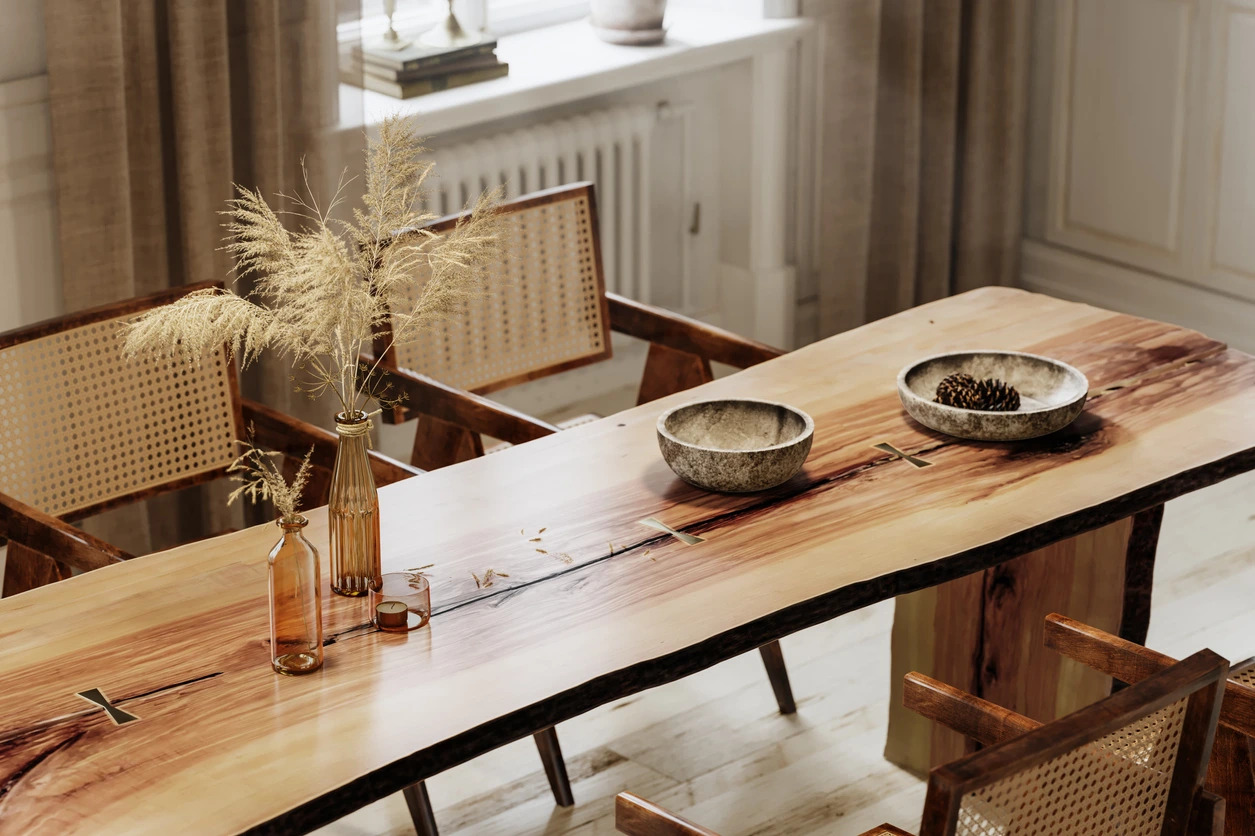
- Preserves the Wood’s Character: Unlike solid paint or stain, white washing allows the individuality and character of the wood to remain visible. You can still see the knots, grains, and imperfections, adding a touch of authenticity to the finished piece.
- Customizable and Adjustable: The beauty of white washing is that it is highly customizable. You can adjust the opacity of the white wash to achieve your desired level of coverage. If you prefer a more subtle look, you can apply a thin white wash, while a thicker application will create a more noticeable effect.
- Easier Maintenance: White washed furniture tends to be easier to maintain than pieces with a solid paint finish. Any wear and tear or minor scratches are less noticeable due to the translucent nature of the white wash.
Overall, white washing wood furniture offers a range of benefits, from preserving the natural beauty of the wood to providing versatility and visual interest. It is a technique that allows you to create stunning, unique pieces that enhance the aesthetic of your home.
Next, we will delve into the tools and materials you will need to successfully white wash your wood furniture.
Tools and Materials Needed
Before you can begin white washing your wood furniture, it’s important to gather all the necessary tools and materials. Here’s a list of what you’ll need:
- Sandpaper: Start by sanding the surface of the furniture to create a smooth and even base. Use medium-grit sandpaper to remove any existing finish or roughness.
- Clean Cloth or Tack Cloth: After sanding, use a clean cloth or a tack cloth to remove any dust or debris from the surface. This step ensures that the white wash adheres properly to the wood.
- White Wash Solution: You have a couple of options for creating a white wash solution. One method is to mix equal parts white paint and water to create a translucent mixture. Another option is to use a commercial white wash stain or pickling stain, which are specifically designed for this purpose.
- Paintbrush or Foam Brush: Choose a brush with natural bristles or a foam brush suitable for applying the white wash solution. Make sure the brush is clean and free of any previous paint or stains.
- Drop Cloth or Plastic Sheet: To protect your working area, lay down a drop cloth or plastic sheet to catch any drips or spills during the white washing process.
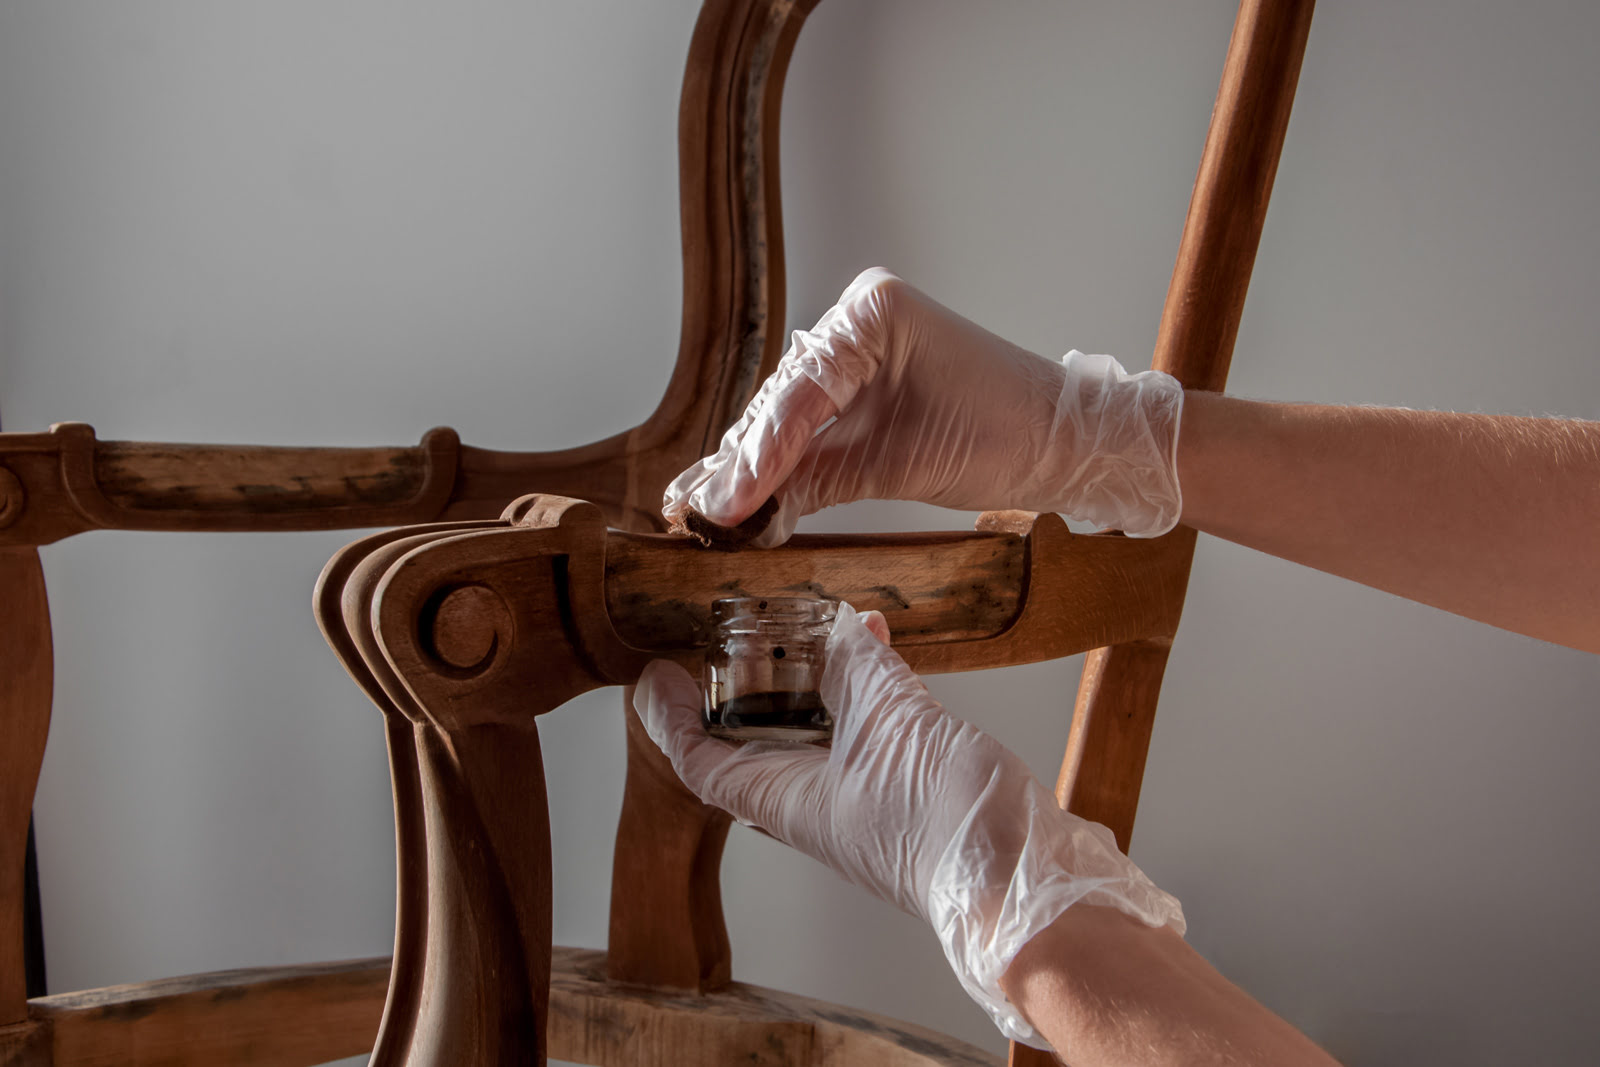
- Protective Gloves and Safety Glasses: It’s always a good idea to wear protective gloves and safety glasses when working with paints or stains to protect your skin and eyes.
- Optional: Clear Sealant or Wax: If you want to seal and protect the white wash finish, you can apply a clear sealant or wax once the white wash has dried. This step is especially important for furniture that will be exposed to moisture or heavy use.
- Lint-free Cloth or Brush: If you choose to seal the white washed furniture, you’ll need a lint-free cloth or a brush to apply the sealant or wax. This will help create a smooth and even protective layer.
With these tools and materials at hand, you’re ready to move on to the step-by-step process of white washing your wood furniture. We’ll cover each step in detail to ensure you achieve the desired results.
Next, let’s dive into the first step: preparing the surface of the furniture.
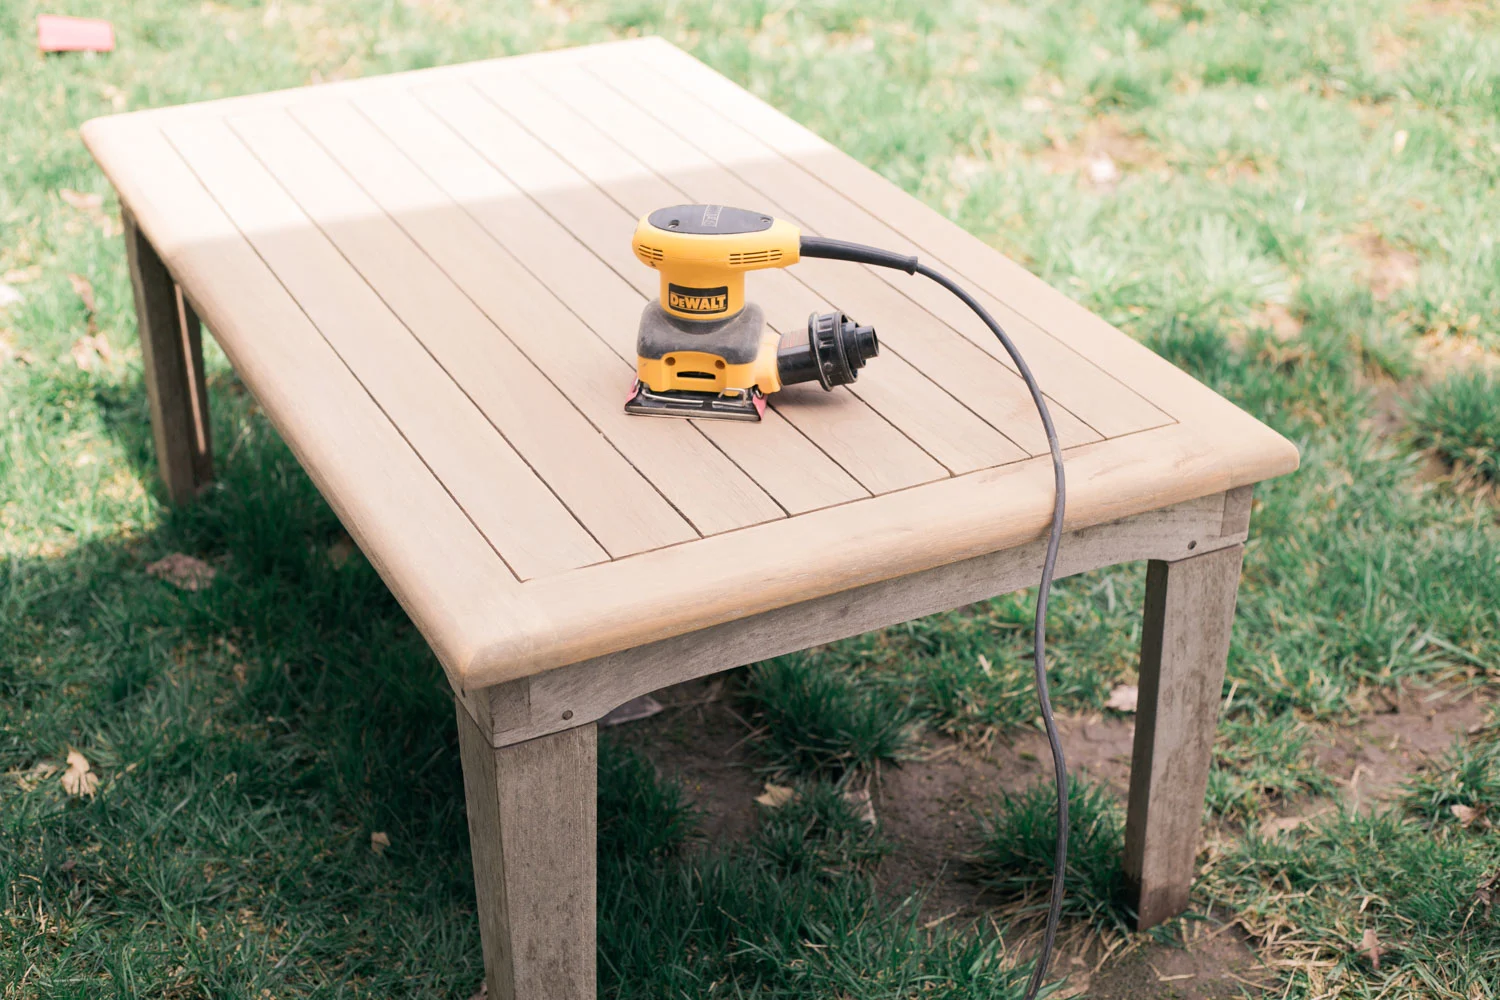
Step 1: Preparing the Surface
Before you begin white washing your wood furniture, it’s important to properly prepare the surface to ensure the best results. Here’s how you can do it:
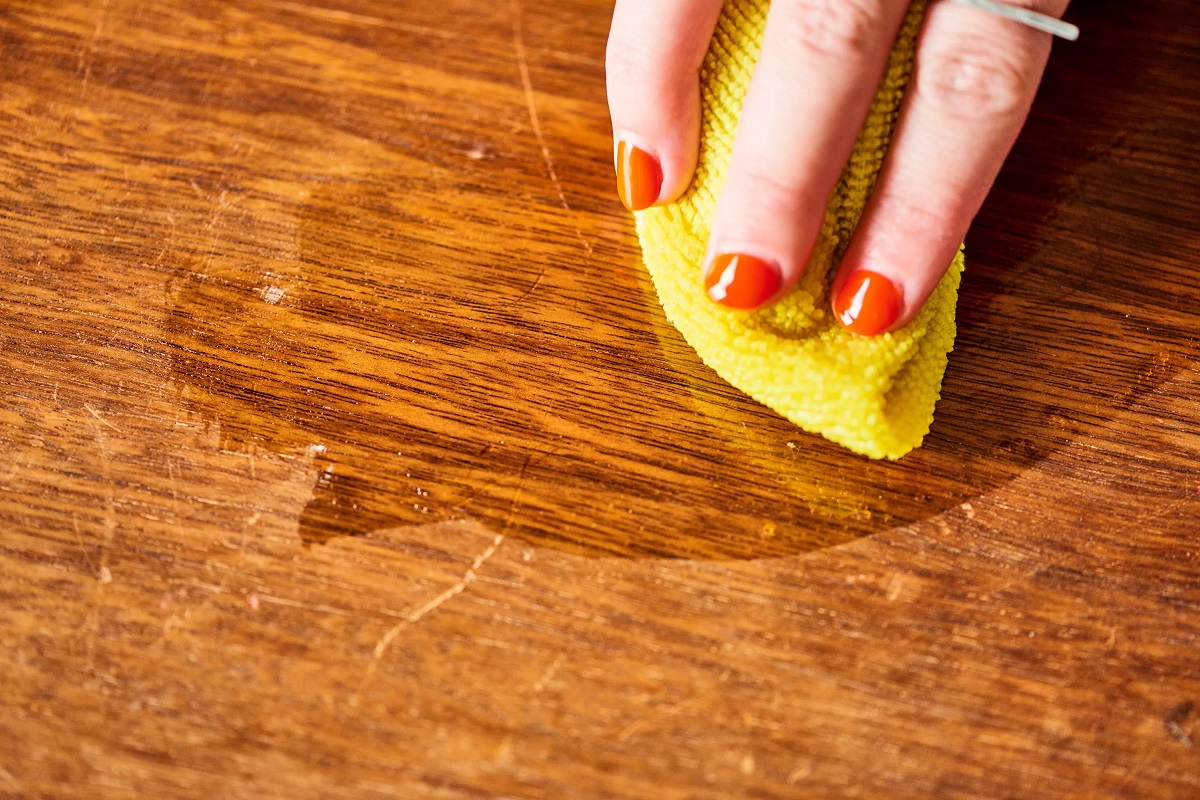
- Sand the Surface: Start by sanding the furniture using medium-grit sandpaper. This step helps remove any existing finish, roughness, or imperfections, creating a smooth and even surface for the white wash solution to adhere to. Sand in the direction of the grain to avoid damaging the wood.
- Clean the Surface: Once you have finished sanding, use a clean cloth or tack cloth to remove any dust or debris from the surface. This step is important to ensure that the white wash solution can properly bond with the wood.
- Protect Surrounding Areas: To prevent any accidental spillage or damage, protect the surrounding areas by laying down a drop cloth or plastic sheet. This will catch any drips or spills during the white washing process.
- Remove Hardware: If your furniture has any hardware, such as drawer pulls or knobs, remove them before applying the white wash solution. This will ensure that the hardware remains unaffected and can be reattached easily once the white washing is complete.
- Test the White Wash Solution: Before applying the white wash solution to the entire piece of furniture, it’s a good idea to test it on a small, inconspicuous area. This will allow you to see how the color and opacity of the white wash will look on the wood.
By properly preparing the surface of your furniture, you’ll create a clean and smooth canvas for the white wash solution. This will help ensure that the final result is even and professional-looking.
Now that you’ve prepared the surface, it’s time to move on to the next step: mixing the white wash solution. Let’s dive in!
Read more: How To Disinfect Wood Furniture
Step 2: Mixing the White Wash Solution
Now that you have prepared the surface of your wood furniture, it’s time to mix the white wash solution. This solution will be applied to the furniture to achieve the desired white washed effect. Here’s how you can mix the solution:
- Choose a White Wash Solution: You have a couple of options when it comes to the white wash solution. One method is to mix equal parts white paint and water to create a translucent mixture. This allows the natural grain of the wood to show through. Another option is to use a white wash stain or pickling stain, which is specifically designed for this purpose. These stains are available in various shades of white and can provide a more opaque finish if desired.
- Mix the Solution: If you are using a paint and water mixture, start by pouring equal parts white paint and water into a container. Use a stir stick or a whisk to thoroughly mix the solution until it is well combined. Ensure that there are no lumps or separation in the mixture.
- Adjust the Transparency: Depending on the level of transparency you prefer, you can adjust the ratio of paint to water. If you want a more subtle white wash effect, add more water to the mixture. If you desire a more opaque appearance, add more paint. It’s best to start with equal parts and make adjustments based on your preference.
Remember, the white wash solution should have a semi-transparent consistency to allow the beauty of the wood grain to show through. It’s a good idea to test the solution on a small area of the furniture to ensure that you’re achieving your desired look before applying it to the entire piece.
Now that you have your white wash solution prepared, it’s time to move on to the next step: applying the white wash solution. Stay tuned!
Before starting to white wash wood furniture, make sure to sand the surface to remove any existing finish and create a smooth base for the whitewash. This will help the whitewash to adhere better and create a more even finish.
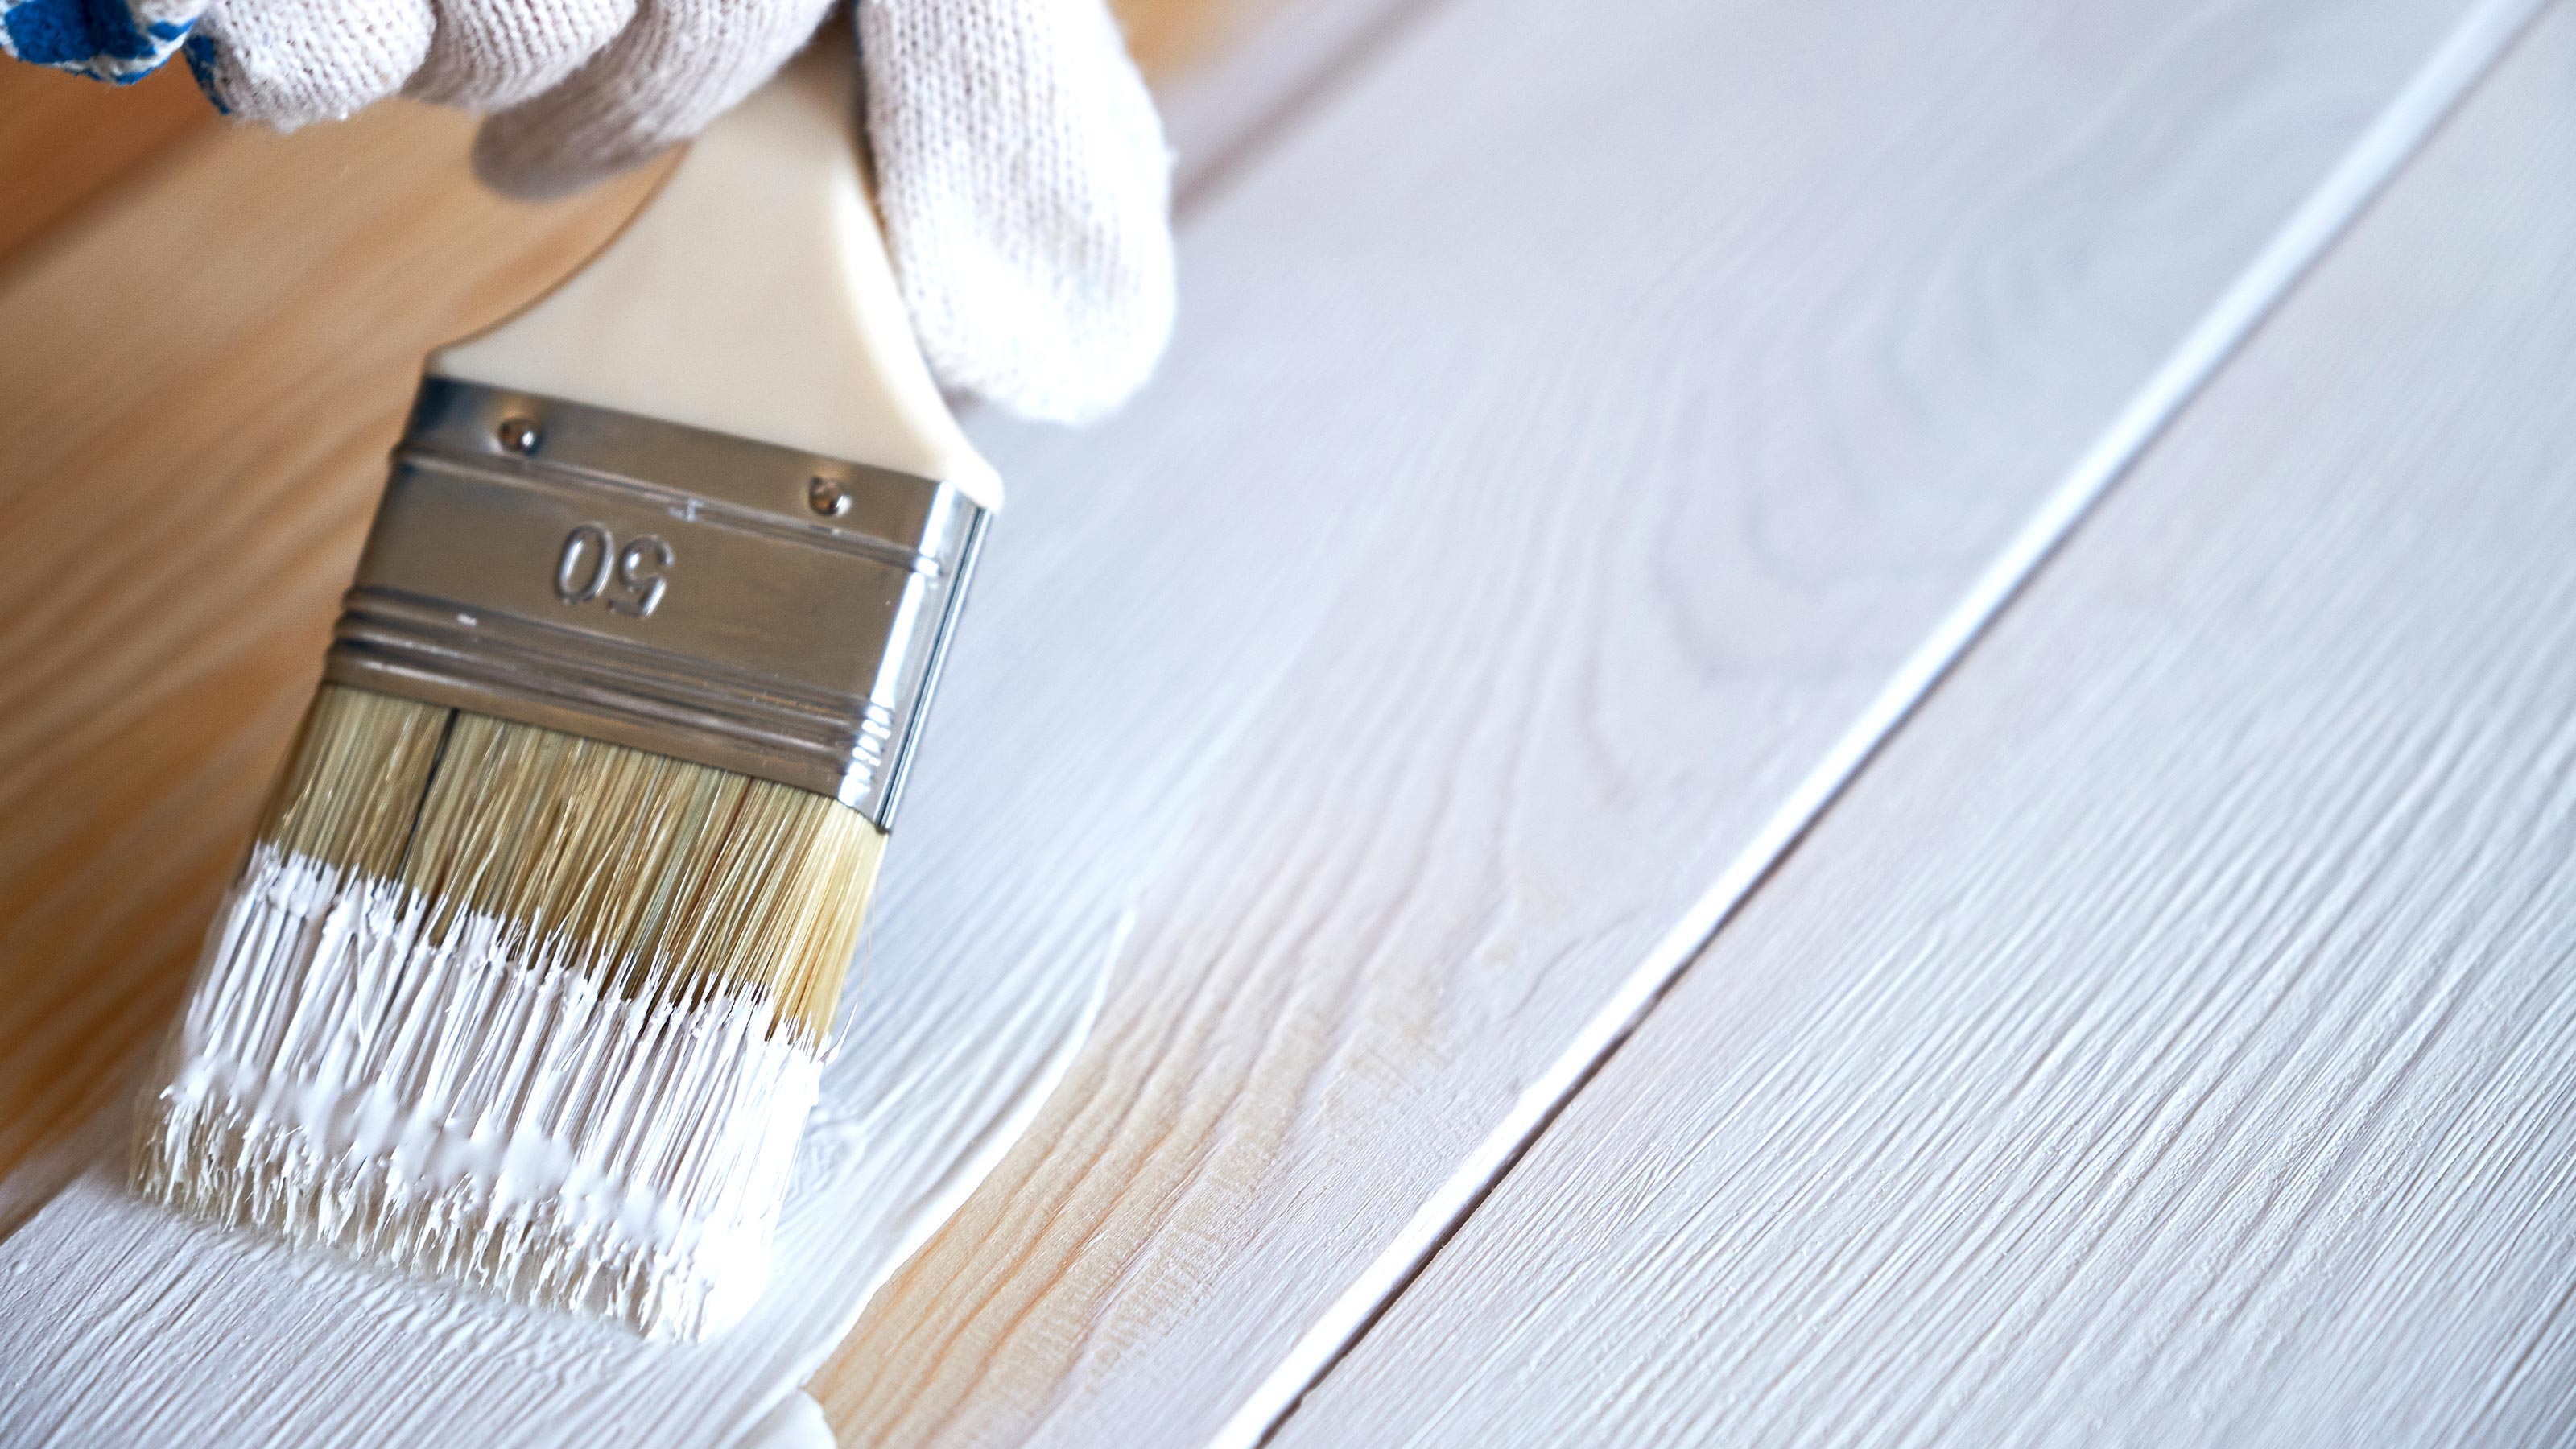
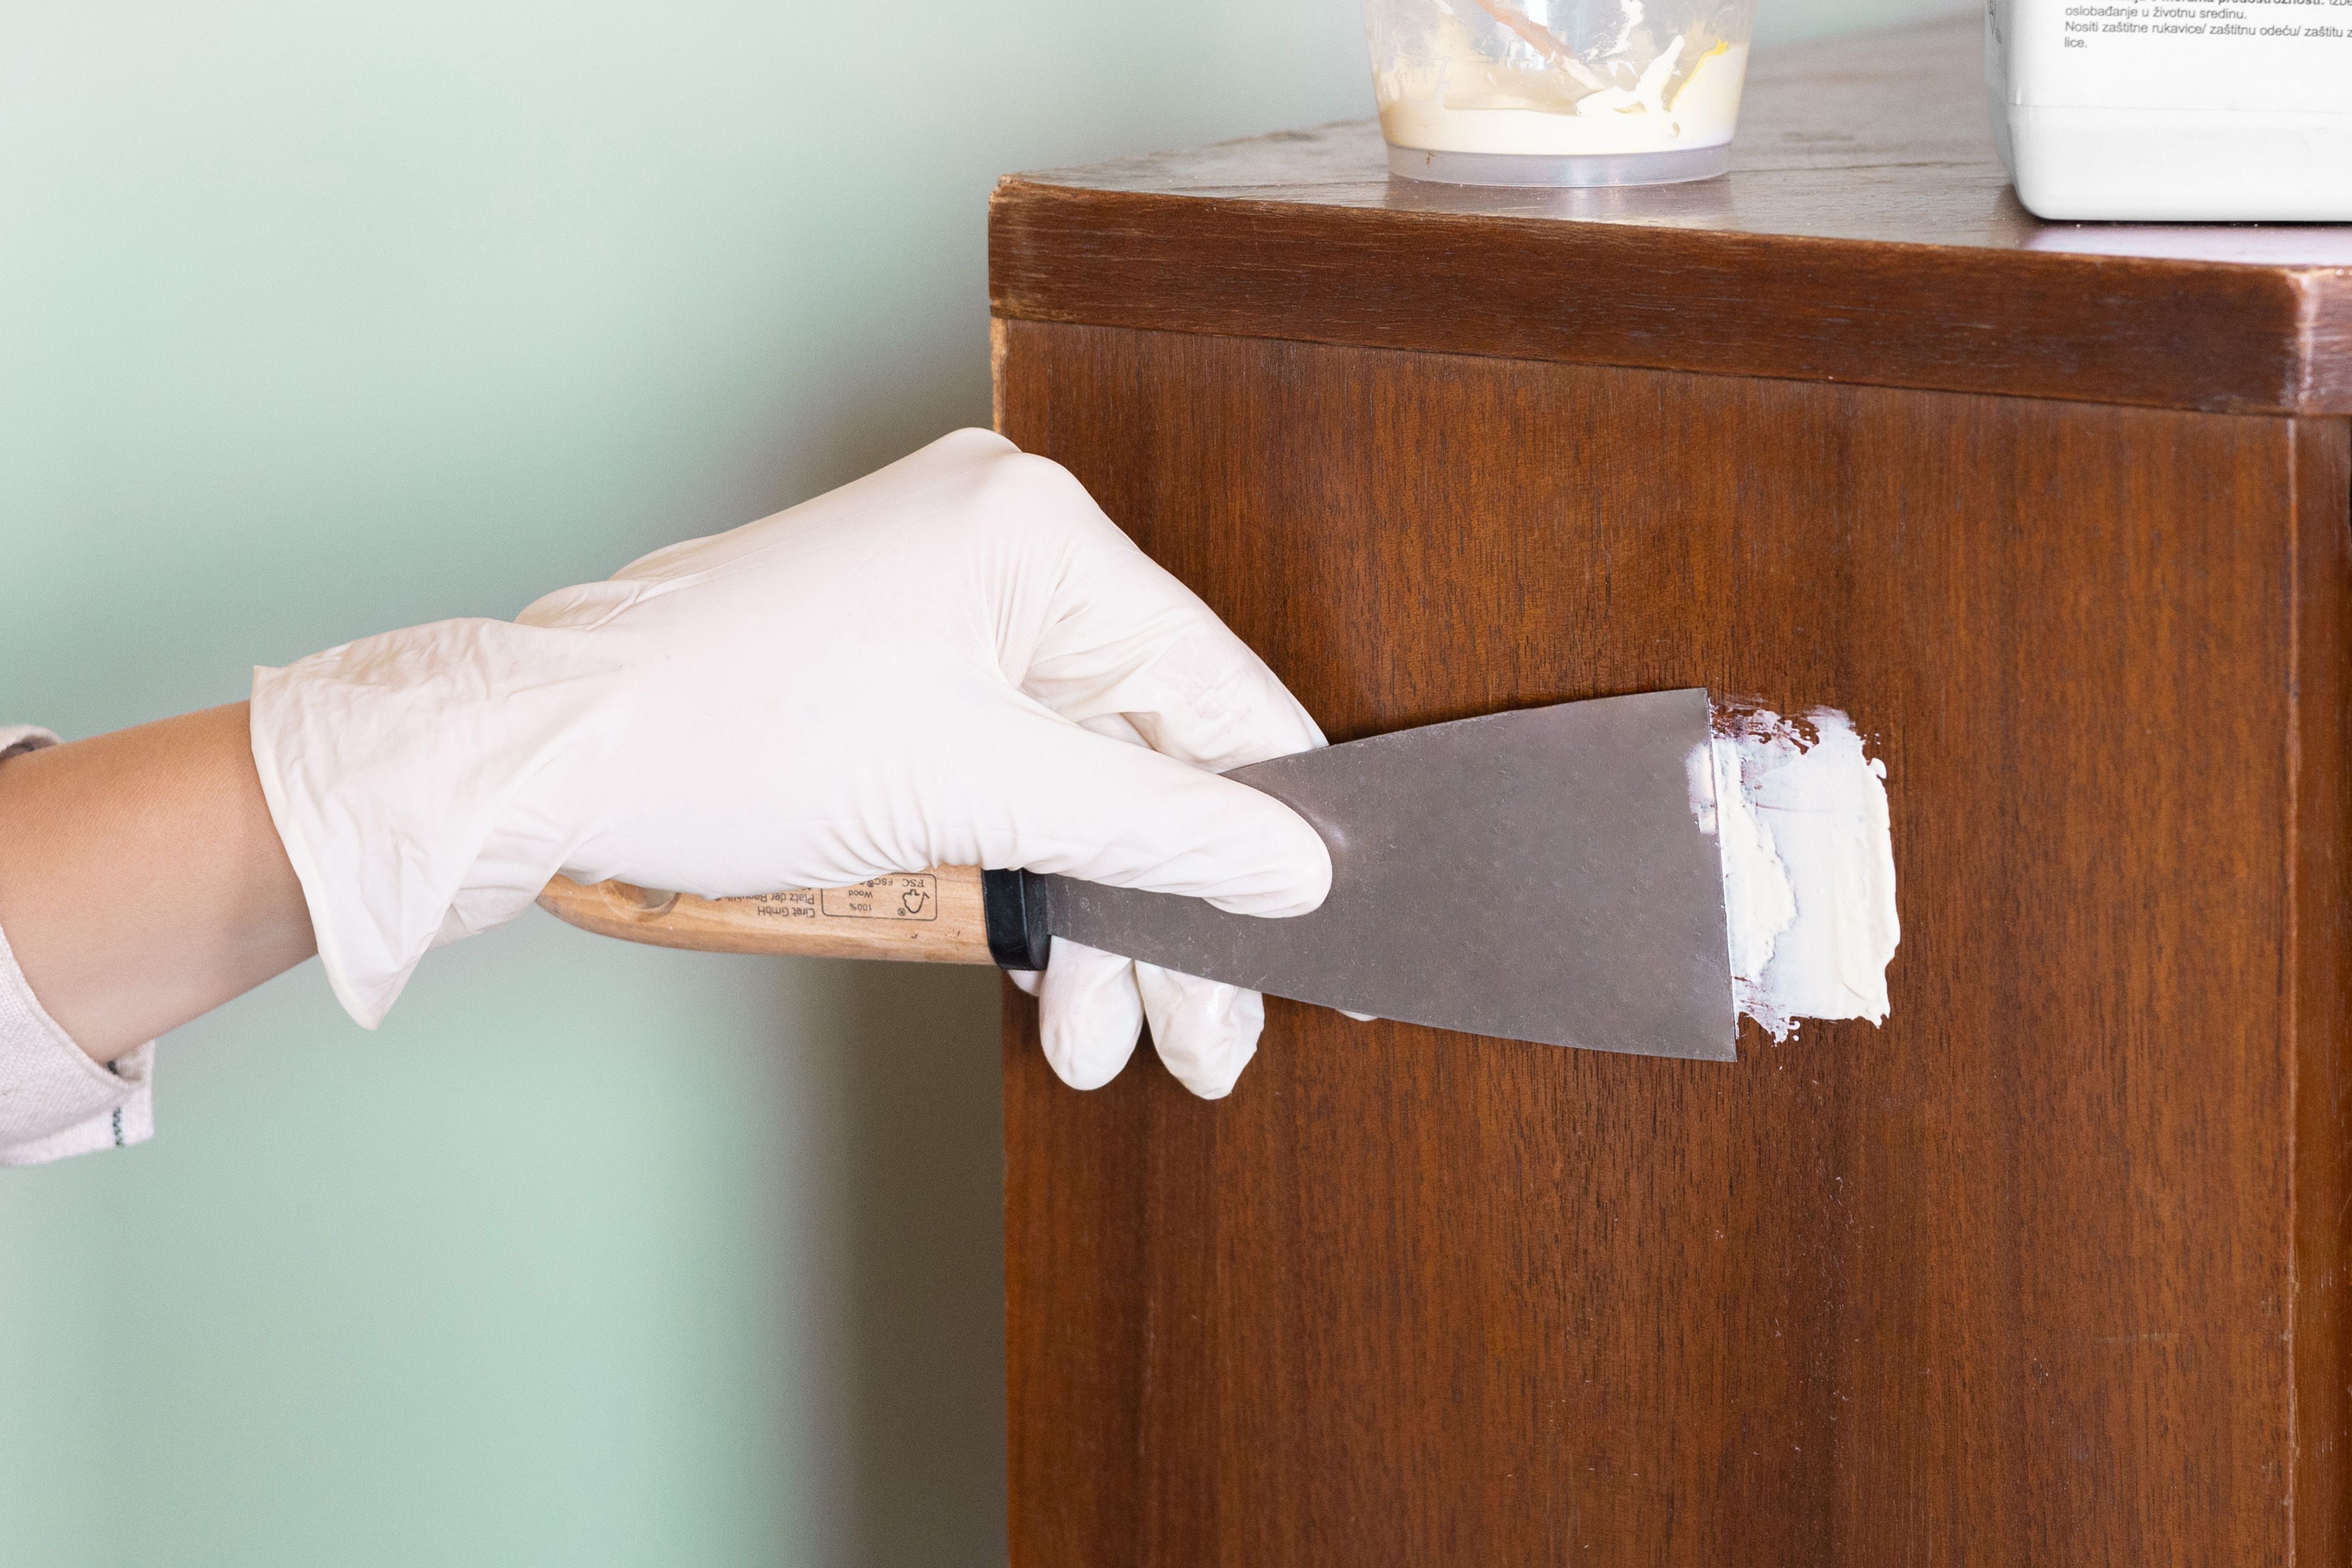
Step 3: Applying the White Wash Solution
With the white wash solution mixed and ready, it’s time to start applying it to your wood furniture. This step will give your furniture that beautiful white-washed look while still allowing the natural grain to show through. Follow these steps to apply the white wash solution:
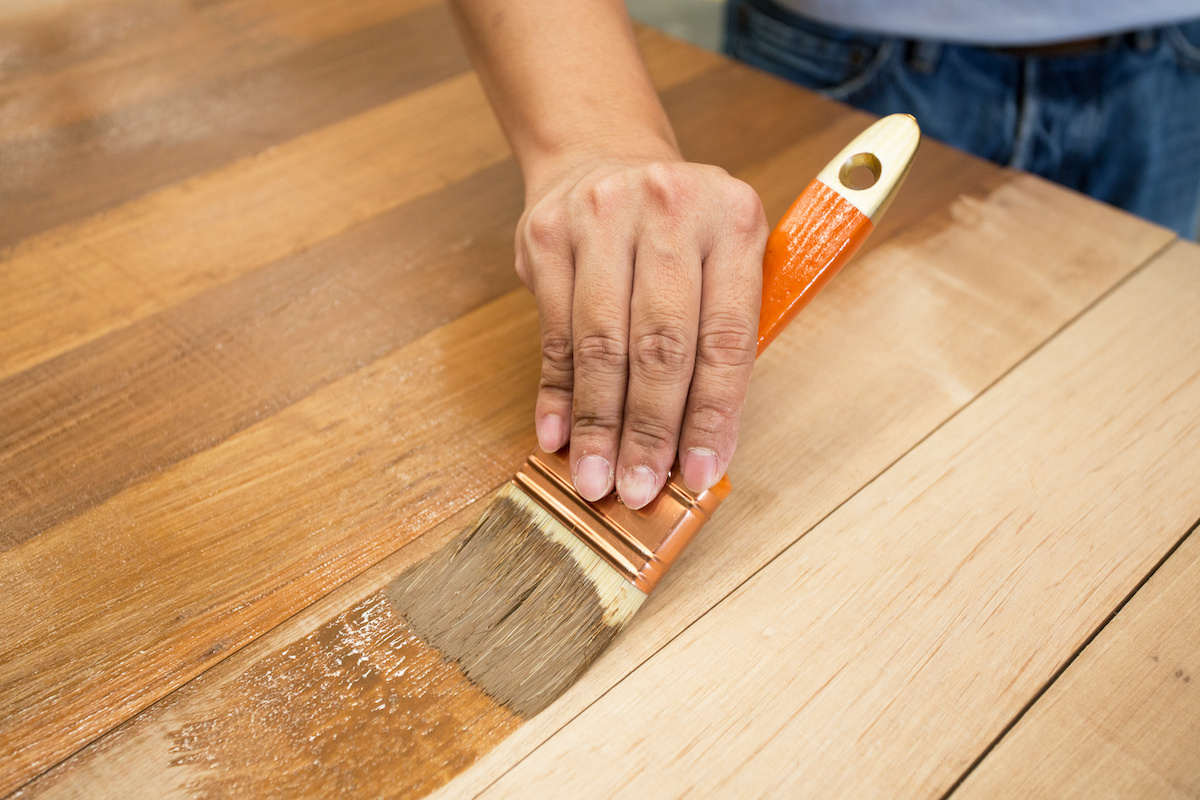
- Start with a Clean Brush: Use a clean brush with natural bristles or a foam brush specifically designed for applying paint or stain. Make sure the brush is free from any previous paint or stain residue to avoid any unwanted color mixing.
- Dip the Brush into the White Wash: Dip the brush into the white wash solution, making sure to saturate the bristles with the mixture. You can tap off any excess solution on the edge of your container to avoid drips.
- Apply the White Wash: Begin applying the white wash solution onto the wood furniture in smooth and even strokes. Work in the direction of the wood grain to ensure an even and natural look. Apply a thin layer of the white wash, allowing the wood grain to show through while still creating a whitewashed effect. If you prefer a more opaque look, apply a slightly thicker layer of the white wash.
- Work in Small Sections: It’s recommended to work in small sections at a time, rather than trying to cover the entire piece of furniture at once. This will allow you to have better control over the application and ensure an even finish.
- Blend the White Wash: As you apply the white wash, use long and smooth brush strokes to blend the solution into the wood. This will help create a more seamless and natural appearance.
- Wipe Excess Solution: After applying the white wash to a section, take a clean cloth and lightly wipe off any excess solution. This will help prevent drips and ensure an even coverage.
Remember, the goal is to achieve a semi-transparent white washed look, allowing the natural beauty of the wood to shine through. If you feel that the white wash is too heavy or opaque in certain areas, you can use a clean cloth to gently wipe away some of the solution while it’s still wet.
Continue applying the white wash solution and working in small sections until the entire piece of furniture is covered. Once you have completed this step, it’s time to move on to the next step: removing excess white wash. Keep reading!
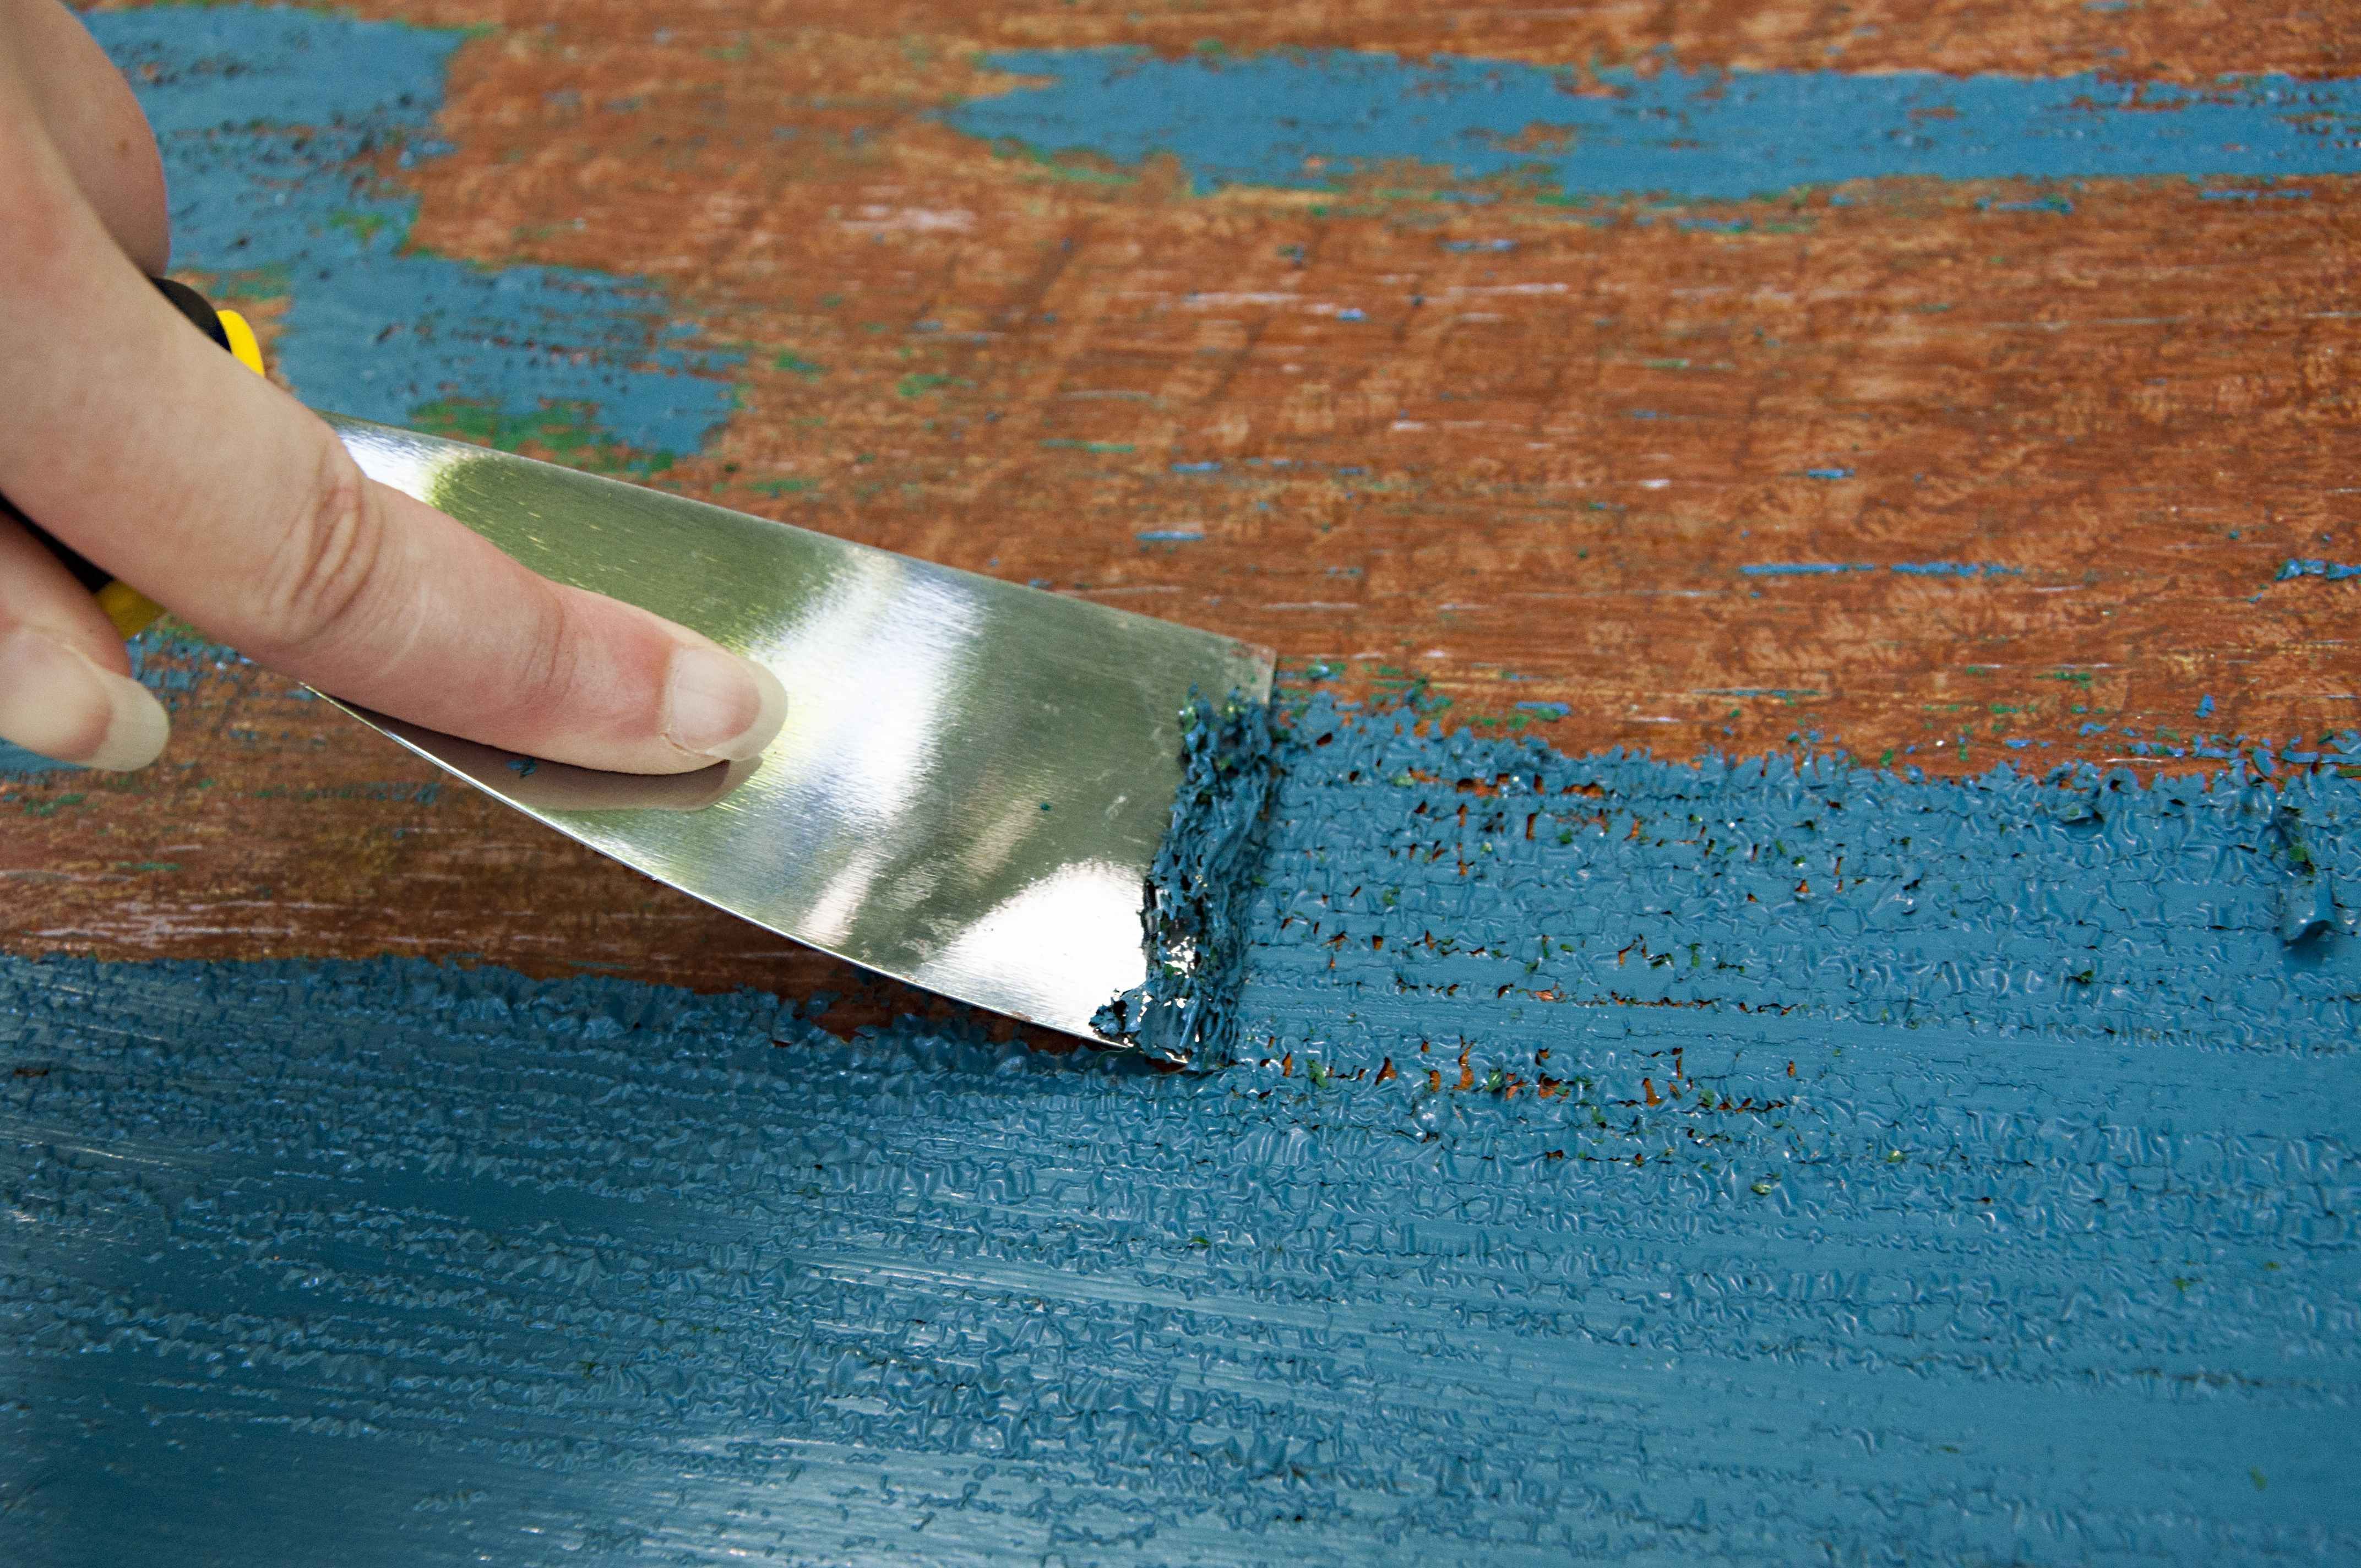
Step 4: Removing Excess White Wash
After applying the white wash solution to your wood furniture, it’s important to remove any excess to achieve a balanced and even appearance. This step ensures that the white wash is not too heavy or clumpy on the surface. Follow these steps to remove excess white wash:
- Wait for the White Wash to Dry: Allow the white wash solution to dry completely before attempting to remove any excess. The drying time can vary depending on the temperature and humidity, so be patient and give it enough time.
- Inspect the Surface: Once the white wash is dry, inspect the surface of the furniture to identify any areas where the white wash may have pooled or accumulated. These areas may appear thicker or uneven compared to the rest of the piece.
- Gently Sand the Surfaces: Use a fine-grit sandpaper or a sanding block to gently sand the areas where you want to remove the excess white wash. Be careful not to sand too aggressively, as you want to avoid removing too much of the white wash or damaging the wood beneath.
- Wipe Away the Sanding Residue: After sanding, use a clean cloth to wipe away any sanding residue. This will help get rid of any loose particles and ensure a smooth surface.
- Blend the Surface: To blend the sanded areas with the rest of the piece, lightly brush over them with a dry brush or a cloth. This will help create a seamless transition between the sanded areas and the rest of the white washed surface.
- Inspect and Repeat if Necessary: Take a step back and inspect the entire piece of furniture to ensure a balanced and even appearance. If you notice any other areas with excessive white wash, repeat the sanding and blending process until you are satisfied with the result.
It’s important to approach the removal of excess white wash with a gentle and cautious hand. It’s always better to start with less sanding and gradually add more if needed, as you can’t reverse the sanding once it’s done.
Once you have removed any excess white wash and achieved a smooth and balanced look, it’s time to move on to the final step: sealing the white wash. Keep reading to learn more!
Step 5: Sealing the White Wash
Sealing the white wash on your wood furniture is optional but recommended. Applying a sealant helps protect the white wash finish, enhances its longevity, and makes it easier to clean and maintain. Follow these steps to seal the white wash:
- Ensure the White Wash is Completely Dry: Before proceeding with sealing, make sure that the white wash is completely dry. This typically takes 24-48 hours, but drying times can vary depending on the temperature and humidity.
- Select a Clear Sealant or Wax: Choose a clear sealant or wax that is compatible with the type of white wash you used. Polyurethane, varnish, or furniture wax are commonly used options for sealing white washed wood surfaces. These products come in various finishes, such as matte, satin, or gloss, so choose one that suits your desired final look.
- Apply the Sealant or Wax: Using a lint-free cloth or a brush, apply an even coat of the sealant or wax to the entire white washed surface of the furniture. Work in long, smooth strokes, following the direction of the wood grain. Make sure to cover the surface evenly and avoid leaving any drips or streaks.
- Follow Manufacturer’s Instructions: Different sealants and waxes may have varying instructions and drying times. Follow the manufacturer’s recommendations regarding the application process, the number of coats to apply, and the drying time between coats.
- Allow Sufficient Drying Time: After applying the first coat of sealant or wax, allow it to dry completely. This usually takes a few hours, but it’s best to refer to the product instructions for specific drying times.
- Apply Additional Coats (Optional): Depending on the level of protection and sheen you desire, you may choose to apply additional coats of sealant or wax. Each additional coat will further enhance the durability and appearance of the white wash. Follow the manufacturer’s recommendations for drying time between coats.
Sealing the white wash adds a protective layer to the finish, making it more resistant to stains, moisture, and daily wear and tear. It also enhances the overall sheen and can deepen the color of the white wash, depending on the sealant or wax you choose.
Once the sealant or wax has dried completely, your white washed furniture is ready to be displayed and enjoyed in your home! Don’t forget to follow any additional care recommendations provided by the manufacturer of the sealant or wax.
Congratulations! You have successfully completed the process of white washing and sealing your wood furniture. The final step is to sit back, admire your work, and enjoy the beautiful, rustic charm that white washing brings to your space.
Now that you have a beautifully white washed piece of furniture, you can explore some additional tips and tricks to enhance your white washing experience. Keep reading to discover some valuable insights!
Read more: How To Lighten Wood Furniture
Tips and Tricks for White Washing Wood Furniture
White washing wood furniture can be a rewarding project, and with a few tips and tricks, you can achieve even better results. Consider these helpful suggestions to enhance your white washing experience:
- Test on a Scrap Piece: Before white washing your furniture, it’s a good idea to test the technique on a scrap piece or an inconspicuous area. This will give you a better idea of how the white wash will look on your specific wood and allow you to make any necessary adjustments.
- Experiment with Dilution: Achieving the perfect white wash look often involves finding the right dilution of your white wash solution. Experiment with different ratios of paint to water or different white wash stains to achieve your desired level of opacity and transparency.
- Work in Natural Light: When applying the white wash, try to work in natural light. This will allow you to see the true color and effect of the white wash as you apply it to the furniture. It can also help you identify any areas that may need additional touch-ups or blending.
- Embrace Imperfections: White washing is meant to create a weathered and aged appearance, so embrace and appreciate the imperfections in the wood. Knots, cracks, and variations in the grain add character and charm to the finished piece.
- Use Multiple Layers: If you’re aiming for a more pronounced white wash effect, consider applying multiple layers of the white wash solution. Allow each layer to dry before applying the next, and assess the intensity of the white wash after each layer to achieve the desired look.
- Combine White Wash Techniques: Don’t be afraid to experiment with different white wash techniques. You can combine white wash with distressing or dry brush techniques to add even more character and depth to your furniture.
- Protect Your Work Area: White washing can be a messy process, so make sure to protect your work surface with a drop cloth or plastic sheet. This will catch any spills or drips and make cleanup easier.
- Consider Sealing for Extra Protection: While sealing the white wash is optional, it can help protect the finish and extend its lifespan. Consider applying a clear sealant or furniture wax to add a protective layer and enhance the durability of the white wash.
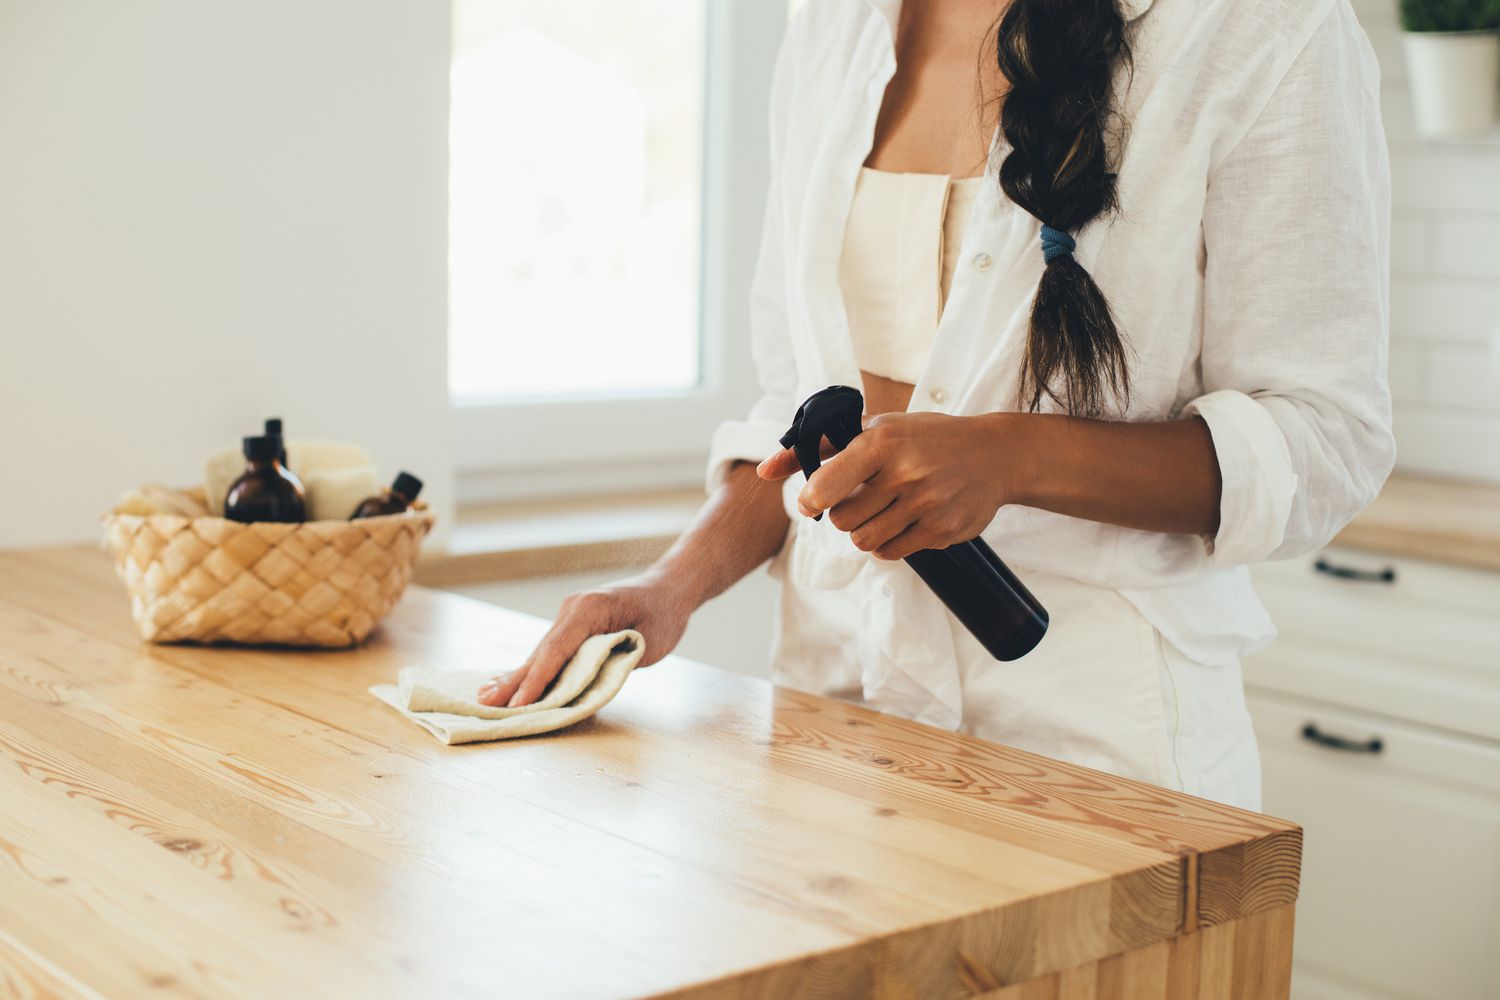
- Regularly Dust and Clean: To maintain the appearance of your white washed furniture, regularly dust it with a soft cloth or use a gentle cleaning solution. Avoid using harsh chemicals or abrasive cleaners, as they can damage the white wash finish.
- Enjoy the Process: Above all, enjoy the process of white washing your furniture! It’s a creative and transformative project that allows you to bring new life to your old or worn-out pieces. Take your time, be patient, and have fun experimenting with different techniques and finishes.
Following these tips and tricks will help you achieve the best results when white washing your wood furniture. Remember that white washing is a versatile technique, so feel free to adapt and personalize it to suit your style and preferences.
Now that you have a wealth of knowledge and insight, you can confidently embark on your white washing journey. Whether you’re refreshing a beloved piece of furniture or giving new life to a thrifted find, white washing is a fantastic way to add character and charm to your home.
Happy white washing!
Do you need any more assistance?
Conclusion
Congratulations! You have reached the end of our comprehensive guide on how to white wash wood furniture. We have explored the technique of white washing, its benefits, and the step-by-step process to achieve a beautiful, rustic look for your furniture.
White washing wood furniture offers a range of advantages, including enhancing the natural beauty of the wood, creating a rustic and aged appearance, and adding versatility to your interior design. By following the steps outlined in this guide, you can transform your furniture into a stunning centerpiece that complements various styles and brings charm to your space.
Remember to properly prepare the surface of your furniture by sanding and cleaning it before applying the white wash solution. Experiment with different ratios and techniques to achieve the desired transparency and texture. Remove any excess white wash and consider sealing it for added protection and durability.
Throughout the process, enjoy the creative journey and embrace the imperfections that make each piece of furniture unique. White washing allows the natural grain and character of the wood to shine through, adding a touch of authenticity and charm to your home.
As you embark on your white washing adventure, don’t forget to test the technique on a small area and protect your work area from spills or drips. Regularly dust and clean your white washed furniture to maintain its appearance and extend its lifespan.
We hope that this guide has provided you with valuable insights, tips, and tricks to successfully white wash your wood furniture. Embrace your creativity, experiment with different finishes, and enjoy the process of transforming your furniture into stunning pieces that reflect your personal style.
Now, it’s time to roll up your sleeves, gather your tools, and embark on your white washing journey. Remember, there are no right or wrong results when it comes to white washing, so let your imagination and personal style guide you.
Happy white washing!
Is there anything else you would like to know or any other assistance we can provide?
Frequently Asked Questions about How To White Wash Wood Furniture
Was this page helpful?
At Storables.com, we guarantee accurate and reliable information. Our content, validated by Expert Board Contributors, is crafted following stringent Editorial Policies. We're committed to providing you with well-researched, expert-backed insights for all your informational needs.

0 thoughts on “How To White Wash Wood Furniture”