Articles
How To Restain A Cabinet
Modified: January 19, 2024
Learn how to restain your cabinet with our expert tips and tricks. Create a stunning interior design with our step-by-step guide.
(Many of the links in this article redirect to a specific reviewed product. Your purchase of these products through affiliate links helps to generate commission for Storables.com, at no extra cost. Learn more)
Introduction
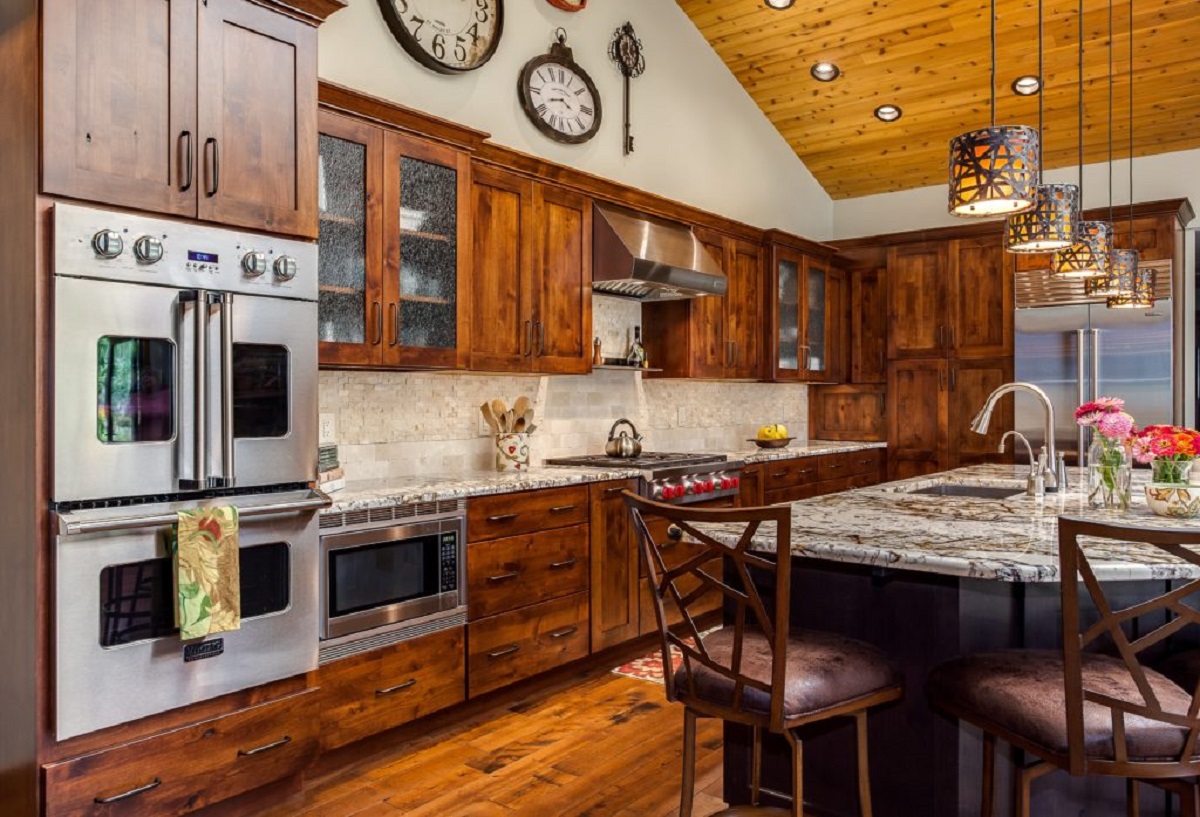
Restaining a cabinet can be a cost-effective and rewarding way to breathe new life into your outdated or worn-out cabinetry. Whether you’re looking to update the look of your kitchen or give your bathroom a fresh new aesthetic, the process of restaining a cabinet can be a fun and fulfilling DIY project.
Not only does restaining a cabinet allow you to customize the color and finish to match your desired style, but it also helps to protect the wood and extend the life of your cabinets. With a few basic supplies and some patience, you can easily transform your cabinets into beautiful focal points that enhance the overall design of any space.
Before diving into the process, it’s important to gather all the necessary supplies. This will ensure a smooth and successful restaining experience. The key supplies you’ll need include:
- Stain of your choice
- Sandpaper (medium and fine grit)
- Paintbrushes or foam applicators
- Rags or lint-free cloths
- Drop cloths or newspapers
- Painter’s tape
- Wood cleaner or degreaser
- Wood putty (if needed)
- Sealant (optional)
Now that you have all the necessary supplies, let’s dive into the step-by-step process of restaining a cabinet.
Key Takeaways:
- Restaining your cabinets is a cost-effective way to revitalize your space, offering endless design possibilities. Follow the step-by-step process to achieve professional-looking results and prolong the lifespan of your cabinets.
- Patience and attention to detail are key when restaining cabinets. From prep work to applying the stain and optional sealing, each step contributes to achieving a beautiful and long-lasting finish. Enjoy the process and embrace the satisfaction of transforming your cabinets.
Read more: How To Restain Fence
Supplies Needed
Before starting the process of restaining your cabinets, it’s essential to gather all the necessary supplies. Having everything on hand will ensure a smooth and efficient project. Here are the key supplies you’ll need:
- Stain: Choose a stain color that complements your desired aesthetic. Whether you prefer a light or dark shade, make sure it matches your overall design scheme.
- Sandpaper: You’ll need both medium and fine grit sandpaper to prepare the cabinet surfaces. The medium grit sandpaper helps remove the existing finish, while the fine grit smooths out any rough patches.
- Paintbrushes or foam applicators: These are essential for applying the stain smoothly and evenly. Choose brushes or foam applicators that are appropriate for the size of the cabinet surfaces.
- Rags or lint-free cloths: These will be used for applying the stain, wiping away excess stain, and buffing the surface. Make sure they are lint-free to avoid leaving any fibers on the cabinet surfaces.
- Drop cloths or newspapers: To protect the surrounding area from any spills or drips, lay down drop cloths or newspapers. This will help make the cleanup process easier.
- Painter’s tape: Use painter’s tape to mask off any areas you don’t want to stain, such as hinges or hardware. It ensures clean lines and prevents unintentional stain application.
- Wood cleaner or degreaser: Before staining, it’s crucial to clean the cabinet surfaces to remove any dirt, grease, or residue. Use a wood cleaner or degreaser to ensure proper adhesion of the stain.
- Wood putty (if needed): If your cabinets have any holes, dings, or imperfections, use wood putty to fill them in. This will result in a smooth and flawless finish.
- Sealant (optional): If you want to add an extra layer of protection and sheen to your cabinets, consider using a sealant. This can help prevent damage from moisture, scratches, and fading.
By gathering these supplies, you’ll be fully prepared to embark on your cabinet restaining journey. So let’s move on to the step-by-step process of restaining your cabinets and bringing them back to life.
Step 1: Remove Hardware and Doors
Before you can begin restaining your cabinets, it’s important to remove the hardware and doors. This will allow you to work on the cabinet surfaces more easily and ensure a thorough stain application. Follow these steps to safely and effectively remove the hardware and doors:
- Gather necessary tools: To remove the hardware, you may need a screwdriver, Allen wrench, or any other tools specific to your cabinet hardware.
- Prepare your workspace: Lay down a drop cloth or newspapers to protect the floor or countertop from any scratches or damage.
- Label the hardware: To avoid confusion when reassembling, it’s wise to label each piece of hardware and its corresponding location using small adhesive labels or masking tape. This will make the reinstallation process much easier.
- Remove cabinet doors: Use a screwdriver or Allen wrench to remove the screws or fasteners connecting the cabinet doors to the hinge. Place the screws in a safe place to avoid misplacing them.
- Remove hardware: Unscrew or unclip any knobs, handles, or other hardware from the cabinet frames. Keep the hardware in labeled bags or containers to prevent any loss or confusion.
- Store hardware and doors safely: Once you have removed the hardware and doors, store them in a safe and clean area. This will prevent any damage or loss during the restaining process.
By removing the hardware and doors, you’ll have easy access to the cabinet surfaces, allowing you to prepare and stain them more effectively. With this step completed, you’re ready to move on to the next phase of the restaining process.
Step 2: Prep the Cabinet Surfaces
Properly preparing the cabinet surfaces is crucial for a successful restaining project. This step involves removing the existing finish and creating a smooth, clean surface for the new stain to adhere to. Follow these steps to effectively prep the cabinet surfaces:
- Clean the surfaces: Start by cleaning the cabinet surfaces using a wood cleaner or degreaser. This will remove any dirt, grease, or residue that may hinder the stain’s adhesion. Use a cloth or sponge to wipe down all the surfaces thoroughly.
- Remove the existing finish: Use medium grit sandpaper to lightly sand the cabinet surfaces. This will help remove the existing finish or varnish and promote better adhesion of the new stain. Sand in the direction of the wood grain, using smooth and even strokes. Be careful not to sand too aggressively, as it can damage the wood.
- Smooth out any imperfections: If there are any dents, scratches, or holes in the cabinets, use wood putty to fill them in. Apply the putty using a putty knife and smooth it out to create a level surface. Allow the putty to dry according to the manufacturer’s instructions, and then sand the patched areas lightly with fine grit sandpaper to create a seamless finish.
- Remove sawdust: After sanding, use a cloth or a vacuum cleaner to remove any sawdust or debris from the cabinet surfaces. It’s essential to have clean surfaces before applying the stain.
- Protect surrounding areas: Use painter’s tape to mask off any areas that you don’t want to stain, such as walls or countertops adjacent to the cabinets. This will ensure clean lines and prevent accidental stain application.
By thoroughly prepping the cabinet surfaces, you’ll create a solid foundation for the restaining process. This step not only removes the existing finish but also ensures a clean and smooth surface for the new stain to adhere to. With your cabinets properly prepped, you’re now ready to proceed to the next step: applying the stain.
Step 3: Apply the Stain
With the cabinet surfaces prepped and ready, it’s time to apply the stain to achieve the desired color and finish. Follow these steps to ensure an even and professional-looking stain application:
- Read the stain instructions: Start by carefully reading the instructions on the stain can. Different stains may have specific application techniques or drying times, so it’s important to understand the manufacturer’s recommendations.
- Stir the stain: Before applying the stain, give it a good stir to ensure an even consistency. This will help distribute the color pigments throughout the stain mixture.
- Start with a test application: To ensure you achieve the desired color, it’s recommended to do a small test application in an inconspicuous area of the cabinet. This will allow you to see how the stain looks on your particular wood surface and make any necessary adjustments.
- Apply the stain: Using a paintbrush or foam applicator, apply the stain in long, even strokes following the wood grain. Work on one cabinet section at a time to prevent any unevenness. Apply a generous amount of stain, allowing it to penetrate the wood surface.
- Wipe off excess stain: After applying the stain, use a clean cloth or rag to gently wipe off any excess stain. This will help achieve a more uniform color and prevent the stain from pooling or drying unevenly.
- Check for any inconsistencies: Inspect the cabinets closely for any areas where the stain may have accumulated or dried unevenly. If necessary, use a clean cloth or brush to feather out any dark spots or excess stain.
Remember to work in small sections and maintain a consistent application technique throughout. It’s essential to achieve a smooth and even stain coverage for a professional-looking result. Once you have applied the stain and removed excess, allow it to dry completely before moving on to the next steps.
Continue to the next step to learn about allowing the stain to dry and potentially apply a second coat for a deeper color if desired.
Before restaining a cabinet, make sure to thoroughly sand the surface to remove the old finish. Apply the new stain in thin, even coats and allow each coat to dry completely before adding another layer. Finish with a clear sealant for added protection.
Read more: How To Restain Wood Furniture
Step 4: Allow the Stain to Dry
After applying the stain to your cabinets, it’s important to allow sufficient drying time. This will ensure that the stain properly sets and adheres to the wood surface, resulting in a long-lasting and beautiful finish. Follow these steps to allow the stain to dry effectively:
- Check the stain instructions: Refer to the stain manufacturer’s instructions for the recommended drying time. This can vary depending on the type of stain and environmental factors.
- Provide proper ventilation: It’s important to have adequate airflow in the area where you’re drying the cabinets. Open windows or doors, and use fans or ventilation systems to facilitate the drying process.
- Avoid unnecessary contact: During the drying period, try to avoid touching or using the cabinets to prevent smudging or damaging the newly applied stain.
- Patience is key: Allow ample time for the stain to dry completely. Rushing the process can result in a tacky finish or uneven color distribution.
- Perform a touch test: After the recommended drying time has passed, gently touch a small, inconspicuous area of the cabinets to check if the stain is dry to the touch. If it feels dry and doesn’t transfer onto your finger, the cabinets are ready for the next steps.
Remember that drying times can vary depending on factors such as humidity, temperature, and the type of stain used. It’s always better to err on the side of caution and allow the stain to dry for the recommended duration. Taking the necessary time to let the stain dry properly will ensure a beautiful and durable finish.
If you’re looking to achieve a deeper color or more saturation, you may consider applying a second coat of stain. However, this step is optional and depends on your desired outcome. If you’re satisfied with the current color and coverage, move on to the next steps. Otherwise, continue to the next step for instructions on applying a second coat of stain.
Step 5: Apply a Second Coat (Optional)
Applying a second coat of stain can deepen the color and enhance the richness of the finish. This step is optional and is recommended if you want a more intense or saturated look. Follow these steps to apply a second coat of stain:
- Assess the first coat: Before applying a second coat, evaluate the color and coverage of the first coat. If you’re satisfied with the current result, a second coat may not be necessary.
- Wait for the first coat to dry: Ensure that the first coat of stain is completely dry before proceeding with the second coat. Refer to the manufacturer’s instructions for the recommended drying time.
- Lightly sand the surface: To create a smooth surface for the second coat, lightly sand the cabinets using fine grit sandpaper. This will help remove any raised fibers and promote better adhesion of the new stain.
- Apply the second coat: Using the same technique as the first coat, apply the second coat of stain in long, even strokes following the wood grain. Ensure that the stain is applied evenly and consistently across all surfaces.
- Wipe off excess stain: After applying the second coat, gently wipe off any excess stain with a clean cloth or rag. This will help achieve a more uniform color and prevent the stain from pooling or drying unevenly.
- Allow the stain to dry: Similar to the first coat, allow the second coat of stain to dry completely. Follow the recommended drying time specified by the stain manufacturer.
Remember that applying a second coat of stain intensifies the color, so it’s important to evaluate your cabinets after the first coat and decide if the additional richness is desired. Keep in mind that the drying time for the second coat may be longer than the initial coat due to the additional layers of stain.
Once the second coat is dry, move on to the optional step of sealing the stained cabinets for added protection and longevity.
Step 6: Seal the Stained Cabinets (Optional)
Sealing the stained cabinets is an optional step but highly recommended for added protection and to prolong the life of the finish. A sealant provides a barrier against moisture, scratches, and fading, ensuring that your cabinets stay beautiful for years to come. Follow these steps to seal the stained cabinets:
- Select an appropriate sealant: There are various sealant options available, such as polyurethane, varnish, or lacquer. Choose a sealant that is compatible with your chosen stain and provides the desired level of sheen.
- Ensure proper ventilation: When applying the sealant, make sure you have good ventilation in the area. Open windows or use fans to minimize the fumes and allow for better air circulation.
- Stir the sealant: Before applying the sealant, stir it gently to ensure that any settled particles are properly mixed.
- Apply the sealant: Use a clean brush or foam applicator to apply an even coat of sealant onto the stained cabinets. Work in small sections and follow the grain of the wood for a uniform application. Avoid excessive brushing or over-application to prevent drips and visible brush strokes.
- Allow the sealant to dry: Follow the instructions provided by the sealant manufacturer for the recommended drying time. It’s crucial to allow sufficient drying time to ensure that the sealant forms a protective barrier.
- Sand between coats (optional): If desired, you can lightly sand the dried sealant with fine grit sandpaper between coats to achieve a smoother finish. This step helps remove any imperfections and promotes better adhesion of subsequent coats.
- Repeat the sealing process: Apply additional coats of sealant as per your preference. Each coat adds an extra layer of protection and enhances the durability of the finish. Remember to let each coat dry completely before applying the next.
Sealing the stained cabinets provides an extra layer of protection, enhances the beauty of the finish, and helps preserve the wood surface. It’s recommended to follow the manufacturer’s instructions for the specific sealant you choose, as drying times and application techniques can vary. When the sealant is fully dry, move on to the final step of reattaching the hardware and doors.
Step 7: Reattach Hardware and Doors
After the stained cabinets and sealant have dried completely, it’s time to reattach the hardware and doors. This final step brings everything together and completes the cabinet restaining process. Follow these steps to reattach the hardware and doors:
- Organize the hardware: Lay out the hardware in the order they were removed, keeping any labeled bags or containers nearby for easy reference.
- Align the doors: Start by aligning the cabinet doors with their corresponding hinges. Use a screwdriver or Allen wrench to reattach the screws or fasteners. Ensure that the doors are level and aligned properly.
- Attach hardware: Now, attach the knobs, handles, or other hardware onto the cabinet frames. Use the previously labeled bags or containers to easily identify the correct placement of each piece.
- Tighten hardware securely: Make sure all the hardware is tightened securely but be careful not to overtighten, as it can damage the cabinet surfaces.
- Double-check alignment: Once all the hardware and doors are reattached, double-check that everything is correctly aligned and functioning smoothly. Adjust as necessary to ensure proper fit and operation.
Reattaching the hardware and doors completes the restaining process, transforming your cabinets into stunning focal points in your space. Take a step back and admire your beautifully restained cabinets, showcasing your hard work and attention to detail.
Remember to handle the cabinets with care during the reattaching process to avoid any accidental damage or scratches. With the hardware and doors securely in place, your cabinet restaining project is now complete. Enjoy the renewed beauty and freshness of your revitalized cabinets for years to come!
Read more: How To Restain A Coffee Table
Conclusion
Restaining your cabinets can be a rewarding and cost-effective way to refresh the look of your space. By following the step-by-step process outlined in this guide, you can achieve professional-looking results that will transform your cabinets into stunning focal points. From removing the hardware and doors to prepping the cabinet surfaces, applying the stain, and potentially sealing the finish, each step plays a crucial role in achieving a beautiful and long-lasting outcome.
Throughout the restaining process, it’s important to be patient and pay attention to detail. Take the time to properly clean, sand, stain, and seal your cabinets, ensuring thorough and even coverage. Don’t be afraid to experiment with different stain colors or techniques to achieve your desired aesthetic. Whether you prefer a natural, rustic look or a more modern and bold finish, the possibilities are endless.
Remember that safety should always be a priority. Use appropriate protective gear, work in well-ventilated areas, and follow the instructions provided by the stain and sealant manufacturers. Additionally, make sure to properly dispose of any waste materials and clean up after completing the project.
By restaining your cabinets, you can transform your space on a budget while adding a personal touch to your home. Not only will you revitalize the appearance of your cabinets, but you’ll also prolong their lifespan and enhance their durability. So, roll up your sleeves, gather your supplies, and embark on this DIY project to give your cabinets a fresh and stunning makeover.
Remember, practice makes perfect, so don’t be discouraged if your first attempt isn’t flawless. With each restaining project, you’ll gain experience and refine your skills. So, enjoy the process, express your creativity, and embrace the satisfaction of turning your outdated cabinets into beautiful pieces that enhance the overall design and aesthetics of your space.
Frequently Asked Questions about How To Restain A Cabinet
Was this page helpful?
At Storables.com, we guarantee accurate and reliable information. Our content, validated by Expert Board Contributors, is crafted following stringent Editorial Policies. We're committed to providing you with well-researched, expert-backed insights for all your informational needs.


0 thoughts on “How To Restain A Cabinet”