Articles
How To Reverse Hunter Ceiling Fan
Modified: August 27, 2024
Learn how to reverse your hunter ceiling fan easily with our informative articles. Discover tips and tricks to optimize its performance and enjoy comfortable airflow in any season.
(Many of the links in this article redirect to a specific reviewed product. Your purchase of these products through affiliate links helps to generate commission for Storables.com, at no extra cost. Learn more)
Introduction
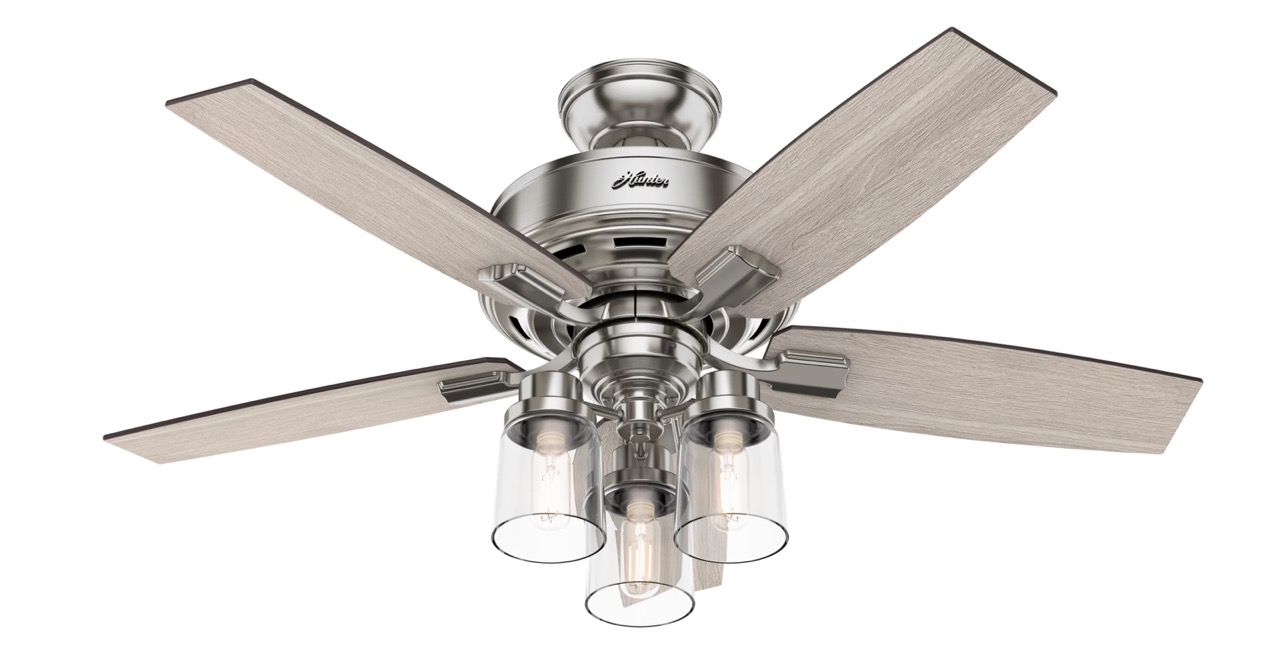
When it comes to keeping your home cool and comfortable, ceiling fans are a popular choice. Not only do they circulate air to create a gentle breeze, but they can also help to lower energy costs by reducing the need for air conditioning. Hunter is a well-known brand that offers a wide range of ceiling fans, and many models come with a useful feature – the ability to reverse the fan direction.
Reversing the direction of your Hunter ceiling fan can be beneficial in different seasons. During the summer months, you can set the fan to rotate counterclockwise to create a cooling effect. In the colder months, you can switch the fan to rotate clockwise to push warm air down from the ceiling and distribute it evenly throughout the room. This can help to keep your home warm and cozy without relying solely on heating systems.
If you’re unsure how to reverse the direction of your Hunter ceiling fan, don’t worry. In this article, we’ll guide you through the process, step by step. With a few simple adjustments, you’ll be able to enjoy the versatile functionality of your ceiling fan all year round.
Key Takeaways:
- Easily switch your Hunter ceiling fan between summer and winter modes for optimal comfort and energy efficiency. Just follow the step-by-step guide to safely reverse the fan direction and enjoy year-round benefits.
- Reversing your Hunter ceiling fan’s direction is a simple process that can enhance cooling in summer and improve warmth distribution in winter. Prioritize safety, follow the steps, and enjoy versatile functionality all year round.
Read more: How To Wire Hunter Ceiling Fan
Step 1: Turn Off Power Supply
Before you begin any work on your Hunter ceiling fan, it is crucial to ensure your safety by turning off the power supply. This step will help prevent any accidents or injuries while you handle the fan.
Start by locating the electrical panel in your home. Typically, it is found in a basement, utility room, or garage. Open the panel cover and look for the circuit breaker that controls the power to the room where your ceiling fan is installed.
Identify the specific circuit breaker by checking the label or flipping the switches one by one. Once you have located the correct breaker, switch it to the “off” position. This will cut off the power supply to the fan and ensure that it is completely shut off.
For an added layer of safety, it is also a good practice to use a non-contact voltage tester to confirm that there is no electrical current flowing to the fan. This small handheld device detects the presence of voltage and will help you verify that the power is indeed turned off.
Remember, electrical work can be dangerous, so always err on the side of caution and take the necessary precautions to keep yourself safe.
Step 2: Locate the Reverse Switch
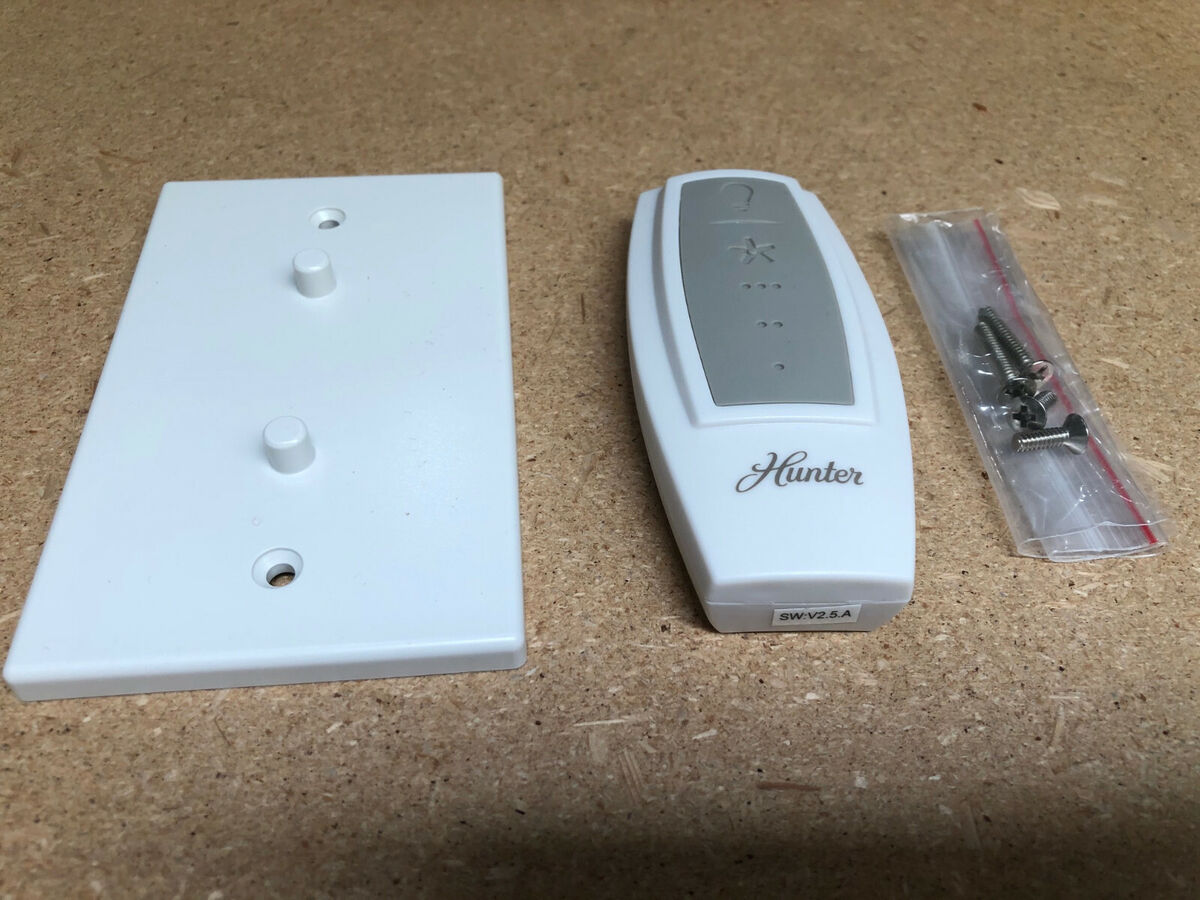
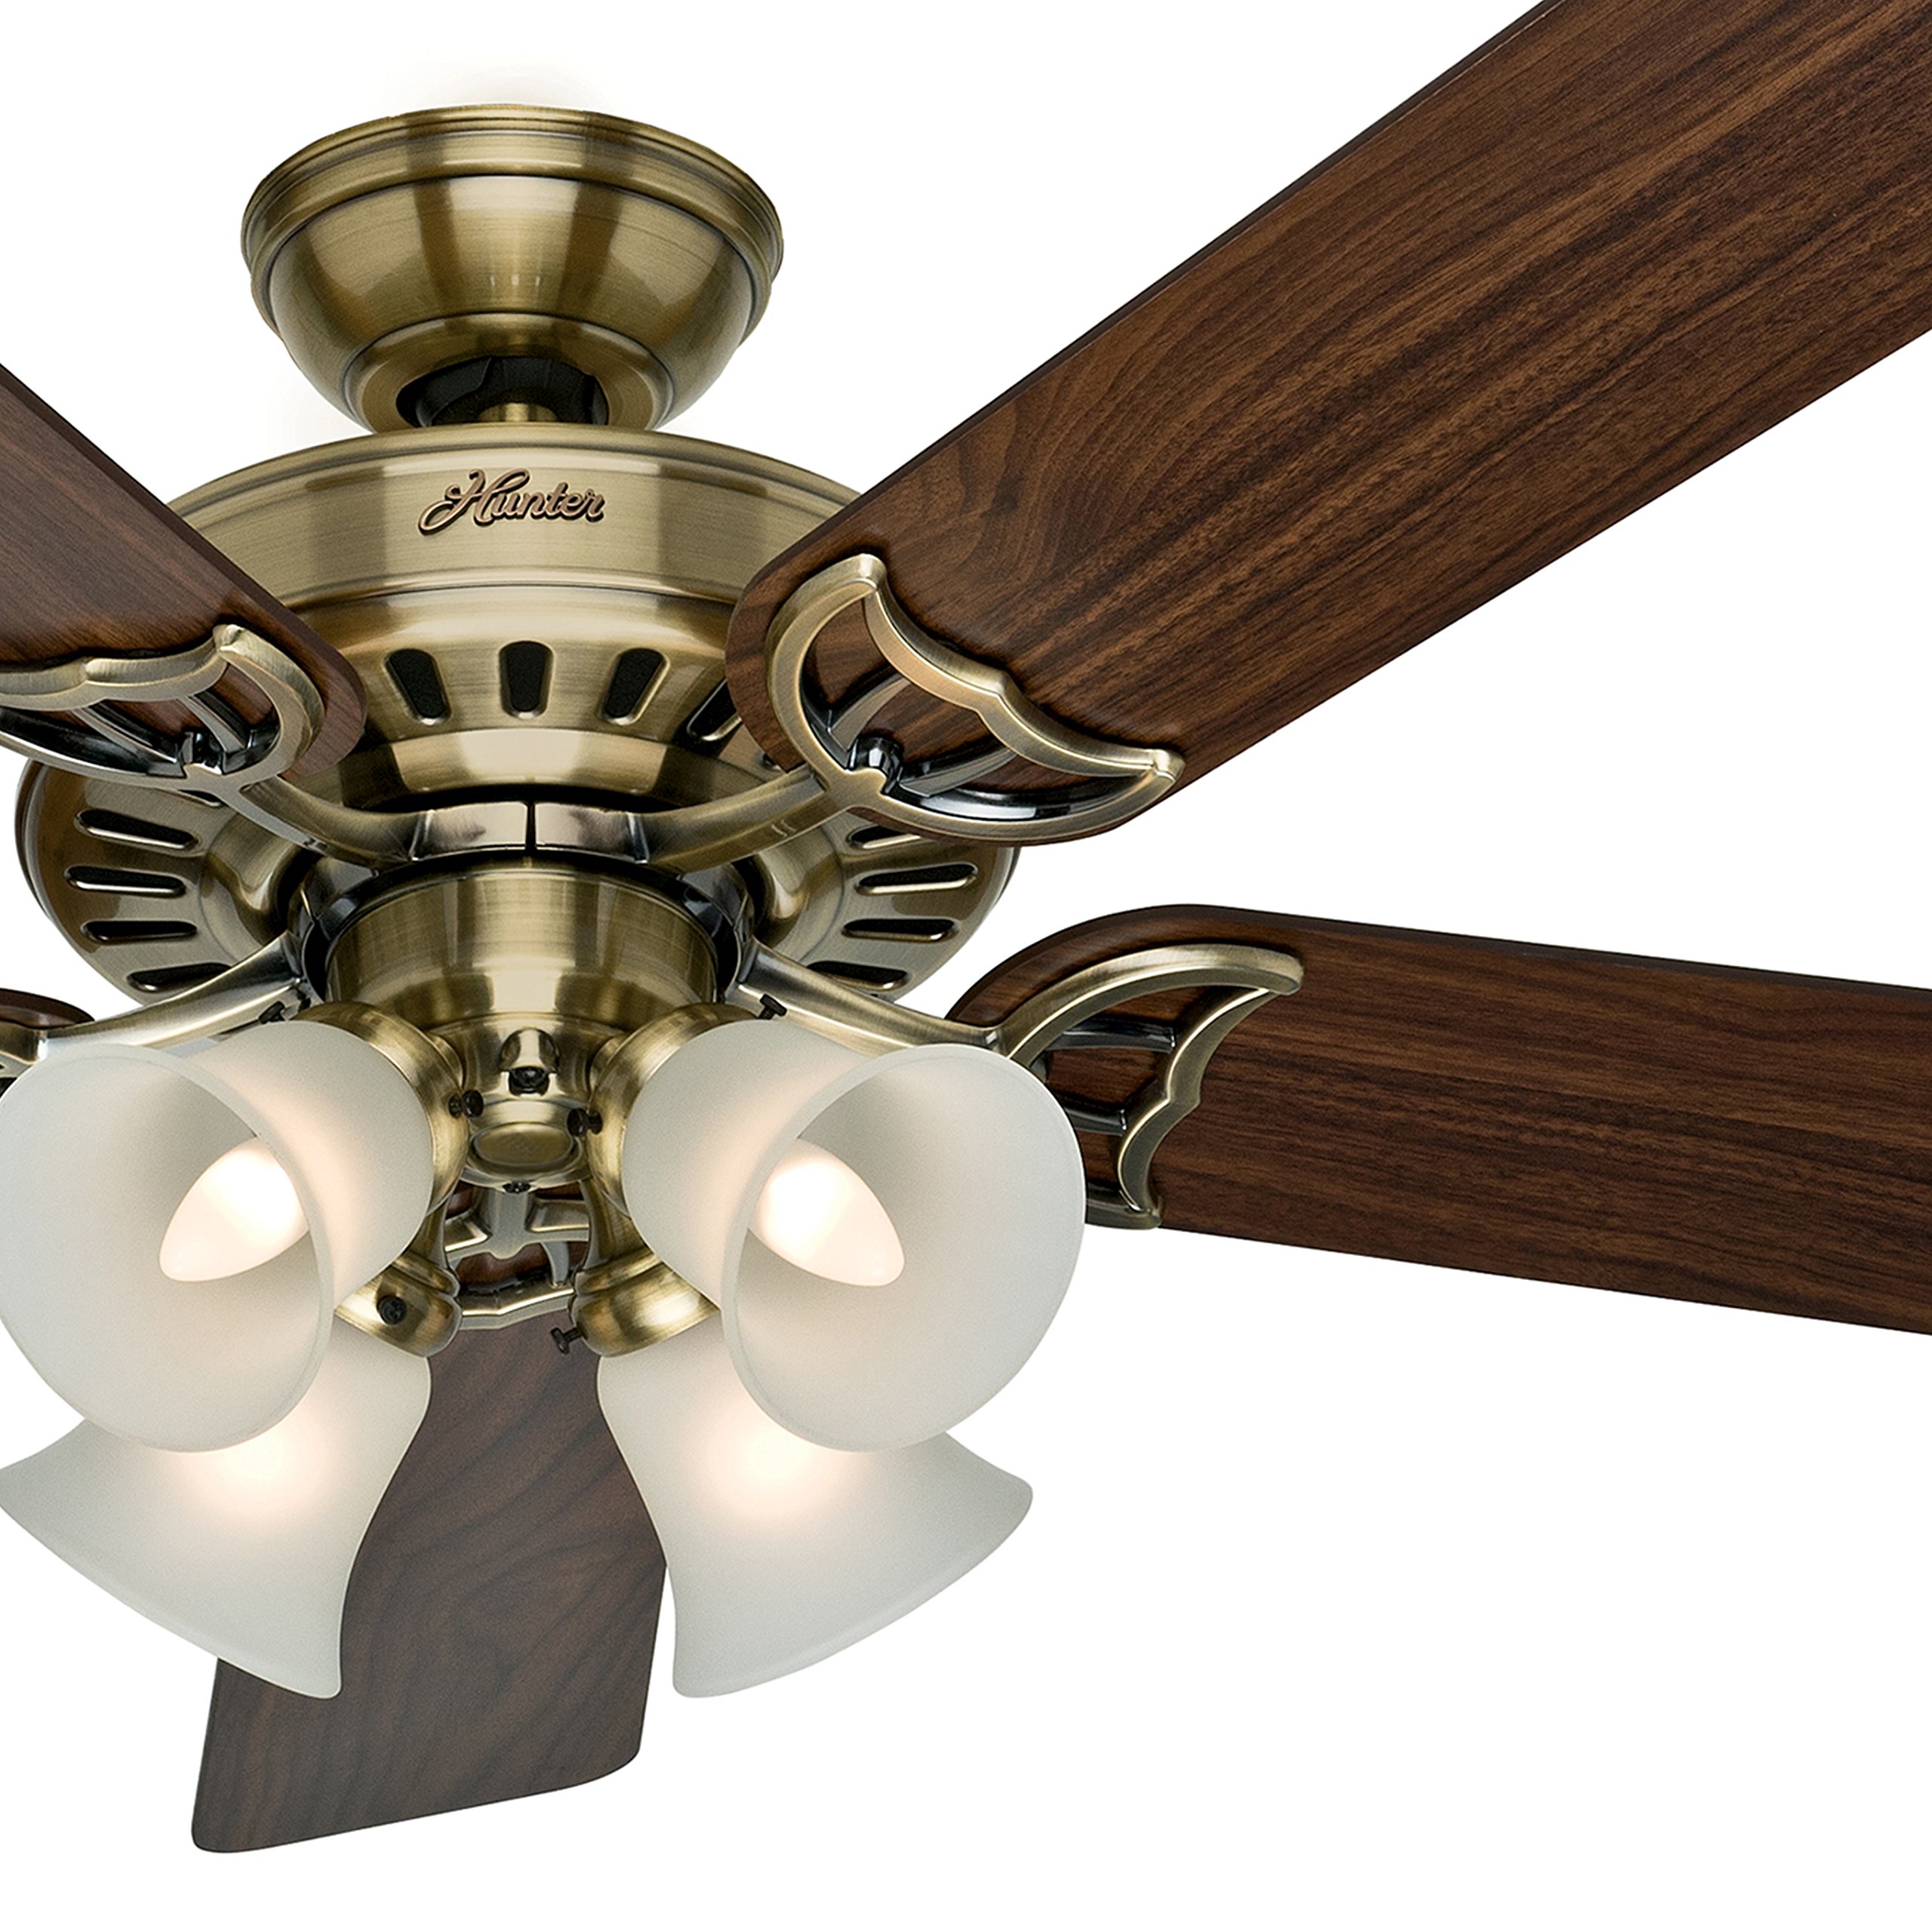
Once you have turned off the power supply to your Hunter ceiling fan, the next step is to locate the reverse switch. The position of the reverse switch may vary depending on the model of your fan, but it is typically located on the fan housing or motor.
Start by inspecting the fan housing or motor for any visible buttons, switches, or labels that indicate the presence of a reverse switch. Some Hunter ceiling fans have a dedicated reverse switch, while others may have a combined reverse and speed control switch.
If you are unsure about the location of the reverse switch, refer to the owner’s manual that came with your Hunter ceiling fan. The manual will provide detailed instructions on how to locate and operate the reverse switch specific to your model.
Alternatively, you can also visit the Hunter website and search for your fan model. The website may have resources such as FAQs or instructional videos that can help you locate the reverse switch more easily.
Take your time to find the reverse switch and familiarize yourself with its position. This will ensure that you are ready to make the necessary adjustments in the next steps.
Step 3: Access the Reverse Switch
Now that you have identified the location of the reverse switch on your Hunter ceiling fan, it’s time to access it. This step involves safely removing any covers or panels that are obstructing the switch.
Start by carefully inspecting the fan housing or motor for any screws or clips that are holding the cover or panel in place. Use a screwdriver or appropriate tool to remove these fasteners, taking care not to damage the fan or yourself in the process.
Once the fasteners have been removed, gently pull or lift the cover or panel to gain access to the reverse switch. Be cautious as you handle the cover or panel, as it may have sharp edges or be connected to the fan by wires.
If you are having trouble removing the cover or panel, refer to the owner’s manual for specific instructions on how to access the reverse switch. The manual may provide additional guidance or tips based on the design of your Hunter ceiling fan.
During this step, it is important to be patient and gentle. Take your time to ensure that you remove the covers or panels safely and without causing any damage. This will allow you to easily access the reverse switch and proceed with the next steps of the process.
Make sure to turn off the power to the fan before attempting to reverse it. Look for the switch on the motor housing or the remote control to change the direction of the fan blades.
Step 4: Adjust the Reverse Switch
Now that you have accessed the reverse switch on your Hunter ceiling fan, it’s time to adjust its position to change the fan direction. By flipping the switch, you can switch between the summer and winter modes of operation.
Typically, for most Hunter ceiling fans, flipping the reverse switch in one direction will set the fan to rotate counterclockwise, creating a cooling breeze. Flipping the switch in the opposite direction will set the fan to rotate clockwise, pushing warm air down from the ceiling.
Refer to the owner’s manual or any instructions provided by Hunter for your specific model to determine the correct direction for summer and winter settings. The manual will also provide guidance on how to adjust the reverse switch and ensure it is properly aligned.
Using your fingers or a small tool, carefully flip the reverse switch in the desired direction. Take care not to force the switch, and ensure that it clicks into place securely. This will ensure that the fan operates correctly in the chosen direction.
If you encounter any difficulties or the reverse switch does not seem to move or stay in position, consider consulting the Hunter customer support or a professional electrician for assistance. They will be able to provide guidance and ensure that the switch is adjusted correctly to achieve the desired fan direction.
Once you have adjusted the reverse switch, move on to the next step to test the fan direction and ensure that the adjustment was successful.
Read more: How To Remove A Hunter Ceiling Fan
Step 5: Test the Fan Direction
After adjusting the reverse switch on your Hunter ceiling fan, it’s time to test the fan direction to ensure it is rotating as desired. This step will help you verify that the adjustments you made in the previous steps were successful.
To test the fan direction, turn on the power supply to the fan by flipping the circuit breaker back to the “on” position. Ensure that you are at a safe distance from the fan before doing so.
With the power supply restored, observe the movement of the blades and determine if they are rotating in the intended direction. You can use a visual cue, such as a stationary object in the room, to help you assess the direction of airflow.
If the fan is rotating counterclockwise, you have successfully set it to the summer mode, which creates a cooling effect. This is the ideal direction for hot summer days when you want to feel a gentle breeze.
If the fan is rotating clockwise, you have successfully set it to the winter mode, which helps distribute warm air down from the ceiling. This is beneficial during the colder months when you want to optimize heating efficiency and keep the room temperature consistent.
If the fan is not rotating in the desired direction, double-check the position of the reverse switch and make any necessary adjustments. Again, refer to the owner’s manual or contact customer support for further guidance.
It’s important to note that some Hunter ceiling fans may have preset fan speed settings for each direction. If your fan has such settings, ensure they are adjusted to your preference for optimal comfort and airflow.
Once you are satisfied with the fan direction, move on to the final step to complete the process.
Step 6: Reset the Power Supply
After testing the fan direction and confirming that it is operating as desired, it’s time to reset the power supply to your Hunter ceiling fan. This final step ensures that the fan is ready for regular use and restores the electrical connection.
To reset the power supply, return to the electrical panel in your home where you initially turned off the circuit breaker. Locate the breaker that controls the power to the room where your fan is installed.
With caution, flip the circuit breaker back to the “on” position. This will restore the power supply to the fan and allow it to function normally. While doing so, ensure that you are at a safe distance from the fan and take care not to touch any exposed wires or components.
Once the circuit breaker is back on, you can test the operation of your Hunter ceiling fan by turning it on using the appropriate control switch or remote. Observe the fan blades, ensuring that they rotate smoothly and quietly.
If the fan operates as expected and there are no signs of any issues or unusual noises, congratulations! You have successfully reversed the direction of your Hunter ceiling fan and can enjoy the benefits it offers in both warm and cold seasons.
However, if you encounter any problems or notice any abnormalities in the fan’s operation, it’s recommended to consult the owner’s manual or contact Hunter customer support for assistance. They will be able to offer further troubleshooting steps or provide guidance on resolving any issues that may arise.
With the power supply reset and the fan functioning properly, you can now sit back, relax, and enjoy the year-round comfort and energy efficiency provided by your Hunter ceiling fan.
Conclusion
Reversing the direction of your Hunter ceiling fan is a simple yet valuable feature that allows you to optimize comfort and energy efficiency in your home. By following the steps outlined in this guide, you can easily adjust the fan direction to suit your needs in different seasons.
Starting with turning off the power supply, locating the reverse switch, and accessing it, you can then proceed to adjust the switch to the desired direction. Taking the time to test the fan direction ensures that your adjustments were successful. Lastly, resetting the power supply completes the process, allowing you to enjoy the benefits of your Hunter ceiling fan with the correct fan direction.
Remember to always prioritize safety when working with electrical appliances. Ensure that the power supply is turned off before starting any work, and consult the owner’s manual or seek professional assistance if needed.
By utilizing the ability to reverse the fan direction, you can enhance the cooling effect during the summer and improve the distribution of warm air in the winter. This can lead to increased comfort, reduced reliance on heating and cooling systems, and potential energy savings.
Whether you want a gentle breeze on a hot summer day or the cozy warmth during winter nights, your Hunter ceiling fan can provide the versatile functionality you need. So go ahead and make the necessary adjustments to enjoy a comfortable living space all year round!
After mastering how to reverse your Hunter ceiling fan, why stop there? Enhance your knowledge about optimal fan choices with our detailed guide on the latest Hunter fans set to make a splash in 2024. Whether you're seeking features, style, or efficiency, this article has all the insights needed to make a well-informed decision. Don't miss out on finding the perfect Hunter fan for your space.
Frequently Asked Questions about How To Reverse Hunter Ceiling Fan
Was this page helpful?
At Storables.com, we guarantee accurate and reliable information. Our content, validated by Expert Board Contributors, is crafted following stringent Editorial Policies. We're committed to providing you with well-researched, expert-backed insights for all your informational needs.


0 thoughts on “How To Reverse Hunter Ceiling Fan”