
Articles
How To Service AC Unit
Modified: November 2, 2024
Learn how to service your AC unit with these informative articles. Get tips, tricks, and step-by-step guidance to keep your air conditioner running efficiently.
(Many of the links in this article redirect to a specific reviewed product. Your purchase of these products through affiliate links helps to generate commission for Storables.com, at no extra cost. Learn more)
Introduction
Having a properly functioning air conditioning (AC) unit is essential for staying cool and comfortable during hot summer months. However, like any other appliance, AC units require regular maintenance to ensure they continue to operate efficiently and effectively.
In this article, we will guide you through a step-by-step process on how to service your AC unit. By following these simple maintenance tasks, you can prolong the lifespan of your unit, improve its performance, and potentially save on energy costs.
It is important to note that while some maintenance tasks can be performed by homeowners, it is always recommended to hire a professional HVAC technician for more complex issues.
Now, let’s dive into the steps you need to follow to service your AC unit and keep it running smoothly.
Key Takeaways:
- Regularly servicing your AC unit is crucial for optimal performance, energy efficiency, and longevity. Follow the step-by-step guide to keep your unit in excellent condition and enjoy a cool, comfortable indoor environment.
- From cleaning air filters to testing and calibrating the thermostat, each maintenance step plays a crucial role in optimizing the functionality of your AC unit. Invest time and effort into regular maintenance to increase energy efficiency and prevent costly repairs.
Read more: How Often Should You Service Your AC
Step 1: Turn off the power
The first and most important step before starting any maintenance on your AC unit is to ensure that the power supply is turned off. This is crucial for your safety as well as to prevent any potential damage to the unit.
Locate the main power switch for your AC unit. It is usually located near the outdoor condenser unit or in the electrical panel of your home. Switch off the power by flipping the switch to the “off” position. You may also need to shut off the circuit breaker associated with your AC unit.
Once the power is turned off, double-check to make sure that there is no electrical current running to the unit. You can do this by using a voltage tester or by plugging in a different device and confirming that it doesn’t receive power.
Remember, working on an AC unit with the power on can be extremely dangerous. It’s always better to be safe than sorry, so take the time to properly turn off the power before proceeding with any maintenance tasks.
Step 2: Clean or replace air filters
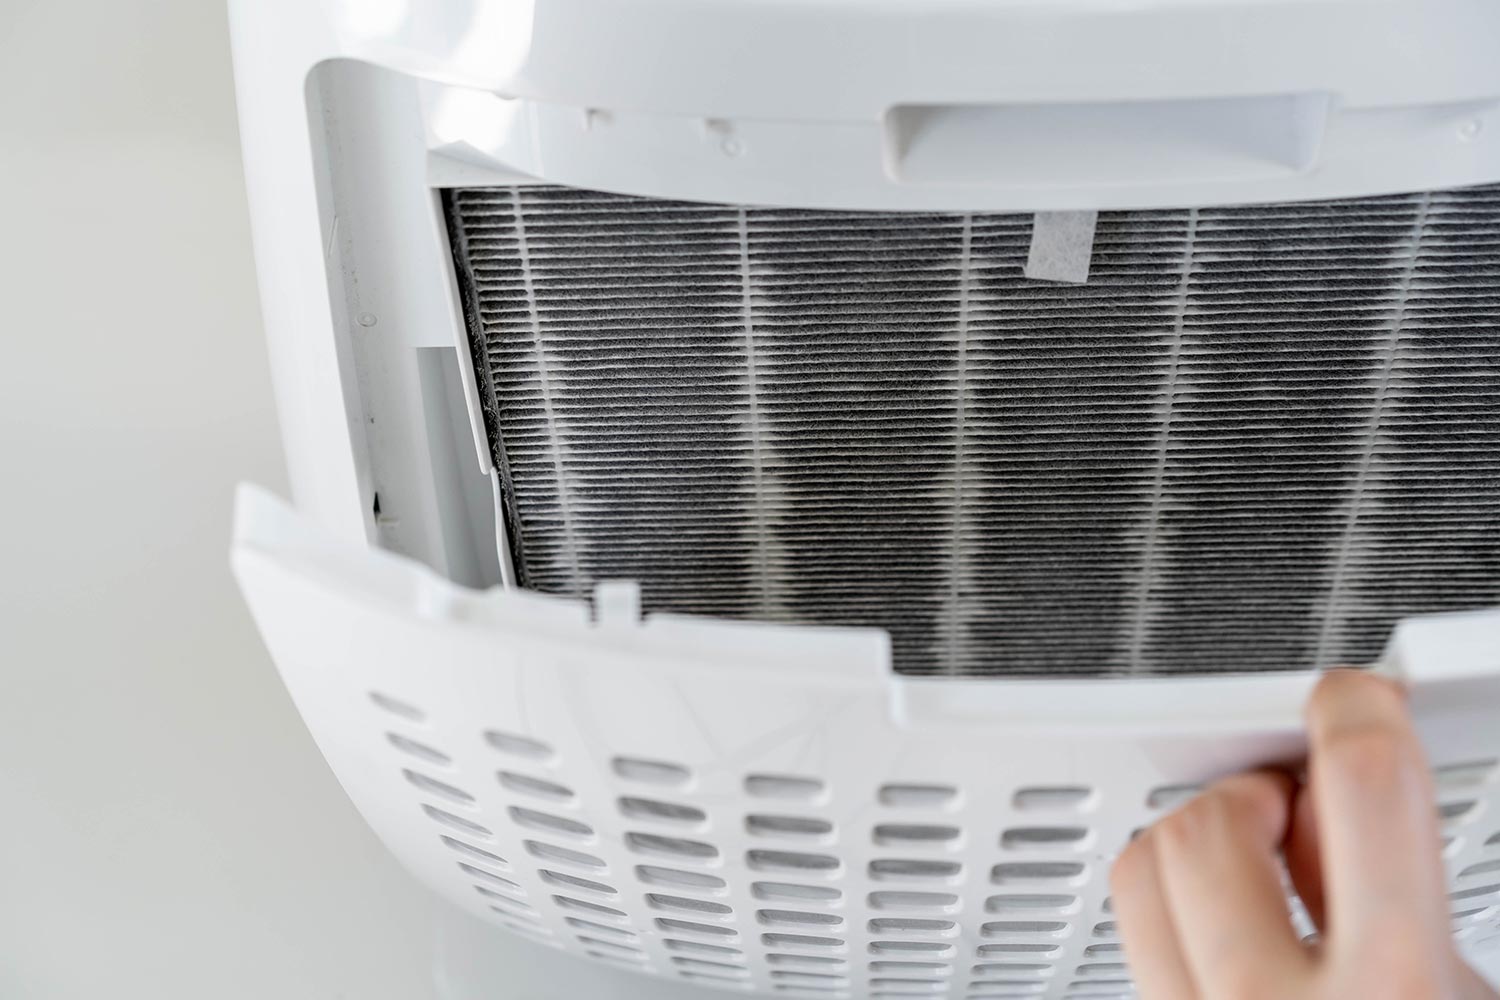
One of the simplest yet most important tasks in maintaining your AC unit is cleaning or replacing the air filters. The air filters play a crucial role in trapping dust, dirt, and other contaminants from entering the system.
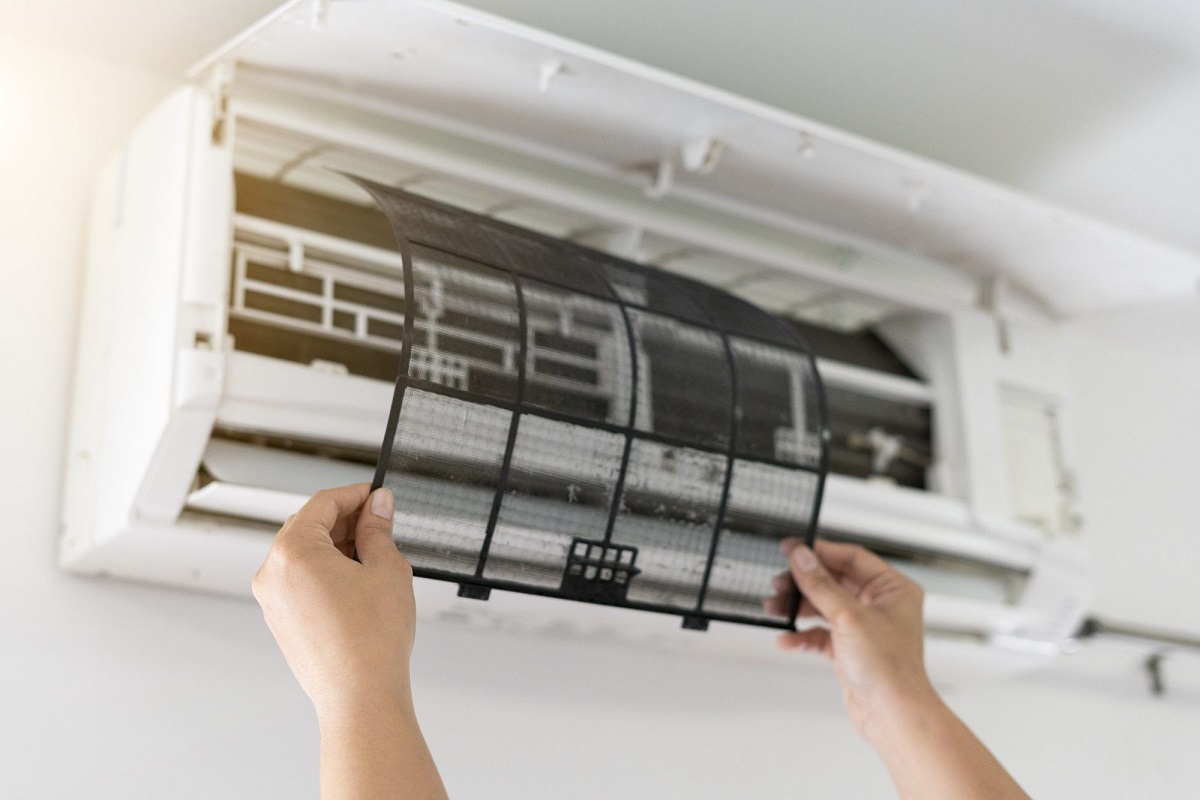
Over time, the air filters can become clogged with debris, which restricts airflow and reduces the efficiency of your AC unit. This not only puts extra strain on the system but also affects the quality of the air circulating in your home.
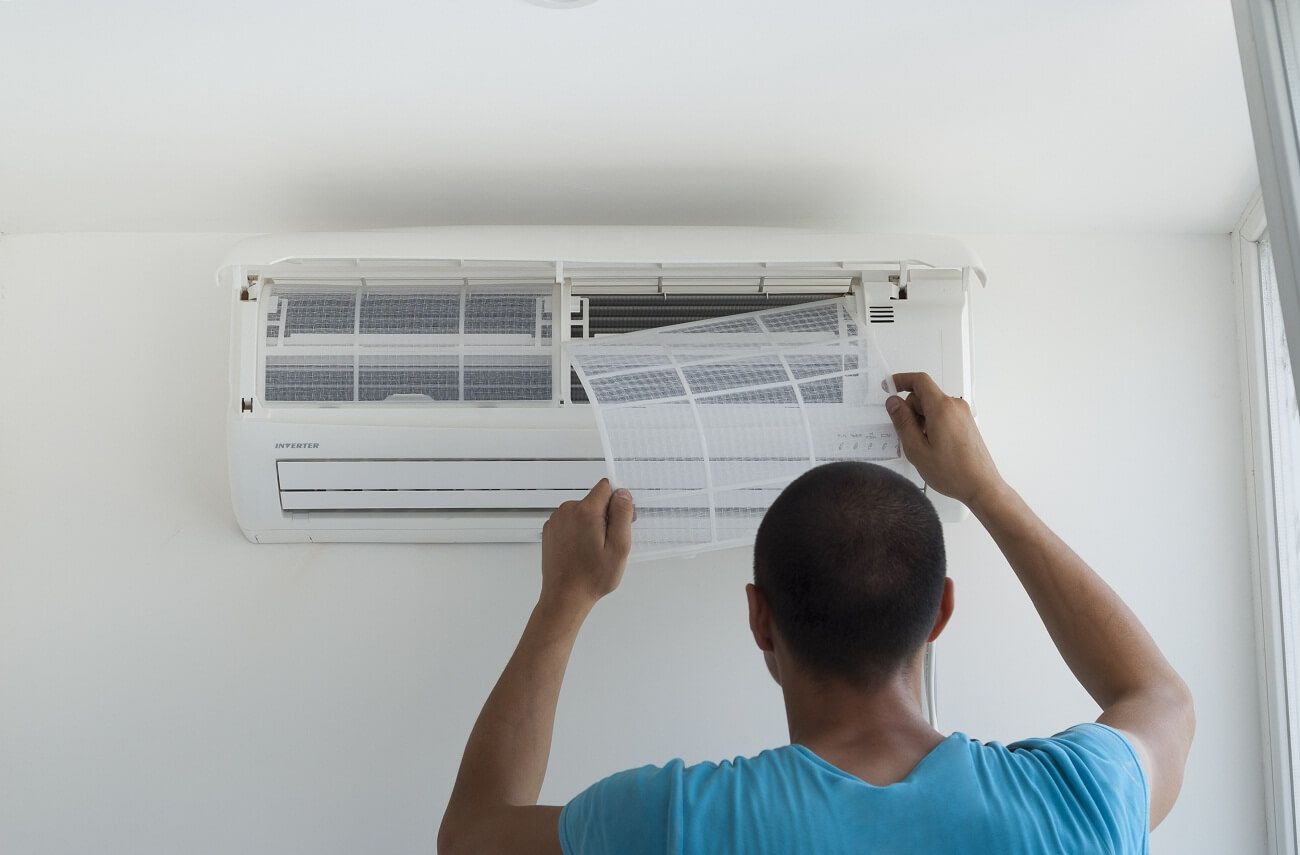
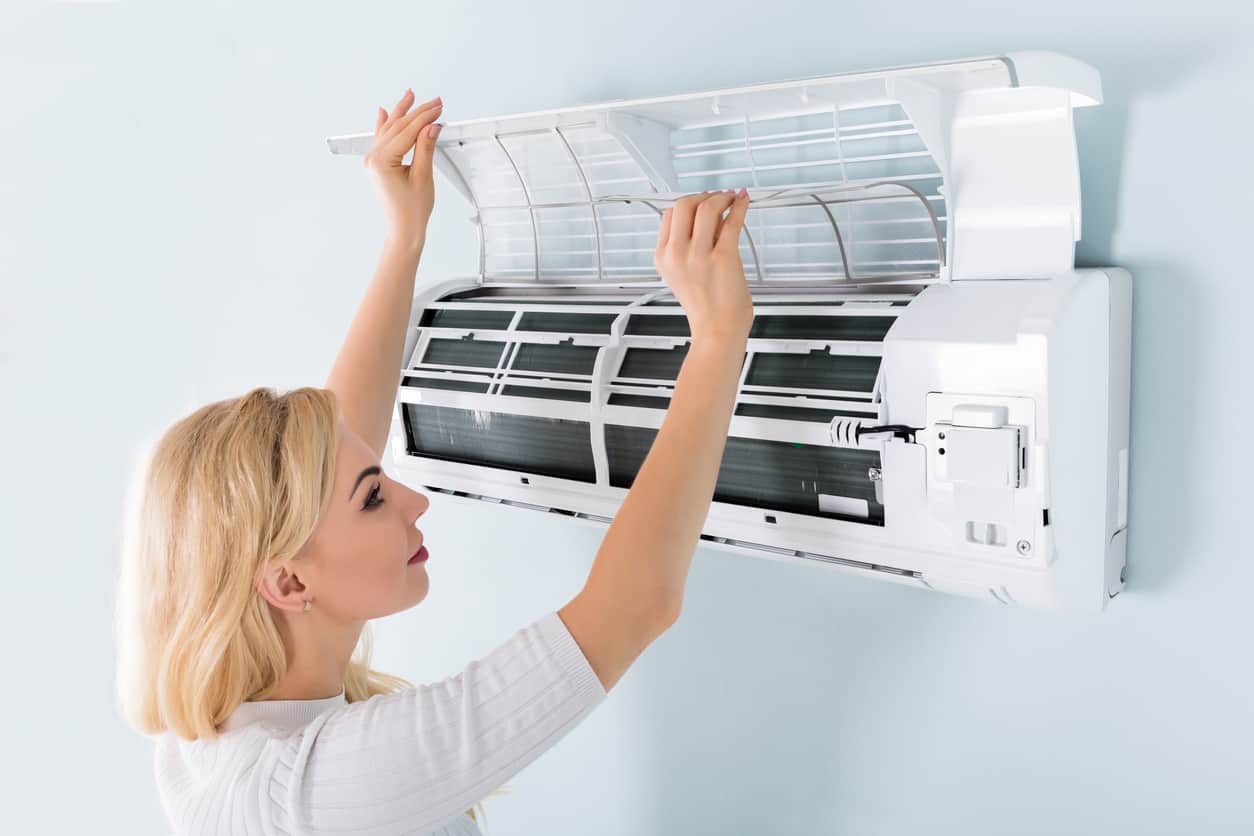
To clean the air filters, start by locating them. In most AC units, the filters are located behind a cover on the indoor unit. Carefully remove the cover and take out the filters.
If the filters are washable, gently rinse them with water to remove any dust and dirt. Allow them to dry completely before placing them back in the unit.
If the filters are not washable or too damaged, it’s time to replace them. You can purchase new filters from hardware stores or online retailers. Make sure to choose the right filter size and type that is compatible with your AC unit.
Once you have cleaned or replaced the filters, reinstall them in the unit and securely close the cover. This simple maintenance task can significantly improve the airflow and efficiency of your AC unit, ensuring better performance and cleaner air in your home.
Step 3: Clean the condenser coils
The condenser coils of your AC unit play a crucial role in releasing the heat absorbed from your indoor space. Over time, these coils can become dirty and covered in dust, dirt, and debris, which hinders their ability to cool down the refrigerant.
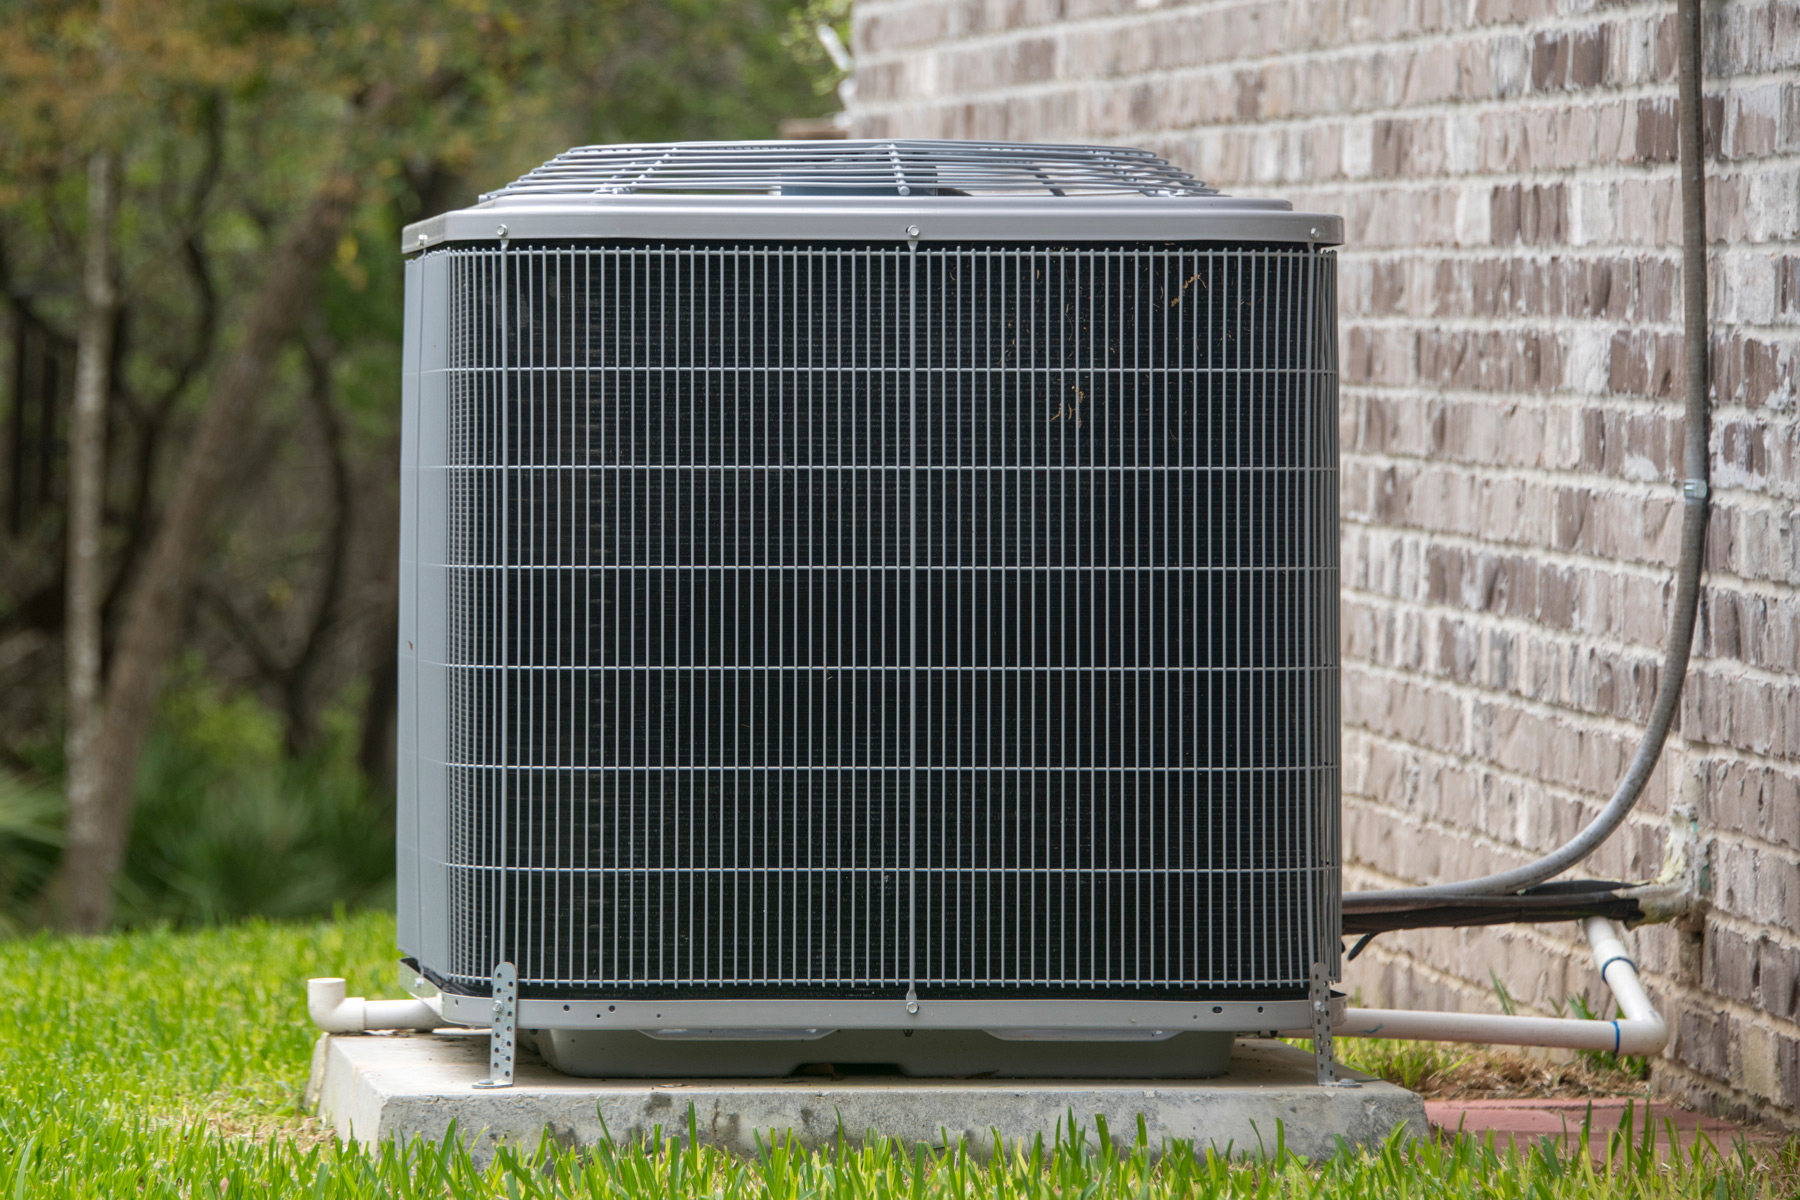
To clean the condenser coils, start by locating the outdoor unit, also known as the condenser unit. It is usually situated outside of your home, either on the ground or on a platform.
Before proceeding, make sure the power is turned off and the unit is not running. You can do this by following the steps outlined in Step 1.
Next, remove any leaves, grass, or debris from around the unit. Use a vacuum cleaner or a brush to gently clean the outer fins and remove any loose dirt or debris.
To clean the condenser coils, use a coil cleaning solution that is specifically designed for AC units. Spray the solution onto the coils, paying close attention to any areas that are heavily soiled. Allow the solution to sit for a few minutes to penetrate and loosen the dirt.
Afterward, use a soft brush or a coil cleaning brush to gently scrub the coils, removing the loosened dirt and debris. Make sure to be gentle to avoid damaging the coils.
Once you have thoroughly cleaned the condenser coils, rinse them with clean water using a hose. Be careful not to use too much pressure, as it can bend or damage the fragile fins.
Allow the coils to dry completely before turning the power back on and starting your AC unit. Cleaning the condenser coils helps to improve the efficiency and performance of your AC unit by allowing the refrigerant to cool down more effectively.
Step 4: Check and clean the condensate drain pan and line
As your AC unit works to cool the air, it produces condensation that needs to be drained properly. Over time, the condensate drain pan and line can become clogged with algae, mold, and debris, causing water to back up and potentially damage your unit.
To check the condensate drain pan, locate it beneath the indoor unit. Depending on the design of your AC unit, you may need to remove a panel or access cover to access the drain pan.
Inspect the drain pan for any standing water, debris, or signs of mold or algae growth. If you notice any significant buildup or blockage, it’s time to clean the drain pan and line.
Start by removing any standing water from the drain pan using a sponge or a wet/dry vacuum. Dispose of the water into a sink or drainage area.
Next, mix a solution of equal parts water and vinegar. Pour the solution into the drain pan to clean away any mold or algae. Let it sit for a few minutes to allow the solution to break down the buildup.
Use a brush or a pipe cleaner to scrub the drain pan gently. Pay close attention to the drain opening to ensure it is clear of any obstructions.
Once you have cleaned the drain pan, it’s time to address the condensate drain line. This is a small pipe that leads from the drain pan to an external drainage area, such as a floor drain or a designated condensate pump.
Inspect the drain line for any blockages. You can use a pipe cleaner or a small brush to remove any build-up or debris from the line. Be cautious not to damage the line while cleaning.
After cleaning the drain pan and line, flush them with clean water to ensure the removal of any remaining debris or cleaning solution.
Regularly checking and cleaning the condensate drain pan and line helps to prevent water backups, potential water damage, and the growth of mold or algae. It ensures that your AC unit operates efficiently and provides a comfortable indoor environment.
Read more: How Much Is An AC Recharge
Step 5: Inspect and clean the evaporator coils
The evaporator coils of your AC unit are responsible for removing heat from the indoor air, allowing for the cooling process. Over time, these coils can collect dust, dirt, and debris, reducing their efficiency and hindering the overall performance of your AC unit.
To inspect and clean the evaporator coils, locate the indoor unit of your AC system. The evaporator coils are typically housed within the air handler or the furnace unit.
Before proceeding, make sure the power to the unit is turned off by following the steps outlined in Step 1.
Carefully remove any access panels to gain access to the evaporator coils. You may need to use a screwdriver or other appropriate tools to accomplish this.
Once the evaporator coils are exposed, visually inspect them for any visible dust, dirt, or debris. Pay attention to any signs of mold or mildew as well.
To clean the evaporator coils, use a soft brush or a coil cleaning brush to gently remove any loose debris. Be cautious not to apply too much pressure to avoid damaging the delicate fins of the coils.
If there is significant dirt or grime on the coils, you can use a coil cleaner solution specifically designed for evaporator coils. Follow the manufacturer’s instructions on the cleaner and apply it to the coils, allowing it to sit for the recommended amount of time to break down the dirt and grime.
Afterward, use a soft brush or a coil cleaning brush to gently scrub the coils and remove the loosened dirt and debris. Take care to avoid bending or damaging the fins.
Once you have cleaned the coils, use a wet/dry vacuum or a sponge to remove any excess cleaning solution or dirt from the drain pan beneath the coils.
Allow the coils and the drain pan to dry completely before reassembling the access panels and turning the power back on.
Regularly inspecting and cleaning the evaporator coils helps to improve the overall efficiency and performance of your AC unit. It ensures proper heat exchange and allows for optimal cooling of the indoor air.
Regularly clean or replace the air filters in your AC unit to ensure proper airflow and efficient operation. This can help prevent breakdowns and improve air quality.
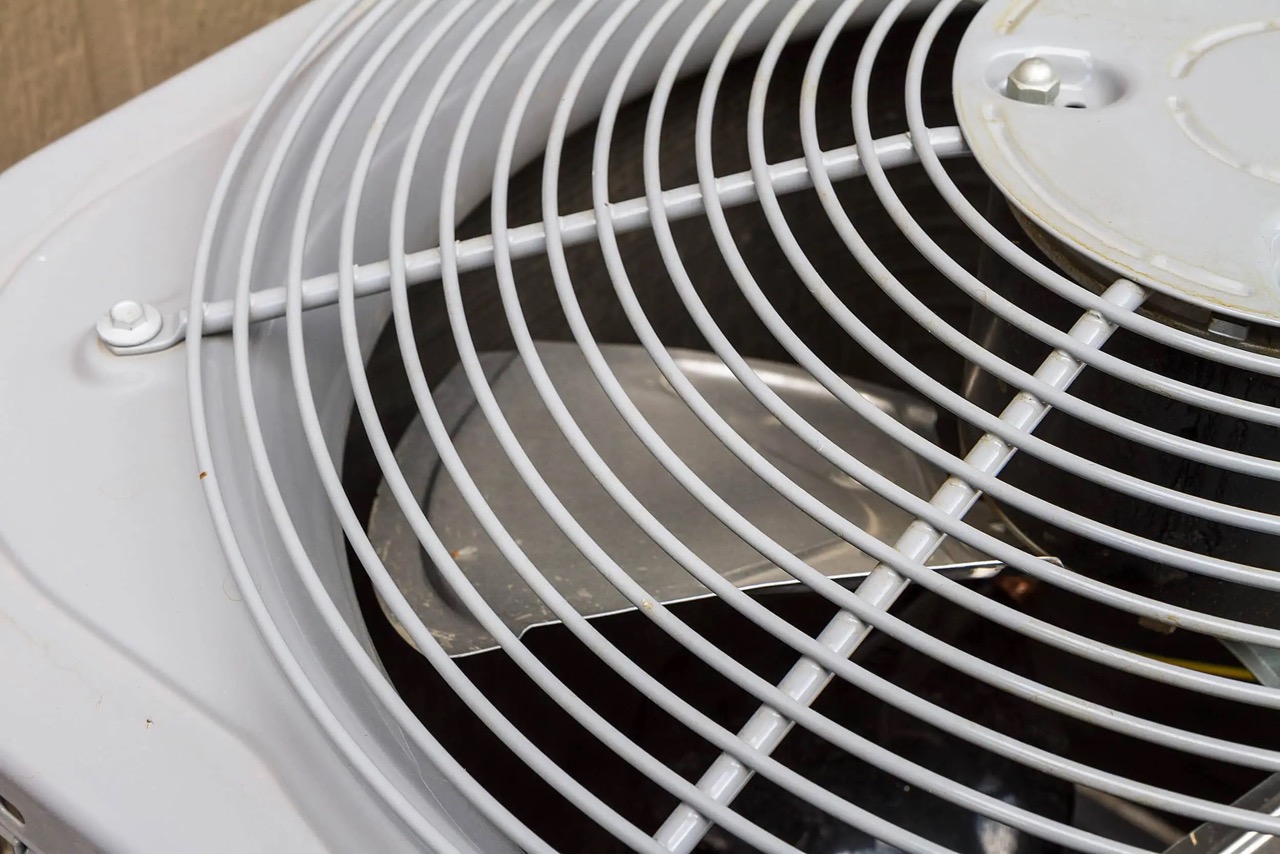
Step 6: Lubricate the fan motor
The fan motor in your AC unit is responsible for circulating the air and promoting proper airflow. Over time, the fan motor can become dry and the bearings may require lubrication to maintain smooth and efficient operation.
To lubricate the fan motor, start by locating the access panel that provides access to the motor. This panel is typically located on the outdoor unit of your AC system.
Before proceeding, ensure that the power to the unit is turned off by following the steps outlined in Step 1.
Once you have located the access panel, use appropriate tools to remove it and expose the fan motor.
Inspect the fan motor to determine the type of lubricant required. Most fan motors have oil ports or oil caps that indicate where to apply lubrication.
Using a lubricant recommended by the manufacturer, apply a few drops of oil to each oil port or into the oil cap. Be mindful not to over-lubricate as it can lead to excess oil leakage.
Rotate the fan blades manually a few times to ensure even distribution of the lubricant and smooth movement of the fan.
Once you have lubricated the fan motor, replace the access panel and secure it properly.
Finally, turn the power back on and observe the fan motor’s operation. If you notice any unusual noises or issues, it may indicate a more significant problem requiring professional assistance.
Lubricating the fan motor on a regular basis helps to reduce friction, prevent premature wear and tear, and ensure the efficient and quiet operation of your AC unit.
Step 7: Check and adjust fan belts
The fan belts in your AC unit are responsible for driving the fan blades and maintaining proper airflow. Over time, fan belts can become loose or deteriorate, affecting the performance and efficiency of your AC unit.
To check and adjust the fan belts, start by locating the outdoor unit of your AC system. The fan belts are typically visible on the exterior of the unit.
Before proceeding, ensure that the power to the unit is turned off by following the steps outlined in Step 1.
Visually inspect the fan belts for any signs of wear and tear, such as cracks, fraying, or excessive slack. If the belts appear damaged or excessively loose, they may need adjustment or replacement.
To adjust the fan belts, locate the belt tensioning pulley or adjustment mechanism near the fan belts. This mechanism allows you to tighten or loosen the belts as needed.
Using appropriate tools, adjust the tensioning pulley or mechanism to tighten the belts. Be careful not to over-tighten, as this can strain the motor and cause premature wearing of the belts.
If the fan belts are severely damaged, it is recommended to replace them with new belts of the appropriate size and type. Be sure to consult the manufacturer’s guidelines or seek professional advice for the correct replacement belts.
Once the fan belts are adjusted or replaced, visually inspect them again to ensure proper alignment and tension. They should have a slight give when pressed, but not be too loose or tight.
After ensuring the belts are properly adjusted, replace the access panels and secure them tightly.
Finally, turn the power back on and observe the operation of the fan blades and belts. If you notice any unusual noises or issues, it may indicate a more significant problem requiring professional assistance.
Regularly checking and adjusting the fan belts ensures proper airflow and efficient operation of your AC unit, allowing for optimal cooling performance.
Step 8: Check refrigerant levels
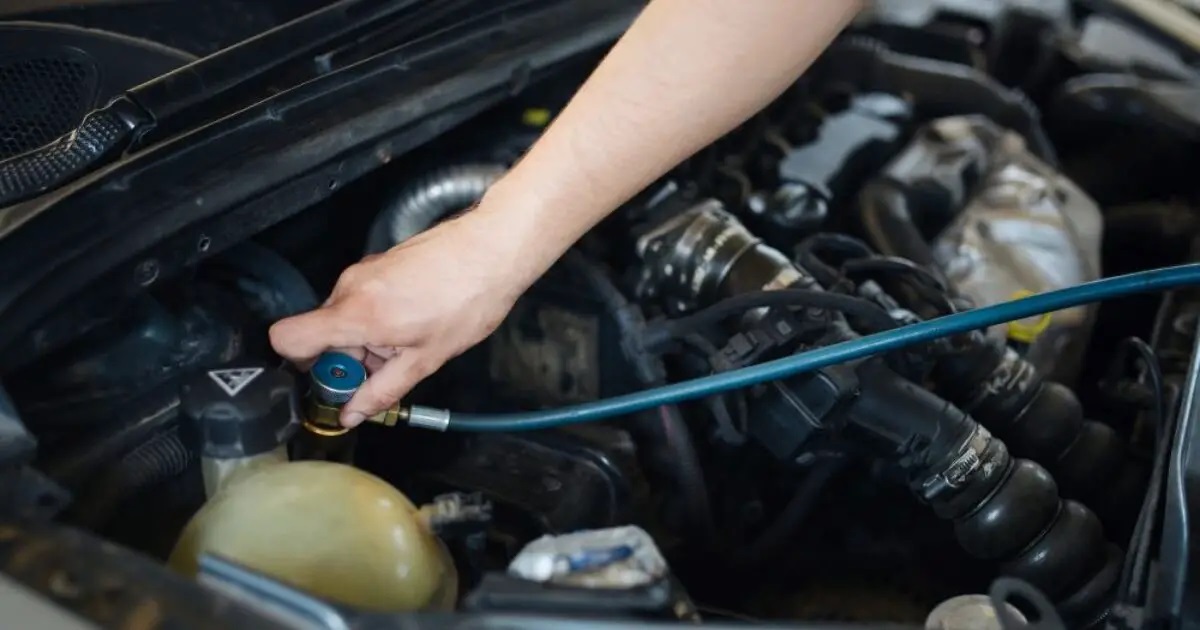
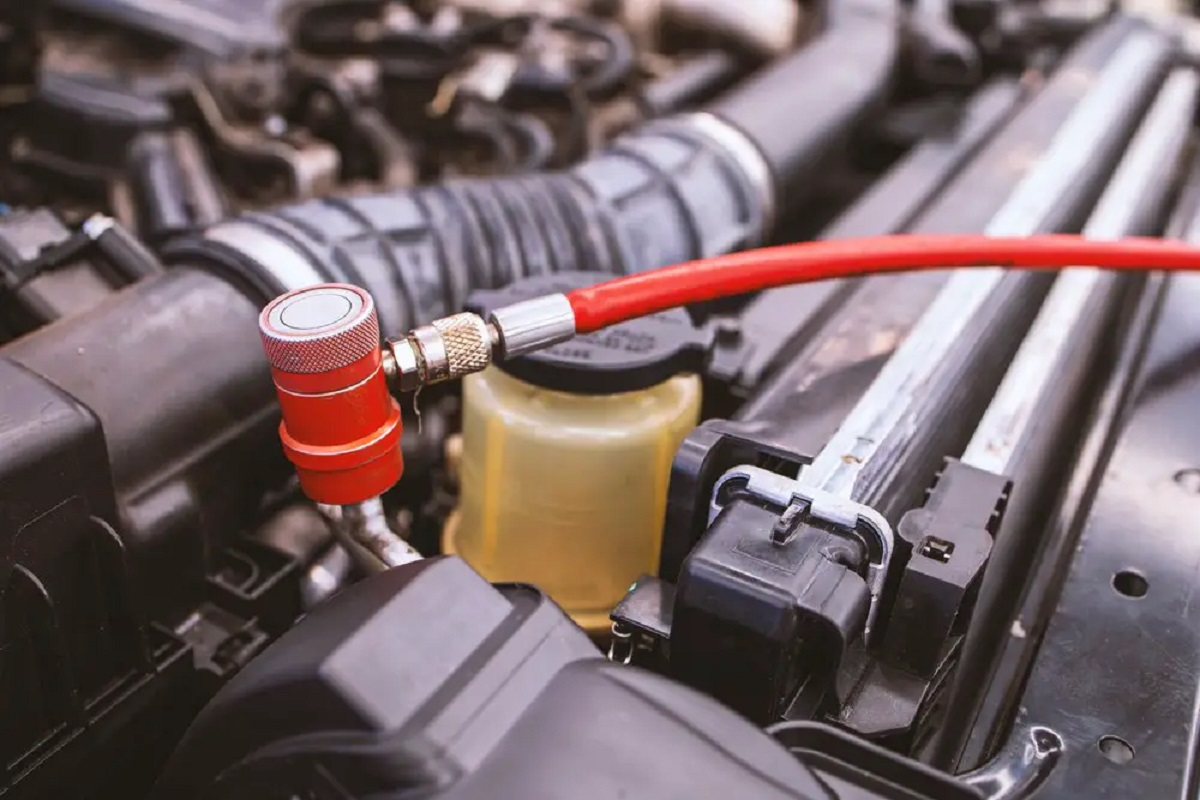
The refrigerant in your AC unit is essential for the cooling process, as it absorbs and releases heat to maintain a comfortable indoor temperature. Over time, refrigerant levels can decline due to leaks or other issues, which can negatively impact the efficiency and performance of your AC unit.
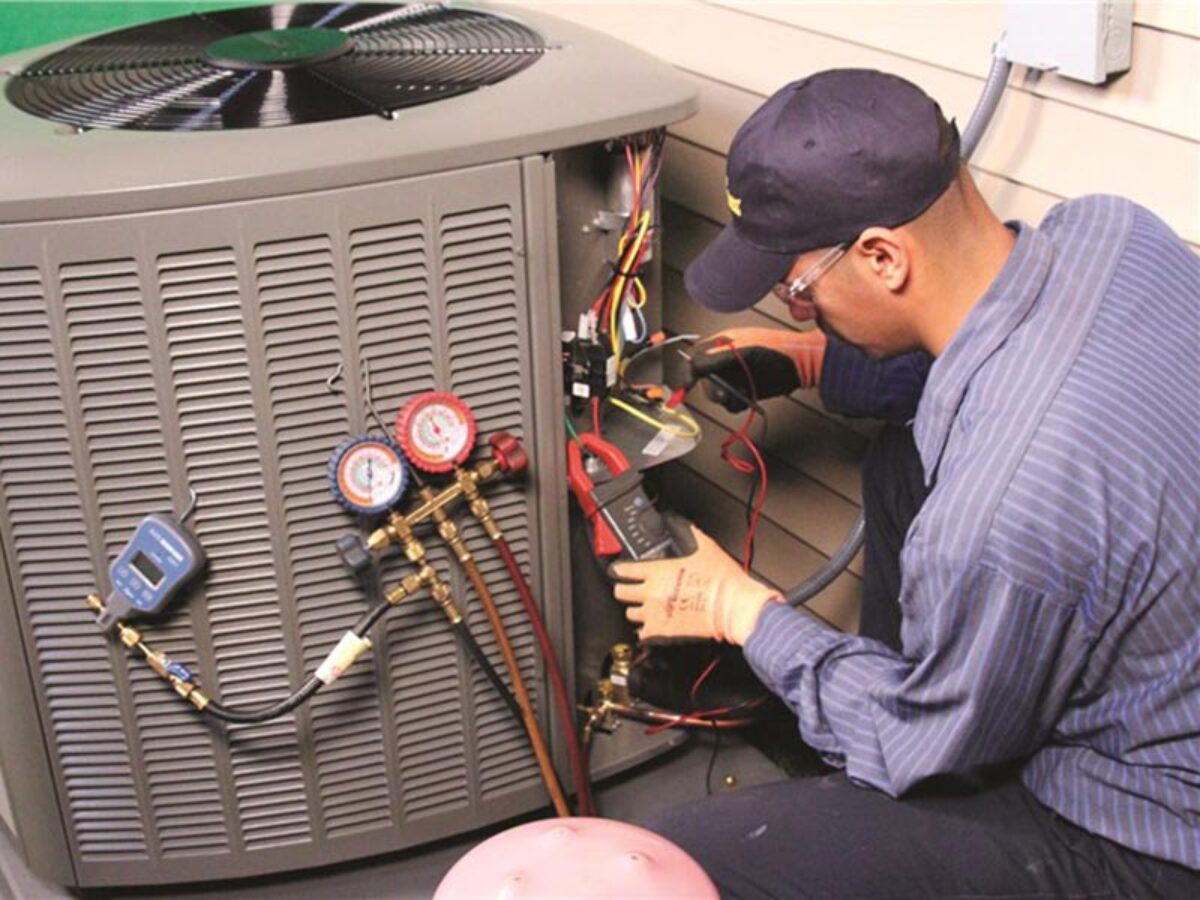
To check the refrigerant levels, it is recommended to hire a professional HVAC technician who has the necessary tools and expertise. They can accurately measure the refrigerant levels and determine if any adjustments or repairs are needed.
Low refrigerant levels can indicate a leak in the system, which requires professional attention. Attempting to handle refrigerant issues without proper knowledge and equipment can be hazardous and is best left to trained professionals.
When you hire a professional technician, they will conduct a thorough inspection of the refrigerant lines and connections, checking for any leaks or signs of damage. If a leak is detected, they will repair and seal the leak before recharging the system with the correct amount of refrigerant.
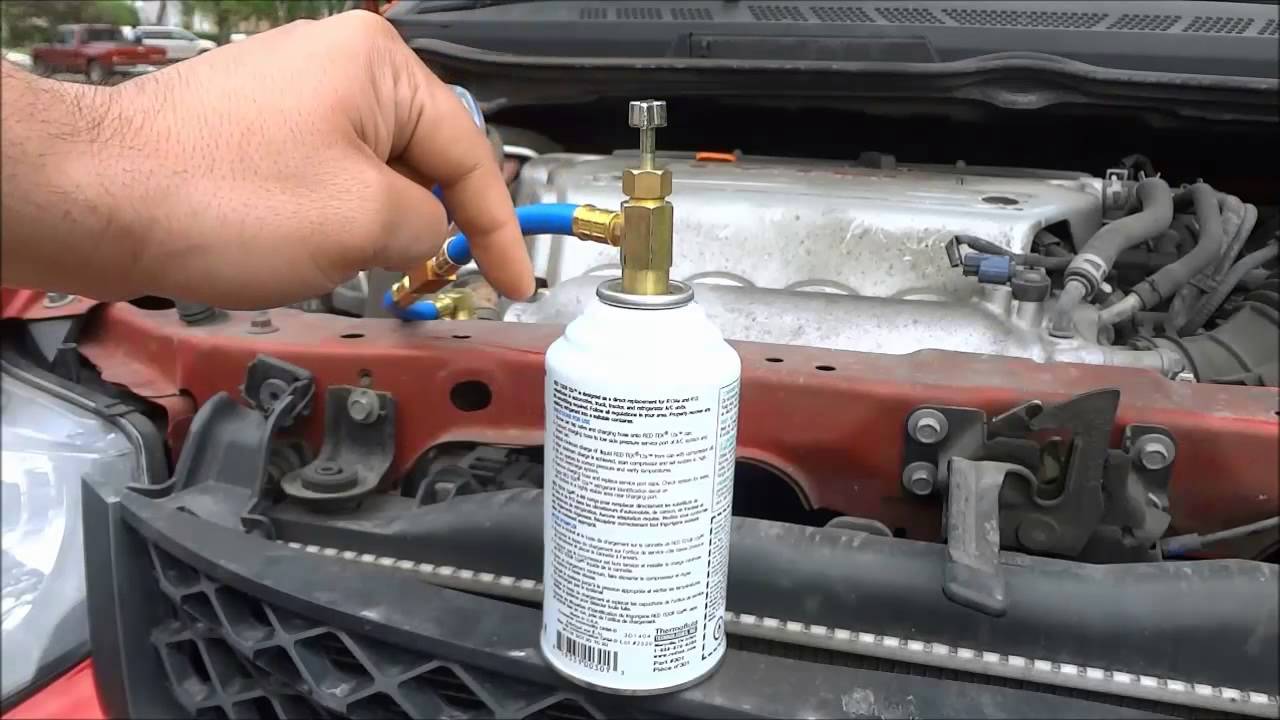
It’s important to note that adding refrigerant to your AC unit should only be done by a licensed technician. Adding too much or too little refrigerant can cause system inefficiencies, reduce the lifespan of the unit, and potentially void the warranty.
By having a professional regularly check and maintain your refrigerant levels, you can ensure that your AC unit operates at its highest efficiency, providing optimal cooling performance while also minimizing energy consumption.
Remember, refrigerant-related issues should not be addressed as a DIY project. Always rely on the expertise of trained professionals to handle refrigerant-related tasks and ensure the safety and proper functioning of your AC unit.
Read more: How Does A AC Compressor Work
Step 9: Inspect and clean the blower assembly
The blower assembly in your AC unit is responsible for circulating and distributing the conditioned air throughout your home. Over time, dust, dirt, and debris can accumulate on the blower assembly, hindering its efficiency and impacting the quality of the circulated air.
To inspect and clean the blower assembly, start by locating the access panel that provides access to the blower. This panel is typically located on the indoor unit of your AC system, near the evaporator coils.
Before proceeding, ensure that the power to the unit is turned off by following the steps outlined in Step 1.
Once you have located the access panel, use appropriate tools to remove it and expose the blower assembly.
Visually inspect the blower assembly for any visible dust, dirt, or debris. Pay attention to the blades, the fan housing, and the surrounding area.
Using a soft brush or a cloth, gently remove any loose debris and dust from the blades and the fan housing. Be careful not to bend or damage the blades while cleaning.
If there is a significant buildup of dirt or debris, you can use a vacuum cleaner with a brush attachment to carefully clean the blower assembly. Take caution not to apply too much pressure to avoid damaging the components.
In some cases, it may be necessary to remove the blower assembly for a more thorough cleaning. Consult the manufacturer’s guidelines or seek professional advice on how to safely remove and clean the blower assembly if needed.
Once you have cleaned the blower assembly, ensure that all the components are dry before reassembling the access panel and turning the power back on.
Regularly inspecting and cleaning the blower assembly helps to maintain proper airflow, improve the efficiency of your AC unit, and ensure clean and healthy air circulation throughout your home.
Step 10: Test and calibrate thermostat
The thermostat in your AC unit is the control center that allows you to set and adjust the desired temperature in your home. Over time, thermostats may become inaccurate or experience calibration issues, which can affect the comfort and energy efficiency of your AC system.
To test and calibrate the thermostat, follow these steps:
- Start by ensuring that the power to the AC unit is turned on and the system is in cooling mode. You can do this by adjusting the temperature setting on the thermostat to a lower temperature than the current room temperature.
- Observe how the system responds to the temperature change. It should turn on and begin cooling the air. If the AC system does not respond or fails to reach the desired temperature, it may indicate a problem with the thermostat or the AC unit itself.
- Verify the accuracy of the thermostat by comparing its reading to an accurate thermometer. Place the thermometer next to the thermostat and allow both devices to stabilize. If there is a significant difference in temperature readings, it may be necessary to calibrate or replace the thermostat.
- To calibrate the thermostat, consult the manufacturer’s guidelines or seek professional assistance. Most digital thermostats allow for calibration through the system settings. Follow the instructions provided to adjust the temperature offset and align the thermostat reading with the accurate thermometer.
- If calibration does not resolve the inaccuracy and the thermostat continues to display incorrect temperature readings, it may be necessary to replace the thermostat. Consider consulting a professional HVAC technician for guidance and proper installation.
Testing and calibrating the thermostat ensures that your AC unit operates according to your desired temperature settings, providing optimal comfort and energy efficiency. A properly functioning thermostat helps maintain a consistent temperature and saves on energy costs.
Regularly checking and calibrating the thermostat is recommended to ensure its accuracy and efficient operation, especially before the start of each cooling season.
Conclusion
Regularly servicing and maintaining your AC unit is essential for ensuring its optimal performance, energy efficiency, and longevity. By following the steps outlined in this article, you can take proactive measures to keep your AC unit in excellent condition and enjoy a cool and comfortable indoor environment.
From turning off the power and cleaning or replacing air filters to inspecting and cleaning condenser coils, condensate drain pans and lines, evaporator coils, and blower assemblies, each step plays a crucial role in optimizing the functionality of your AC unit.
Additionally, lubricating the fan motor, checking and adjusting fan belts, monitoring refrigerant levels, and testing and calibrating the thermostat all contribute to the overall performance and efficiency of your AC system.
It’s important to note that while some maintenance tasks can be performed by homeowners, it is always recommended to hire a professional HVAC technician for more complex issues or if you are unsure of how to proceed.
By investing time and effort into regular AC unit maintenance, you can enjoy cool and clean air, increase energy efficiency, prevent costly repairs, and extend the lifespan of your AC unit.
Remember to follow all safety precautions, including turning off the power before conducting any maintenance tasks, and consult the manufacturer’s guidelines or seek professional assistance when necessary.
Take care of your AC unit, and it will take care of you, providing comfort and relief on hot summer days for years to come.
Frequently Asked Questions about How To Service AC Unit
Was this page helpful?
At Storables.com, we guarantee accurate and reliable information. Our content, validated by Expert Board Contributors, is crafted following stringent Editorial Policies. We're committed to providing you with well-researched, expert-backed insights for all your informational needs.


0 thoughts on “How To Service AC Unit”