Articles
How To Set Time On Zojirushi Bread Machine
Modified: January 18, 2024
Learn how to set the time on your Zojirushi bread machine with our informative articles.
(Many of the links in this article redirect to a specific reviewed product. Your purchase of these products through affiliate links helps to generate commission for Storables.com, at no extra cost. Learn more)
Introduction
Welcome to this step-by-step guide on how to set the time on your Zojirushi Bread Machine. Zojirushi is well-known for its high-quality kitchen appliances, and their bread machines are no exception. Whether you are a seasoned baker or just starting to explore the world of bread making, mastering the time setting feature can ensure that your bread is baked exactly when you want it.
Setting the time on your Zojirushi Bread Machine is a simple process that can be done in just a few steps. With a clear and easy-to-navigate menu, you’ll have your machine programmed and ready to bake in no time. So, let’s get started and ensure that you have warm, delicious bread waiting for you when you wake up or come home from work.
Key Takeaways:
- Master the art of setting the time on your Zojirushi Bread Machine to enjoy warm, freshly baked bread exactly when you want it, adding convenience and satisfaction to your bread-making experience.
- Embrace the convenience and precision of Zojirushi’s user-friendly bread machines, allowing you to savor the tantalizing aroma and taste of homemade bread baked to perfection on your own schedule.
Read also: 13 Superior Zojirushi Bread Machine For 2025
Step 1: Turn on the Zojirushi Bread Machine
The first step in setting the time on your Zojirushi Bread Machine is to ensure that the appliance is turned on. Locate the power switch, which is usually located on the side or at the bottom of the machine. Flip the switch to the “On” position, and you should see the display panel light up.
Once the machine is powered on, take a moment to familiarize yourself with the control panel. Depending on the model you have, there may be different buttons and settings available. However, most Zojirushi Bread Machines have a clear and intuitive interface that makes it easy to navigate.
Now that your Zojirushi Bread Machine is turned on, it’s time to move on to the next step of setting the time.
Step 2: Access the Menu
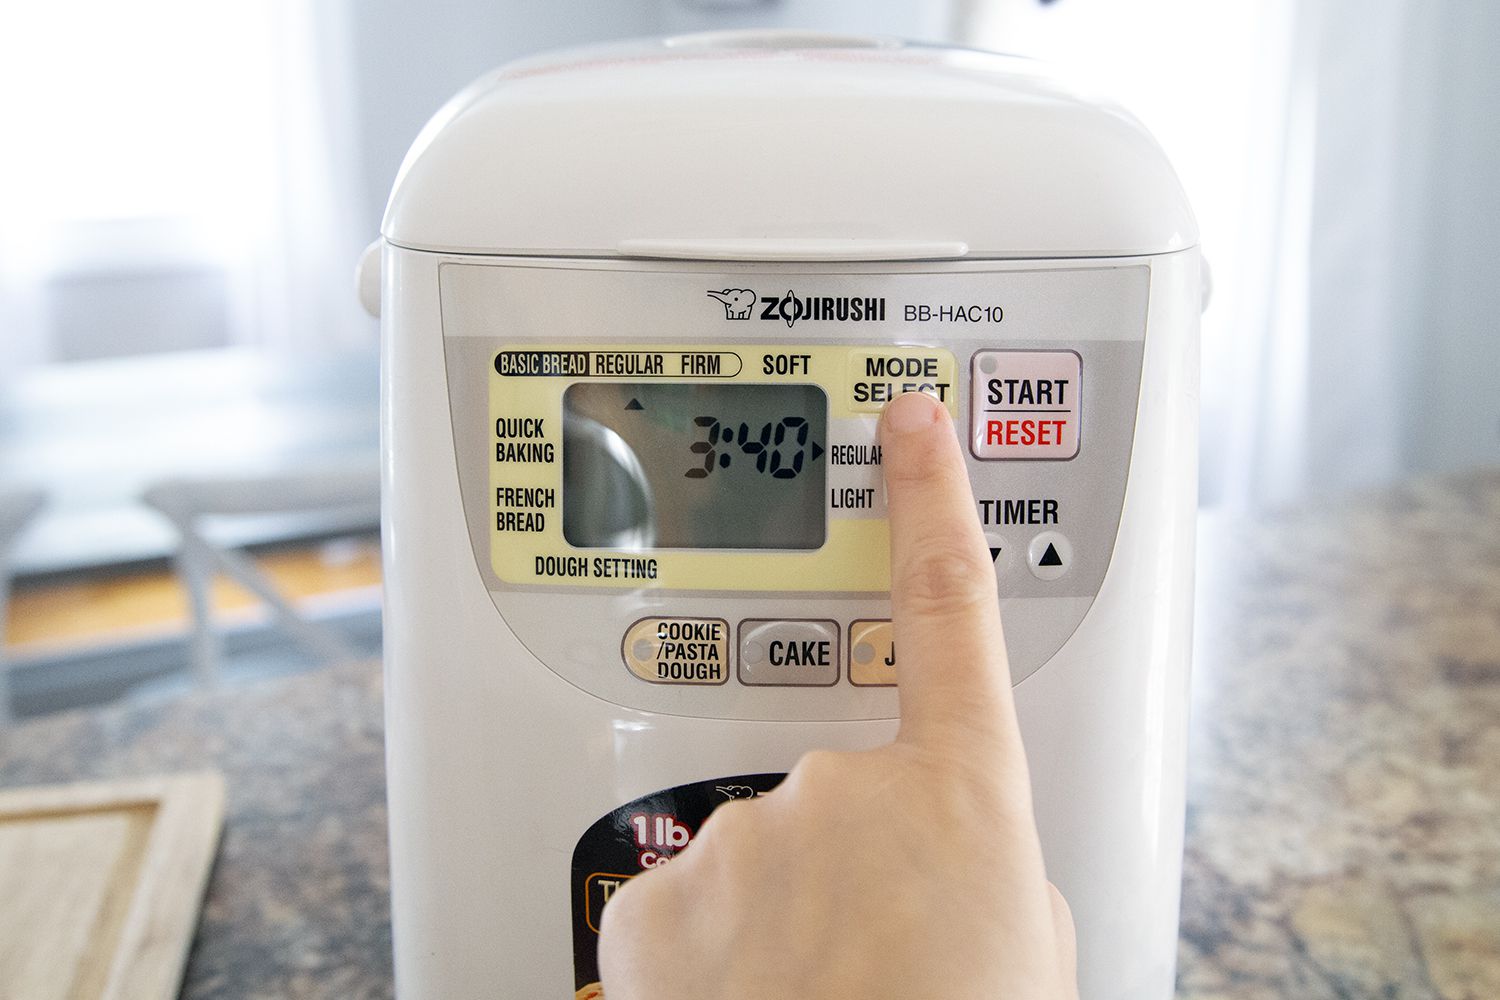
After turning on the Zojirushi Bread Machine, the next step in setting the time is to access the menu. Look for the “Menu” button on the control panel, which is typically labeled as such or represented by an icon. Press the “Menu” button, and you will be taken to the main menu screen.
On the main menu screen, you will find a list of different settings and options that you can customize for your bread baking process. These settings may include the type of bread you want to bake, crust color, loaf size, and of course, the time setting. Use the navigation buttons or dial to scroll through the menu options and find the time setting feature.
Once you have located the time setting option, it’s time to move on to the next step and adjust the hours and minutes.
Step 3: Select the Time Setting Option
With the menu screen displayed on your Zojirushi Bread Machine, it’s time to select the time setting option. Use the navigation buttons or dial to highlight and select the time setting feature. The exact name or label of this option may vary depending on your model, but it is typically referred to as “Time,” “Timer,” or “Delay Start.”
By selecting the time setting option, you are indicating that you want to set a specific time for your bread to start baking. This allows you to prepare the ingredients and load them into the machine ahead of time, ensuring that your bread is freshly baked and ready when you want it.
Once you have selected the time setting option, the display will prompt you to adjust the hours and minutes. Move on to the next step for instructions on adjusting the time.
Before setting the time on your Zojirushi bread machine, make sure to read the instruction manual thoroughly to understand the specific steps and settings required for your model.
Step 4: Adjust the Hours and Minutes
Now that you have selected the time setting option on your Zojirushi Bread Machine, it’s time to adjust the hours and minutes. The display will likely show the current time initially, and you can use the navigation buttons or dial to change it to the desired time.
Start by adjusting the hours. Press the “+” or “-” buttons to increase or decrease the hours until you reach the desired time. Pay attention to whether the display shows AM or PM to ensure you set the correct time of day. If your Zojirushi Bread Machine uses a dial instead of buttons, turn it clockwise or counterclockwise to adjust the hours.
Once you have set the hours, move on to adjusting the minutes. Use the same buttons or dial to increase or decrease the minutes until you reach the desired time. Take your time to accurately set the minutes, as it will determine the precise start time of your bread baking process.
Continue adjusting the hours and minutes until you have set the exact time you want your bread to start baking, and then move on to the next step for confirming the time setting.
Step 5: Confirm the Time Setting
After adjusting the hours and minutes on your Zojirushi Bread Machine, it’s important to confirm the time setting to ensure it has been accurately programmed. Take a moment to review the displayed time and double-check if it matches the desired start time for your bread baking process.
If the displayed time is correct, you can proceed to the next step and start the bread making process. However, if you notice any errors or need to make adjustments, use the navigation buttons or dial to return to the previous steps and modify the hours and minutes accordingly.
Confirming the time setting is crucial to ensure that your bread will be baked at the desired time. It eliminates the possibility of mistakenly setting the wrong time and having your bread ready either too early or too late. By taking this extra step, you can have confidence that your Zojirushi Bread Machine will start baking the bread when you want it to.
Once you have confirmed the time setting, you’re almost ready to enjoy freshly baked bread. Move on to the final step to start the bread making process.
Step 6: Start the Bread Making Process
Now that you have successfully set and confirmed the time on your Zojirushi Bread Machine, it’s time to start the bread making process. Depending on your model, there may be a specific button or option to initiate the baking cycle.
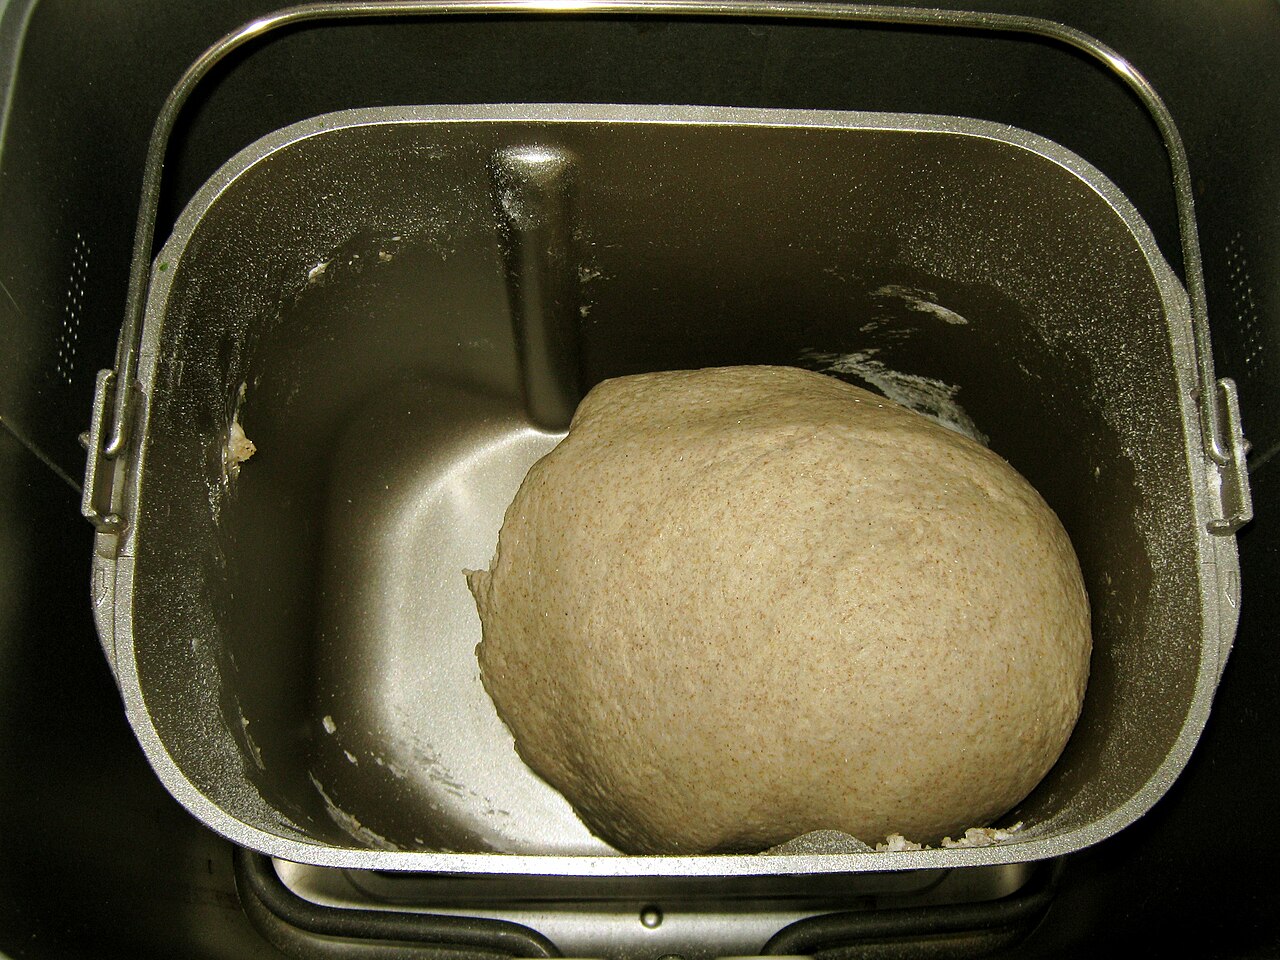
Look for a button labeled “Start,” “Bake,” or something similar on the control panel. Press this button to begin the bread making process. Once initiated, the Zojirushi Bread Machine will start kneading and baking the dough according to the programmed time and settings.
It’s important to note that after starting the bread making process, you should avoid opening the lid of the bread machine unless necessary. Each time the lid is opened, heat and moisture escape, which can affect the quality and consistency of the bread being baked.
Now, sit back and let your Zojirushi Bread Machine work its magic. You can take this time to relax, prepare other meal components, or simply enjoy the enticing aroma of freshly baked bread as it fills your kitchen.
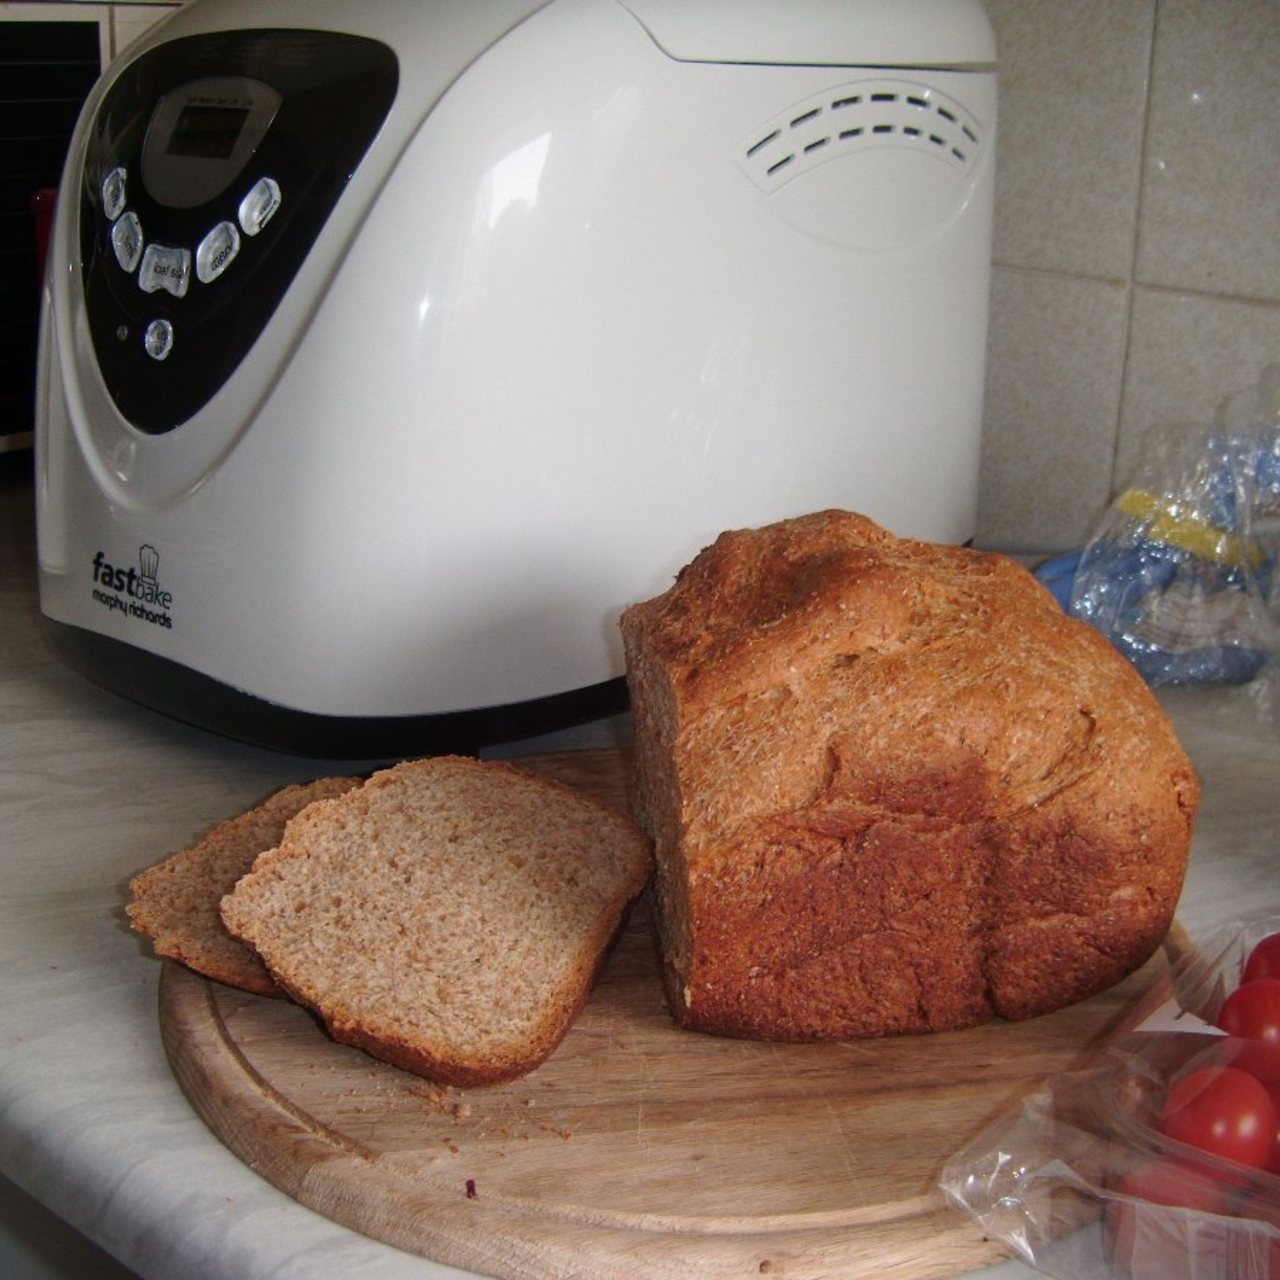
Once the bread making process is complete, your Zojirushi Bread Machine will typically sound an audible alert or display a notification on the control panel. At this point, carefully remove the bread pan from the machine using oven mitts or silicone gloves, and let the bread cool down before slicing and serving.
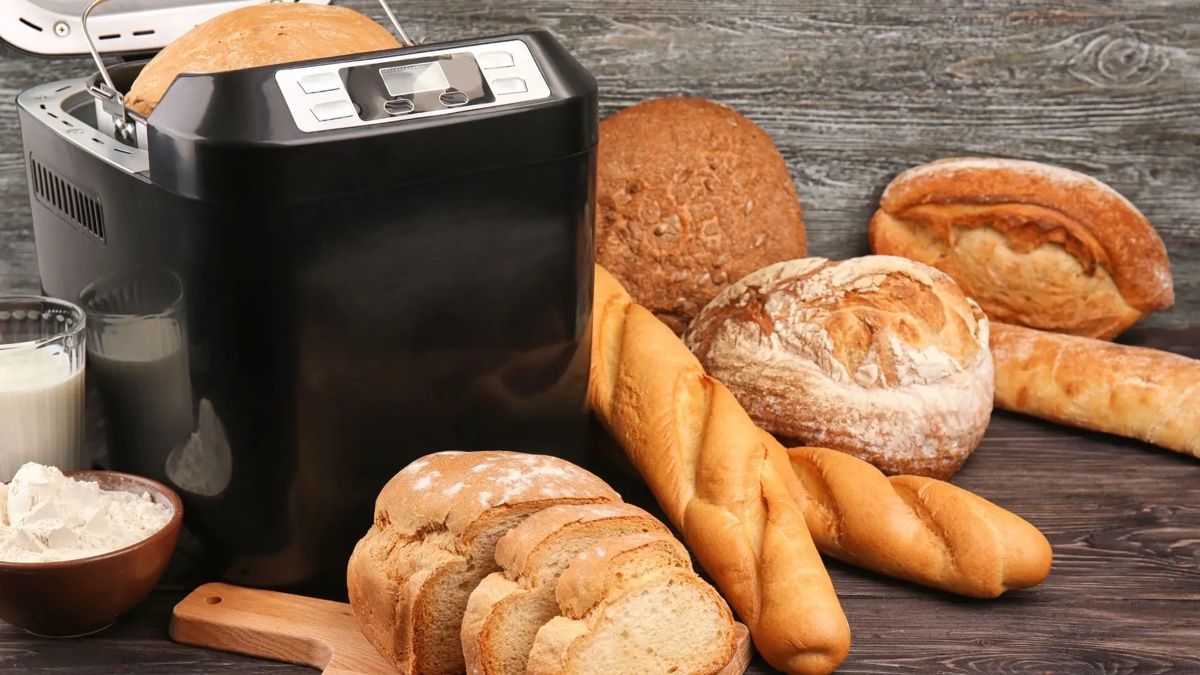
Congratulations! You have successfully set the time on your Zojirushi Bread Machine and started the bread making process. Enjoy the satisfaction of homemade bread, made with your preferred ingredients and ready exactly when you want it.
Conclusion
Setting the time on your Zojirushi Bread Machine is a straightforward process that allows you to have freshly baked bread at your desired time. By following the simple steps outlined in this guide, you can easily program your bread machine to start baking when you want it to.
Starting with turning on the machine and accessing the menu, you can navigate through the options to find the time setting feature. Adjust the hours and minutes to your preferred baking start time and confirm the setting to ensure accuracy. Finally, start the bread making process and let your Zojirushi Bread Machine work its magic.
With Zojirushi’s reliable and user-friendly bread machines, you can enjoy the convenience and deliciousness of homemade bread without the need for manual kneading and baking. Whether you’re an experienced baker or just starting your bread-making journey, using the time setting feature can make your bread baking experience even more enjoyable and convenient.
Remember to consult your specific Zojirushi Bread Machine’s user manual for any model-specific instructions or features. It’s also worth experimenting with different bread recipes and settings to create a variety of bread types and flavors.
Now that you have mastered the art of setting the time on your Zojirushi Bread Machine, it’s time to start baking bread on your own schedule. Set the timer in the evening to wake up to warm, fresh bread in the morning, or program it in the morning to have a loaf ready when you come home from work.
Embrace the joy and satisfaction of baking your own bread with the convenience and precision of a Zojirushi Bread Machine. Enjoy the tantalizing aroma, the soft texture, and the taste of homemade bread that is baked to perfection.
So go ahead, grab your Zojirushi Bread Machine, set the time, and get ready to savor every delicious bite of your homemade bread.
Frequently Asked Questions about How To Set Time On Zojirushi Bread Machine
Was this page helpful?
At Storables.com, we guarantee accurate and reliable information. Our content, validated by Expert Board Contributors, is crafted following stringent Editorial Policies. We're committed to providing you with well-researched, expert-backed insights for all your informational needs.

0 thoughts on “How To Set Time On Zojirushi Bread Machine”