Articles
How To Set Up Brio Water Dispenser
Modified: February 22, 2024
Learn how to set up your Brio water dispenser with our informative articles. Find step-by-step guides and tips for easy installation.
(Many of the links in this article redirect to a specific reviewed product. Your purchase of these products through affiliate links helps to generate commission for Storables.com, at no extra cost. Learn more)
Introduction
Welcome to the world of convenient and refreshing hydration with the Brio Water Dispenser. Whether you’re looking to enjoy a cool glass of water, a hot cup of tea, or even a refreshing burst of chilled water on a hot day, this versatile appliance has got you covered.
In this article, we will guide you through the step-by-step process of setting up your Brio Water Dispenser, ensuring that you have all the information you need to start enjoying its benefits right away. From unboxing and installation to temperature adjustment and troubleshooting, we’ve got you covered.
With its sleek design and user-friendly features, the Brio Water Dispenser is a popular choice for both homes and offices. Not only does it provide instant access to hot and cold water, but it also eliminates the need for single-use plastic bottles, making it an eco-friendly solution.
So, let’s get started and discover how to set up your Brio Water Dispenser and start enjoying the convenience and satisfaction of clean, filtered water at your fingertips.
Key Takeaways:
- Enjoy the convenience of clean, filtered water with the Brio Water Dispenser. Follow the step-by-step guide to set up, customize temperature settings, and troubleshoot common issues for a seamless hydration experience.
- Say goodbye to single-use plastic bottles and embrace the eco-friendly solution of the Brio Water Dispenser. From unboxing to troubleshooting, this guide ensures you have refreshing water at your fingertips.
Read more: How To Clean Brio Water Dispenser
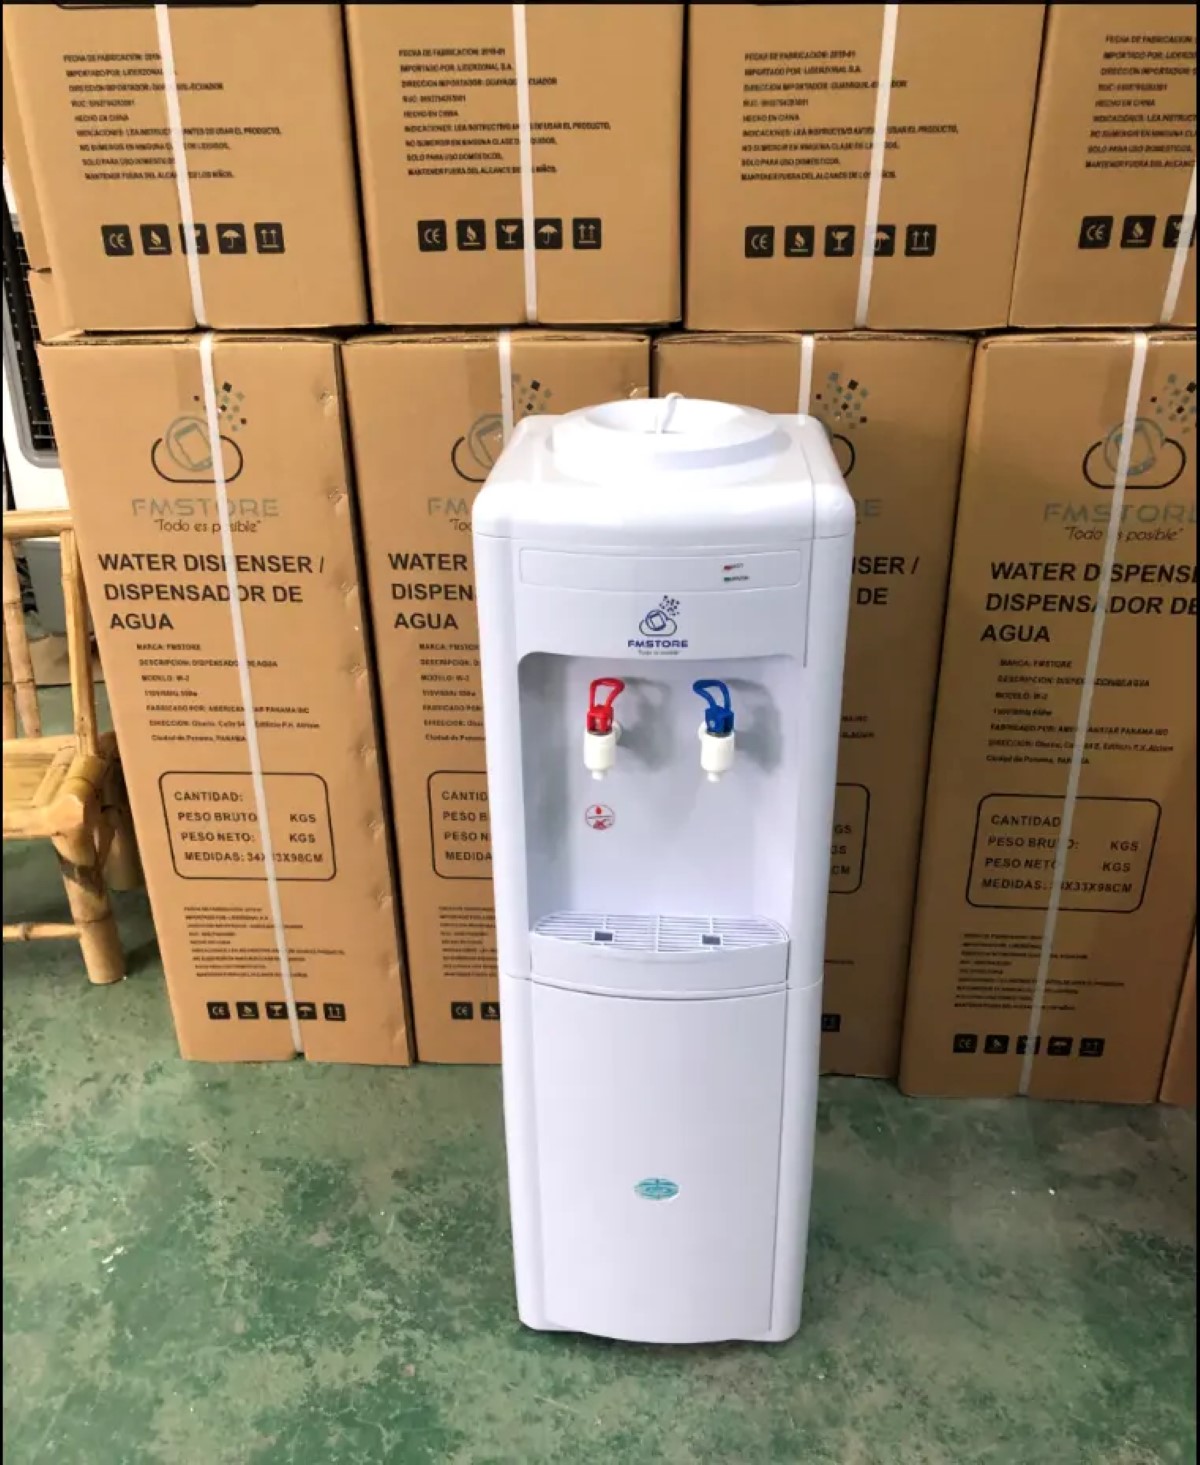
Step 1: Unboxing the Brio Water Dispenser
The first step in setting up your Brio Water Dispenser is to unbox it carefully. Start by locating a spacious and clean area where you can work comfortably. Remove the packaging materials, including any protective films or covers.
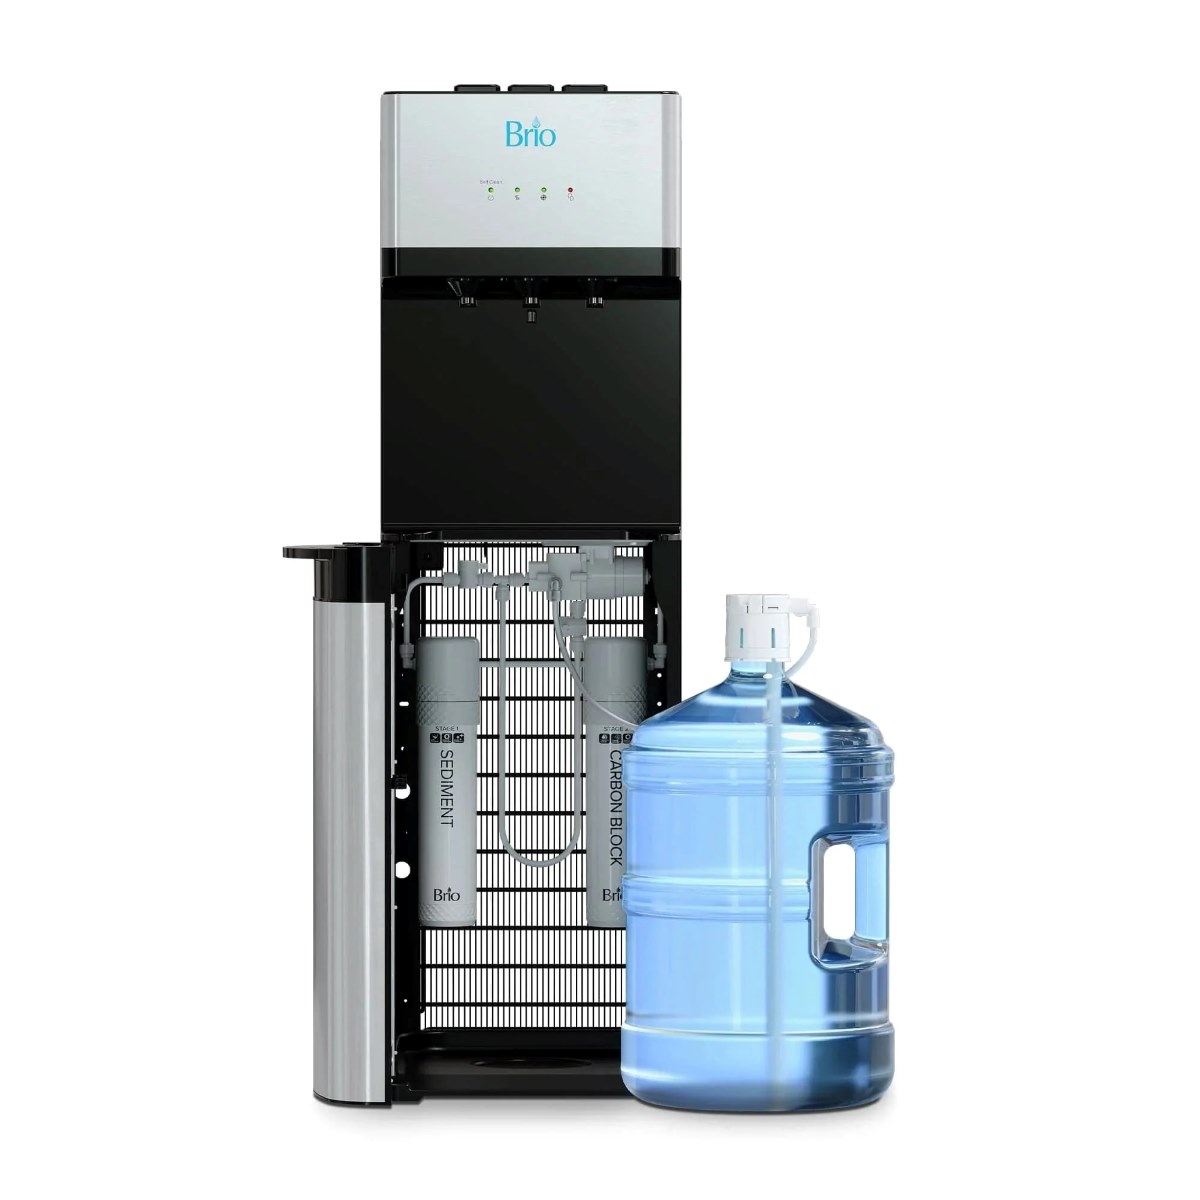
Once the dispenser is exposed, take a moment to appreciate its sleek design and high-quality construction. Brio Water Dispensers come in various models, but most will consist of a sturdy base, a tap or spigot for dispensing water, and a top-loading or bottom-loading water bottle compartment.
Before proceeding, make sure you have all the components that come with the dispenser. Typically, this will include the water dispenser unit, a drip tray, and any additional accessories or manuals.
Inspect the dispenser for any visible damage that may have occurred during shipping. Check for dents, cracks, or any other signs of wear and tear. If you notice any issues, contact the seller or manufacturer for assistance.
Now that you have successfully unboxed the Brio Water Dispenser and ensured its condition, you are ready to move on to the next step: assembly and installation.
Note: It is always a good idea to refer to the specific instructions provided by the manufacturer for your particular model to ensure a successful setup process.
Step 2: Assembly and Installation
Now that you have unboxed your Brio Water Dispenser, it’s time to assemble and install it. Follow these steps to ensure a smooth setup process:
- Start by assembling the various components of the dispenser. This may include attaching the tap or spigot to the dispenser unit and attaching the drip tray. Refer to the instruction manual provided by the manufacturer for detailed assembly instructions.
- Next, locate a suitable location for your water dispenser. It should be close to a power source and a water supply. Ensure that there is enough space around the dispenser for easy access to the water bottle and tap.
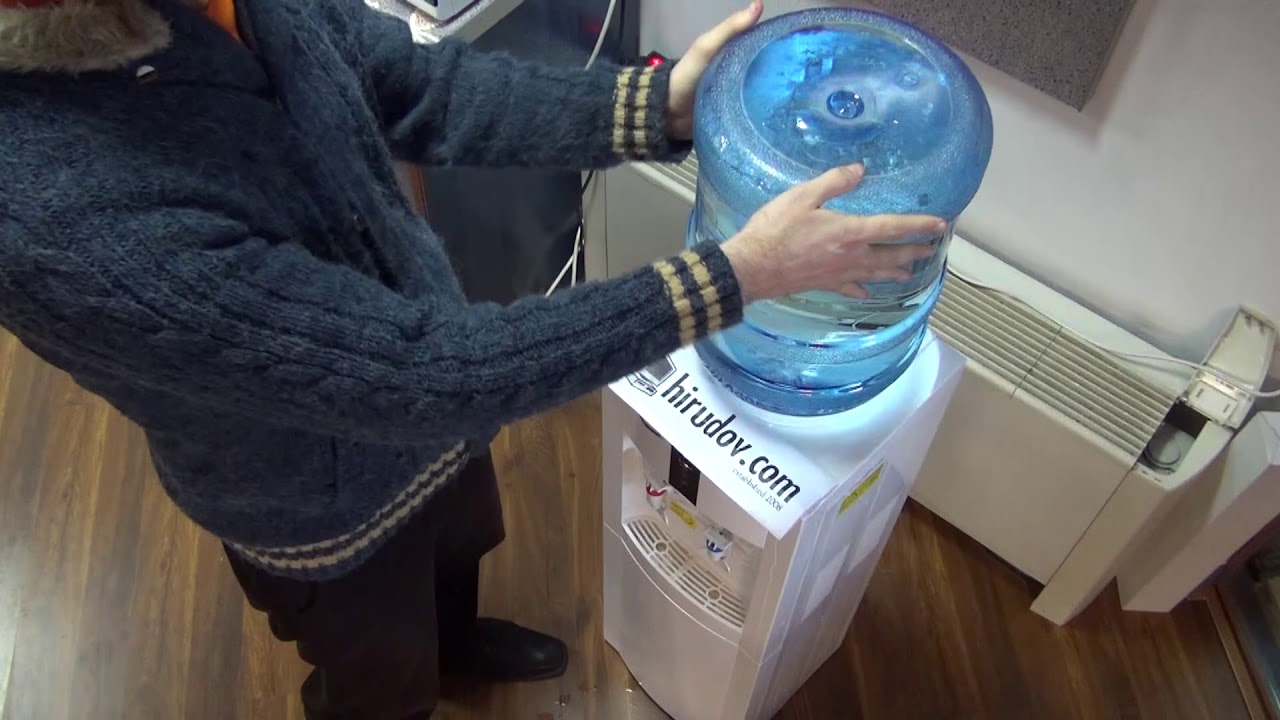
- If your Brio Water Dispenser is a top-loading model, carefully place the water bottle on top of the dispenser unit. Make sure it is properly aligned with the bottle compartment and securely positioned.
- For bottom-loading models, place the water bottle in the designated compartment at the bottom of the dispenser. Follow the specific instructions provided by the manufacturer to ensure proper alignment and a secure fit.
- Once the water bottle is in place, check the connections between the dispenser unit and the water bottle. Ensure that they are properly aligned and tightly secured.
- Now, connect the dispenser to a water source. This is usually done by attaching the included water line or hose to the dispenser unit’s inlet valve and connecting the other end to a water supply. If necessary, you may need to use a wrench or pliers to tighten the connections.
- Once the water supply is connected, check for any leaks or drips. If you notice any, double-check the connections and tighten them if needed.
- Finally, plug in the power cord of the Brio Water Dispenser into a nearby electrical outlet. Ensure that the power cord is properly inserted and securely connected.
With the assembly and installation complete, you are now ready to proceed to the next step: connecting the water source.
Note: The specific assembly and installation instructions may vary depending on the model of your Brio Water Dispenser. Always refer to the manufacturer’s manual for accurate and detailed instructions.
Step 3: Connecting the Water Source
Now that your Brio Water Dispenser is assembled and installed, it’s time to connect it to a water source. Follow these steps to ensure a successful water connection:
- Before connecting the water source, ensure that the water supply is clean and safe for consumption. If you have any concerns about the quality of your tap water, consider using a water filter or purchasing bottled water for your dispenser.
- Locate the water inlet valve on the Brio Water Dispenser. This is usually located at the back or bottom of the unit. Ensure that it is accessible and easily reachable.
- If your dispenser comes with a water line or hose, attach one end to the water inlet valve. Make sure it fits securely and tightly.
- Next, locate the other end of the water line or hose. Depending on your setup, you may need to connect it to a water source directly, such as a faucet or a water line. Alternatively, you may need to connect it to a water filtration system if you have one installed.
- If you are connecting the water line to a faucet, ensure that the faucet is turned off before proceeding. Depending on your setup, you may need to use an adapter or connector to fit the water line onto the faucet.
- Once the water line is connected to the water source, slowly turn on the water supply. This will allow water to flow into the Brio Water Dispenser.
- Check for any leaks or drips around the connection points. If you notice any, tighten the connections or make adjustments until the water flows smoothly without any leakage.
- Allow the water to flow through the dispenser for a few minutes to flush out any air bubbles or impurities. This will help ensure clean and fresh water for consumption.
- Once the water is flowing smoothly without any issues, you have successfully connected the Brio Water Dispenser to the water source.
Now that the water source is connected, you can move on to the next step: powering on and setting up the dispenser.
Note: The specific instructions for connecting the water source may vary depending on the model of your Brio Water Dispenser. Always refer to the manufacturer’s manual for accurate and detailed instructions.
Step 4: Powering On and Setting Up
With your Brio Water Dispenser connected to the water source, it’s time to power on the unit and set it up for optimal performance. Follow these steps to ensure a smooth setup process:
- Double-check that the Brio Water Dispenser is properly connected to a power source. Ensure that the power cord is securely plugged into an electrical outlet.
- Locate the power switch or button on the dispenser. This is usually located on the control panel or near the display area. Ensure that the power switch is in the “Off” position before proceeding.
- Once you are sure the dispenser is properly connected and the power switch is in the “Off” position, press the power switch or button to turn on the unit.
- Depending on the model of your Brio Water Dispenser, you may need to configure certain settings on the control panel. This could include adjusting the temperature settings for both hot and cold water or selecting specific dispense options.
- Refer to the manufacturer’s instructions for your specific model to understand how to navigate the control panel and make necessary adjustments.
- As you set up the dispenser, take note of any display or indicator lights that provide information about the dispenser’s status. This can include temperature indicators, filter replacement reminders, or error notifications.
- Follow any prompts or instructions provided on the control panel to complete the initial setup process.
- Take a moment to familiarize yourself with the different buttons or controls on the dispenser. This will help you navigate the settings and make adjustments as needed in the future.
- Once you have powered on the dispenser and set it up according to your preferences, give the unit some time to reach the desired temperature for both hot and cold water. This may take a few minutes.
- Now that your Brio Water Dispenser is powered on and set up, you are ready to enjoy refreshing hot and cold water at your convenience.
Continue reading to learn about adjusting temperature and dispensing options in the next step.
Note: The specific instructions for powering on and setting up your Brio Water Dispenser may vary depending on the model. Always refer to the manufacturer’s manual for accurate and detailed instructions.
When setting up a Brio water dispenser, make sure to carefully read the manufacturer’s instructions and follow the step-by-step guide for installation. This will ensure that the dispenser is properly set up and functions correctly.
Step 5: Adjusting Temperature and Dispensing Options
Now that your Brio Water Dispenser is powered on and set up, it’s time to adjust the temperature settings and explore the various dispensing options available. Follow these steps to customize your water dispenser to your preferences:
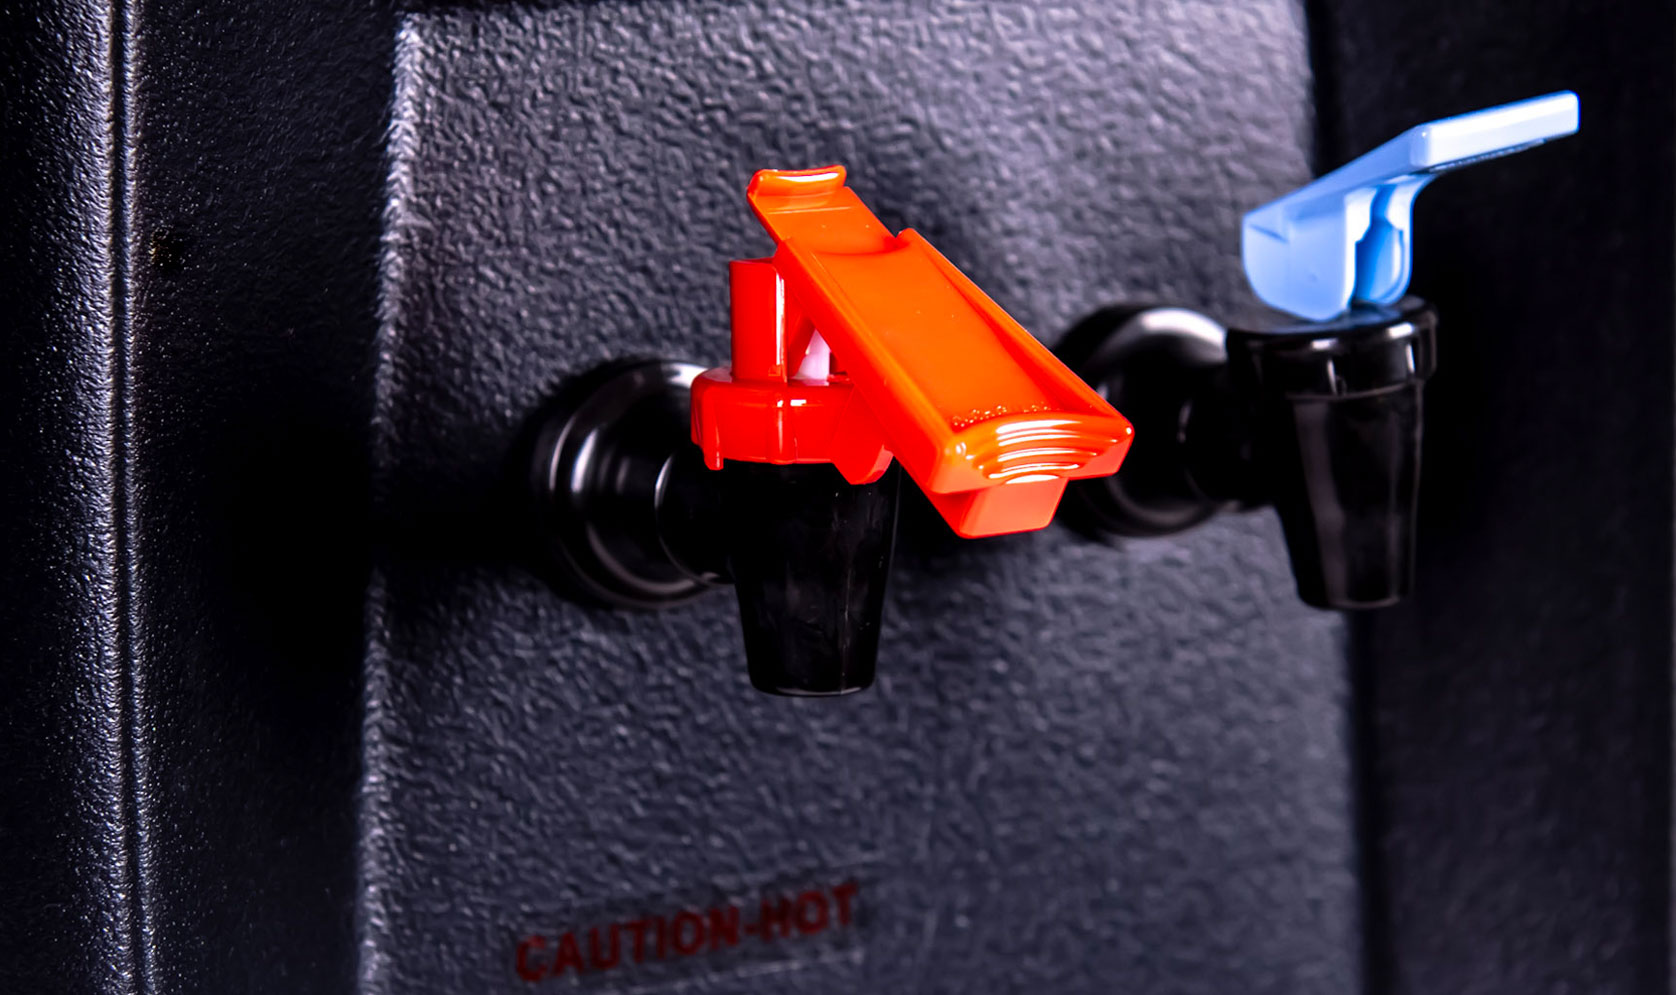
- Refer to the control panel or display area on your Brio Water Dispenser. Look for temperature control buttons or settings that allow you to adjust the temperature for both hot and cold water.
- Using the temperature control buttons, you can increase or decrease the temperature according to your preference. Some models may offer preset temperature options for convenience.
- Experiment with different temperature settings until you find the perfect balance for your hot and cold water needs.
- If your Brio Water Dispenser offers additional dispensing options, such as room temperature or ambient water, explore the settings to activate and adjust these options according to your preference.
- Take note of any safety features that are built into your dispenser, such as child lock settings or hot water safety locks, and utilize them to ensure safe dispensing.
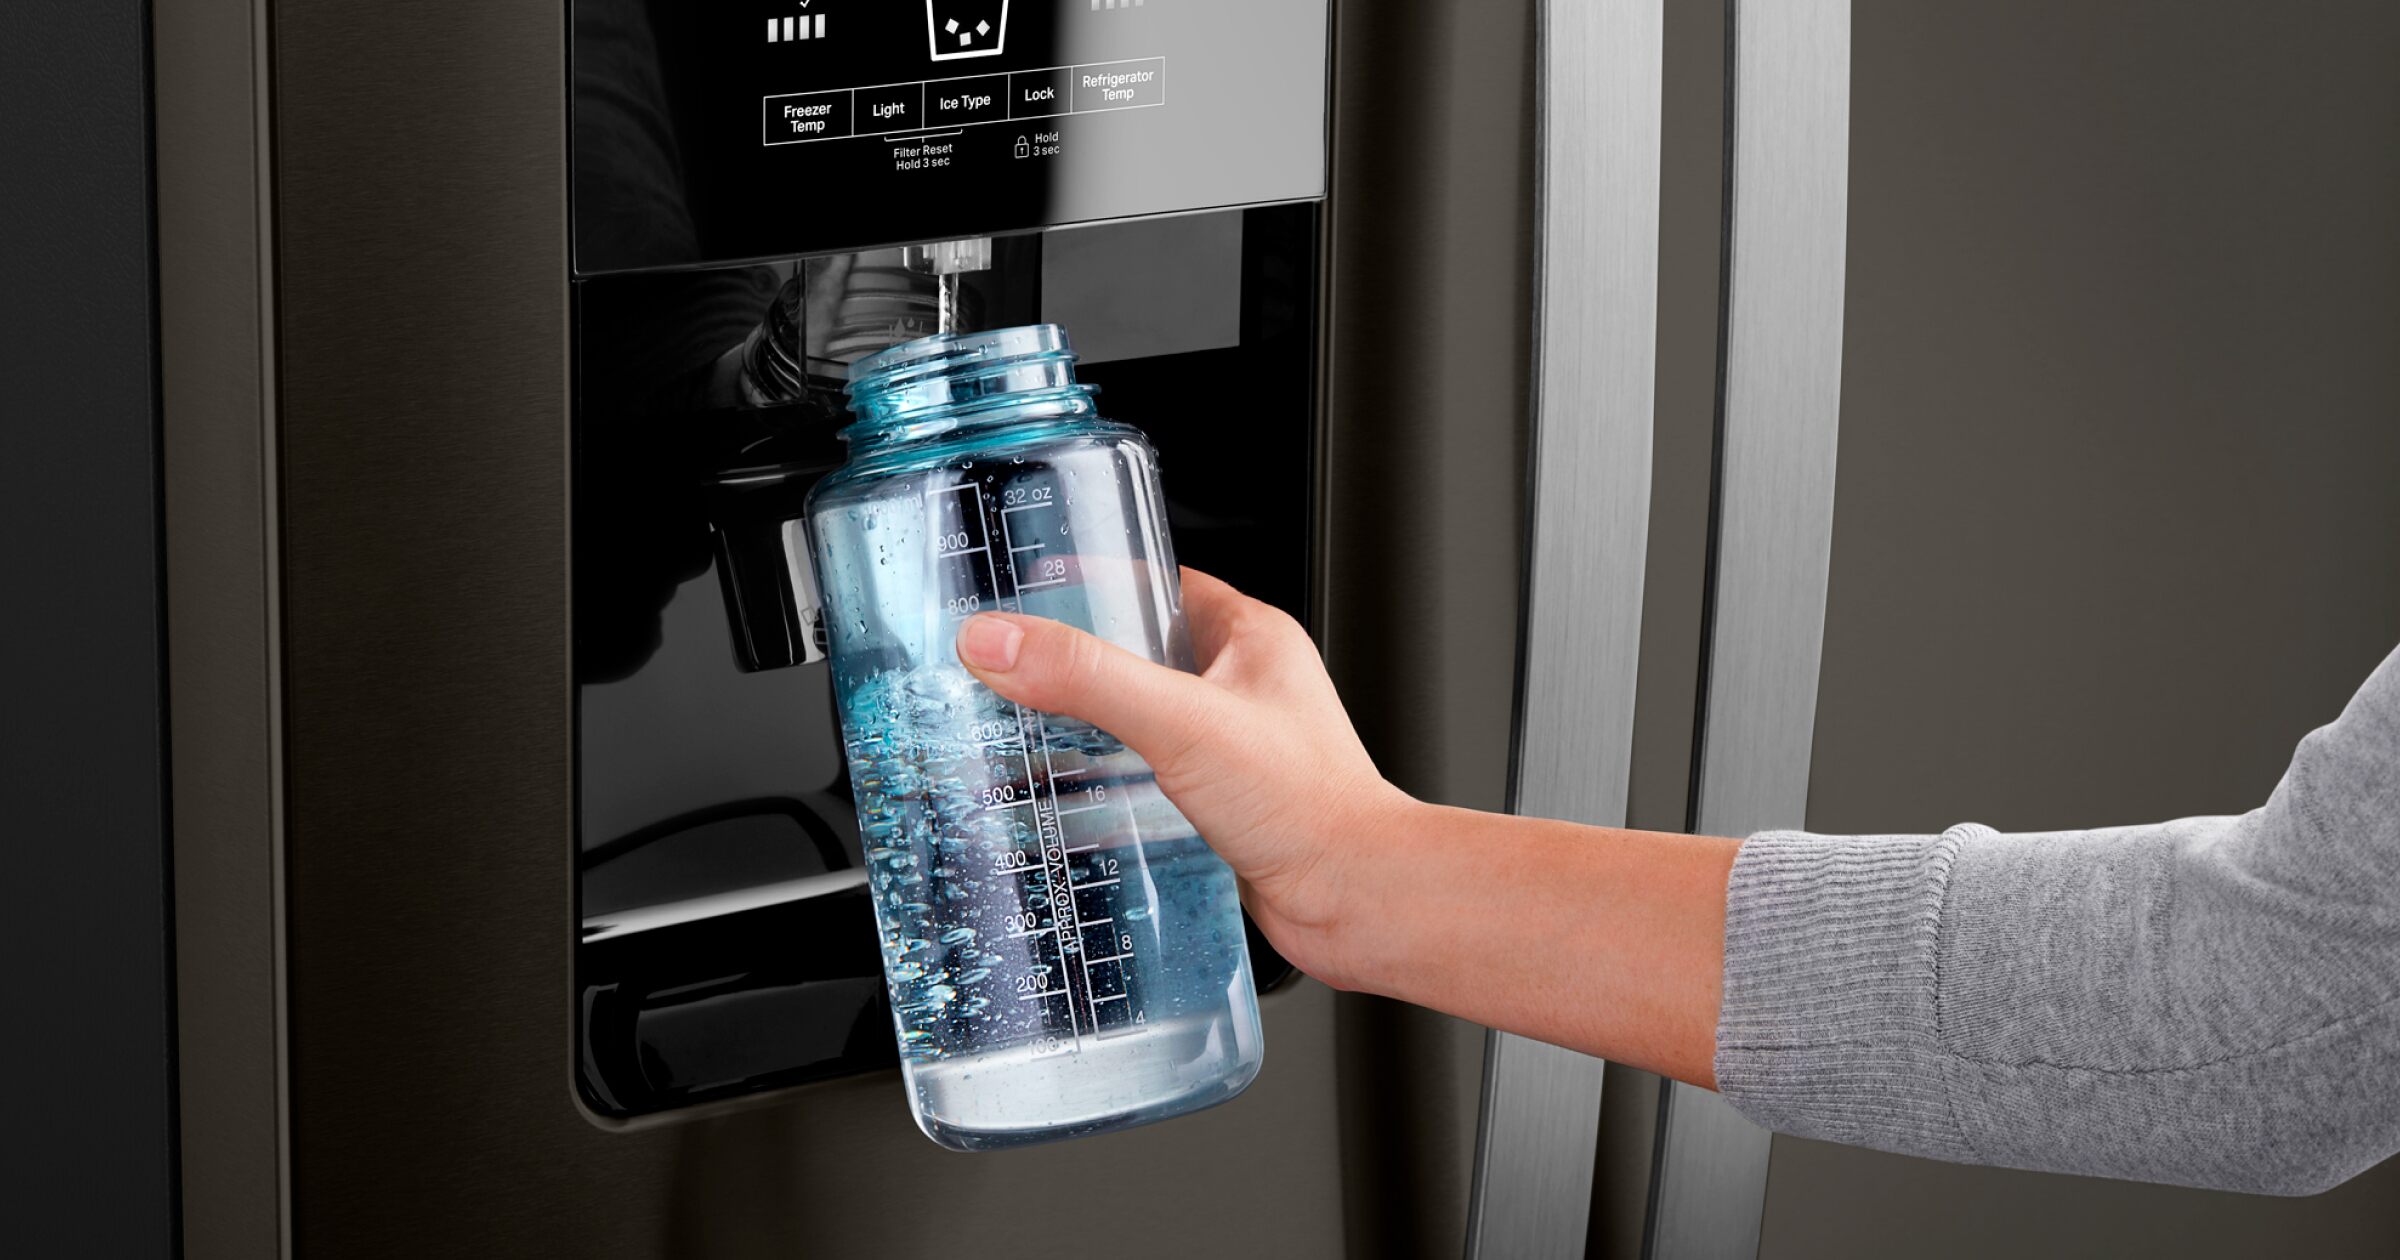
- Once you have adjusted the temperature settings and explored the dispensing options, test the dispenser by dispensing hot and cold water to ensure that they are both functioning as desired.
- As you use the dispenser, pay attention to any indicator lights or display notifications that provide information about the current temperature or the need for filter replacement.
- Make sure to follow the manufacturer’s guidelines on recommended temperature settings and any maintenance instructions associated with temperature adjustment.
- Keep in mind that it may take some time for the temperature adjustments to take effect. Allow the dispenser to stabilize at the desired temperature before making further adjustments.
- By adjusting the temperature settings and exploring the various dispensing options, you can personalize your Brio Water Dispenser to suit your hydration needs and preferences.
Continue reading to learn about the maintenance and cleaning guidelines for your water dispenser.
Note: The specific temperature adjustment and dispensing options may vary depending on your Brio Water Dispenser model. Refer to the manufacturer’s manual for accurate and detailed instructions.
Step 6: Maintenance and Cleaning Guidelines
Regular maintenance and cleaning are essential to keeping your Brio Water Dispenser in optimal condition and ensuring clean and refreshing water. Follow these guidelines to maintain and clean your water dispenser:
- Refer to the manufacturer’s manual for specific maintenance recommendations for your Brio Water Dispenser model. Different models may have unique requirements.
- Regularly clean the exterior of the dispenser using a soft cloth or sponge with mild soap and water. Avoid using abrasive cleaners or chemicals that may damage the finish.
- For the water bottle compartment, remove the empty water bottle and clean the interior with warm soapy water. Rinse thoroughly to remove any residue or soap. Allow it to air dry before inserting a fresh water bottle.
- Clean the drip tray regularly by removing it and washing it with warm soapy water. Rinse and dry it thoroughly before placing it back into the dispenser.
- For models with a built-in water filtration system, follow the manufacturer’s recommendations for replacing the filters. This will ensure that you continue to enjoy clean and purified water.
- Deep clean the water dispenser at least once every three to six months. This involves thoroughly sanitizing the interior components. Consult the manufacturer’s manual for detailed instructions on how to perform this deep cleaning process.
- Regularly check the dispenser for any signs of leakage or malfunction. If you notice any issues, refer to the troubleshooting section in the manual or contact the manufacturer for assistance.
- Periodically check the water supply connections to ensure that they are secure and leak-free. Tighten any loose connections if necessary.
- Stay updated with any maintenance alerts or reminders provided by your Brio Water Dispenser, such as filter replacement notifications or cleaning reminders.
- Engage in good hygiene practices when using the water dispenser, such as regularly washing your hands before handling water bottles or dispensing water.
By following these maintenance and cleaning guidelines, you can ensure that your Brio Water Dispenser continues to provide clean and refreshing water for you and your family to enjoy.
Read on to learn about troubleshooting common issues that may arise with your water dispenser.
Note: Always refer to the manufacturer’s manual for accurate and detailed maintenance and cleaning instructions specific to your Brio Water Dispenser model.
Step 7: Troubleshooting Common Issues
While the Brio Water Dispenser is designed for reliable performance, there may be times when you encounter common issues. Here are some troubleshooting tips to help you address and resolve these issues:
- No water flow: If the water is not flowing from the dispenser, check if the water bottle is properly inserted and aligned with the dispenser. Ensure that the water source is turned on and that the connections are secure. If the issue persists, refer to the manufacturer’s manual for specific troubleshooting steps.
- Leaking water: If you notice any water leakage around the dispenser, check the connections between the water bottle and the dispenser unit. Ensure that they are tightly secured. If the leak persists, inspect for any cracks or damage in the dispenser’s components and contact the manufacturer for assistance.
- Temperature issues: If the water is not hot or cold as desired, check the temperature settings on the control panel. Ensure that the dispenser is given enough time to reach the desired temperature. If the temperature issue continues, refer to the manufacturer’s manual for troubleshooting steps or contact customer support.
- Unusual tastes or odors: If you experience any unusual tastes or odors in the water, it may indicate the need to replace the water filters. Follow the manufacturer’s recommendations for filter replacement or consider using a water filtration system to enhance the water quality.
- Dispenser not powering on: If the dispenser does not power on, check if it is properly plugged into the electrical outlet. Make sure the power switch is in the “On” position. If the issue persists, check the power source and cord for any damage. If needed, contact the manufacturer for support.
- Display or indicator issues: If the control panel display or indicator lights are not functioning properly, restart the dispenser by turning it off and on again. If the display issue continues, consult the manufacturer’s manual for troubleshooting steps or contact customer support for assistance.
- Unusual noises: If you hear any strange noises coming from the dispenser, it could indicate a problem with the motor or other internal components. Refer to the manufacturer’s manual for troubleshooting steps or contact customer support for further assistance.
- Other issues: If you encounter any other issues not mentioned here, consult the manufacturer’s manual for specific troubleshooting steps. If the problem persists, reach out to the manufacturer’s customer support for further guidance.
Remember to consult the manufacturer’s manual for accurate and detailed troubleshooting steps specific to your Brio Water Dispenser model.
Congratulations! You have successfully completed the setup and troubleshooting guide for your Brio Water Dispenser. Enjoy refreshing and filtered water whenever you need it!
Disclaimer: The information provided in this article serves as a general guide. Always refer to the manufacturer’s manual for specific instructions and consult customer support when necessary.
Conclusion
Congratulations on successfully setting up your Brio Water Dispenser! By following the steps outlined in this guide, you have learned how to unbox the dispenser, assemble and install it, connect it to a water source, power it on and set it up, adjust temperature and dispensing options, maintain and clean the unit, and troubleshoot common issues.
Your Brio Water Dispenser now provides you with a convenient and eco-friendly solution for accessing clean and refreshing water. Whether you’re at home, in the office, or hosting guests, you can enjoy the benefits of instant hot and cold water at your fingertips.
Remember to regularly maintain and clean your water dispenser to ensure its performance and longevity. Follow the manufacturer’s guidelines for filter replacement, deep cleaning, and any other specific maintenance recommendations.
In the event of any issues or concerns, consult the manufacturer’s manual and reach out to customer support for assistance. They will be able to provide you with the necessary guidance to address any challenges you may face.
Enjoy the convenience of your Brio Water Dispenser and make staying hydrated a pleasurable experience. Say goodbye to single-use plastic bottles and enjoy the peace of mind that comes with knowing you have access to clean and filtered water whenever you need it.
Thank you for choosing Brio and for taking the time to read this comprehensive guide. We hope it has been helpful, informative, and valuable in aiding you through the setup process.
Here’s to your hydration journey with Brio Water Dispenser!
Frequently Asked Questions about How To Set Up Brio Water Dispenser
Was this page helpful?
At Storables.com, we guarantee accurate and reliable information. Our content, validated by Expert Board Contributors, is crafted following stringent Editorial Policies. We're committed to providing you with well-researched, expert-backed insights for all your informational needs.

0 thoughts on “How To Set Up Brio Water Dispenser”