Articles
How To Sew Quilt Batting Together
Modified: August 16, 2024
Learn how to sew quilt batting together with step-by-step instructions in this informative articles. Discover the best techniques for a seamless and professional finish.
(Many of the links in this article redirect to a specific reviewed product. Your purchase of these products through affiliate links helps to generate commission for Storables.com, at no extra cost. Learn more)
Introduction
Welcome to the world of quilting! Creating a beautiful quilt is a labor of love that involves several steps, from choosing fabric and designing patterns to sewing the pieces together. One crucial element of a quilt is the batting – the layer of material that provides warmth and loft. In some cases, quilt batting may need to be joined or sewn together to accommodate larger quilt projects. In this article, we will explore three methods for sewing quilt batting together, whether you prefer hand stitching, machine stitching, or using fusible webbing.
Before we dive into the techniques, let’s quickly go over the supplies you’ll need:
Key Takeaways:
- Seamlessly join quilt batting using hand stitching, machine stitching, or fusible webbing. Each method offers unique benefits, allowing you to personalize your quilting process and achieve professional results.
- Gather essential supplies such as quilt batting, fabric, thread, needles, and potentially fusible webbing or an iron to ensure a successful and enjoyable quilting experience. Enjoy the journey of creating beautiful, warm, and joyful quilts!
Read more: How To Assemble A Quilt With Batting
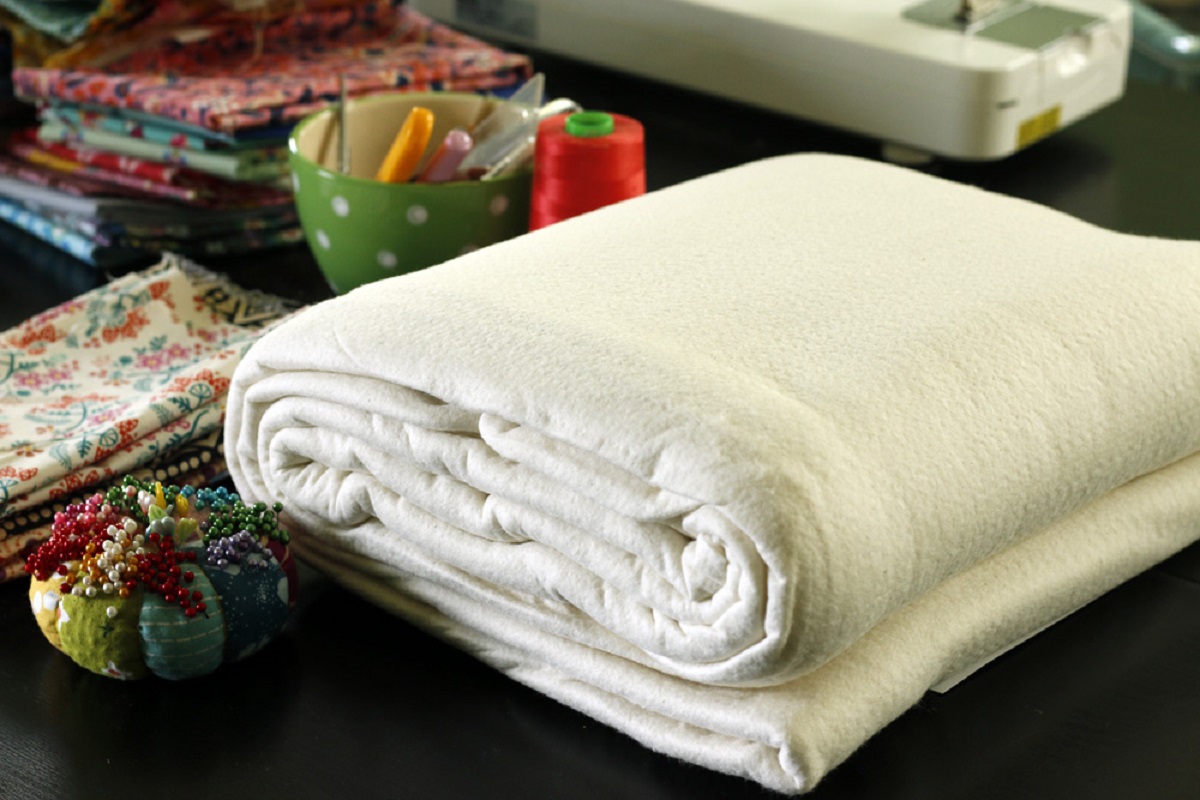
Supplies Needed
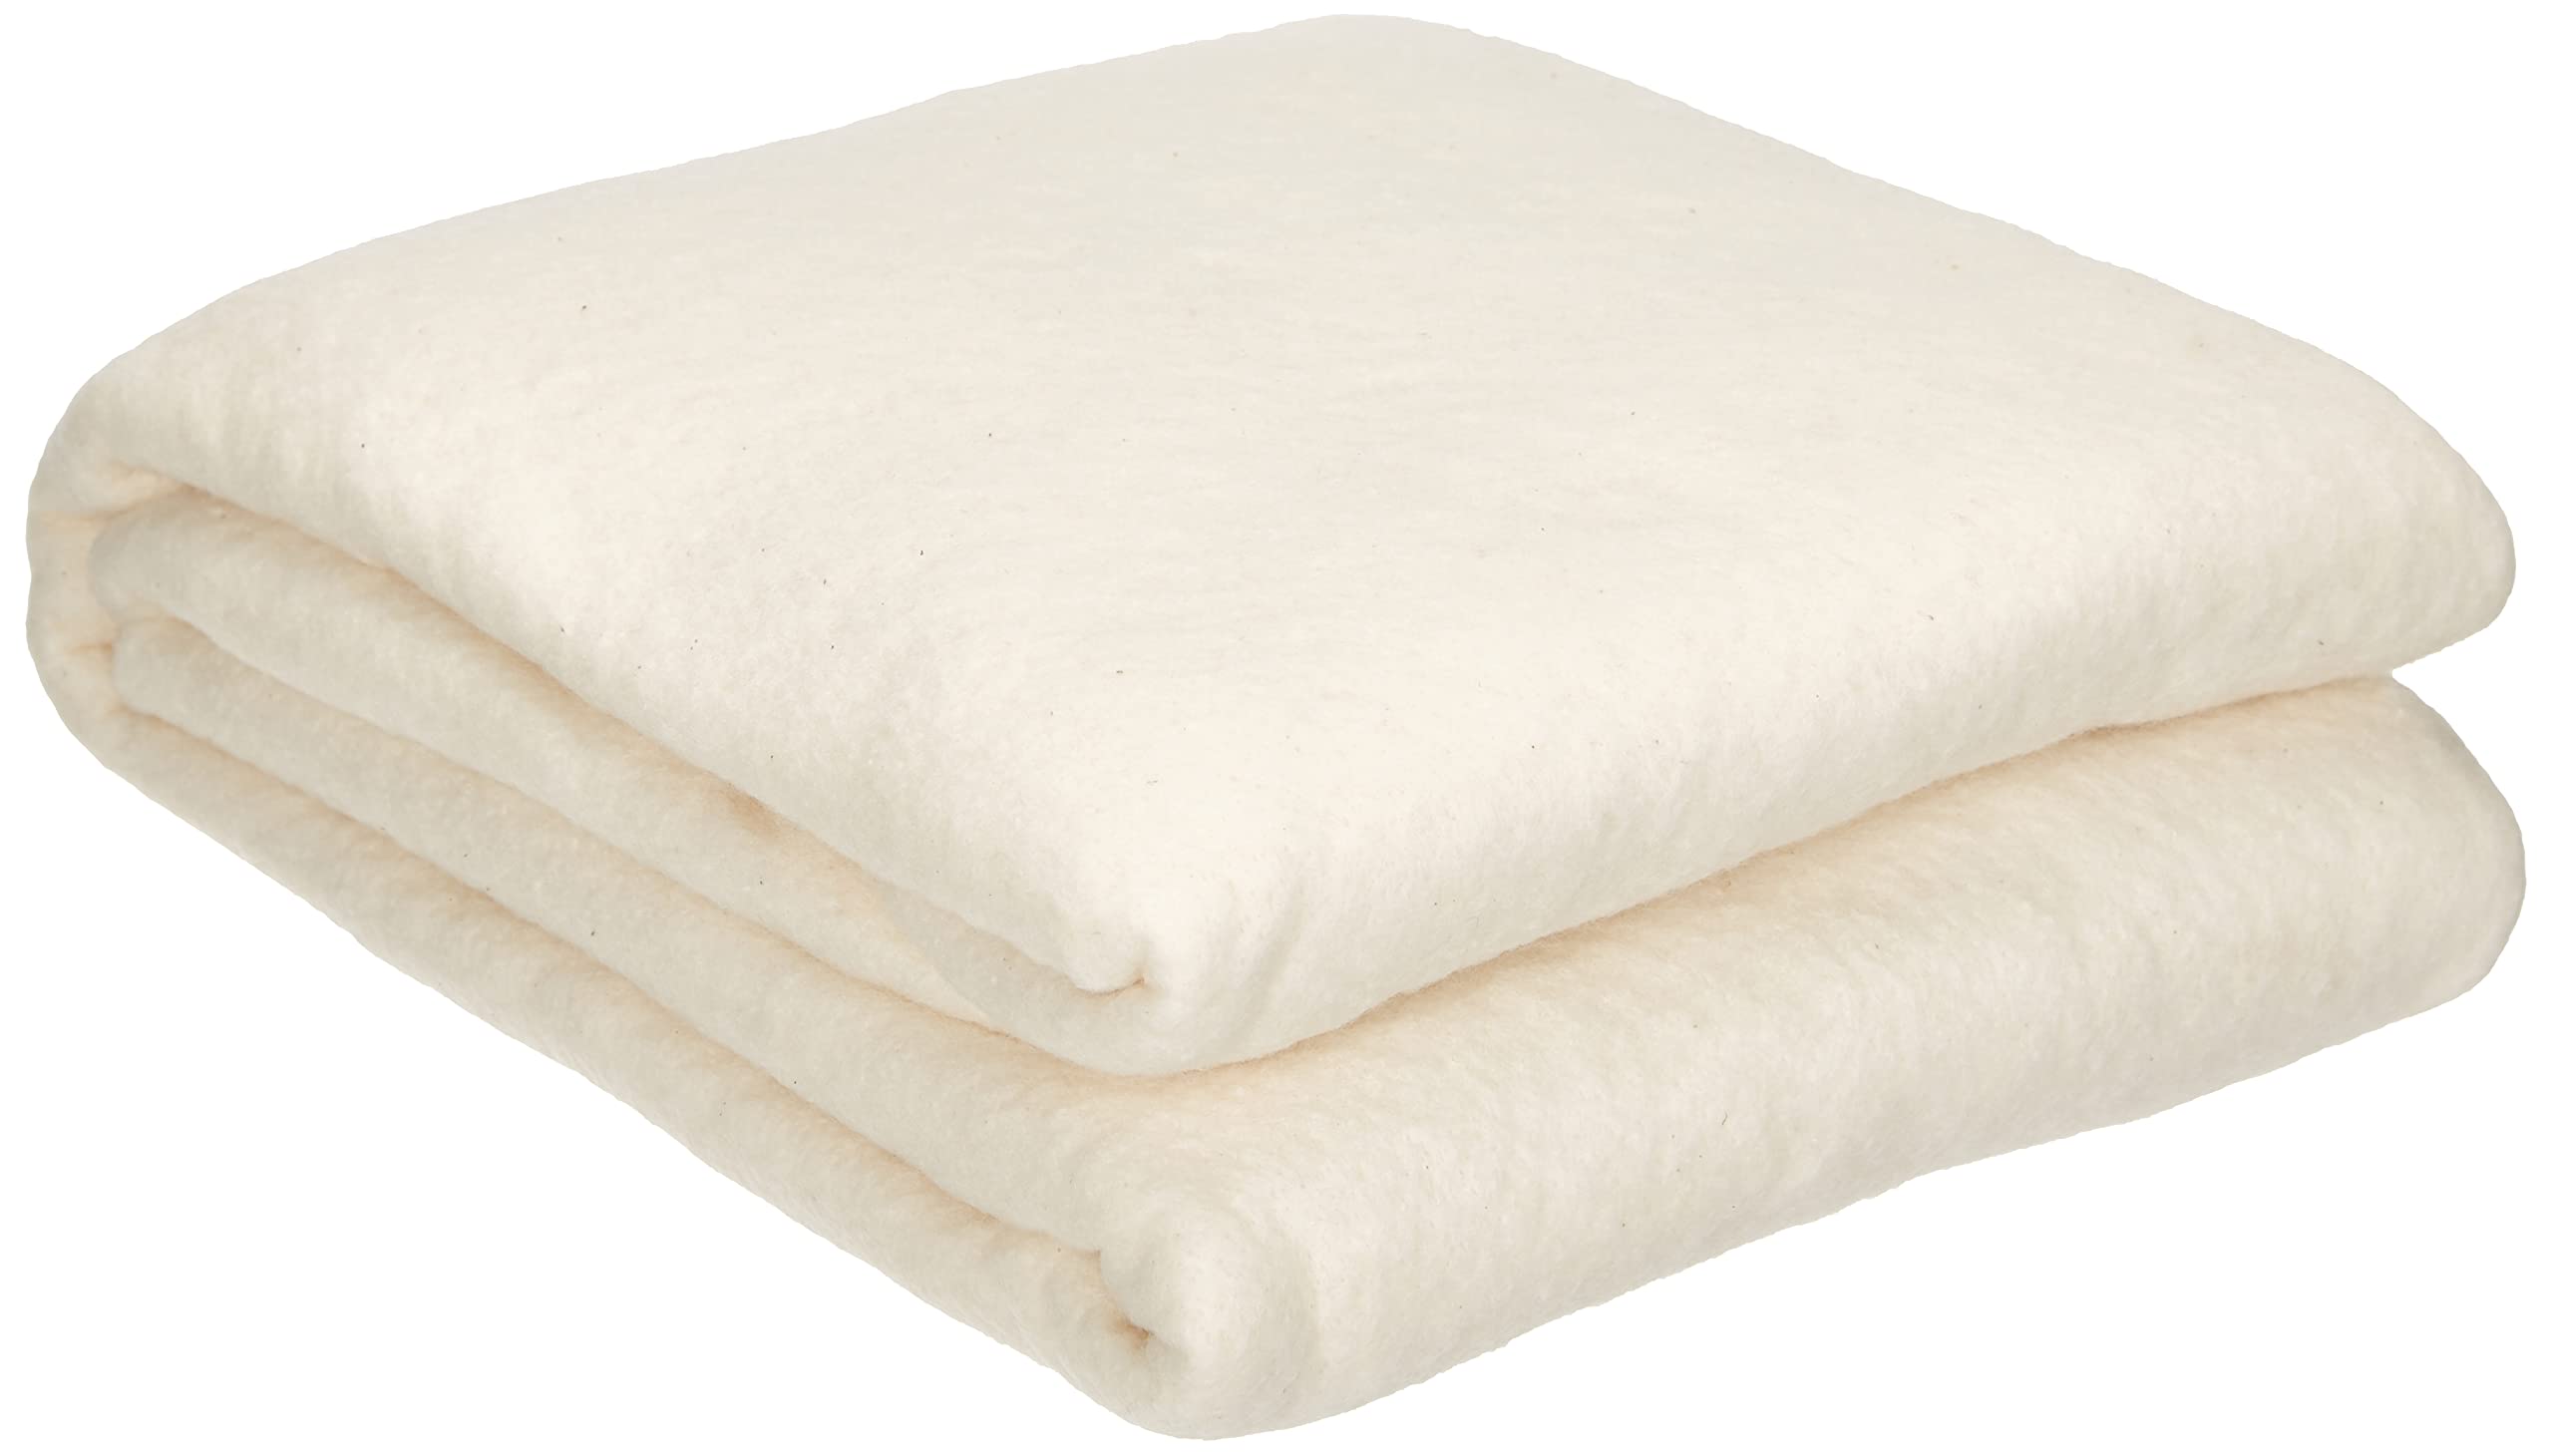
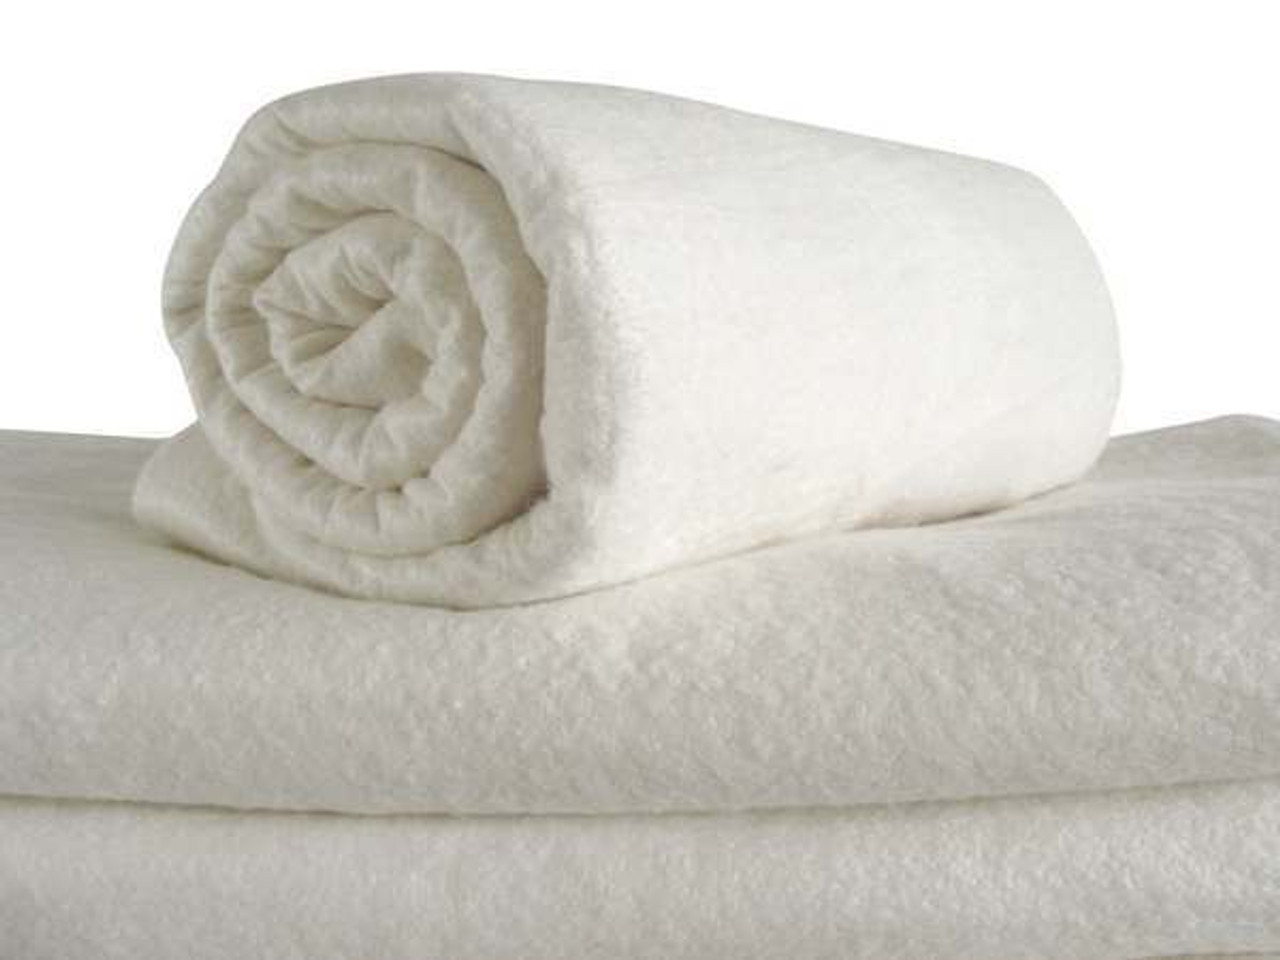
- Quilt batting – Ensure you have enough batting to complete your project.
- Quilt fabric – Select a fabric that complements your quilt design.
- Thread – Choose a thread that matches the color of your quilt batting or fabric.
- Needle – For hand stitching, use a needle with a large eye that can accommodate the thread.
- Sewing machine – If you prefer machine stitching, have your sewing machine ready.
- Fusible webbing – If you opt for the third method, have fusible webbing on hand.
- Iron – A hot iron will be necessary for the fusible webbing method.
Now that we have our supplies ready, let’s explore the different methods for sewing quilt batting together:
Key Takeaways:
- Seamlessly join quilt batting using hand stitching, machine stitching, or fusible webbing. Each method offers unique benefits, allowing you to personalize your quilting process and achieve professional results.
- Gather essential supplies such as quilt batting, fabric, thread, needles, and potentially fusible webbing or an iron to ensure a successful and enjoyable quilting experience. Enjoy the journey of creating beautiful, warm, and joyful quilts!
Read more: How To Assemble A Quilt With Batting
Supplies Needed
Before you can sew quilt batting together, you’ll need a few supplies to ensure a successful project. Here’s a list of what you’ll need:
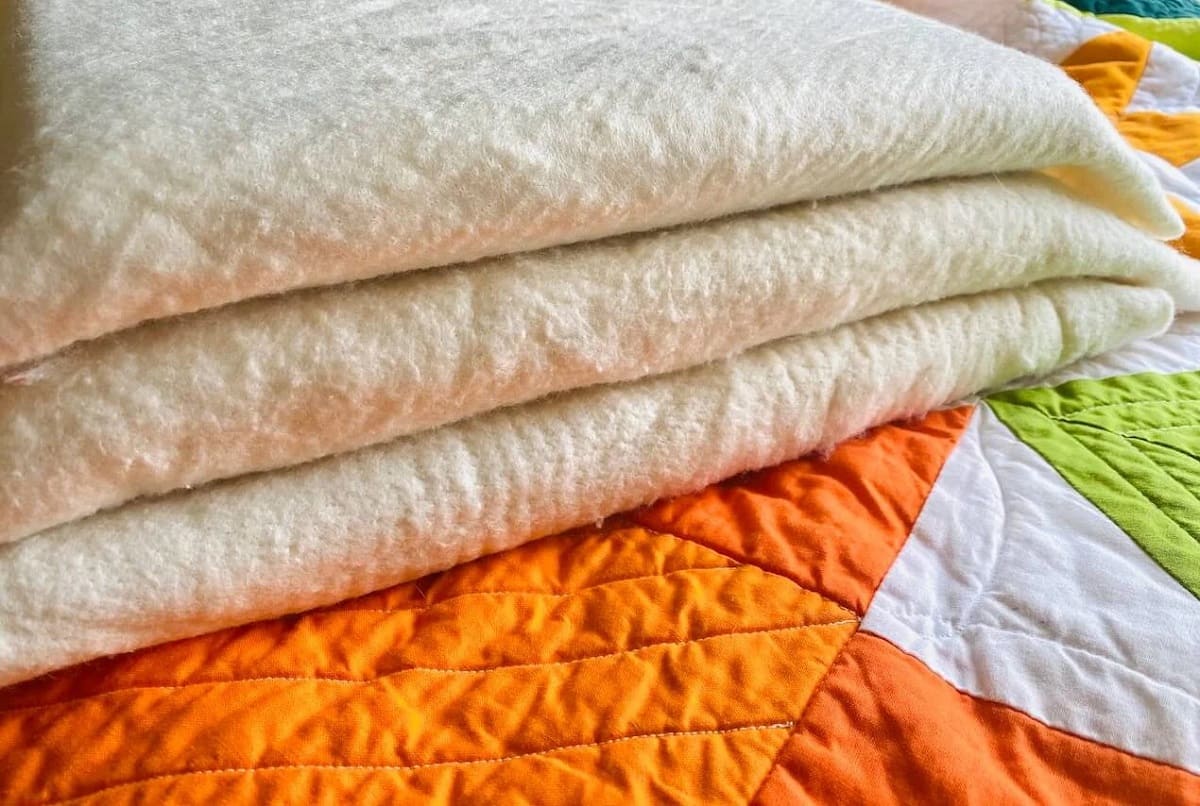
- Quilt batting: This is the main material that provides warmth and loft to your quilt. Make sure to choose a batting that suits your specific quilting needs. There are different types of batting available, such as cotton, polyester, wool, and blends. Select one that you feel matches the desired outcome of your quilt project.
- Quilt fabric: You’ll also need fabric for the quilt top and backing. Choose high-quality fabrics that coordinate with your design and color scheme. Consider the overall aesthetic you want to achieve and select fabrics that will complement each other.
- Thread: Select a high-quality thread that matches the color of your quilt batting or fabric. The thread should be strong enough to hold the layers of batting together securely.
- Needle: If you choose to hand stitch the quilt batting together, you’ll need a needle with a large eye that can accommodate the thread. A sharp needle with a fine point works well for this purpose.
- Sewing machine: If you prefer machine stitching for joining the quilt batting, you’ll obviously need a sewing machine. Ensure that your machine is in good working condition, with a needle suitable for sewing through multiple layers of fabric and batting.
- Fusible webbing: Another method for joining quilt batting is by using fusible webbing. This adhesive material is applied between the two pieces of batting and fused together with heat from an iron. Have a roll or sheet of fusible webbing ready if you plan to use this method.
- Iron: Regardless of the method you choose, you’ll need an iron to press the quilt batting together. Make sure your iron is clean and in proper working condition so that it can generate enough heat to activate the fusible webbing if you opt for that method.
By gathering these essential supplies, you’ll be well-prepared to complete the process of sewing quilt batting together. Let’s now explore the three different methods you can use to achieve this.
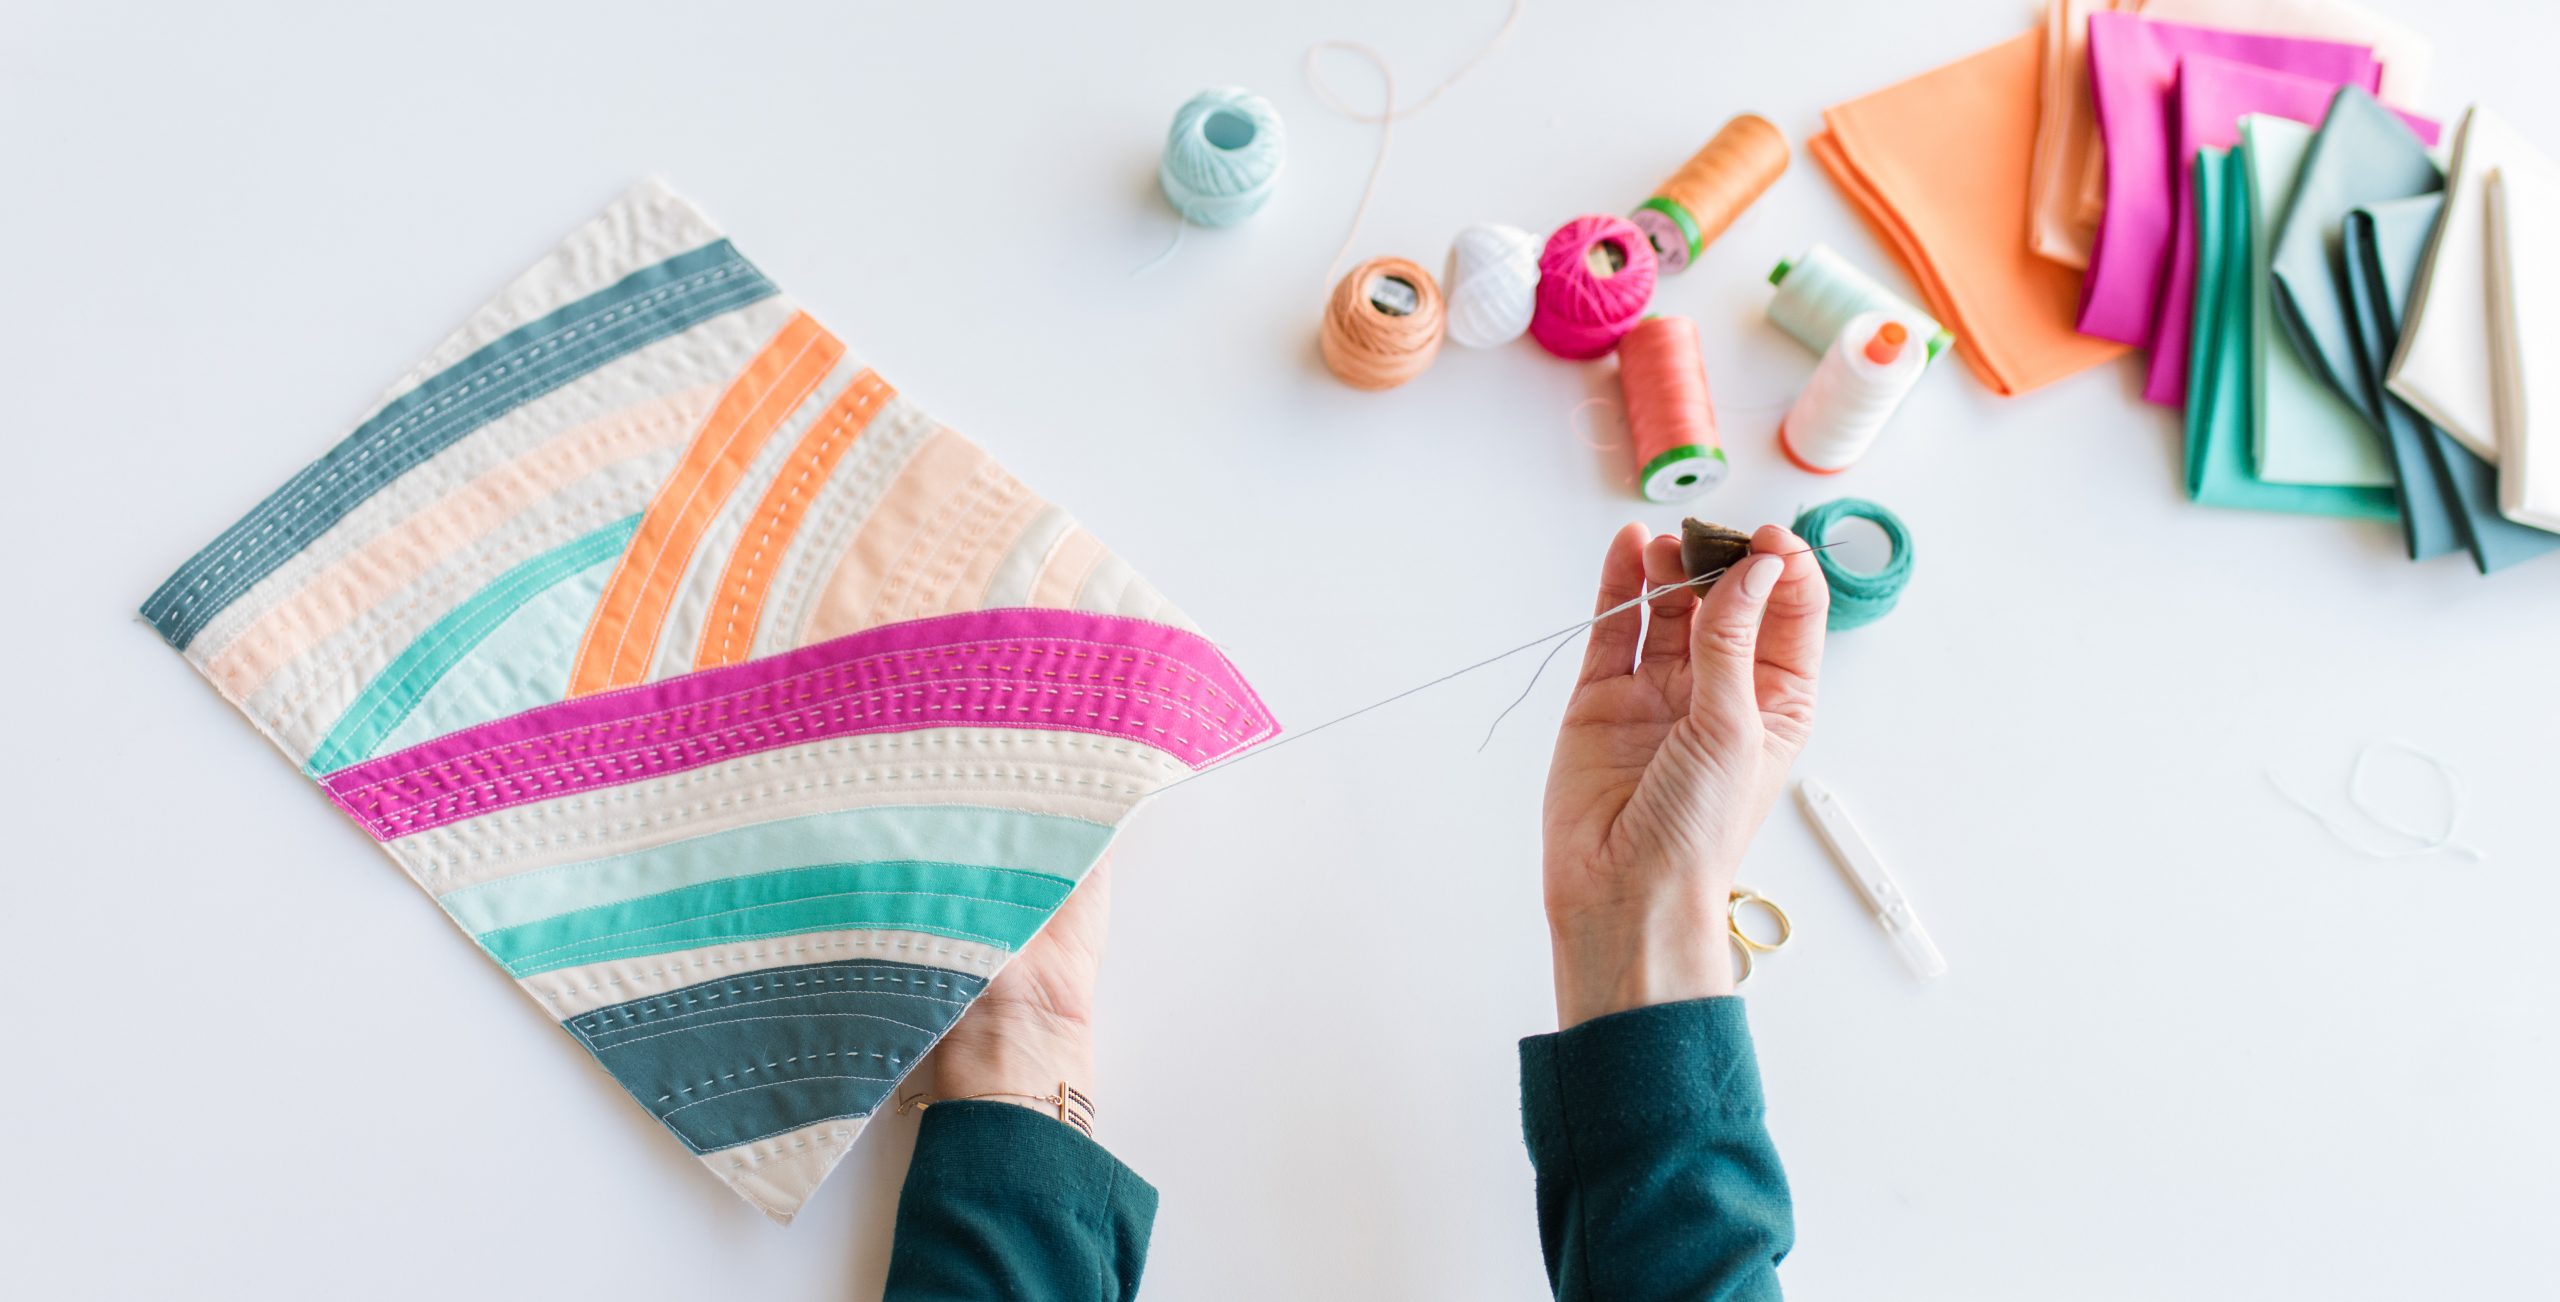
Method 1: Hand Stitching
If you enjoy the art of hand stitching or prefer a more traditional approach, you can sew quilt batting together using a needle and thread. Here’s how:
- Start by laying the two pieces of quilt batting side by side on a flat surface. Ensure that the edges align neatly, creating a seamless transition between the two pieces.
- Thread your needle with a double strand of thread for added strength. Knot the end of the thread to secure it in place.
- Beginning at one corner or edge of the quilt batting, insert your needle from the backside, bringing it up through the top layer and down through the bottom layer.
- Continue stitching along the edge, using a basic running stitch or a whipstitch. Make your stitches about ¼ inch apart to ensure a secure bond between the two layers.
- When you reach the end of the first side, tie off your thread by creating a small knot at the back of the quilt batting. Trim any excess thread.
- Repeat the stitching process along the remaining sides of the quilt batting until all edges are securely sewn together.
- Inspect the seams to ensure they are tight and secure. If necessary, go back and reinforce any areas that may need extra stitching.
Hand stitching quilt batting together requires patience and attention to detail, but it can result in a beautiful and durable quilt. Take your time and enjoy the process, allowing the stitches to become a part of the quilt’s unique character.
Now that we’ve covered hand stitching, let’s move on to the next method: machine stitching.
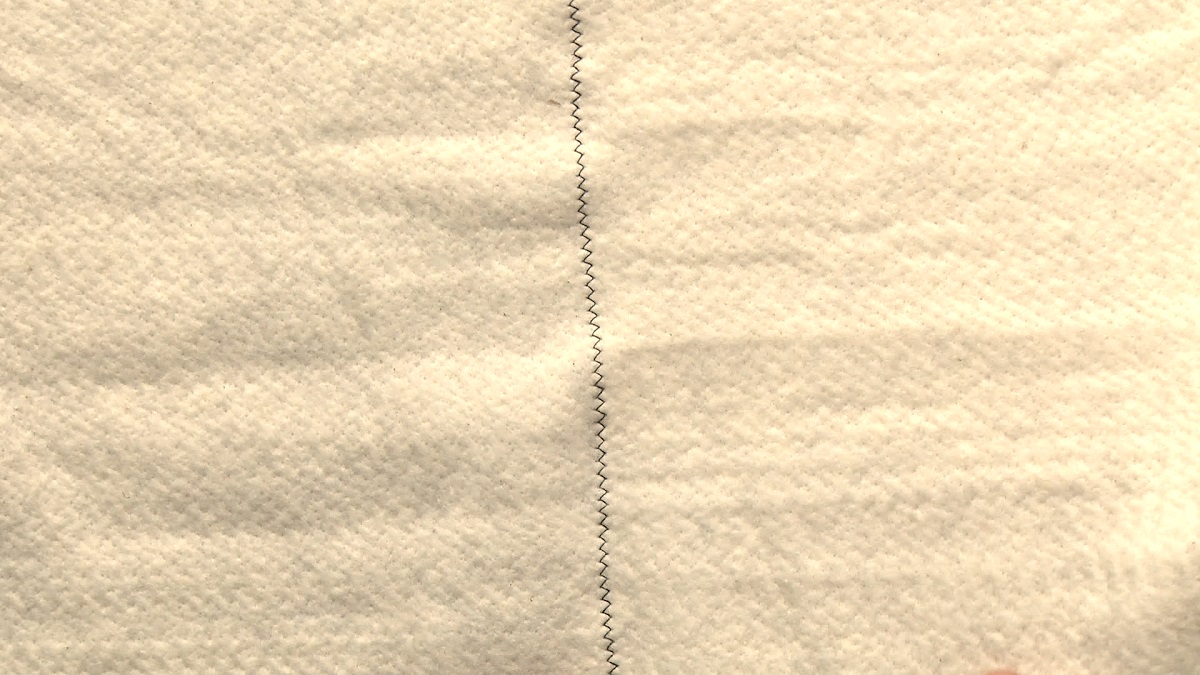
When sewing quilt batting together, use a wide zigzag stitch to ensure a strong and secure seam. Be sure to overlap the edges of the batting by at least 1 inch to prevent shifting.
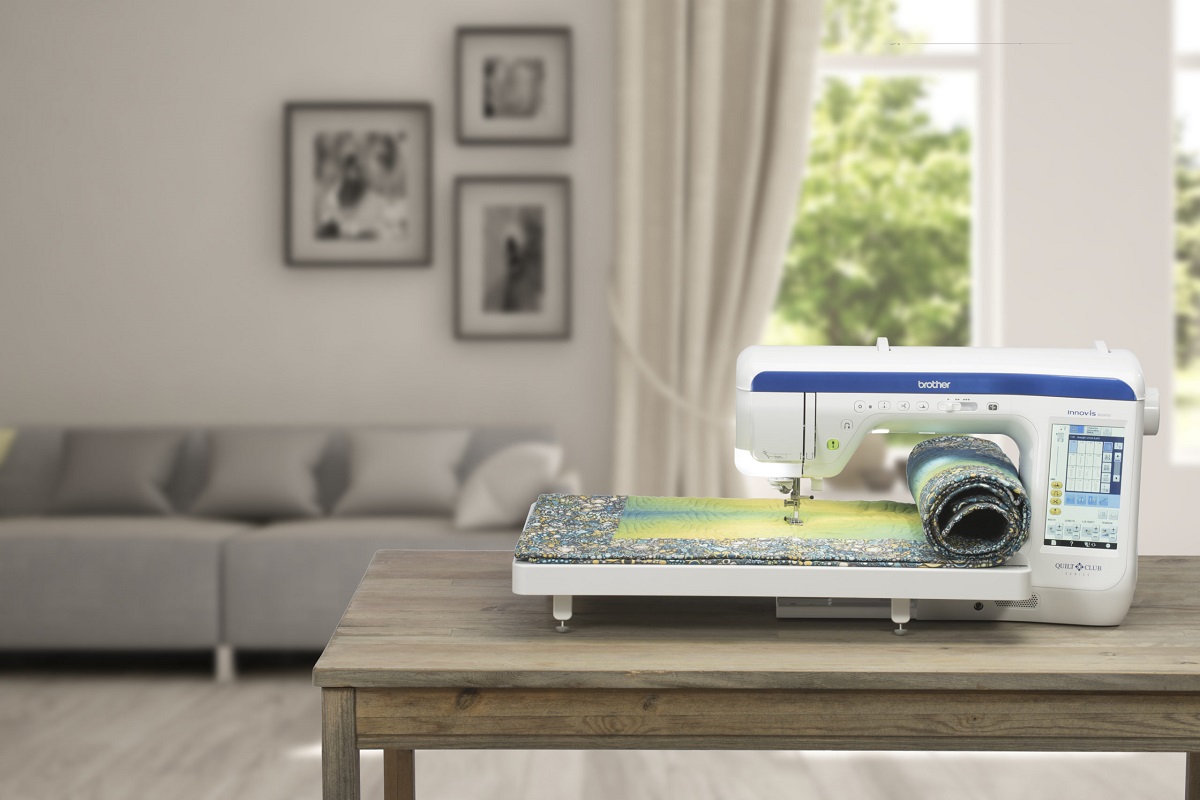
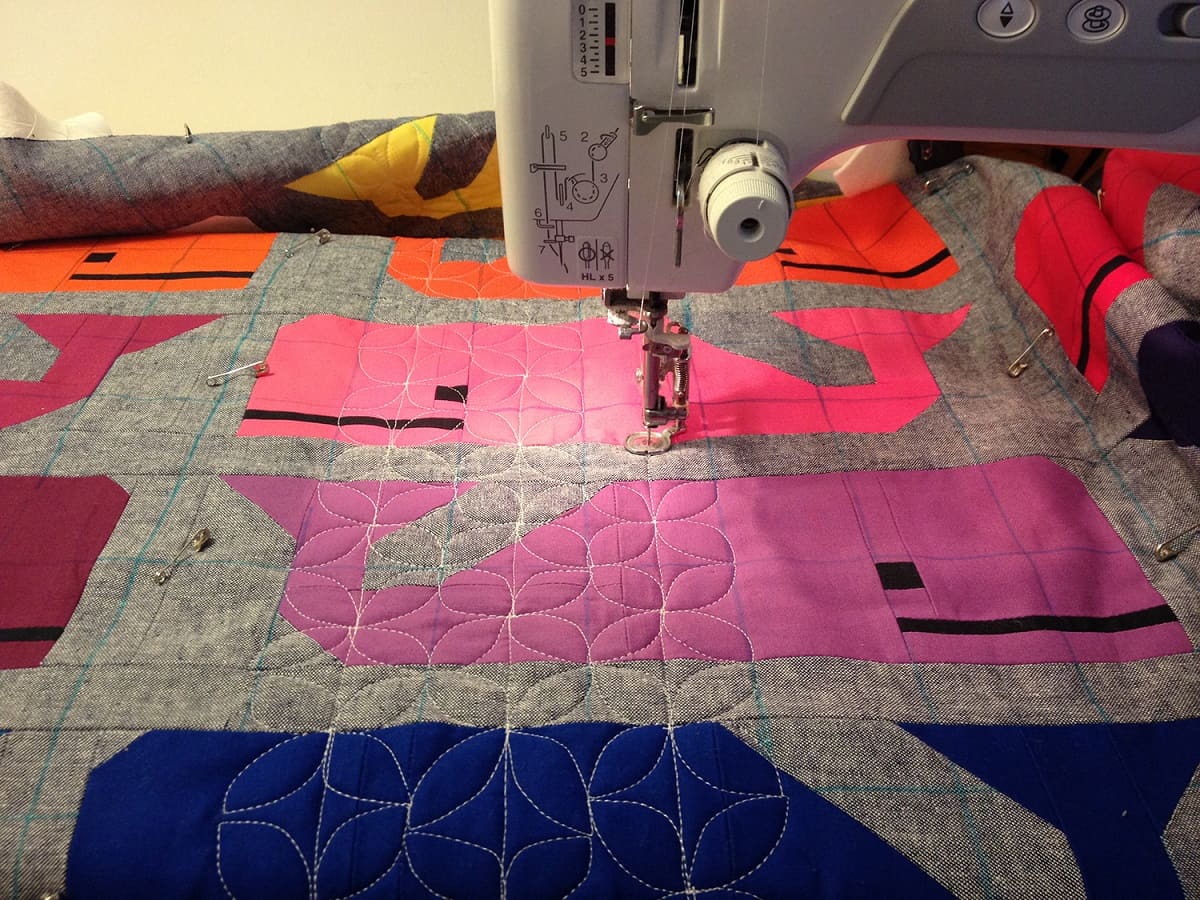
Method 2: Machine Stitching
If you prefer to save time and have access to a sewing machine, machine stitching is an efficient method for sewing quilt batting together. Follow these steps:
- Place the two pieces of quilt batting side by side, ensuring the edges align evenly.
- Set up your sewing machine with a straight stitch and a medium stitch length. Make sure to use a needle appropriate for sewing through multiple layers of fabric and batting.
- Starting at one corner or edge, position the layers under the machine’s presser foot. Lower the presser foot to hold the layers in place.
- Begin stitching along the edge, guiding the layers carefully to prevent shifting. Keep a consistent seam allowance of around ¼ inch to maintain an even seam.
- Continue stitching along the edge until you reach the end. Backstitch a few stitches to secure the seam, then cut the thread.
- Repeat this process for the remaining sides of the quilt batting, ensuring that the stitches are straight and evenly spaced.
- Inspect the seams to ensure they are secure. If needed, reinforce any areas that may require additional stitching.
Machine stitching quilt batting together provides a faster and more efficient approach, particularly for larger projects. It delivers sturdy and consistent results, creating a strong bond between the two pieces of batting. Make sure to practice proper machine sewing techniques and take your time to achieve clean and professional-looking seams.
Now that we’ve covered machine stitching, let’s move on to the third method: using fusible webbing.
Read more: What Is The Best Batting For A Quilt
Method 3: Using Fusible Webbing
For those who prefer a no-sew approach or want a quicker method for joining quilt batting, using fusible webbing is an excellent option. Here’s how you can do it:
- Place the two pieces of quilt batting side by side on a heat-resistant surface, ensuring that the edges align smoothly.
- Cut a piece of fusible webbing slightly smaller than the width of the batting. Place the webbing between the two layers, aligning it with the edges that need joining.
- Set your iron to the appropriate heat setting for the fabric and batting type. Follow the instructions provided by the fusible webbing manufacturer.
- Place a pressing cloth or a piece of parchment paper over the webbing and press the iron down firmly on the cloth. Hold it in place for the recommended amount of time to activate the adhesive.
- Slowly lift the iron and check if the webbing has fused the two layers of batting together. Gently tug on the edges to ensure they are securely bonded.
- Repeat this process for the remaining edges, gradually working your way around the quilt batting.
- Allow the fused batting to cool and set before handling or moving it.
Using fusible webbing offers a convenient and time-saving alternative to stitching quilt batting together. It creates a strong and permanent bond between the layers, eliminating the need for additional sewing. Ensure that you carefully follow the instructions provided by the fusible webbing manufacturer to achieve the best results.
With the three methods of sewing quilt batting together covered, you now have the flexibility to choose the technique that suits your preferences and project needs. Whether you opt for hand stitching, machine stitching, or using fusible webbing, remember to take your time and pay attention to detail in order to achieve a flawless and professional finish.
Take a moment to gather the necessary supplies and select the method that resonates with you, and enjoy the process of creating beautiful quilts with seamlessly joined quilt batting.
Happy quilting!
Conclusion
Creating a quilt is a fulfilling and creative endeavor, and knowing how to sew quilt batting together is an essential skill for any quilter. Whether you choose to hand stitch, use a sewing machine, or employ fusible webbing, each method offers its unique benefits and allows you to join quilt batting seamlessly.
Hand stitching provides a traditional and meticulous approach, allowing you to add a personal touch to your quilt. It requires patience and attention to detail but can result in beautifully crafted seams that add to the overall character of your quilt.
Machine stitching offers a more efficient and time-saving method, particularly ideal for larger projects. It ensures consistent and sturdy seams, contributing to a professional look and feel to your quilt. With the right sewing machine and proper techniques, machine stitching can expedite your quilting process without compromising on quality.
If you prefer a no-sew option or simply want a quicker method to join quilt batting, using fusible webbing is an excellent choice. It eliminates the need for stitching and creates a strong bond between the layers. This method is perfect for those who want a hassle-free approach to seamlessly connect their quilt batting together.
Whichever method you choose, it’s essential to gather the necessary supplies, including quilt batting, fabric, thread, needles, and potentially fusible webbing or an iron. Having the right tools will ensure a successful and enjoyable quilting experience.
Remember, quilting is not just about the end result but also the journey. Take your time, enjoy the process, and let your creativity shine through as you sew your quilt batting together.
Now you have the knowledge and techniques to confidently create beautiful quilts with seamlessly joined quilt batting. Embark on your quilting adventures, and may your quilts bring warmth and joy for generations to come!
Frequently Asked Questions about How To Sew Quilt Batting Together
Was this page helpful?
At Storables.com, we guarantee accurate and reliable information. Our content, validated by Expert Board Contributors, is crafted following stringent Editorial Policies. We're committed to providing you with well-researched, expert-backed insights for all your informational needs.


0 thoughts on “How To Sew Quilt Batting Together”