
Articles
How To Hand Sew A Quilt Block
Modified: February 24, 2024
Learn the art of hand sewing a quilt block with our detailed articles. Find step-by-step instructions, tips, and tricks for a successful project.
(Many of the links in this article redirect to a specific reviewed product. Your purchase of these products through affiliate links helps to generate commission for Storables.com, at no extra cost. Learn more)
Introduction
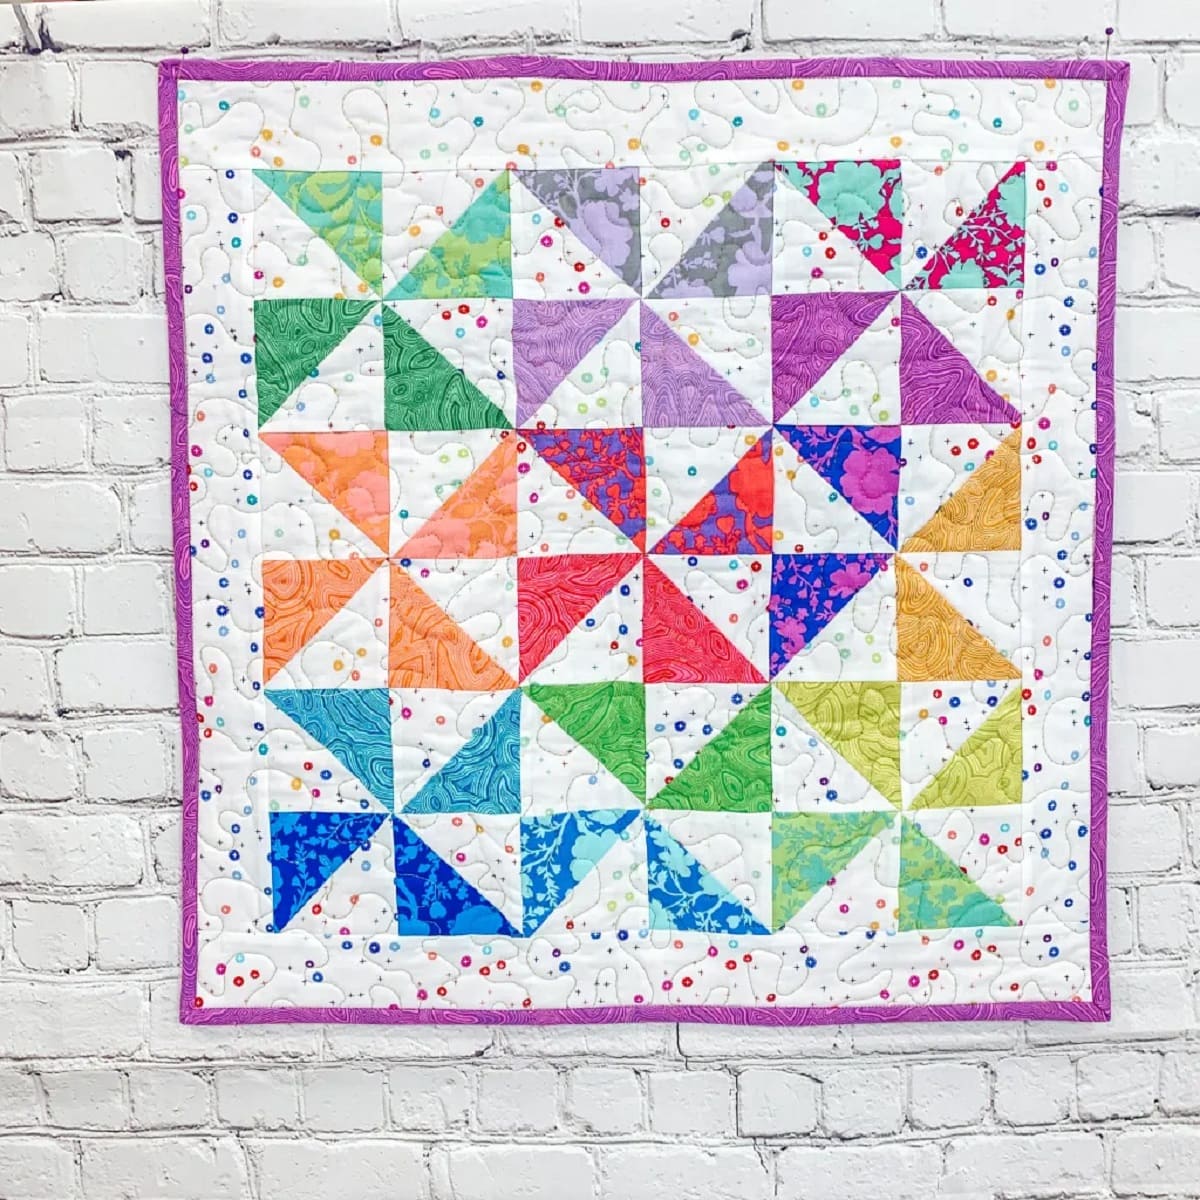
Welcome to the world of quilting! Quilting is a traditional craft that has been cherished for generations. It’s a beautiful way to express creativity, create something functional, and even pass down heirlooms. One of the fundamental building blocks of quilting is the quilt block, which is a small, individual design that is repeated to create a larger quilt.
In this article, we will explore the process of hand sewing a quilt block. While there are many modern methods to piece quilt blocks using sewing machines, hand sewing allows for a more intimate connection to the craft and can be a meditative experience. It’s also a great option for those who don’t have access to a sewing machine or prefer the slower pace of hand stitching.
Before we dive into the step-by-step process, let’s take a look at the materials you’ll need to get started.
Key Takeaways:
- Embrace the timeless art of hand sewing quilt blocks to connect with tradition, enjoy a meditative crafting experience, and create unique, personalized pieces with a rich history and attention to detail.
- Dive into the world of quilting by hand sewing quilt blocks, allowing for a slower, more intimate connection to the craft, fostering creativity, and producing beautiful, heirloom-quality creations.
Read more: How To Sew Quilt Binding By Hand
Materials Needed
Before you begin hand sewing your quilt block, it’s important to gather all the necessary materials. Here’s a list of what you’ll need:
- Fabric: Choose a variety of fabric colors and patterns to create your quilt block. You’ll need enough fabric to cut out the shapes required for your specific block design.
- Thread: Use a high-quality thread that matches or complements the colors of your fabric.
- Needles: Select sewing needles that are suitable for hand stitching. Choose a size that works well with your fabric thickness.
- Scissors: A good pair of fabric scissors will come in handy for cutting out your fabric and trimming thread.
- Pins: Use straight pins to hold your fabric pieces together while stitching.
- Thimble (optional): If you prefer to use a thimble for extra finger protection while sewing, have one on hand.
- Ruler: A ruler or measuring tape will help you accurately cut your fabric pieces to the correct size.
- Pencil or fabric marker: You’ll need a writing tool to mark your fabric for cutting and sewing guidelines.
- Iron and ironing board: These will be used to press your fabric and create smooth seams.
Once you have gathered all these materials, you’re ready to move on to the next step: cutting your fabric.
Step 1: Gathering fabric and tools
Before you can start hand sewing your quilt block, you’ll need to gather the necessary fabric and tools. This step is crucial, as it sets the foundation for the rest of your quilting journey.
First, choose the fabric that you want to use for your quilt block. Consider using a variety of colors and patterns to create an eye-catching design. You can opt for solid colors, prints, or even mix and match different textures for added visual interest.
Next, gather your tools. Make sure you have a reliable pair of fabric scissors to cut your fabric pieces. Sharp scissors will ensure clean and precise cuts. Additionally, you’ll need thread that matches your fabric, sewing needles appropriate for hand sewing, straight pins to hold your fabric pieces together, a ruler or measuring tape to measure and cut your fabric, and a pencil or fabric marker to mark your cutting and sewing guidelines. It’s also helpful to have an iron and ironing board nearby to press your fabric and create crisp seams.
Once you have all your fabric and tools ready, find a clean and well-lit workspace to begin your quilting journey. Having a dedicated area will make the process more organized and enjoyable.
Now that you have gathered your fabric and tools, it’s time to move on to the next step: cutting your fabric.
Step 2: Cutting fabric
Now that you have your fabric and tools ready, it’s time to start cutting the fabric for your quilt block. This step is crucial in ensuring that all the pieces fit together accurately, resulting in a well-constructed block.
Start by laying out your fabric on a flat surface. It’s a good idea to iron your fabric beforehand to remove any wrinkles and create a smooth surface for cutting.
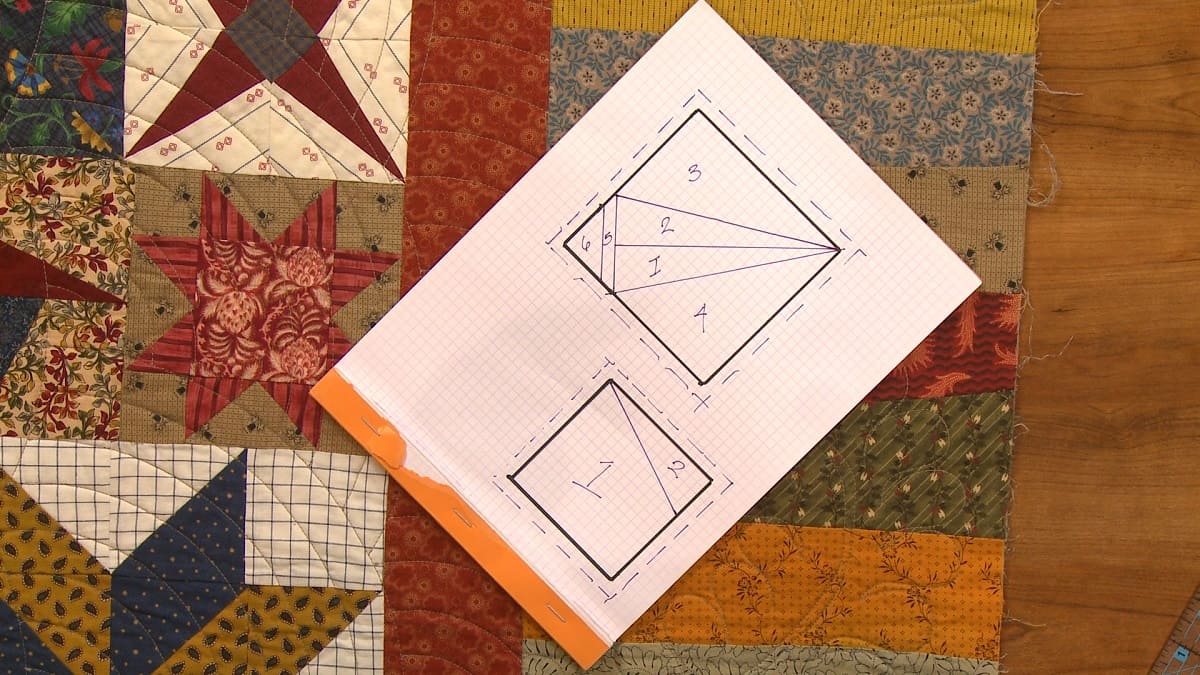
Next, refer to your quilt block pattern or design to determine the measurements and shapes of the fabric pieces you need to cut. Use a ruler or measuring tape to measure and mark the dimensions on your fabric. Make sure to leave some room for seam allowances.
Using your fabric scissors, carefully cut along the marked lines. Take your time and try to make clean, straight cuts. It’s a good practice to double-check your measurements before cutting to avoid any mistakes.
If your quilt block requires multiple fabric pieces of the same size and shape, it’s helpful to stack your fabric layers and cut several pieces at once. This saves time and ensures consistency in size and shape.
As you cut your fabric pieces, keep them organized and labeled. You can use sticky notes or pieces of scrap fabric to write down the measurements or any specific instructions for each piece. This will prevent any confusion later on when it’s time to stitch everything together.
Once you have cut all the necessary fabric pieces for your quilt block, it’s time to move on to the next step: assembling the quilt block.
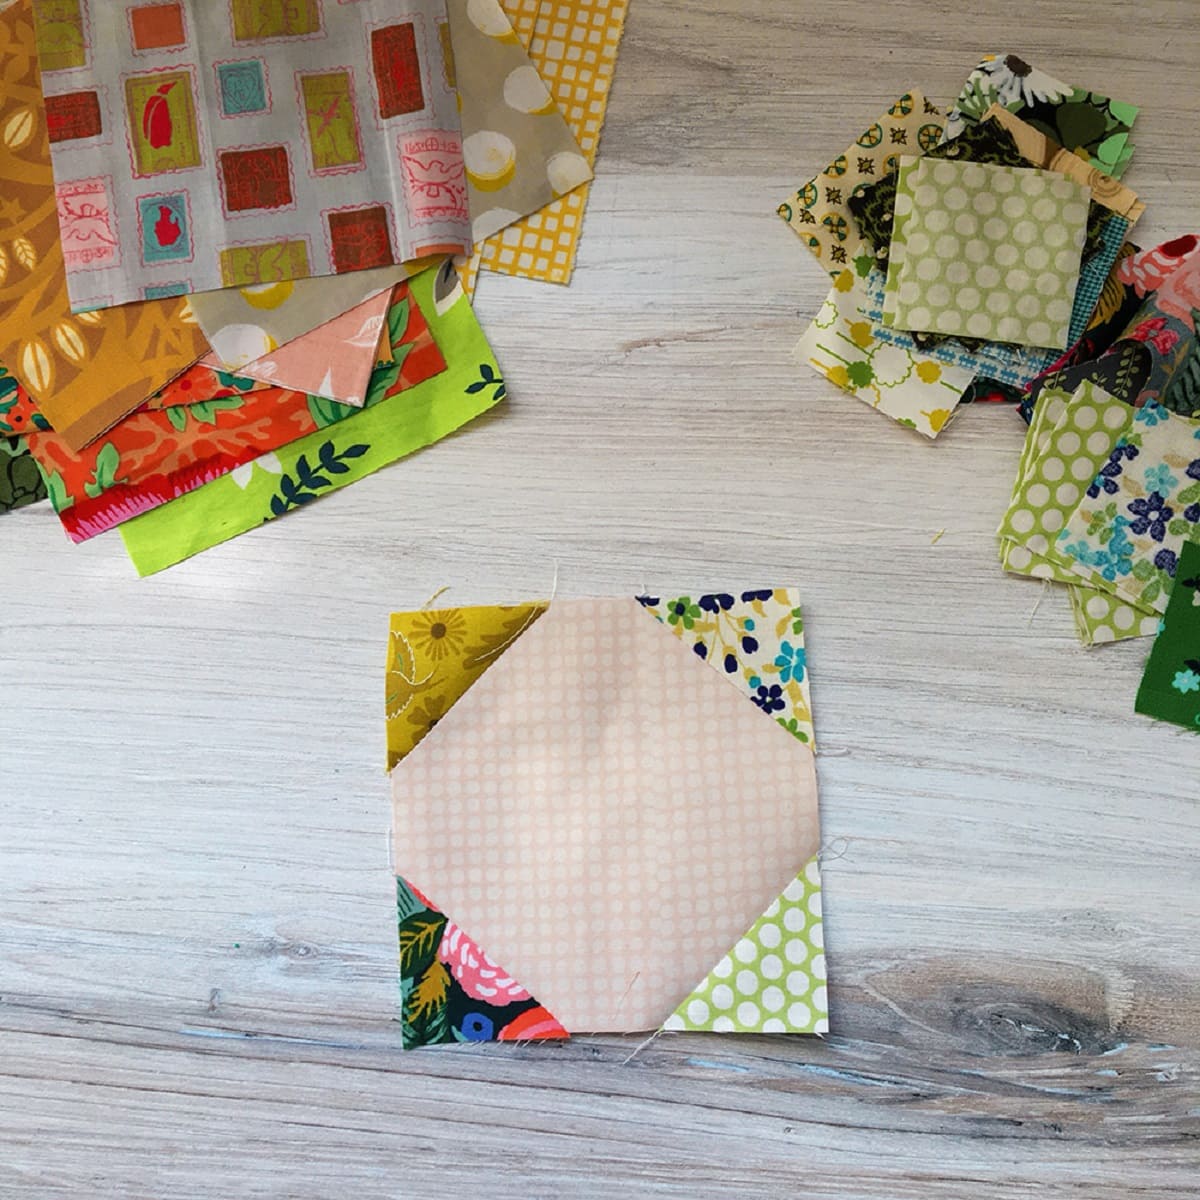
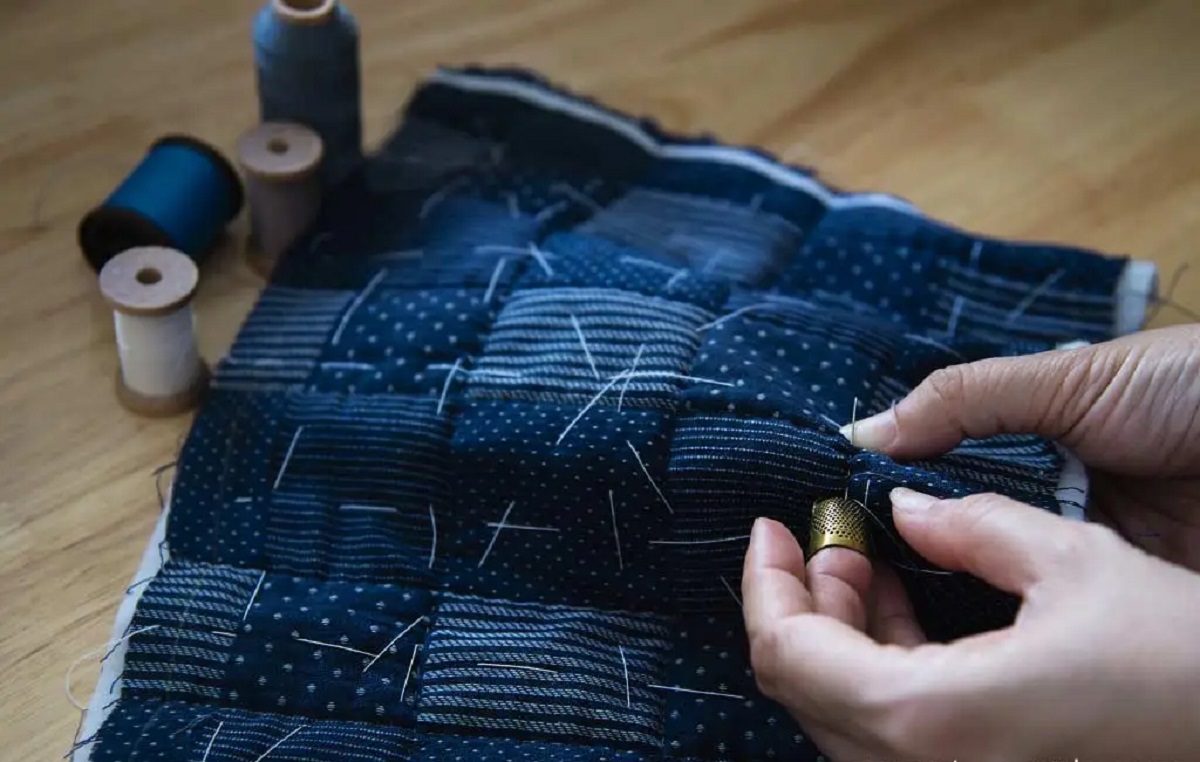
Step 3: Assembling the quilt block
Now that you have cut all the fabric pieces for your quilt block, it’s time to start assembling them. This step involves arranging the fabric pieces in the desired pattern and organizing them for sewing.
Refer to your quilt block pattern or design to determine the layout and placement of each fabric piece. Lay out your fabric pieces on a flat surface, such as a quilting board or table, to ensure accuracy and ease of assembly.
Start by organizing the fabric pieces according to the design. This can be done by sorting them into piles or using pins to hold them together in a specific order. Take note of any seams or intersections where fabric pieces will need to be stitched together.
Once you have organized the fabric pieces, it’s time to start sewing them together. Choose a starting point and begin by aligning the edges of two fabric pieces. Use straight pins to hold them in place if needed. Make sure the right sides of the fabric are facing each other if you plan to sew with a seam allowance.
Using a needle and thread, start stitching the fabric pieces together. You can use basic hand sewing techniques such as running stitch, whip stitch, or ladder stitch, depending on the desired seam finish and strength.
Continue sewing the fabric pieces together, following the pattern and design layout. Take your time to ensure that the stitches are even and secure. As you progress, remove the pins and adjust the fabric pieces as needed to maintain alignment.
Repeat the sewing process for each fabric piece until the entire quilt block is assembled. Take breaks whenever necessary to rest your hands and refocus your attention. Remember, quilting is a labor of love, and it’s important to enjoy the process.
Once you have finished sewing the fabric pieces together to create the quilt block, it’s time to move on to the next step: sewing the quilt block.
When hand sewing a quilt block, use a thimble to protect your fingers from the needle and to help push the needle through the fabric more easily.
Read more: How To Sew A Hexagon Quilt
Step 4: Sewing the quilt block
With the fabric pieces assembled into your quilt block, it’s time to sew the block together to create a solid and cohesive piece. This step involves joining the individual components of the block, ensuring that all the seams are securely stitched.
Start by examining your quilt block and identifying the seams that need to be sewn. Take note of any intersecting points or corners that require precise stitching.
Thread your needle with a suitable thread color. Choose a thread that matches or complements the fabric to create seamless and harmonious stitches.
Starting from one end of the block, carefully stitch along the seam lines using a suitable stitching technique. You can use a running stitch, backstitch, or whipstitch, depending on your preference and the desired strength of the seams.
As you sew, pay attention to the alignment of the fabric pieces. Double-check that they match up correctly, ensuring that the quilt block maintains its intended shape and design.
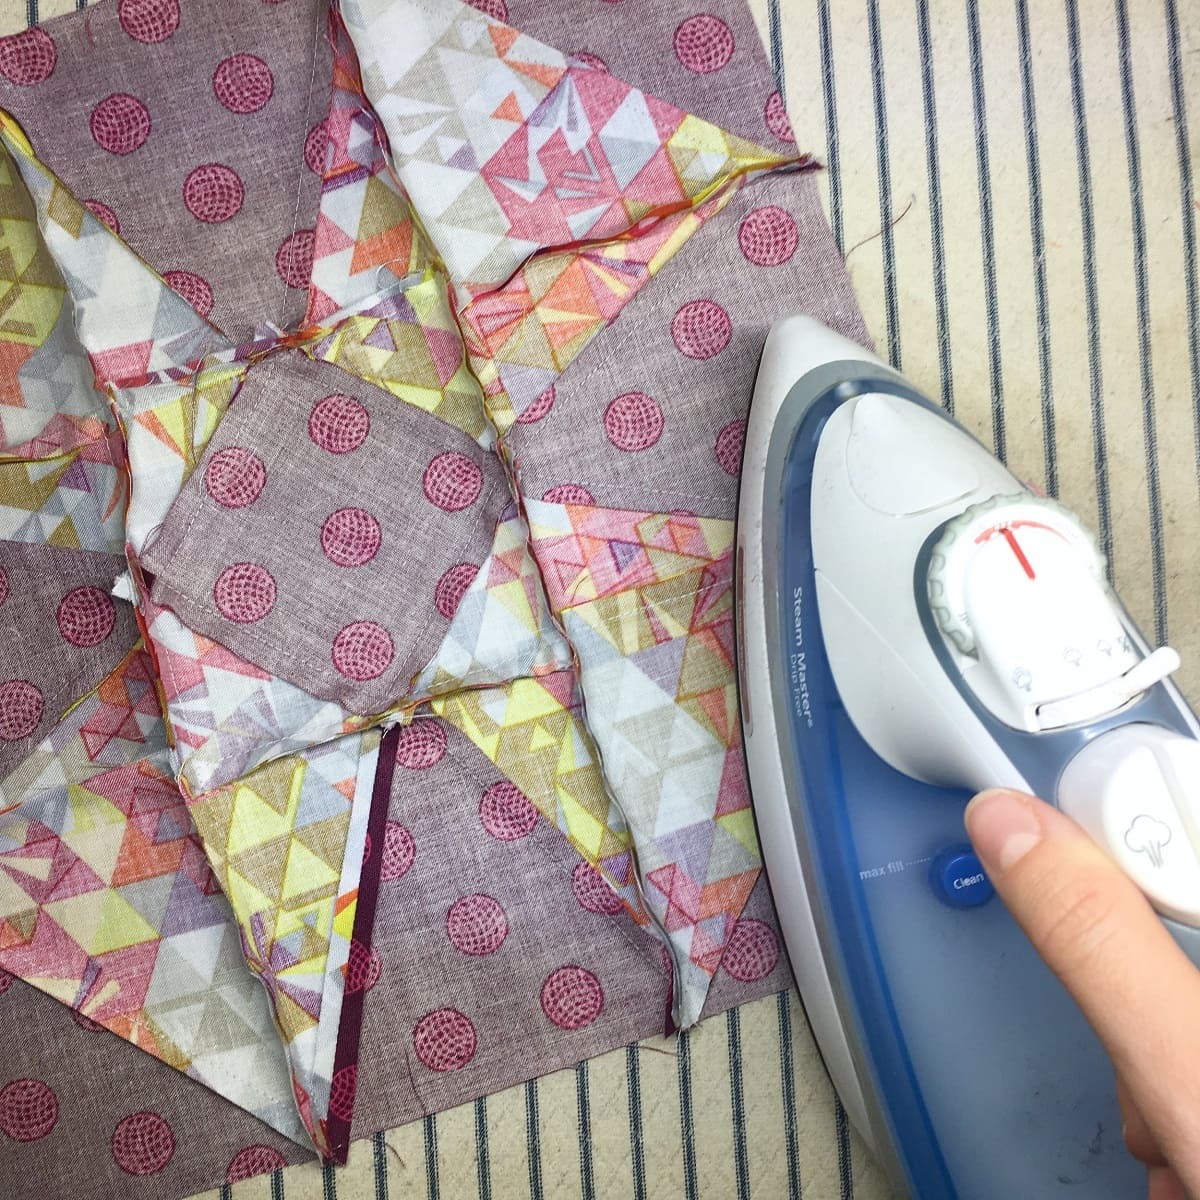
If there are any bulky seams or intersections, consider pressing them with an iron to flatten and distribute the fabric evenly. This will help achieve a neater and more professional-looking quilt block.
Take your time while sewing the quilt block, as precision is key. Ensure that your stitches are secure and consistent in size. Remember to knot the thread after each seam to prevent it from unraveling.
Continue sewing all the necessary seams until the entire quilt block is stitched together. Be patient and meticulous to achieve the best results.
Once you have finished sewing the quilt block, it’s time to move on to the next step: pressing and trimming the quilt block.
Step 5: Pressing and trimming the quilt block
Pressing and trimming the quilt block is an essential step in the quilting process. It helps to create crisp seams, even out fabric layers, and ensure that the block is properly shaped and sized. This step will give your quilt block a polished and professional appearance.
Start by setting up your iron and ironing board. Make sure the iron is set to the appropriate heat setting for your fabric. If you’re unsure, start at a lower heat setting and gradually increase it if needed.
Begin by pressing the seams of your quilt block. Start with the seam allowances on the backside of the block and press them open or to the side, depending on your preference and the design of the block. Use the tip of the iron to get into tight corners and edges for a more precise press.
Next, gently press the front side of the quilt block to smooth out any wrinkles or fabric distortions. Move the iron in a gliding motion, applying even pressure. Avoid stretching or distorting the fabric as you press.
After pressing, take a moment to inspect the block for any uneven edges or excess seam allowances. Use your fabric scissors to trim any excess fabric and create clean, straight edges.
Be cautious not to cut into the seams or remove too much fabric. The goal is to create an accurate and uniform block without compromising the integrity of the design.
As you trim, refer to your quilt block pattern or design to ensure that the block is the correct size and shape as intended. Double-check measurements and make any necessary adjustments.
Once you have finished pressing and trimming the quilt block, it’s time to move on to the final steps: adding the finishing touches and completing your quilt project.
Step 6: Finishing touches and final steps
Congratulations! You’re now in the final stretch of completing your quilt block. This step involves adding the finishing touches and preparing the block for the next stage in your quilting project.
Start by inspecting the quilt block for any loose threads, stray fibers, or imperfections. Trim any loose threads with your scissors to create a neat and tidy appearance.
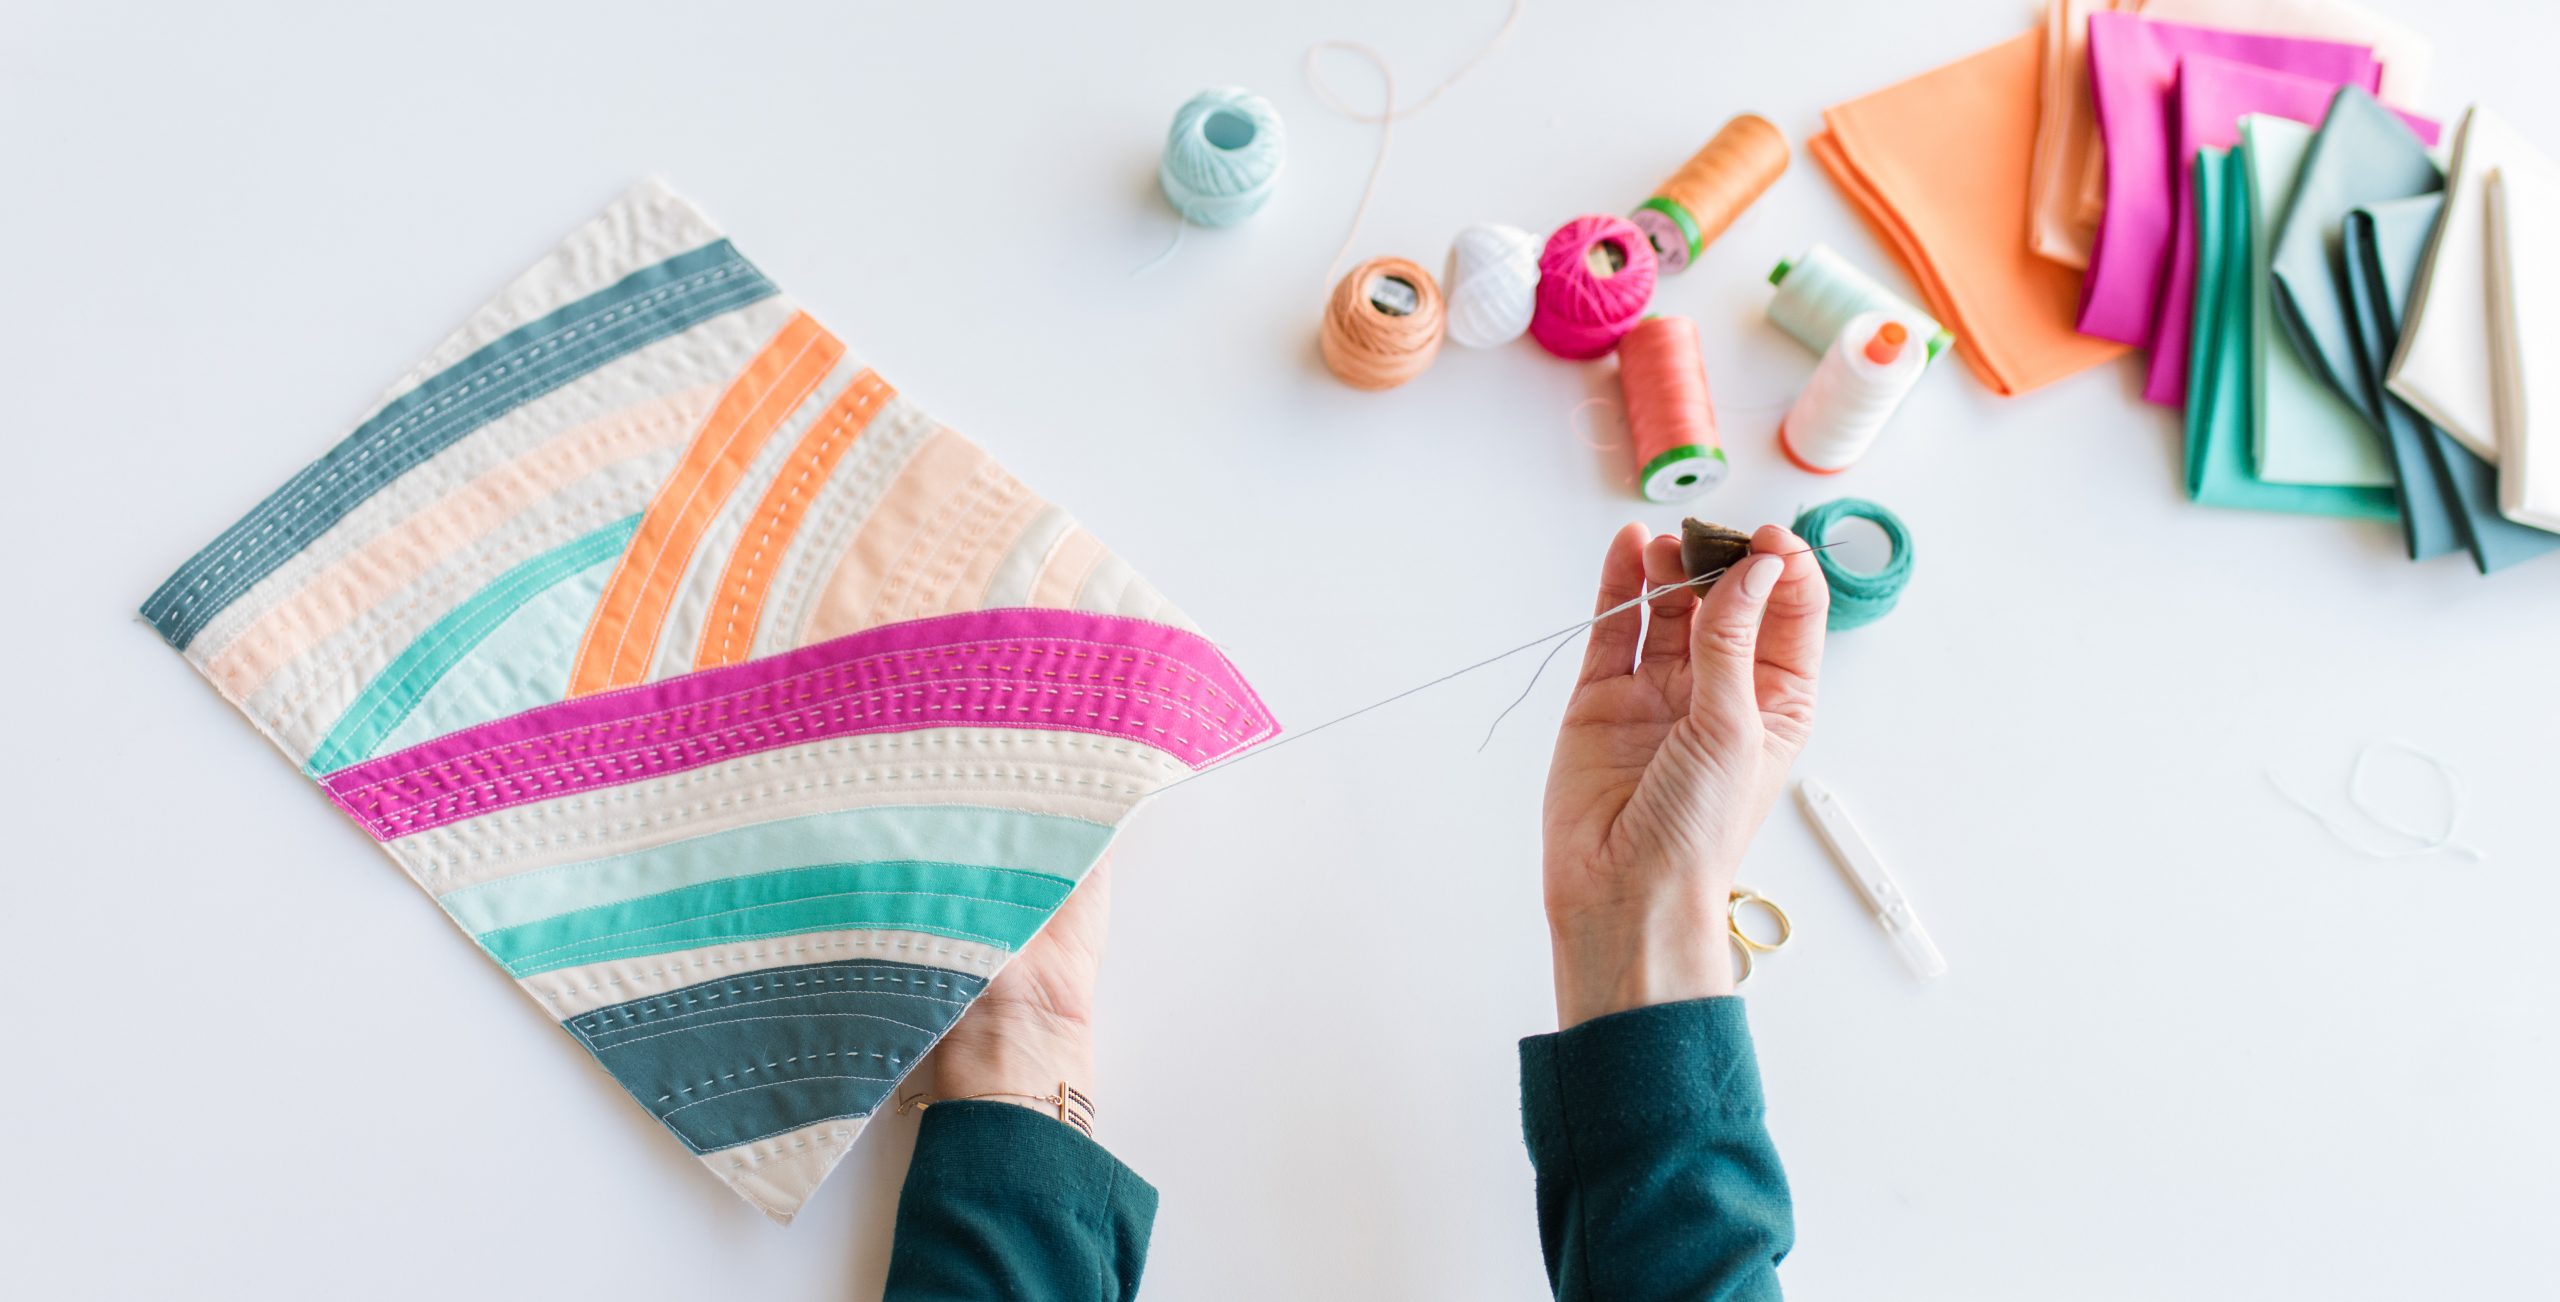
If desired, you can add additional decorative elements or embellishments to enhance the quilt block. This could include embroidery, appliqué, or even hand quilting to add texture and visual interest.
Once you are satisfied with the appearance and stitching of your quilt block, it’s time to move on to the final steps. Depending on your quilting project, these steps may vary, but here are a few common final considerations:
- If you are creating a quilt with multiple blocks, repeat the steps above to create the desired number of blocks.
- Trim and square up each quilt block to ensure they are all the same size and shape. This will make it easier to assemble the blocks later.
- If you’re planning to add sashing or borders to your quilt, measure and cut the necessary fabric pieces to fit around your quilt blocks. Sew them in place using your preferred method.
- Continue with the remaining steps of your quilting project, such as assembling all the blocks, adding batting and backing fabric, and quilting the layers together.
- Finally, bind the edges of your quilt to give it a finished look. Hand sew or machine stitch the binding in place.
- Give your quilt a final press to smooth out any wrinkles or creases.
With the finishing touches and final steps complete, you’ve successfully hand sewn your quilt block and are well on your way to completing your quilting project. Enjoy the satisfaction of your hard work and creativity as you admire your beautiful quilt block!
Remember, quilting is a journey that requires patience, dedication, and a love for the craft. Embrace the process, enjoy the moments of peace, and celebrate the masterpiece you’ve created with your own hands.
Happy quilting!
Conclusion
Congratulations on completing the hand sewing of your quilt block! Throughout this article, we have explored the step-by-step process of creating a quilt block using traditional hand sewing techniques. By gathering the necessary materials, cutting the fabric, assembling the block, sewing the pieces together, and adding the finishing touches, you have crafted a beautiful and unique piece of quilting art.
Hand sewing a quilt block offers a sense of connection to the rich history and tradition of quilting. It allows you to slow down, enjoy the process, and create something truly special with your own two hands. The craftsmanship and attention to detail that come with hand sewing can elevate your quilting experience and produce remarkable results.
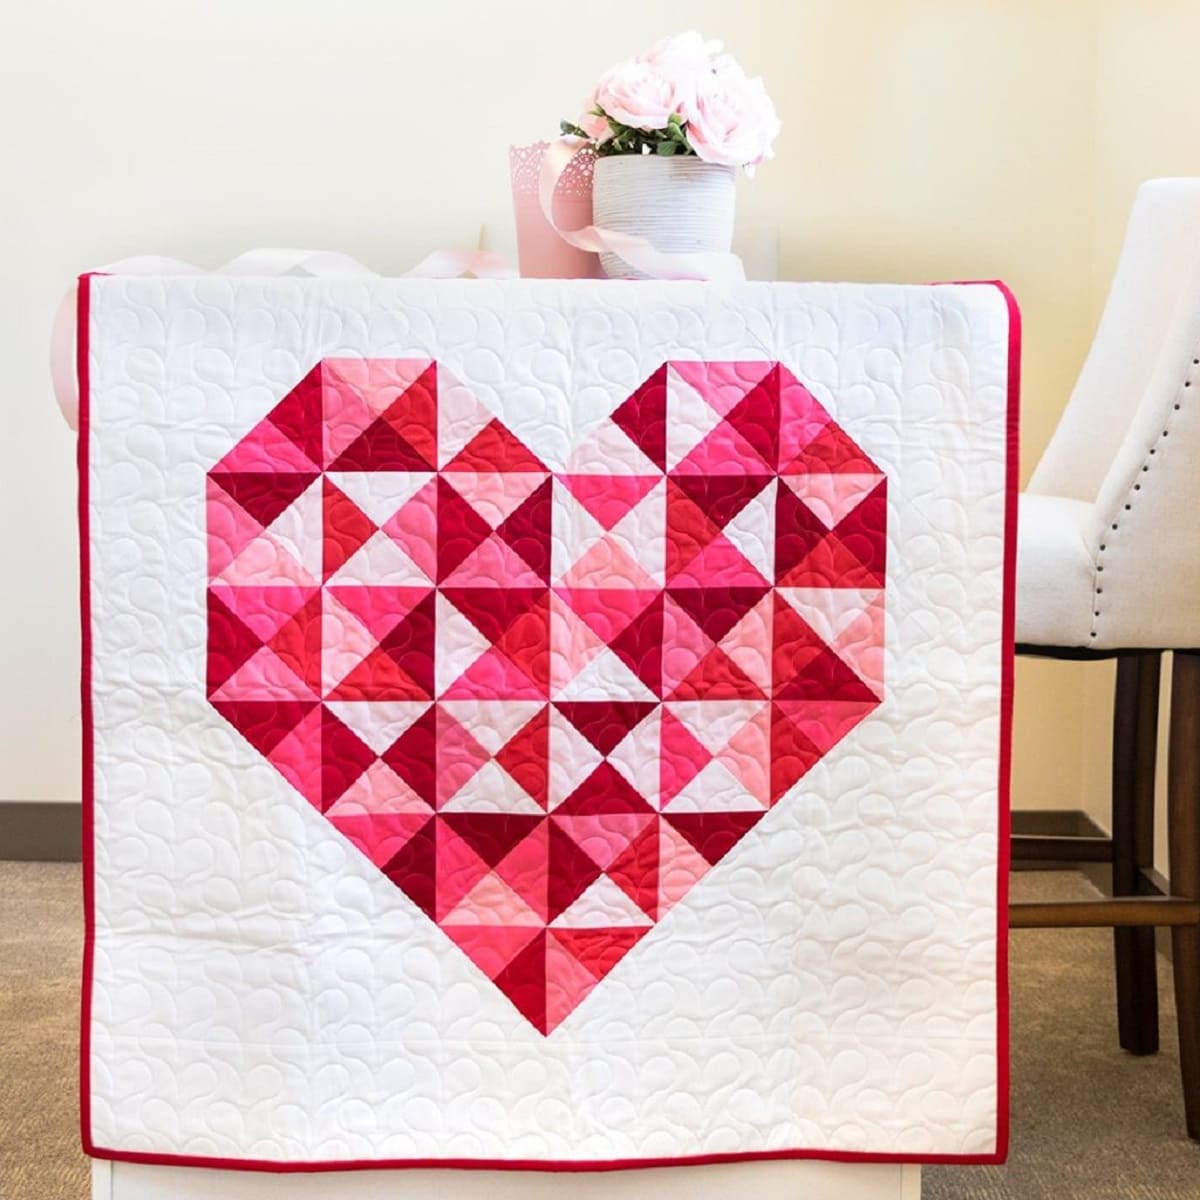
As you continue your quilting journey, remember to explore different patterns, fabrics, and techniques to enhance your skills and creativity. Each quilt block is an opportunity for self-expression and storytelling, whether you’re creating a quilt for yourself, a loved one, or even for charitable purposes.
Quilting is a labor of love, and it may take time and practice to master the art. Embrace the imperfections and unique characteristics that arise in your quilting projects. They are a testament to your individual style and the handcrafted nature of your work.
Whether you choose to create a simple patchwork design, intricate appliqué, or experiment with innovative techniques, the possibilities in quilting are endless. Allow your imagination to soar as you combine colors, motifs, and textures to bring your quilt blocks to life.
Lastly, remember to share your quilting knowledge and passion with others. Quilting communities, workshops, and online forums provide valuable opportunities to connect with fellow quilters, exchange ideas, and inspire one another. The quilting community is a supportive and inclusive space where everyone can learn and grow.
So, gather your fabrics, thread your needle, and embark on your next quilting adventure. Hand sewing a quilt block is an enriching and rewarding experience that will bring joy and beauty to your life. Enjoy the process, embrace your creativity, and happy quilting!
Frequently Asked Questions about How To Hand Sew A Quilt Block
Was this page helpful?
At Storables.com, we guarantee accurate and reliable information. Our content, validated by Expert Board Contributors, is crafted following stringent Editorial Policies. We're committed to providing you with well-researched, expert-backed insights for all your informational needs.


0 thoughts on “How To Hand Sew A Quilt Block”