Articles
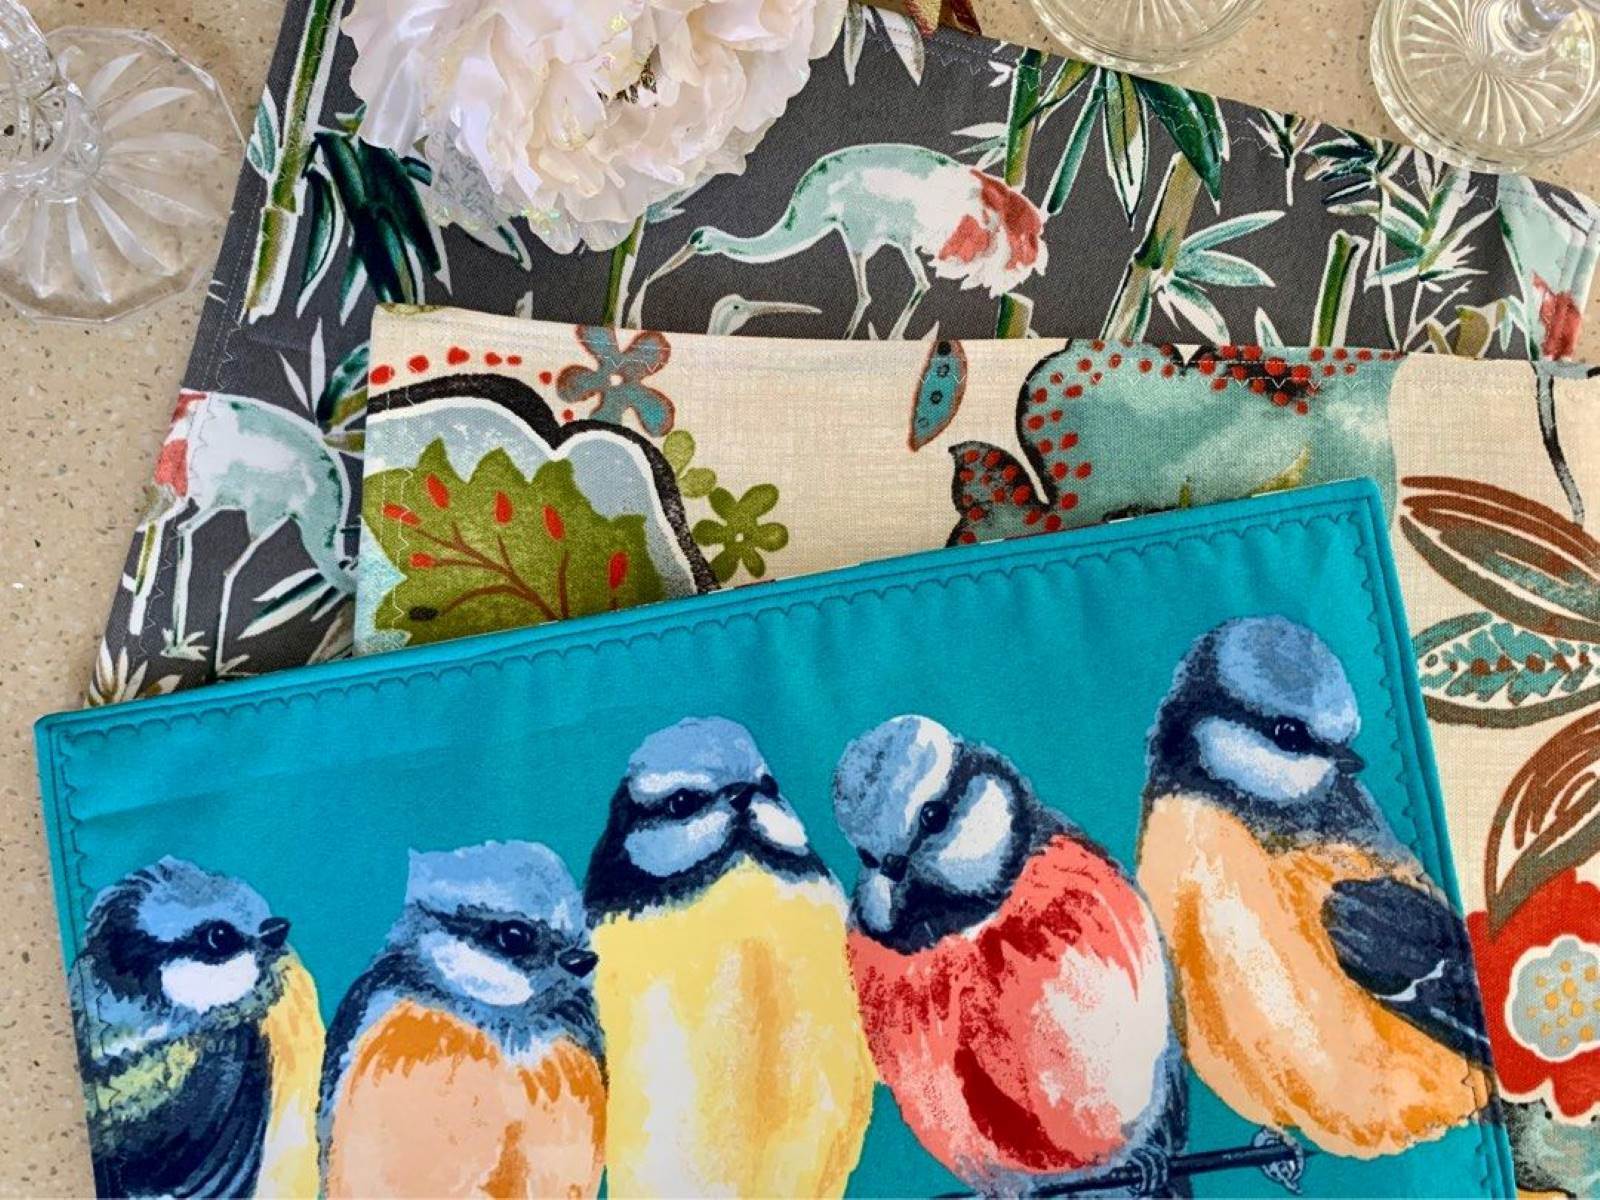
How To Assemble A Quilt With Batting
Modified: August 22, 2024
Learn how to assemble a quilt with batting in this comprehensive guide. Discover the best articles for quilting techniques and tips to create beautiful and cozy quilts.
(Many of the links in this article redirect to a specific reviewed product. Your purchase of these products through affiliate links helps to generate commission for Storables.com, at no extra cost. Learn more)
Introduction
Assembling a quilt with batting is an essential step in the quilting process. Batting provides the padding and warmth to a quilt, making it cozy and comfortable. Whether you’re a beginner or an experienced quilter, knowing how to properly assemble a quilt with batting is crucial to achieve a professional and long-lasting result.
In this article, we will guide you through the process of assembling a quilt with batting, step by step. From preparing the quilt top to adding the binding, each stage is important in ensuring the layers of your quilt are securely held together. Let’s start by gathering the materials you’ll need for this project.
Key Takeaways:
- Assembling a quilt with batting involves preparing the quilt top, layering the quilt, quilting the layers, and adding the binding. Attention to detail and creativity are essential for achieving a professional and long-lasting finish.
- From choosing the right materials to mastering quilting techniques, assembling a quilt with batting is a rewarding and fulfilling process. Embrace creativity, patience, and precision to create a unique and cozy quilt.
Read more: What Is The Best Batting For A Quilt
Materials Needed
Before you begin assembling your quilt with batting, gather the following materials:
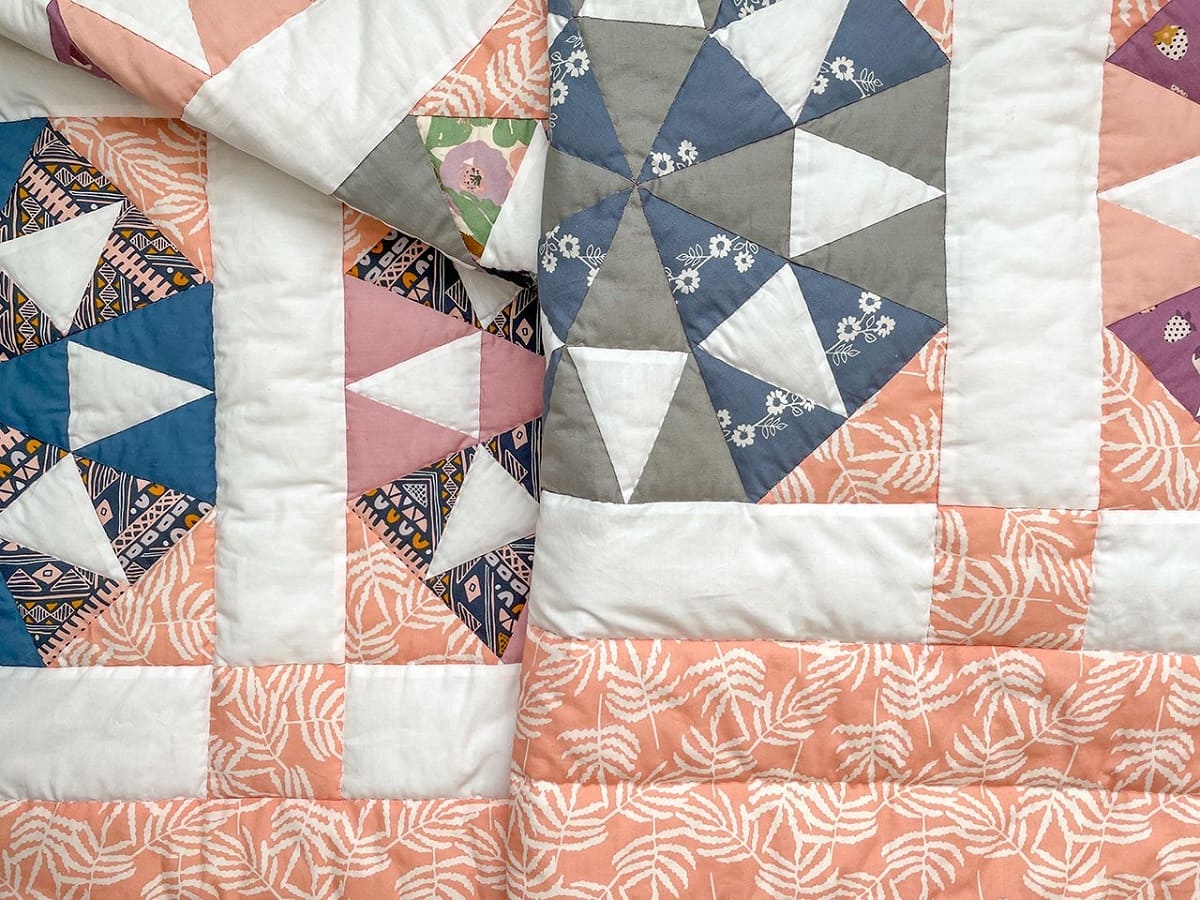
- Quilt top: This is the decorative layer of your quilt, made up of fabric pieces sewn together in a pattern or design of your choice.
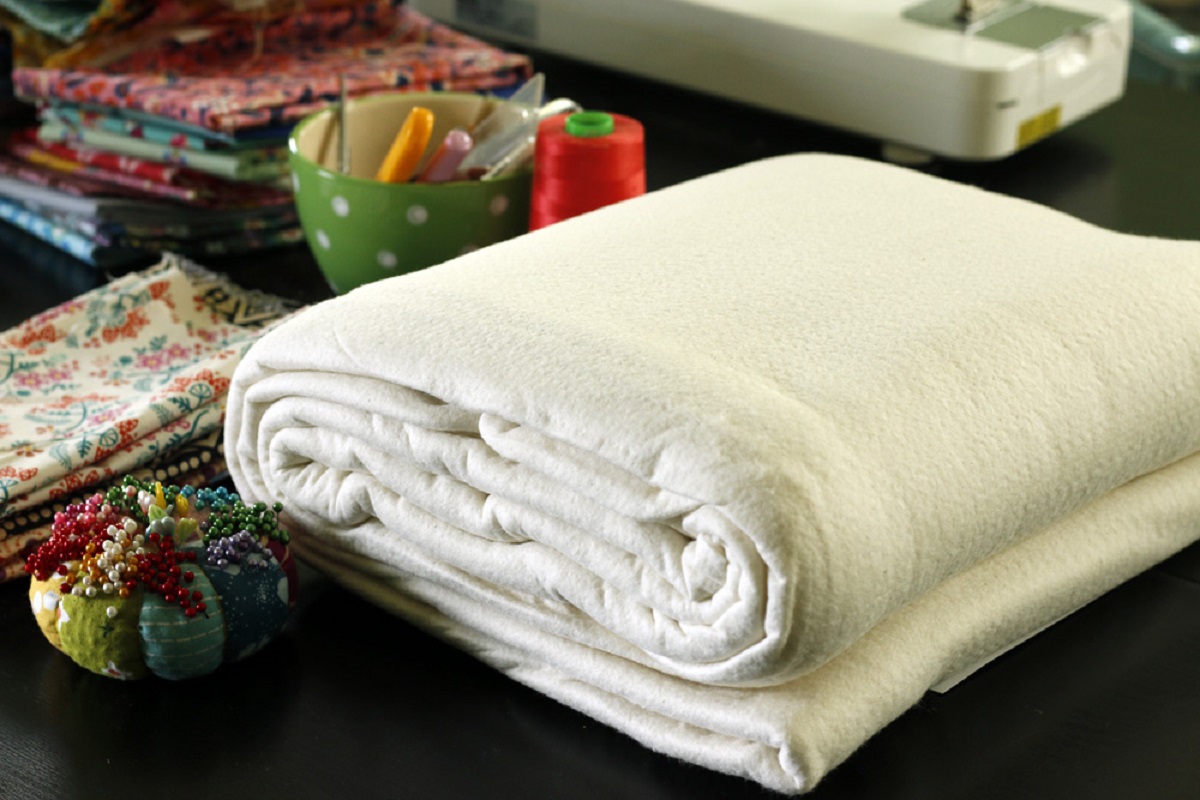
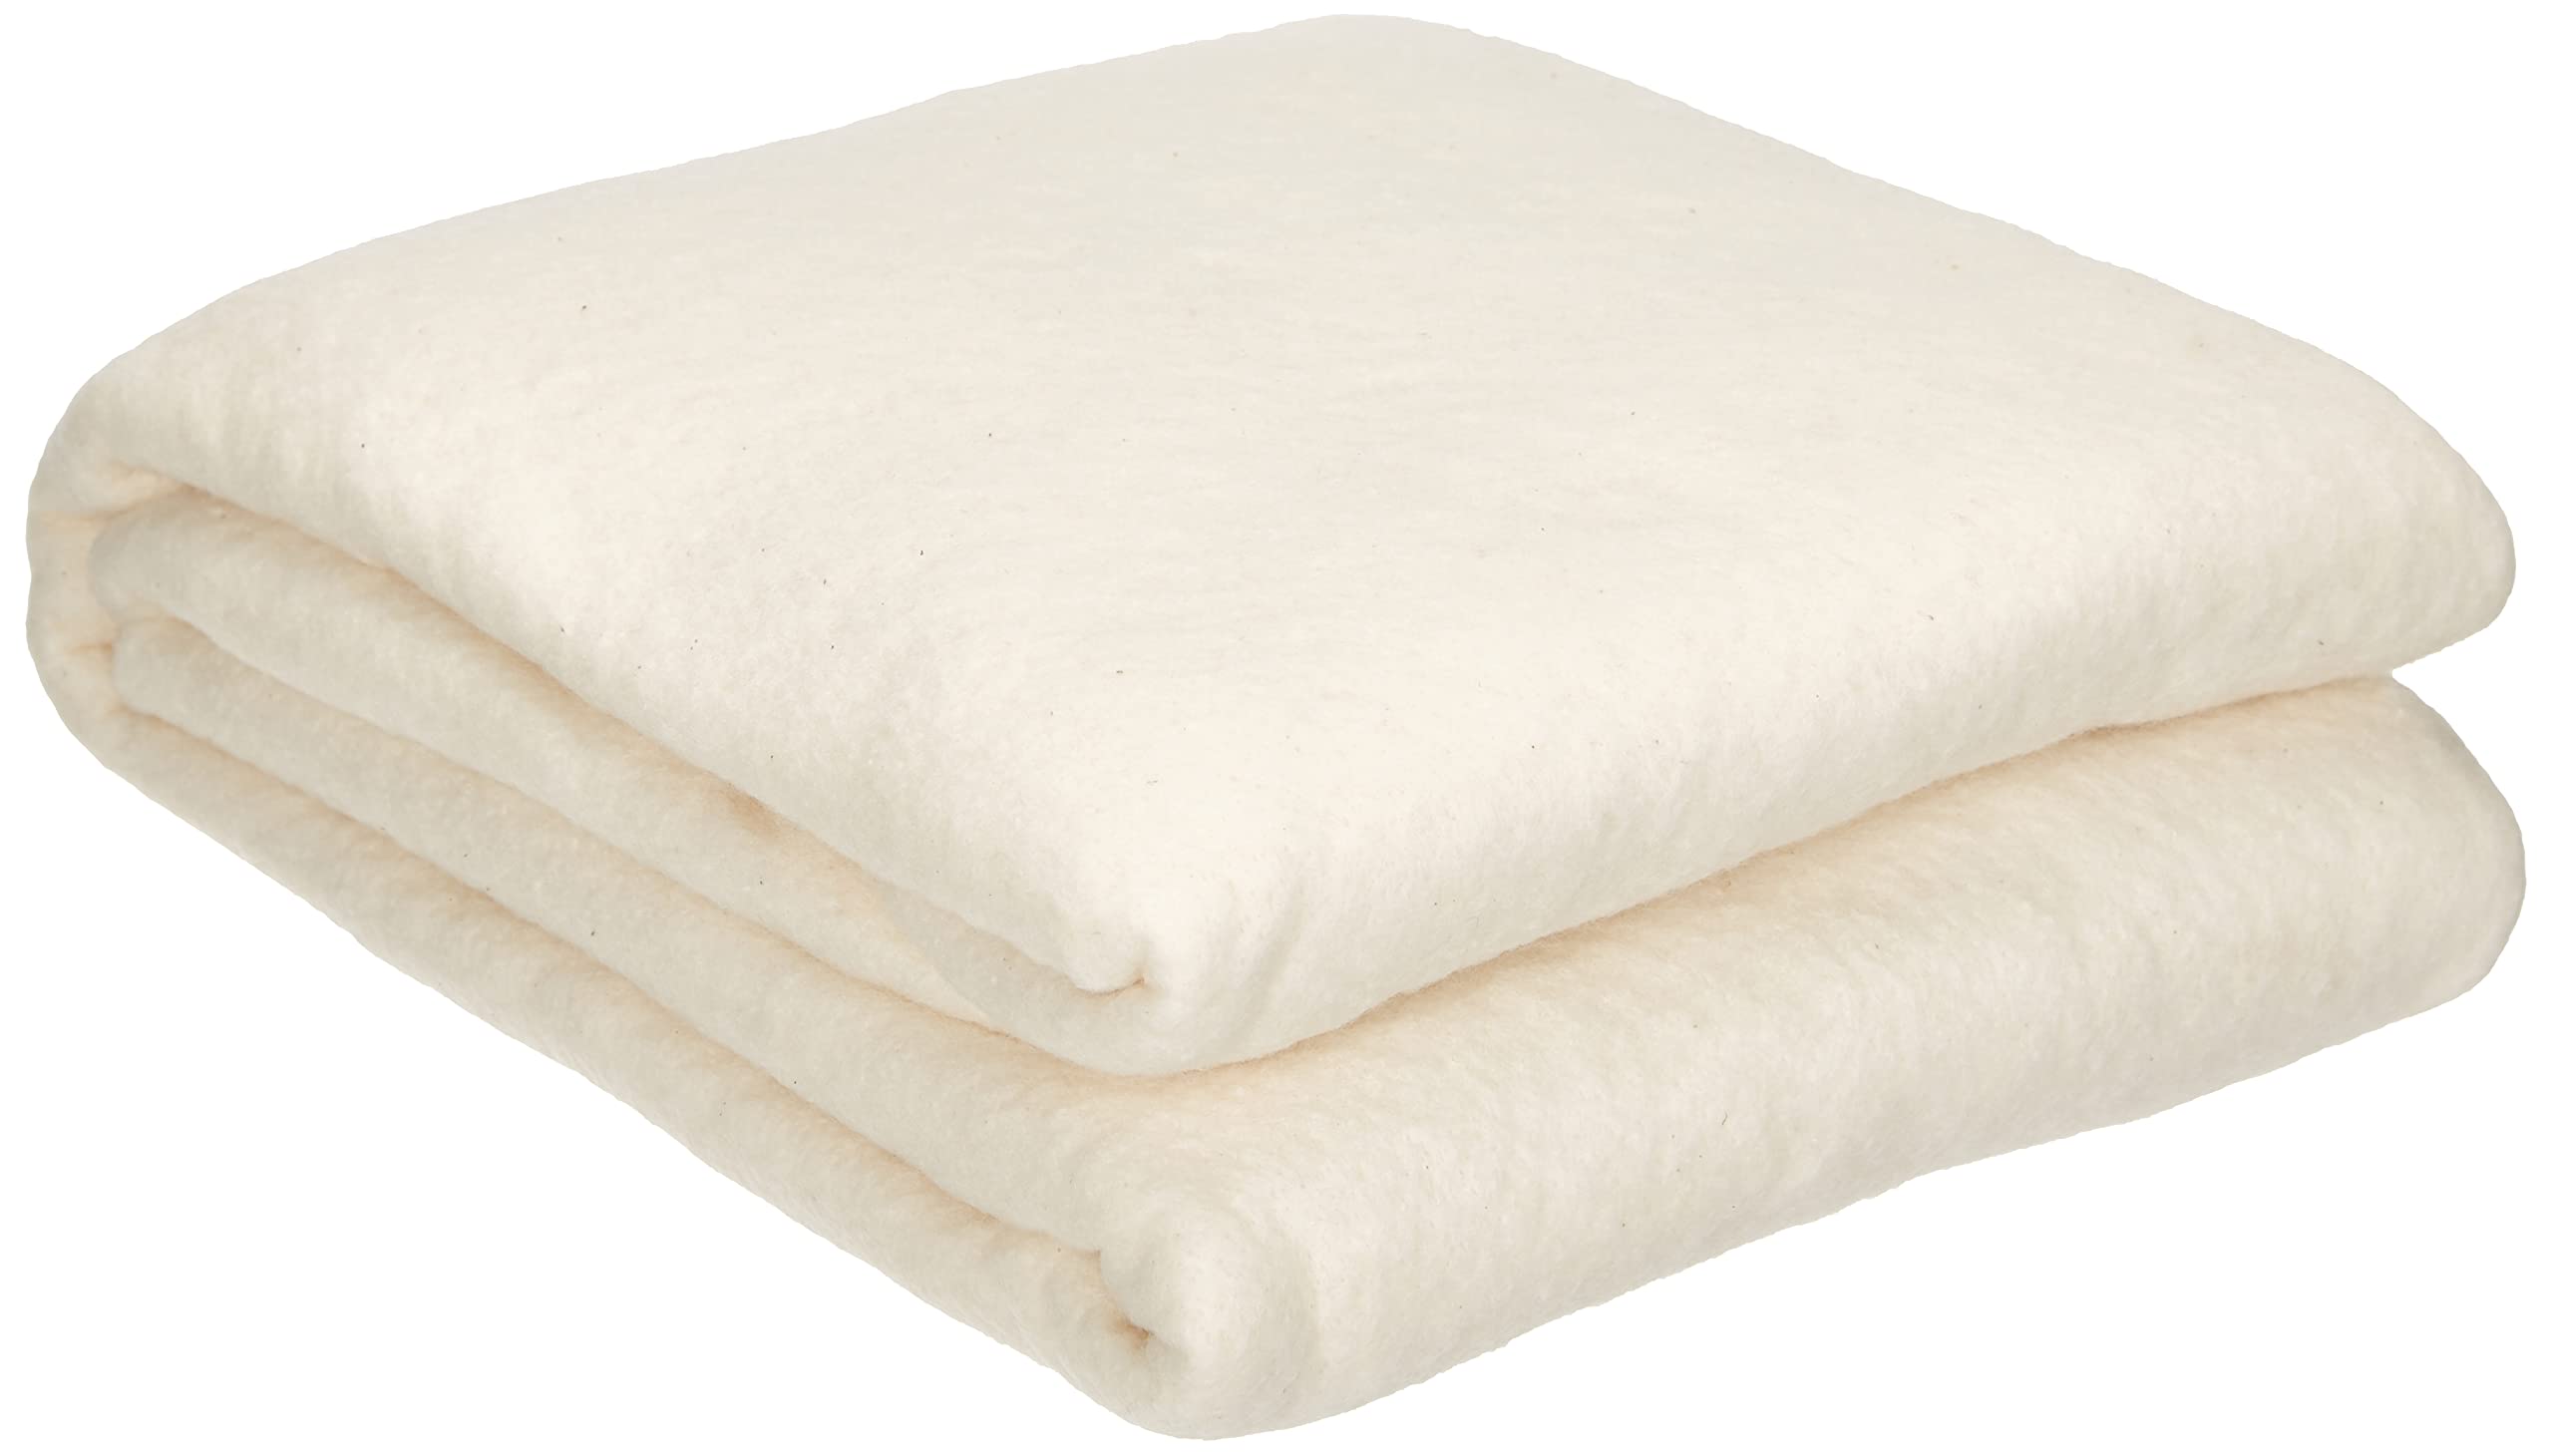
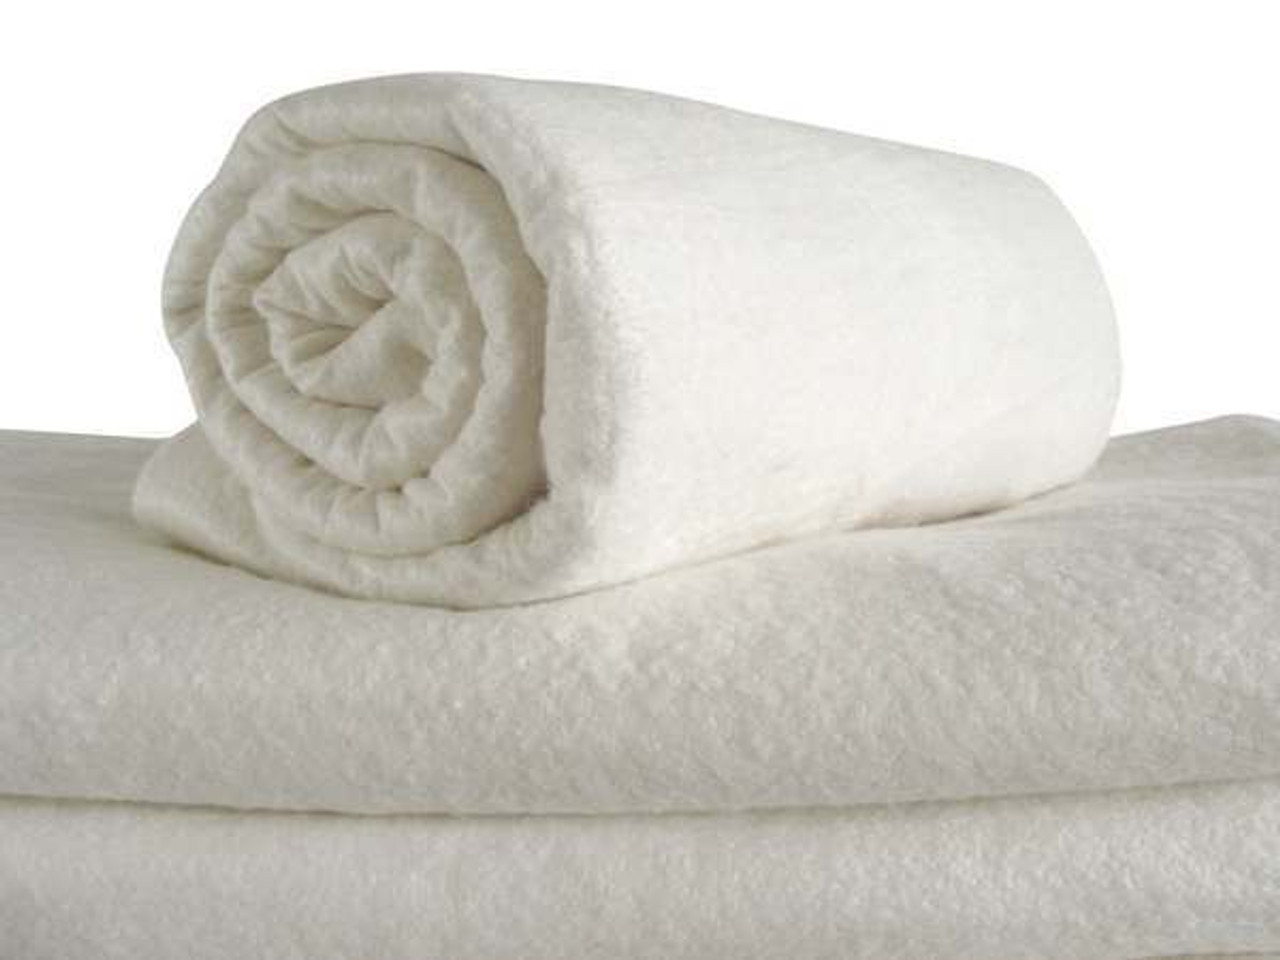
- Batting: Choose a batting that suits your desired level of warmth and loft. There are various types of batting available, such as cotton, polyester, wool, or a blend of these materials.
- Backing fabric: This is the fabric that will be on the backside of your quilt. It should be larger than your quilt top to allow for seam allowances.
- Pins or basting spray: You will need pins or basting spray to hold the layers of your quilt together during the assembly process.
- Quilting ruler and rotary cutter: These tools are helpful for trimming and squaring up your quilt after assembly.
- Quilting thread: Choose a thread color that complements your quilt and is suitable for machine or hand quilting.
- Binding fabric: This fabric will be used to finish the edges of your quilt. You can choose a fabric that matches your quilt top or opt for a contrasting color for added visual interest.
- Sewing machine or needle and thread: Depending on your preferred quilting method, you will need a sewing machine or needle and thread for stitching the layers together.
- Iron and ironing board: Pressing your fabric throughout the process will ensure smooth, wrinkle-free quilt layers.
Once you have gathered all the materials, you’re ready to start assembling your quilt with batting. Follow the step-by-step instructions below to achieve a beautifully finished quilt.
Step 1: Preparing the Quilt Top
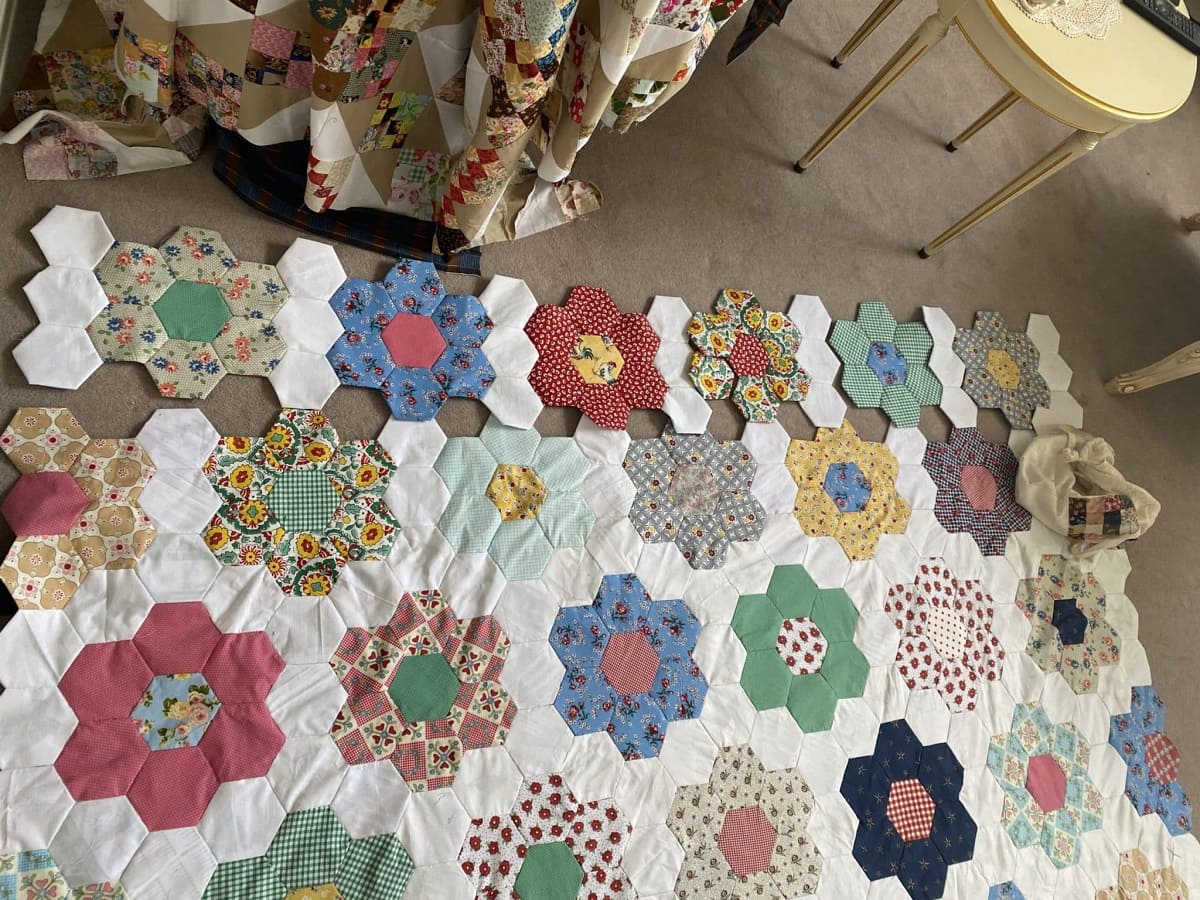
The first step in assembling a quilt with batting is to prepare the quilt top. If you haven’t already done so, now is the time to design and create your quilt top using your chosen fabric pieces.
Here’s how to prepare the quilt top:
- Layout the fabric pieces: Arrange your fabric pieces in the desired pattern or design. Take your time to experiment with different layouts and find one that you love.
- Join the fabric pieces: Use a sewing machine or needle and thread to stitch the fabric pieces together. Take care to accurately align the seams and use a consistent seam allowance.
- Press the seams: After stitching each seam, press the fabric with an iron and ironing board. Pressing the seams open or to one side will help create a flat and smooth quilt top.
- Trim excess fabric: If necessary, trim any excess fabric or uneven edges to ensure that your quilt top is perfectly squared up.
By following these steps, you will have a well-prepared quilt top that is ready to be layered with batting and backing fabric. Now, let’s move on to the next step: preparing the batting.
Step 2: Preparing the Batting
Once you have your quilt top ready, it’s time to prepare the batting. The batting is the middle layer of your quilt and provides the cushioning and warmth.
Here’s how to prepare the batting:
- Measure and cut the batting: Lay out your batting material and measure it to match the size of your quilt top. Use a quilting ruler and a rotary cutter to neatly cut the batting to the correct dimensions.
- Smooth out any wrinkles: If your batting has any wrinkles or creases, gently stretch it out and smooth it with your hands or use a fabric steamer on low heat.
- Consider pre-washing the batting: Depending on the type of batting you’re using, you may choose to pre-wash it to remove any chemicals or sizing. Refer to the manufacturer’s instructions for the appropriate washing method.
Preparing the batting ensures that it is the correct size and free from any wrinkles or imperfections. Now that your batting is ready, you are ready to move on to the next step: layering the quilt.
Step 3: Layering the Quilt
Layering the quilt involves sandwiching the quilt top, batting, and backing fabric together to create a cohesive and stable structure.
Here’s how to layer the quilt:
- Prepare the backing fabric: Lay the backing fabric on a large, clean surface, right side down. Smooth out any wrinkles or creases, ensuring the fabric is taut and flat.
- Place the batting on top: Carefully place the batting on top of the backing fabric, aligning the edges. Smooth out any wrinkles or bumps in the batting, taking care to keep it flat and even.
- Position the quilt top: Finally, place the quilt top on top of the batting, right side up. Make sure the edges of all three layers are aligned.
By layering the quilt in this order – backing fabric, batting, and quilt top – you will create a sturdy foundation for the next steps in the quilting process. Once your quilt is layered, it’s time to secure the layers together. Let’s move on to step 4: basting the layers.
When assembling a quilt with batting, make sure to smooth out the batting to eliminate any wrinkles or creases before layering it with the quilt top and backing. This will ensure a smooth and even finish to your quilt.
Read more: How To Sew Quilt Batting Together
Step 4: Basting the Layers
After layering the quilt, the next step is to baste the layers together. Basting is the process of temporarily securing the quilt layers to prevent shifting or puckering during quilting.
Here’s how to baste the layers:
- Pin basting: Using safety pins or quilting pins, pin the layers together at regular intervals. Start in the center of the quilt and work your way out to the edges, spacing the pins a few inches apart.
- Spray basting: Alternatively, you can use a basting spray, which is a temporary adhesive that holds the layers together. Lay the quilt top and batting on the backing fabric, then spray the basting spray between each layer, following the manufacturer’s instructions.
When basting, ensure the layers are smooth and free from any wrinkles or folds. Take your time to baste the entire quilt, making sure all layers are securely held together. Once the layers are basted, they are ready for quilting.
In the next step, we will explore how to quilt the layers together to create intricate designs and patterns.
Step 5: Quilting the Layers
Quilting is the process of stitching the layers of the quilt together, creating both decorative and structural elements. This step gives the quilt its unique design and ensures that the layers remain securely connected.
Here’s how to quilt the layers:
- Choose a quilting technique: Decide whether you will quilt your layers by hand or using a sewing machine. Both methods have their advantages, so choose the one that suits your preference and skill level.
- Select a quilting pattern: Decide on a quilting pattern or design that complements your quilt top. You can opt for simple straight lines, free-motion quilting, or intricate designs. Use a quilting ruler or marking tools to guide your stitching.
- Start quilting: Begin quilting from the center of the quilt and work your way outwards. Take your time and stitch along the marked lines or designs, ensuring even stitches and steady tension.
- Continue quilting: Quilt the entire quilt, moving smoothly across the layers. Take breaks as needed to rest your hands and eyes. If using a sewing machine, remember to backstitch at the beginning and end of each section to secure the stitches.
As you quilt, pay attention to the overall tension of your stitches and adjust your machine settings or hand stitching accordingly. Once you have completed the quilting, your layers will be securely held together, and the intricate quilting patterns will enhance the visual appeal of your quilt.
In the next step, we will trim and square up the quilt to give it a neat and finished appearance.
Step 6: Trimming and Squaring Up
After quilting the layers together, it’s important to trim and square up the quilt to achieve a clean and polished finish. Trimming off excess fabric and ensuring straight edges will give your quilt a professional look.
Here’s how to trim and square up your quilt:
- Place the quilt on a flat surface: Lay your quilt on a large table or the floor, ensuring that it is flat and free from wrinkles.
- Use a quilting ruler: Line up a quilting ruler along one edge of the quilt and trim off any excess fabric with a rotary cutter. Repeat this process on all four sides, ensuring that the edges are straight and even.
- Square up the corners: Check that the corners of your quilt are square by measuring diagonally from one corner to the opposite corner. Adjust as necessary to ensure the quilt is perfectly square.
Trimming and squaring up the quilt will give it a professional finish and make it easier to add the binding in the next step. Take your time during this step to ensure that all edges and corners are straight and aligned.
Now that your quilt is trimmed and squared up, it’s time to add the final finishing touch: the binding.
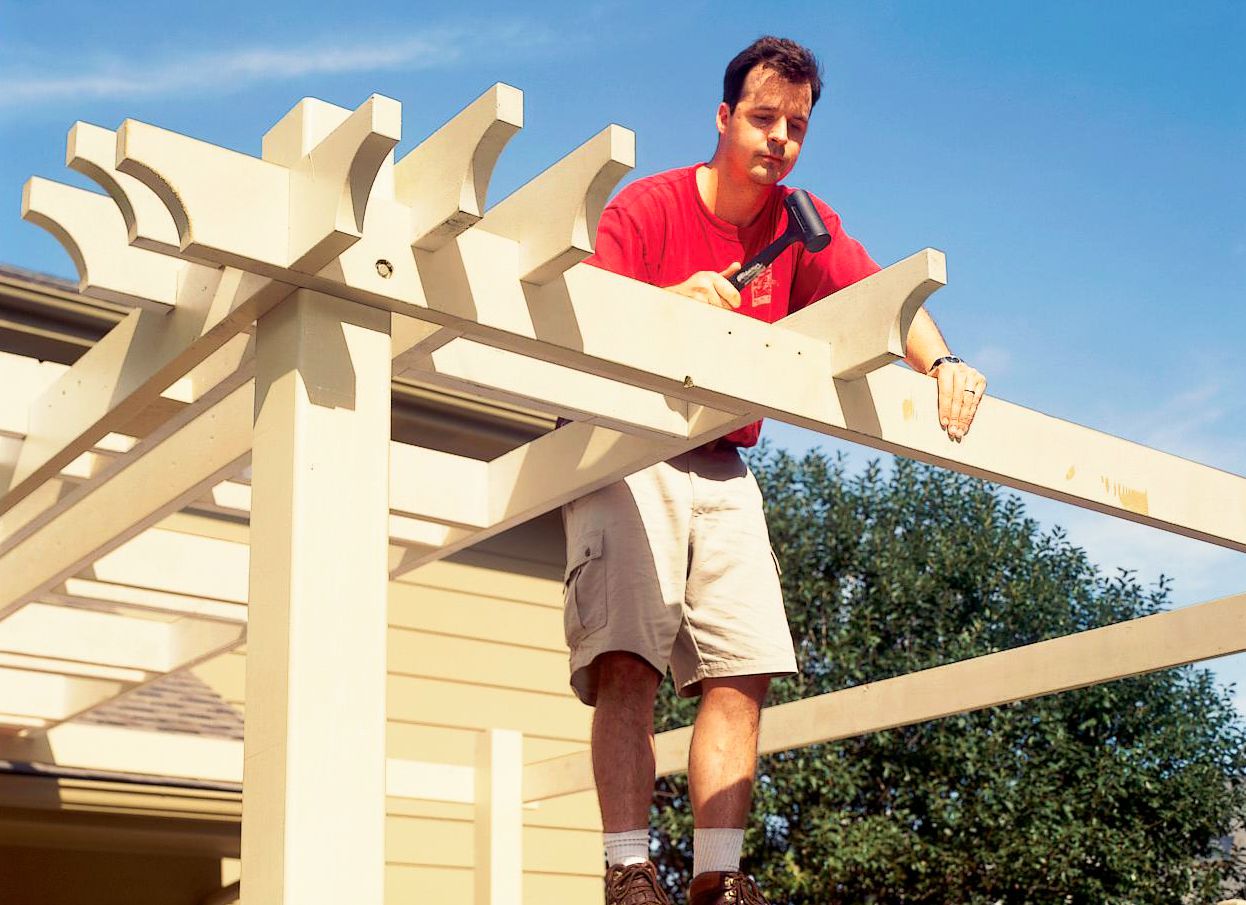
Step 7: Adding the Binding
The binding is the final step in finishing your quilt. It not only adds a decorative edge but also secures the raw edges of the quilt layers for durability.
Here’s how to add the binding:
- Prepare the binding fabric: Cut your binding fabric into strips, typically 2.5 inches wide, and join them together to create one long strip. Press the seams open for a flatter finish.
- Align and attach the binding: Starting in the middle of one side of the quilt, align the raw edges of the binding strip with the raw edges of the quilt. Leave a tail of binding unstitched, approximately 8-10 inches long.
- Stitch the binding: Using a 1/4 inch seam allowance, stitch the binding to the quilt, mitering the corners as you go. Sew all the way around the quilt, stopping approximately 8-10 inches from where you started.
- Join the ends of the binding: Trim the excess binding strip, leaving a 1/4 inch overlap. Fold both ends of the binding back, right sides together, and stitch diagonally from corner to corner. Trim the excess and press the seam open.
- Finish attaching the binding: Complete stitching the binding to the quilt, ensuring the unstitched tail is left free. Fold the binding over the raw edges of the quilt and hand stitch it in place using a blind stitch or whip stitch.
- Secure the binding tail: Fold the unstitched tail of the binding to create a neat mitered corner and tuck it into the binding. Stitch it in place to secure the tail.
Adding the binding not only gives your quilt a finished look but also reinforces the edges for longevity. Take your time and stitch carefully to achieve clean and even binding. Once your binding is securely attached, your quilt is complete!
Congratulations! You have successfully assembled a quilt with batting. Your hard work and creativity have resulted in a beautiful and cozy quilt that you can cherish for years to come.
Read more: What Batting To Use For A Baby Quilt
Conclusion
Assembling a quilt with batting is a rewarding and fulfilling process that allows you to unleash your creativity while creating a functional and beautiful piece of art. By following the steps outlined in this article, you can confidently assemble a quilt with batting and achieve a professional and polished finish.
From preparing the quilt top to layering the quilt, basting the layers, quilting, trimming and squaring up, and finally adding the binding, each step is crucial in creating a quilt that is not only visually appealing but also durable and long-lasting.
Throughout the process, remember to pay attention to the details, take your time, and enjoy the journey. Experiment with different quilting patterns and designs to add a personal touch to your quilt. Don’t be afraid to try new techniques and make your quilt truly unique.
Whether you’re a seasoned quilter or just starting out, assembling a quilt with batting is a satisfying and fulfilling experience. Embrace the creativity, patience, and precision that quilting requires, and soon you’ll have a beautiful quilt that you’ll be proud of.
So gather your materials, unleash your creativity, and start quilting! The joy and satisfaction that comes with completing a handmade quilt are truly unparalleled. Happy quilting!
Frequently Asked Questions about How To Assemble A Quilt With Batting
Was this page helpful?
At Storables.com, we guarantee accurate and reliable information. Our content, validated by Expert Board Contributors, is crafted following stringent Editorial Policies. We're committed to providing you with well-researched, expert-backed insights for all your informational needs.


0 thoughts on “How To Assemble A Quilt With Batting”