Articles
How To Finish Side Of Stairs
Modified: December 7, 2023
Learn how to finish the side of stairs with our step-by-step articles. Discover tips and techniques for a polished and professional look.
(Many of the links in this article redirect to a specific reviewed product. Your purchase of these products through affiliate links helps to generate commission for Storables.com, at no extra cost. Learn more)
Introduction
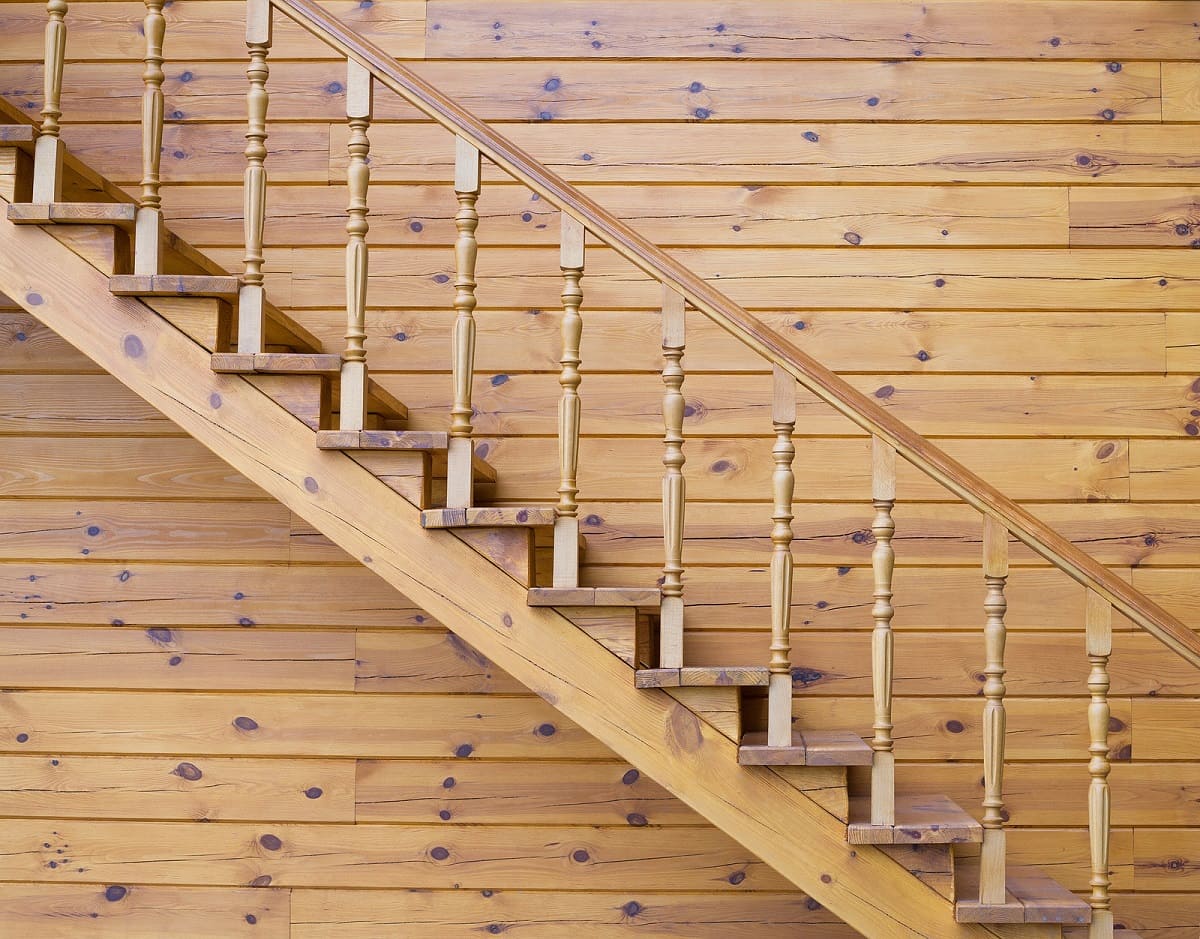
When it comes to finishing the side of stairs, attention to detail is key. The side of your stairs is often overlooked, but properly finishing it can greatly enhance the overall look and feel of your staircase. Whether you are renovating an existing staircase or building a new one, finishing the side of the stairs is an important step in completing the project.
In this article, we will guide you through the step-by-step process of finishing the side of stairs. From measuring and cutting the trim, to sanding and painting, we will cover all the necessary steps to achieve a professional and polished look. So, grab your tools and let’s get started!
Key Takeaways:
- Attention to detail is crucial when finishing the side of stairs. From precise measurements to seamless trim application, each step contributes to a professional and polished look that enhances the overall aesthetics of your staircase.
- The finishing touches, such as filling nail holes, caulking seams, and adding decorative elements, elevate the side of stairs to a new level of sophistication. Embrace creativity and meticulousness to transform this often overlooked area into a stunning focal point in your home.
Read more: How To Finish Stairs To Basement
Tools and Materials Needed
Before you begin finishing the side of your stairs, gather the following tools and materials:
- Tape measure
- Miter saw or hand saw
- Sanding block or sandpaper
- Trim adhesive
- Nail gun or hammer and nails
- Wood filler
- Caulk
- Primer
- Paintbrush or paint roller
- Paint
Make sure you have all of these items on hand before you start the project to avoid any delays or interruptions.
Step 1: Measure and Cut Trim
The first step in finishing the side of your stairs is to accurately measure and cut the trim pieces that will be applied to the side. Start by measuring the length and height of the side of the stairs. Use a tape measure to get precise measurements.
Once you have the measurements, transfer them to the trim board. Use a miter saw or hand saw to cut the trim pieces to the correct length. For a clean and professional look, make sure to cut the trim at a 45-degree angle at the corners.
It is recommended to cut the trim slightly longer than the measured length, as it can be trimmed down later for a perfect fit. Remember to double-check your measurements before making any cuts to avoid any mistakes.
After cutting the trim pieces, dry-fit them against the side of the stairs to ensure they fit properly. If needed, make any necessary adjustments by sanding or cutting the trim to achieve a seamless fit.
Once you are satisfied with the fit, move on to the next step of the process.
Step 2: Sand and Smooth Edges
After cutting the trim pieces, it’s essential to sand and smooth the edges before attaching them to the side of the stairs. This step will ensure that the trim fits snugly against the surface and creates a seamless, polished look.
Begin by using a sanding block or sandpaper to gently sand the cut edges of the trim. Sand in smooth, even strokes until any rough or jagged edges are smoothed out. This will prevent splinters and create a surface that is ready for painting or staining.
Be sure to sand all sides and edges of the trim, paying extra attention to the corners and any joints where the trim pieces will meet. This will result in a more even and professional finish.
Once you have finished sanding, use a clean cloth or brush to remove any dust or debris from the surface of the trim. This will ensure that the adhesive and paint adhere properly.
By taking the time to sand and smooth the edges, you will achieve a more polished and professional look for the side of your stairs.
Step 3: Apply Adhesive
Now that the trim pieces are cut and sanded, it’s time to apply adhesive to the backside of the trim. This adhesive will help secure the trim to the side of the stairs and ensure a long-lasting bond.
Start by applying a thin, even layer of trim adhesive to the backside of one of the trim pieces. Use a caulk gun or a small brush to apply the adhesive, spreading it evenly across the surface. Be sure to cover the entire backside of the trim, including the edges.
Once the adhesive is applied, press the trim firmly against the side of the stairs, starting from the bottom and working your way up. Make sure the trim is aligned properly and straight. Use a level to ensure that the trim is perfectly vertical.
Repeat this process for each trim piece, applying adhesive and carefully aligning and pressing it against the side of the stairs. If needed, you can use clamps or temporary supports to hold the trim in place until the adhesive sets, following the manufacturer’s instructions for drying time.
Take your time during this step to ensure that the trim is securely attached and properly aligned. Any adjustments should be made immediately before the adhesive sets.
Once the adhesive is dry and the trim pieces are firmly attached, you can move on to the next step of the process.
When finishing the side of stairs, make sure to sand the surface thoroughly to remove any rough spots or imperfections. Apply a primer before painting or staining to ensure better adhesion and a professional finish.
Read more: How To Finish Garage Stairs
Step 4: Attach Trim to Side of Stairs
With the trim pieces securely adhered to the side of the stairs, the next step is to attach them more permanently using nails or a nail gun. This will ensure that the trim is firmly in place and won’t come loose over time.
If you’re using a nail gun, load it with the appropriate nails for trim installation. Place the nail gun at a 45-degree angle and carefully drive the nails into the trim, being mindful of not over-penetrating the surface.
If you don’t have a nail gun, you can use a hammer and nails instead. Simply position the nail against the trim and carefully drive it in using a few taps with the hammer. Take care not to damage the trim or create visible indentations.
When attaching the trim, make sure to use nails that are long enough to go through the trim and into the stairs for a secure hold. Space the nails evenly and strategically along the length of the trim to provide adequate support.
Continue attaching all the trim pieces in the same manner, securing them tightly to the side of the stairs. Double-check the alignment and make any necessary adjustments before fully securing the trim in place.
After all the trim pieces are attached, give them a gentle tug to ensure they are securely fastened. If any trim appears loose, add additional nails or adhesive as needed.
With the trim securely attached, you’re ready to move on to the next step in finishing the side of your stairs.
Step 5: Fill Nail Holes and Caulk Seams
Now that the trim is securely attached to the side of the stairs, it’s time to fill in any nail holes and caulk the seams. This step will help create a seamless and professional look by covering up any imperfections.
Start by inspecting the trim for any visible nail holes. If you see any, use a good quality wood filler to fill them in. Use a putty knife or your finger to apply the filler, making sure to press it firmly into the holes. Smooth out the excess filler with the putty knife and let it dry according to the manufacturer’s instructions.
Once the wood filler is dry, use a fine-grit sandpaper to lightly sand the filled areas until they are smooth and level with the surrounding trim surface. Be gentle to avoid damaging the surrounding paint or finish.
Next, move on to caulking the seams between the trim pieces. Use a high-quality paintable caulk that matches the color of the trim. Apply a thin bead of caulk along each seam, making sure to fill any gaps or uneven areas.
Smooth out the caulk with your finger or a caulk smoothing tool, removing any excess and creating a seamless finish. Wipe away any excess caulk with a damp cloth or sponge. Allow the caulk to fully dry before moving on to the next step.
By filling in nail holes and caulking the seams, you’ll achieve a flawless and professional look for the side of your stairs.
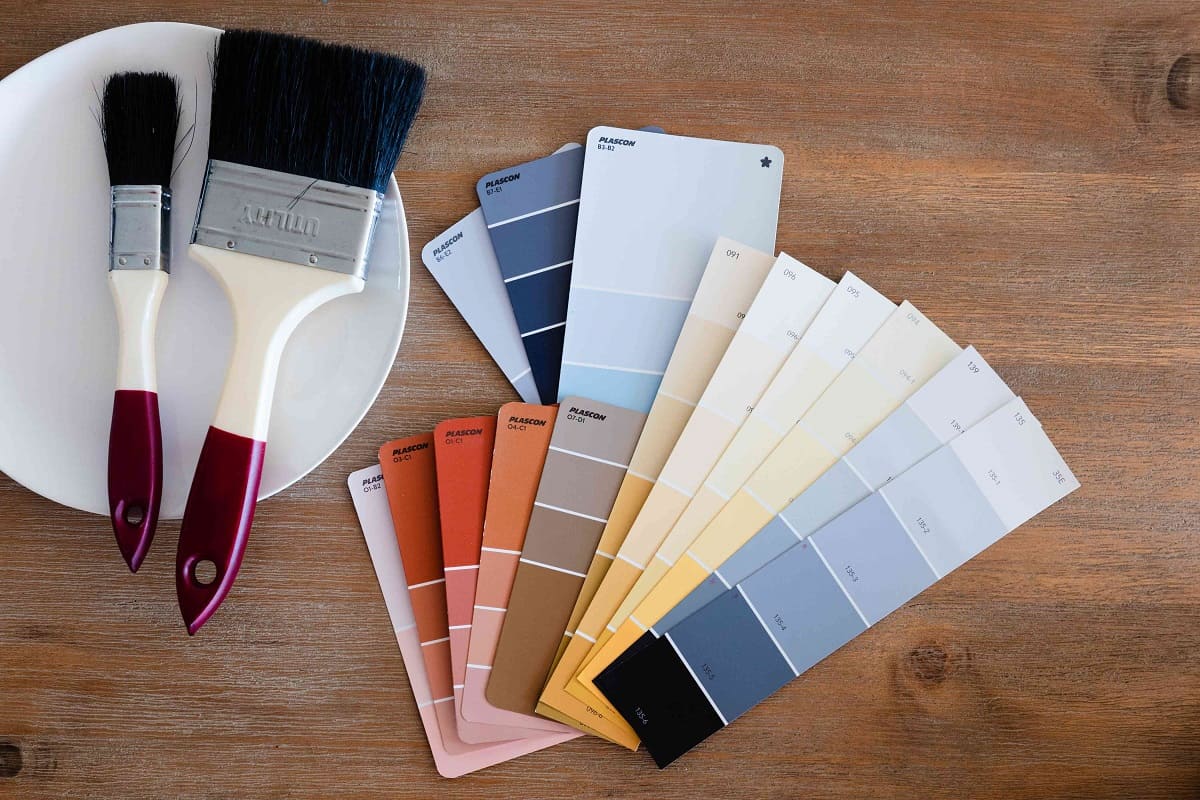
Step 6: Prime and Paint the Trim
Now that the trim is properly prepared and sealed, it’s time to prime and paint it to give it a finished and polished appearance. Priming and painting the trim will not only add visual appeal but also protect it from wear and tear.
Start by applying a coat of primer to the trim. Use a paintbrush or a paint roller to evenly cover the entire surface, including the edges. Make sure to choose a primer that is suitable for the type of trim material you are working with.
Allow the primer to dry completely according to the manufacturer’s instructions. This may take a few hours or overnight, depending on the product. Inspect the trim for any imperfections or areas that may require additional filling or sanding.
Once the primer is dry, it’s time to apply the paint. Choose a high-quality paint that is suitable for trim and matches the desired color scheme. Use a paintbrush or a paint roller to apply an even coat of paint to the entire surface of the trim, ensuring that you cover all areas.
Allow the first coat of paint to dry completely, and then apply a second coat for enhanced coverage and a professional finish. Be sure to follow the drying times and instructions provided by the paint manufacturer.
After the final coat of paint is dry, inspect the trim for any touch-ups or areas that may require additional attention. Use a small brush to carefully touch up any imperfections and ensure a flawless finish.
Once the paint is fully dry, admire the beautifully finished trim on the side of your stairs!
Step 7: Finishing Touches
Now that the trim is primed and painted, it’s time to add the final touches to complete the finishing of the side of your stairs. These small details will enhance the overall look and ensure a polished and cohesive appearance.
Start by carefully inspecting the trim for any drips, smudges, or paint splatters. Use a small brush or a damp cloth to clean up any imperfections and create a clean and refined finish.
Next, take a step back and assess the overall look of the finished trim. Make any necessary adjustments or touch-ups to ensure that the color and finish are uniform and seamless.
If desired, you can also add decorative elements or trim accessories to further enhance the aesthetic appeal. Consider adding decorative corner blocks or rosettes at the corners, or installing a chair rail or picture molding along the side of the stairs to create visual interest.
Lastly, step back and admire your completed project. Take pride in the work you’ve done to finish the side of your stairs and enjoy the enhanced look and feel it adds to your home. It’s the small details that make a big difference!
Remember, proper maintenance and periodic touch-ups may be needed over time to keep the trim looking its best. Stay vigilant and address any issues promptly to ensure the longevity and beauty of your finished stairs.
With the finishing touches complete, you can now sit back, relax, and enjoy your beautifully finished side of stairs!
Read more: What Polyurethane Finish To Use On Stairs
Conclusion
Finishing the side of stairs may seem like a small detail, but it can make a significant impact on the overall aesthetics and appeal of your staircase. By following the step-by-step process outlined in this article, you can achieve a professional and polished look that will enhance the beauty of your home.
From measuring and cutting the trim to applying adhesive, attaching the trim, filling nail holes, caulking seams, priming, and painting, each step plays a crucial role in achieving a seamless and refined finish. The attention to detail in these steps ensures that the side of your stairs looks sleek and well-crafted.
Remember to take your time during each step, ensuring accuracy and precision. Double-check your measurements, sand and smooth the edges, and apply the adhesive and paint meticulously. These small efforts will yield a remarkable result.
Furthermore, don’t overlook the importance of the finishing touches. Cleaning up any imperfections, inspecting for touch-ups, and adding decorative elements can take your finished trim to the next level.
By following these steps and giving attention to every detail, you can create a side of stairs that not only complements the design of your staircase but also adds a touch of sophistication to your home.
So, grab your tools, embrace your creativity, and get ready to transform the side of your stairs into a stunning focal point that will leave a lasting impression on anyone who walks through your doors.
Happy finishing!
Frequently Asked Questions about How To Finish Side Of Stairs
Was this page helpful?
At Storables.com, we guarantee accurate and reliable information. Our content, validated by Expert Board Contributors, is crafted following stringent Editorial Policies. We're committed to providing you with well-researched, expert-backed insights for all your informational needs.

0 thoughts on “How To Finish Side Of Stairs”