Articles
How To Build A Corner Pantry Cabinet
Modified: August 31, 2024
Learn how to build a corner pantry cabinet with our informative articles. Discover step-by-step instructions and expert tips for creating efficient storage space in your kitchen.
(Many of the links in this article redirect to a specific reviewed product. Your purchase of these products through affiliate links helps to generate commission for Storables.com, at no extra cost. Learn more)
Introduction
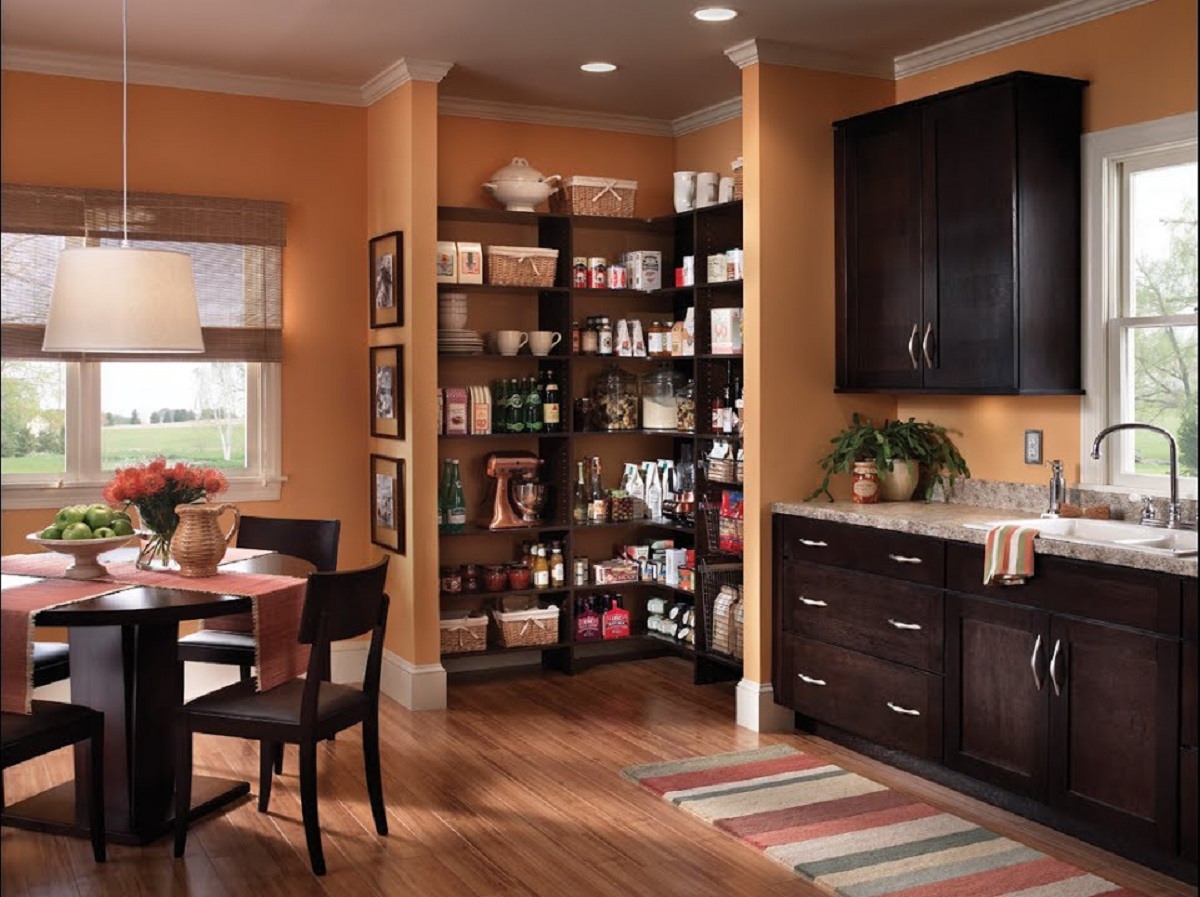
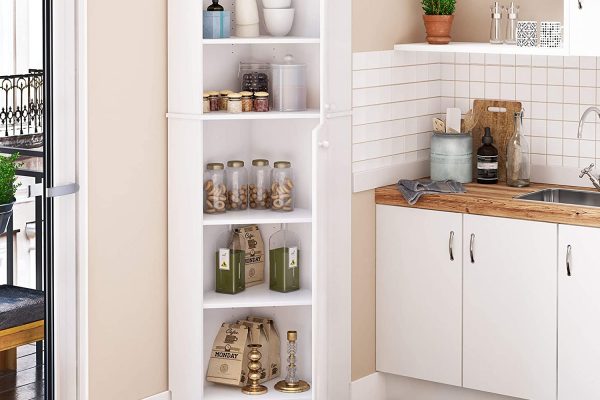
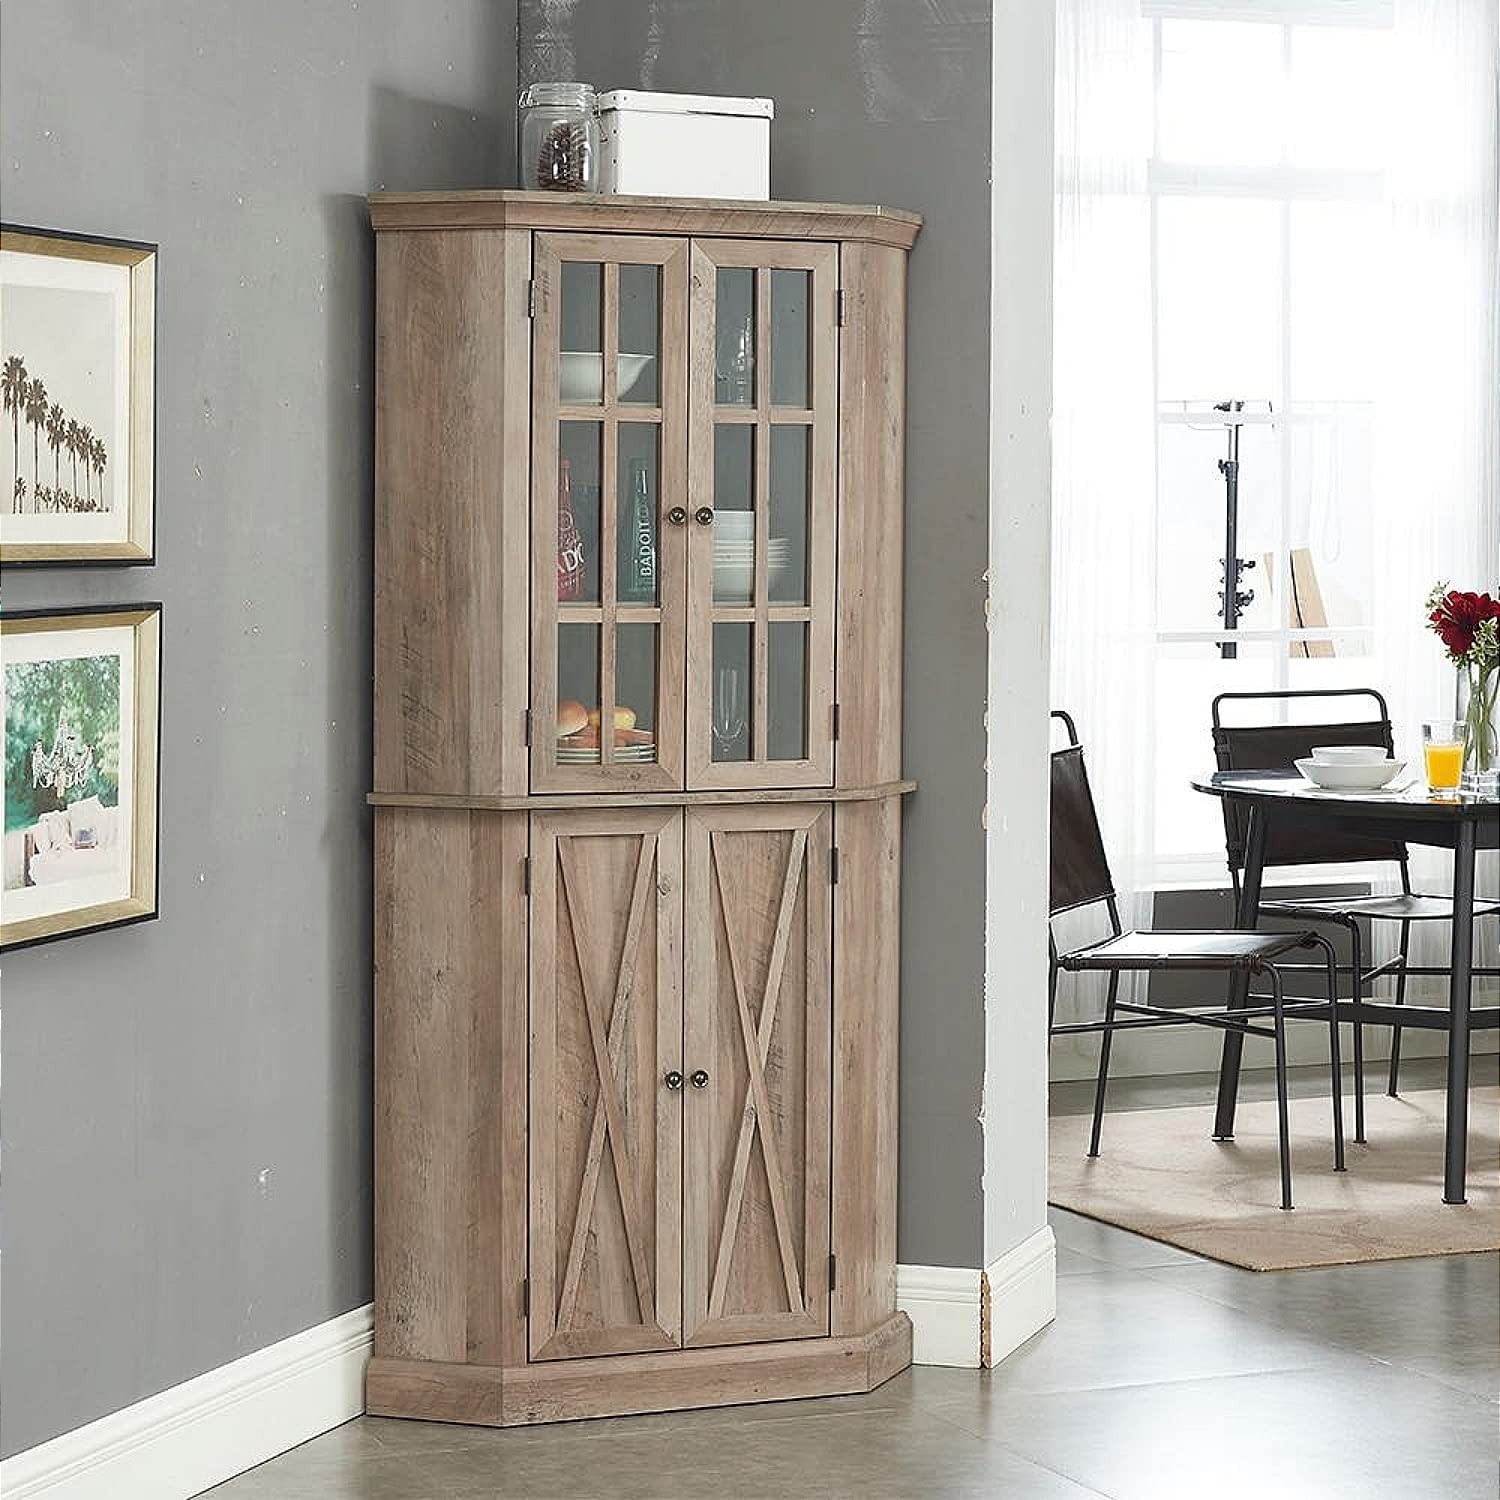
Welcome to our guide on how to build a corner pantry cabinet! Having a corner pantry in your kitchen can be a game-changer when it comes to storage and organization. It maximizes the use of space and provides easy access to your favorite ingredients, spices, and kitchen essentials.
Building a corner pantry cabinet may sound like a daunting task, but with the right guidance and a little bit of patience, you can create a functional and beautiful addition to your kitchen. In this article, we will take you through the step-by-step process of building your own corner pantry cabinet.
Before we dive into the construction details, it is important to have a clear plan in mind. Think about the dimensions and layout of the cabinet, considering the available space in your kitchen. Take accurate measurements to ensure a perfect fit.
Once you have a plan in place, gather all the necessary materials and tools. This will include plywood or lumber for the cabinet frame, shelves, and doors, as well as screws, nails, an electric screwdriver, a saw, and sandpaper. Having everything ready beforehand will make the building process much smoother.
Now, let’s get started on building your corner pantry cabinet!
Key Takeaways:
- Building a corner pantry cabinet requires careful planning, precise measurements, and the right tools. From determining space and dimensions to adding shelves and finishing touches, this guide provides a comprehensive step-by-step process for creating a functional and beautiful storage solution for your kitchen.
- By following the steps outlined in this guide, you can build a custom corner pantry cabinet that maximizes space, enhances organization, and adds value to your kitchen. Embrace your creativity, pay attention to detail, and enjoy the satisfaction of having a custom-made storage solution that perfectly fits your kitchen needs.
Step 1: Determine the Space and Dimensions
The first step in building a corner pantry cabinet is to determine the available space in your kitchen and establish the dimensions for your cabinet. This is an important step to ensure that your cabinet fits perfectly into the corner and complements the overall design of your kitchen.
Begin by measuring the height, width, and depth of the corner where you plan to install the pantry cabinet. Take into account any existing cabinets or appliances nearby and make sure to leave enough clearance for the doors to open smoothly.
Next, decide on the overall dimensions of your cabinet. Consider both the exterior and interior dimensions. The exterior dimensions will determine how the cabinet fits into the corner, while the interior dimensions will determine the size of the shelves and the amount of storage space available.
Keep in mind that while the cabinet needs to fit snugly into the corner, you also want to make sure that it doesn’t protrude too far and disrupt the flow of your kitchen. Striking a balance between functionality and aesthetics is key.
Once you have determined the space and dimensions, it’s a good idea to create a rough sketch or use computer software to visualize the final design. This will help you better understand how the cabinet will look and allow you to make any necessary adjustments before starting the construction process.
By taking the time to carefully determine the space and dimensions, you will ensure that your corner pantry cabinet fits seamlessly into your kitchen and meets your storage needs. Now that you have a clear plan in place, it’s time to move on to gathering the materials and tools needed for the project.
Step 2: Gather Materials and Tools
Now that you have determined the space and dimensions for your corner pantry cabinet, it’s time to gather all the materials and tools you’ll need for the construction process. Being prepared with everything you need will make the building process much smoother and more efficient.
Here’s a list of materials and tools you will likely need:
- Plywood or lumber for the cabinet frame, shelves, and doors
- Screws, nails, and other fasteners
- An electric screwdriver or drill
- A saw for cutting the wood
- Sandpaper for smoothing rough edges
- A measuring tape for taking accurate measurements
- A level for ensuring straight and level installations
- A pencil or marker for marking cutting lines
- A carpenter’s square for checking angles and corners
- Paint or finish for the cabinet
When selecting the plywood or lumber for your cabinet, consider the quality and durability of the material. Opt for strong and sturdy wood that can withstand the weight of the pantry items and last for years to come.
Additionally, choose screws and nails that are suitable for woodworking projects. Make sure they are long enough to secure the pieces together firmly, but not so long that they protrude through the wood.
Having an electric screwdriver or drill will greatly speed up the assembly process and make it easier to drive in screws. Ensure you have the appropriate drill bits for the type of screws you will be using.
Finally, don’t forget to have the necessary safety equipment on hand, such as protective goggles and gloves, to ensure your well-being during the construction process.
By gathering all the materials and tools before starting the project, you can avoid unnecessary delays and interruptions. Now that you have everything you need, it’s time to move on to the next step: measuring and cutting the cabinet parts.
Step 3: Measure and Cut the Cabinet Parts
In this step, we will focus on measuring and cutting the cabinet parts for your corner pantry. Accuracy is key, so take your time to ensure precise measurements and clean cuts.
Start by measuring and marking the dimensions on your plywood or lumber, based on the design and dimensions you decided on in the previous steps. Use a measuring tape or ruler to measure and a pencil or marker to make clear and visible markings.
When measuring, remember to take into account the thickness of the material you are using. This will ensure that each piece fits together properly and creates a solid structure.
Next, carefully cut the cabinet parts according to the measurements. You can use a circular saw, a jigsaw, or a table saw, depending on your preference and the tools you have available. It’s important to follow the markings precisely and cut along straight lines.
While cutting, it’s crucial to prioritize safety. Always wear protective goggles, gloves, and appropriate clothing to protect yourself from any potential accidents or injuries.
After cutting the cabinet parts, take a moment to sand any rough edges or splinters. This will give your pantry cabinet a professional and polished look. Use sandpaper or a sanding block to smooth out the edges until they are smooth and even.
As you complete this step, double-check that all the parts are accurately cut and match your desired dimensions. Precise measurements and clean cuts will ensure that the cabinet will fit together properly and provide a sturdy storage solution for your kitchen.
With the cabinet parts measured and cut, we can now move on to the next step: assembling the cabinet frame.
Step 4: Assemble the Cabinet Frame
Now that you have measured and cut the cabinet parts, it’s time to assemble the frame of your corner pantry cabinet. The frame serves as the skeleton of your cabinet, providing stability and support for the shelves and doors.
Start by laying out the cut pieces on a flat surface, making sure all edges and corners line up properly. Begin by attaching the sides to the back panel using screws or nails. Use a carpenter’s square to ensure that the corners are at 90-degree angles.
Once the sides and back panel are secure, it’s time to attach the top and bottom pieces. Align them with the sides and back panel and fasten them in place. Make sure everything is level and square as you work.
To strengthen the frame, consider adding corner braces or additional reinforcement to ensure the cabinet is sturdy and durable. Secure any additional supports or brackets using screws or nails.
As you assemble the cabinet frame, periodically check that everything is straight, level, and properly aligned. This will help ensure a seamless construction process and a well-built final product.
Take your time during this step to double-check your measurements and make any necessary adjustments. A properly assembled frame will provide a solid foundation for the shelves and doors to come.
Once the cabinet frame is securely assembled, you can move on to the next step: adding shelves and supports.
When building a corner pantry cabinet, make sure to measure the space accurately and consider the door swing to ensure easy access to the items inside.
Read more: How To Build Kitchen Pantry Cabinet
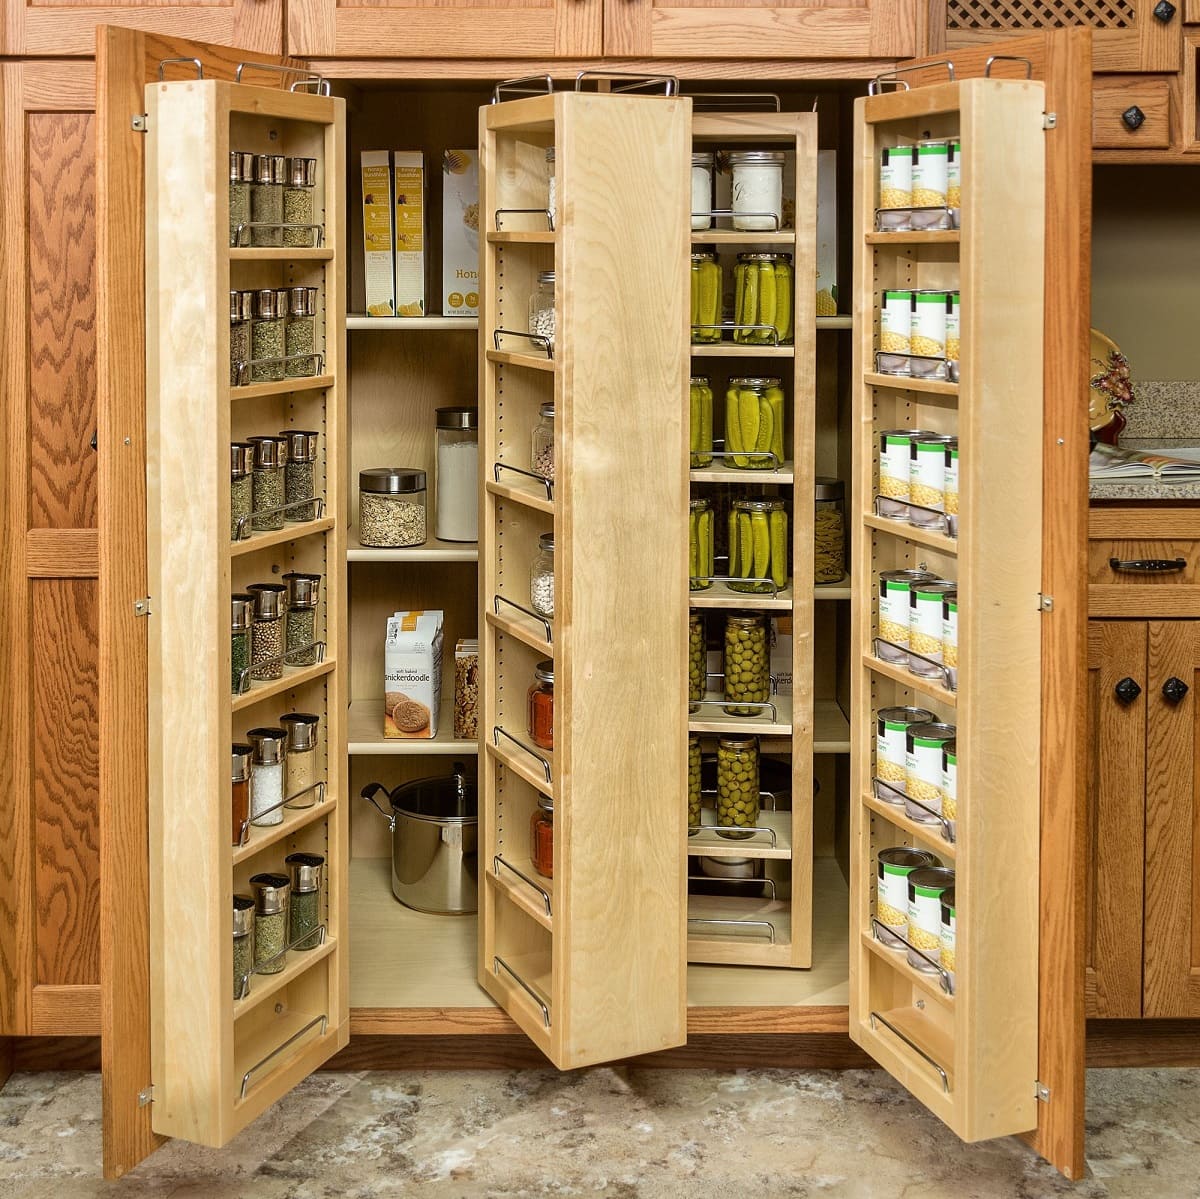
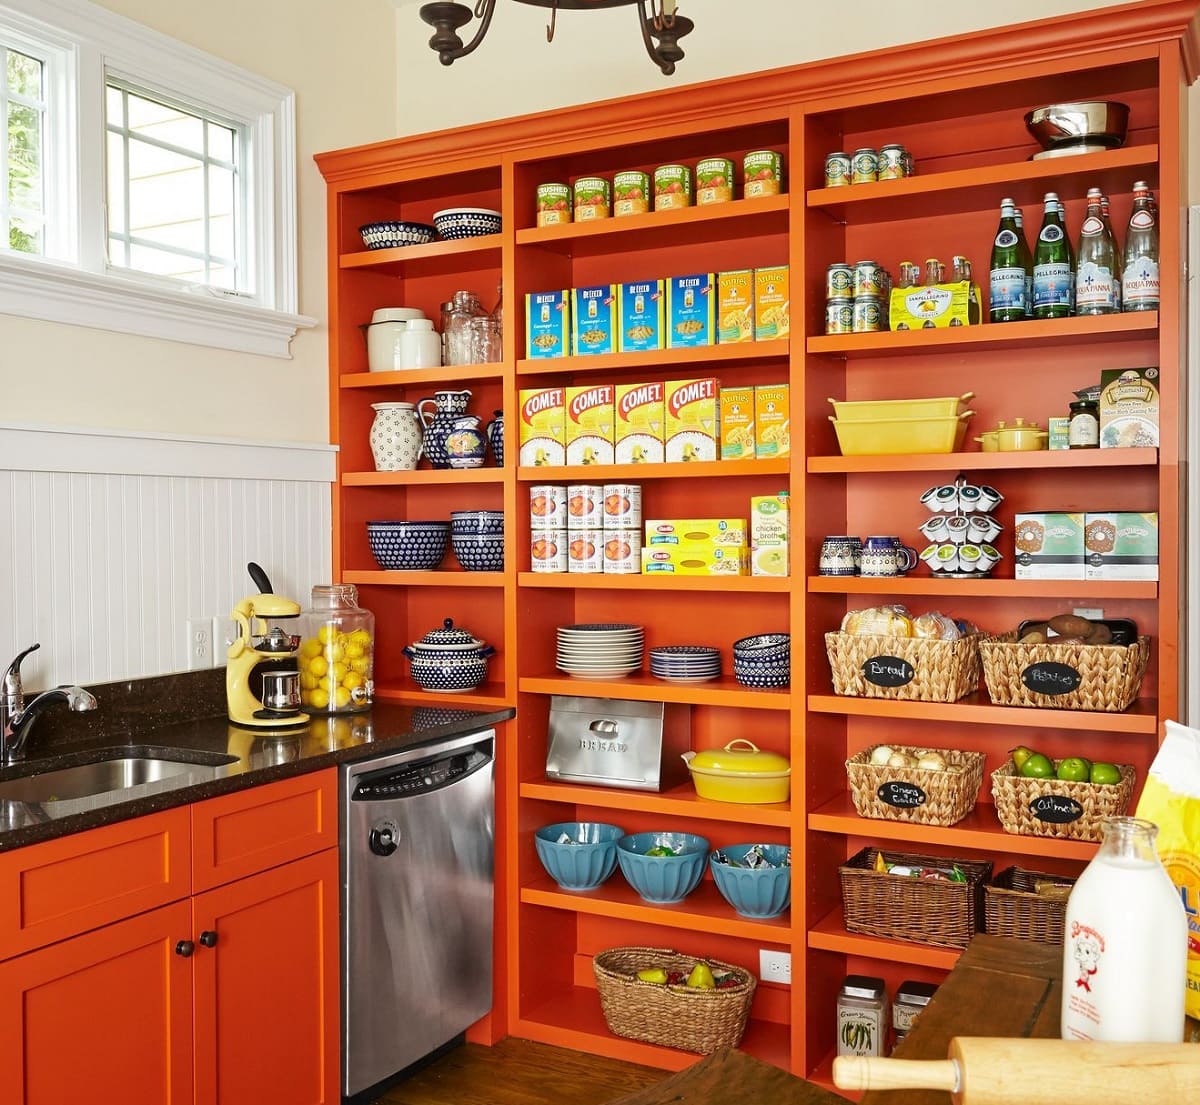
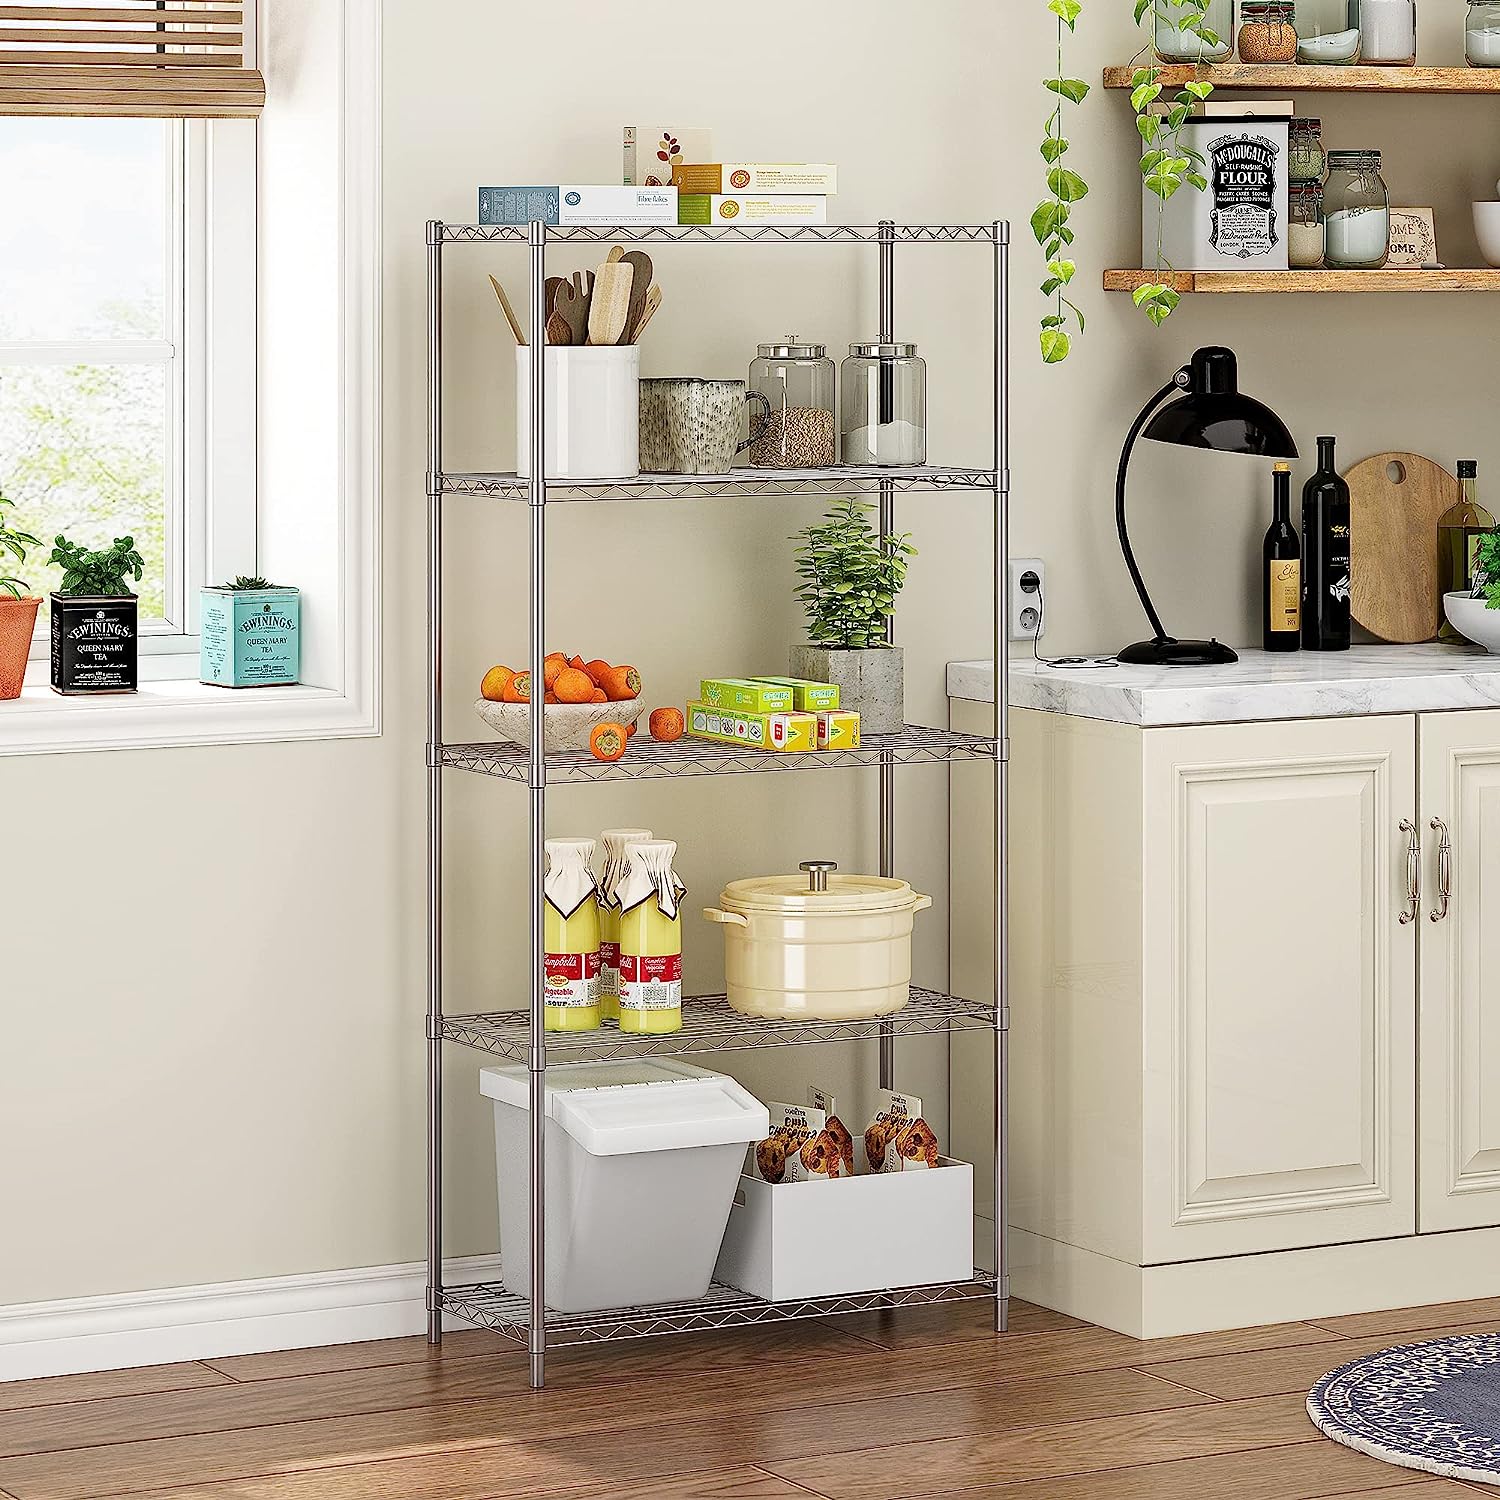
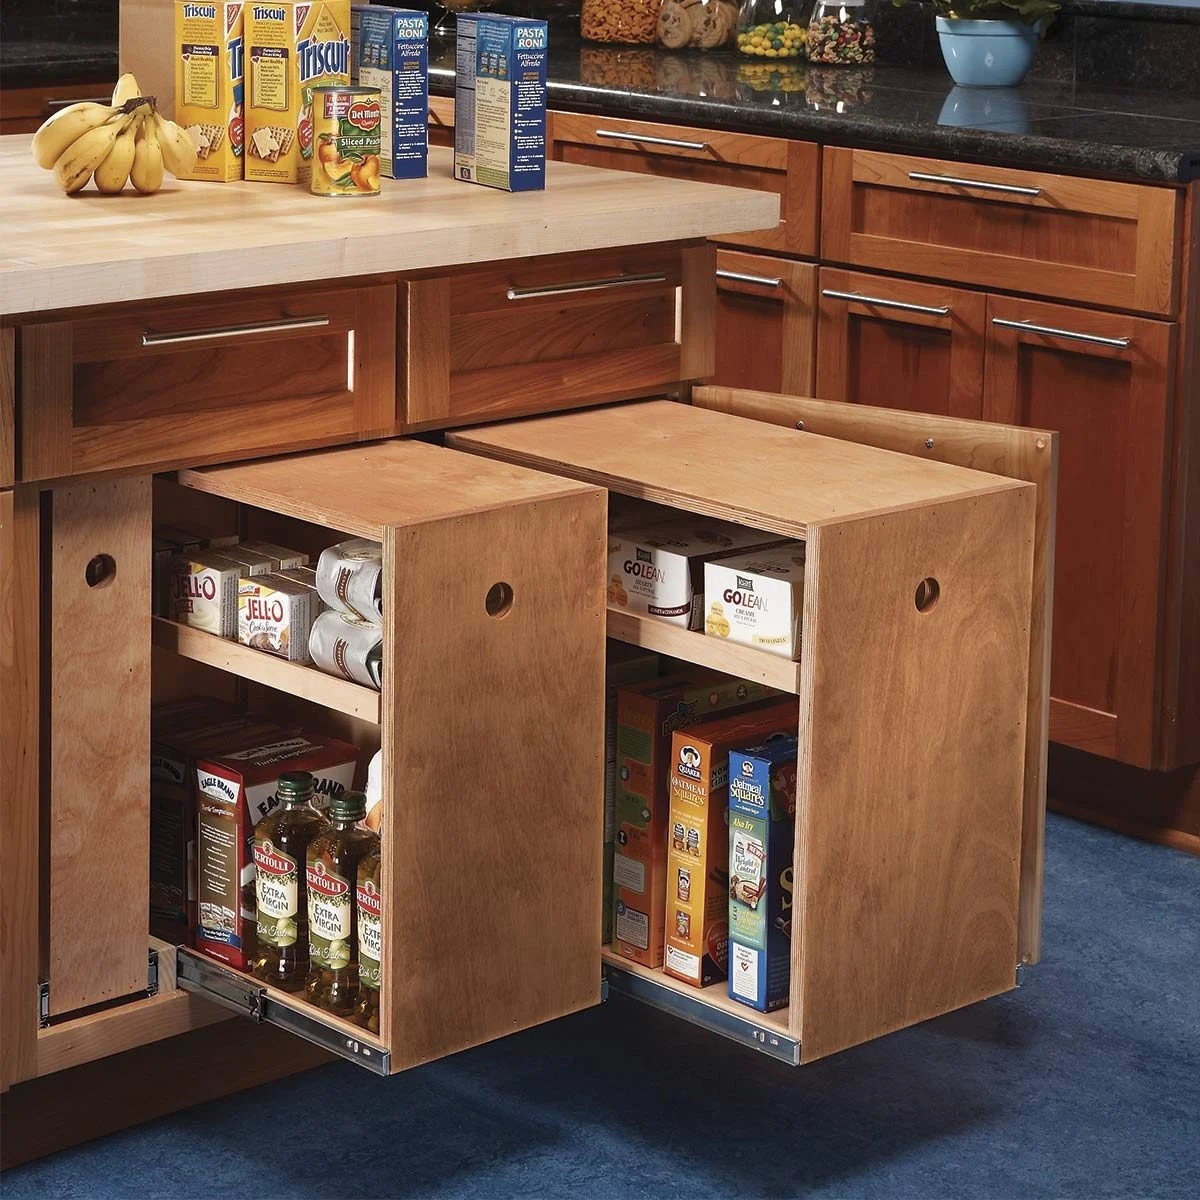
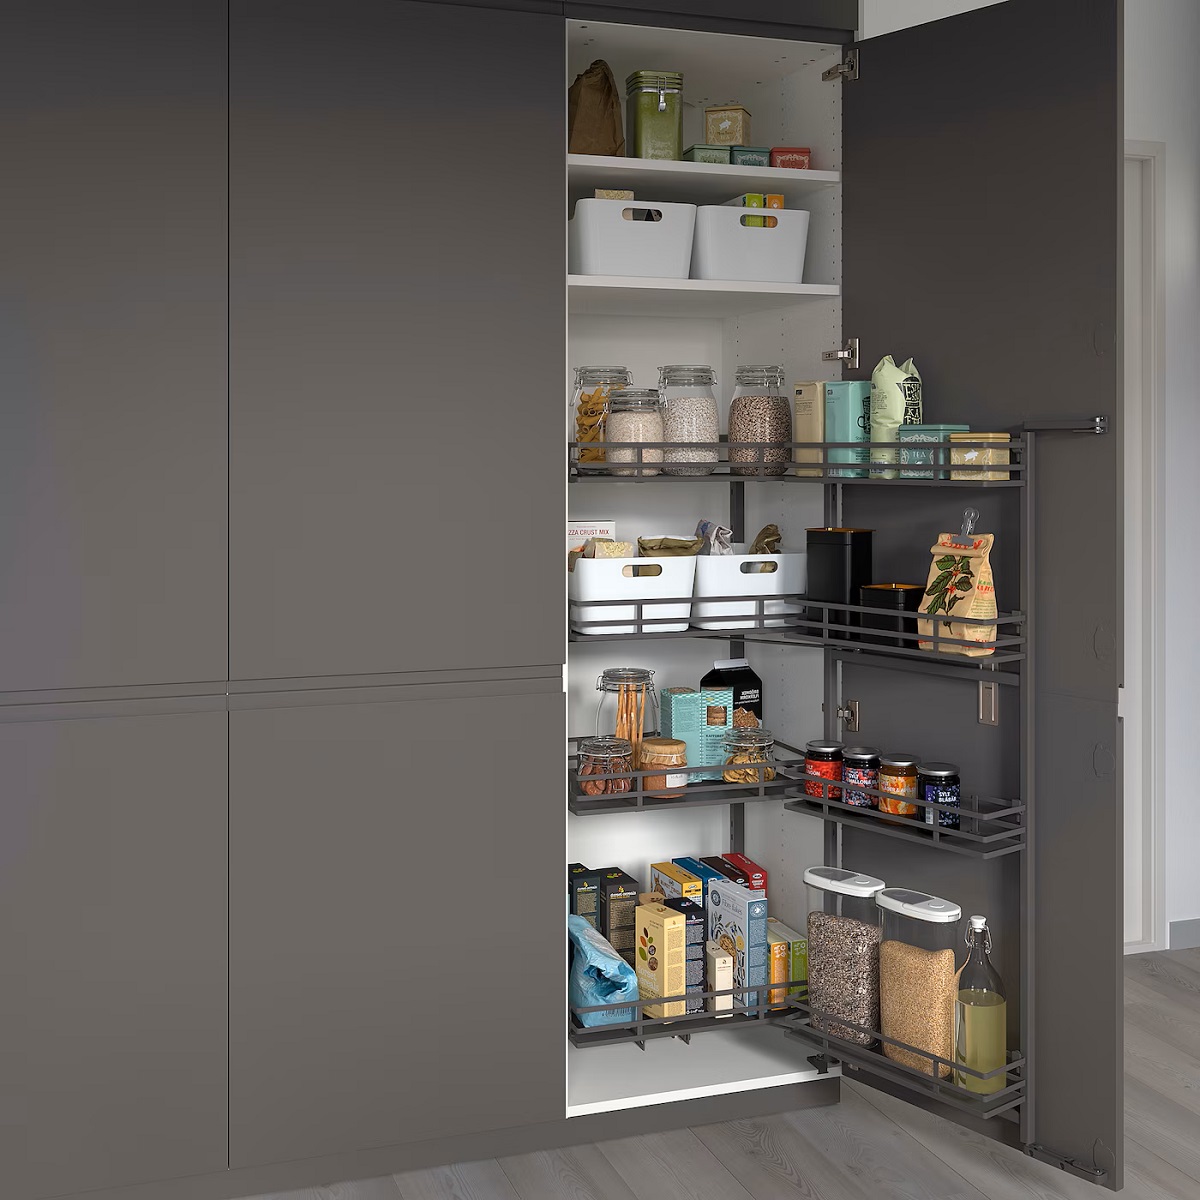
Step 5: Add Shelves and Supports
Now that you have the cabinet frame assembled, it’s time to add shelves and supports to create storage space for your corner pantry cabinet. This step will help organize your kitchen essentials and maximize the functionality of the cabinet.
Start by measuring and marking the desired locations for the shelves inside the cabinet. Take into account the height of the items you plan to store and leave enough space between each shelf to accommodate them.
Next, cut the plywood or lumber to the appropriate dimensions for the shelves. Use a saw to make clean and accurate cuts. Sand the edges of the shelves to ensure they are smooth and free of splinters.
Attach the supports inside the cabinet, where the shelves will rest. You can use metal shelf brackets, wooden cleats, or adjustable shelf supports. Make sure the supports are level and align with the markings you made earlier.
Place the shelves on top of the supports and ensure they are level. Adjust the height of the supports if needed to achieve an even placement of the shelves.
You can secure the shelves in place by nailing or screwing them directly onto the supports or by using shelf clips or brackets to hold them firmly.
Repeat the process for each shelf, carefully aligning and securing them in place.
By adding shelves and supports, you are creating designated spaces for various items in your kitchen pantry. Consider adjusting the height of the shelves as needed to accommodate taller items such as cereal boxes or small appliances.
This step helps in organizing your pantry and ensures that you utilize every inch of space efficiently.
With the shelves and supports in place, you are now one step closer to completing your corner pantry cabinet. The next step will focus on installing the cabinet doors.
Step 6: Install the Cabinet Doors
Installing the cabinet doors is an important step in completing your corner pantry cabinet. The doors not only provide functionality by keeping the contents of the cabinet concealed but also add a finishing touch to the overall appearance of the cabinet.
Start by measuring the dimensions of the cabinet opening where the doors will be installed. Take accurate measurements, considering the width, height, and thickness of the doors.
Next, select the type of doors you want for your corner pantry cabinet. There are various options to choose from, including hinged doors, sliding doors, or even a combination of both.
If you opt for hinged doors, attach hinges to the door and the cabinet frame. Make sure the hinges are placed properly and aligned with each other.
When installing sliding doors, mount the door tracks or rails at the top and bottom of the cabinet frame. Ensure the tracks are level and securely fastened.
Before attaching the doors to the cabinet, double-check that they align properly with the cabinet opening and operate smoothly. Make any necessary adjustments to ensure the doors fit well and open and close without obstruction.
If desired, you can add door handles or knobs for easier opening and closing of the doors. Choose handles that complement the style of your kitchen and provide a comfortable grip.
With the doors installed, step back and admire the newly added finishing touch to your corner pantry cabinet. The doors not only enhance the functionality of the cabinet but also contribute to the overall aesthetic appeal of your kitchen.
Now that the cabinet doors are in place, we can move on to the final step: painting or finishing the cabinet.
Step 7: Paint or Finish the Cabinet
The final step in building your corner pantry cabinet is to paint or finish it, giving it the desired look and protecting the wood from wear and tear. This step will enhance the overall aesthetic appeal of your cabinet and ensure its longevity.
If you prefer a natural look, you can choose to apply a clear varnish or wood stain to accentuate the grain and color of the wood. This option provides a rustic and timeless appearance.
If you want to add a pop of color or match the cabinet to your kitchen decor, consider painting it. Start by preparing the surface by sanding it lightly to create a smooth finish. Wipe away any dust or debris before applying the paint.
Choose a high-quality paint that is suitable for the material of your cabinet. Consider using a primer coat before applying the final color to ensure better adhesion and durability.
Apply the paint evenly using a brush or roller, working in the direction of the wood grain. Allow each coat to dry before applying additional coats, if necessary, to achieve the desired coverage.
While painting, pay attention to details such as the edges and corners of the cabinet. Ensure they are well-coated and free of drips or brush marks.
Once the paint is fully dry, you can further protect and enhance the finish by applying a clear topcoat or sealer. This will add an extra layer of protection and give the cabinet a glossy or satin sheen, depending on the desired look.
Take the time to ensure that the painting or finishing process is done meticulously, as this will greatly contribute to the overall appearance and durability of your corner pantry cabinet.
With the cabinet fully painted or finished, step back and admire your completed project. Your corner pantry cabinet is now ready to be filled with all your kitchen essentials.
Congratulations on successfully building your own corner pantry cabinet! Enjoy the added storage and organization it brings to your kitchen.
Conclusion
Building a corner pantry cabinet can be a rewarding and practical project that adds value and functionality to your kitchen. By following the step-by-step process outlined in this guide, you have learned how to create a custom pantry cabinet that maximizes space and meets your storage needs.
Throughout the construction process, it is important to take care in measuring, cutting, and assembling the cabinet parts to ensure a solid and sturdy structure. Adding shelves and supports allows for efficient organization of your kitchen essentials, while the installation of the cabinet doors provides both functionality and aesthetic appeal.
Completing the project with a coat of paint or finish adds the final touch, protecting the cabinet and enhancing its appearance to match your kitchen decor.
Remember, building a corner pantry cabinet requires patience, attention to detail, and the right tools and materials. Take your time, double-check measurements, and make any necessary adjustments along the way.
Once your corner pantry cabinet is completed, enjoy the convenience and efficiency it brings to your kitchen. Organize your ingredients, cookware, and other essentials in a neat and accessible manner – making your kitchen a more efficient and enjoyable space to work in.
We hope this guide has provided you with the necessary information and inspiration to build your own corner pantry cabinet. Embrace your creativity, stay attentive to detail, and enjoy the satisfaction of having a custom-made storage solution that perfectly fits your kitchen needs.
Happy building!
Now that you've mastered building a corner pantry cabinet, why not expand your skills and kitchen efficiency even further? For those eager to optimize their culinary space, our guide on kitchen storage solutions offers smart, stylish ways to keep essentials within reach. And if you're feeling crafty, dive into our woodworking guide, which promises to ignite your passion for crafting everything from furniture to artistic pieces. Both articles are packed with insights that are sure to enhance every home enthusiast's experience.
Frequently Asked Questions about How To Build A Corner Pantry Cabinet
Was this page helpful?
At Storables.com, we guarantee accurate and reliable information. Our content, validated by Expert Board Contributors, is crafted following stringent Editorial Policies. We're committed to providing you with well-researched, expert-backed insights for all your informational needs.


0 thoughts on “How To Build A Corner Pantry Cabinet”