Articles
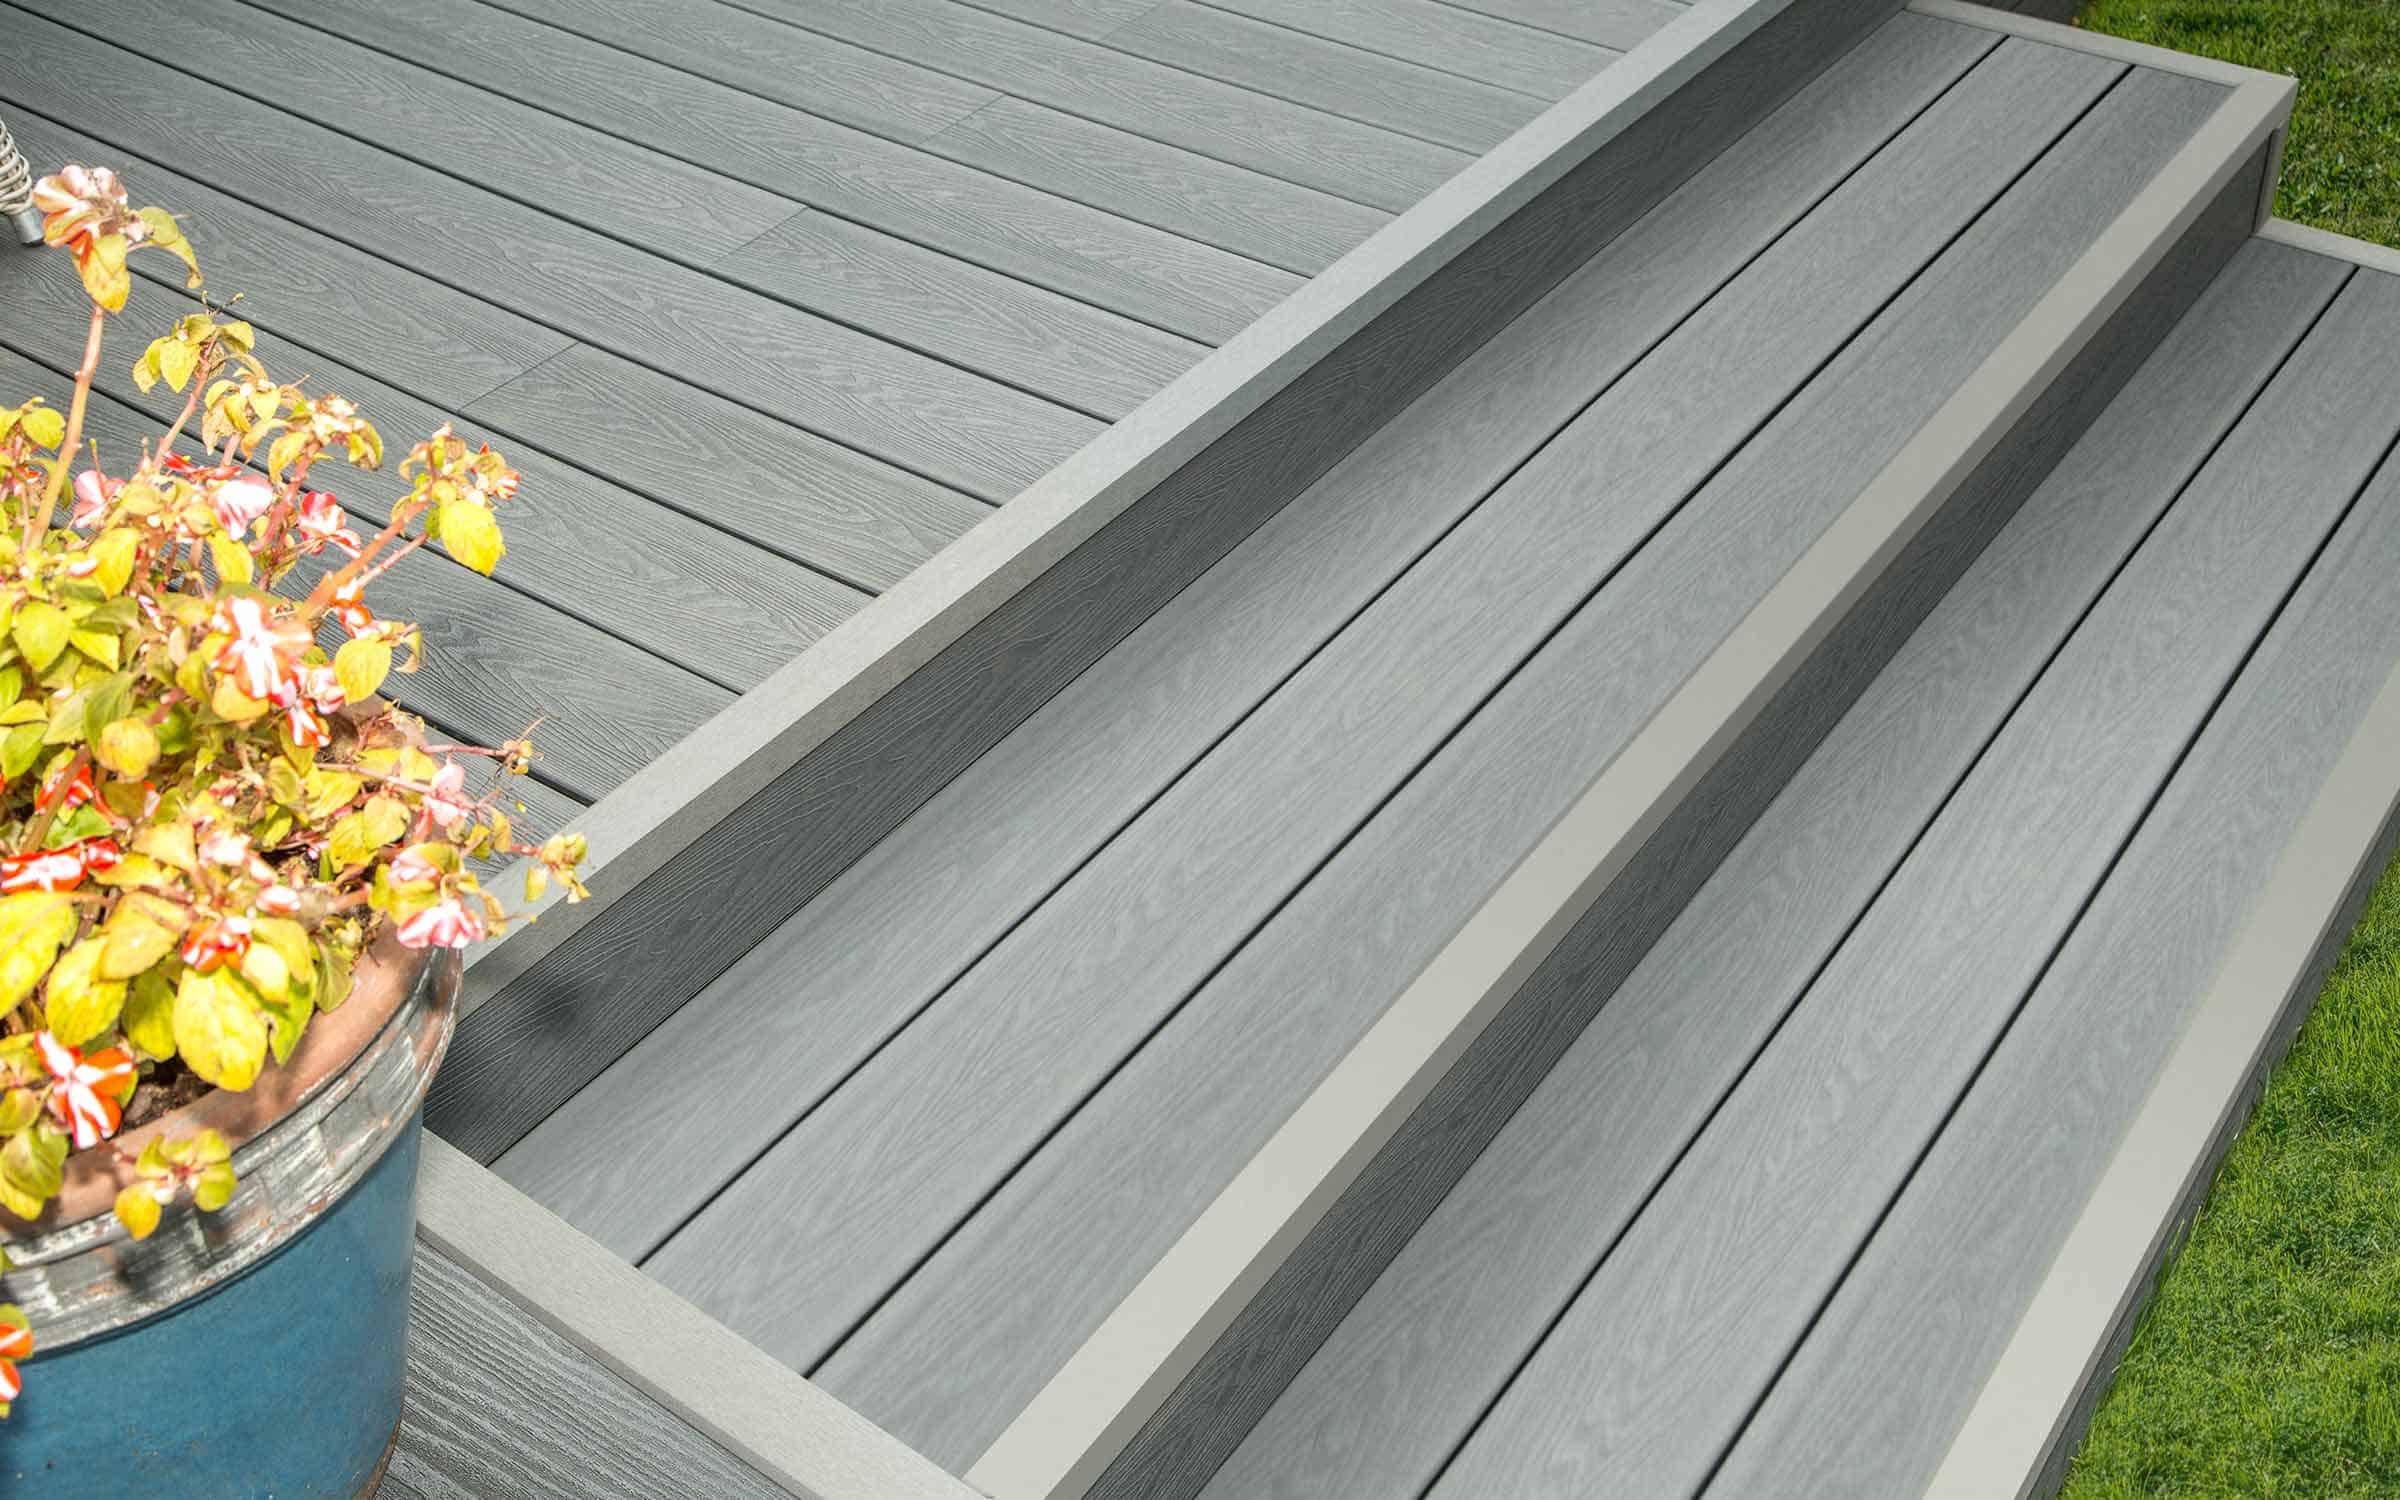
How To Build Corner Deck Stairs
Modified: October 20, 2024
Discover step-by-step articles on how to effortlessly construct beautiful and durable corner deck stairs for your outdoor space.
(Many of the links in this article redirect to a specific reviewed product. Your purchase of these products through affiliate links helps to generate commission for Storables.com, at no extra cost. Learn more)
Introduction
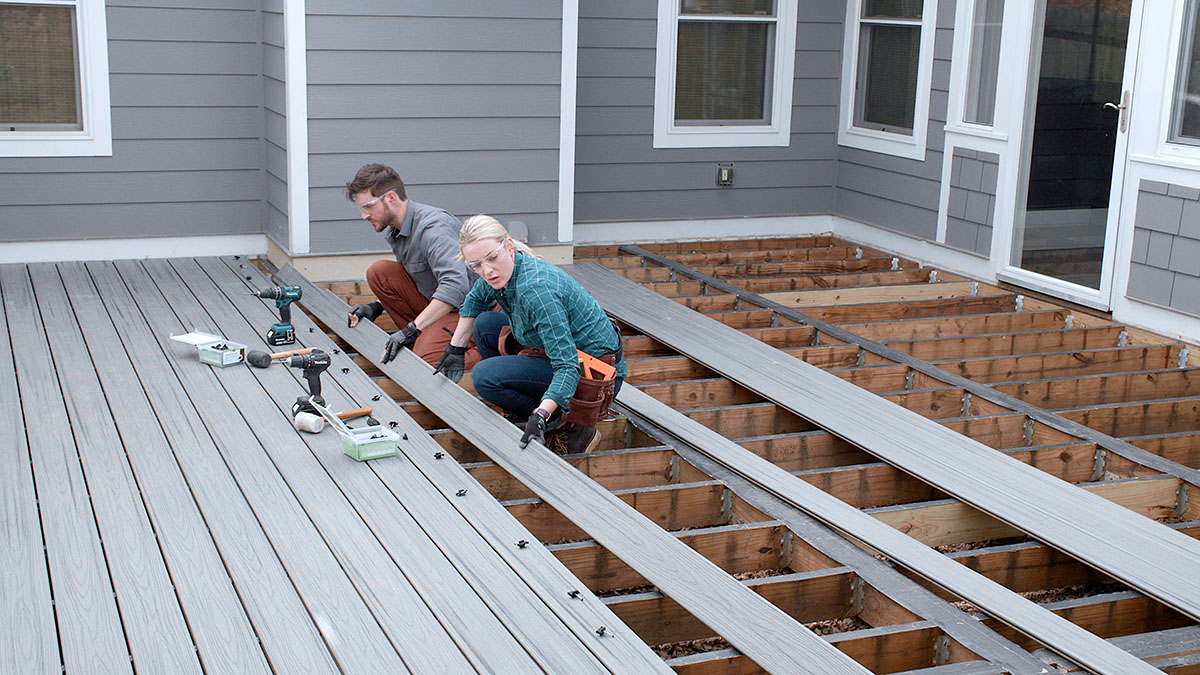
Building deck stairs can be a daunting task, especially when it comes to creating corner deck stairs. However, with the right materials, tools, and a step-by-step approach, you can confidently tackle this project and create a stylish and functional addition to your outdoor space. In this article, we will guide you through the process of building corner deck stairs, providing you with all the necessary information to complete the project successfully.
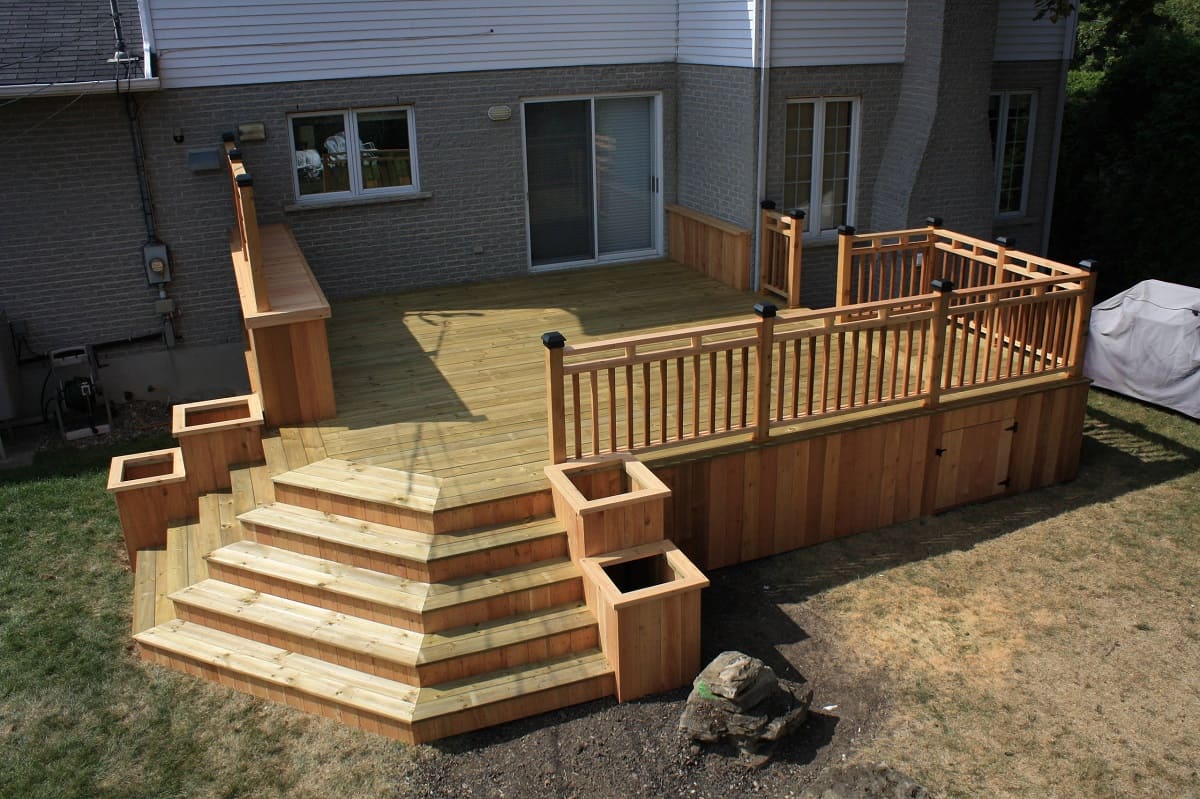
Corner deck stairs can be an excellent solution for connecting different levels of your deck or for providing access to a raised deck off a corner of your house. Whether you’re looking to enhance the aesthetics of your deck or improve its functionality, adding corner stairs is a great way to achieve both.
Before diving into the construction process, it’s essential to ensure that you have all the necessary materials and tools in place. This will make the task more efficient and prevent unnecessary trips to the hardware store. Depending on the complexity and design of your corner stairs, you may need the following:
- Pressure-treated lumber for stringers and treads
- Galvanized deck screws or nails
- Concrete footing tubes (if required)
- Concrete mix (if required)
- Handrail materials (such as wood or metal)
- Post anchors and connectors (if needed)
- Circular saw or miter saw
- Tape measure
- Level
- Drill
- Screwdriver
- Hammer
- Safety equipment (gloves, safety glasses)
Once you have gathered all the necessary materials and tools, you’re ready to move on to the next step: measuring and marking the stair dimensions. This is a crucial stage in the construction process, as accurate measurements will ensure that your corner deck stairs fit perfectly into the designated space.
Continue reading to learn more about the step-by-step process of building corner deck stairs.
Key Takeaways:
- Building corner deck stairs requires precise measurements, quality materials, and attention to detail. Adding finishing touches and safety measures ensures longevity and safety for a stylish and functional outdoor addition.
- Prioritize safety at every stage of the construction process, from installing the stringers to attaching the handrail. Regular maintenance and inspections will contribute to the long-term safety and durability of your corner deck stairs.
Read more: How Much Does It Cost To Build Deck Stairs
Step 1: Preparing the Materials and Tools
Before starting any construction project, it’s important to gather all the necessary materials and tools. This will save you time and frustration as you progress through the building process. Here’s a checklist of what you’ll need for building corner deck stairs:
- Pressure-treated lumber for stringers and treads
- Galvanized deck screws or nails
- Concrete footing tubes (if required)
- Concrete mix (if required)
- Handrail materials (such as wood or metal)
- Post anchors and connectors (if needed)
- Circular saw or miter saw
- Tape measure
- Level
- Drill
- Screwdriver
- Hammer
- Safety equipment (gloves, safety glasses)
It’s crucial to use pressure-treated lumber for the stringers and treads to ensure durability and longevity. Pressure-treated wood is resistant to rot and insect damage, making it an ideal choice for outdoor construction projects. Additionally, using galvanized deck screws or nails will prevent corrosion and ensure a secure and long-lasting connection.
If your corner deck stairs require a support structure, such as concrete footings, make sure to have the necessary footing tubes and concrete mix on hand. This will provide stability and support for your stairs.
Furthermore, consider the material and design of the handrail. Whether you choose wooden or metal handrails, make sure to have the appropriate materials and connectors ready. These connectors, such as post anchors, will secure the handrails to the deck and provide stability and safety.
To cut the lumber accurately, you’ll need a circular saw or miter saw. These tools allow for precise and clean cuts, ensuring that your stairs fit snugly and securely. Use a tape measure to take accurate measurements, and a level to ensure straight and level installation.
Finally, have a drill, screwdriver, and hammer at your disposal for assembling the various components and securing them together. Don’t forget to wear safety equipment, such as gloves and safety glasses, to protect yourself during the construction process.
Now that you’ve gathered all the necessary materials and tools, you’re ready to move on to the next step: measuring and marking the stair dimensions. This will ensure that your corner deck stairs fit perfectly into the designated space.
Step 2: Measuring and Marking the Stair Dimensions
Accurate measurements and proper marking are crucial in ensuring that your corner deck stairs fit seamlessly into your outdoor space. Follow these steps to measure and mark the stair dimensions:
- Begin by determining the height of your stairs. Measure the vertical distance from the ground level to the desired height of the stairs. This will determine the number of risers needed.
- Next, calculate the rise and run of each step. The rise is the height between each step, while the run is the horizontal distance. To determine the rise and run, divide the total height by the number of desired risers. This will give you the average rise. For example, if your total height is 36 inches and you want 6 risers, the average rise would be 6 inches.
- Once you have the rise and run measurements, determine the width of each tread. Generally, the width should be between 10 and 11 inches. Divide the total run by the number of treads needed to find the width. Using the previous example, if the run is 60 inches and you want 6 treads, the width would be 10 inches.
- With the measurements in hand, mark the rise and run on the stringers. Start by marking the top and bottom of the stringers. Measure the rise from the bottom and mark the height, then measure the run from the bottom and mark the width.
- Now, using a straightedge, connect the top and bottom marks to create the diagonal line of the stringer. This line represents the angle of the stairs.
- Repeat these steps for the other stringers if you’re building a set of stairs with multiple stringers.
Properly marking the dimensions on the stringers is crucial, as it will determine the accuracy of your cuts and the fit of the stairs. Take your time and double-check your measurements to ensure precision.
Once you have successfully measured and marked the stair dimensions on the stringers, you’re ready to move on to the next step: cutting the stringers. This is a critical step that requires careful attention to detail to ensure the stability and functionality of your corner deck stairs.
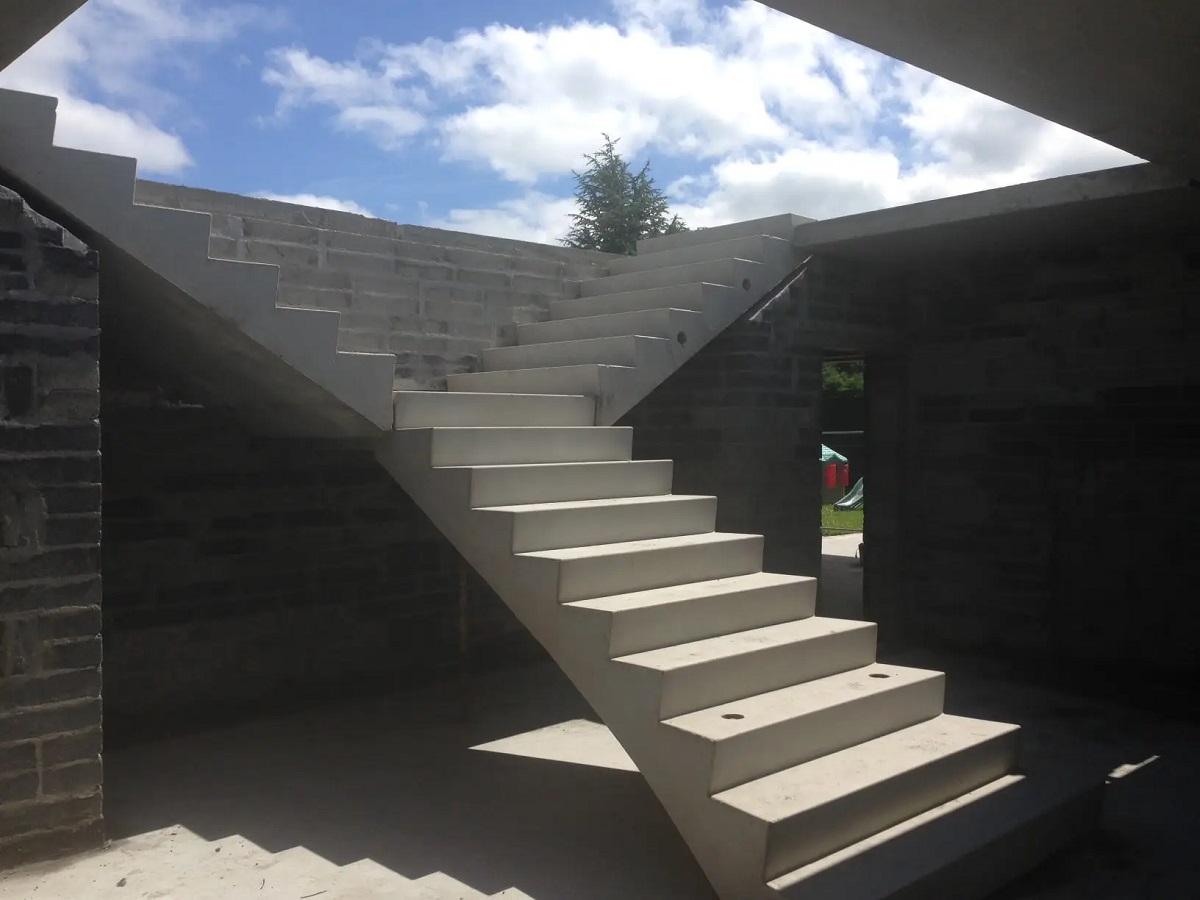
Step 3: Cutting the Stringers
Now that you have measured and marked the dimensions for your corner deck stairs, it’s time to cut the stringers. The stringers are the diagonal supports that will hold the treads and risers of your stairs in place. Follow these steps to cut the stringers:
- Place one of the stringers on a sturdy work surface, ensuring it is level and secure.
- Using a circular saw or miter saw, carefully cut along the marked lines to create the notch for each tread. This notch will hold the treads securely in place.
- Continue cutting along the marked lines until you have cut all the necessary notches for the treads.
- If you are building a set of stairs with multiple stringers, repeat the cutting process for each stringer, ensuring that the notches align.
Ensure that your cuts are precise and clean to ensure a snug and secure fit for the treads. Take your time and make any necessary adjustments as you go along.
Once you have cut all the necessary notches in the stringers, you are ready to move on to the next step: installing the stringers. This step will bring your corner deck stairs to life and provide a solid foundation for the rest of the construction process.
Step 4: Installing the Stringers
With the stringers cut to the correct dimensions, it’s time to install them and bring your corner deck stairs to life. Follow these steps to properly install the stringers:
- Begin by positioning the stringers in the desired location on your deck. Make sure they are level and secure. If necessary, use shims to ensure a level installation.
- Attach the stringers to the deck joists using galvanized deck screws or nails. Ensure a secure connection by placing the screws or nails at each intersection between the stringer and the deck joist.
- Check the level of the stringers as you go along and make any necessary adjustments to ensure a level and sturdy installation.
- If your corner deck stairs require additional support at the bottom, install a concrete footing tube. Dig a hole for the tube and pour concrete into it, following the instructions provided by the manufacturer. Once the concrete has set, attach the bottom of the stringers to the footing tube using post anchors or connectors.
- Repeat the installation process for each stringer, ensuring that they are evenly spaced and properly aligned.
As you install the stringers, it’s important to pay attention to their alignment, levelness, and stability. Taking the time to ensure a precise and secure installation will result in sturdy and safe corner deck stairs.
Once all the stringers are installed, you’re ready to move on to the next step: adding the treads. This is where your corner deck stairs will start to take shape and become functional.
When building corner deck stairs, ensure that the stringers are properly aligned and securely attached to the deck frame to provide stability and safety for anyone using the stairs.
Read more: How Wide Are Deck Stairs
Step 5: Adding the Treads
With the stringers securely installed, it’s time to add the treads to your corner deck stairs. The treads are the horizontal boards that you step on when using the stairs. Follow these steps to properly add the treads:
- Begin by placing the first tread on the lowest step, ensuring that it is level and centered on the stringers.
- Secure the tread to the stringers using galvanized deck screws or nails. Place the screws or nails along the perimeter of the tread, making sure they penetrate the stringers for a strong connection.
- Continue adding the remaining treads, checking for levelness and spacing as you go along. Leave a uniform gap between each tread for both aesthetic and safety reasons.
- If necessary, trim the treads to fit the width of the stairs using a circular saw or miter saw. Ensure clean and precise cuts for a professional-looking result.
As you add each tread, double-check their levelness and alignment. Take your time to ensure a secure and comfortable footing for your corner deck stairs.
Once all the treads are securely in place, you have completed the installation of the treads. Your corner deck stairs are now starting to take shape. The next step is to attach the handrail, which will provide safety and support when using the stairs.
Step 6: Attaching the Handrail
Attaching a handrail to your corner deck stairs is essential for safety and convenience. The handrail provides support as you ascend or descend the stairs, ensuring stability and preventing accidents. Follow these steps to properly attach the handrail:
- Determine the height and position of the handrail. The standard height for a handrail is usually 34-38 inches above the treads. Mark the desired height on the posts or wall where the handrail will be attached.
- If you’re using wooden posts, attach the post anchors to the deck surface or concrete footing, following the manufacturer’s instructions. Make sure the post anchors are level and secure.
- Attach the posts to the post anchors or directly to the deck surface using galvanized wood screws or appropriate connectors. Make sure the posts are plumb and securely attached.
- If you’re attaching the handrail to a wall, use wall-mounted brackets or supports. Make sure the wall support is secure and capable of supporting the weight of the handrail.
- Attach the handrail to the posts or wall supports using appropriate brackets and screws. Make sure the handrail is level and securely fastened.
- Repeat the process for any additional handrail sections, ensuring that they align with the posts and provide continuous support.
Once the handrail is securely attached, give it a firm shake to ensure it’s stable and can support weight. Make any necessary adjustments or tighten the connections if needed. The handrail should be firm and steady when used.
Adding the handrail to your corner deck stairs is the final step in the construction process. However, before using the stairs, it’s important to perform some finishing touches and implement safety measures.
Step 7: Finishing Touches and Safety Measures
Now that your corner deck stairs are built, it’s time to add some finishing touches and implement safety measures to ensure the longevity and safety of your stairs. Follow these steps to complete the construction process:
- Inspect the entire staircase for any sharp edges, splinters, or rough surfaces. Using sandpaper or a sander, smooth out any rough areas to prevent injuries and enhance the aesthetics of your stairs.
- Apply a protective finish to the wood surfaces of your deck stairs. This will help protect the wood from weather damage and UV rays. Choose a finish that is suitable for outdoor use and follow the manufacturer’s instructions for application.
- Add non-slip treads or adhesive strips to each tread. This will provide an extra layer of safety, especially during wet or icy conditions.
- Ensure that there is adequate lighting in the area where the stairs are located. Install outdoor lighting fixtures or motion-sensor lights to ensure visibility and reduce the risk of accidents during nighttime use.
- Consider adding a gate or barrier at the top or bottom of the stairs, especially if you have children or pets. This will prevent unauthorized access and provide an added layer of safety.
- Regularly inspect your corner deck stairs for any signs of wear and damage. Replace any loose or damaged treads or handrail components promptly to prevent accidents.
Completing these finishing touches and implementing safety measures will not only enhance the overall appearance of your corner deck stairs but also ensure the safety of everyone who uses them.
Remember to periodically inspect and maintain your corner deck stairs to extend their lifespan and prevent any potential hazards. With proper care and maintenance, your corner deck stairs will provide years of functional and aesthetic value to your outdoor space.
Congratulations! You have successfully completed the construction process for your corner deck stairs. Now, it’s time to enjoy your newly built stairs and the added convenience and accessibility they provide.
Should you have any questions or concerns, don’t hesitate to consult with a professional or seek assistance from local authorities to ensure that your corner deck stairs meet all safety and building code requirements.
Conclusion
Building corner deck stairs is a rewarding project that can enhance both the functionality and aesthetics of your outdoor space. By following the step-by-step process outlined in this article, you can confidently tackle this project and create a safe and stylish set of stairs.
From preparing the materials and tools to measuring and marking the stair dimensions, cutting the stringers, and installing the treads, each step plays a vital role in creating a sturdy and functional staircase. Attaching the handrail and adding the finishing touches and safety measures ensure the longevity and safety of your corner deck stairs.
Throughout the construction process, it’s crucial to pay attention to detail, take accurate measurements, and use quality materials. By doing so, you can ensure that your corner deck stairs are not only structurally sound but also blend seamlessly with the overall design of your deck.
Remember to prioritize safety at every stage of the process. Utilize safety equipment, such as gloves and safety glasses, and implement measures such as non-slip treads and adequate lighting to prevent accidents and injuries. Regular maintenance and inspections will also contribute to the long-term safety and durability of your stairs.
Now that you have completed the construction of your corner deck stairs, take a moment to step back and admire your handiwork. Whether you are using them for practical purposes, such as accessing different levels of your deck, or simply as a stylish addition to your outdoor space, your corner deck stairs will undoubtedly enhance your overall deck experience.
Enjoy the functionality, convenience, and beauty of your newly constructed corner deck stairs and make lasting memories while using them for years to come. Remember, if you ever need further assistance or inspiration for your outdoor projects, you can always refer to this guide or consult with professionals in the field.
Now that you've mastered building corner deck stairs, why stop there? Dive into the world of DIY projects and uncover why crafting your own creations adds a personal touch to any home. For those keen on honing their skills further, our guide on woodworking will set you up with the latest techniques and projects perfect for 2024. Both beginners and seasoned crafters will find these resources invaluable for next-level home improvements.
Frequently Asked Questions about How To Build Corner Deck Stairs
Was this page helpful?
At Storables.com, we guarantee accurate and reliable information. Our content, validated by Expert Board Contributors, is crafted following stringent Editorial Policies. We're committed to providing you with well-researched, expert-backed insights for all your informational needs.


0 thoughts on “How To Build Corner Deck Stairs”