Home>Renovation & DIY>Tools & Equipment>How To Spackle Corners

Tools & Equipment
How To Spackle Corners
Modified: October 20, 2024
Learn the best tools and equipment for spackling corners with our comprehensive guide. Get expert tips and techniques for flawless results.
(Many of the links in this article redirect to a specific reviewed product. Your purchase of these products through affiliate links helps to generate commission for Storables.com, at no extra cost. Learn more)
**
Introduction
**
Welcome to the world of home improvement! Whether you're a seasoned DIY enthusiast or just starting to explore the wonders of fixing and beautifying your living space, learning how to spackle corners is a valuable skill that can elevate the aesthetics of your home. Corners are often overlooked when it comes to maintenance and repair, yet they play a crucial role in defining the overall look of a room. By mastering the art of spackling corners, you can ensure that your walls and ceilings exude a flawless, polished appearance.
In this comprehensive guide, we will delve into the intricacies of spackling corners, providing you with the knowledge and techniques needed to achieve professional-looking results. From understanding the purpose of spackling to the step-by-step process of applying and finishing the spackle, you'll gain valuable insights that will empower you to tackle this task with confidence.
So, roll up your sleeves, gather your tools, and let's embark on this journey to transform your living space. Whether you're preparing your home for a fresh coat of paint or simply seeking to repair and enhance the beauty of your walls and ceilings, mastering the art of spackling corners will undoubtedly elevate your DIY prowess and leave your living space looking impeccable. Let's dive into the world of spackling corners and unlock the secrets to achieving seamless, flawless surfaces.
**
Key Takeaways:
- Spackling corners is a versatile way to hide imperfections, create smooth surfaces, and prepare for painting or wallpaper. It’s like giving your walls and ceilings a flawless makeover!
- By mastering the art of spackling corners, you can confidently tackle home improvement projects and elevate the beauty of your living space. It’s like becoming a DIY pro with a magic touch!
Read more: How To Spackle An Outside Corner
Understanding Spackling Corners
**
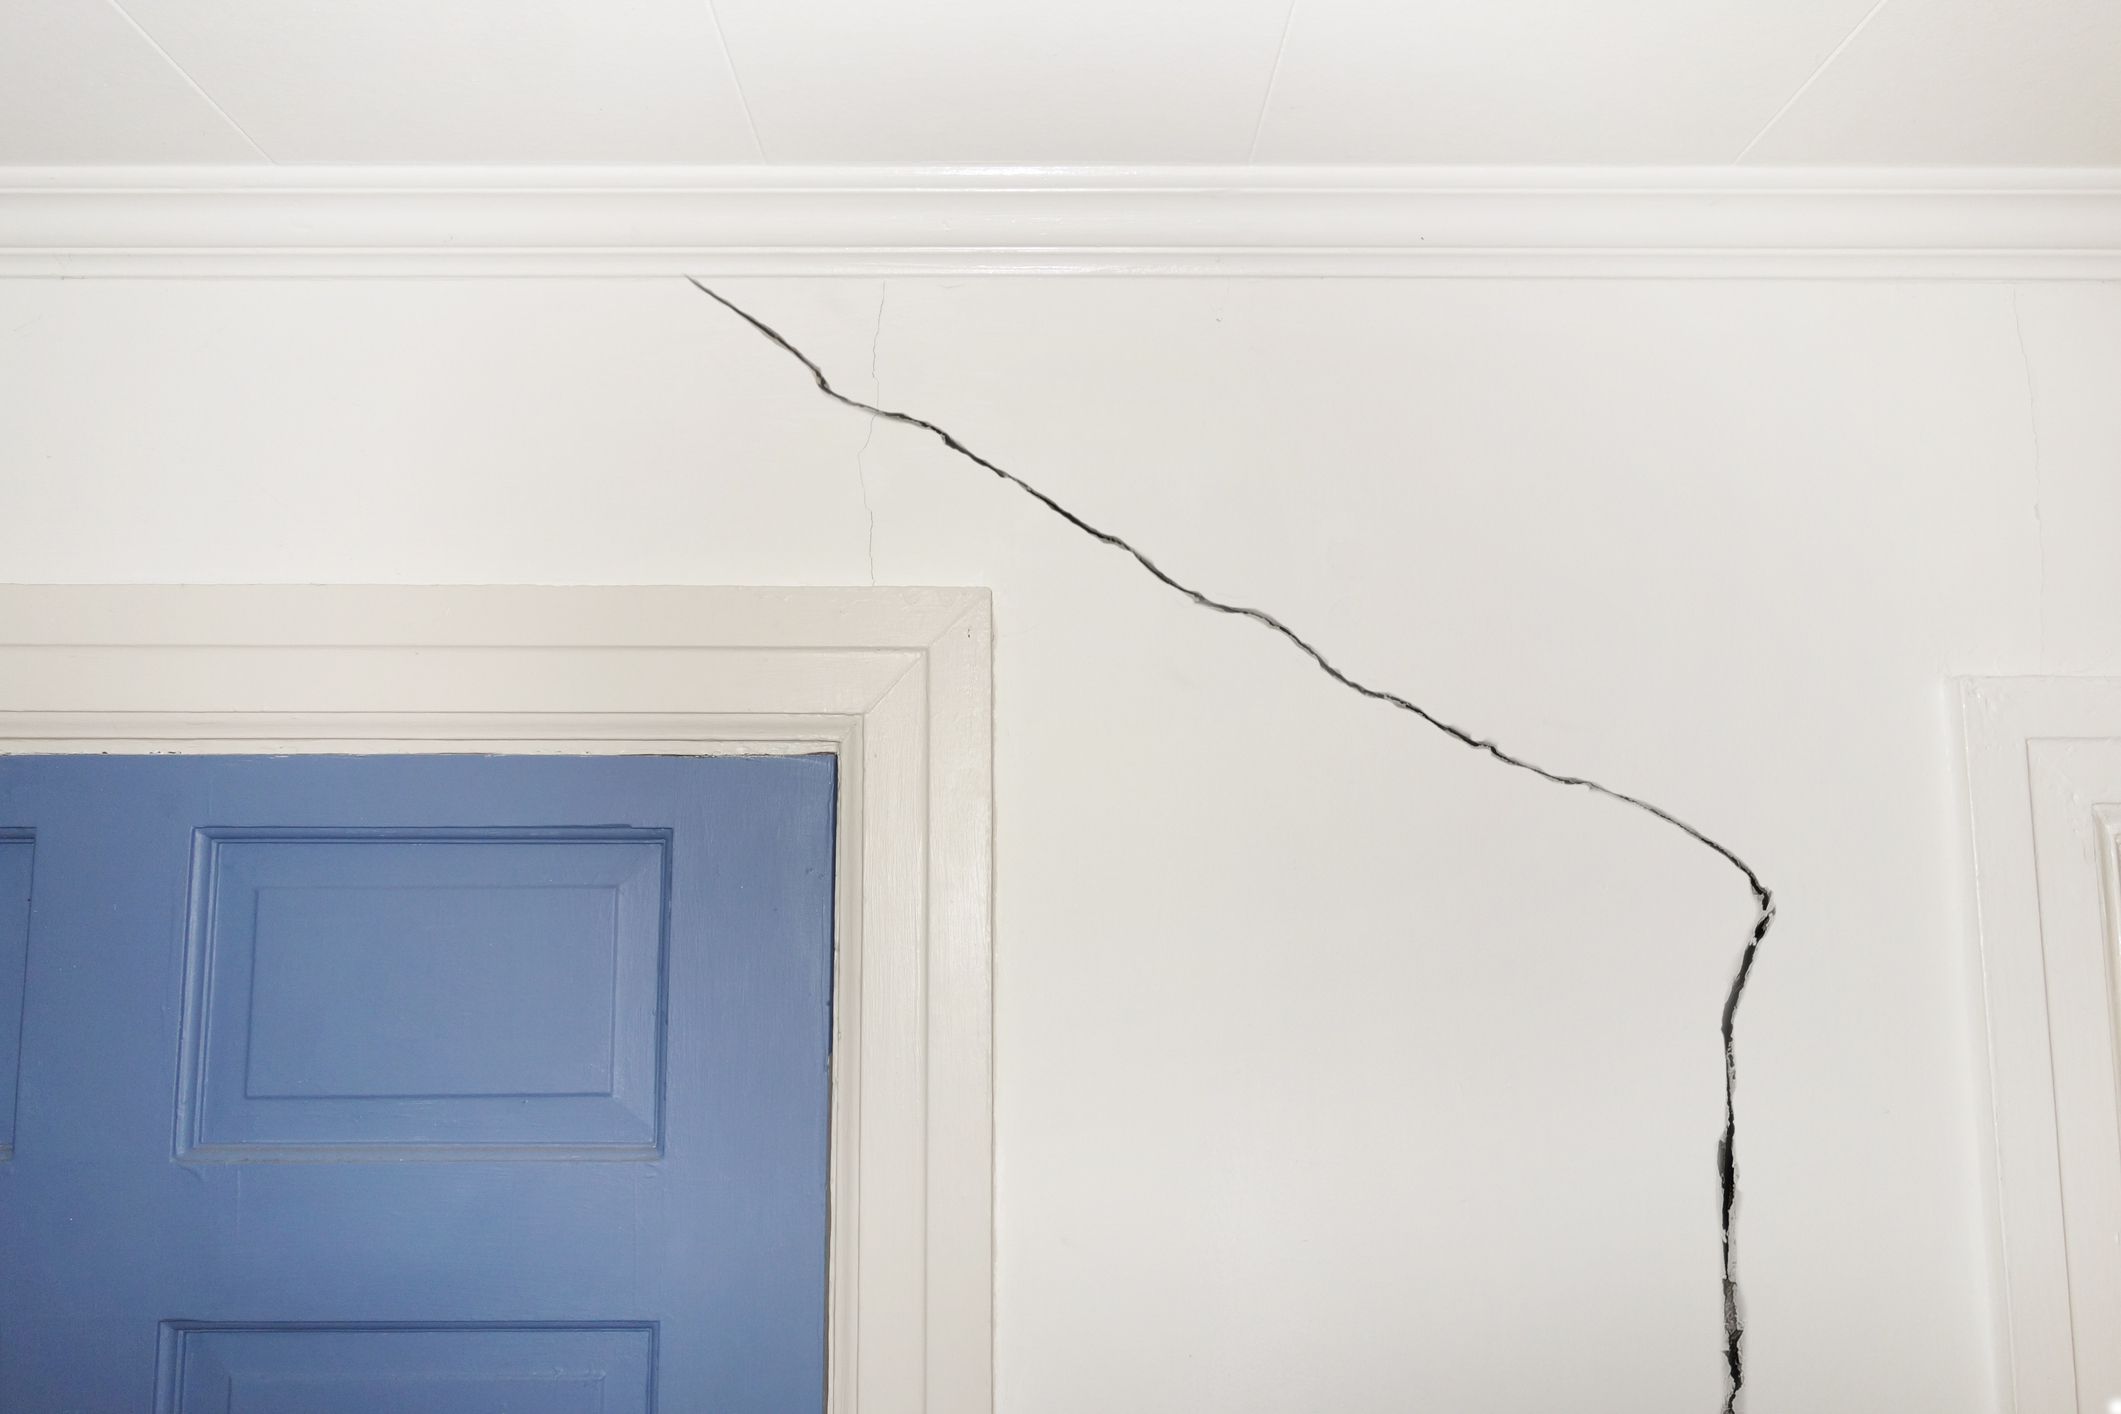
Before delving into the practical aspects of spackling corners, it's essential to grasp the purpose and significance of this process. The corners of walls and ceilings are prone to wear and tear, often accumulating cracks, dents, and imperfections over time. These imperfections not only detract from the visual appeal of a room but can also compromise the structural integrity of the surfaces.
Spackling serves as a versatile solution for addressing these issues, allowing you to fill in gaps, cover blemishes, and create a smooth, uniform surface. By applying spackle to the corners, you can effectively conceal minor damages and achieve a seamless transition between adjacent walls or between walls and ceilings.
Moreover, spackling corners is a crucial preparatory step before painting or applying wallpaper. Smooth, well-maintained corners provide the ideal foundation for a flawless paint or wallpaper finish, ensuring that the final result exudes a professional, polished appearance.
Understanding the role of spackling in maintaining and enhancing the visual appeal of your living space is key to appreciating its value. By mastering the art of spackling corners, you can breathe new life into your walls and ceilings, revitalizing the ambiance of your home and creating a visually stunning environment.
Now that we've established the significance of spackling corners, let's explore the materials you'll need to embark on this transformative journey.
**
Materials Needed
**
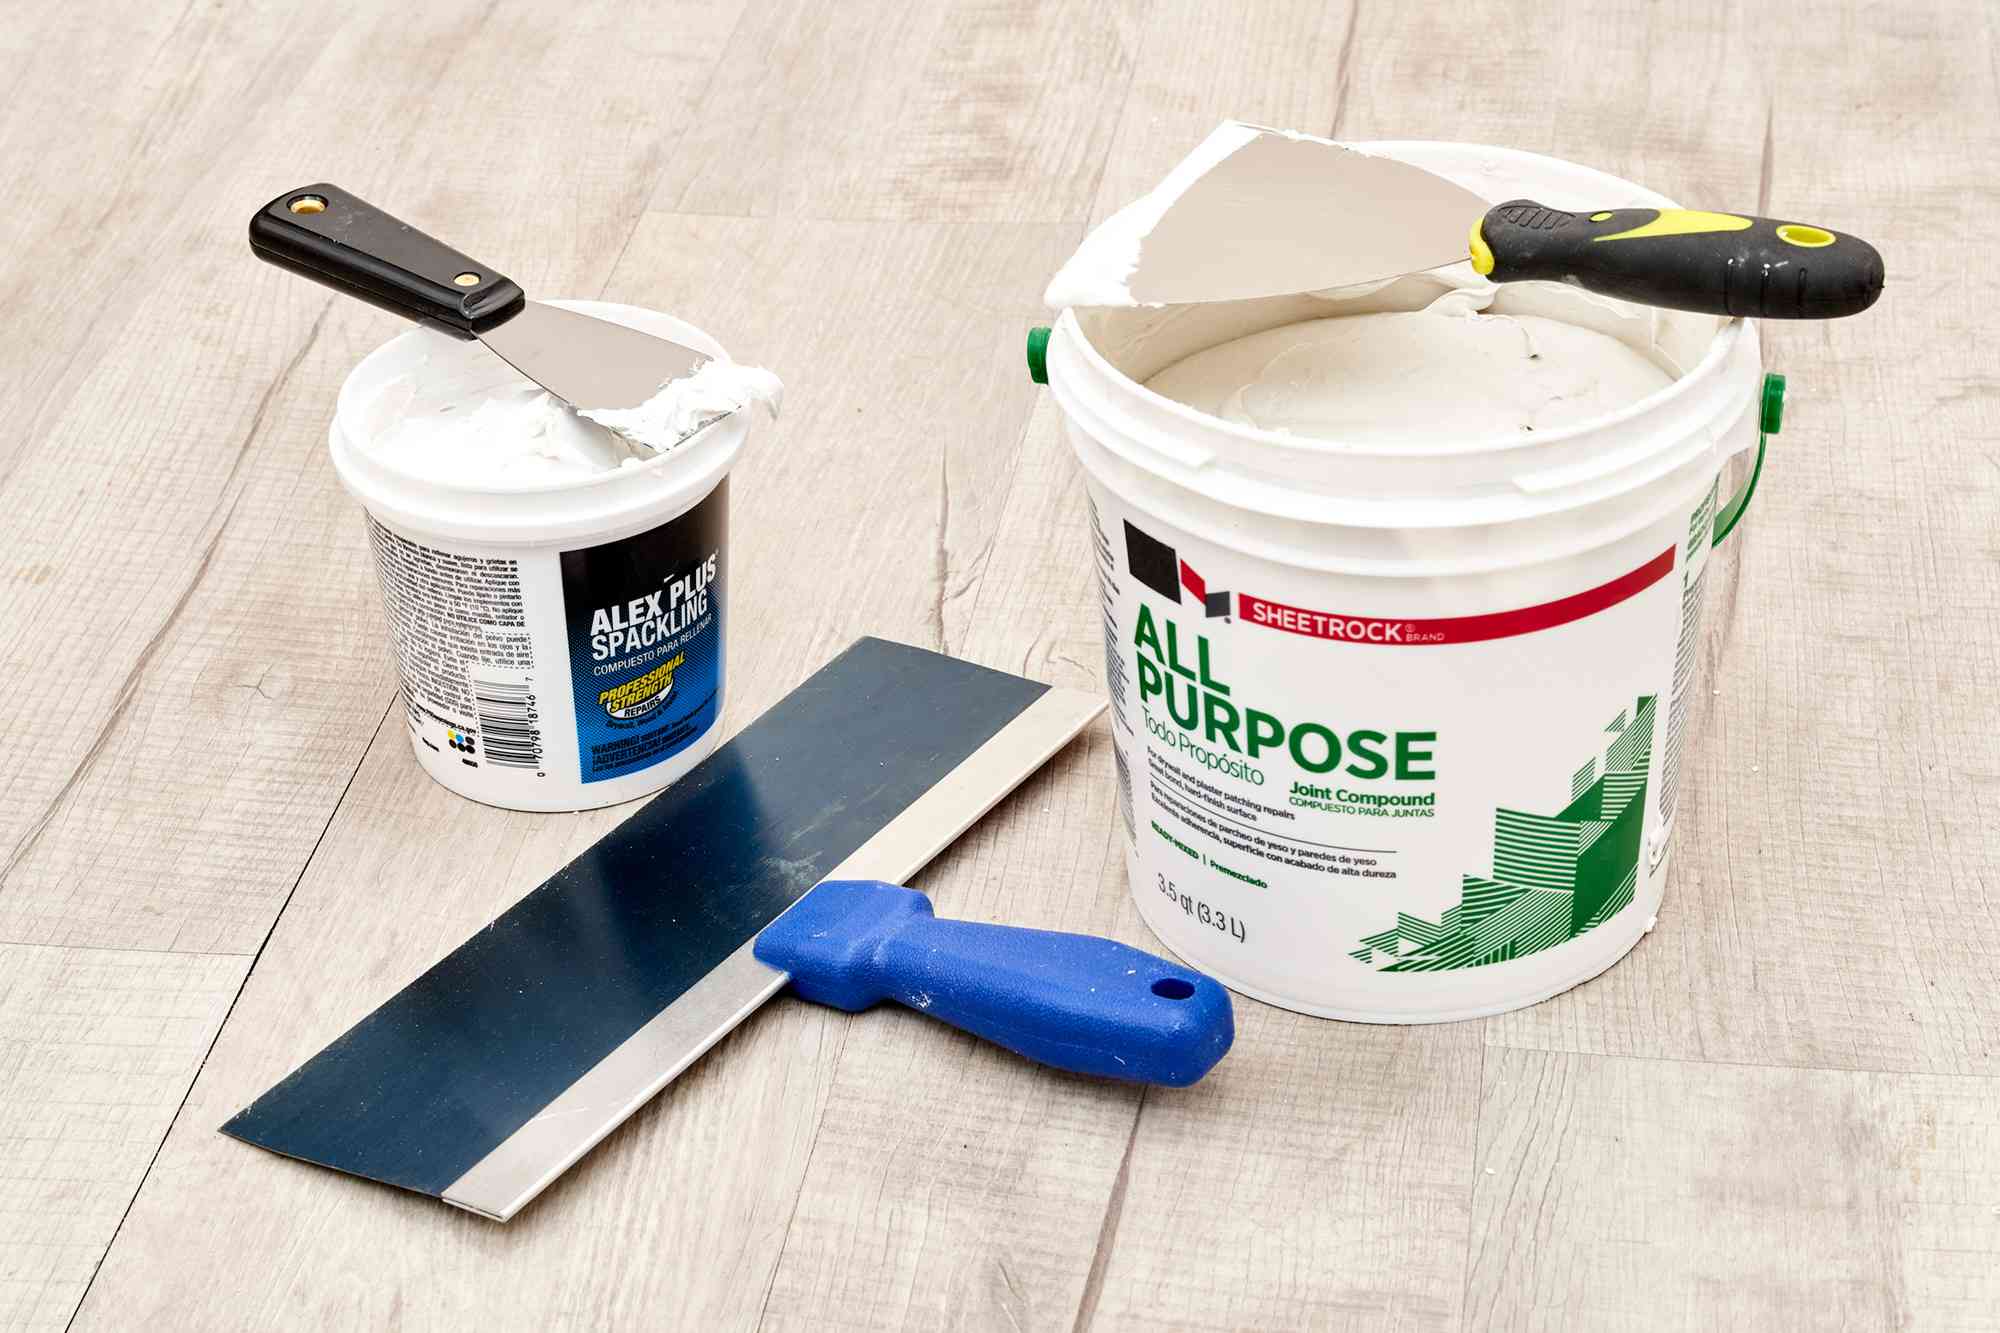
Embarking on the spackling journey requires the right tools and materials to ensure a smooth and successful process. Here’s a comprehensive list of items you’ll need to effectively spackle corners:
- Spackle: This is the star of the show, serving as the primary material for filling in gaps and imperfections. Opt for a high-quality, lightweight spackle that is easy to work with and provides a smooth finish.
- Putty Knife: A putty knife is essential for applying and smoothing the spackle onto the corners. Choose a flexible putty knife that enables precise application and effortless blending.
- Sandpaper: To achieve a seamless, polished surface, you’ll need fine-grit sandpaper for smoothing the spackled areas once they have dried.
- Drywall Compound (Optional): If the corners exhibit more extensive damage or require reinforcement, consider using drywall compound in conjunction with the spackle to ensure a sturdy, long-lasting repair.
- Primer and Paint: If your spackling endeavor is part of a larger painting project, ensure you have primer and paint on hand to complete the finishing touches.
- Protective Gear: To safeguard yourself during the spackling process, gather protective gear such as gloves, safety goggles, and a dust mask to shield against dust and debris.
- Clean Cloth or Sponge: Keeping a clean cloth or sponge handy is essential for wiping away excess spackle and ensuring a tidy workspace.
- Drop Cloth: Protect your floors and furniture by laying down a drop cloth to catch any drips or spills during the spackling process.
- Light Source: Adequate lighting is crucial for spotting imperfections and ensuring a thorough, precise application of the spackle.
By ensuring you have these materials at your disposal, you’ll be well-equipped to embark on your spackling endeavor with confidence. Now that you’re armed with the necessary tools and materials, let’s prepare the corners for the transformative spackling process.
**
Preparing the Corners
**
Before diving into the spackling process, it’s crucial to prepare the corners to ensure optimal adhesion and a seamless finish. Here’s a step-by-step guide to preparing the corners for spackling:
- Clear the Area: Begin by clearing the corners of any dust, debris, or loose particles. Use a clean, dry cloth or a soft-bristled brush to gently remove any lingering dirt or dust.
- Inspect for Damage: Thoroughly inspect the corners for any signs of damage, such as cracks, dents, or loose fragments. Address any structural issues or loose materials before proceeding with the spackling process.
- Repair Structural Damage: If the corners exhibit significant structural damage, such as loose or crumbling drywall, consider reinforcing the area with drywall compound or conducting necessary repairs before applying the spackle.
- Apply Primer (Optional): If the corners are being spackled as part of a larger painting project, consider applying a coat of primer to the prepared corners. Primer enhances adhesion and ensures a uniform finish when it’s time to paint.
- Protect Surrounding Surfaces: To prevent spackle from inadvertently spreading to adjacent areas, use painter’s tape to mask off the edges and protect the surrounding walls and ceilings.
- Ensure Adequate Ventilation: Proper ventilation is essential during the spackling process. Open windows or use a fan to promote air circulation and expedite the drying of the spackle.
By meticulously preparing the corners, you’ll create a pristine canvas for the spackling process. This meticulous preparation sets the stage for a seamless, professional-looking result. Now that the corners are primed and ready, it’s time to delve into the art of applying spackle.
**
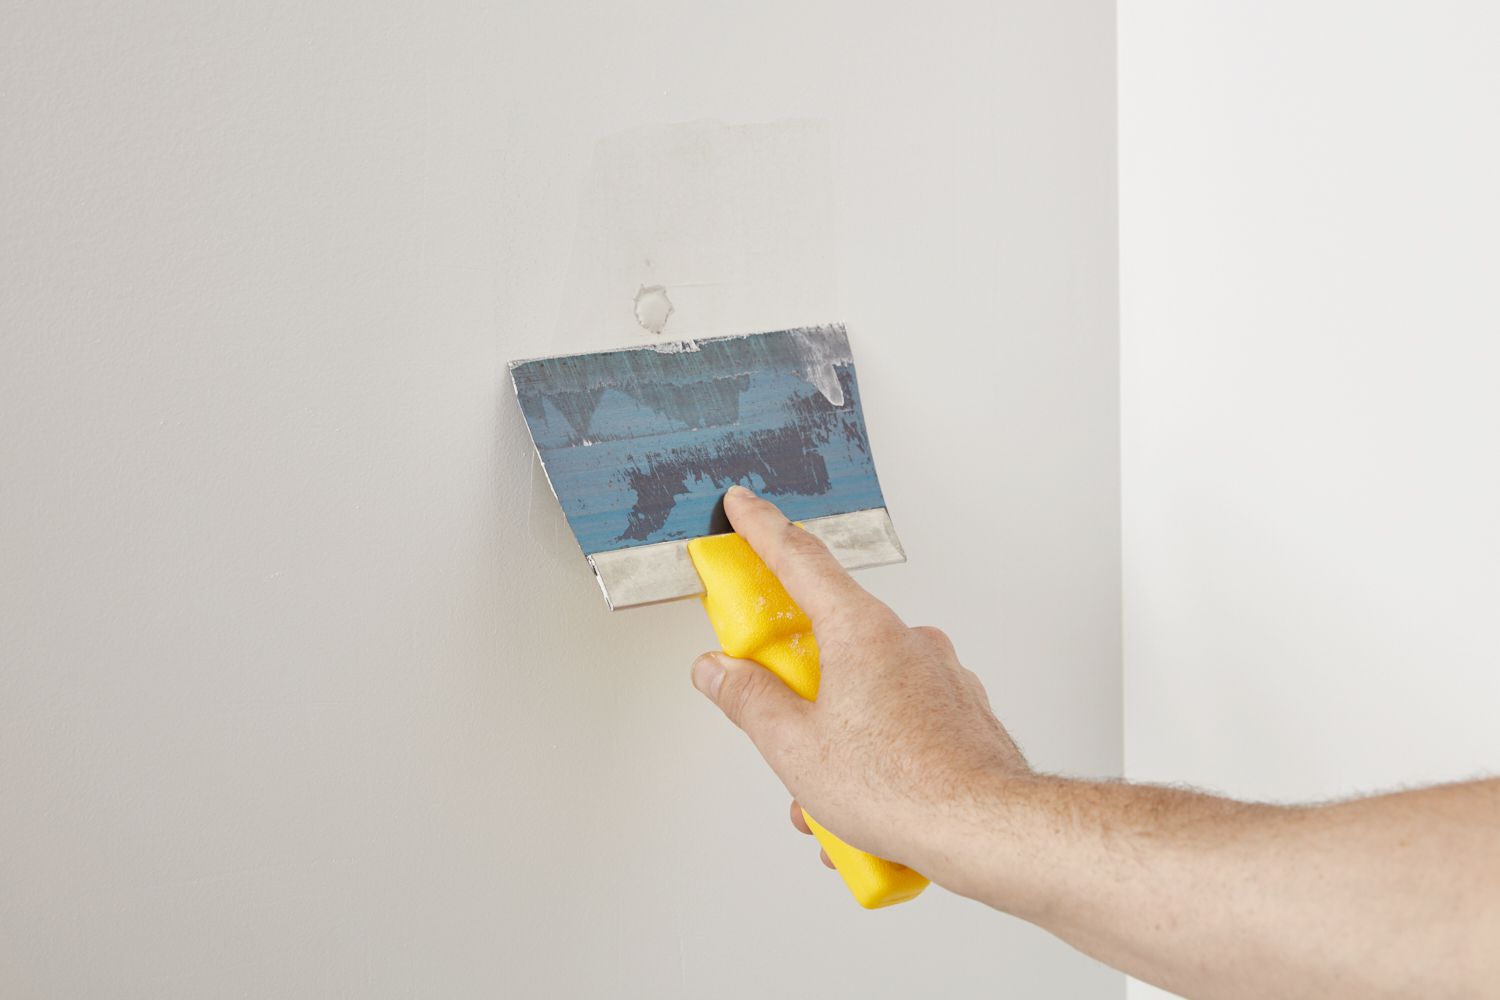
When spackling corners, use a flexible putty knife to apply a thin layer of spackle, then smooth it out with a damp sponge for a seamless finish.
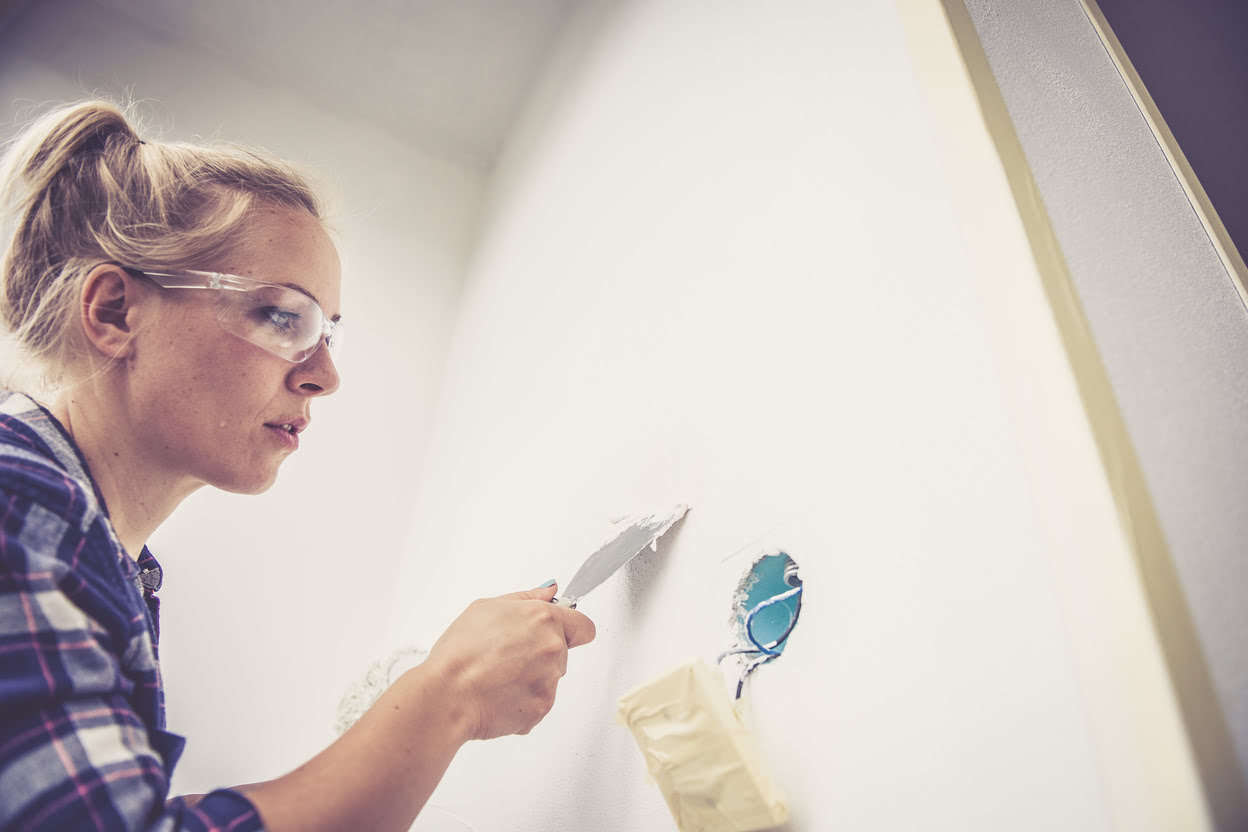
Applying Spackle
**
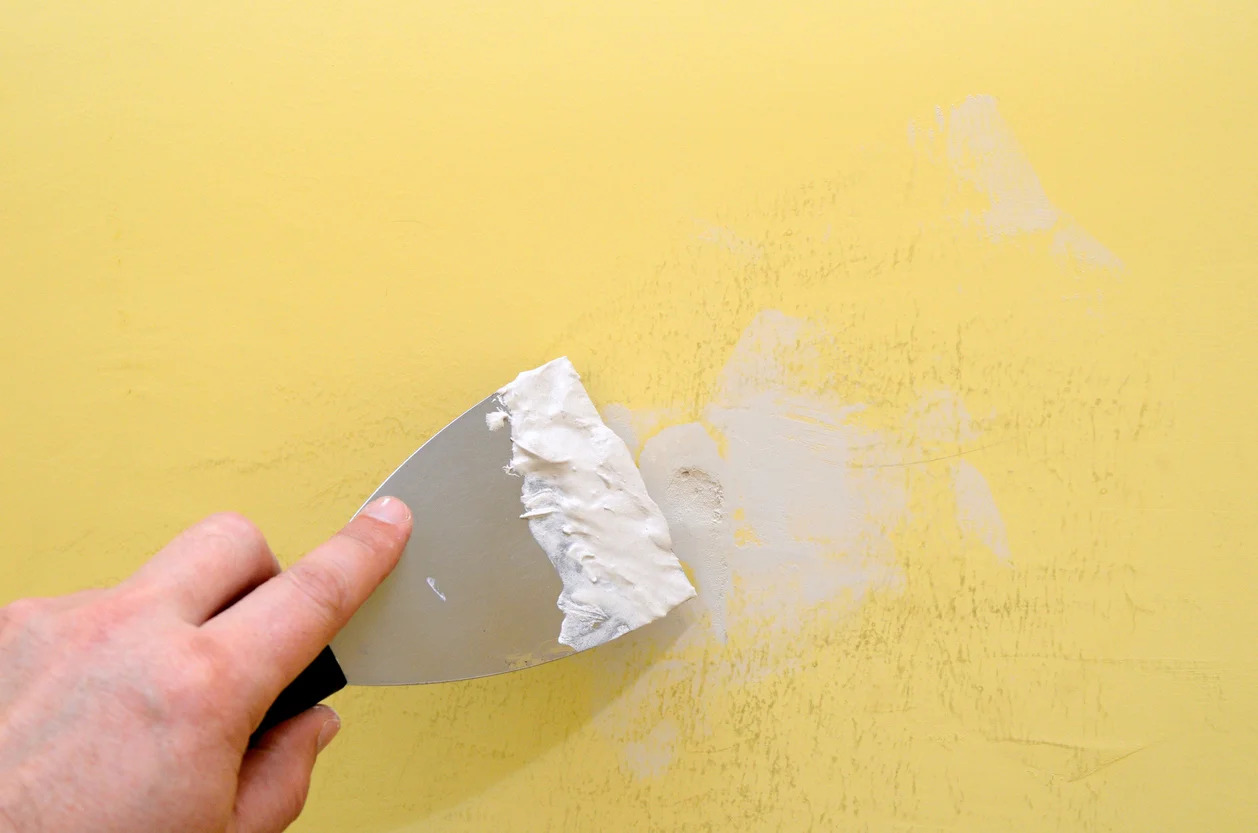
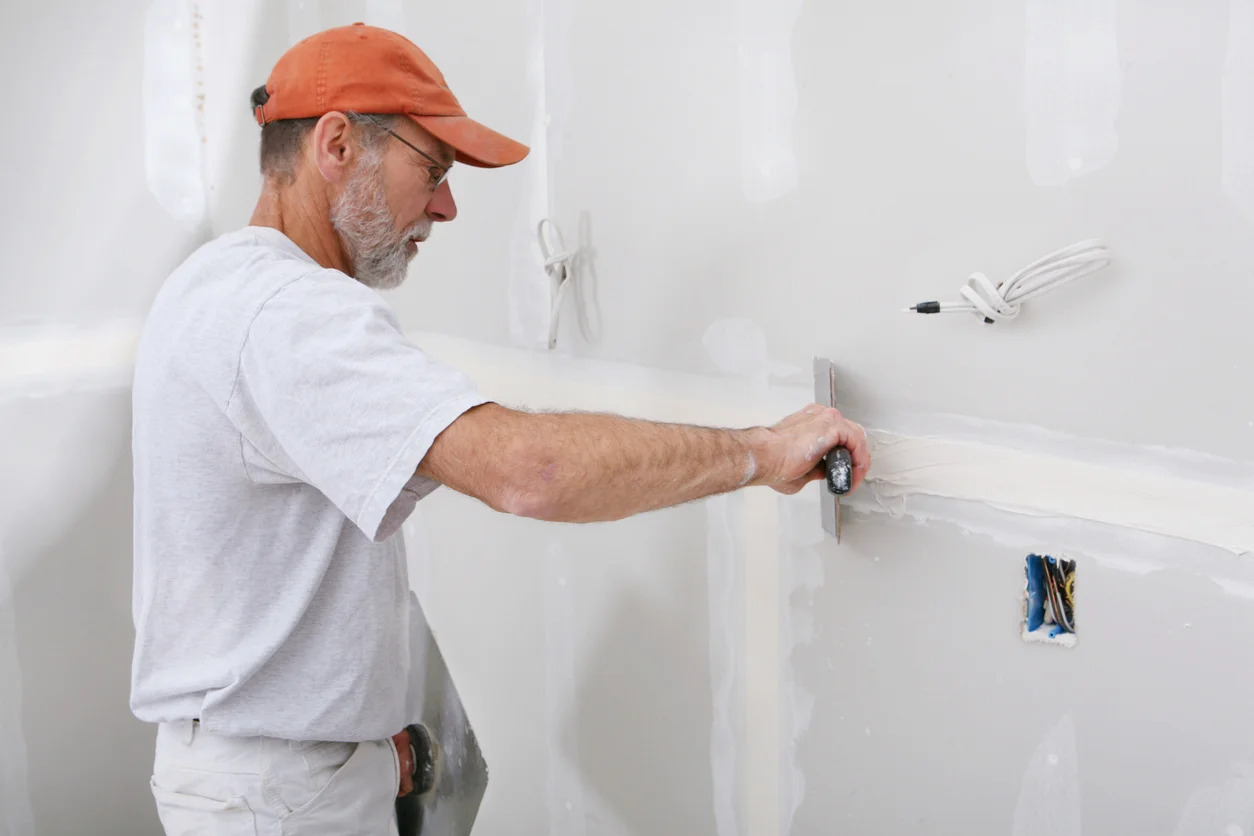
With the corners meticulously prepared, it’s time to embark on the transformative process of applying spackle. This step is where the magic happens, as you’ll fill in imperfections and create a smooth, flawless surface. Follow these steps for a successful spackling application:
- Prepare the Spackle: If using pre-mixed spackle, give it a thorough stir to achieve a consistent texture. If you’re working with dry spackle, follow the manufacturer’s instructions for mixing it to the desired consistency.
- Load the Putty Knife: Using a putty knife, scoop up a small amount of spackle and apply it to the corner. Start with a modest amount to avoid overfilling the area.
- Apply the Spackle: Holding the putty knife at a slight angle, smoothly apply the spackle to the corners, ensuring even coverage and a seamless blend with the surrounding surfaces.
- Feather the Edges: To seamlessly integrate the spackle with the surrounding areas, feather the edges by gently tapering the spackle outwards with the putty knife. This technique creates a smooth transition and minimizes the need for extensive sanding.
- Inspect for Imperfections: After applying the spackle, carefully inspect the corners for any imperfections, such as air bubbles or uneven patches. Address any issues promptly to ensure a pristine finish.
- Allow the Spackle to Dry: Once the spackle is applied, allow it to dry completely according to the manufacturer’s recommendations. Avoid disturbing the spackled areas during the drying process to maintain a smooth, even surface.
By following these steps with precision and care, you’ll effectively apply the spackle to the corners, setting the stage for the next crucial phase: sanding and finishing. The application process marks a pivotal stage in the journey to rejuvenating your living space, as the corners begin to undergo a remarkable transformation. Now, let’s proceed to the final steps of this transformative process.
**
Read more: What Is A Spackle
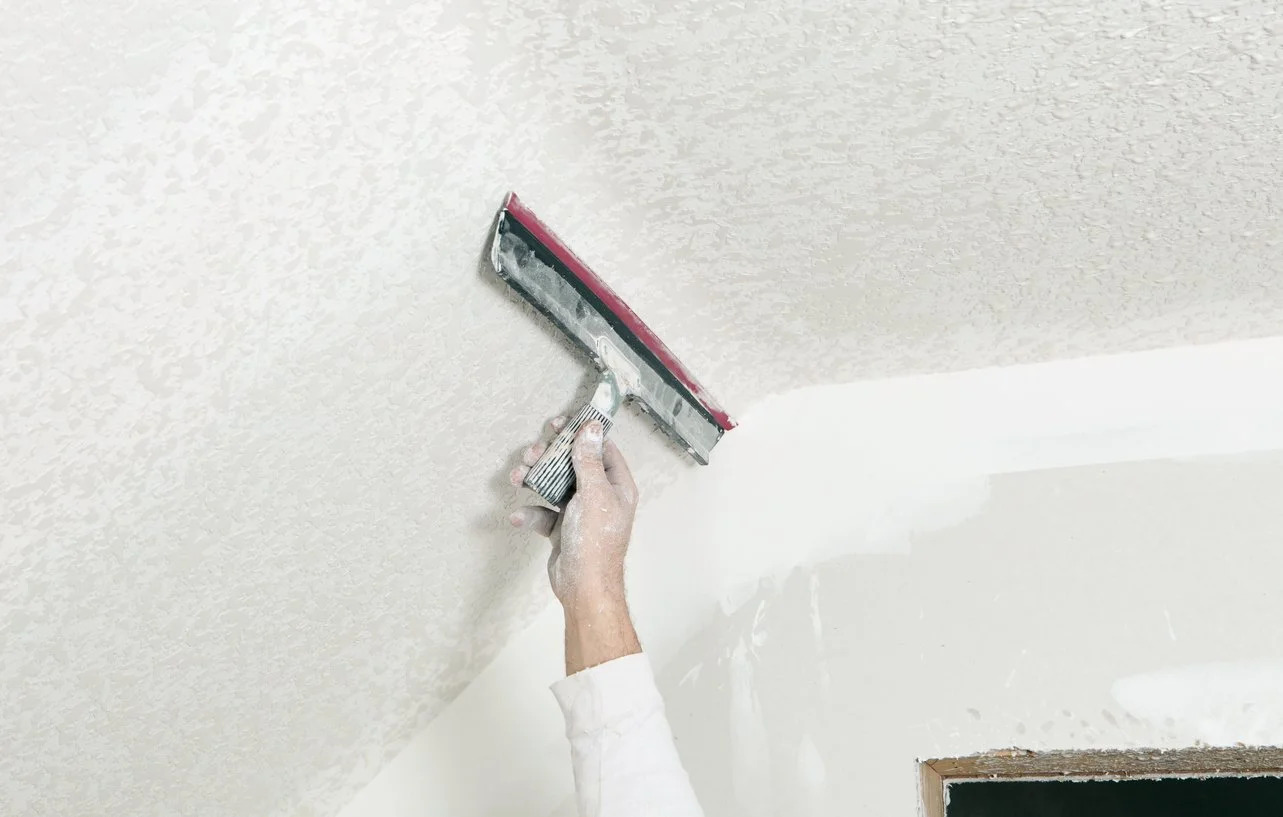
Sanding and Finishing
**
As the spackled corners dry, the next phase of the process involves sanding and finishing to achieve a flawless, polished result. This step is essential for refining the surface, ensuring uniformity, and preparing the corners for painting or wallpaper application. Here’s a comprehensive guide to sanding and finishing the spackled corners:
- Inspect the Dried Spackle: Once the spackle has dried completely, carefully examine the corners for any uneven areas, ridges, or excess spackle that may require smoothing.
- Prepare the Sandpaper: Use fine-grit sandpaper to gently sand the spackled areas. Fold the sandpaper to create a firm, flat surface and facilitate precise sanding.
- Smooth the Surface: With a light, circular motion, gently sand the spackled corners to achieve a smooth, uniform surface. Be mindful not to apply excessive pressure, as this can result in over-sanding and compromise the integrity of the spackle.
- Remove Excess Dust: After sanding, use a clean, dry cloth or a soft brush to remove any residual dust or debris from the corners. Ensure that the spackled areas are clean and free of particles before proceeding to the next step.
- Prime the Corners (Optional): If the spackled corners are part of a larger painting project, consider applying a coat of primer to the sanded areas. Primer enhances adhesion and promotes a uniform finish when it’s time to paint.
- Apply Paint or Wallpaper: With the spackled corners now smooth and primed, proceed to paint the walls or apply wallpaper as planned. The flawless, spackled corners serve as the ideal foundation for a stunning, professional finish.
By meticulously sanding and finishing the spackled corners, you’ll achieve a pristine, seamless result that enhances the overall aesthetic of your living space. This transformative process breathes new life into your walls and ceilings, creating a visually stunning environment that exudes a sense of craftsmanship and attention to detail.
With the spackling journey now complete, take a moment to admire the remarkable transformation you’ve accomplished. Your newfound expertise in spackling corners empowers you to maintain and beautify your living space with confidence, ensuring that every corner reflects a flawless, polished finish.
Now that you’ve mastered the art of spackling corners, your DIY prowess has reached new heights. Armed with this valuable skill, you’re ready to embark on future home improvement projects with the assurance of achieving professional-quality results. Congratulations on mastering the art of spackling corners, and may your living space continue to radiate beauty and sophistication.
**
Conclusion
**
Congratulations on completing your journey into the art of spackling corners! By delving into the intricacies of this transformative process, you’ve gained invaluable knowledge and skills that will elevate your home improvement endeavors to new heights. Let’s recap the key takeaways from this comprehensive guide:
- Understanding the Purpose: Spackling corners serves as a versatile solution for concealing imperfections, creating seamless transitions, and preparing surfaces for painting or wallpaper application.
- Materials and Preparation: Equipped with essential tools and materials, you’ve learned the importance of meticulously preparing the corners to ensure optimal adhesion and a flawless finish.
- Application Technique: By mastering the art of applying spackle with precision and care, you’ve transformed the corners, setting the stage for a remarkable visual enhancement.
- Sanding and Finishing: Through meticulous sanding and finishing, you’ve refined the spackled corners, achieving a flawless, polished surface that serves as the ideal foundation for painting or wallpaper application.
As you reflect on your journey, take pride in the newfound expertise and confidence you’ve gained in spackling corners. Your living space now exudes a sense of craftsmanship and attention to detail, showcasing flawless, professionally finished corners that elevate the overall aesthetic.
Armed with this valuable skill, you’re poised to embark on future home improvement projects with a heightened sense of assurance and capability. Whether you’re preparing your home for a fresh coat of paint or simply seeking to revitalize the ambiance of your living space, the art of spackling corners empowers you to achieve professional-quality results with ease.
As you continue to infuse your living space with beauty and sophistication, remember that the journey of home improvement is a canvas for your creativity and ingenuity. With the art of spackling corners in your repertoire, each project becomes an opportunity to transform your surroundings and create a visually stunning environment that reflects your dedication to craftsmanship.
Thank you for embarking on this transformative journey into the world of spackling corners. May your newfound expertise enrich your future endeavors, and may your living space continue to radiate beauty and elegance for years to come.
Happy spackling!
Frequently Asked Questions about How To Spackle Corners
Was this page helpful?
At Storables.com, we guarantee accurate and reliable information. Our content, validated by Expert Board Contributors, is crafted following stringent Editorial Policies. We're committed to providing you with well-researched, expert-backed insights for all your informational needs.


0 thoughts on “How To Spackle Corners”