Articles
How To Store An Outboard Motor
Modified: February 23, 2024
Learn how to properly store an outboard motor with our informative articles. Find tips and guidelines to ensure your motor stays in top condition for years to come.
(Many of the links in this article redirect to a specific reviewed product. Your purchase of these products through affiliate links helps to generate commission for Storables.com, at no extra cost. Learn more)
Introduction
Storing an outboard motor properly is essential to ensure its longevity and optimal performance. Whether you’re preparing for the winter season or simply storing your motor during a prolonged period of non-use, following the right steps is crucial. By taking the time to clean, flush, drain, and store your outboard motor correctly, you’ll be able to prevent rust, corrosion, and damage caused by improper storage.
In this article, we’ll guide you through a step-by-step process on how to store an outboard motor, from cleaning it thoroughly to properly storing it in a secure location. By following these tips and instructions, you can rest assured that your outboard motor will be in excellent condition when you’re ready to use it again.
So, let’s dive into the details and learn how to store your outboard motor the right way!
Key Takeaways:
- Properly storing an outboard motor involves cleaning, flushing, draining fuel, removing from the boat, disconnecting the battery, and storing in a suitable location. Regular checks ensure optimal performance and longevity.
- Following the step-by-step process for storing an outboard motor, including cleaning, flushing, draining fuel, and periodic checks, ensures hassle-free boating experiences and extends the motor’s lifespan.
Step 1: Cleaning the Outboard Motor
The first step in storing an outboard motor is to thoroughly clean it. This process helps remove any dirt, grime, and salt that may have accumulated during use. A clean motor is less susceptible to corrosion and will be easier to maintain during storage.
Here’s how you can effectively clean your outboard motor:
- Start by rinsing the motor with fresh water to remove any loose dirt or debris. Use a hose or a bucket filled with clean water to do this.
- Apply a mild detergent or boat cleaning solution to a sponge or brush and gently scrub the motor’s exterior surfaces. Pay close attention to areas that are prone to buildup, such as the lower unit and propeller.
- Rinse the motor thoroughly with fresh water to remove all traces of the cleaning solution. Make sure to rinse the engine cowling, as well as the lower unit and propeller, to prevent any residue from drying on the surfaces.
- Dry the motor thoroughly using a clean, soft cloth. Pay special attention to any areas where water may collect, such as the top of the cowling or around the spark plugs.
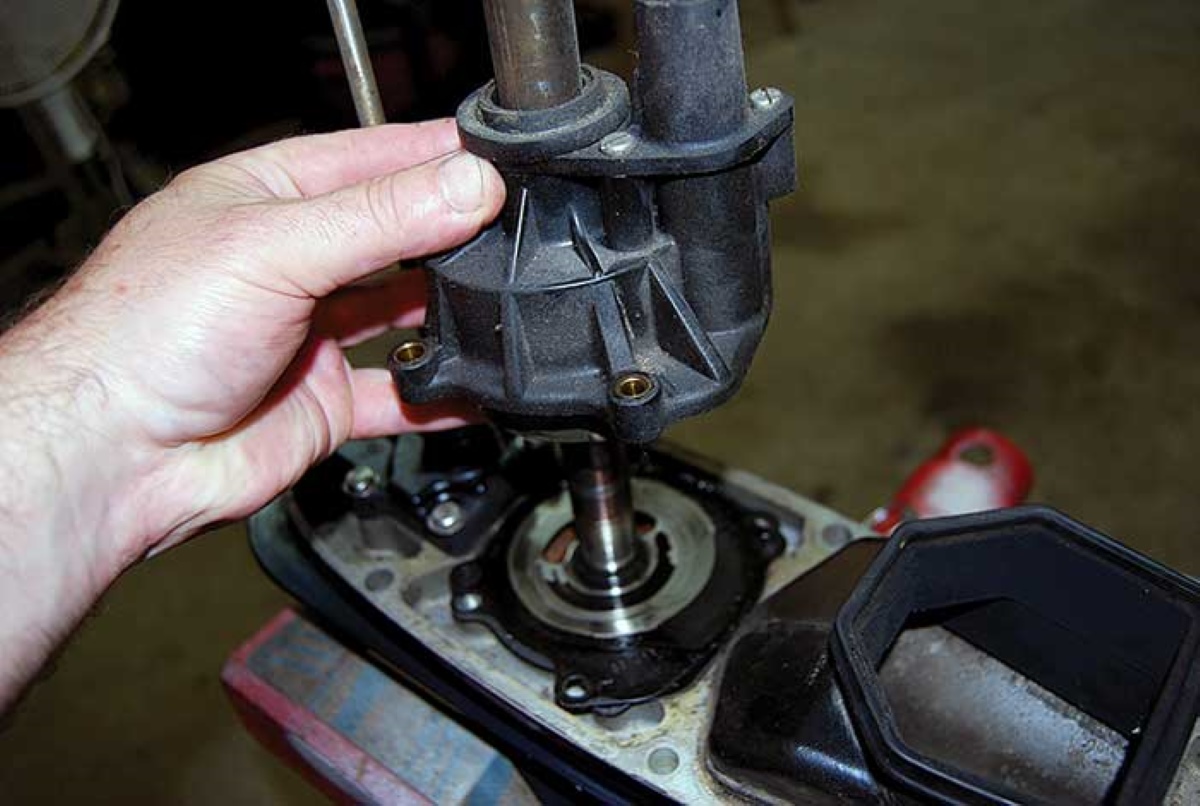
- Inspect the motor for any signs of damage or wear. Look for cracked or frayed cables, loose connections, or any other issues that may need attention before storing the motor. If you notice any problems, it’s best to address them before storing the motor.
By following these cleaning steps, you’ll ensure that your outboard motor is free from dirt and debris, and you’ll be ready to move on to the next steps of the storage process.
Step 2: Flushing the Outboard Motor
Flushing the outboard motor is an important step in the storage process as it helps remove any salt, sand, or debris that may have entered the cooling system during use. Flushing the motor ensures that the internal components are clean and prevents any blockages or build-up that could lead to engine damage.
Here’s how you can effectively flush your outboard motor:
- Attach a flushing device or earmuffs to the water intake ports of the motor. These devices allow water to flow directly into the cooling system.
- Connect a garden hose to the flushing device or earmuffs and turn on the water supply at a moderate pressure.
- Start the motor and allow it to run in neutral or at a low speed for about 10-15 minutes. This process allows the water to circulate through the cooling system, flushing out any debris or salt.
- Monitor the water flow from the cooling system. It should be steady and consistent. If you notice a decrease in water flow or any abnormalities, turn off the motor and inspect the flushing device or earmuffs for blockages.
- After the flushing process is complete, turn off the motor and disconnect the garden hose and flushing device.
Flushing the outboard motor on a regular basis helps maintain its performance and prevents any potential damage caused by saltwater or debris. Make sure to flush the motor after every outing in saltwater or at least once a month when used in freshwater.
With the outboard motor properly cleaned and flushed, you’re now ready to move on to the next step of draining the fuel.
Step 3: Draining the Fuel
Draining the fuel from your outboard motor is crucial before storing it for an extended period. Fuel can deteriorate over time, leading to carburetor clogs, engine damage, and starting issues. By properly draining the fuel, you’ll prevent these potential problems and ensure a smooth start when you’re ready to use the motor again.
Follow these steps to drain the fuel from your outboard motor:
- Start by running the motor for a few minutes to warm it up. This helps the fuel flow more easily.
- Turn off the motor and locate the fuel line and fuel filter. Depending on your motor’s model, you may need to consult the owner’s manual to find these components.
- Place a container or fuel-safe tank below the fuel line to catch the fuel that will be drained.
- Disconnect the fuel line from the motor and allow the fuel to drain into the container. Use caution and ensure that the container is placed securely to prevent spills.
- Once the fuel has drained completely, reconnect the fuel line and secure it tightly. Make sure there are no leaks.
- Dispose of the drained fuel properly following your local regulations. Avoid storing or using old fuel, as it may cause further damage to the motor.
By draining the fuel from your outboard motor, you’ll prevent fuel-related issues and protect the engine during storage. Additionally, it’s a good practice to use a fuel stabilizer to treat any fuel that remains in the system. This helps prevent oxidation and keeps the fuel fresh.
With the fuel properly drained, you’re ready to move on to the next step of removing the outboard motor from the boat.
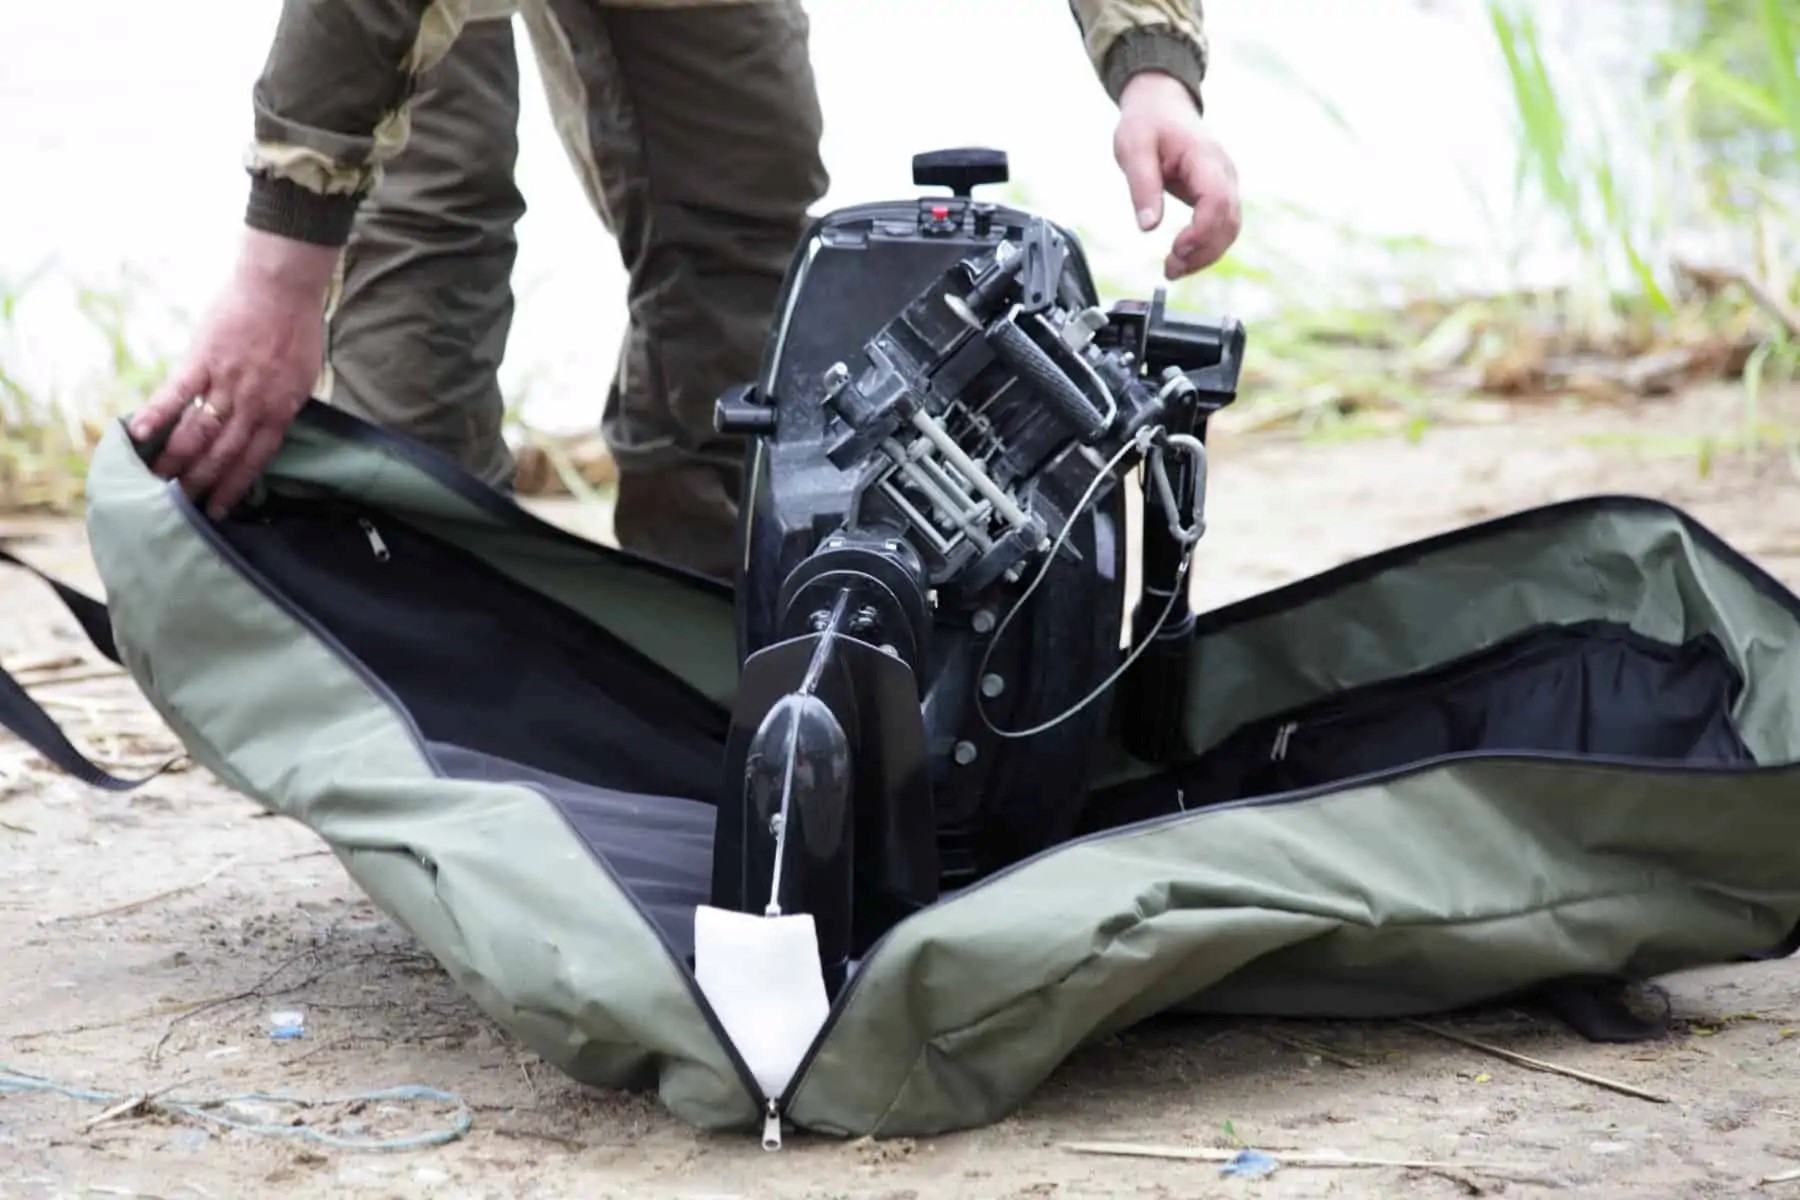
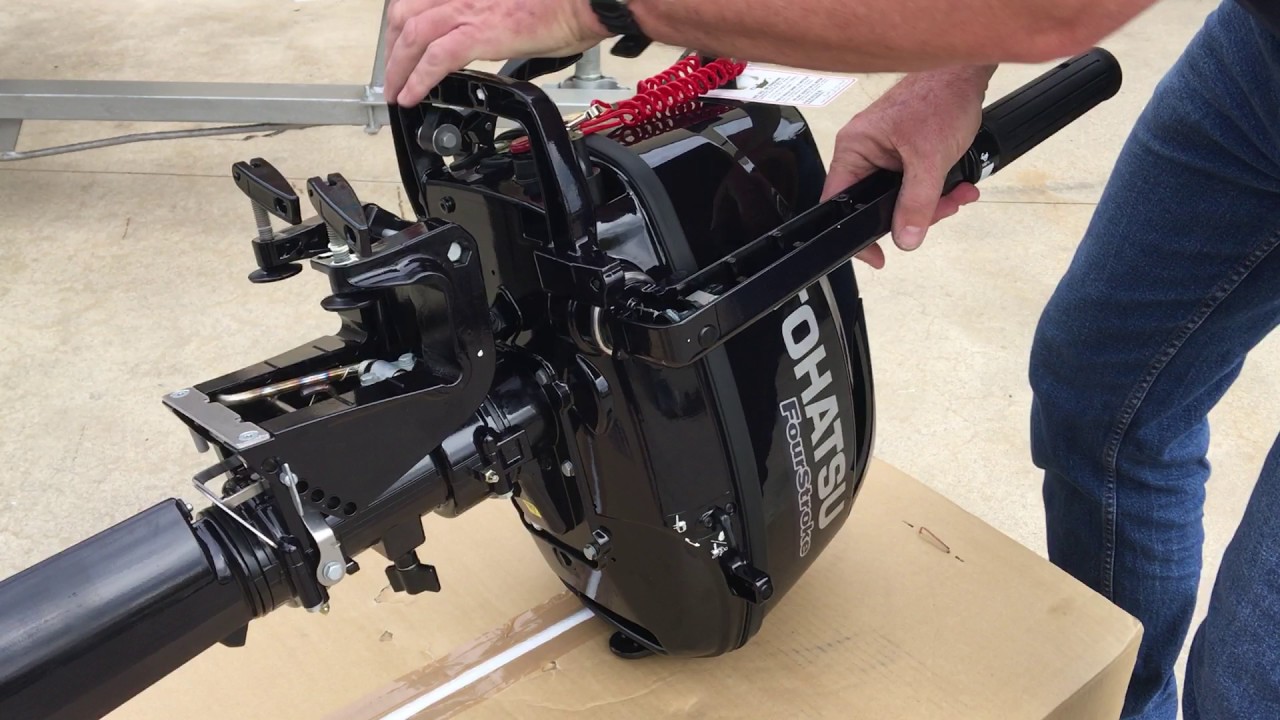
Step 4: Removing the Outboard Motor from the Boat
Removing the outboard motor from the boat is necessary if you want to store it separately or protect it from the elements. This step ensures that the motor is safe and secure during the storage period, preventing any potential damage or theft.
Here’s how you can properly remove the outboard motor from the boat:
- Ensure that the boat is in a stable position and secure to prevent any accidents or injuries during the removal process.
- Disconnect any electrical connections, such as the ignition switch, throttle cables, or other wiring that connects the motor to the boat.
- Identify the mounting bolts or clamps that secure the motor to the boat’s transom. These bolts or clamps may vary depending on the boat and motor model. If you’re unsure, consult the owner’s manual.
- Using the appropriate tools, such as a wrench or socket set, loosen and remove the mounting bolts or clamps. Make sure to safely store the bolts or clamps in a secure location.
- Gently lift the outboard motor off the transom, taking care not to strain your back or damage the motor or boat.
- Place the motor in a secure location, ensuring that it is stored in an upright position to prevent any oil or fluid leaks.
Removing the outboard motor from the boat allows you to store it in a more controlled environment, protecting it from moisture, extreme temperatures, and potential damage. If you don’t have a dedicated storage space, consider using a motor stand or a specially designed motor storage rack.
With the outboard motor safely removed from the boat, you can now move on to the next step: disconnecting the battery.
When storing an outboard motor, it’s important to flush the engine with fresh water to remove any salt or debris. Then, store it in a dry, well-ventilated area to prevent corrosion.
Step 5: Disconnecting the Battery
Disconnecting the battery is an important step in storing an outboard motor. By disconnecting the battery, you prevent any electricity drain and ensure that the battery maintains its charge during the storage period.
Follow these steps to properly disconnect the battery from your outboard motor:
- Locate the battery compartment or battery box in your boat. Most outboard motors have a dedicated space for the battery.
- Before disconnecting the battery, ensure that the ignition switch is in the “off” position.
- Using the appropriate tools, loosen and remove the cables from the battery terminals. Start with the negative (black) cable, followed by the positive (red) cable.
- Inspect the battery terminals and cables for any corrosion or damage. If necessary, clean the terminals with a wire brush and apply a corrosion inhibitor to prevent further corrosion.
- Store the battery in a cool and dry location, away from any flammable materials. It’s advisable to charge the battery periodically during the storage period to maintain its optimal performance.
By disconnecting the battery from your outboard motor, you ensure that the battery remains in good condition and ready for use when you’re ready to hit the water again.
With the battery properly disconnected, you’re now ready to move on to the next step: storing the outboard motor.
Step 6: Storing the Outboard Motor
Properly storing your outboard motor is essential for keeping it in good condition during periods of non-use. By following the right storage practices, you can protect the motor from damage, corrosion, and other potential issues that may arise from improper storage.
Here’s how you can effectively store your outboard motor:
- Choose a suitable storage location for your outboard motor. Ideally, it should be a cool, dry, and well-ventilated area. If possible, avoid exposing the motor to direct sunlight or extreme temperature fluctuations.
- If you’re storing the motor indoors, consider using a motor cover or a breathable tarp to protect it from dust and debris. This will help maintain its appearance and prevent any potential damage from falling objects.
- If you’re storing the motor outdoors, invest in a quality waterproof cover that provides adequate protection against the elements. Ensure that the cover is securely fastened to prevent it from blowing off during strong winds.
- If your motor has a tilt and trim feature, it’s recommended to store it in the “down” position. This helps reduce strain on the hydraulic system and prevents any potential leaks or damage.
- If you’re using a motor stand or rack, ensure that it is sturdy and designed to support the weight of your outboard motor. Follow the manufacturer’s instructions for proper installation and use.
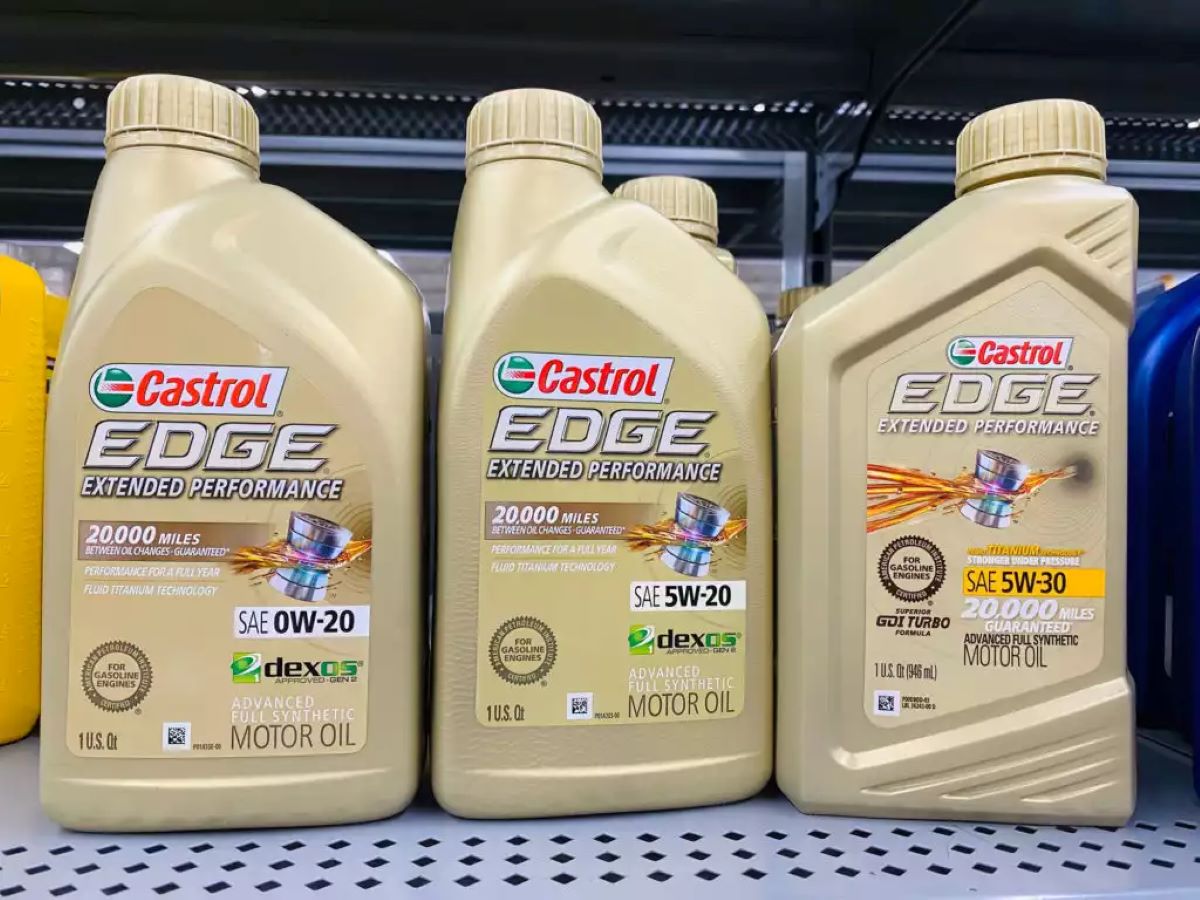
- Before storing the motor, it’s a good practice to apply a thin coat of lubricating oil or corrosion inhibitor to exposed metal surfaces. This helps prevent rust and corrosion during the storage period.
By storing your outboard motor in a suitable location and taking precautions to protect it from the elements, you’ll ensure its longevity and optimal performance.
With your outboard motor safely stored, you’re almost done with the storage process. However, it’s important to check on the motor periodically to maintain its condition.
Step 7: Checking on the Outboard Motor Periodically
Even though your outboard motor is safely stored, it’s essential to periodically check on it to ensure that it remains in good condition. Regular inspections can help identify any potential issues or maintenance needs before they become major problems. Here’s how you can effectively check on your outboard motor during the storage period:
- Set a schedule to check on the motor at least once every month or according to the manufacturer’s recommendations.
- Inspect the motor for any signs of damage, moisture, or pest infestation. Look for any visible leaks, cracks, or corrosion on the surfaces.
- Check the motor’s fuel lines, hoses, and connections for any wear or deterioration. Replace any damaged or worn-out parts as necessary.
- Inspect the motor’s electrical connections and wiring for any signs of corrosion or loose connections. Tighten or replace any connections as needed.
- If you have a motor with a pull-start, periodically pull the starter cord to keep the internal components lubricated and prevent them from seizing.
- If you’re storing the motor with the propeller attached, check the propeller for any damage or debris that may have accumulated.
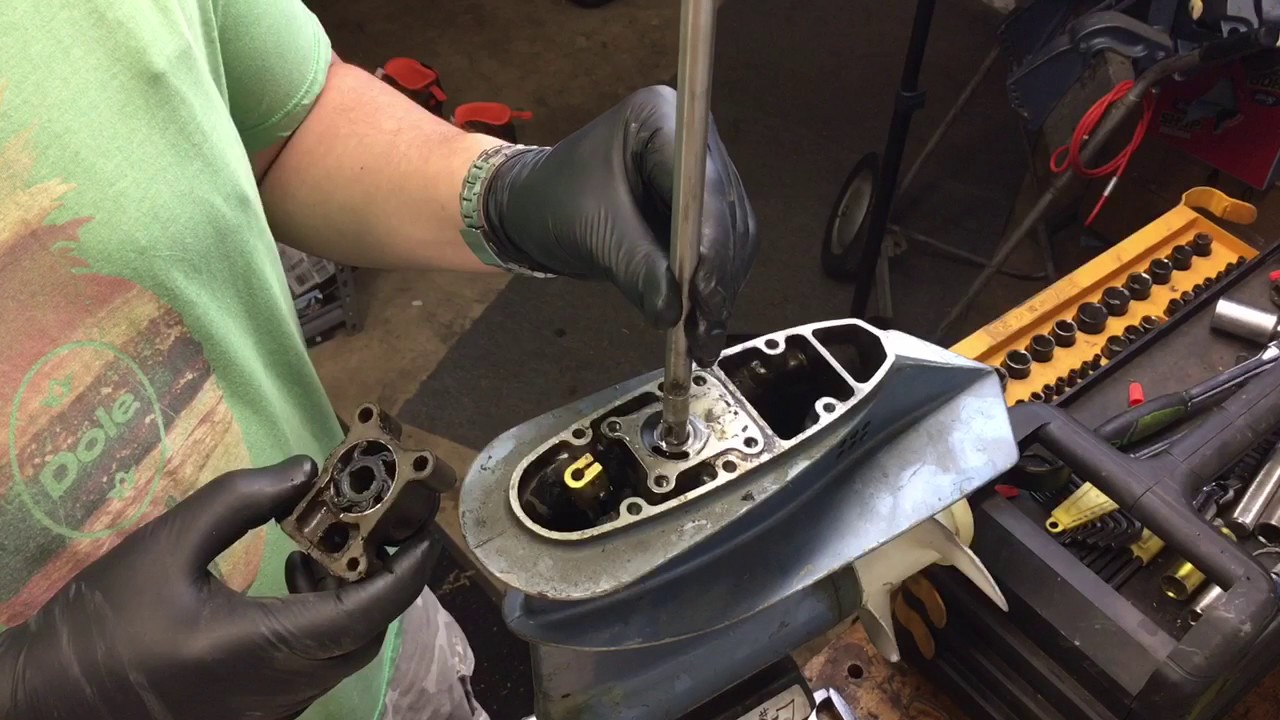
- Inspect the motor’s lubrication points, such as the tilt and trim mechanism, and apply lubricating oil as recommended by the manufacturer.
- If you’re storing the motor indoors, ensure that the storage area remains clean, dry, and well-ventilated to prevent any mold or mildew growth.
By checking on your outboard motor periodically, you’ll be able to address any potential issues promptly and ensure that it remains in good working condition. Remember to follow the manufacturer’s guidelines and recommendations for maintenance and storage.
With these steps completed, you’ve successfully stored your outboard motor and taken the necessary precautions to maintain its condition. When you’re ready to use the motor again, remember to follow the proper steps for reinstallation and preparation before hitting the water.
Conclusion
Properly storing your outboard motor is key to maintaining its performance and longevity. By following the steps outlined in this guide, you can ensure that your motor remains in excellent condition, ready for use when you’re ready to hit the water again.
Starting with cleaning the motor to remove any dirt and grime, flushing it to eliminate salt and debris, and draining the fuel to prevent any fuel-related issues are essential steps in the storage process. Removing the motor from the boat and disconnecting the battery further protect it from potential damage during storage.
Storing the motor in a suitable location, whether it’s indoors or outdoors, and applying a protective cover will shield it from the elements. Regularly checking on the motor ensures that any potential issues are addressed promptly, keeping it in optimal condition.
Remember, each step is crucial in maintaining the functionality and durability of your outboard motor. Following these guidelines and adhering to the manufacturer’s recommendations will ensure a smooth start and a reliable performance when you’re ready to use the motor again.
By taking the time to properly clean, flush, drain, store, and periodically check on your outboard motor, you can extend its lifespan and enjoy hassle-free boating experiences for years to come.
Now, go ahead and take care of your outboard motor with confidence, knowing that you have the knowledge and guidance to store it correctly.
Frequently Asked Questions about How To Store An Outboard Motor
Was this page helpful?
At Storables.com, we guarantee accurate and reliable information. Our content, validated by Expert Board Contributors, is crafted following stringent Editorial Policies. We're committed to providing you with well-researched, expert-backed insights for all your informational needs.


0 thoughts on “How To Store An Outboard Motor”