Articles
How To Store Homemade Bread Crumbs
Modified: February 22, 2024
Learn how to properly store and preserve your homemade bread crumbs with these helpful articles. Keep your breadcrumbs fresh and flavorful for longer!
(Many of the links in this article redirect to a specific reviewed product. Your purchase of these products through affiliate links helps to generate commission for Storables.com, at no extra cost. Learn more)
Introduction
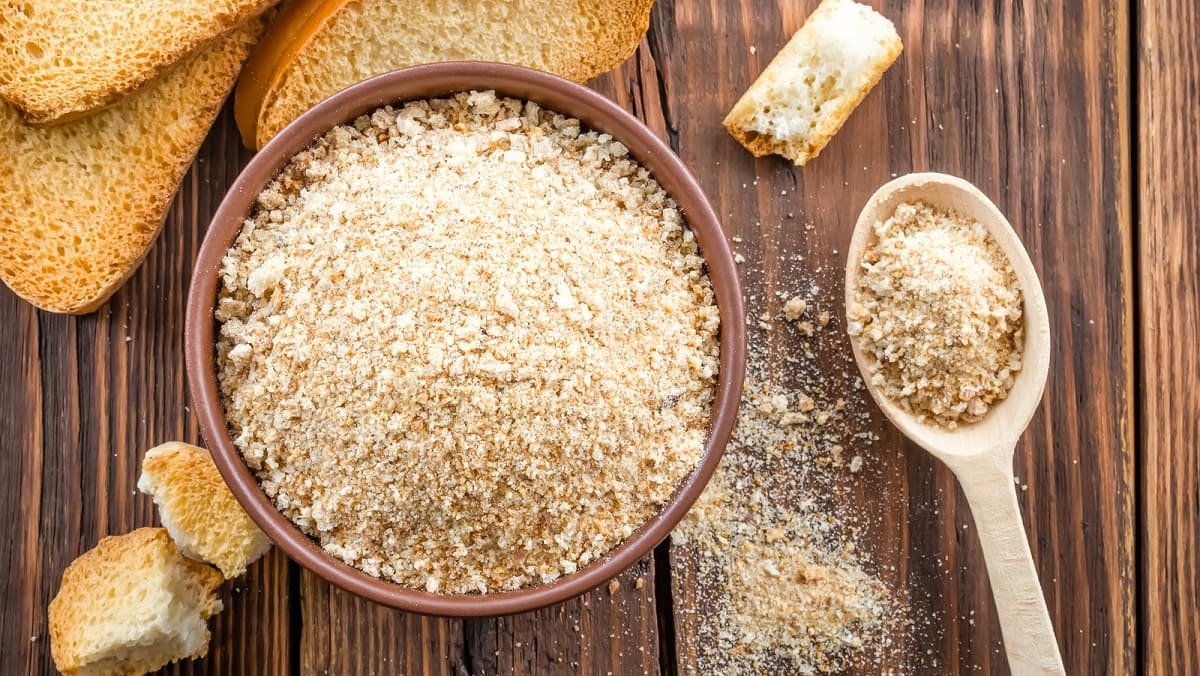
Homemade bread crumbs are a versatile ingredient that can add flavor and texture to a wide range of dishes, from meatballs to casseroles to crispy coatings for fried foods. Making your own bread crumbs not only ensures their freshness but also helps reduce food waste by making use of leftover bread. However, once you’ve made your own bread crumbs, it’s important to store them properly to maintain their quality and extend their shelf life.
In this article, we will discuss the importance of storing homemade bread crumbs and provide you with a step-by-step guide on how to store them effectively. By following these simple tips, you can ensure that your homemade bread crumbs remain fresh and flavorful, ready to enhance your favorite recipes whenever you need them.
Key Takeaways:
- Store homemade bread crumbs in an airtight container in a dry, cool place to retain flavor, texture, and extend shelf life. Label and date the container for easy organization and freshness checks.
- Before use, visually inspect, smell, check texture, and taste a small amount of homemade bread crumbs to ensure freshness. Proper storage ensures convenient access and minimizes food waste.
Read more: How To Store Bread Crumbs After Opening
Importance of Storing Homemade Bread Crumbs
Properly storing your homemade bread crumbs is essential for preserving their taste, texture, and quality. Here are a few reasons why it’s important to store them correctly:
1. Retaining Flavor: Homemade bread crumbs have a distinct flavor that can elevate your dishes. By storing them properly, you can prevent them from absorbing unwanted odors and flavors from their surroundings, ensuring that they retain their delicious taste.
2. Preserving Texture: Bread crumbs add a crispy and crunchy texture to recipes. When stored improperly, they can become stale and lose their desirable texture. Proper storage helps maintain their crunchiness, making them a delightful addition to your dishes.
3. Extending Shelf Life: Homemade bread crumbs have a limited shelf life due to their moisture content. By storing them correctly, you can extend their shelf life and reduce the risk of them becoming moldy or stale.
4. Reducing Waste: Storing homemade bread crumbs properly allows you to make the most of your leftover bread. Instead of throwing away stale or unused slices, you can transform them into breadcrumbs and store them for future use, minimizing food waste.
5. Convenient Accessibility: Properly stored bread crumbs are readily accessible whenever you need them. Having a stash of homemade breadcrumbs on hand makes it easier to whip up a quick and delicious meal without the need for a trip to the store.
Now that you understand the importance of storing homemade bread crumbs let’s dive into the step-by-step process of how to store them effectively.
Step 1: Prepare the Bread Crumbs
Before you can begin storing your homemade bread crumbs, you’ll need to prepare them. Here’s how to do it:
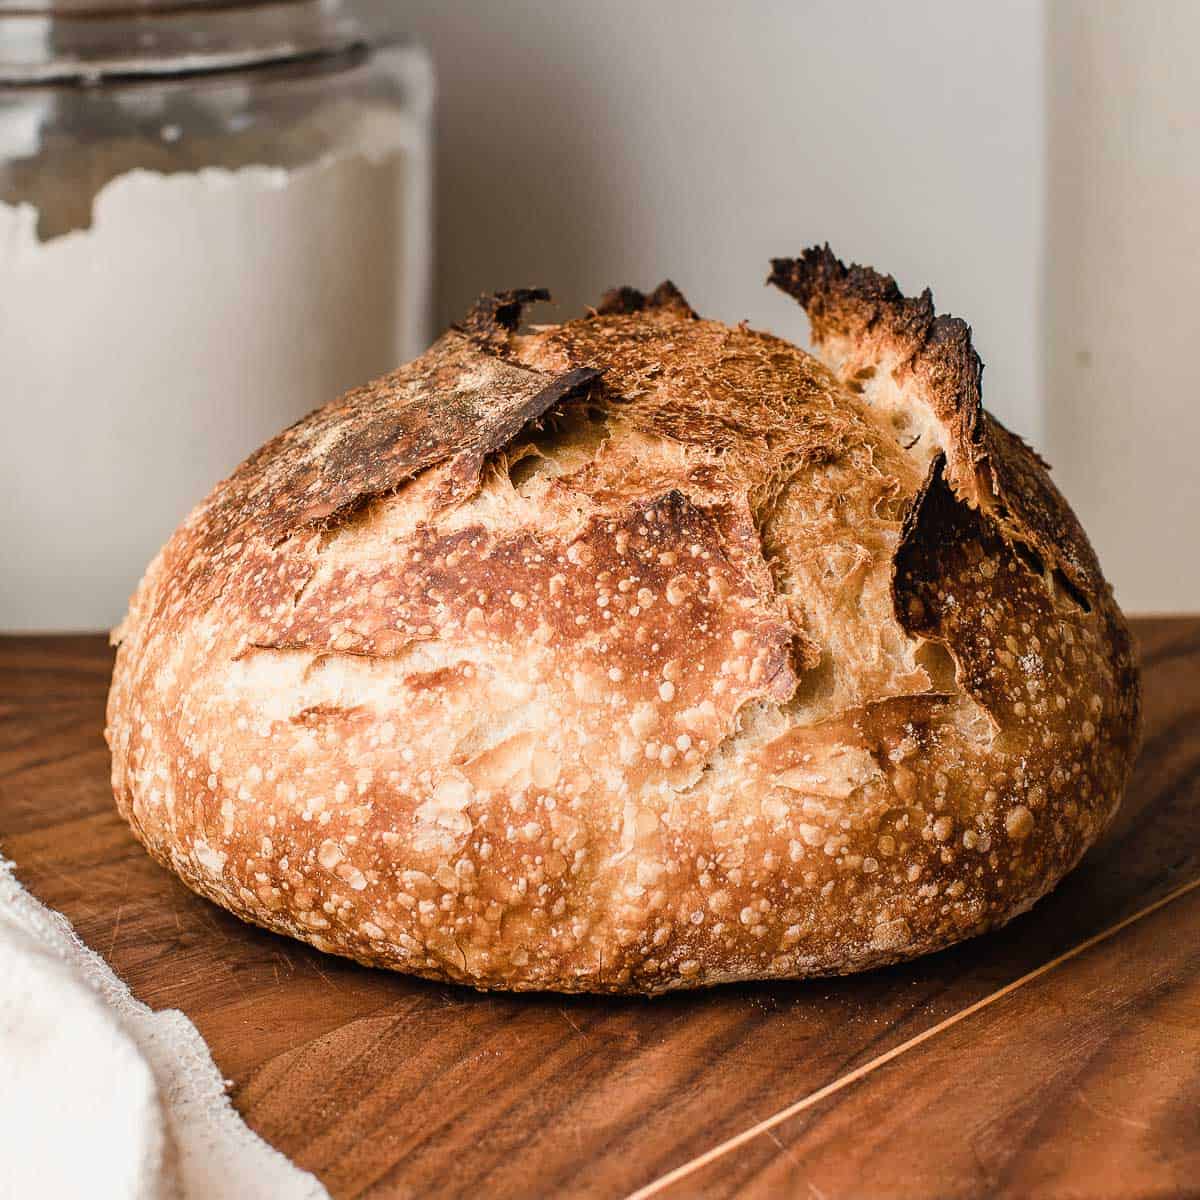
1. Choose the Bread: Select a type of bread that suits your preference and the recipe you plan to use the bread crumbs for. Popular choices include white bread, whole wheat bread, and even stale or leftover bread.
2. Remove the Crust: If desired, you can remove the crust from the bread slices. This step is optional and depends on personal preference. Leaving the crust on will result in slightly denser breadcrumbs, while removing the crust will yield lighter and finer crumbs.
3. Break the Bread: Break the bread slices into smaller pieces. This can be done using your hands, a knife, or a food processor. If using a food processor, pulse the bread until it reaches the desired consistency. For coarser crumbs, pulse the bread for a shorter duration.
4. Dry the Bread: To ensure that the bread crumbs have a longer shelf life, you’ll need to dry them thoroughly. Place the bread pieces on a baking sheet and allow them to air dry for a few hours or bake them in a preheated oven at a low temperature (around 200°F or 93°C) for about 10-15 minutes. Stir the bread crumbs occasionally to ensure even drying. The end result should be dry and crunchy bread crumbs.
5. Optional Seasoning: If desired, you can add additional flavor to your bread crumbs by adding herbs, spices, or grated cheese. This step is optional and can enhance the taste of your dishes. Mix in the desired seasonings with the bread crumbs until well combined.
Now that your bread crumbs are prepared, it’s time to move on to the next step: choosing the right storage container to keep them fresh and protected.
Step 2: Choose the Right Storage Container
Choosing the right storage container is crucial for keeping your homemade bread crumbs fresh and protected. Follow these tips to select an appropriate container:
1. Airtight Container: Opt for an airtight container that will prevent air and moisture from entering. Air and humidity can cause bread crumbs to become stale or moldy, so it’s important to choose a container that seals tightly.
2. Size and Shape: Consider the amount of bread crumbs you’ll be storing and choose a container of suitable size. A small jar or a lidded plastic or glass container should work well for most quantities.
3. Transparent Container: Using a transparent container allows you to easily see the contents without opening it. This can be helpful when you need to check the quantity or freshness of the bread crumbs.
4. Reusable and Durable: Opt for a reusable and durable container that can withstand frequent use. This helps reduce waste and ensures the longevity of your storage solution.
5. Additional Considerations: Some other factors to consider include whether the container is dishwasher safe, microwave safe, and freezer safe. These features can provide added convenience and versatility.
Once you’ve selected the right container, it’s time to move on to the next step: storing your bread crumbs in a dry and cool place.
Store homemade bread crumbs in an airtight container or resealable bag in the freezer. This will help to maintain their freshness and prevent them from becoming stale.
Step 3: Store in a Dry and Cool Place
Storing your homemade bread crumbs in a dry and cool place is essential for maintaining their freshness and quality. Follow these guidelines to ensure optimal storage conditions:
1. Dry Environment: Choose a storage location away from moisture and humidity. Avoid areas near sinks, stoves, or any place prone to moisture, as it can cause the bread crumbs to become soggy and spoil quickly.
2. Avoid Direct Sunlight: Direct sunlight can accelerate the staling process and compromise the quality of your bread crumbs. Store them in a cupboard or pantry away from direct sunlight to keep them fresh for a longer time.
3. Consistent Temperature: Fluctuations in temperature can affect the quality and shelf life of your bread crumbs. Aim to store them in an area with a consistent temperature, preferably between 50°F (10°C) and 70°F (21°C).
4. Cool and Dark Location: Choose a cool and dark location to store your bread crumbs. Heat can cause them to spoil, while darkness helps maintain their flavor and texture. Consider using a back corner of a pantry or a cupboard away from any heat sources.
5. Elevated Shelf or Rack: If possible, place your bread crumbs on an elevated shelf or rack in the storage area. This helps improve air circulation and prevents the accumulation of moisture, reducing the risk of spoilage.
By storing your homemade bread crumbs in a dry and cool place, you can enjoy their freshness and flavor for an extended period. However, remember to label and date the container for easy identification and rotation, which leads us to the next step.
Read more: How To Store Homemade Muffins
Step 4: Label and Date the Container
Labeling and dating the container that holds your homemade bread crumbs is a simple but crucial step in ensuring their freshness and organization. Follow these steps to effectively label and date your container:
1. Label the Container: Use a permanent marker or labeling system to clearly mark the container with the contents. You can simply write “Bread Crumbs” on the lid or side of the container. This will make it easy to identify the contents at a glance.
2. Date the Container: Write the date on which you prepared the bread crumbs. This will help you keep track of their freshness and determine when it’s time to use them or discard any remaining breadcrumbs.
3. Additional Information: If desired, you can include additional information on the label, such as the bread type used, special seasoning, or even the recipe or dish you initially made the breadcrumbs for. This can be helpful for future reference or when you want to replicate a specific flavor profile.
4. Recheck and Update: Periodically check the container for any changes in the bread crumbs’ quality or smell. If you notice any signs of spoilage, discard them immediately. Update the label with the new date if you make fresh breadcrumbs and transfer them to a new container.
Labeling and dating your container not only helps you stay organized in the kitchen but also ensures that you use your bread crumbs before they lose their freshness. Now that you have labeled and dated the container, it’s time for the final step: checking for freshness before use.
Step 5: Check for Freshness Before Use
Before incorporating your homemade bread crumbs into your recipes, it’s important to check for freshness. Follow these steps to ensure that your bread crumbs are still in good condition:
1. Visual Inspection: Examine the bread crumbs for any signs of mold, discoloration, or unusual textures. If you notice any of these indicators, it’s best to discard the entire batch to avoid any risk of foodborne illness.
2. Smell Test: Take a whiff of the bread crumbs. They should have a mild, pleasant aroma. If you detect any off-putting smells or a stale odor, it’s a sign that the bread crumbs have gone bad and should not be used.
3. Texture Check: Feel the bread crumbs between your fingertips. They should be dry and crispy, with a texture similar to fine sand. If they feel damp, soft, or clumpy, it’s an indication of moisture absorption, and they may not provide the desired texture in your recipes.
4. Taste a Small Amount: If the bread crumbs pass the visual inspection, smell test, and texture check, you can taste a small amount to ensure that they still have a fresh and flavorful taste. If they taste rancid, stale, or off, it’s best to dispose of them and make a fresh batch.
Checking for freshness before using your homemade bread crumbs is essential to ensure that they will enhance the flavor and texture of your dishes. If they pass the freshness test, go ahead and incorporate them into your favorite recipes.
By following these five steps, from preparing the bread crumbs to checking for freshness, you can store your homemade bread crumbs effectively and enjoy their taste and texture for an extended period. Proper storage and freshness checks ensure that you always have a supply of high-quality bread crumbs to enhance your culinary creations.
Now that you have learned how to store homemade bread crumbs, it’s time to put this knowledge into practice. Enjoy the convenience and flavor of your homemade bread crumbs in all your favorite dishes!
Conclusion
Storing homemade bread crumbs is a simple yet vital process that ensures their freshness, flavor, and quality. By following the steps outlined in this article, you can effectively store your bread crumbs and extend their shelf life, reducing food waste and enhancing your culinary creations.
From preparing the bread crumbs to choosing the right storage container, storing them in a dry and cool place, labeling and dating the container, and checking for freshness before use, each step plays a crucial role in maintaining the integrity of your bread crumbs.
Proper storage helps retain the flavor and texture of your bread crumbs, ensuring that they make a delightful addition to your favorite recipes. Additionally, it allows you to minimize food waste by utilizing leftover bread and reduces the chances of them becoming stale or moldy.
By storing your homemade bread crumbs correctly, you can conveniently access them whenever you need, saving you time and effort. Whether you’re adding a crispy coating to fried foods, using them as a topping for casseroles, or incorporating them into meatballs, fresh bread crumbs make a versatile and delicious ingredient.
Remember to always check your bread crumbs for freshness before using them. Visual inspection, smell test, texture check, and a small taste can help determine if they are still suitable for use. If any signs of spoilage are detected, it’s best to discard them and make a fresh batch.
With the knowledge and guidance provided in this article, you are equipped to store your homemade bread crumbs effectively and enjoy their taste and texture for an extended period. So go ahead, make use of the leftover bread, prepare your bread crumbs, store them properly, and elevate the flavor of your dishes!
Frequently Asked Questions about How To Store Homemade Bread Crumbs
Was this page helpful?
At Storables.com, we guarantee accurate and reliable information. Our content, validated by Expert Board Contributors, is crafted following stringent Editorial Policies. We're committed to providing you with well-researched, expert-backed insights for all your informational needs.


0 thoughts on “How To Store Homemade Bread Crumbs”