Articles
How To Store Kitchenaid Mixer
Modified: October 19, 2024
Learn the best storage methods for your Kitchenaid mixer with these helpful articles. Keep your mixer safe and organized for easy access in your kitchen.
(Many of the links in this article redirect to a specific reviewed product. Your purchase of these products through affiliate links helps to generate commission for Storables.com, at no extra cost. Learn more)
Introduction
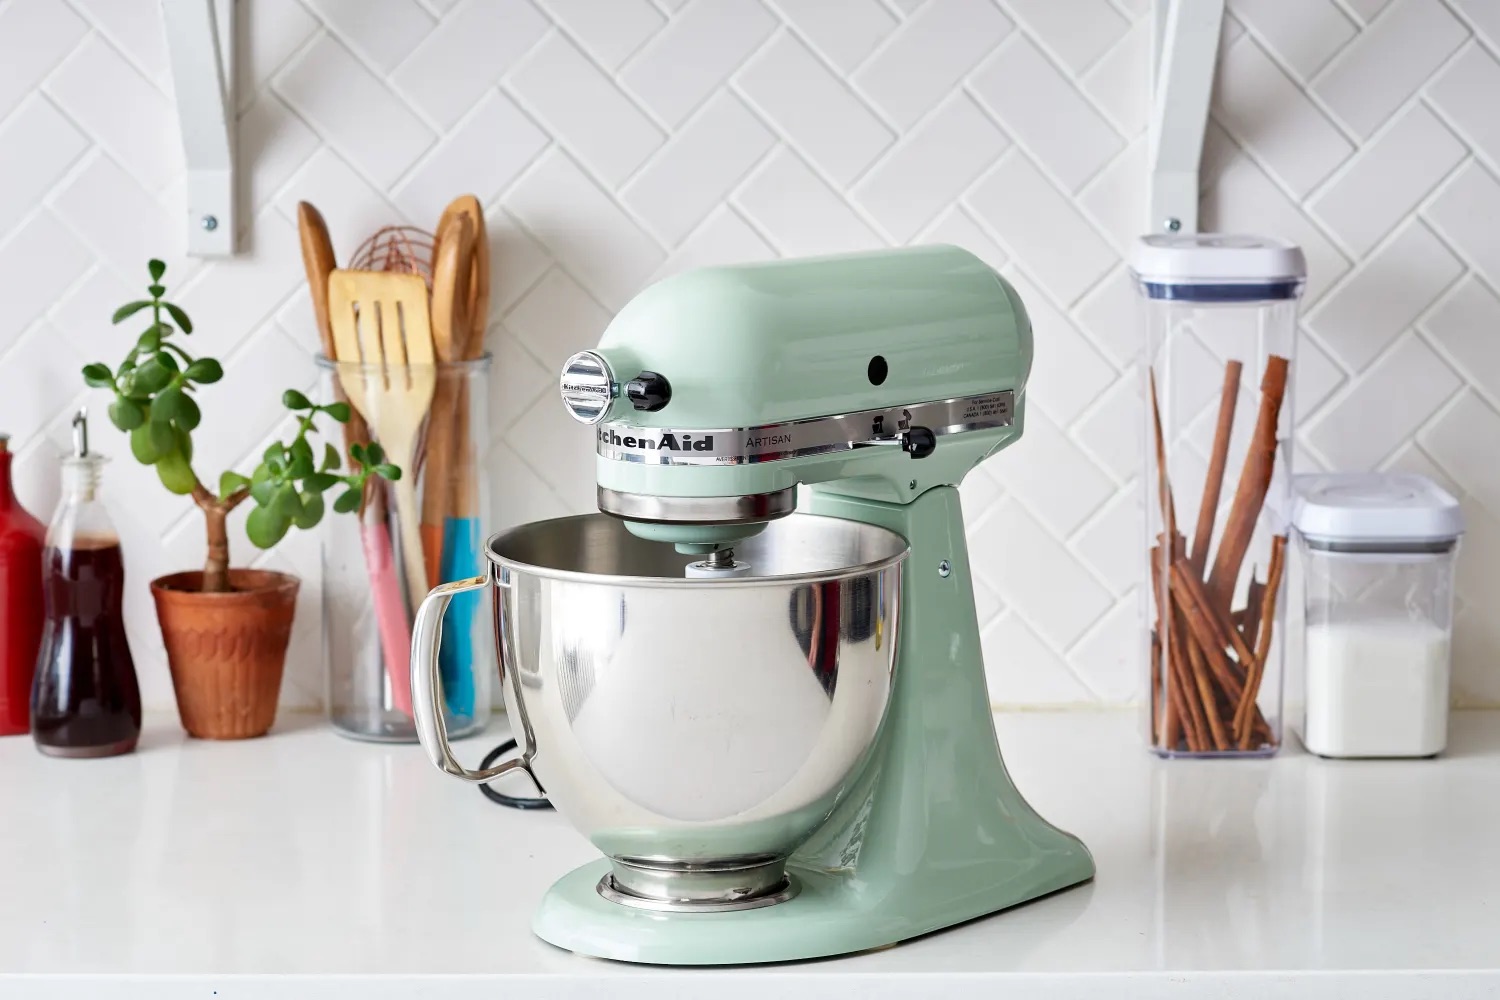
Storing your Kitchenaid mixer properly is essential to keep it in good condition and prolong its lifespan. The mixer is a valuable investment, and by following a few simple steps, you can ensure that it remains in pristine condition when not in use.
In this article, we will guide you through the process of storing your Kitchenaid mixer correctly. From cleaning the mixer to securing the power cord and choosing an ideal storage location, we will cover everything you need to know to keep your mixer safe and ready for use whenever you need it.
So, let’s dive into the details and learn how to store your Kitchenaid mixer effectively.
Key Takeaways:
- Properly storing your Kitchenaid mixer is crucial to maintain its pristine condition and prolong its lifespan. Follow the steps outlined in this article to ensure your mixer remains clean, protected, and ready for use whenever you need it.
- Consider the additional tips for long-term storage, such as periodic use, storing in the original box, using vertical storage options, and keeping related accessories together. By following these tips, you can maintain the longevity of your Kitchenaid mixer and ensure it’s ready to serve you for many years to come.
Read more: How To Clean Kitchenaid Mixer
Step 1: Cleaning the Mixer
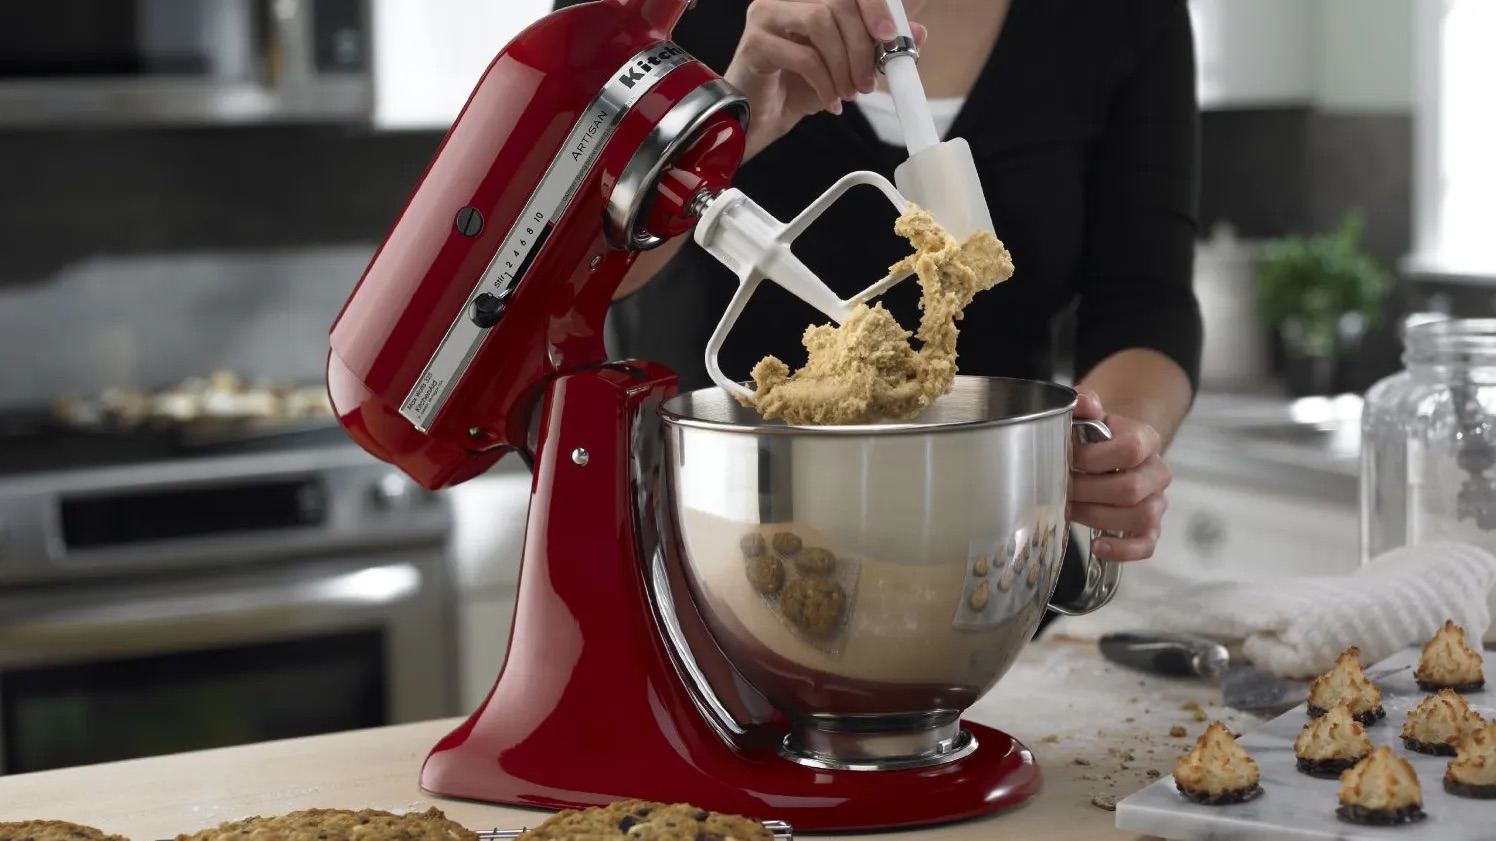
Before you store your Kitchenaid mixer, it’s essential to give it a thorough cleaning. Over time, residue from mixing ingredients can accumulate on the surface and in various crevices of the appliance. Cleaning the mixer will prevent any potential buildup and keep it looking and performing its best.
To clean your Kitchenaid mixer, start by unplugging it from the power source. Remove any attachments, such as the bowl, beater, and whisk, and wash them separately using warm, soapy water. Rinse them thoroughly and allow them to air dry.
Next, take a damp cloth or sponge and wipe down the exterior of the mixer. Pay close attention to the control panel, buttons, and any other areas that may have come into contact with ingredients. For stubborn stains or stuck-on residue, use a mild cleanser or baking soda paste to gently scrub the surface. Ensure that you avoid getting water or cleansers into the motor housing.
After cleaning the exterior, use a small, dry brush or toothpick to remove any trapped food particles from the crevices and attachment points. Be gentle to avoid damaging the mixer or its components.
Once you have thoroughly cleaned the mixer and its attachments, allow everything to dry completely before reassembling and moving on to the next step.
Step 2: Detaching and Storing Attachments
After cleaning the attachments, it’s important to detach them from the mixer before storing. This step will not only help save space but also prevent any damage or misplacement of the attachments during storage.
Start by removing the bowl from the mixer. Check for any remaining moisture and ensure it is completely dry before storing. You can place the bowl in a cupboard or on a shelf with other kitchen items, keeping it easily accessible for future use.
Next, remove any other attachments, such as the beater, whisk, or dough hook. These attachments can be stored either in the same location as the bowl or in a separate designated container. If you choose to use a container, make sure it is clean, dry, and appropriately sized to accommodate the attachments, preventing them from shifting or getting damaged.
When storing the attachments, it’s a good idea to wrap them individually in a clean cloth or tissue paper. This will help protect them from dust, moisture, and potential scratches. Secure the wrapped attachments with rubber bands or twist ties to keep them in place.
Labeling the storage container or using clear, labeled bags can also be helpful to easily identify and locate the attachments when needed. This way, you can save time and avoid any confusion when assembling the mixer for your next baking adventure.
Remember to keep the attachments in a cool, dry place away from heat and direct sunlight to maintain their quality and prevent any potential damage or deterioration.
Step 3: Securing the Power Cord
Properly securing the power cord of your Kitchenaid mixer is important to avoid any tangles or damage during storage. Keeping the cord organized will also make it easier for you to set up the mixer when you’re ready to use it again.
Start by unplugging the power cord from the electrical outlet. Carefully wind the cord around your hand in a loose manner, avoiding tight knots or twisting. As you wind the cord, make sure to hold the plug end firmly to prevent it from coming loose or getting tangled.
For added convenience and to prevent the cord from unraveling, you can use twist ties or Velcro straps to secure it. Place the secured power cord next to the mixer or in a designated compartment of the storage container to keep it organized and easily accessible.
Additionally, avoid storing the power cord near any sharp objects or heavy items that could potentially damage it. Keeping the cord separate from the mixer and attachments will prevent any accidental entanglements and ensure its long-term durability.
Remember to periodically check the power cord for any signs of wear or damage. If you notice any frayed wires, exposed insulation, or other issues, it’s crucial to address them promptly. Contact the manufacturer or a qualified technician for repairs or replacements to ensure the safe and proper functioning of your mixer.
Step 4: Protecting the Bowl and Beater
The bowl and beater of your Kitchenaid mixer are integral parts of the appliance, and taking steps to protect them during storage is essential. Proper protection will help prevent any damage or scratches and ensure their longevity.
One way to protect the bowl is by placing a clean, dry towel or dishcloth inside it. This will help cushion the bowl and absorb any moisture that may accumulate during storage. Make sure the towel covers the entire interior of the bowl, including any protruding attachments or handles.
Next, find a suitable cover for the bowl. You can use the original cover that came with the mixer or purchase a separate bowl cover. If you don’t have a cover available, you can use plastic wrap or aluminum foil to tightly cover the bowl. This will keep dust and other contaminants out and protect the bowl from any accidental bumps or scratches.
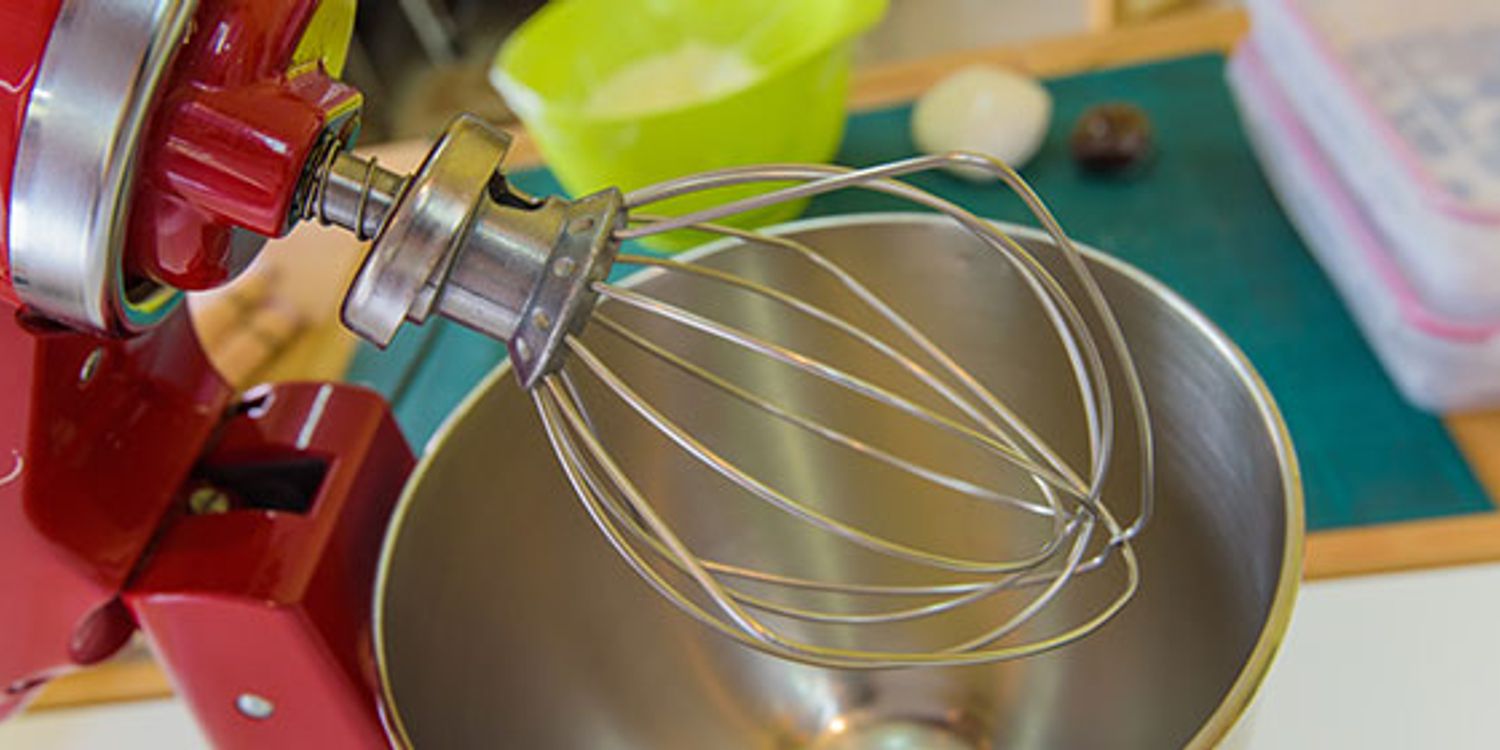
When it comes to the beater, it’s best to remove it from the mixer and store it separately. This will prevent any pressure or weight from being placed on the beater, which could potentially cause it to deform or lose its shape.
As with the attachments, you can wrap the beater in a cloth or tissue paper. Secure it with a rubber band or twist tie to keep it protected and organized. Remember to label the wrapping or storage container clearly to easily identify the beater when needed.
By taking these precautions to protect the bowl and beater, you can ensure that they remain in excellent condition and ready to use whenever you’re ready to bake or mix your favorite recipes.
To store a Kitchenaid mixer, detach the bowl and attachments, wipe down the mixer, and cover it with a dust cover or towel to protect it from dust and scratches. Store it in a dry and easily accessible area for future use.
Read more: How To Turn On A Kitchenaid Mixer
Step 5: Choosing an Ideal Storage Location
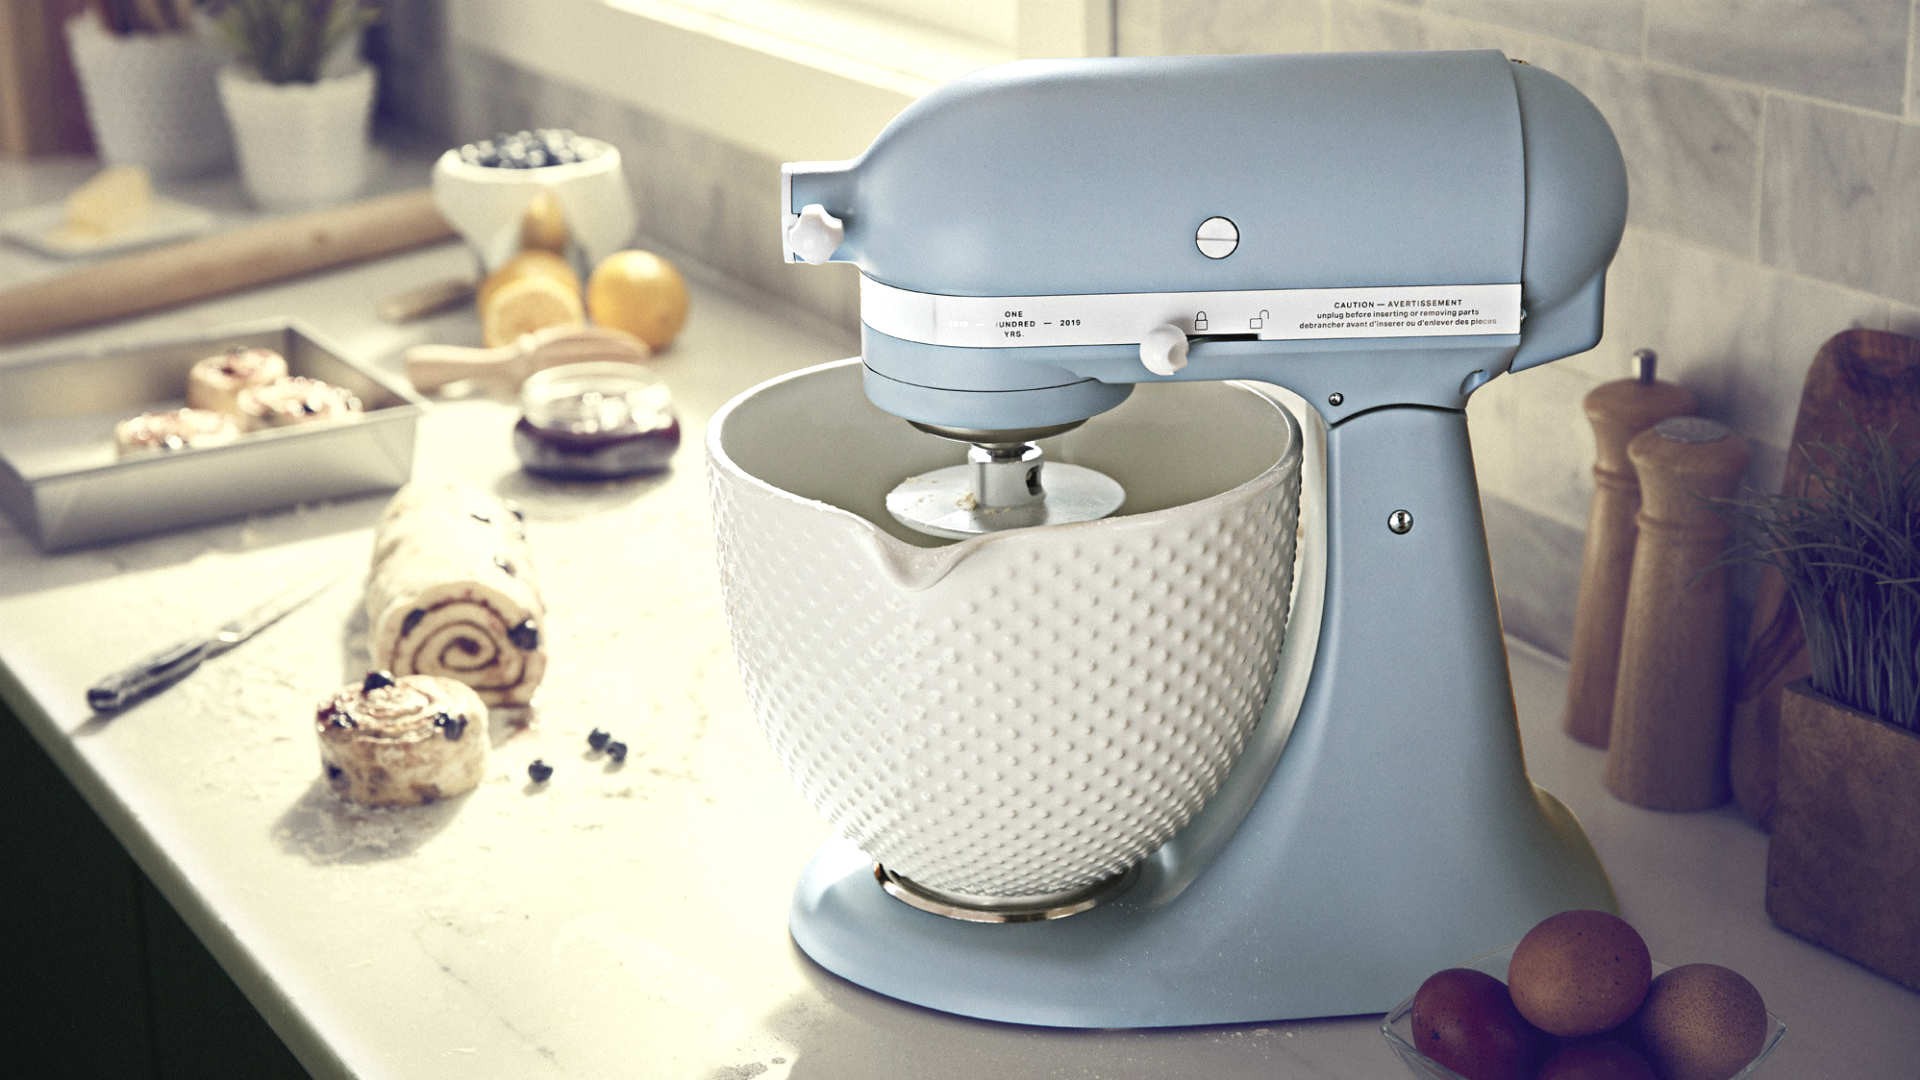
When it comes to storing your Kitchenaid mixer, selecting the right location is key. The ideal storage location should be cool, dry, and well-ventilated to prevent any moisture buildup or damage to the appliance.
Avoid storing the mixer in areas that are prone to temperature extremes or high humidity, such as near a stove or dishwasher. The heat and moisture can potentially affect the electronic components of the mixer and lead to malfunctions or damage over time.
If possible, choose a location that is away from direct sunlight. Prolonged exposure to sunlight can cause the mixer’s plastic components and finish to fade or discolor. Keeping it in a shaded area or in a cabinet will help maintain its aesthetic appeal.
Consider the available space and accessibility when choosing a storage location. If you frequently use the mixer, it might be more convenient to keep it on the kitchen countertop or in a cupboard where it’s easily reachable. However, if you only use it occasionally, you might opt for a storage area that doesn’t take up valuable counter space.
Keep in mind that the storage location should also be relatively dust-free to minimize the need for frequent cleaning and maintenance of the mixer. If dust is a concern, cover the entire mixer with a breathable dust cover or place it inside a clean plastic bag before storing. This will provide an extra layer of protection against dust particles.
Lastly, ensure that the storage location is away from potential hazards such as heavy objects or other kitchen appliances that could accidentally damage the mixer.
By choosing a suitable storage location, you can protect your Kitchenaid mixer from environmental factors and ensure that it remains in excellent condition throughout its lifespan.
Step 6: Covering the Mixer
Covering your Kitchenaid mixer during storage is an important step to prevent dust, dirt, and other debris from accumulating on the appliance. A cover will provide an extra layer of protection and help maintain the cleanliness of the mixer.
There are a few options when it comes to choosing a cover for your mixer. One option is to use the original cover that came with the appliance. If you no longer have the original cover or it’s not available, you can purchase a compatible cover from the manufacturer or explore other options such as universal mixer covers.
If you prefer a DIY approach, you can also make a cover using fabric or a clean, breathable material. Sew a simple cover that fits snugly over the mixer while still allowing for proper airflow. Alternatively, you can repurpose a clean pillowcase or kitchen towel to cover the appliance, securing it with a rubber band or string.
When covering the mixer, ensure that it is completely clean and dry. Any moisture or residue left on the appliance can lead to mold or tarnishing over time. Be sure to wipe down the surface with a clean cloth before applying the cover.
Remember to choose a cover that is breathable to prevent any moisture buildup inside. Moisture trapped inside the cover can create a breeding ground for mold and mildew, potentially damaging the mixer.
Lastly, label the cover or storage container with the name or model of the mixer for easy identification. This way, you can quickly find the appropriate cover when you’re ready to use the mixer again.
By covering your Kitchenaid mixer, you can protect it from dust, maintain its cleanliness, and ensure that it’s ready to use whenever you need it.
Step 7: Additional Tips for Long-Term Storage
When it comes to long-term storage of your Kitchenaid mixer, there are a few additional tips that can help ensure its longevity and optimal performance.
Firstly, it’s recommended to use the mixer periodically, even during storage. This will help prevent any components from seizing or becoming stiff due to lack of use. Simply plug in the mixer and run it for a few minutes on a low setting every few months to keep the parts moving smoothly.
Secondly, consider storing the mixer in its original box if you still have it. The original box is designed to provide a snug fit and offer additional protection during storage. It can help safeguard the mixer from accidental bumps or falls and minimize the risk of damage.
Furthermore, if you have limited storage space, you may want to consider using vertical storage options. There are mixer stands or racks available that can securely hold the mixer in an upright position, saving valuable countertop or cupboard space.
Another helpful tip is to store any related accessories, such as the user manual or recipe book, with the mixer. Keeping these items together will make it easier to find everything when you need it. You can place them in a labeled bag or box and store them near the mixer.
Lastly, periodically check the stored mixer for any signs of pests or insects. Make sure the storage area is clean and free from any potential infestations. If you notice any pests, take immediate action to eliminate them and ensure they don’t cause any damage to the appliance.
By following these additional tips, you can maintain the longevity of your Kitchenaid mixer during long-term storage and ensure that it’s ready to serve you for many years to come.
Conclusion
Properly storing your Kitchenaid mixer is essential to keep it in good condition and ready for use whenever you need it. By following the steps outlined in this article, you can ensure that your mixer remains clean, protected, and functional, prolonging its lifespan and maintaining its performance.
Remember to start by thoroughly cleaning the mixer and its attachments, removing any residue or buildup. Detach the attachments and store them separately, wrapped in a protective cloth or placed in a designated container. Secure the power cord and choose an ideal storage location that is cool, dry, and well-ventilated. Cover the mixer with a breathable cover to protect it from dust and other debris.
Additionally, consider the tips for long-term storage, such as periodic use, storing in the original box, using vertical storage options, and keeping related accessories together. Regularly check for pests or insects and take appropriate measures to prevent any damage.
By following these steps and tips, you can ensure that your Kitchenaid mixer remains in excellent condition, ready to assist you in your culinary adventures for years to come. Proper storage not only protects your investment but also enhances your overall cooking experience, allowing you to enjoy the benefits of your mixer whenever you need it.
So, take the time to store your Kitchenaid mixer correctly and enjoy the convenience and joy it brings every time you use it!
Frequently Asked Questions about How To Store Kitchenaid Mixer
Was this page helpful?
At Storables.com, we guarantee accurate and reliable information. Our content, validated by Expert Board Contributors, is crafted following stringent Editorial Policies. We're committed to providing you with well-researched, expert-backed insights for all your informational needs.


0 thoughts on “How To Store Kitchenaid Mixer”