Articles
How To Lift The Head Of A Kitchenaid Mixer
Modified: January 6, 2024
Learn how to easily lift the head of your Kitchenaid mixer with our step-by-step articles. Get the most out of your appliance with our helpful tips and tricks.
(Many of the links in this article redirect to a specific reviewed product. Your purchase of these products through affiliate links helps to generate commission for Storables.com, at no extra cost. Learn more)
Introduction
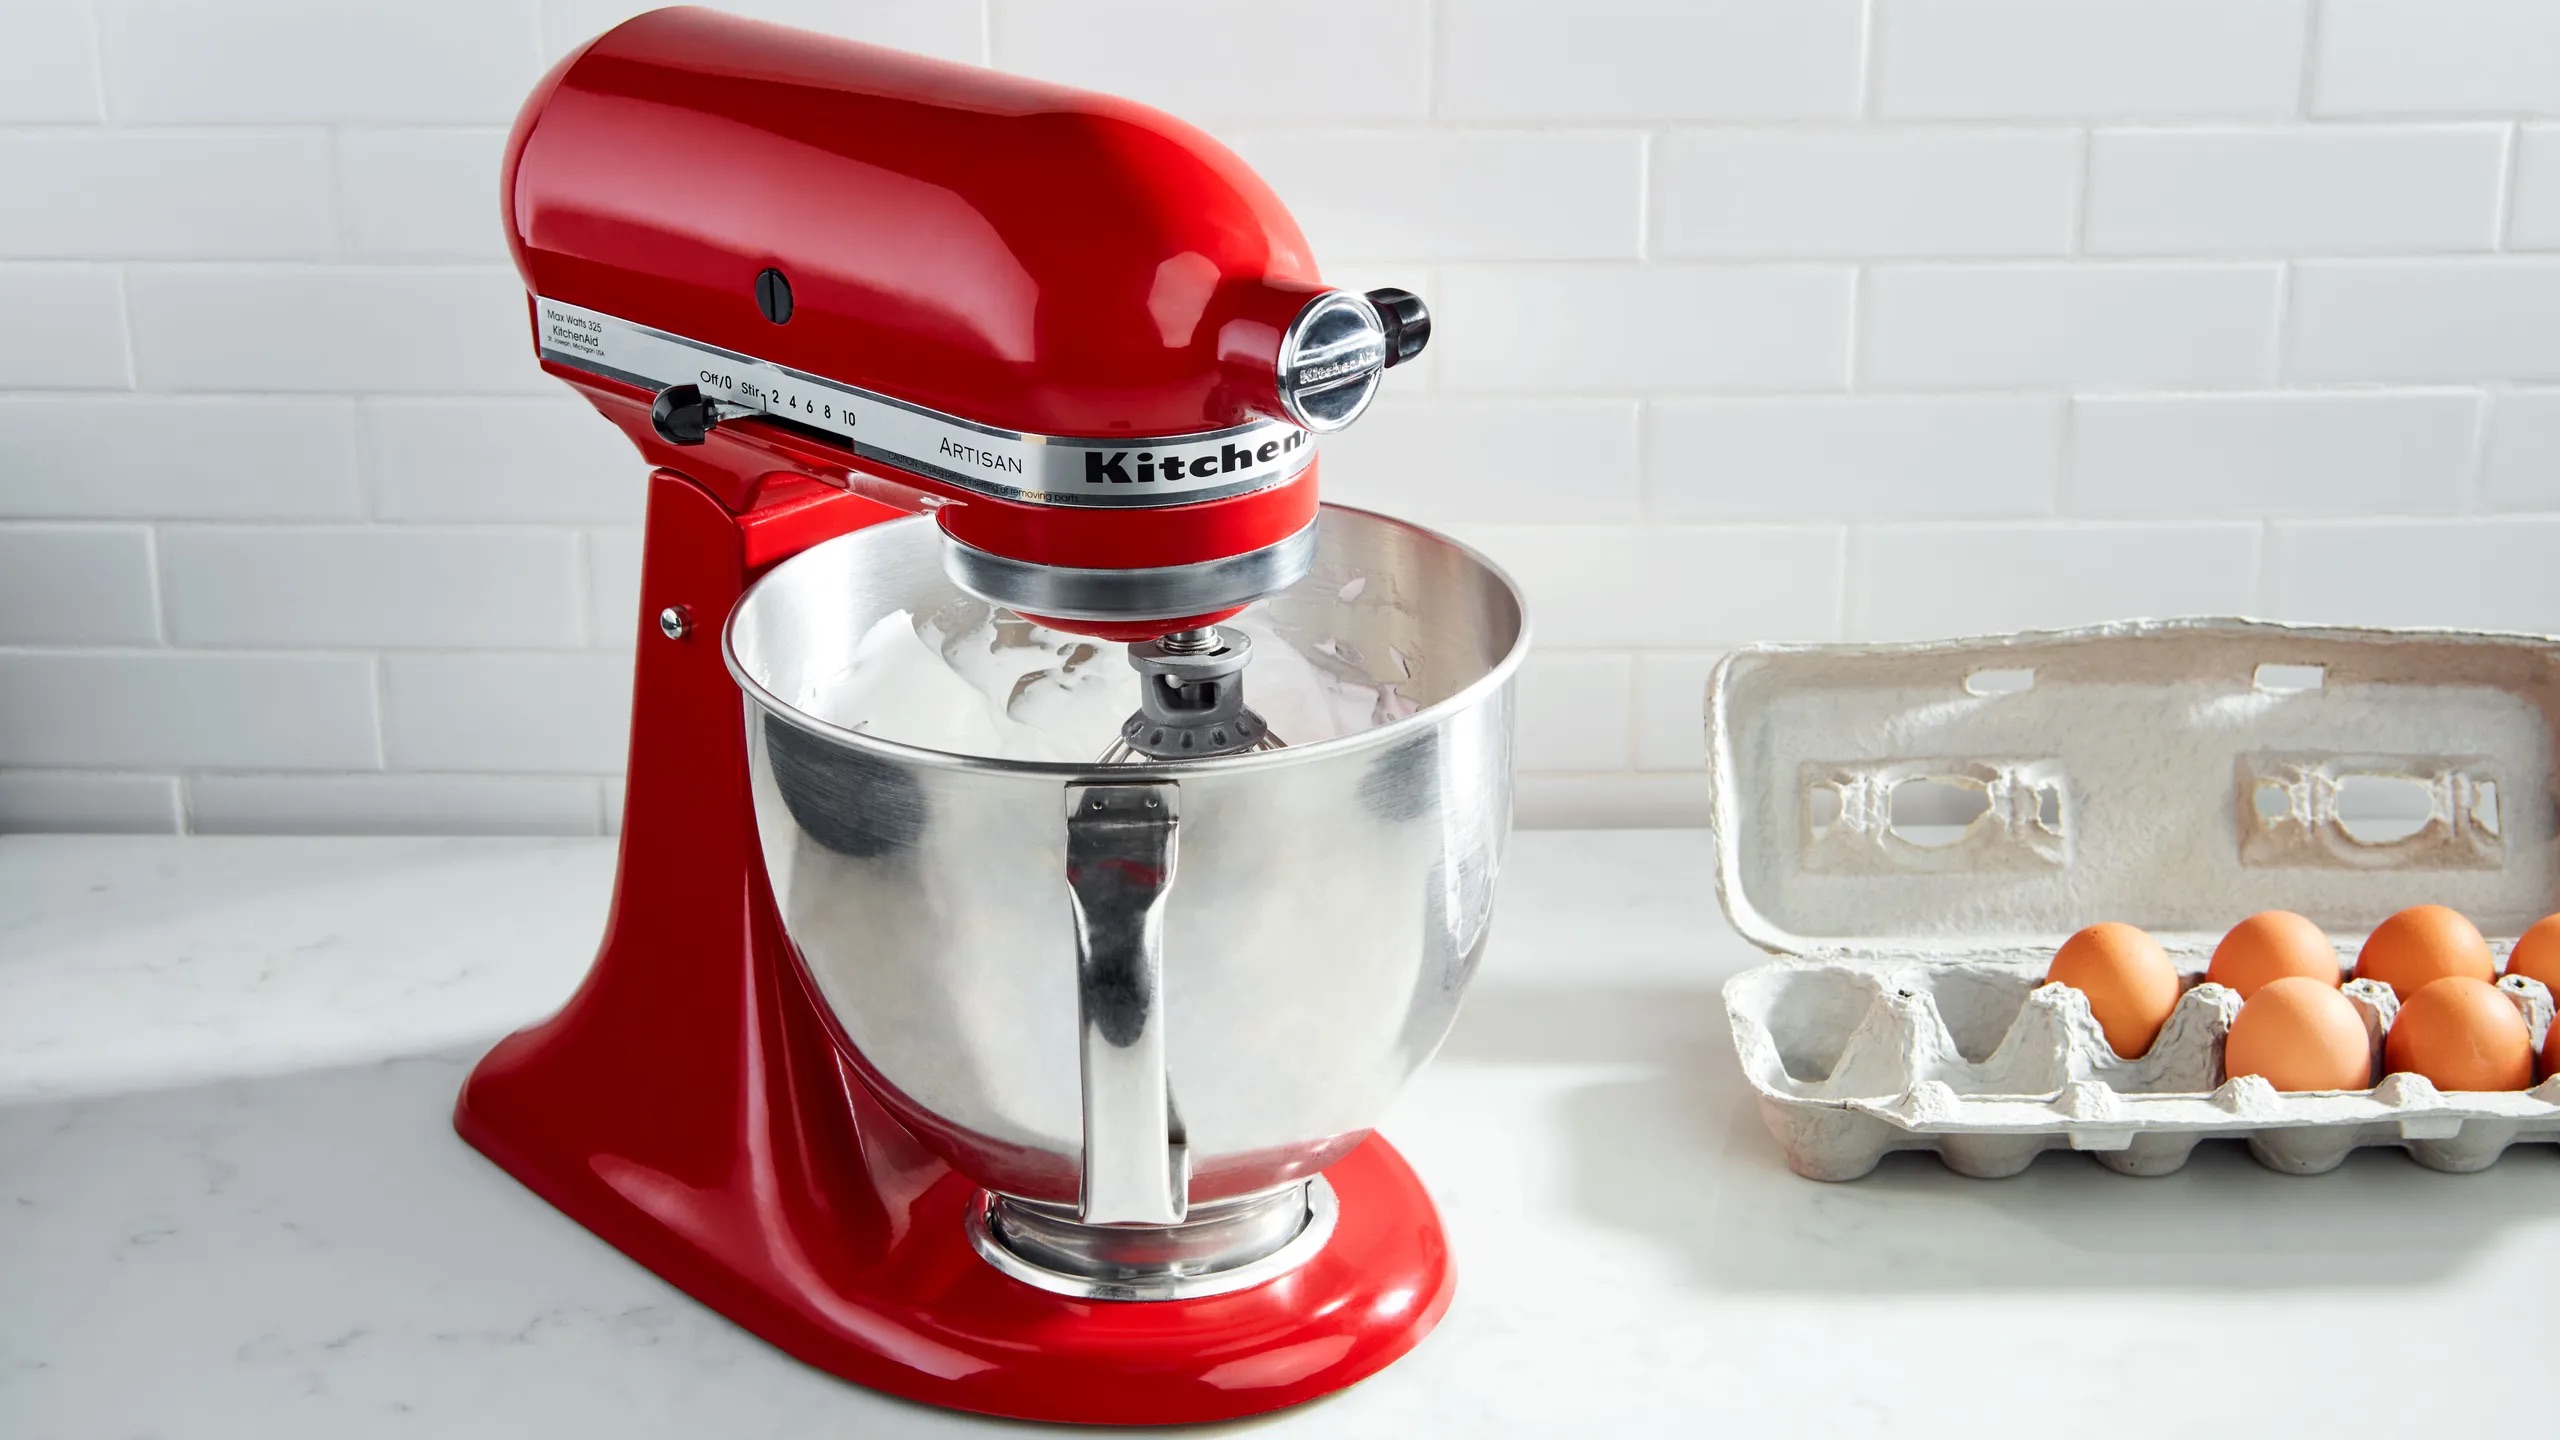
Having a Kitchenaid mixer in your kitchen is a game-changer. It takes your baking and cooking endeavors to a whole new level, allowing you to effortlessly mix, knead, and whip ingredients. However, there may come a time when you need to lift the head of your Kitchenaid mixer. Whether you need to access the bowl or attach different mixing tools, knowing how to lift the head properly is crucial to avoid any mishaps.
In this article, we will guide you through the step-by-step process of lifting the head of your Kitchenaid mixer safely and securely. By following these instructions, you’ll be able to seamlessly navigate the mechanics of your Kitchenaid mixer, making your culinary experiences even more enjoyable and efficient.
Key Takeaways:
- Safely lift and secure the head of your Kitchenaid mixer by following simple steps, ensuring easy access to the bowl and efficient attachment of mixing tools. Always prioritize safety and proper locking mechanisms for smooth operation.
- Lower the head of your Kitchenaid mixer with care and attention to detail, ensuring proper alignment and secure seating. By following these steps, you can maintain the longevity and optimal performance of your appliance.
Tools and Materials Needed
Before you begin lifting the head of your Kitchenaid mixer, it’s essential to gather the necessary tools and materials. Having everything on hand will ensure a smooth and hassle-free process. Here’s a list of what you’ll need:
- Flathead screwdriver
- Soft cloth or towel
Make sure you have these items readily available before proceeding to the next steps. Having the right tools will make the process easier and more efficient.
Step 1: Unplug the Kitchenaid Mixer
Prior to any maintenance or adjustment on your Kitchenaid mixer, it’s crucial to ensure that it is completely unplugged from the power source. This step is critical for your safety, as it eliminates the risk of electric shock while working on the appliance.
Take a moment to locate the power cord and unplug it from the electrical outlet. Give the mixer a few moments to completely power down before moving on to the next step.
By following this precautionary measure, you create a safe working environment and reduce the risk of accidents during the process of lifting the head of your Kitchenaid mixer.
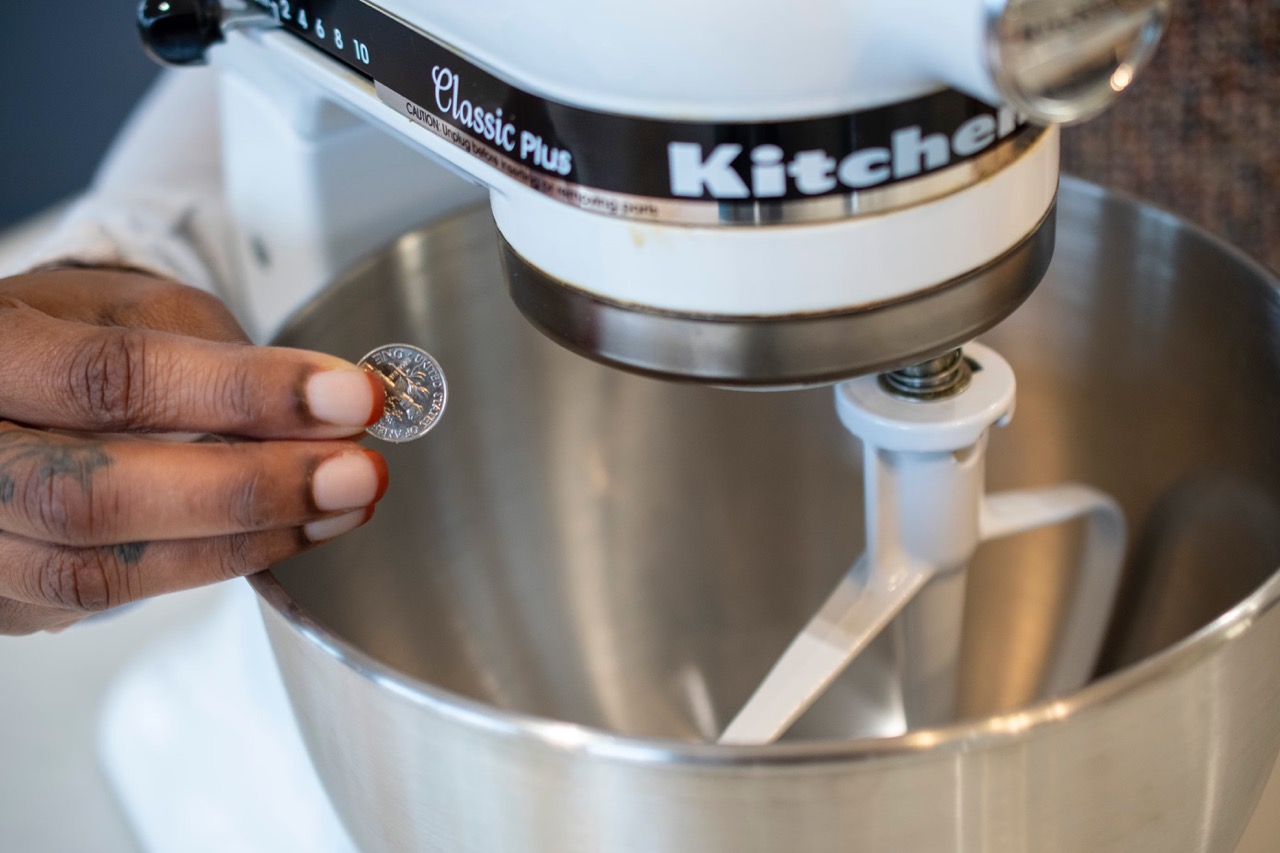
Step 2: Loosen the Locking Mechanism
Once the Kitchenaid mixer is unplugged, it’s time to prepare the locking mechanism to release the head. Most Kitchenaid mixers have a locking lever or knob located on the side or back of the unit.
Take a look at your particular model to locate the locking mechanism. It may be a lever that you need to push or pull, or it might be a knob that you need to turn counterclockwise.
Using your hand or a flathead screwdriver, adjust the locking mechanism to loosen it. This will allow the head of the mixer to move freely and be lifted.
Ensure that the locking mechanism is fully loosened before attempting to raise the head of the mixer, as any resistance or stiffness could potentially damage the appliance.
By loosening the locking mechanism, you are preparing the Kitchenaid mixer for the next step, which involves lifting the head safely and smoothly.
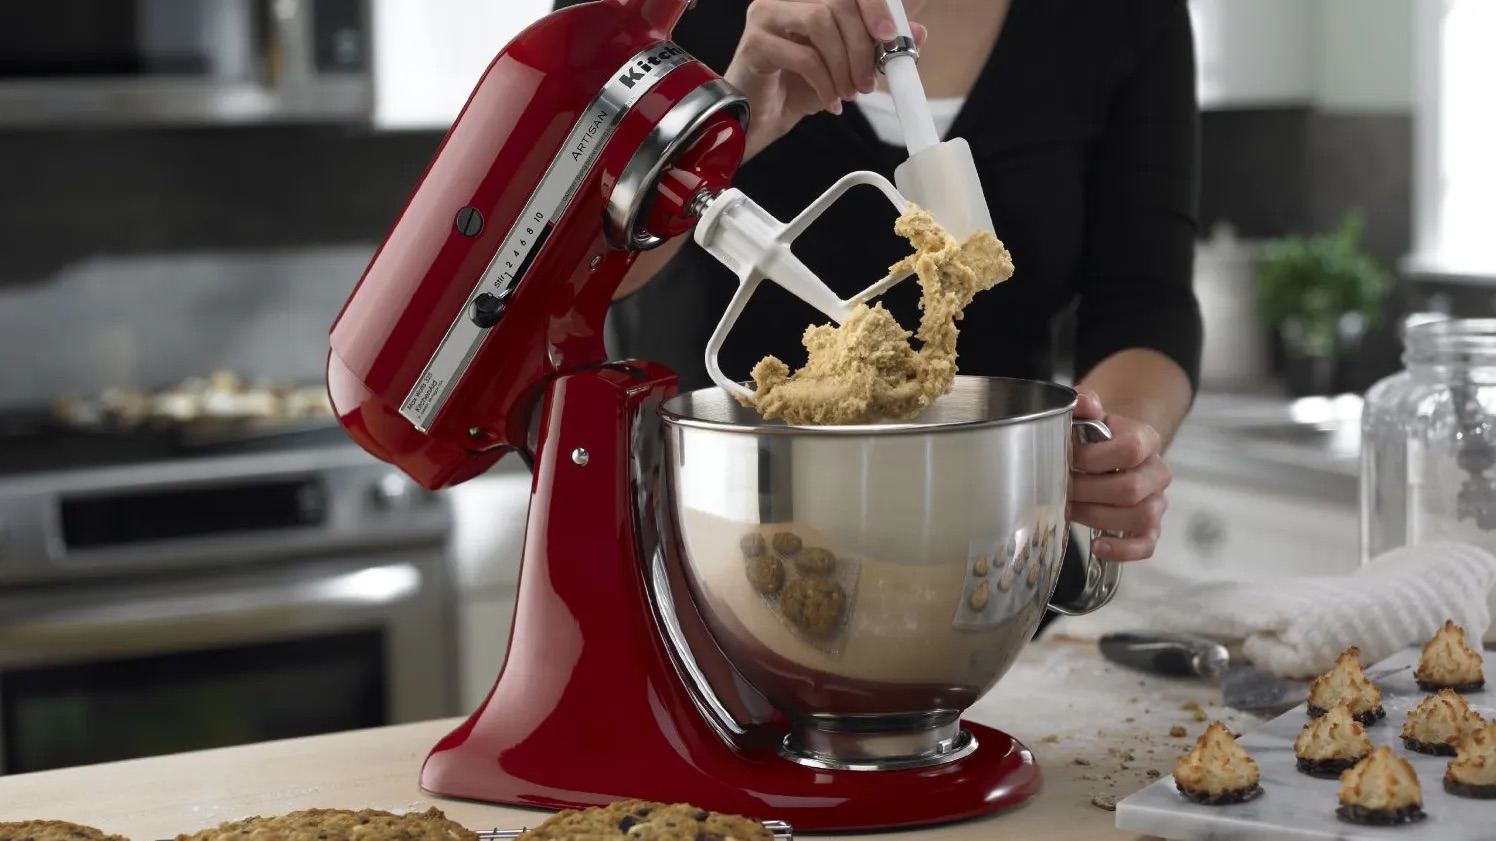
To lift the head of a KitchenAid mixer, simply unlock the head by pressing the release lever and then tilt it back. This will allow you to easily access the mixing bowl and attachments.
Step 3: Lift the Head of the Kitchenaid Mixer
Now that the locking mechanism is loosened, it’s time to lift the head of the Kitchenaid mixer. Follow these steps to do it properly:
- Position yourself in front of the mixer, with a clear and open workspace.
- Place one hand on the handle of the mixer bowl and the other hand on the back of the mixer near the power hub.
- Using gentle and steady pressure, lift the head of the Kitchenaid mixer in an upward motion.
- Continue lifting until the head is in a fully raised position, allowing easy access to the mixer bowl.
It’s important to ensure that the lifting motion is smooth and controlled. Avoid jerking or forcing the head up, as this may cause damage to the appliance or result in injury.
Once the head is raised, it should stay in position without any additional support. If there is any resistance or the head doesn’t stay up on its own, double-check the locking mechanism and ensure it is properly loosened and adjusted.
By following these steps, you can safely and effortlessly lift the head of your Kitchenaid mixer, making it ready for various kitchen tasks.
Read more: How To Adjust Kitchenaid Lift Mixer
Step 4: Securing the Head in Raised Position
After successfully lifting the head of your Kitchenaid mixer, it’s important to ensure that it remains securely in the raised position. This will allow you to work comfortably and safely. Follow these steps to secure the head:
- Locate the lock-latch mechanism located on the side or back of the mixer.
- Gently push the lock-latch mechanism downward until it clicks into place.
- Verify that the lock-latch mechanism is engaged by attempting to gently lower the head. It should remain securely in the raised position.
Securing the head of your Kitchenaid mixer is essential to avoid any accidents or unforeseen movements during use. This ensures stability and allows you to focus on your culinary tasks with peace of mind.
If the lock-latch mechanism is not engaging or you encounter any issues, double-check the locking lever or knob and make sure it is properly adjusted. It should be tightened enough to secure the head but not too tight to hinder its movement.
By following these steps, you can confidently work with your Kitchenaid mixer without any worries about the head accidentally lowering or shifting during use.
Step 5: Lowering the Head of the Mixer
Once you have finished using your Kitchenaid mixer and no longer need the head to be in the raised position, it’s time to lower it back down. Follow these steps to safely lower the head:
- Make sure that any attachments or mixing tools are removed from the mixer.
- Place one hand on the handle of the mixer bowl and the other hand on the back of the mixer near the power hub.
- Gently and slowly lower the head of the mixer, guiding it back into its original position.
- Ensure that the head is aligned correctly and fully seated in the lower position.
As you lower the head, be mindful of any resistance or obstructions. If you encounter any difficulties, double-check the locking mechanism and make sure it is properly adjusted and loosened.
Once the head is securely lowered, you can proceed with cleaning the mixer bowl, storing the appliance, or preparing it for your next culinary adventure.
By following these simple steps, you can safely and efficiently lower the head of your Kitchenaid mixer back into its original position, ensuring proper functionality and longevity of the appliance.
Conclusion
Having the ability to lift the head of your Kitchenaid mixer is an essential skill for any home baker or cook. It allows you to access the mixing bowl, attach different tools, and perform maintenance tasks with ease. By following the steps outlined in this article, you can confidently lift and lower the head of your Kitchenaid mixer safely and securely.
Remember to always start by unplugging the mixer to ensure your safety. Loosen the locking mechanism before lifting the head, and make sure it is securely locked in the raised position. When lowering the head, do so slowly and carefully, ensuring that it is aligned correctly and fully seated in the lower position.
By practicing these steps, you can maintain the longevity of your Kitchenaid mixer and ensure its optimal performance. It’s always a good idea to consult your appliance’s user manual for specific instructions and guidelines. Additionally, if you encounter any difficulties or issues while lifting or lowering the head of your mixer, contact the manufacturer or seek professional assistance.
Now that you have learned how to lift the head of a Kitchenaid mixer, you are well-equipped to tackle your culinary adventures with confidence. Enjoy the convenience and versatility that your Kitchenaid mixer offers, and get ready to whip up delicious creations in no time!
Frequently Asked Questions about How To Lift The Head Of A Kitchenaid Mixer
Was this page helpful?
At Storables.com, we guarantee accurate and reliable information. Our content, validated by Expert Board Contributors, is crafted following stringent Editorial Policies. We're committed to providing you with well-researched, expert-backed insights for all your informational needs.

0 thoughts on “How To Lift The Head Of A Kitchenaid Mixer”