Articles
How To Store Old Photos Digitally
Modified: January 26, 2024
Looking to preserve your old photos digitally? Check out our articles for step-by-step guides and tips on how to safely store and digitize your cherished memories.
(Many of the links in this article redirect to a specific reviewed product. Your purchase of these products through affiliate links helps to generate commission for Storables.com, at no extra cost. Learn more)
Introduction
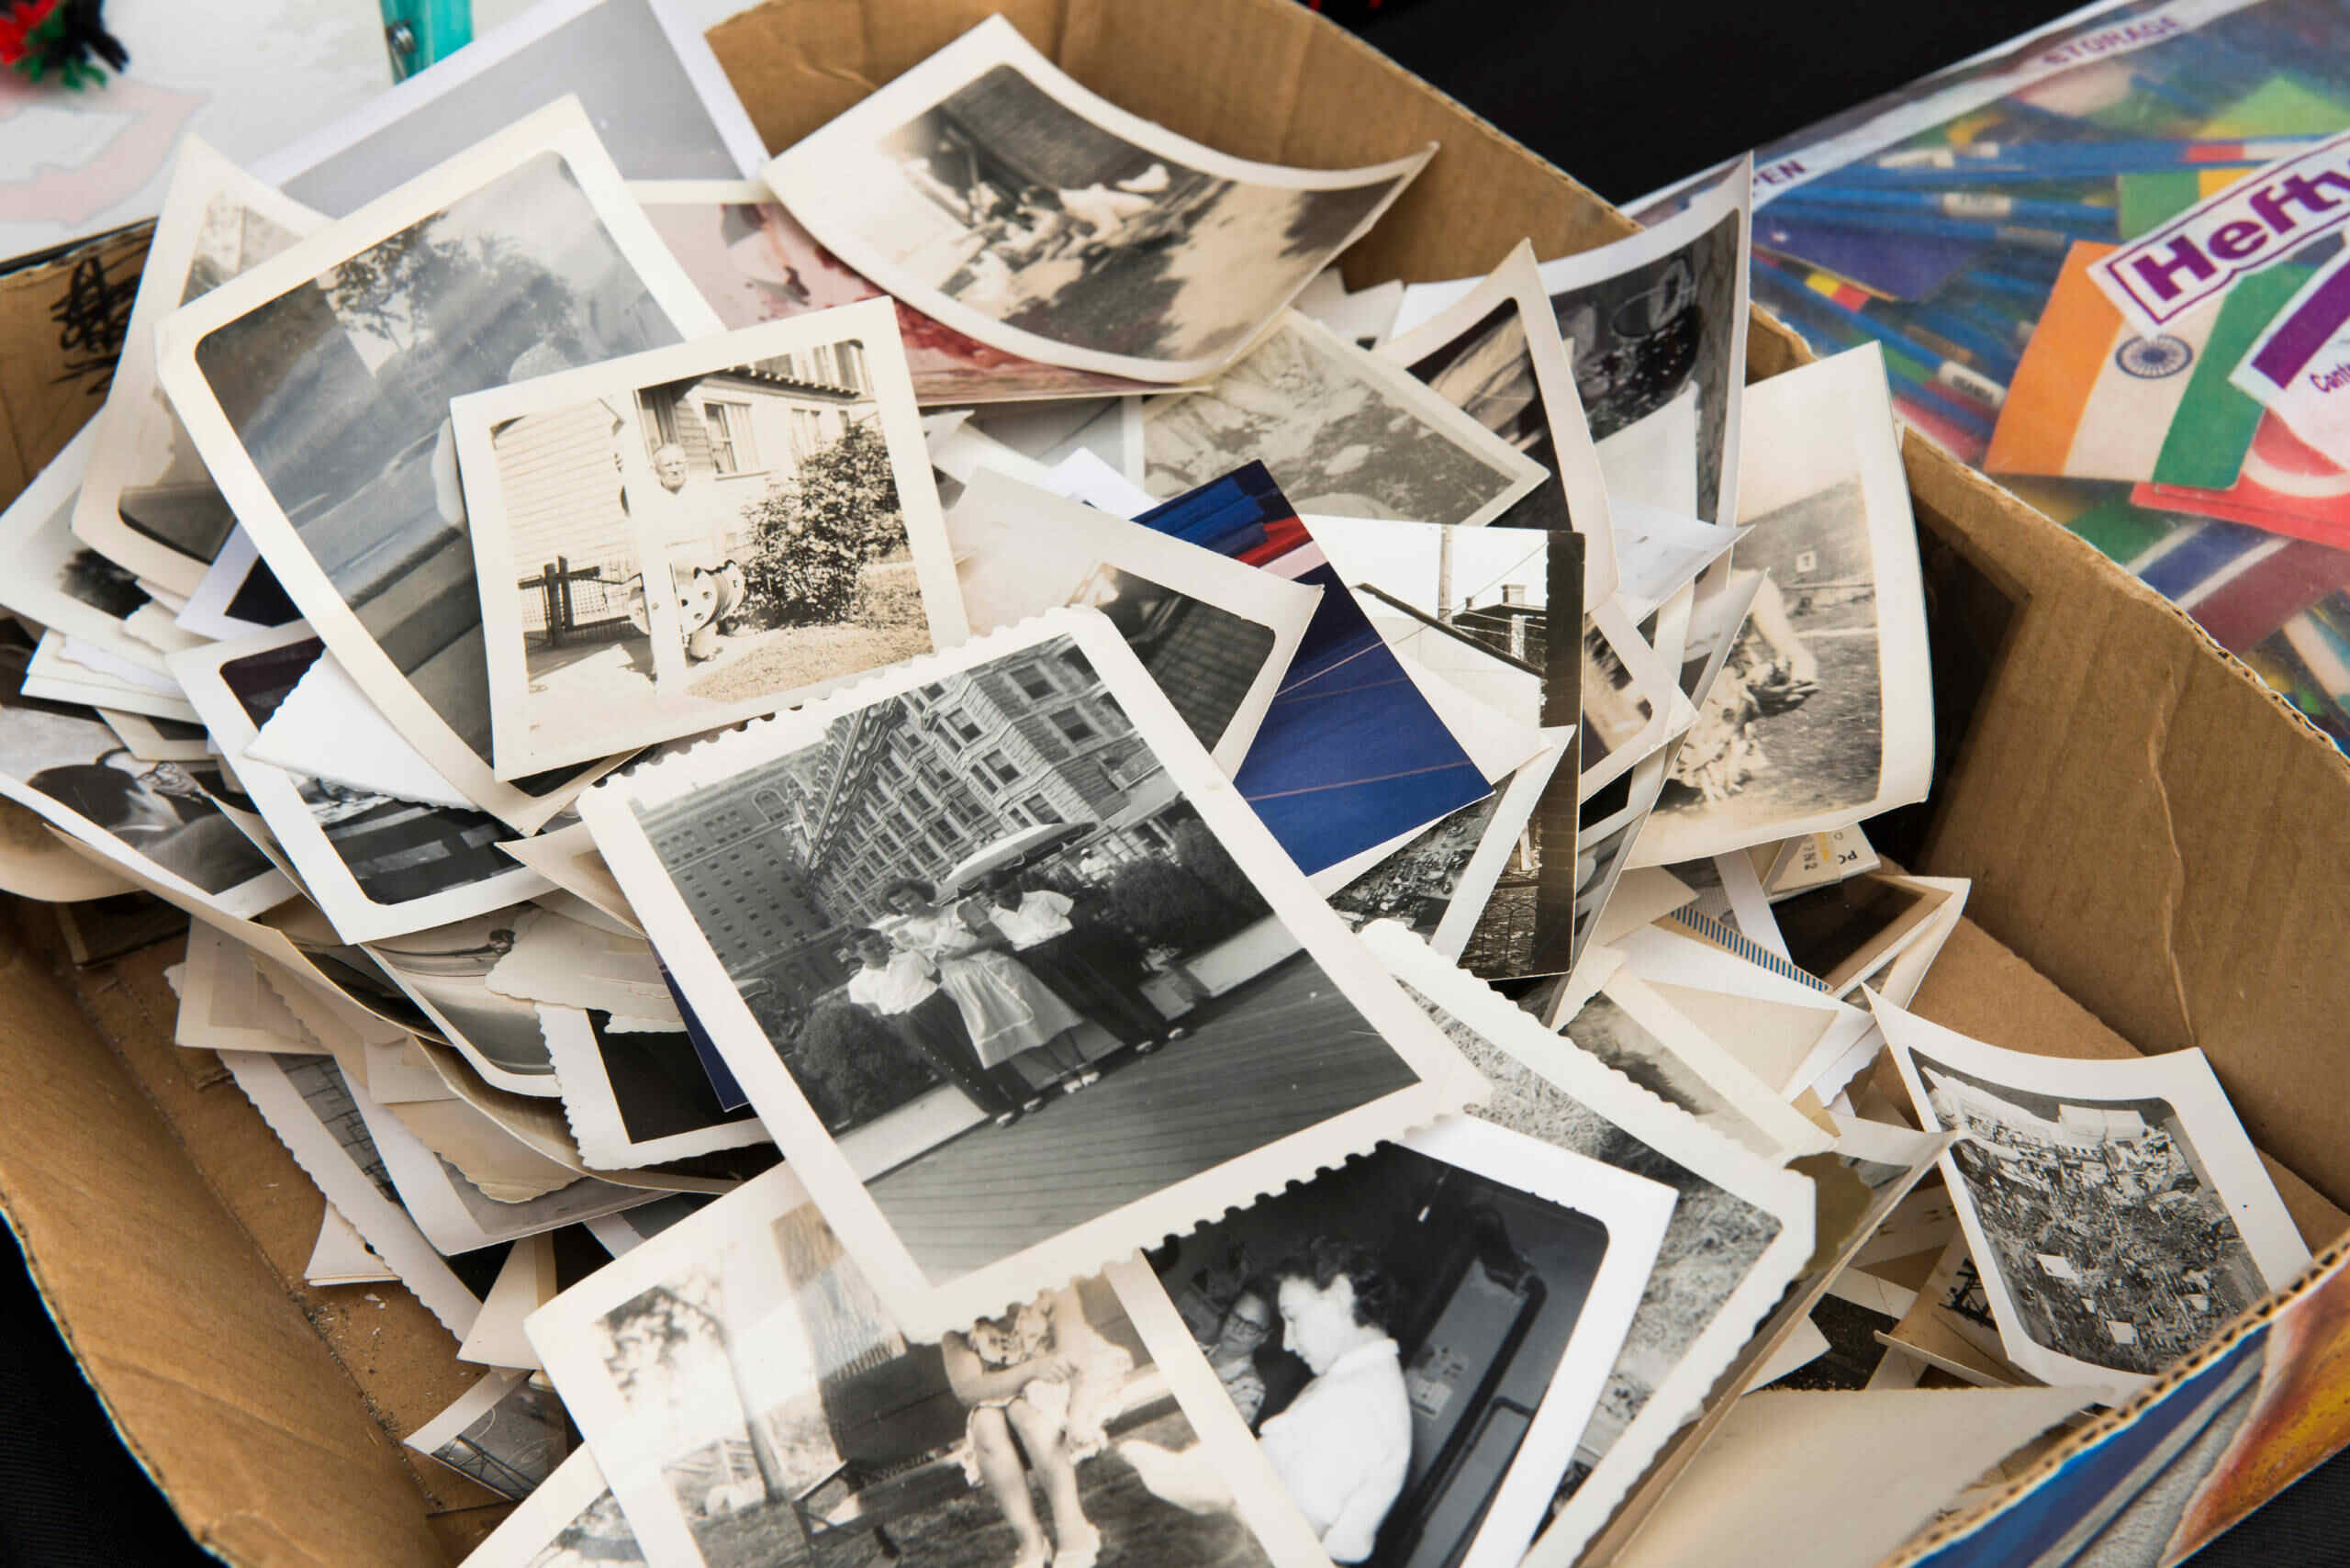
Preserving memories is an important part of our lives. From old family vacations to cherished moments with loved ones, photographs hold a special place in our hearts. However, as time goes by, these physical prints can fade, become damaged, or even get lost. That’s where digitizing old photos comes in.
Digital storage has revolutionized the way we preserve and share our memories. By converting your old printed photos into digital files, you can ensure their longevity and protect them from the wear and tear of time. Not only does digitizing provide a safer way to store photos, but it also opens up a world of possibilities for sharing and preserving these precious moments.
In this article, we will explore the benefits of digitizing old photos, discuss the necessary equipment, provide step-by-step instructions on how to prepare and scan your photos, and guide you on organizing, storing, and backing up your digital photo collection. Additionally, we will touch on tips for sharing and preserving your digitized photos for future generations to enjoy.
So, if you have a stack of old photos gathering dust in your attic or a shoebox filled with cherished memories, it’s time to bring them into the digital age. Let’s embark on this journey to safeguard and cherish your photographs for years to come.
Key Takeaways:
- Preserve and Share Memories: Digitizing old photos ensures their longevity, easy accessibility, and enhanced sharing capabilities. Invest in quality equipment, prepare photos meticulously, and organize and back up digital files for future-proof preservation.
- Cherish and Pass Down Legacy: By sharing digitized photos with family and friends, creating physical keepsakes, and incorporating metadata, you can preserve cherished memories for future generations. Stay updated with technology to ensure accessibility and longevity.
Read more: How To Store Old Photos In Boxes
Benefits of Digitizing Old Photos
Digitizing old photos offers a multitude of benefits that go beyond just preserving physical prints. Let’s explore some of the key advantages:
- Prolonged Preservation: Traditional printed photos are susceptible to damage from factors such as fading, water, and mold. By digitizing your photos, you can protect them from these risks and ensure their longevity for future generations to enjoy.
- Space Saving: Storing physical photo prints can take up a significant amount of space in your home. By digitizing them, you can free up that physical space and have a digital collection that can be easily stored on a computer, external hard drive, or cloud storage.
- Easy Accessibility: With digital photos, you can access your entire collection with just a few clicks. No more sifting through boxes or albums to find that one specific photo. Digital files are easily searchable and can be organized in a way that makes locating specific images a breeze.
- Enhanced Sharing: Digitized photos can be easily shared with family and friends regardless of their geographical location. You can send digital copies via email or share them on social media platforms, allowing you to effortlessly relive memories with loved ones.
- Restoration and Editing: Digitizing old photos opens up possibilities for photo restoration and editing. You can enhance the quality of faded or damaged photos using photo editing software with tools like image recolorer, improving their overall appearance and preserving them for the future.
- Backup and Security: Physical photos are at risk of loss or damage due to unforeseen circumstances like fires, floods, or theft. By digitizing your photos and creating backup copies, you can have peace of mind knowing that even if something happens to the physical copies, your memories are safely stored digitally.
- Future-proof Preservation: Technology is constantly evolving, and as new ways of storing data emerge, it is important to adopt them to future-proof your photo collection. By digitizing your old photos, you can easily transfer them to new storage mediums or formats as technology progresses.
By taking advantage of the benefits of digitizing old photos, you can ensure the longevity and accessibility of your photo collection while enjoying the convenience and versatility that digital storage provides.
Choosing the Right Equipment
When it comes to digitizing your old photos, having the right equipment is essential to ensure high-quality scans and a smooth workflow. Here are some key factors to consider when choosing the equipment for your digitization process:
- Scanner: The most important piece of equipment for digitizing photos is a scanner. There are various types of scanners available, including flatbed scanners, dedicated photo scanners, and portable scanners. Consider the resolution and scanning capabilities of the scanner to ensure it meets your requirements.
- Software: Along with a scanner, you will need software to operate and manage your digitization process. Some scanners come with their own software, while others may require separate software for scanning and image editing. Make sure to choose software that is user-friendly and compatible with your computer system.
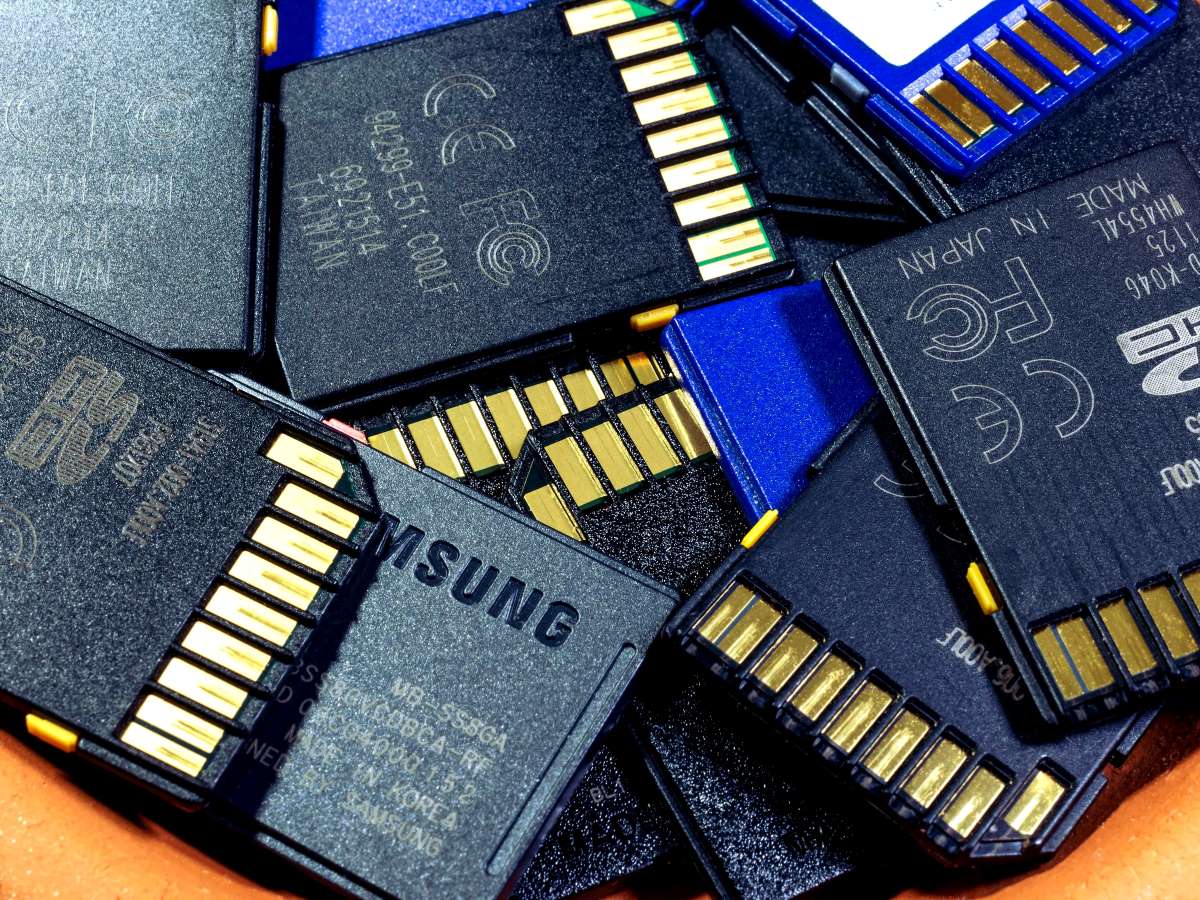
- Storage Devices: Once you have digitized your photos, you will need a storage device to save and organize your digital files. External hard drives, USB flash drives, or cloud storage services are popular options for storing digital photos. Consider the storage capacity and reliability of the chosen device or service.
- Cleaning Equipment: Before scanning your photos, it is important to clean them to remove any dust or debris. Having a soft, lint-free cloth along with cleaning solutions specifically designed for photos can help you ensure your photos are clean and ready for digitization.
- Accessories: Depending on your specific needs, you may require additional accessories such as photo sleeves or albums for organizing physical prints, anti-static gloves to handle delicate prints, or a tripod to stabilize the scanner. Evaluate your requirements and choose the accessories accordingly.
- Backup Solutions: It is crucial to have a backup solution in place for your digitized photos. Consider setting up a regular backup schedule or using an automated backup service to prevent data loss. This can involve creating multiple copies on different storage devices or utilizing cloud storage for added security.
Take the time to research and compare different options for scanners, software, storage devices, and accessories to ensure you choose the right equipment for your specific digitization needs. Remember that investing in quality equipment will result in better scans and a more efficient and enjoyable digitization experience.
Preparing Your Photos for Digitization
Before you start the process of digitizing your old photos, it’s important to properly prepare them to ensure the best possible outcome. Here are some steps to follow when preparing your photos for digitization:
- Organize: Begin by organizing your photos into categories or themes. This will make it easier to locate specific photos during the digitization process and help with organizing your digital collection later on.
- Inspect: Carefully examine each photo for any damage or dirt. Remove any dust or debris using a soft, lint-free cloth or a photo cleaning solution. If you notice significant damage or fading, consider seeking professional assistance for restoration before digitization.
- Remove Adhesive: If your photos are stuck to albums or have adhesive residue on the back, gently remove them using an adhesive remover or carefully peel them off using a dental floss or a plastic tool. Be cautious not to tear or damage the photos in the process.
- Label: Take the time to label your photos. If the original prints do not have any identifying information, use a soft pencil or archival-safe marker to write a brief description or date on the back of the photo. This will help you organize and identify the photos in the future.
- Sort by Size and Orientation: Group your photos based on size and orientation (landscape or portrait). This will help you optimize the scanning process and avoid unnecessary adjustments or cropping during the digitization process.
- Handle with Care: When handling your photos, make sure your hands are clean and dry. Avoid touching the surface of the photos directly and handle them by the edges to prevent smudges or fingerprints.
- Create a Workflow: Establish a systematic workflow for scanning your photos. For example, you may choose to start with the oldest photos or group them by subject or event. Having a workflow will ensure a consistent and organized process as you digitize your photos.
By following these steps and taking the time to properly prepare your photos, you can ensure that the digitization process goes smoothly and that your digital copies maintain the quality and integrity of the original prints. Taking care of your photos now will result in better outcomes and a more enjoyable experience reminiscing through your digitized collection in the future.
Scanning Your Photos
Scanning your old photos is a critical step in the digitization process. It involves capturing high-quality digital images of your physical prints. Here are the steps to follow when scanning your photos:
- Select the Scanner: Depending on your chosen equipment, power on your scanner and ensure that it is connected to your computer or device correctly. Install any necessary drivers or software provided by the scanner manufacturer.
- Configure the Settings: Open the scanning software on your computer and adjust the settings according to your preferences. These settings may include resolution, color mode, file format, and destination folder for the scanned images. Choose a high resolution (typically 300 to 600 dpi) for better image quality.
- Place the Photos: Arrange your photos carefully on the scanner bed. If you have multiple photos, leave a small gap between them to avoid overlapping. If necessary, use the provided photo sleeves or album pages to protect delicate prints during scanning. Close the scanner lid gently, ensuring the photos are flat and not bent or creased.
- Scan: Start the scanning process by clicking the scan button in the software. The scanner will capture an image of each photo on the scanner bed. Depending on the scanner, it may offer options for automatic batch scanning, allowing you to scan multiple photos at once.
- Review and Adjust: After scanning, review the scanned images on your computer screen. Check for any issues such as misalignment, blurriness, or incorrect colors. Most scanning software provides options for adjusting brightness, contrast, and other editing features. Make any necessary adjustments to enhance the quality of the scanned images.
- Save and Name: Once you are satisfied with the scanned images, save them to the designated folder on your computer or storage device. Name the files in a descriptive manner that reflects the content or date of the photos. This will make it easier to search and organize your digital photo collection.
- Repeat the Process: Continue the scanning process for each batch of photos, following the same steps. Take breaks if needed to prevent fatigue and maintain the quality of the scanning process. Remember to adjust the settings and make any necessary edits for each batch of photos to ensure consistency.
Scanning your old photos can be a time-consuming process, but it is well worth the effort to preserve and digitize your beloved memories. Take your time, follow the steps carefully, and enjoy the journey of bringing these nostalgic images into the digital realm.
When storing old photos digitally, be sure to use high-quality scanning equipment to capture the details of the original photo. Save the digital files in a secure location with backup copies to ensure they are preserved for the long term.
Read more: How To Store Old Photo Albums
Organizing and Naming Digital Photos
Once you have digitized your old photos, organizing and naming them properly is crucial for easy retrieval and management. Here are some tips on how to organize and name your digital photo collection:
- Create Folders: Start by creating a folder structure on your computer or storage device to store your digital photos. Consider organizing them by year, event, location, or any other criteria that make sense for your collection. This hierarchical structure will help you locate specific photos and maintain a systematic organization.
- Use Descriptive File Names: Give your photo files meaningful and descriptive names. Include information such as the date, event, or people in the photo. For example, instead of “IMG_1234.jpg,” use a name like “FamilyPicnic_2021.jpg.” Descriptive names will make it easier to search and identify specific photos later.
- Add Metadata: Metadata is additional information embedded in the photo file, such as date, location, and keywords. Use photo management software to add relevant metadata to your digital photos. This will further enhance searchability and organization of your collection.
- Create Subfolders: Within each main folder, consider creating subfolders to further categorize your photos. For example, if you have a “Family” folder, you can create subfolders for different family members or specific events like birthdays or holidays. This level of organization allows for more granular sorting and retrieval of photos.
- Use Tags or Keywords: Implement a tagging system for your digital photos. Tags are labels or keywords that can be associated with each photo, making it easier to group and search for specific themes or subjects. Use tags like “beach,” “wedding,” or “vacation” to quickly find related photos across different folders.
- Regularly Review and Refine: As your digital photo collection grows, periodically review and refine your organization structure. Remove duplicates, reorganize folders if necessary, and update file names or metadata as needed. This will help maintain a streamlined and efficient organization system over time.
- Backup Regularly: Always remember to back up your digital photo collection regularly. Maintain copies of your photos on external hard drives, cloud storage, or other backup solutions. This ensures that your photos are protected in the event of a computer failure or other data loss incidents.
By following these tips for organizing and naming your digital photos, you will have a well-structured and easily searchable collection. The time spent on organization upfront will save you valuable time and frustration when searching for specific photos in the future.
Storing and Backing Up Digital Photos
After digitizing and organizing your old photos, it’s crucial to store and back up your digital photo collection properly. Here are some tips to ensure the safety and longevity of your digital photos:
- External Hard Drives: Invest in high-quality external hard drives with ample storage capacity. Copy your digital photo collection onto these drives as the primary storage solution. Keep the drives in a safe and secure location, away from extreme temperatures, moisture, and magnetic fields.
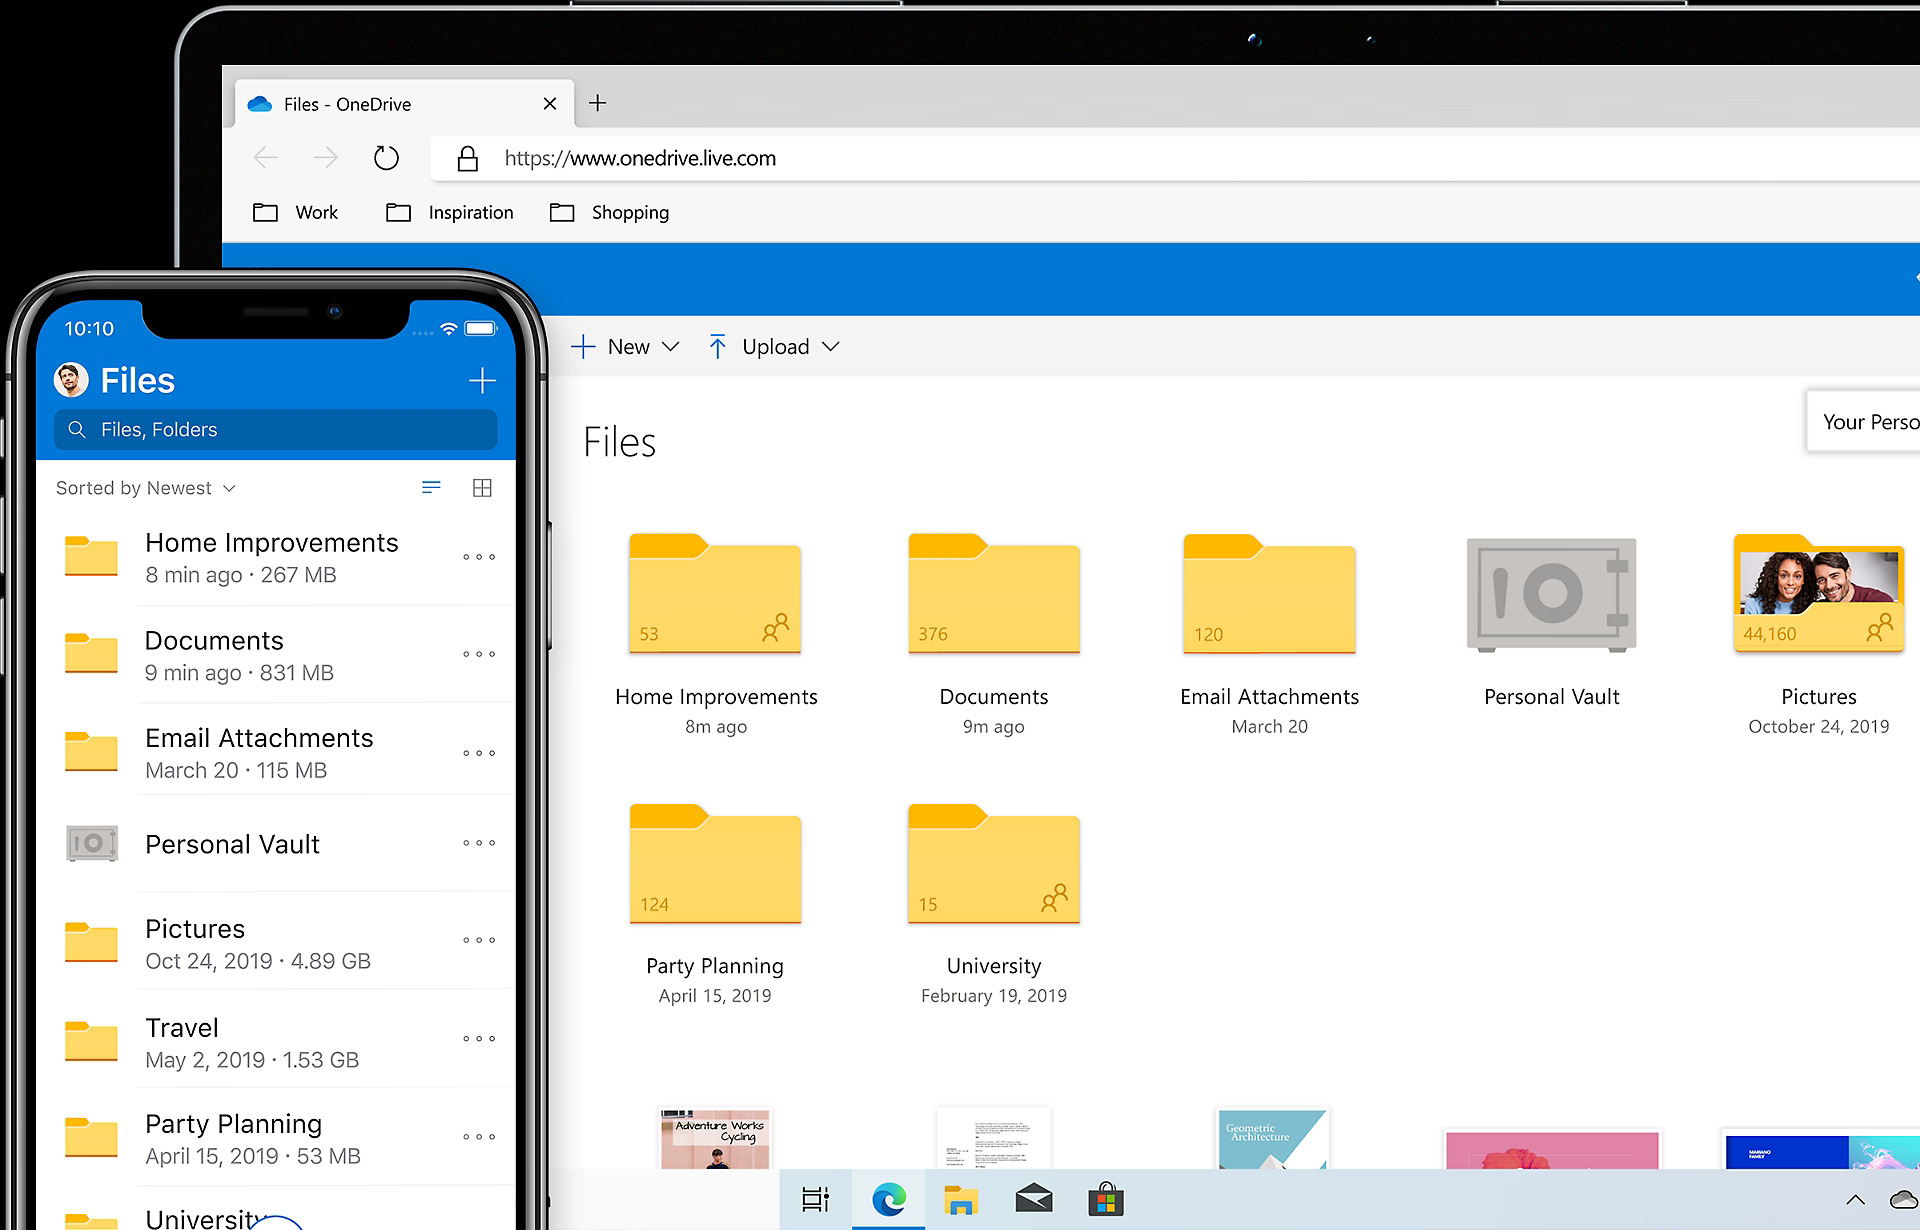
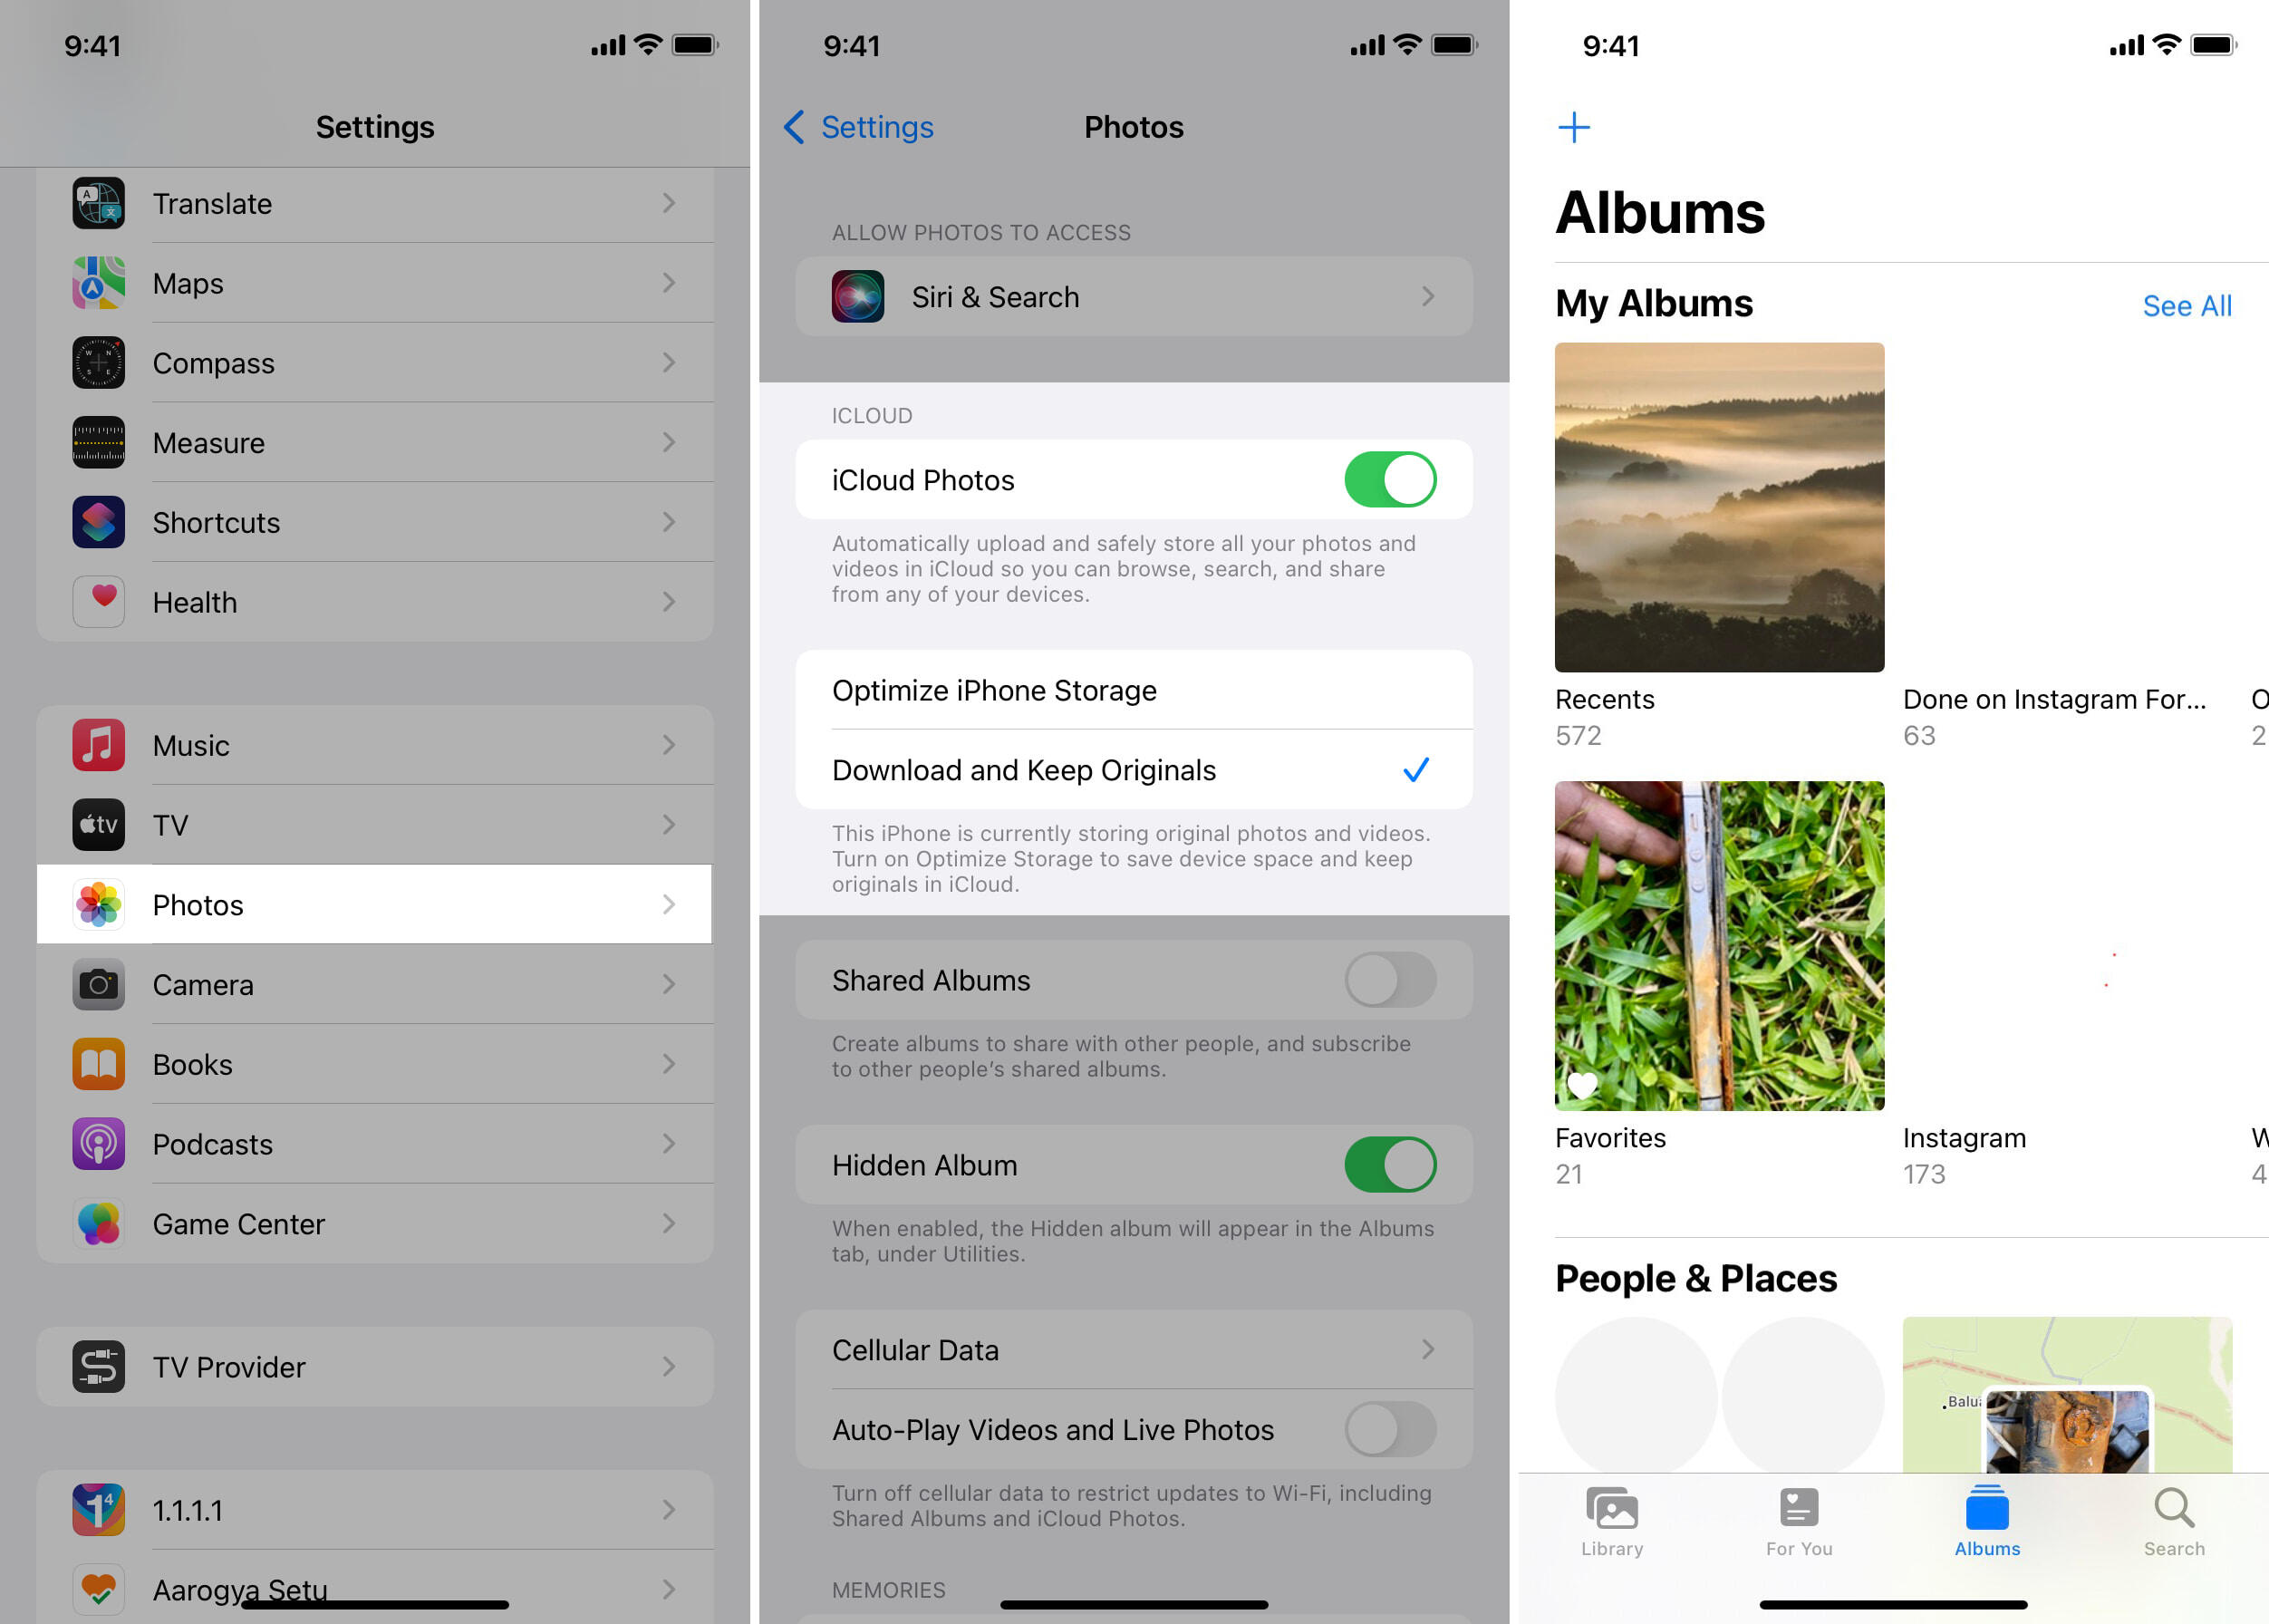
- Cloud Storage: Consider using cloud storage services as an additional backup solution. Services like Google Drive, Dropbox, or iCloud provide reliable storage options and offer automatic synchronization across multiple devices. Encrypt your photos for added security before uploading them to the cloud.
- Multiple Copies: Make multiple copies of your digital photo collection and store them in different locations. Having multiple backups reduces the risk of data loss in case of hardware failure, theft, or natural disasters. Ensure that each backup is kept up to date to reflect any changes or additions to your collection.
- Backup Schedule: Establish a regular backup schedule to ensure that your digital photos are consistently backed up. This can be done on a weekly or monthly basis, depending on your engagement with the collection. Automate the backup process if possible to avoid manual errors or forgetting to back up.
- Verify Backups: Periodically verify the integrity of your backups by restoring a few selected photos. This will help ensure that the backup files are not corrupted and can be successfully retrieved if needed. It’s better to identify any issues early on rather than discovering them when it’s too late.
- Redundancy: Consider using a combination of storage solutions to create redundancy. For example, have one copy of your photos on an external hard drive, another copy on a cloud storage service, and a third copy on a separate physical drive or media. Redundancy minimizes the risk of data loss and provides additional peace of mind.
- Update Technology: Keep up with technological advancements and ensure compatibility with future devices and systems. Regularly transfer your digital photo collection onto new storage media as technology evolves. This will protect your photos from becoming inaccessible due to obsolete storage formats.
Remember, the safety of your digital photo collection depends on both proper storage practices and regular backups. By following these guidelines and maintaining multiple copies in different locations, you can safeguard your precious memories for years to come.
Sharing and Preserving Your Digitized Photos
After digitizing and organizing your old photos, it’s time to share and preserve them for future generations to enjoy. Here are some tips on how to share and preserve your digitized photos:
- Sharing with Family and Friends: Use digital platforms like email, messaging apps, or social media to easily share your digitized photos with family and friends. Create albums or slideshows to showcase specific events or themes, and encourage your loved ones to share their own memories and stories.
- Creating Photo Books or Albums: Consider creating physical photo books or albums using online services or desktop software. These tangible items make great gifts and allow you to preserve your favorite photos in a timeless format. Include captions or descriptions to provide context and enhance the storytelling aspect.
- Archival Printing: Select some of your favorite photos and have them professionally printed on archival-quality paper. This ensures that physical copies of these special moments are preserved for years to come. Frame them or store them in acid-free archival sleeves to protect them from environmental damage.
- Photo Restoration: If you have valuable or heavily damaged photos, consider seeking professional photo restoration services. Skilled technicians can digitally repair and enhance old and faded prints, bringing them back to their original glory. This helps to preserve the visual integrity of the photos for future generations.
- Metadata and Description: Embed metadata within your digital photo files that includes descriptions, names of people, dates, and other relevant details. This will help preserve the context and significance of each photo, even if it gets separated from its original file or folder structure. Use photo management software to easily add and edit metadata.
- Regular Maintenance: Periodically review and maintain your digital photo collection. Weed out duplicates, delete unnecessary files, and update metadata and descriptions as needed. This ensures the collection remains well-organized and easy to navigate for both you and future generations.
- Future-Proofing: Keep up with technological advancements and trends to future-proof your digitized photos. Regularly convert your files to updated formats and explore new storage and sharing options. This ensures that your photos remain accessible and compatible with future devices and software.
- Consider a Photo Management Software: Invest in a photo management software that offers features like facial recognition, keyword tagging, and easy searching. These tools help streamline the organization and retrieval of your digital photo collection, making it easier to share and preserve your photos.
By actively sharing and preserving your digitized photos, you ensure that your cherished memories are not only enjoyed by current generations but also preserved for the future. Whether it’s through physical prints, digital formats, or a combination of both, these steps will help you pass down your legacy to future family members and keep the magic of those captured moments alive.
Conclusion
Digitizing your old photos is a valuable investment of time and effort. By converting your physical prints into digital files, you not only protect them from the potential damages of time but also open up a world of possibilities for preserving, sharing, and reliving your cherished memories.
Throughout this article, we explored the benefits of digitizing old photos, discussed the importance of choosing the right equipment, provided steps for preparing and scanning your photos, and offered tips for organizing, storing, and backing up your digital collection. We also delved into sharing your digitized photos with family and friends, as well as various preservation methods to ensure the longevity of your precious memories.
Remember, the key to successful digitization lies in proper organization, storage, and backup practices. Take the time to organize your digital photos, label them accurately, and create a systematic filing structure. Store multiple copies of your collection in different locations, including external hard drives and cloud storage. Regularly back up your photos to safeguard against data loss.
Sharing your digitized photos with loved ones or preserving them through methods like photo books and archival printing allows future generations to connect with their family history and experience the joy of rediscovering nostalgic moments. Additionally, consider incorporating metadata and descriptions to provide context and enhance the significance of each photo.
As technology advances, it’s important to stay up to date with storage formats, software compatibility, and emerging trends in photo management. By future-proofing your digital photo collection, you ensure its accessibility for years to come.
So, if you have a treasure trove of old photos waiting to be explored and preserved, now is the time to embark on your digitization journey. Safeguard those irreplaceable memories, share them with loved ones, and create a legacy that will be cherished for generations to come.
Frequently Asked Questions about How To Store Old Photos Digitally
Was this page helpful?
At Storables.com, we guarantee accurate and reliable information. Our content, validated by Expert Board Contributors, is crafted following stringent Editorial Policies. We're committed to providing you with well-researched, expert-backed insights for all your informational needs.


0 thoughts on “How To Store Old Photos Digitally”