Articles
How To Store Old Family Photos
Modified: January 5, 2024
Learn how to properly store and preserve your old family photos with these helpful articles. Keep your cherished memories safe for future generations.
(Many of the links in this article redirect to a specific reviewed product. Your purchase of these products through affiliate links helps to generate commission for Storables.com, at no extra cost. Learn more)
Introduction
Family photos are priceless treasures that preserve memories and stories passed down through generations. They capture special moments, document family history, and connect us to our roots. However, these irreplaceable images can be vulnerable to damage over time if not properly stored and cared for.
In this article, we will guide you on how to store your old family photos to ensure their longevity and preservation. We will take you through a step-by-step process, providing practical tips and recommendations along the way.
By following these guidelines and implementing proper storage techniques, you can safeguard your family photos and enjoy them for years to come.
Key Takeaways:
- Preserve your family’s legacy by gathering, sorting, and storing old family photos in acid-free albums and archival storage boxes. Digitize them for easy sharing and take precautions against environmental damage to ensure their longevity.
- Organize, label, and store old family photos using acid-free materials, and digitize them for preservation and sharing. Protect against environmental damage to safeguard cherished memories for future generations.
Read more: How To Store Family Photos
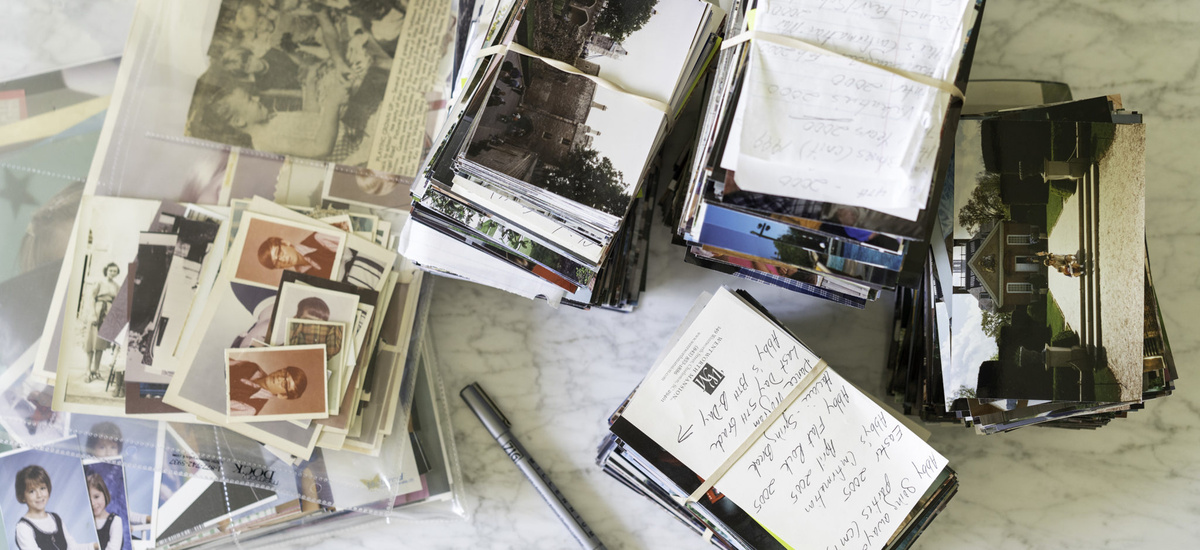
Step 1: Gather and Sort Your Old Family Photos
The first step in preserving your old family photos is to gather them from various sources and sort them into manageable categories. Begin by searching your home for any albums, framed photos, or loose prints that may be tucked away in drawers or storage boxes.
Next, reach out to other family members and ask if they have any photos they would be willing to share. Family reunions or holiday gatherings can be opportune moments to collect photos from relatives. Consider creating a digital group album where family members can upload their photos, making it easier to gather and organize them.
Once you have gathered all the photos, it’s time to sort them into categories. This step is crucial for effective organization and will save you time and effort in the long run. You can choose to sort them chronologically, by event or occasion, or by specific family members. Use sticky notes or labels to mark each category and keep photos separated accordingly.
While sorting, take the opportunity to identify and label any unidentified individuals, locations, and dates. This will help preserve the stories and memories associated with these photos, ensuring future generations can understand and appreciate their significance.
Remember to handle the photos with clean, dry hands to prevent any oils or moisture from transferring onto the prints. If you have a large number of photos to sort, consider wearing cotton or latex gloves to minimize contact.
Once you have completed this step, you will have a clear idea of the number of photos you have and the categories they fall into, which will guide you in selecting the appropriate storage materials.
Step 2: Choose the Right Storage Materials
After sorting your old family photos, it’s time to select the right storage materials to ensure their protection and longevity. The choice of storage materials is crucial, as improper materials can cause damage to the photos over time.
Here are some key considerations when choosing storage materials:
1. Acid-free and Archival Quality
Select storage materials that are acid-free and made from archival-quality materials. Acidic materials can cause photos to deteriorate and discolor over time. Look for photo-safe albums, sleeves, and boxes that are specifically labeled as acid-free and archival quality.
2. PVC-Free
Avoid storage materials that contain PVC (polyvinyl chloride), as it can emit harmful gases that can degrade photos. Look for PVC-free products to ensure the safety of your photos.
Read more: How To Store Old Photos
3. UV Protection
Ultraviolet (UV) light can fade and damage photos. Choose storage materials that offer UV protection to safeguard your photos. Look for albums or sleeves with UV-resistant coatings or choose storage options that provide UV blocking capabilities.
4. Size and Format
Select storage materials that are designed to accommodate the size and format of your photos. Ensure that the albums, sleeves, or boxes provide a snug fit to prevent photos from sliding or bending.
5. Archival Paper and Cardstock
If you plan to create additional labels or dividers for your photo storage, use acid-free, lignin-free, and archival-quality paper and cardstock. These materials will not deteriorate over time and will not damage your photos.
By choosing the right storage materials, you can provide a protective environment for your old family photos, minimizing the risk of damage and ensuring their preservation for future generations.
Step 3: Organize and Label Your Photos
Once you have sorted your old family photos and chosen the right storage materials, the next step is to organize and label them. Effective organization and labeling will make it easier to locate specific photos and provide context for future generations.
Here are some tips for organizing and labeling your photos:
Read more: How To Store Old Photos In Boxes
1. Create a System
Develop a system that works for you, whether it’s organizing photos chronologically, by event, or by family member. Consistency is key to maintaining an organized photo collection.
2. Use Photo Albums or Sleeves
Place your sorted photos into acid-free photo albums or archival-quality photo sleeves. This will protect them from direct handling, dust, and light exposure. Consider using photo albums with clear plastic overlays that allow you to caption or write notes about each photo without directly writing on the back.
3. Label the Back of Photos
For photos that are not placed in albums or sleeves, it’s important to label them on the back using a soft pencil or archival-quality pen. Include relevant details such as the date, location, and people in the photo. Avoid using ballpoint pens or markers, as they can damage the photo’s surface.
4. Digital Cataloging
If you have the time and resources, consider creating a digital catalog of your photos. This can be done by scanning each photo and adding metadata, such as names, dates, and descriptions. Digital cataloging allows for easy search and retrieval of photos and provides an additional layer of backup in case of physical damage.
Read more: How To Store Old Photos Digitally
5. Group Similar Photos Together
If you have multiple photos taken on the same day or during the same event, group them together. This will help maintain the chronological or thematic order of your photo collection.
By organizing and labeling your photos, you will create a system that not only keeps your collection well-ordered but also provides valuable information about the people, places, and moments captured in each photo.
Step 4: Store Photos in Acid-Free Photo Albums
Now that you have organized and labeled your old family photos, it’s time to store them in acid-free photo albums. Acid-free albums provide a safe and stable environment for your photos, protecting them from deterioration and discoloration over time.
Here are some guidelines for storing your photos in acid-free photo albums:
1. Select Acid-Free Albums
Ensure that the photo albums you choose are specifically labeled as acid-free. Acidic materials can cause photos to yellow, fade, or become brittle. Acid-free albums are made from materials that have a neutral pH, minimizing the risk of damage to your photos.
2. Use Archival-Quality Photo Sleeves
If your photo album does not come with built-in sleeves, use archival-quality photo sleeves to protect your photos. These sleeves are made from materials that are safe for long-term storage and will not harm your photos.
Read more: How To Store Old Photo Albums
3. Arrange Photos Chronologically or Thematically
Decide on the order in which you want to arrange your photos. You can either arrange them chronologically, following a timeline, or organize them thematically, grouping similar events or occasions together. This will make it easier to navigate through your photo album and locate specific photos.
4. Do Not Overstuff Albums
Avoid overcrowding or overstuffing the album with too many photos. This can put pressure on the photos and cause them to bend, warp, or stick together over time. Leave enough space between the photos to ensure they are not compressed.
5. Handle Photos With Clean Hands
When placing the photos into the album, make sure your hands are clean and dry. Oils and moisture from your fingers can transfer onto the photos and potentially damage them. Consider wearing cotton or latex gloves to minimize direct contact.
6. Store Albums in a Cool, Dry Environment
Avoid exposing your photo albums to extreme temperatures, high humidity, and direct sunlight. Store them in a cool, dry environment to prevent any moisture damage or fading of the photos.
By storing your old family photos in acid-free photo albums, you are providing them with a safe and protective home, ensuring their longevity and preserving them for future generations to cherish.
Read more: How To Display Family Photos In Living Room
Step 5: Use Archival Storage Boxes for Large Collections
If you have a large collection of old family photos that cannot be accommodated in photo albums, it’s essential to use archival storage boxes to preserve and protect them from damage.
Here’s how to store your photos in archival storage boxes:
1. Choose Acid-Free Archival Storage Boxes
Look for storage boxes that are specifically designed for archival purposes and labeled as acid-free. Acid-free storage boxes are made from materials that have a neutral pH, preventing photos from deteriorating over time.
2. Select the Right Size
Ensure that the storage boxes you select are appropriately sized to comfortably hold your photos without pressing or bending them. Oversized boxes can cause the photos to shift and become damaged, so choose boxes that provide a snug fit.
3. Use Acid-Free Dividers
If you have different categories or groups of photos within the storage box, consider using acid-free dividers to keep them separate. Dividers will prevent photos from mixing together and getting damaged. Make sure the dividers are also acid-free to maintain the integrity of your photos.
Read more: How To Store Photos For Free
4. Label the Boxes
Label each storage box with descriptive information, such as the timeline, family names, or specific events captured in the collection. This will make it easier to locate the desired photos when retrieving them later.
5. Store in a Climate-Controlled Environment
Store your archival storage boxes in a climate-controlled area to protect them from extreme temperatures, high humidity, and sunlight. These environmental factors can cause damage to your photos over time. Ideal storage conditions include a cool, dry room with a stable temperature and low humidity.
6. Handle with Care
When handling the storage boxes, always use clean hands or wear protective gloves to minimize direct contact with the photos. Avoid dropping or mishandling the boxes to prevent any accidental damage.
By using archival storage boxes for your large collections of old family photos, you can ensure their safety and longevity, preserving the memories and stories they hold for generations to come.
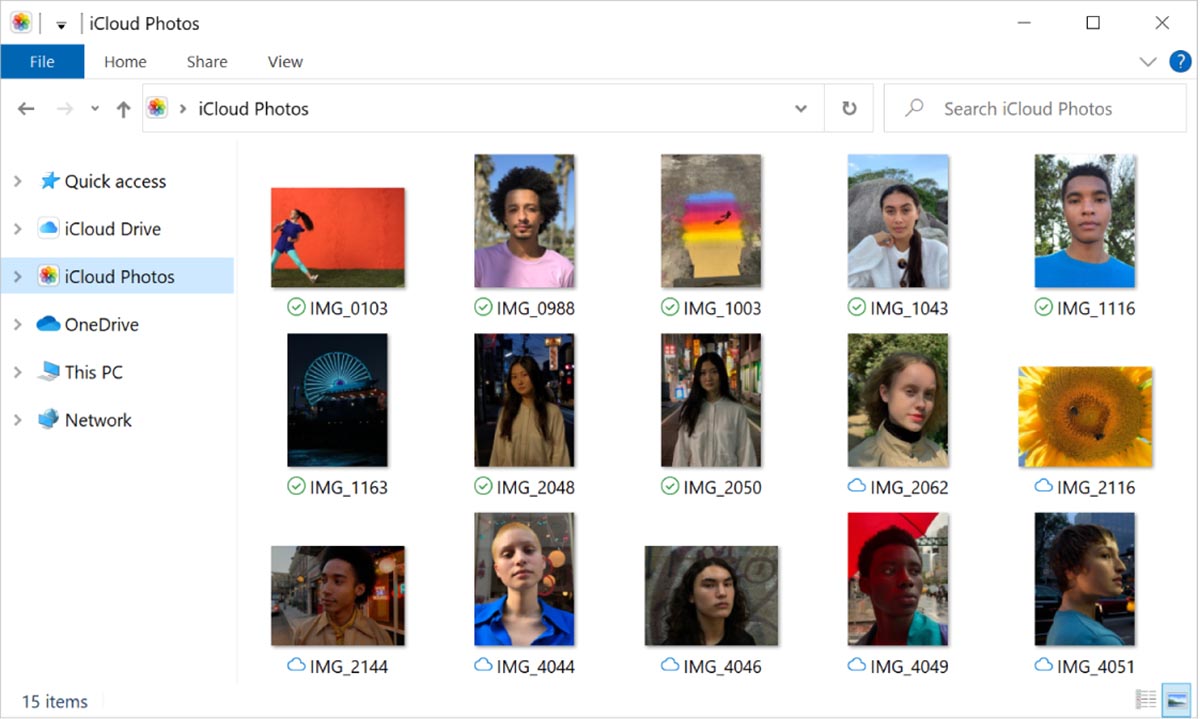
Step 6: Digitize Your Old Family Photos
Digitizing your old family photos is an excellent way to preserve and share them with your loved ones. By converting your physical photos into digital format, you create a backup that can be easily stored, shared, and enjoyed for generations to come.
Here are the steps to digitize your old family photos:
Read more: How To Store IPhone Photos
1. Choose a Scanning Method
You can digitize your photos using a flatbed scanner, a dedicated photo scanner, or a smartphone app specifically designed for scanning photos. Consider the number of photos you have and your budget when selecting the most suitable scanning method.
2. Clean the Photos
Prior to scanning, ensure that your photos are clean and free from any dust, dirt, or smudges. Gently wipe the photos with a microfiber cloth or use compressed air to remove any particles. This will improve the quality of the digital scans.
3. Adjust the Settings
Depending on your scanning device or app, adjust the settings for resolution, color balance, and file format. Aim for a high-resolution scan (300 dpi or above) to capture the details and clarity of the original photo.
4. Scan in Batches
If you have a large number of photos to scan, break the task into manageable batches. This will help you stay organized and prevent fatigue or loss of focus. Consider creating folders or albums on your computer to keep the scanned photos organized and searchable.
Read more: How To Store Digital Photos
5. Back Up Your Digital Files
Once you have scanned your photos, it’s crucial to create backups of the digital files. Store them on multiple devices or use cloud storage services to ensure their safety. Regularly check the integrity of your digital files to avoid any data loss.
6. Share and Preserve Digitized Photos
Now that your old family photos are in digital format, you can easily share them with your family members. Consider creating a shared album or online gallery where everyone can access and contribute to the collection. Make sure to preserve the original physical photos in acid-free storage, even after digitizing them.
Digitizing your old family photos not only protects them from physical damage but also allows you to share and relive cherished memories with your loved ones, bridging the gap between generations.
Step 7: Take Precautions Against Environmental Damage
Protecting your old family photos from environmental damage is essential for their long-term preservation. Environmental factors such as humidity, temperature, light exposure, and pests can cause significant harm to your photos if not properly addressed.
Follow these precautions to safeguard your photos against environmental damage:
1. Control the Temperature and Humidity
Avoid storing your photos in areas with fluctuating temperatures or high humidity levels. Ideally, maintain a stable temperature between 65 to 70 degrees Fahrenheit (18 to 21 degrees Celsius) and a relative humidity level of 35% to 45%. Excessive heat and humidity can cause photos to stick together, warp, or fade.
Read more: How To Store Your Photos
2. Keep Photos Away from Direct Light
Ultraviolet (UV) light can cause photos to fade and deteriorate over time. Avoid displaying or storing your photos in areas with direct sunlight or under bright artificial lighting. If you showcase your photos, use UV-filtering glass or acrylic frames to protect them from harmful UV rays.
3. Use Archival Sleeves or Enclosures
Protect your photos from dust, dirt, and accidental damage by placing them in archival-quality sleeves or enclosures. These protective covers shield your photos from handling and environmental elements, ensuring their longevity.
4. Beware of Water and Liquid Exposure
Water and other liquids can quickly damage your photos, causing them to warp, fade, or develop mold. Store your photos in dry areas away from potential water sources, and avoid consuming food or liquids near them to prevent accidental spills.
5. Control Pest Infestations
Prevent infestations of insects, rodents, and other pests that can damage your photos. Store your photos in sealed containers or areas where pests cannot access them. If you notice any signs of pest activity, consult a professional to address the issue promptly.
Read more: How To Store And Organize Photos
6. Regularly Inspect and Maintain
Schedule regular inspections of your photo storage areas to ensure there are no signs of environmental damage or deterioration. Check for any signs of moisture, pests, or degradation. If you notice any issues, take immediate action to rectify the problem and protect your photos.
By taking precautions against environmental damage, you can preserve the quality and condition of your old family photos for years to come, ensuring that future generations can continue to cherish and enjoy the memories captured within them.
Conclusion
Preserving and protecting your old family photos is not only vital for your own personal enjoyment but also ensures that these precious memories are passed down to future generations. By following the steps outlined in this article, you can ensure the longevity and quality of your family photos for years to come.
From gathering and sorting your photos to choosing the right storage materials, organizing, and labeling, each step plays a crucial role in maintaining the integrity of your photos. Storing them in acid-free photo albums or archival storage boxes provides a safe environment, while digitizing them offers additional accessibility and backup.
It is equally important to take precautions against environmental damage by controlling temperature and humidity, protecting against light exposure, preventing water and liquid exposure, and keeping pests at bay. Regular inspections and maintenance will also help identify any potential issues and address them promptly.
Remember, your family photos hold not only images but also stories, connections, and shared history. Treat them with care, and they will continue to serve as powerful links to your heritage and cherished memories.
By implementing these measures, you can ensure that the legacy captured in your old family photos remains intact and can be enjoyed by future generations, strengthening family bonds and preserving your family’s unique history.
Frequently Asked Questions about How To Store Old Family Photos
Was this page helpful?
At Storables.com, we guarantee accurate and reliable information. Our content, validated by Expert Board Contributors, is crafted following stringent Editorial Policies. We're committed to providing you with well-researched, expert-backed insights for all your informational needs.


0 thoughts on “How To Store Old Family Photos”