
Articles
How To Store Stand Mixer
Modified: April 22, 2024
Discover the best ways to store your stand mixer with these helpful articles. Find expert tips and tricks to keep your mixer safe and organized.
(Many of the links in this article redirect to a specific reviewed product. Your purchase of these products through affiliate links helps to generate commission for Storables.com, at no extra cost. Learn more)
Introduction
Welcome to the world of baking and culinary adventures! If you own a stand mixer, congratulations, you have a versatile and powerful tool at your disposal. A stand mixer can make your cooking and baking experiences easier and more enjoyable.
But what do you do when you’re not using your stand mixer? Proper storage is essential to keep your stand mixer in good condition and extend its lifespan. In this article, we will guide you on how to store your stand mixer, ensuring it remains safe and ready for your next cooking endeavor.
Before we dive into the specifics of storing your stand mixer, let’s quickly review a few safety precautions to keep in mind. Always make sure your stand mixer is unplugged and turned off before attempting any cleaning or storage steps. This will prevent any accidental injuries or damage to the machine.
Now let’s explore the step-by-step process of storing your stand mixer to ensure it stays in optimal condition until the next time you need it.
Key Takeaways:
- Properly storing your stand mixer is crucial for maintaining its performance and extending its lifespan. Follow safety precautions, clean thoroughly, and choose the right storage location to ensure your stand mixer remains in top condition.
- Utilize a dust cover and consider long-term storage tips to keep your stand mixer in optimal condition. By following these steps, you can enjoy the benefits of your stand mixer for years to come.
Read more: What Is A Mixer
Safety Precautions
Before you start the process of storing your stand mixer, it’s important to take a few safety precautions to ensure that you and your machine are protected. Here are some essential steps to follow:
- Unplug the stand mixer: Before you do anything else, make sure the stand mixer is unplugged from the power source. This will prevent any accidental activations or electrical hazards.
- Cooling down period: If you have been using your stand mixer, allow it to cool down completely before storing it. This will ensure that all components have returned to room temperature and prevent any potential damage.
- Secure loose attachments: If your stand mixer has any detachable accessories or attachments, make sure they are properly secured before storing. This will prevent them from getting lost or damaged during storage.
- Clean the stand mixer: Before storing, it’s important to clean your stand mixer thoroughly. This includes removing any residual food particles or spills. Refer to the manufacturer’s instructions for the appropriate cleaning method for your specific model.
- Inspect for damages: Take a quick look at your stand mixer for any signs of wear and tear or damaged parts. If you notice anything, it’s best to address these issues before storing to prevent further damage.
- Keep out of reach: If you have children or pets in your household, make sure to store your stand mixer in a location where they can’t access it. This will prevent any potential accidents or injuries.
By following these safety precautions, you can ensure the well-being of yourself and your stand mixer while it’s in storage. Now let’s move on to the next step: cleaning the stand mixer.
Cleaning the Stand Mixer
Cleaning your stand mixer before storing it is not only crucial for maintaining its performance but also for ensuring its longevity. Follow these steps to properly clean your stand mixer:
- Unplug the stand mixer: Before you begin cleaning, make sure to unplug the stand mixer for safety.
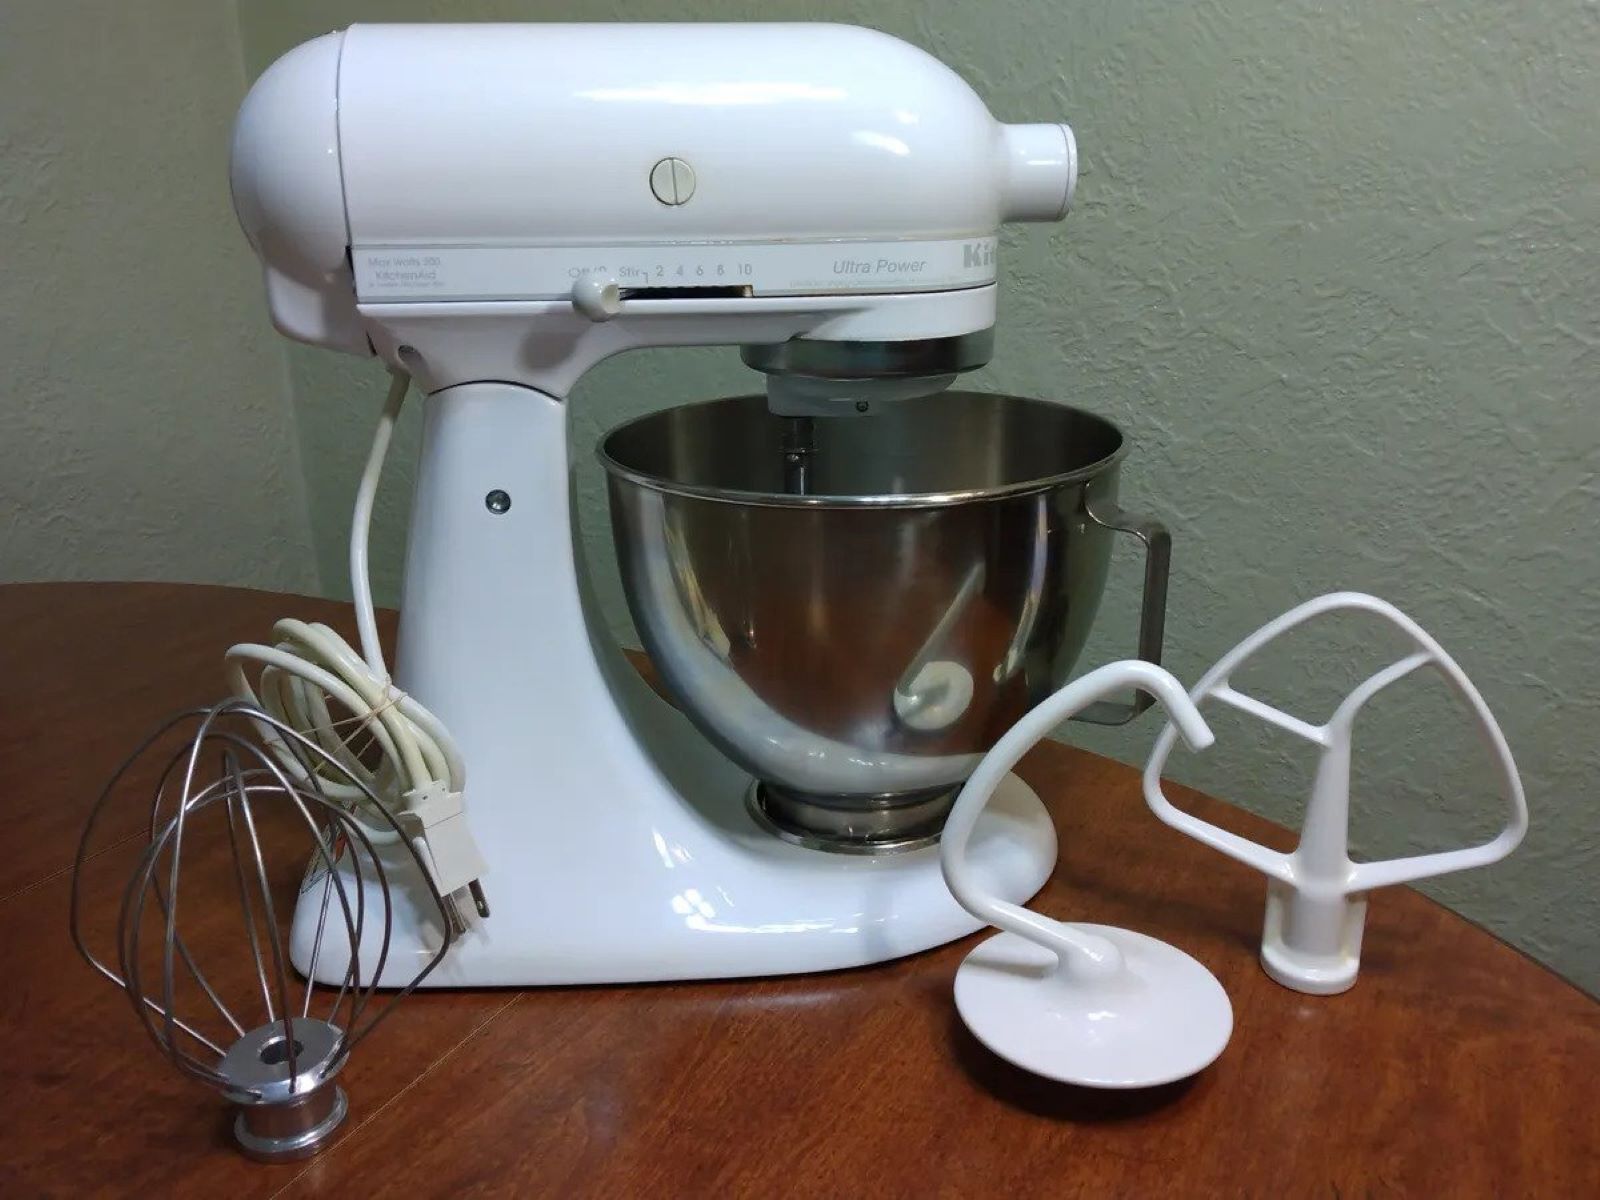
- Remove any attachments: Take off any attachments such as the mixing bowl, beaters, or dough hooks. Refer to your stand mixer’s user manual for specific instructions on detaching these parts.
- Wash removable parts: If the attachments are dishwasher-safe, you can place them in the dishwasher. Otherwise, wash them with warm, soapy water, rinsing thoroughly afterwards.
- Clean the stand mixer body: Use a damp cloth or sponge to clean the outer body of the stand mixer. Pay attention to any food spills or splatters and gently wipe them away.
- Dry thoroughly: After washing, make sure to dry all parts completely before storing them. Moisture can promote the growth of mold or rust, which can damage your stand mixer.
By regularly cleaning your stand mixer, you not only maintain its appearance but also ensure its performance is not compromised. Now that your stand mixer is clean and dry, let’s move on to the next step: detaching and storing attachments.
Detaching and Storing Attachments
Detach and store the attachments of your stand mixer properly to ensure their safety and longevity. Follow these steps:
- Refer to the instruction manual: Check your stand mixer’s instruction manual to understand the proper way to detach the specific attachments. Different models may have different mechanisms for removal.
- Gently twist and remove: Most attachments can be easily detached by gently twisting them counterclockwise. Be careful not to apply excessive force or use tools that may damage the attachments or the stand mixer.
- Clean the attachments: After detaching, clean the attachments according to the recommended method in the instruction manual. This may involve handwashing or using the dishwasher, depending on the material and the manufacturer’s instructions.
- Dry thoroughly: Just like the stand mixer body, ensure that all attachments are dried completely to prevent any moisture-related damage.
- Store in a safe place: Find a designated storage area for your stand mixer attachments. This can be a drawer, a cabinet, or a separate container specifically designed for organizing stand mixer accessories.
- Keep attachments organized: To save time and prevent misplacing attachments, consider using labeled compartments or zip-top bags to keep each attachment separate and easy to find.
By following these steps, you can keep your stand mixer’s attachments in good condition and easily accessible for your next baking or cooking project. Now that you have detached and stored the attachments, let’s move on to the next step: wrapping the power cord.
Wrapping the Power Cord
Properly wrapping and storing the power cord of your stand mixer is essential to prevent tangles and damage. Follow these steps to effectively wrap the power cord:
- Unplug the stand mixer: Before you start wrapping the power cord, ensure that the stand mixer is unplugged from the power source.
- Clear the workspace: Make sure your workspace is clear of any obstacles or objects that could potentially get in the way while wrapping the cord.
- Remove any twists or knots: Before wrapping the cord, untangle any twists or knots in the power cord to ensure a smooth and even wrap.
- Start at the base: Begin wrapping the power cord at the base of the stand mixer where it connects to the machine. This will create a neat and organized wrap.
- Use a figure-eight pattern: As you wrap the cord, use a figure-eight pattern. This helps to prevent tangles and makes it easier to unwrap the cord in the future.
- Secure with a twist tie or Velcro strap: Once the cord is fully wrapped, secure it with a twist tie or a Velcro strap to keep it in place and prevent it from unraveling.
- Store the wrapped cord: Find a designated area to store the stand mixer with the wrapped power cord. This can be next to the stand mixer or in a separate storage space designated for electrical cords.
By following these steps, you can maintain a neat and tangle-free power cord, ensuring that it’s ready to use the next time you need your stand mixer. Now that you have wrapped the power cord, let’s move on to the next step: choosing the right storage location.
When storing a stand mixer, it’s best to wrap the cord around the mixer and secure it with a twist tie to prevent tangles. Store attachments in a separate container to keep them organized and easily accessible.
Read more: How To Store Kitchenaid Mixer
Choosing the Right Storage Location
Selecting the appropriate storage location for your stand mixer is crucial to ensure its safety and protection from any potential damage. Consider the following factors when choosing the right storage location:
- Space availability: Assess the available space in your kitchen or storage area. Choose a spot where the stand mixer can be stored without being crowded or at risk of being knocked over.
- Avoid exposure to heat and moisture: Keep your stand mixer away from direct sunlight, heat sources, or areas with high humidity. Excessive heat or moisture can damage the internal components of the machine.
- Stability and vibration: Find a stable and level surface to place your stand mixer. This will prevent any unnecessary vibrations that could potentially damage the machine or cause it to move during storage.
- Avoid dust and debris: Opt for a location that is less prone to dust accumulation and debris. Excessive dust can interfere with the mechanical components of your stand mixer over time.
- Accessibility: Choose a storage spot that is easily accessible so you can retrieve it whenever you need it. Avoid storing it in hard-to-reach or inconvenient places.
By considering these factors, you can find the ideal storage location for your stand mixer, one that ensures its safety and longevity. Now, let’s move on to the next step: using a dust cover.
Using a Dust Cover
Using a dust cover is an excellent way to provide an extra layer of protection for your stand mixer while it is in storage. Here are some steps to effectively use a dust cover:
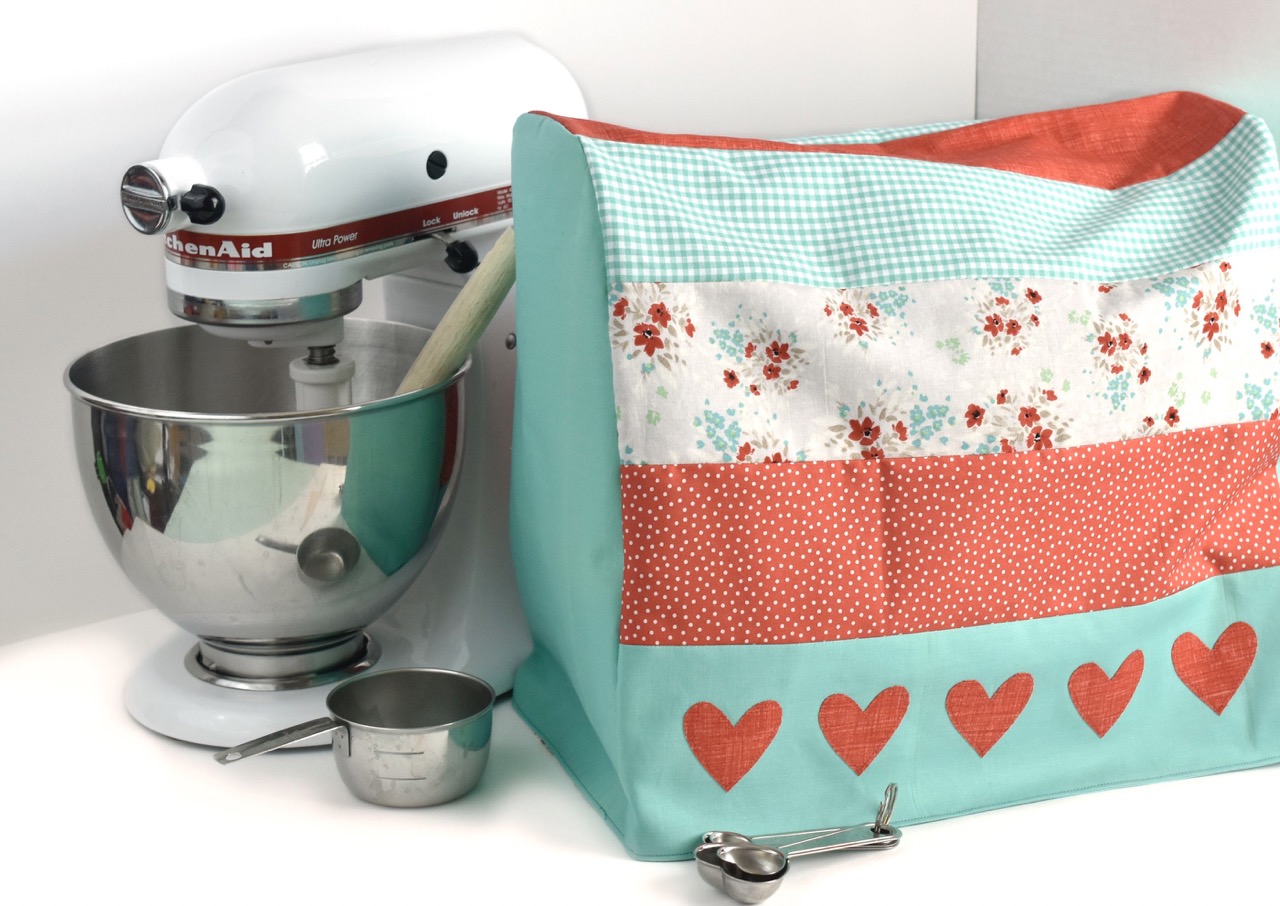
- Select the right cover: Look for a dust cover specifically designed for stand mixers. Make sure it is the appropriate size to fit your particular model.
- Clean the stand mixer: Before placing the dust cover on your stand mixer, ensure that it is clean and free from any food residue or spills. This will help maintain the cleanliness of both the machine and the cover.
- Position the cover: Place the dust cover over the stand mixer, ensuring it covers the entire machine. Position the cover so that it fits snugly without putting unnecessary strain on any parts or controls.
- Secure the cover: Some dust covers come with straps or fasteners to secure them in place. If your cover doesn’t have any, simply tuck in any excess fabric or use clips or elastic bands to keep the cover in position.
- Store in a dust-free area: It’s crucial to store your covered stand mixer in a clean and dust-free area. This will help keep your machine in good condition and protected from any potential damage caused by dust or debris.
Using a dust cover not only keeps your stand mixer clean but also helps prevent the accumulation of dust and debris during storage. Now that you have covered your stand mixer, let’s move on to some additional tips for long-term storage.
Additional Tips for Long-term Storage
When it comes to storing your stand mixer for an extended period, there are a few extra tips to keep in mind to ensure its optimal condition. Consider these additional tips for long-term storage:
- Regular maintenance: Even if your stand mixer is not in use, it’s important to perform regular maintenance to keep it in excellent shape. This includes lubricating moving parts as recommended by the manufacturer and checking for any signs of wear or damage.
- Use original packaging: If you still have the original packaging that came with your stand mixer, consider using it for storage. The original packaging is designed to provide maximum protection to the machine during transportation and storage.
- Avoid stacking heavy items: When storing your stand mixer, avoid stacking heavy items on top of it. Excessive weight can damage the machine or cause it to become unstable.
- Check periodically: Even when in storage, it’s a good idea to check on your stand mixer periodically. This allows you to address any problems or take preventive measures before they escalate.
- Follow manufacturer’s instructions: Always refer to the manufacturer’s instructions for specific storage recommendations. Different stand mixer models may have variations in recommended storage practices.
By following these additional tips, you can ensure that your stand mixer remains in top condition during its long-term storage. Now, let’s wrap up with a summary.
Conclusion
Proper storage of your stand mixer is essential to maintain its performance and extend its lifespan. By following the steps outlined in this article, you can ensure that your stand mixer remains safe, clean, and ready for use whenever you need it. Remember to take the necessary safety precautions, clean the stand mixer thoroughly, detach and store attachments properly, wrap the power cord neatly, choose the right storage location, and consider using a dust cover for added protection.
Additionally, utilize the extra tips for long-term storage to keep your stand mixer in optimal condition. By doing so, you can enjoy the benefits of your stand mixer for years to come, creating delicious meals and treats with ease.
Remember, always refer to the manufacturer’s instructions for specific recommendations on storing your particular stand mixer model. These guidelines will provide you with the most accurate information tailored to your machine.
With proper storage and care, your stand mixer will remain an invaluable tool in your kitchen, ready to assist you in your culinary endeavors. So, take the time to store your stand mixer correctly, and reap the benefits of a well-preserved and long-lasting kitchen companion.
Frequently Asked Questions about How To Store Stand Mixer
Was this page helpful?
At Storables.com, we guarantee accurate and reliable information. Our content, validated by Expert Board Contributors, is crafted following stringent Editorial Policies. We're committed to providing you with well-researched, expert-backed insights for all your informational needs.


0 thoughts on “How To Store Stand Mixer”