Home>Furniture>Outdoor Furniture>How To Make A Hammock From A Tarp
Outdoor Furniture
How To Make A Hammock From A Tarp
Modified: September 1, 2024
Learn how to turn a tarp into an outdoor hammock with this easy step-by-step guide. Create your own DIY outdoor furniture and enjoy the great outdoors
(Many of the links in this article redirect to a specific reviewed product. Your purchase of these products through affiliate links helps to generate commission for Storables.com, at no extra cost. Learn more)
Introduction
Imagine yourself lounging in a hammock, gently swaying in the breeze, surrounded by the beauty of nature. It’s a scene that instantly relaxes and rejuvenates the mind and body. Hammocks are a popular choice for outdoor furniture due to their comfort, versatility, and portability. While there are plenty of ready-made hammocks available in the market, why not try your hand at making your own hammock from a tarp?
In this article, we will guide you through the process of creating a hammock using a tarp, a durable and lightweight material that is suitable for outdoor use. By following these steps, you can enjoy the satisfaction of crafting your own hammock and customize it to your desired size and style.
Before we delve into the step-by-step instructions, let’s go over the materials you will need for this project.
Key Takeaways:
- Create your own hammock from a tarp for a unique and customizable outdoor retreat. Follow simple steps to craft a durable and comfortable hammock that fits your style and needs.
- Enjoy the satisfaction of making your own tarp hammock and relax in the great outdoors. With basic materials and skills, you can create a cozy and personalized space for endless relaxation and enjoyment.
Read more: How To Tarp A Chimney
Materials Needed
Before you begin making your hammock from a tarp, gather the following materials:
- A tarp: Choose a high-quality tarp made of durable, waterproof material. The size of the tarp will depend on the desired dimensions of your hammock.
- Rope or webbing: You will need strong rope or webbing to create the suspension system for your hammock.
- Carabiners or S-hooks: These will be used to attach the hammock to the suspension system.
- Grommets: Optional, but helpful for reinforcing the edges of the tarp.
- A pair of scissors or a utility knife: To cut the tarp and rope/webbing to the desired lengths.
- Measuring tape or ruler: To ensure accurate measurements for cutting.
Once you have gathered all the necessary materials, you are ready to start crafting your homemade hammock. Follow the step-by-step instructions below to create your tarp hammock.
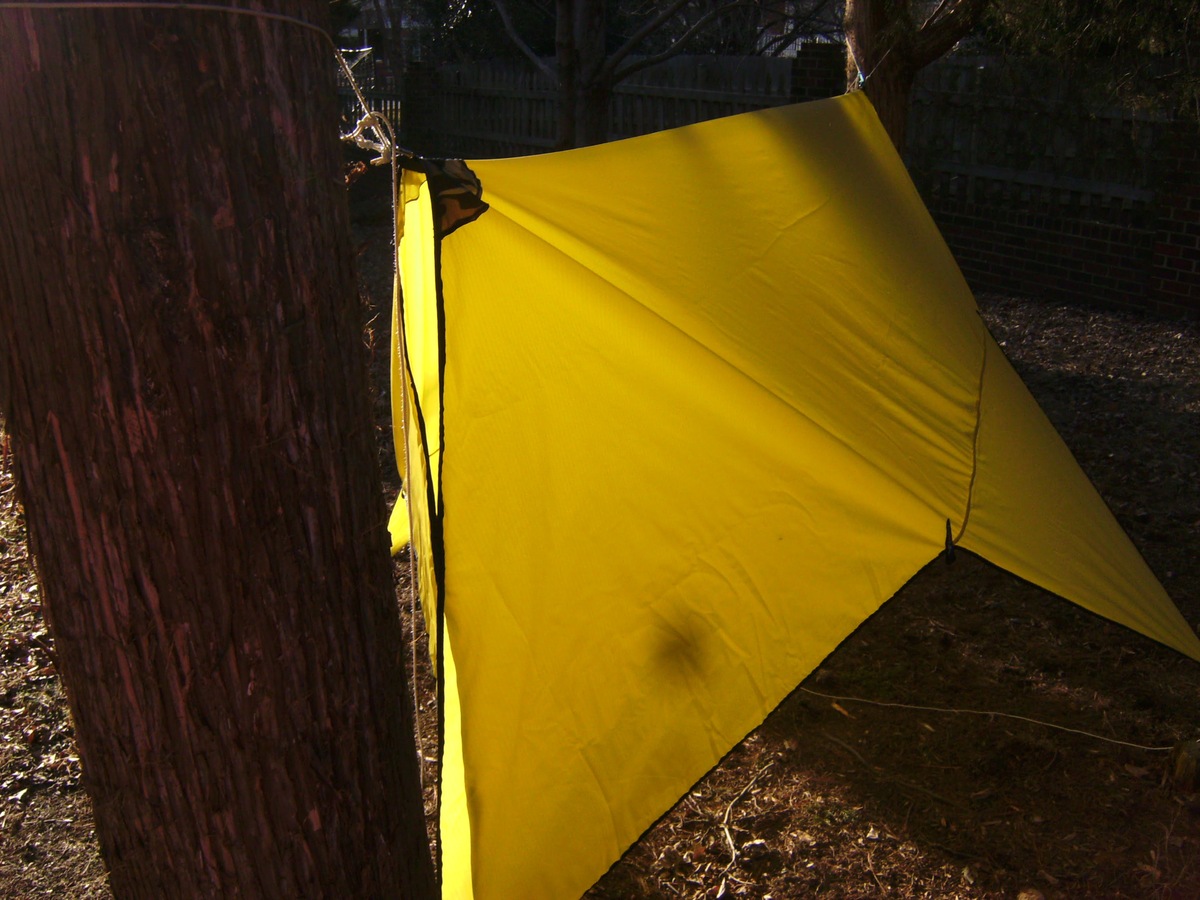
Step 1: Preparing the Tarp
The first step in making your hammock from a tarp is to prepare the tarp itself. Lay out the tarp on a flat surface and take note of the desired size and shape of your hammock.
Using a pair of scissors or a utility knife, carefully cut the tarp to the desired dimensions. Make sure to leave enough excess material on each side to create a comfortable seating area.
Next, fold over and reinforce the edges of the tarp to prevent fraying. You can accomplish this by folding the edges over about an inch and securing them with strong tape or sewing them to create a hem.
If you want to add additional support and stability, consider installing grommets along the edges of the tarp. Grommets are metal or plastic rings that can be inserted into the fabric to create a reinforced hole. They are useful for attaching the suspension system to the hammock.
Once you have prepared the tarp, you are one step closer to having your very own tarp hammock. The next step involves creating the sling for the hammock.
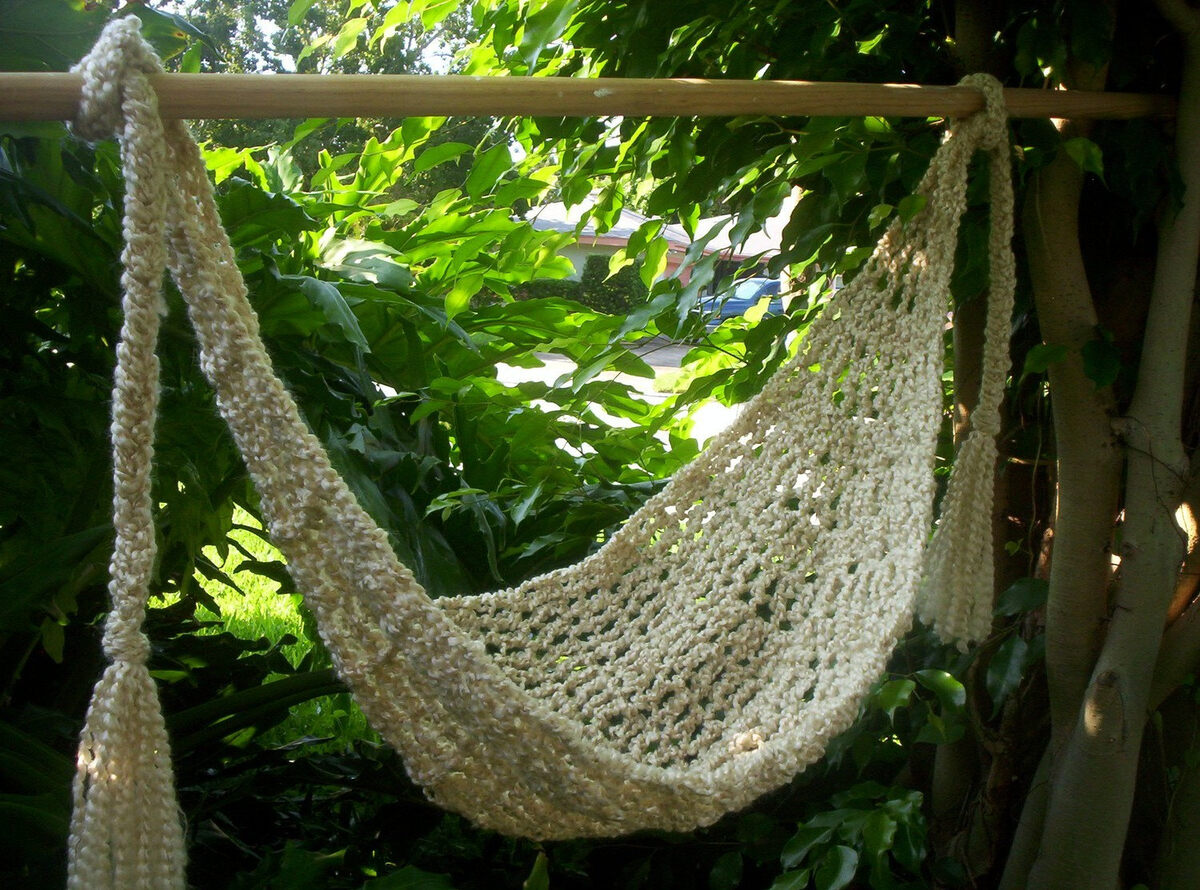
Step 2: Creating the Hammock Sling
Now that you have prepared the tarp, it’s time to create the sling for your hammock. The sling is the part of the hammock that you will lie or sit on, and it needs to be both strong and comfortable.
Start by cutting two lengths of rope or webbing that are slightly longer than the width of the tarp. These will serve as the support for your hammock. Make sure the ropes are of equal length to ensure a balanced and level hammock.
Next, determine the desired height of your hammock. This will depend on personal preference and the available hanging space. Cut two additional lengths of rope or webbing to serve as the side supports.
Attach one end of each side support rope to the corresponding ends of the main support ropes. You can use knots such as the double half hitch or the bowline knot to secure the ropes together. Alternatively, you can use carabiners or S-hooks to easily attach and detach the ropes.
Once the side supports are attached, find the midpoint of the main support ropes and attach them to the ends of the tarp. You can use knots, carabiners, or S-hooks for this step as well.
Double-check that everything is securely attached and adjust the sling to ensure it is level and balanced. It’s important to test the strength and stability of the sling before using it to avoid any accidents.
With the sling in place, you are now ready to reinforce the edges of the tarp and add the suspension system for your hammock. These steps will be covered in the following sections.
When making a hammock from a tarp, be sure to reinforce the edges with strong rope or webbing to prevent tearing. This will help ensure the hammock is sturdy and safe to use.
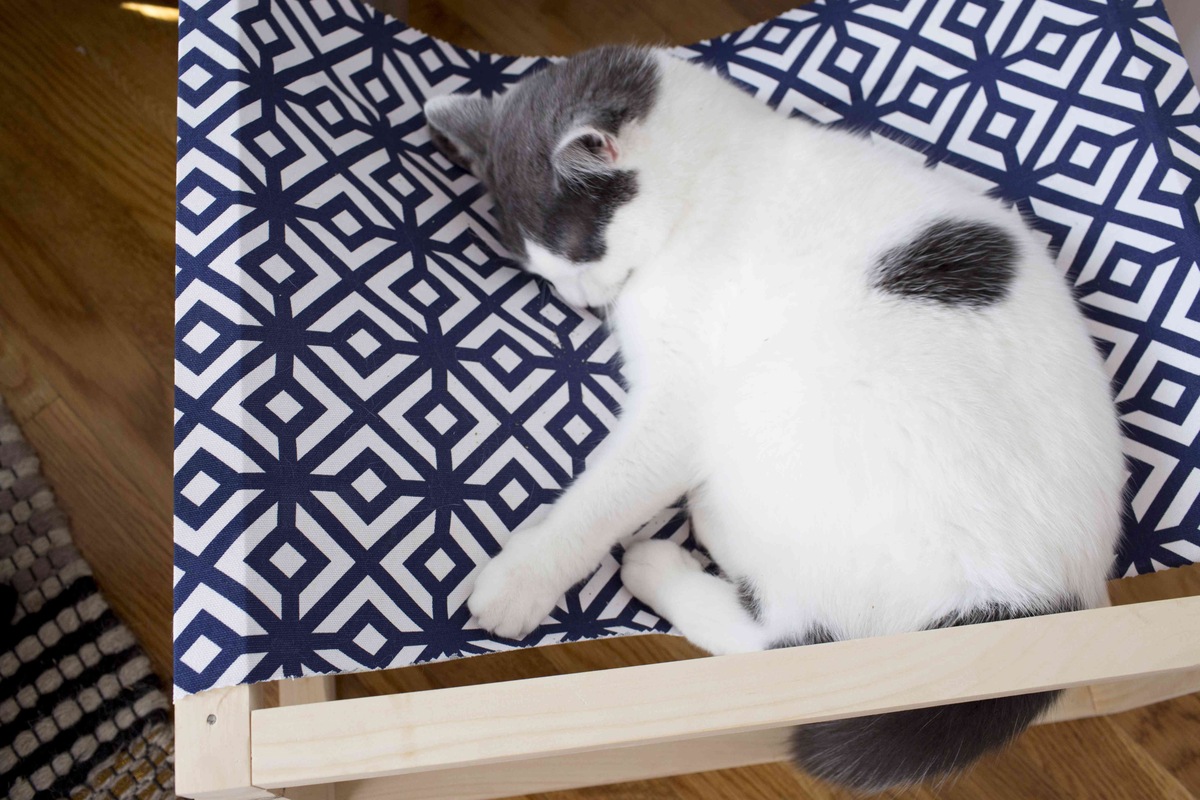
Step 3: Reinforcing the Edges
After creating the hammock sling, it’s important to reinforce the edges of the tarp to ensure durability and longevity. Reinforcing the edges will help prevent fraying and prolong the lifespan of your tarp hammock.
One way to reinforce the edges is by folding over the edges of the tarp and sewing them. Use a sewing machine or a heavy-duty needle and thread to create a sturdy hem along the sides of the tarp. This will prevent the edges from unraveling and add extra strength to your hammock.
If sewing is not an option, you can also reinforce the edges with strong tape or adhesive. Cut strips of durable tape and firmly attach them along the edges of the tarp. Make sure to cover the entire edge to provide maximum reinforcement.
Another option is to install grommets along the edges of the tarp. Grommets are metal or plastic rings that can be inserted into the fabric to create reinforced holes. They are ideal for attaching the suspension system to the hammock and provide extra support and stability.
To install grommets, mark the desired locations on the tarp and cut small holes. Insert the grommets into the holes and use a grommet tool or a hammer to secure them in place. Follow the instructions provided with the grommet kit for the best results.
Once you have reinforced the edges of the tarp, your hammock will have added durability and strength. The next step involves adding the suspension system to hang your hammock securely.
Read more: How To Make A Rat Hammock
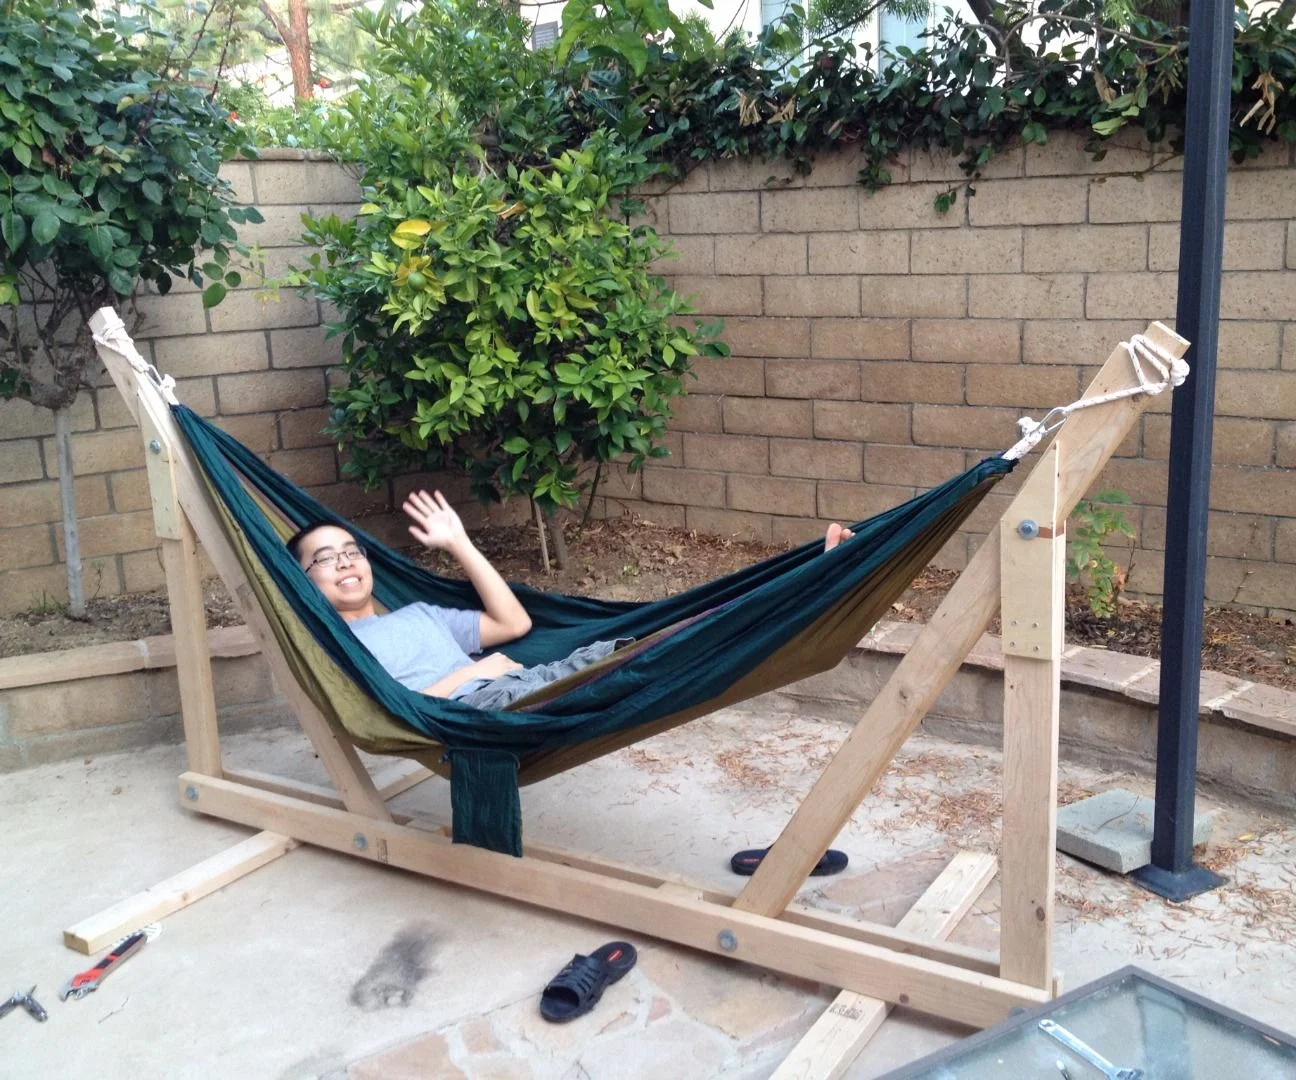
Step 4: Adding Suspension System
Now that you have reinforced the edges of the tarp, it’s time to add the suspension system that will allow you to hang your hammock securely. The suspension system consists of ropes, straps, or chains that will connect the hammock to the anchor points.
One popular option for the suspension system is using tree-friendly straps or webbing. These straps are designed to protect the trees and provide a secure and adjustable attachment point for your hammock. Wrap the tree-friendly straps around sturdy trees or anchor points and attach them to the grommets or loops on the hammock.
Another option is to use sturdy ropes that are rated for outdoor use. Determine the appropriate length of rope needed based on the distance between the anchor points. Attach one end of the rope to the grommet or loop on the hammock, and then secure the other end around the anchor point using a secure knot such as the double-sheet bend or the taut-line hitch.
Make sure the suspension system is securely attached and check for any signs of weakness or instability. It’s important to test the suspension system by gently sitting or lying in the hammock and checking for any excessive stretching or sagging.
Additionally, always be mindful of the weight-bearing capacity of your suspension system and choose appropriate materials that can safely support the intended load.
With the suspension system in place, your tarp hammock is almost complete. The final step involves testing and adjusting the hammock to ensure optimal comfort and functionality.
Step 5: Testing and Adjusting the Hammock
Once you have added the suspension system to your tarp hammock, it’s time to test it and make any necessary adjustments for optimal comfort and functionality.
Start by carefully getting into the hammock and positioning yourself in a comfortable lying or sitting position. Distribute your weight evenly to test the strength and stability of the hammock sling and suspension system.
Check for any signs of stretching, sagging, or instability. If the hammock feels too loose, you may need to adjust the length of the suspension ropes or straps to provide a firmer and more secure hang.
Take note of any discomfort or pressure points and adjust the hammock accordingly. You can experiment with the height of the suspension points and the tension of the suspension system to find the most comfortable setup for your body.
It’s also a good idea to test the hammock’s weight capacity by gradually adding weight or having someone else get into the hammock with you. Make sure the suspension system can safely support the combined weight without excessive stretching or strain.
While testing the hammock, pay attention to the overall feel and comfort. If you find that the tarp material is too rigid or uncomfortable, you can consider adding a soft mattress, a foam pad, or a blanket for extra cushioning and coziness.
Lastly, take your time to make any necessary adjustments until you achieve the desired level of comfort and stability. Remember, everyone has different preferences, so it may take some trial and error to find the perfect setup for your homemade tarp hammock.
Congratulations! You have successfully created your own hammock using a tarp. Now, it’s time to sit back, relax, and enjoy your cozy outdoor retreat.
Conclusion
Making a hammock from a tarp is a fulfilling and rewarding project that allows you to customize your outdoor furniture to suit your needs and style. With just a few materials and some basic skills, you can create a comfortable and durable hammock that will provide countless hours of relaxation and enjoyment.
In this article, we have provided step-by-step instructions on how to make a hammock from a tarp. We covered the process of preparing the tarp, creating the hammock sling, reinforcing the edges, adding the suspension system, and testing and adjusting the hammock for optimal comfort.
Remember to choose high-quality materials and follow safety guidelines to ensure the durability and stability of your DIY hammock. Test the weight-bearing capacity of the hammock and regularly inspect the suspension system for any signs of wear and tear.
Creating your own tarp hammock not only allows you to save money but also provides a sense of accomplishment and satisfaction. You can relax, read a book, take a nap, or simply enjoy the serenity of the outdoors in the comfort of your homemade hammock.
So, why not embark on this creative project and enhance your outdoor living experience with a custom-made tarp hammock? Gather your materials and start crafting your own slice of relaxation in the great outdoors.
Happy hammock-making!
Frequently Asked Questions about How To Make A Hammock From A Tarp
Was this page helpful?
At Storables.com, we guarantee accurate and reliable information. Our content, validated by Expert Board Contributors, is crafted following stringent Editorial Policies. We're committed to providing you with well-researched, expert-backed insights for all your informational needs.


0 thoughts on “How To Make A Hammock From A Tarp”