
Articles
How To Test HVAC Blower Motor
Modified: October 20, 2024
Learn how to test your HVAC blower motor with these helpful articles. Find out if your blower motor is functioning properly and troubleshoot any issues. Take control of your HVAC system today.
(Many of the links in this article redirect to a specific reviewed product. Your purchase of these products through affiliate links helps to generate commission for Storables.com, at no extra cost. Learn more)
Introduction
Welcome to our comprehensive guide on how to test HVAC blower motors. The HVAC blower motor is a crucial component of your heating, ventilation, and air conditioning (HVAC) system, responsible for circulating air throughout your home or office. Over time, blower motors can experience wear and tear, leading to performance issues or even complete failure.
Testing the HVAC blower motor is an essential step in diagnosing any problems and determining if the motor needs repair or replacement. In this article, we will provide you with a step-by-step guide on how to test your HVAC blower motor, helping you identify any issues and find the appropriate solutions.
Before we dive into the testing process, let’s first understand the role and function of the HVAC blower motor.
Key Takeaways:
- Regular testing and maintenance of your HVAC blower motor is crucial for preventing unexpected breakdowns and optimizing system efficiency. By following a systematic testing process and interpreting the results, you can identify and address potential issues promptly.
- Understanding common symptoms of a faulty HVAC blower motor and preparing for the testing process with the right tools and equipment are essential steps in ensuring a safe and effective testing procedure. Interpreting the test results and seeking professional assistance when needed will help you troubleshoot and resolve any issues with your HVAC blower motor.
Read more: How Much Does HVAC Blower Motor Cost?
Overview of HVAC Blower Motor
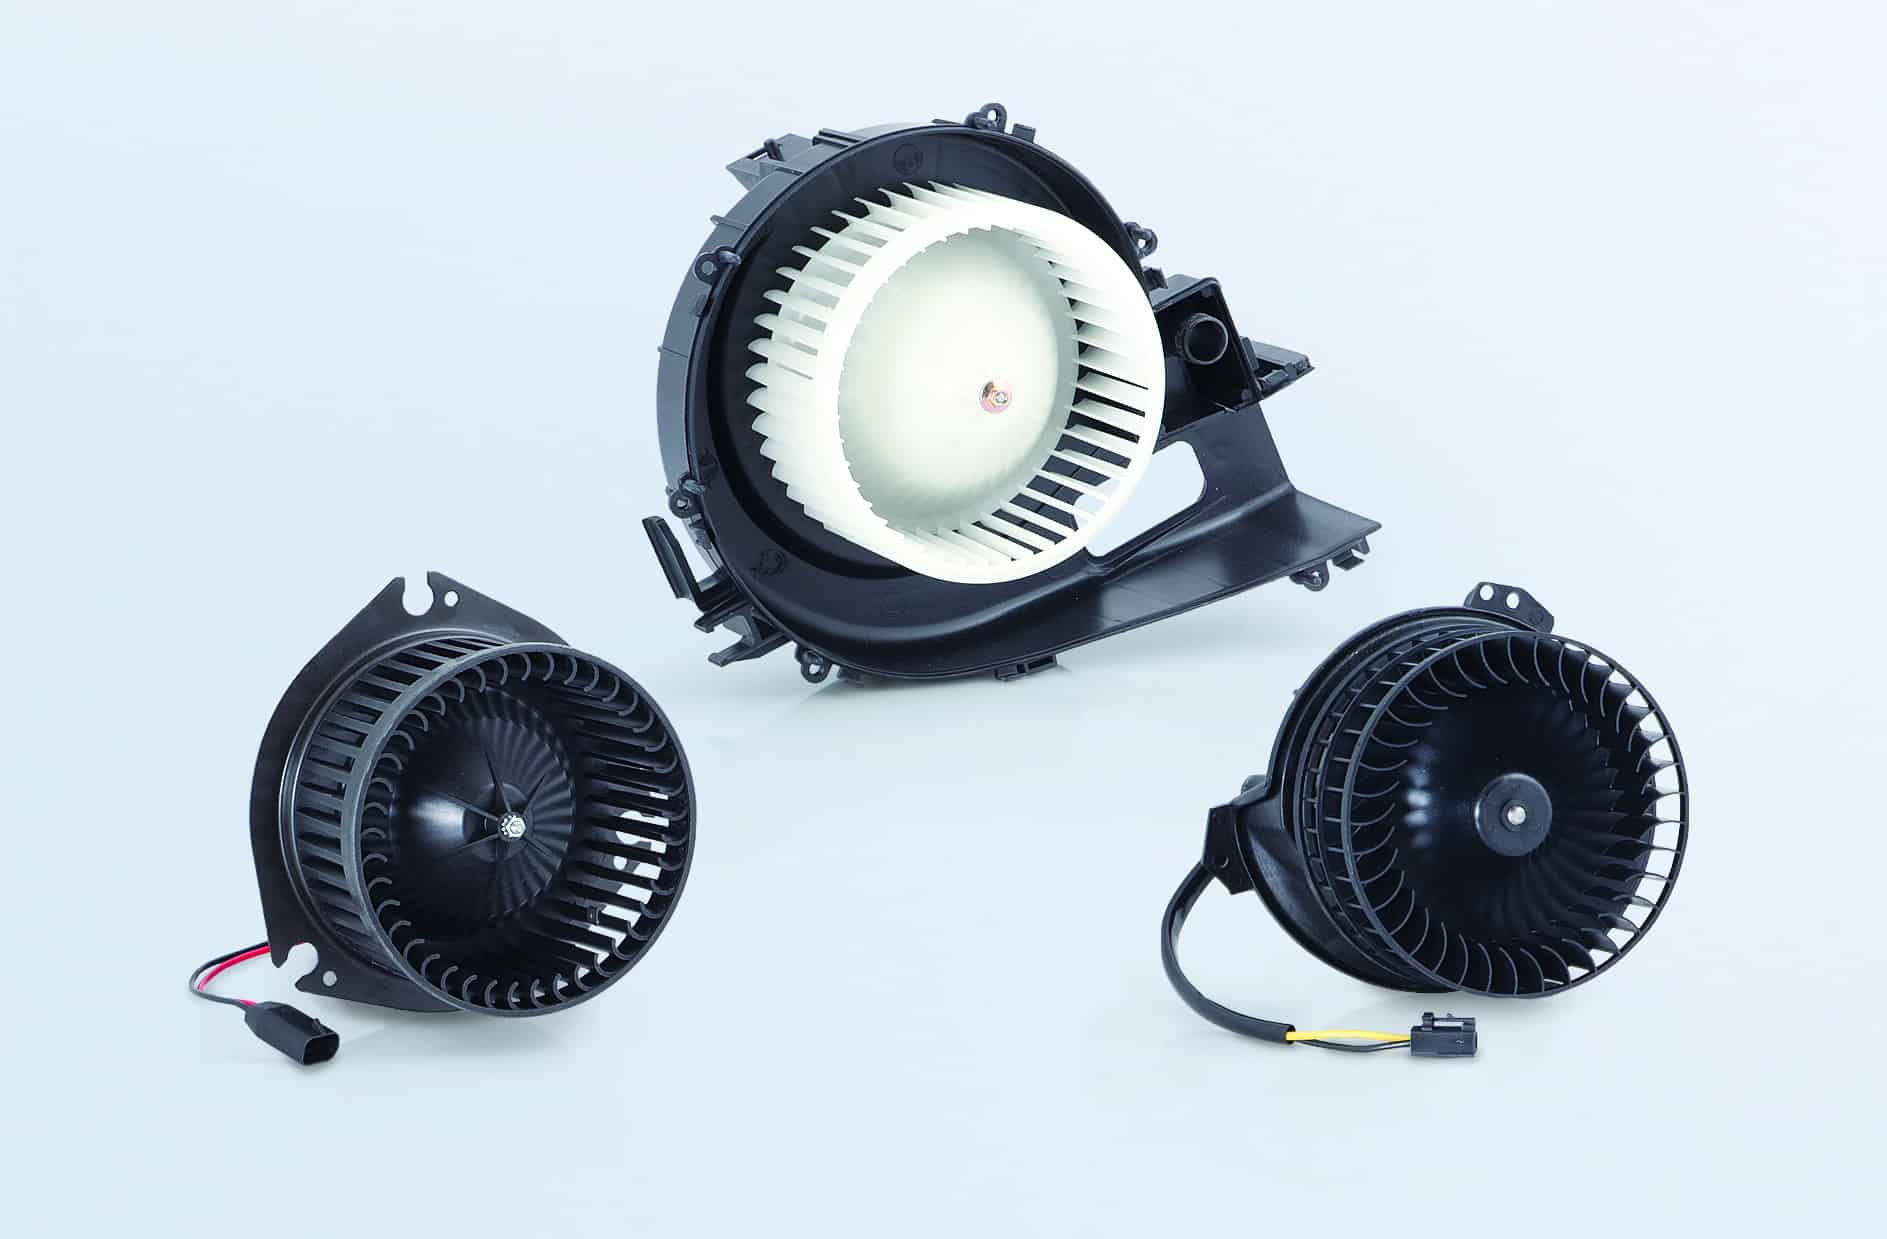
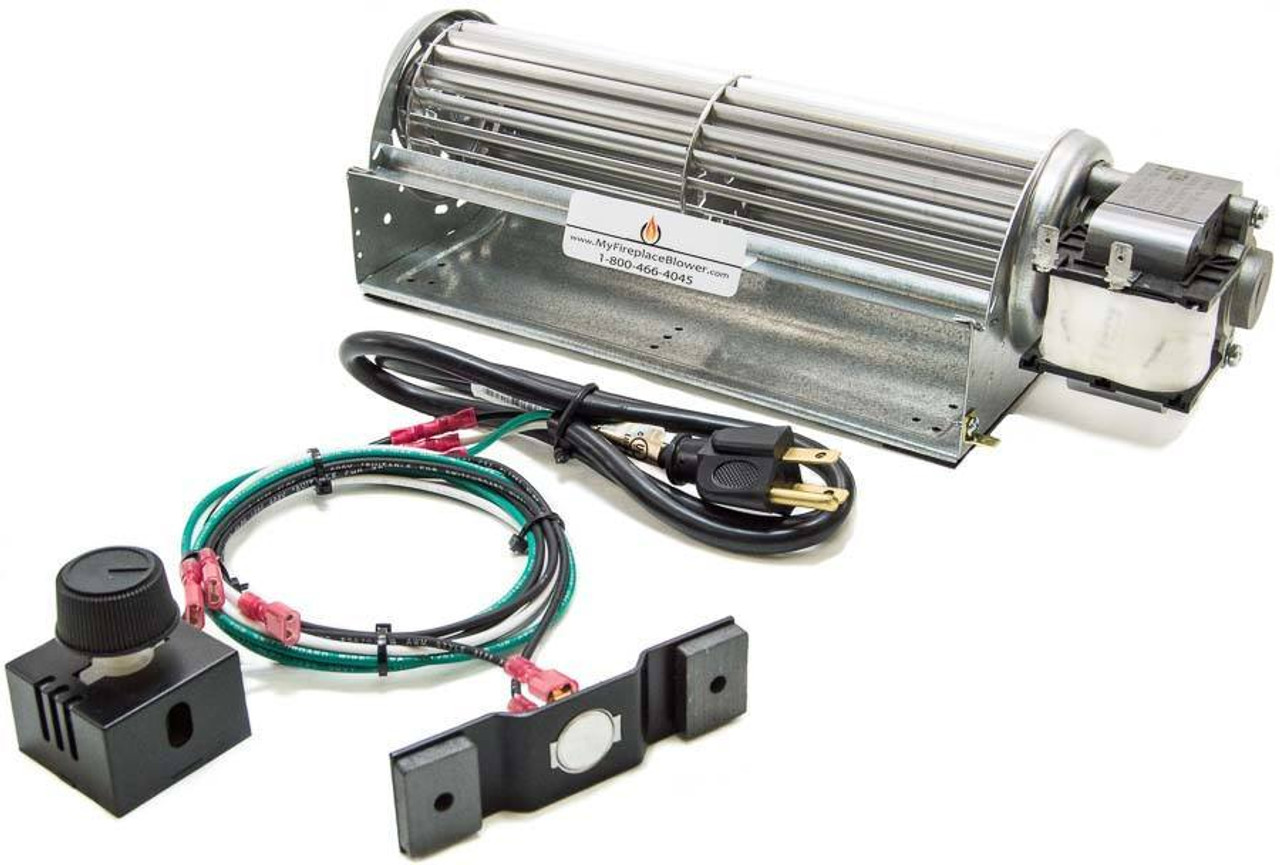
The HVAC blower motor is a vital component of your HVAC system, responsible for pushing air through the ductwork and distributing it to different areas of your home or office. It plays a crucial role in maintaining a comfortable and consistent indoor environment by effectively circulating air for heating, cooling, and ventilation purposes.
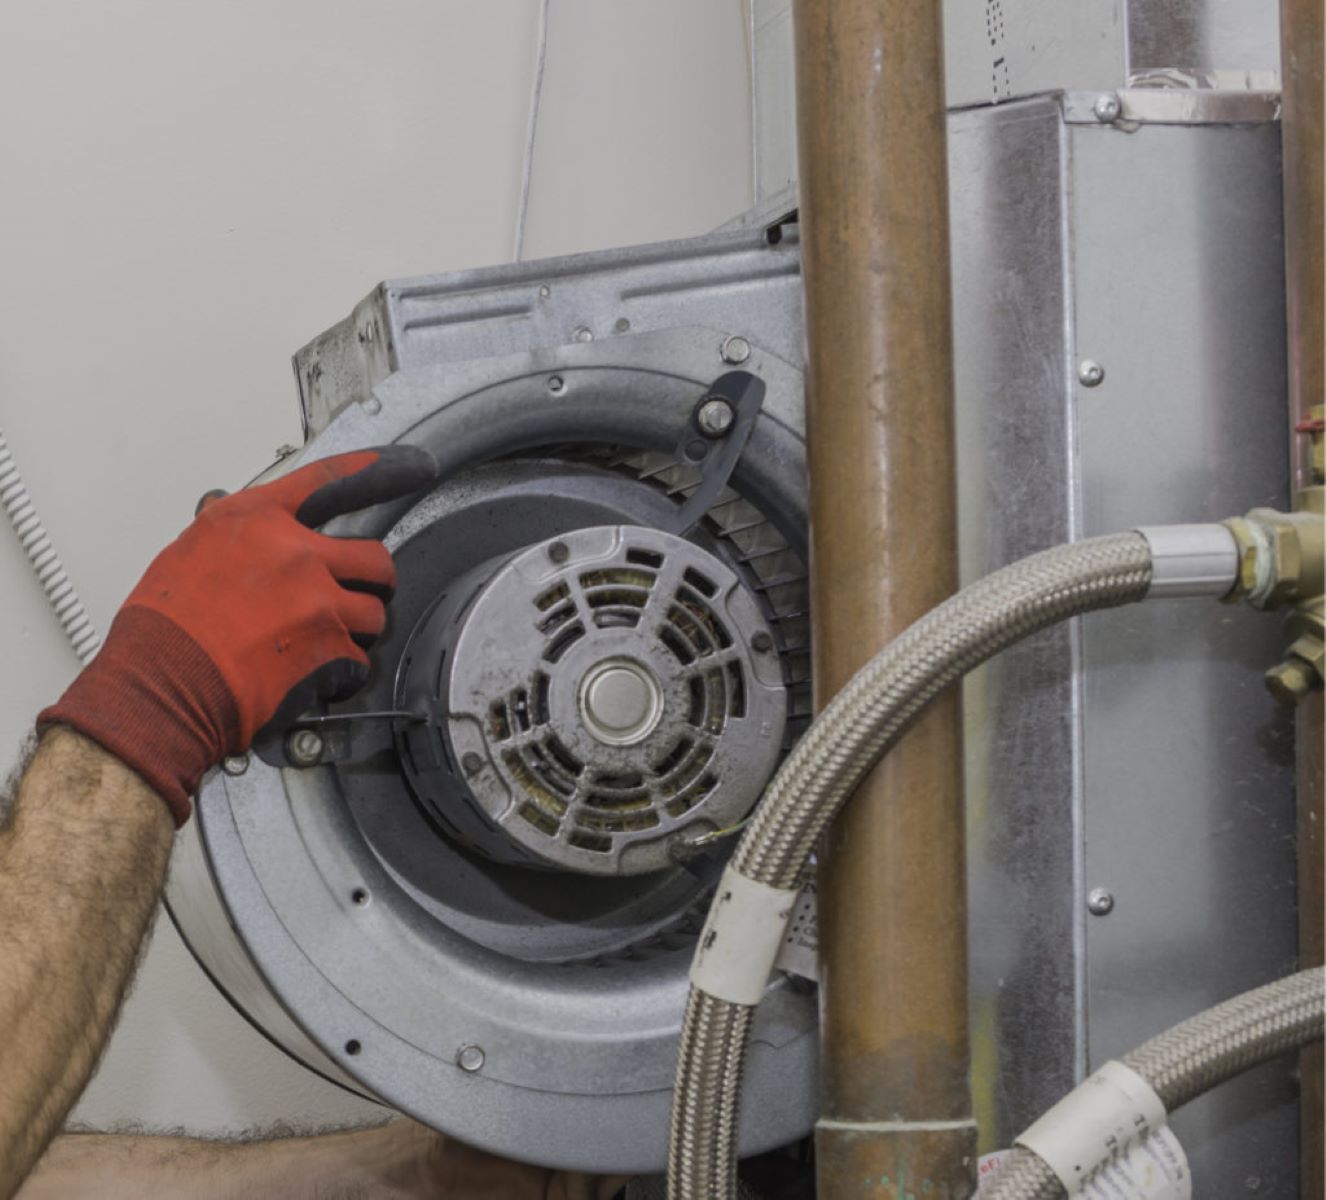
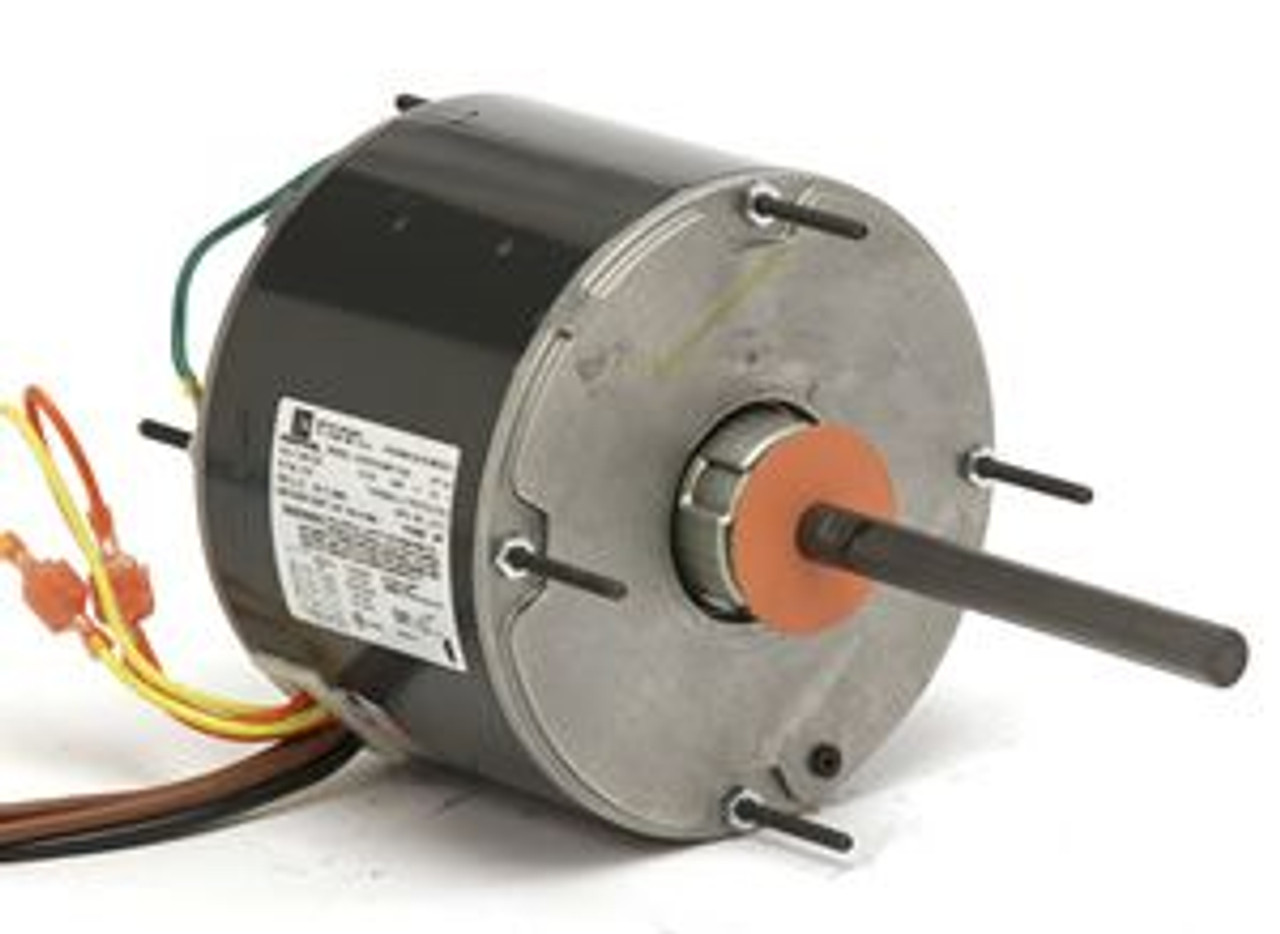
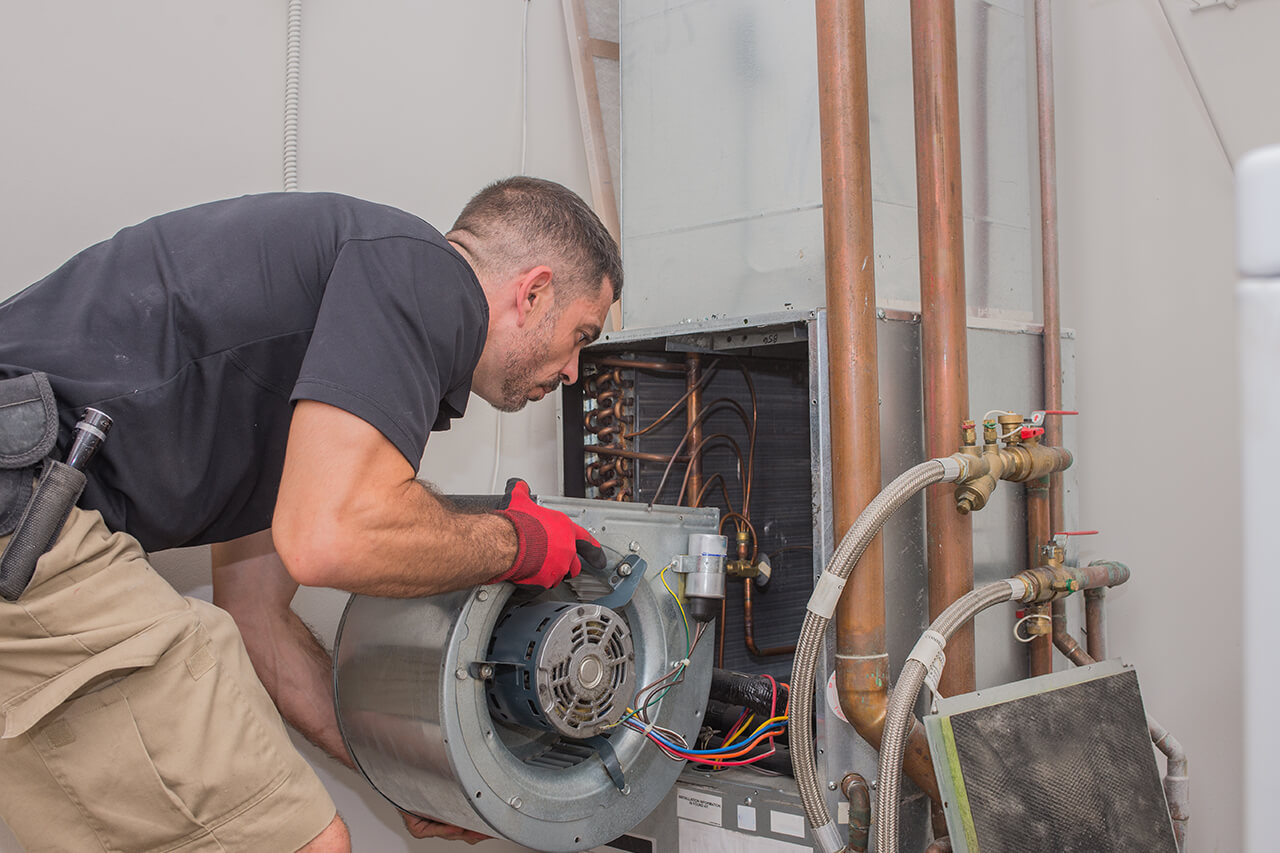
The blower motor is typically located inside the air handler unit or the furnace of your HVAC system. It is powered by an electric motor that drives a fan or impeller, creating airflow. The motor is connected to the blower wheel or cage, which draws in air and forces it through the system’s ductwork.
The blower motor operates at different speeds, allowing for variable airflow control depending on the cooling or heating demands. It can be controlled manually or automatically by a thermostat, adjusting the blower speed to maintain the desired temperature or airflow settings.
Most HVAC blower motors are equipped with bearings to reduce friction and ensure smooth operation. However, over time, these bearings may wear out, causing the motor to become noisy or malfunction. Additionally, other factors such as dust accumulation, electrical problems, or motor wiring issues can also contribute to motor failure or reduced performance.
Regular maintenance and testing of the HVAC blower motor are essential to ensure optimal system performance and energy efficiency. By identifying and addressing any issues promptly, you can prevent further damage to the motor and avoid costly repairs or replacements.
Common Symptoms of a Faulty HVAC Blower Motor
A faulty HVAC blower motor can manifest a range of symptoms, indicating potential issues with the motor itself or other parts of the HVAC system. Being aware of these common symptoms can help you identify if your blower motor is experiencing problems. Here are some warning signs to look out for:
- No Airflow: If you notice a complete lack of airflow from your vents, it could be indicative of a faulty blower motor. The motor may have failed completely or is not receiving power due to an electrical issue.
- Weak Airflow: If you feel weak or insufficient airflow coming from your vents, the blower motor may be operating at a lower speed than it should. This could be due to a faulty motor or an issue with the motor speed controller.
- Inconsistent Airflow: If the airflow from your vents is inconsistent, with airflow that fluctuates or randomly stops and starts, it could signify a problem with the blower motor or its control mechanism.
- Loud Noises: Unusual noises, such as humming, screeching, or rattling, coming from the blower motor can indicate worn-out bearings, loose components, or other mechanical issues.
- Motor Overheating: An overheating blower motor may cause the system to shut down as a safety measure. If you notice that your motor feels excessively hot to the touch or if the system frequently shuts off, it may be a sign of motor overheating.
- Burnt Smell: A burnt or electrical smell coming from the blower motor or vents can indicate a motor or wiring issue. This smell should not be ignored, as it could indicate potential electrical hazards.
- Failed Motor Operation: In some cases, the blower motor may fail to operate at all. This can be due to various reasons, including electrical problems, motor failure, or a malfunctioning motor controller.
If you are experiencing any of these symptoms, it is recommended to test your HVAC blower motor to determine the cause of the issue. Identifying the problem early on can save you from further damage to the motor and prevent potential system failures.
Tools and Equipment Needed
Before you begin testing your HVAC blower motor, it’s important to gather the necessary tools and equipment. Here is a list of items you will need:
- Multi-meter: A digital or analog multi-meter is essential for measuring electrical resistance, voltage, and current. This tool will allow you to test the electrical components of the blower motor and identify any issues.
- Screwdriver Set: A set of screwdrivers with various sizes and types will be needed to remove the access panel and other components of the HVAC system.
- Socket Set: A socket set will come in handy for loosening and removing any necessary bolts or nuts during the testing process.
- Wire Strippers: You may need wire strippers to remove the insulation from wires and access the electrical connections.
- Alligator Clips: Alligator clips are useful for making temporary electrical connections during the testing process.
- Protective Gear: It’s essential to prioritize safety during any testing procedures. Wear protective gear such as gloves, safety glasses, and appropriate clothing to protect yourself from any potential hazards or electric shocks.
These tools and equipment will assist you in carrying out the necessary tests and inspections on your HVAC blower motor. Having them readily available will make the testing process smoother and more efficient.
It’s important to note that the specific tools required may vary depending on the type and model of your HVAC system. Consulting the manufacturer’s guidelines or seeking professional advice can help ensure you have the right tools for your specific case.
Preparing for the Test
Before diving into testing your HVAC blower motor, it’s essential to take some preparatory steps to ensure a safe and efficient process. Here are some key considerations to keep in mind:
- Turn off Power: Start by turning off the power to your HVAC system. Locate the main electrical panel and switch off the circuit breaker or remove the fuse connected to the HVAC unit. This precautionary step will prevent any electrical accidents during the testing process.
- Review the System Manual: Familiarize yourself with the system manual provided by the manufacturer. This will give you valuable information about the specific procedures and safety measures to follow when testing the blower motor.
- Access the Blower Motor: Remove the access panel or cover to gain access to the blower motor. Depending on your HVAC system, you may need to remove screws or fasteners to open the panel. Refer to the system manual for guidance.
- Inspect for Any Obstructions: Before testing the motor, visually inspect the blower wheel and housing for any obstructions or debris that may impede its functionality. Clear away any dirt or debris that may have accumulated over time.
- Inspect the Wiring Connections: Carefully inspect the wiring connections leading to the blower motor. Look for loose or frayed wires, damaged insulation, or any signs of corrosion. Secure any loose connections and repair or replace any damaged wires.
- Check the Motor Bearings: Check the blower motor bearings for smooth operation. A worn-out or damaged bearing may cause excessive noise or vibrations. Lubricate or replace the bearings if necessary.
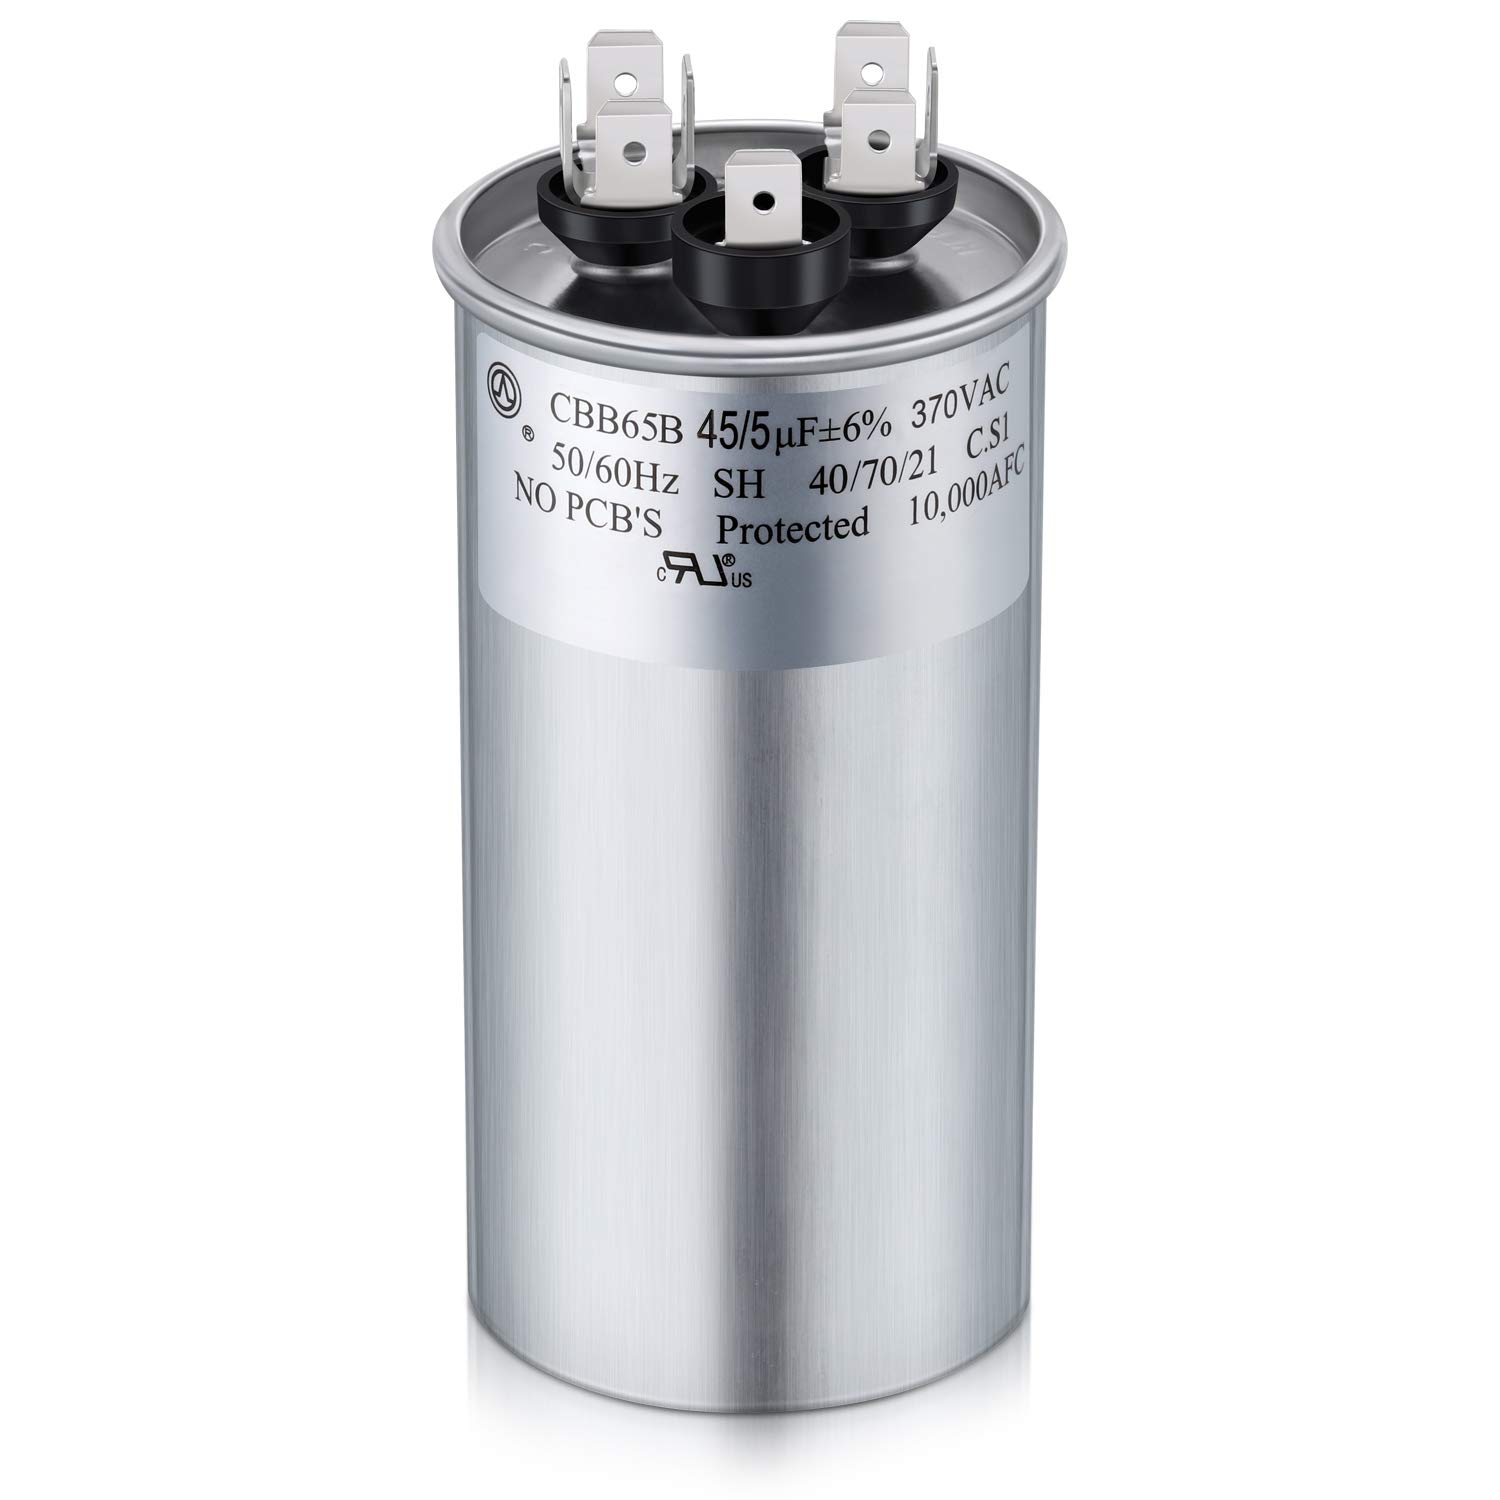
- Check Motor Capacitor: If your blower motor operates with a capacitor, visually inspect it for any signs of damage, such as bulging or leaking. Faulty capacitors can affect motor performance and should be replaced if needed.
By following these preparatory steps, you will ensure a safer and more effective testing process. Taking the time to inspect and address any potential issues beforehand will enhance the accuracy of your test results and help you diagnose any problems with your HVAC blower motor more accurately.
When testing an HVAC blower motor, use a multimeter to check for continuity in the motor windings. Also, ensure the motor capacitor is functioning properly.
Read more: Where Is The HVAC Blower Motor Located
Testing the HVAC Blower Motor
Testing your HVAC blower motor requires a systematic approach to ensure accurate results. Follow these steps to effectively test the motor:
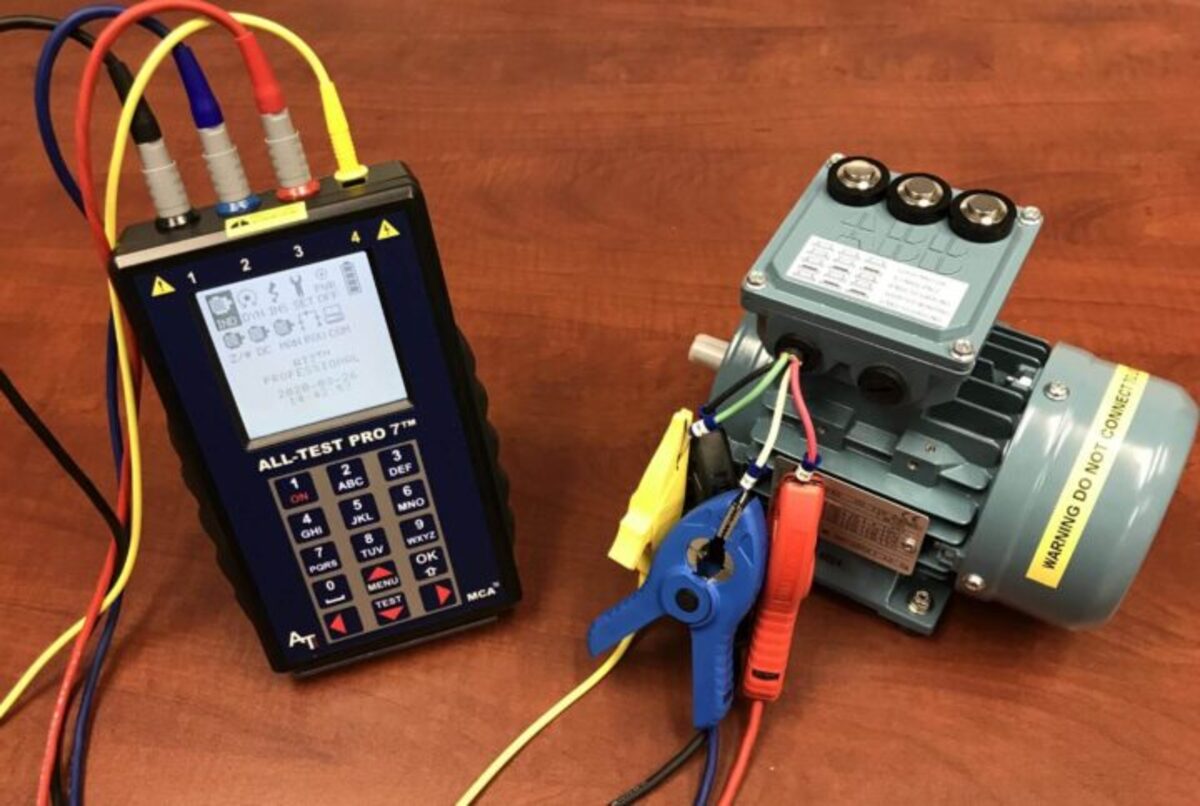
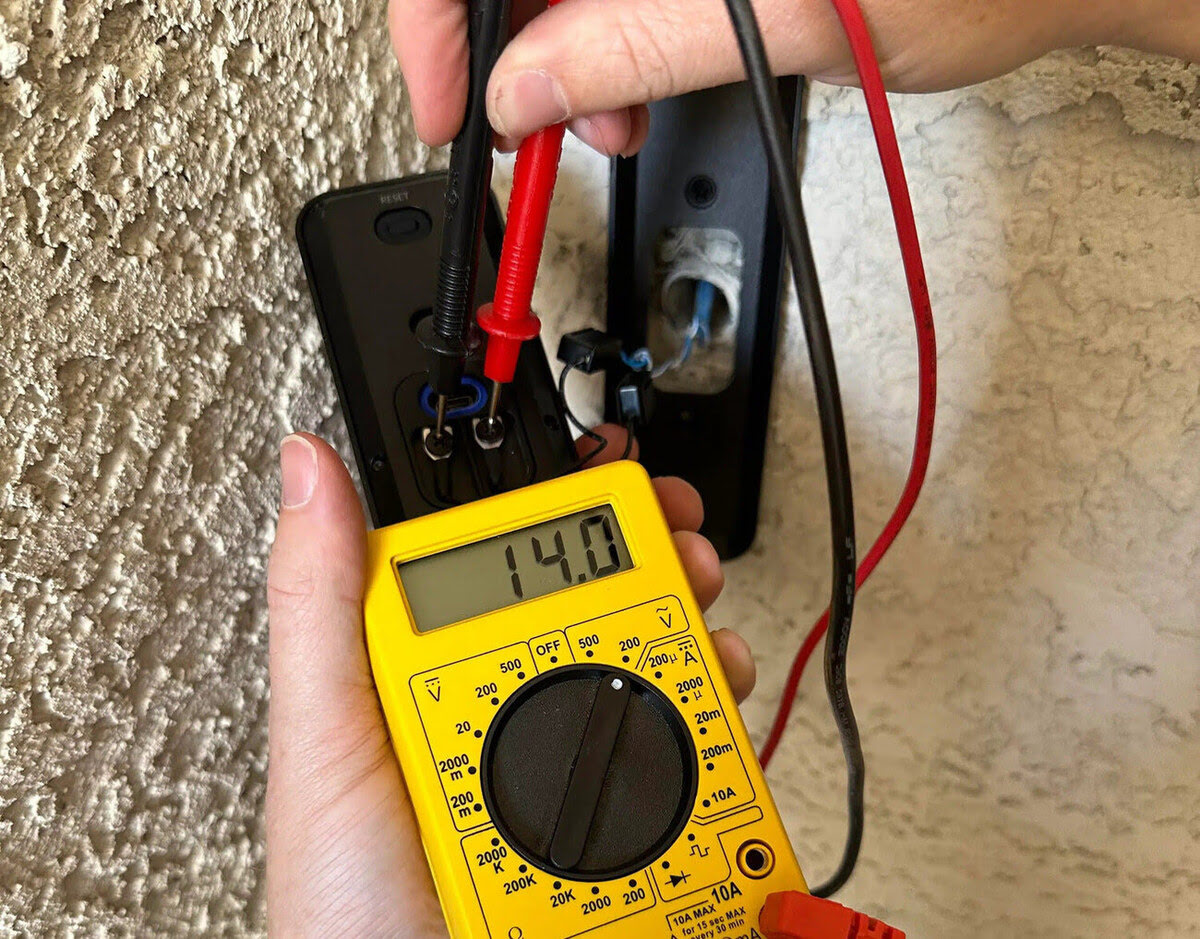
- Set the Multi-Meter: Set your multi-meter to the resistance or ohms setting. This will enable you to measure the electrical resistance of the blower motor and determine if it is within the manufacturer’s specified range.
- Disconnect Power: Double-check that the power is disconnected from the HVAC system before proceeding. This is crucial for your safety during the testing process.
- Locate the Blower Motor Wires: Locate the wires connected to the blower motor. Depending on your specific system, there may be two or more wires. Refer to the system manual or wiring diagram for guidance.
- Attach the Test Leads: Attach the test leads from the multi-meter to the blower motor wires. Ensure a secure connection by using alligator clips or gently holding onto the wires. Take note of which wire corresponds to which lead.
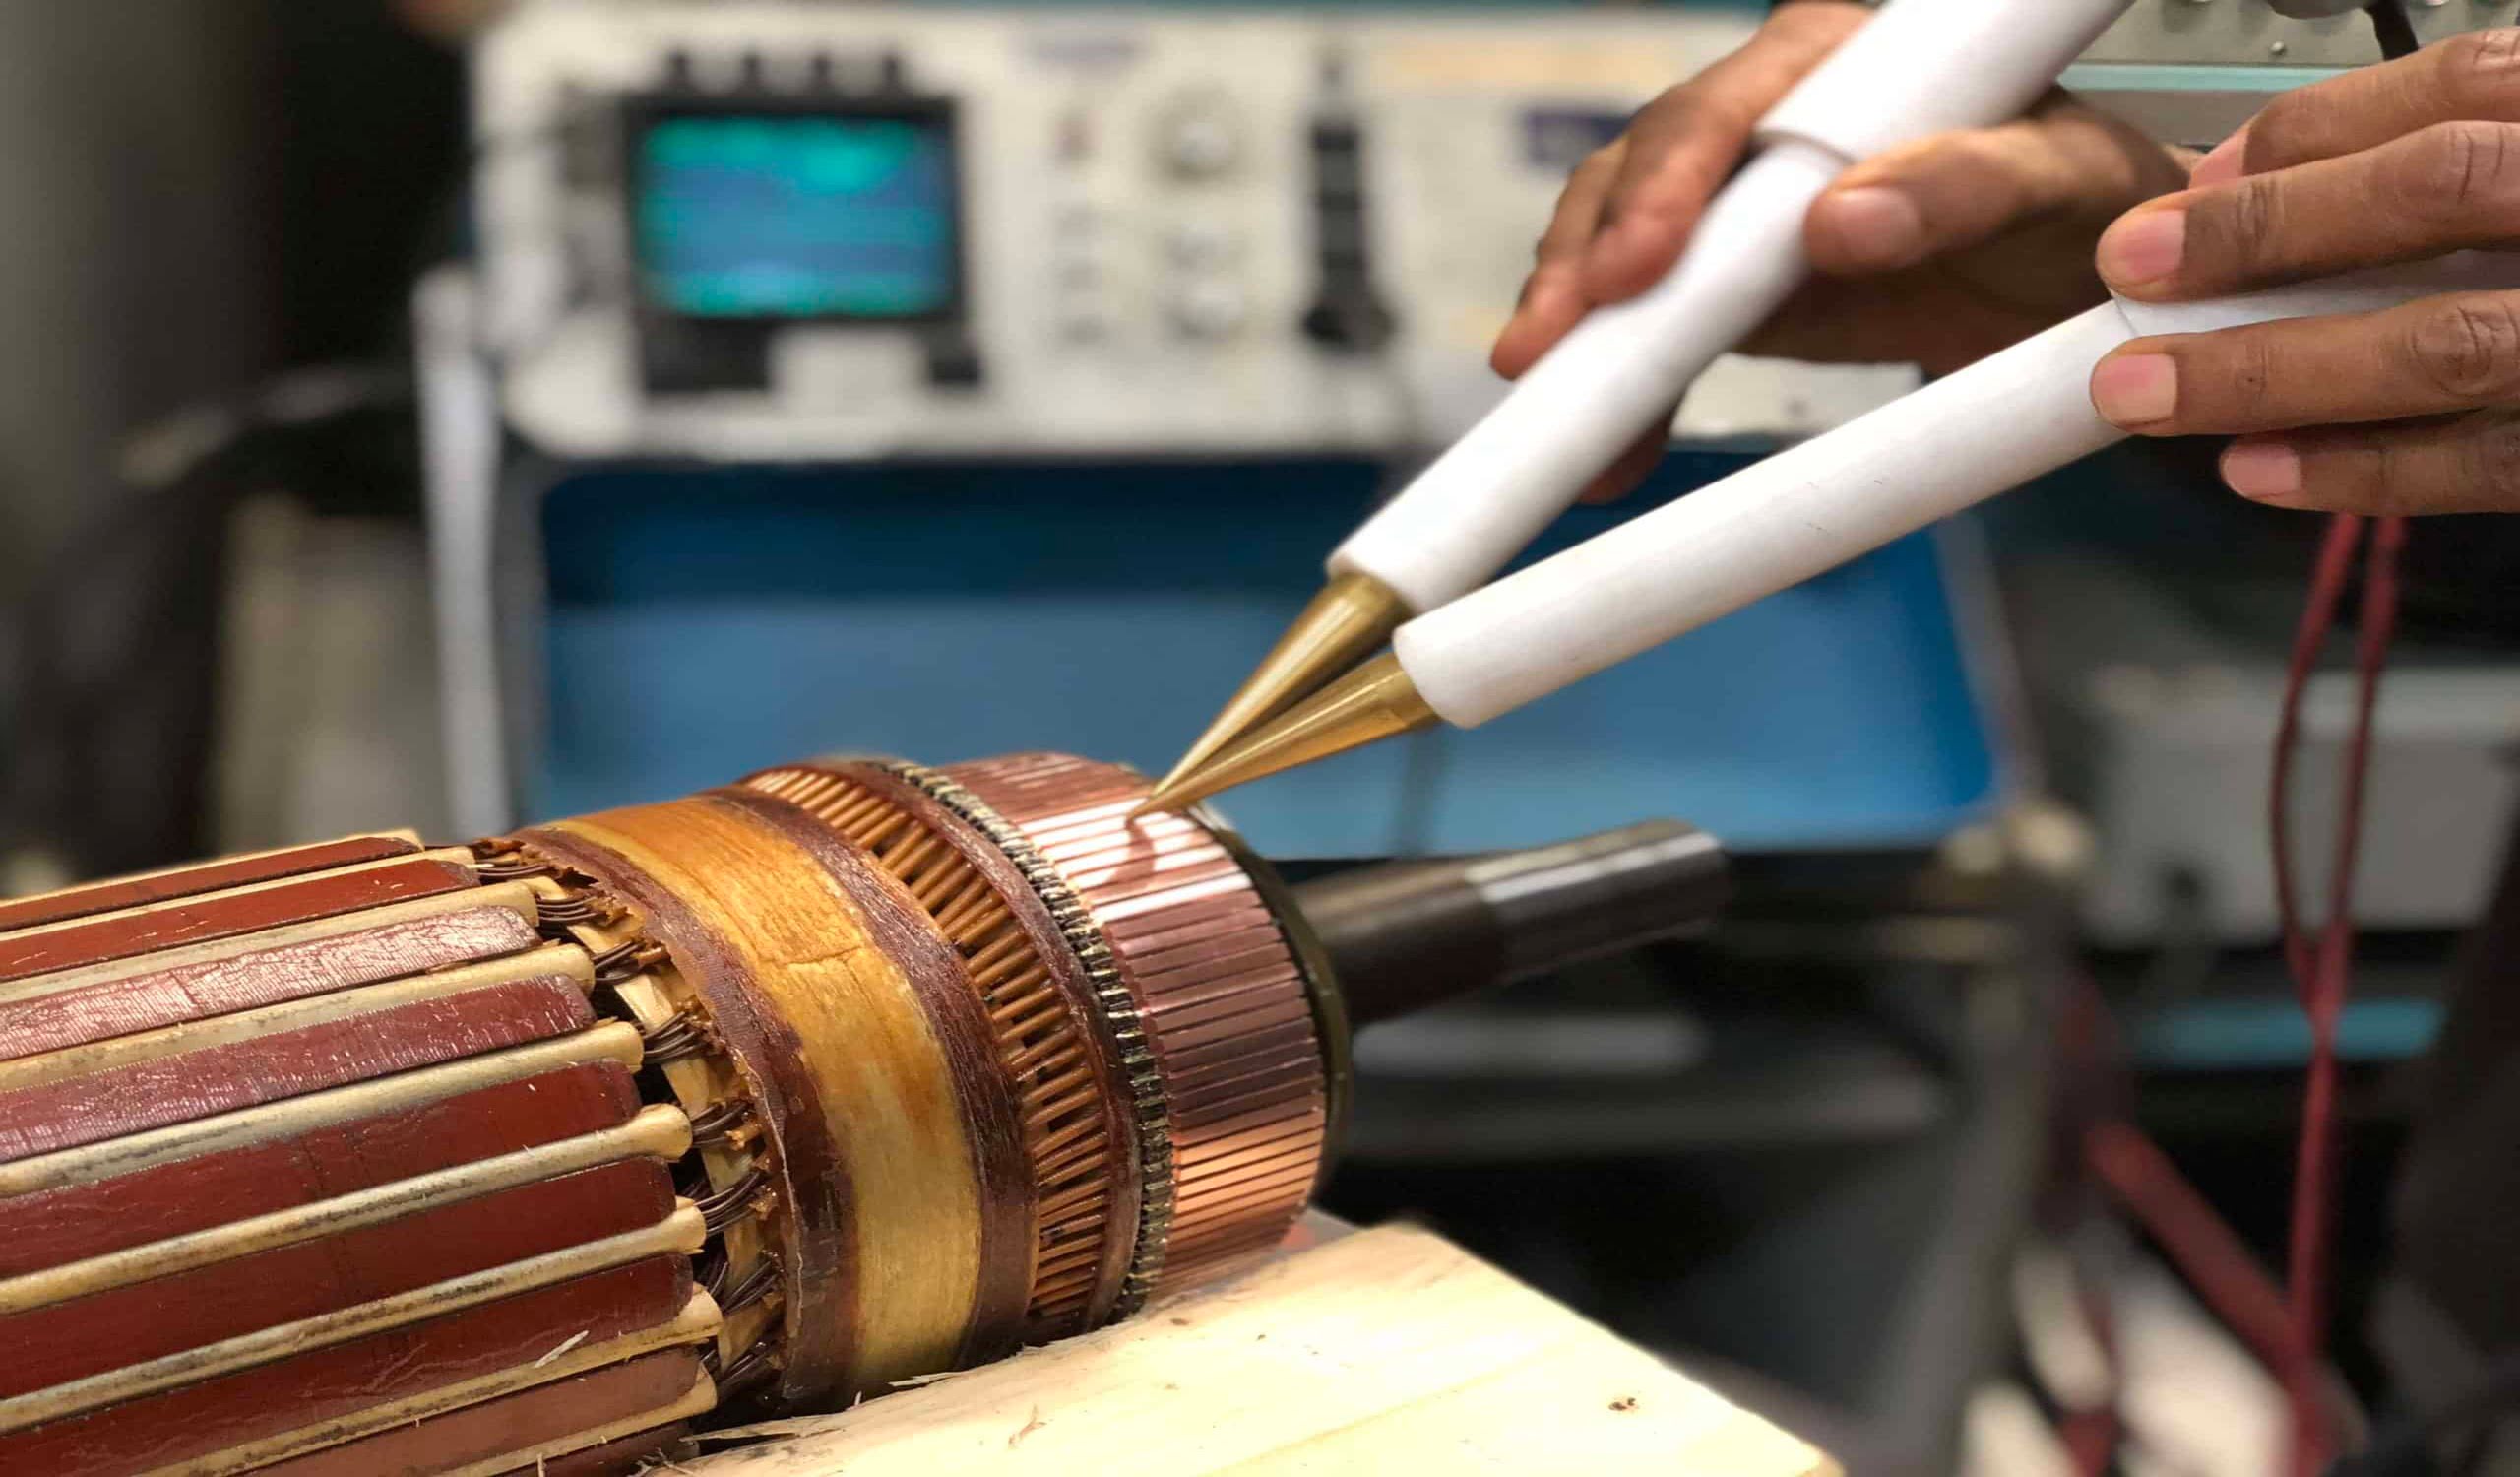
- Read the Resistance: With the multi-meter connected to the blower motor wires, read and record the resistance value displayed on the meter. Compare this value to the recommended range provided by the manufacturer. If the reading falls outside the specified range, it indicates a problem with the motor’s winding or electrical components.
- Test the Capacitor: If your blower motor operates with a capacitor, test it using a capacitor tester or by referring to the system manual. Follow the instructions provided to determine if the capacitor is functioning correctly. Replace the capacitor if it fails the test.
- Check for Power Supply: After completing the resistance and capacitor tests, reconnect the power supply to the HVAC system. Turn on the system and monitor if power is reaching the blower motor. You can use a voltage tester or multi-meter to check for voltage at the motor connections. If there is no power, it may indicate an electrical problem elsewhere in the system.
- Observe Motor Operation: With the power restored, observe the motor’s operation. Ensure that it starts up smoothly, runs at the intended speed, and distributes airflow through the vents. Listen for any unusual noises or vibrations, as they may indicate further issues with the motor.
Remember to consult your system manual or seek professional guidance if you encounter any difficulties during the testing process or if your results are inconclusive. Professional assistance can help you accurately diagnose any issues and determine the appropriate solutions for your HVAC blower motor.
Interpreting the Test Results
Interpreting the test results of your HVAC blower motor is crucial in determining its condition and identifying any potential issues. Here is how you can interpret the test results:
- Resistance Test: The resistance reading obtained from the multi-meter helps determine if the motor’s windings are intact. Compare the measured resistance to the manufacturer’s specified range. If the reading falls within the range, it indicates that the motor’s windings are in good condition. However, if the reading is too high or too low, it may signify a problem with the motor’s winding or other electrical components.
- Capacitor Test: If your blower motor operates with a capacitor, a failed capacitor test indicates that it needs to be replaced. Capacitors store electrical energy to provide the initial boost needed for the motor to start. A faulty capacitor can cause motor starting issues or decreased performance.
- Power Supply Test: Checking for power supply at the blower motor verifies if the electrical connections are intact and if the motor is receiving the necessary power. If there is no power reaching the motor, it may indicate an electrical issue, such as a blown fuse, a tripped circuit breaker, or a faulty motor controller.
- Motor Operation: Observing the motor’s operation after testing is crucial. If the motor starts smoothly, runs at the intended speed, and distributes airflow adequately, it indicates that the motor is functioning properly. However, if there are unusual noises, vibrations, or if the motor fails to start or operate consistently, it may suggest further issues that need to be addressed.
It’s important to take into account the overall performance of the blower motor and consider all the test results collectively. If you notice any significant deviations from the expected results or if you are unsure about the interpretation, it is recommended to consult with a professional HVAC technician. They can provide expert guidance and assist in diagnosing and resolving any issues with your HVAC blower motor.
Troubleshooting and Possible Solutions
Once you have tested your HVAC blower motor and identified any issues, it’s time to troubleshoot and find the appropriate solutions. Here are some common problems and possible solutions:
- No Airflow: If there is no airflow from the vents, it could indicate a complete motor failure or an electrical issue. Check the motor’s power supply, fuses, and wiring connections. Replace any blown fuses or address any electrical problems. If the motor has failed entirely, it may need to be replaced.
- Weak Airflow: If the airflow is weak, it may indicate a motor operating at a lower speed than intended. Check the motor speed controller or module and make sure it is set correctly. If the controller is faulty, it may need to be replaced. Additionally, check for any obstructions in the ductwork or blower wheel that may be restricting airflow.
- Inconsistent Airflow: Inconsistent airflow can be caused by a malfunctioning motor control board or a faulty blower relay. Inspect these components and replace them if necessary. Also, check for any loose wiring connections that may be contributing to the problem.
- Loud Noises: Unusual noises such as humming, screeching, or rattling can indicate worn-out bearings, loose components, or an imbalanced blower wheel. Lubricate or replace the bearings and tighten any loose components. If the problem persists, it may require professional assistance to diagnose and resolve the issue.
- Motor Overheating: Motor overheating can be caused by a lack of adequate airflow, a malfunctioning motor capacitor, or excessive dust and debris accumulation. Clean the blower wheel and housing to ensure proper airflow. Test and replace the capacitor if necessary. If the problem continues, it may indicate a more significant issue requiring professional attention.
- Burnt Smell: A burnt or electrical smell can indicate a motor or wiring problem. Ensure that all wiring connections are secure and free from damage. Replace any frayed or damaged wires. If the smell persists, it may indicate a motor issue that should be addressed by a professional.
- Failed Motor Operation: If the blower motor fails to operate, check the power supply, fuses, and wiring connections. Ensure that the motor is receiving the correct voltage and that there are no loose or damaged wires. If the motor still does not operate, it may need to be replaced.
It’s important to note that troubleshooting and repairing HVAC systems can be complex. If you are unsure about any repairs or if the issues persist after attempting the suggested solutions, it is highly recommended to consult with a qualified HVAC technician. They have the expertise and experience to diagnose and resolve more complex issues, ensuring the proper functioning of your HVAC system.
Conclusion
Testing your HVAC blower motor is a crucial step in diagnosing any issues with your heating, ventilation, and air conditioning system. By following the steps outlined in this guide, you can efficiently test your blower motor and identify any potential problems.
Understanding the role and function of the HVAC blower motor, as well as recognizing common symptoms of a faulty motor, allows you to take prompt action and prevent further damage to your system.
By preparing for the test with the appropriate tools and equipment, you can ensure a safe and effective testing process. Taking the time to inspect and address any potential issues beforehand increases the accuracy of your test results.
Interpreting the test results allows you to determine the condition of your blower motor and pinpoint any underlying issues. This knowledge is essential in guiding you towards the appropriate troubleshooting and possible solutions.
Remember, if you encounter difficulties or if the issues persist after attempting the suggested solutions, it is always best to seek professional assistance. HVAC technicians have the expertise to diagnose and resolve complex problems with your HVAC blower motor, ensuring the optimal performance and longevity of your system.
Regular maintenance and testing of your HVAC blower motor will help prevent unexpected breakdowns and optimize the efficiency of your system. By staying proactive and addressing any issues promptly, you can enjoy a comfortable and well-functioning HVAC system throughout the year.
Frequently Asked Questions about How To Test HVAC Blower Motor
Was this page helpful?
At Storables.com, we guarantee accurate and reliable information. Our content, validated by Expert Board Contributors, is crafted following stringent Editorial Policies. We're committed to providing you with well-researched, expert-backed insights for all your informational needs.


0 thoughts on “How To Test HVAC Blower Motor”