
Articles
How To Check A Electric Motor Capacitor
Modified: October 20, 2024
Want to learn how to check an electric motor capacitor? Read this informative article for step-by-step instructions and expert tips.
(Many of the links in this article redirect to a specific reviewed product. Your purchase of these products through affiliate links helps to generate commission for Storables.com, at no extra cost. Learn more)
Introduction
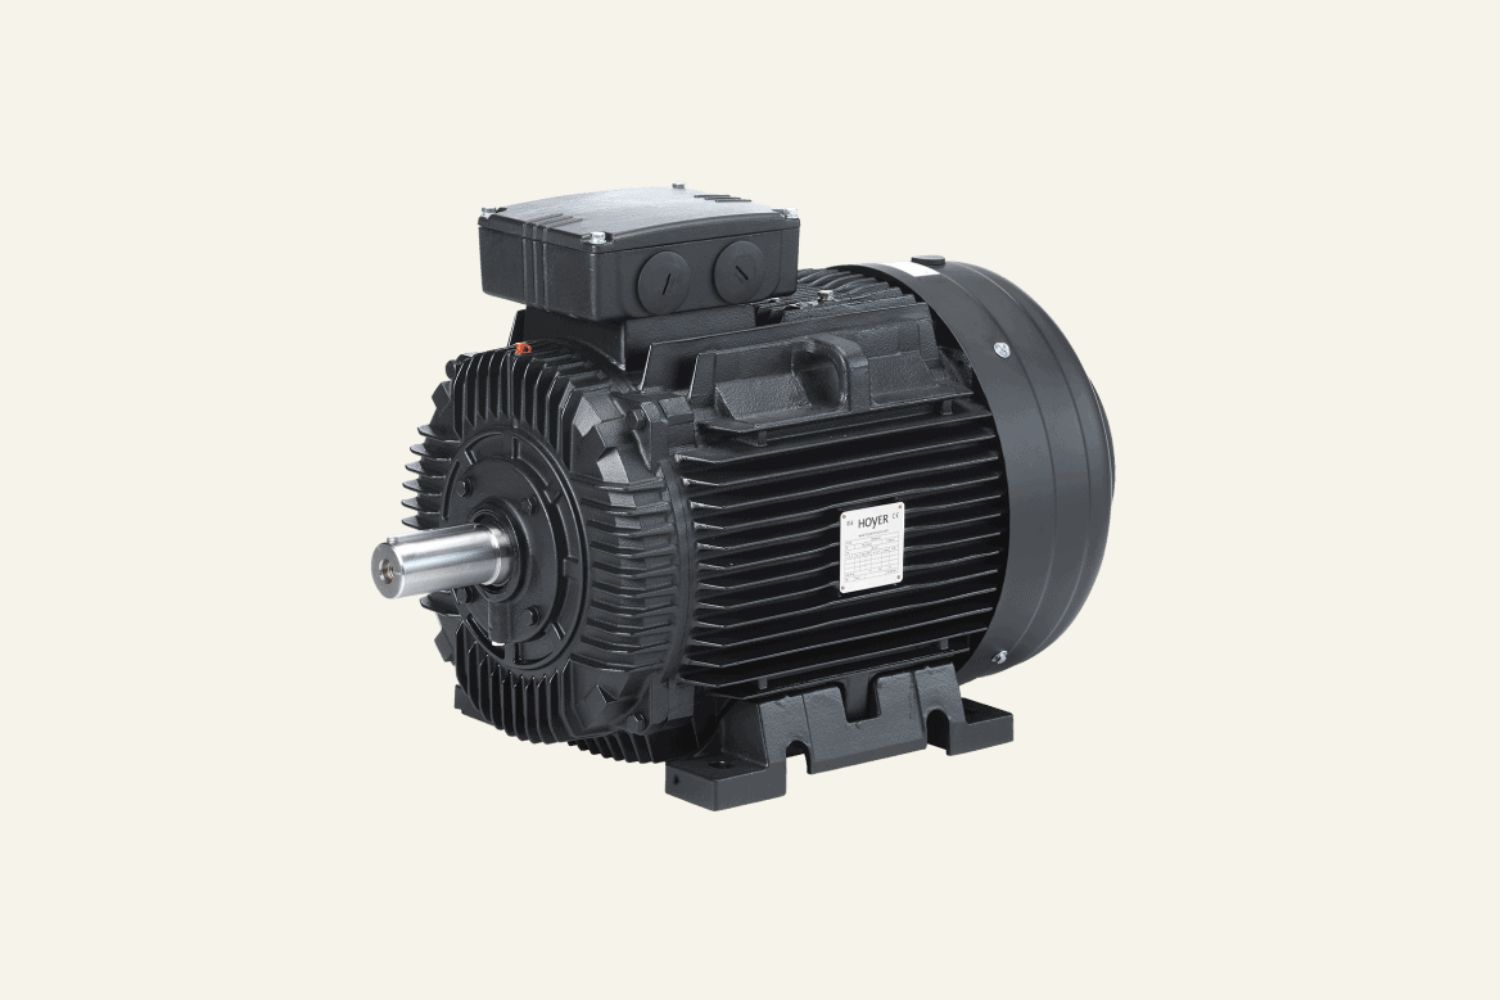
Welcome to this guide on how to check an electric motor capacitor. Electric motor capacitors play a crucial role in the operation of various appliances and machinery, including air conditioners, refrigerators, and even cars. These capacitors store electrical energy and provide a burst of power to start the motor. Over time, capacitors can degrade or fail, resulting in motor malfunction.
Checking the capacitor is an important step in troubleshooting motor issues and can save you money by avoiding unnecessary repairs or replacements. In this guide, we will walk you through the process of checking an electric motor capacitor to determine if it is faulty or in need of replacement.
Before we dive into the step-by-step process, let’s take a moment to understand how electric motor capacitors work and why they are an integral part of the motor’s functioning.
Key Takeaways:
- Regularly checking and maintaining electric motor capacitors is crucial for optimal motor performance and longevity. Prioritize safety, understand capacitor types, and use the right tools for effective testing and replacement.
- Safely checking and replacing faulty electric motor capacitors is achievable with the right knowledge, tools, and precautions. Prioritize safety, understand capacitor functionality, and follow proper testing and replacement procedures for efficient motor operation.
Read more: What Is An Electric Motor Capacitor?
Understanding Electric Motor Capacitors
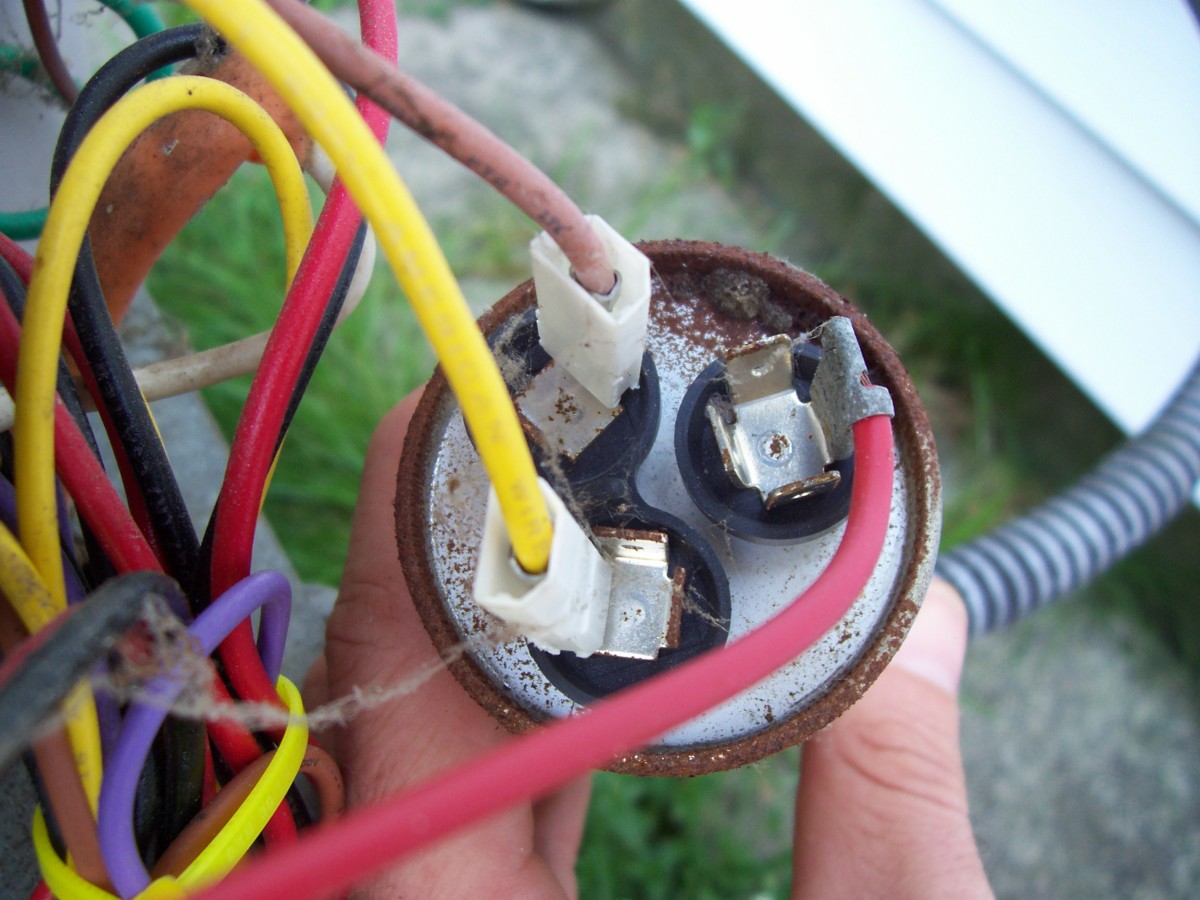
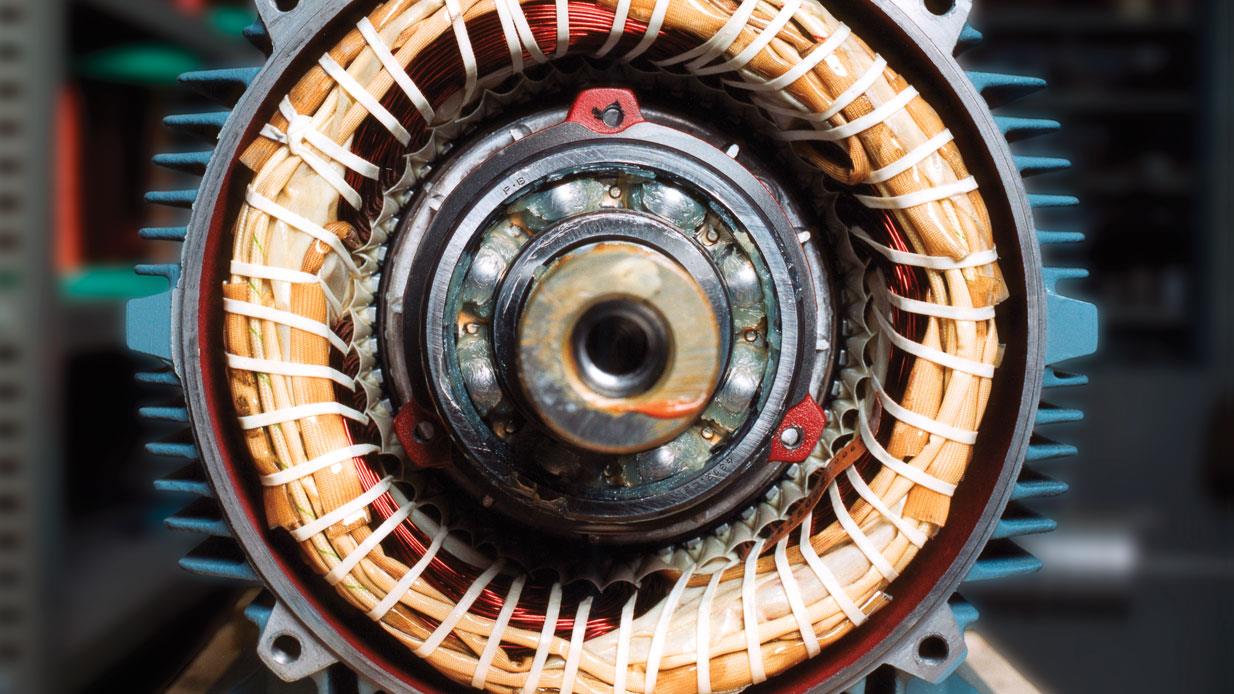
Electric motor capacitors are small, cylindrical devices that store electrical energy. They are commonly found in single-phase induction motors and are used to provide an extra boost of power during motor starting. Capacitors are connected in parallel to the motor windings, and when the motor is switched on, they assist in creating the rotating magnetic field necessary for motor operation.
There are two main types of electric motor capacitors: start capacitors and run capacitors. Start capacitors provide the initial burst of power required to start the motor’s rotation. These capacitors have a higher capacitance value and are designed to deliver a short, powerful surge of energy. Once the motor is up to speed, the start capacitor is taken out of the circuit by a centrifugal switch.
On the other hand, run capacitors are used to continuously provide electrical energy to the motor during operation. These capacitors have a lower capacitance value compared to start capacitors and assist in maintaining a steady motor performance. Run capacitors are connected in parallel with the motor windings throughout the entire operation.
It is important to note that electric motor capacitors can degrade over time, primarily due to factors such as age, temperature fluctuations, voltage spikes, and poor maintenance. When a capacitor fails, it can cause a range of motor problems, including failure to start, low torque, high energy consumption, and overheating.
Now that we have a basic understanding of electric motor capacitors and their role in motor functioning, let’s move on to the tools and equipment you will need to check a capacitor.
Tools and Equipment Needed
Before you begin checking an electric motor capacitor, you will need a few tools and equipment to ensure a smooth and safe process. Here are the items you should gather:
- Insulated Gloves: Safety should be your top priority when working with electrical components. Insulated gloves will protect you from electric shocks and should be worn throughout the process.
- Safety Glasses: To protect your eyes from any debris or accidental chemical spills, wearing safety glasses is essential.
- Insulated Screwdriver: An insulated screwdriver is necessary for accessing the capacitor and other components safely. Make sure it has a rubber or plastic handle to prevent electrical conductivity.
- Digital Multimeter: A digital multimeter is a versatile tool used to measure voltage, resistance, and capacitance. You will use this device to test the health of the capacitor.
- Alligator Clips: Alligator clips will allow you to connect the multimeter probes securely to the capacitor terminals during testing.
- Replacement Capacitor: In case you find that the capacitor is faulty, it’s a good idea to have a replacement capacitor on hand. Make sure you select a capacitor with the same voltage and capacitance values as the original one.
Once you have gathered these tools and equipment, you are ready to move on to the next steps, where we will discuss important safety precautions to follow before checking the capacitor.
Step 1: Safety Precautions
Before you begin working with an electric motor capacitor, it is vital to prioritize safety. Electricity can be dangerous, so following these safety precautions is crucial to avoid accidents and injuries:
- Turn off the power: Always start by turning off the power supply to the motor at the circuit breaker or disconnect switch. This will prevent any electric shocks while handling the motor components.
- Wear protective gear: Put on insulated gloves and safety glasses to protect yourself from electrical hazards and potential debris.
- Allow time for discharge: Electric motor capacitors can store electrical energy even after the power is turned off. To discharge the capacitor fully, wait for at least five minutes before proceeding to the next steps. This will minimize the risk of electric shocks.
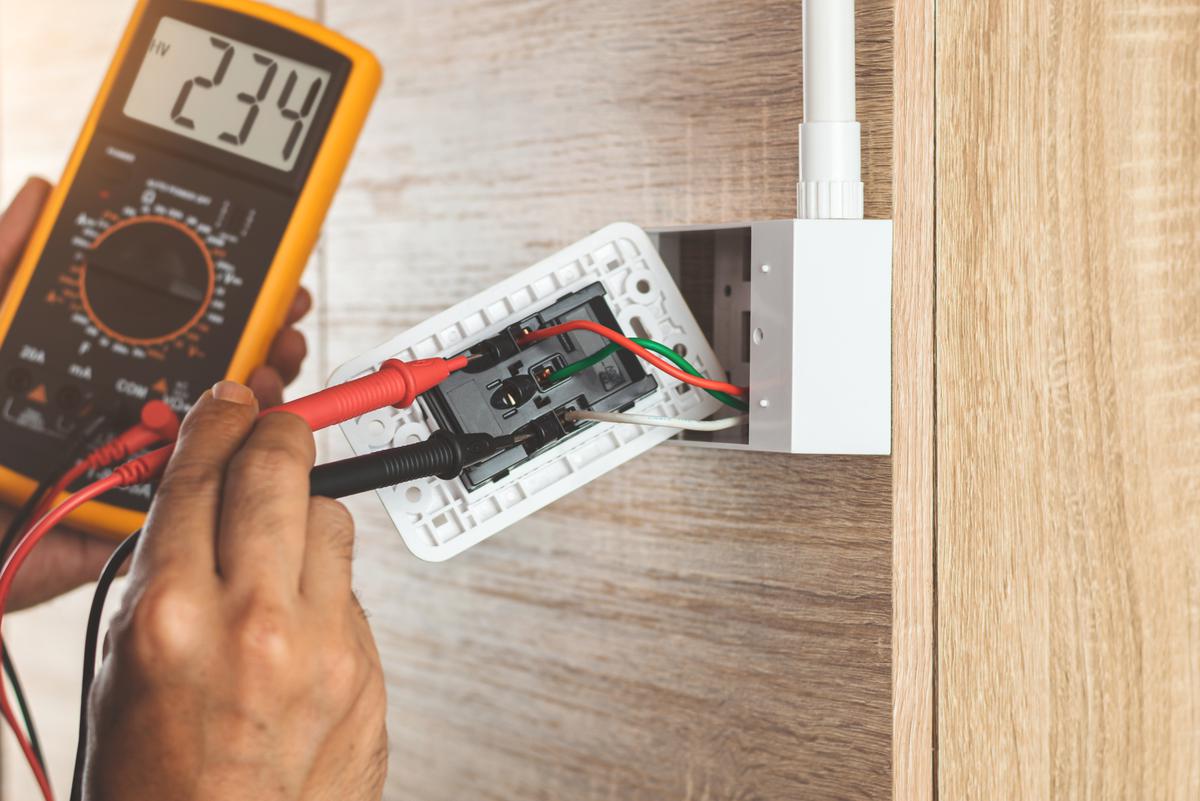
- Double-check for power: Use a voltage tester or multimeter to verify that there is no residual power in the system before touching any components.
- Handle with care: When working around the motor and components, be cautious not to damage any wires, terminals, or other parts. Avoid using excessive force or applying pressure to delicate components.
- Follow manufacturer instructions: If you have the manual for the motor or capacitor, refer to it for specific safety instructions and guidelines. Different motor models may have slightly different safety precautions.
By taking these safety precautions, you can minimize risks and ensure a safe working environment. Once you have followed these guidelines, you are ready to move on to the next step: locating the capacitor within the motor.
Step 2: Locating the Capacitor
After ensuring your safety, the next step is to locate the capacitor within the electric motor. The capacitor is usually a small cylindrical device with wires connected to it, located near the motor or on the motor itself.
Here are a few common locations where you might find the capacitor:
- External Mounting Bracket: Some motors have an external bracket that holds the capacitor. This bracket is typically attached to the motor housing or nearby structure.
- Inside the Motor Casing: In some cases, the capacitor may be located inside the motor casing. This requires opening the motor and accessing the internal components.
- In a Control Box: For larger motors or motors with complex control systems, the capacitors may be housed within a control box. This box is usually located near the motor and contains various electrical components.
If you are unsure about the location of the capacitor in your specific motor, it is recommended to consult the motor’s manual or seek guidance from a professional technician.
Once you have located the capacitor, you can proceed to the next step: discharging the capacitor to ensure your safety while testing it.
When checking an electric motor capacitor, always discharge it first to avoid electrical shock. Use a multimeter to test the capacitance and ensure it matches the rated value. If it’s significantly lower, the capacitor may be faulty.
Read also: 8 Best Electric Motor Capacitor for 2025
Step 3: Discharging the Capacitor
Before testing the capacitor, it is important to discharge it to eliminate any stored electrical energy and reduce the risk of electric shock. Follow these steps to safely discharge the capacitor:
- Turn off power supply: Ensure that the power supply to the motor is turned off at the circuit breaker or disconnect switch.
- Verify power is off: Use a voltage tester or multimeter to double-check that there is no power flowing to the motor or capacitor.
- Short the terminals: Take an insulated screwdriver with a rubber or plastic handle and touch the metal shank simultaneously to both capacitor terminals. This will create a short circuit and discharge the electrical energy stored in the capacitor.
- Wait for confirmation: Keep the screwdriver shorting the terminals for a few seconds to ensure that the capacitor is fully discharged. This step is crucial for your safety.
Once you have discharged the capacitor, you can proceed to the next step of testing its health. However, it is essential to remember that capacitors in some high-voltage systems may store a residual charge for an extended period. In such cases, it is advisable to seek professional assistance or take extra precautions.
Now that the capacitor is discharged, you are ready to move on to the next step: testing the capacitor to determine if it is functioning properly.
Step 4: Testing the Capacitor
Testing the capacitor will help you determine if it is functioning properly or if it needs to be replaced. To test the capacitor, follow these steps:
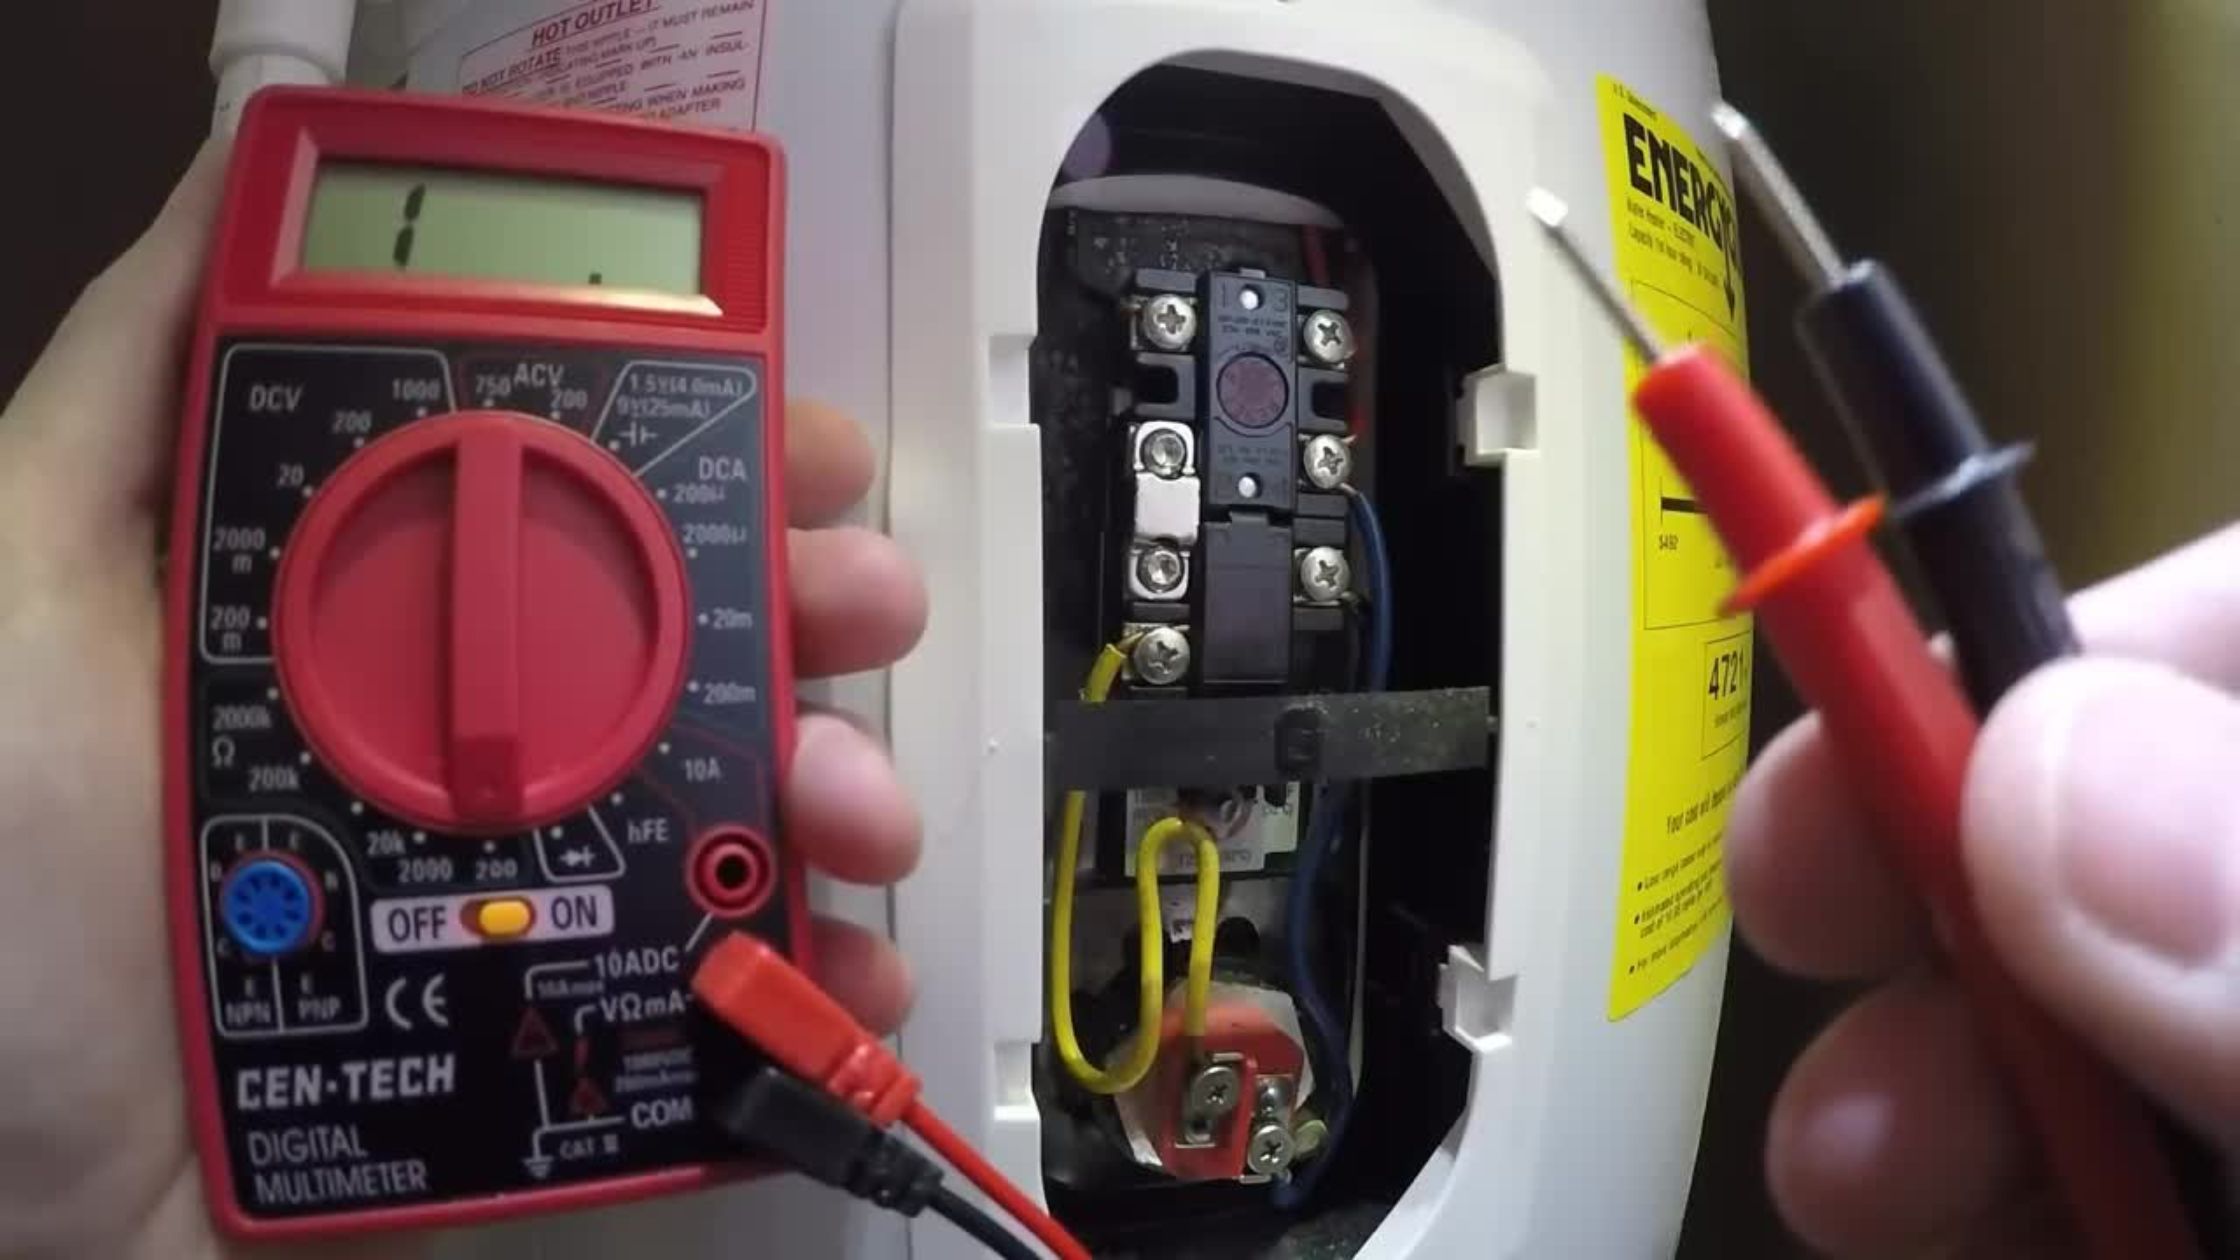
- Select the appropriate range on the multimeter: Set your digital multimeter to the capacitance measurement mode. Ensure that the range selected is appropriate for the capacitance values expected from the capacitor you are testing.
- Attach the multimeter probes: Connect the multimeter probes to the corresponding terminals of the capacitor. The red probe should be connected to the capacitor’s positive terminal (marked with a “+” sign), and the black probe should be connected to the negative terminal (marked with a “-” sign).
- Read the multimeter display: The multimeter will display the capacitance value of the capacitor. Compare this value to the expected capacitance value, which can usually be found on the capacitor itself or in the motor’s manual. If the multimeter reading is within a reasonable range of the expected value, the capacitor is functioning properly. However, if the reading is significantly lower or higher than expected, it indicates a faulty capacitor that needs to be replaced.
It is important to note that capacitors can degrade over time, leading to reduced capacitance values. If the capacitance reading is slightly lower than the expected value, but still within a reasonable range, it may be an indication that the capacitor is nearing the end of its life and should be considered for replacement to avoid future motor issues.
If you find that the capacitor is faulty or below the expected capacitance value, you can proceed to the next step: inspecting the capacitor for physical damage.
Step 5: Inspecting the Capacitor for Physical Damage
After testing the capacitance, it is important to inspect the capacitor for any physical damage. Physical damage can indicate a faulty capacitor that needs to be replaced. Follow these steps to inspect the capacitor:
- Check for bulging or swelling: Examine the capacitor for any signs of bulging or swelling. If the capacitor appears bloated or deformed, it is a clear indication of internal damage and should be replaced.
- Look for leakages or fluid: Inspect the capacitor for any signs of leakage or fluid residue. Leaking capacitors are unreliable and can lead to electrical malfunctions. If you notice any fluid or leakage, it is best to replace the capacitor.
- Check for burnt or discolored components: Inspect the capacitor and its surrounding components for any signs of burning or discoloration. Burnt or discolored components suggest overheating or electrical problems, signaling the need for capacitor replacement.
- Inspect the wire connections: Ensure that the wire connections to the capacitor are secure and free from any loose or bent terminals. Loose connections can cause poor electrical contact and impact the capacitor’s performance.
If you discover any physical damage during the inspection, it is highly recommended to replace the capacitor. Faulty or damaged capacitors can lead to motor failures or other electrical issues, so it is crucial to address the problem promptly.
Once you have completed the inspection process, you are ready for the final step: replacing a faulty capacitor, if necessary.
Step 6: Replacing a Faulty Capacitor
If you have determined that the capacitor is faulty or damaged beyond repair, it is time to replace it. Here are the steps to follow when replacing a faulty capacitor:
- Find a replacement capacitor: Look for a replacement capacitor with the same voltage and capacitance ratings as the original one. You can find this information either on the old capacitor itself or in the motor’s manual. It is important to use the correct replacement to ensure proper motor operation.
- Disconnect the power supply: Before starting the replacement process, turn off the power supply to the motor to prevent any accidental electrical shocks.
- Remove the faulty capacitor: Carefully disconnect the wires connected to the faulty capacitor, taking note of their positions for proper reconnection later. Remove any mounting brackets or screws that hold the capacitor in place. Take caution not to damage any other components during the removal process.
- Install the new capacitor: Position the new capacitor in the same location as the old one. Reconnect the wires to the appropriate terminals, ensuring they are tightly secured. Double-check that the polarity is correct, with the positive wire connected to the positive terminal and the negative wire connected to the negative terminal.
- Secure the capacitor: Use the mounting brackets or screws to securely fasten the new capacitor in place. Ensure that it is stable and well-positioned within the motor.
- Reconnect the power supply: Once the new capacitor is securely installed, you can reestablish the power supply to the motor. Switch on the circuit breaker or reconnect the power, and test the motor’s functionality to ensure it is operating correctly.
Replacing a faulty capacitor with a new one can help restore the motor’s performance and prevent further motor issues. Always refer to the motor’s manual or consult a professional technician for specific instructions based on your motor’s model and configuration.
Congratulations! You have successfully checked and, if necessary, replaced a faulty electric motor capacitor. Regularly monitoring and maintaining your motor’s capacitors will help ensure efficient and reliable motor operation.
Keep in mind that if you are uncertain or uncomfortable with any of the steps involved in the process, it is highly advisable to seek the assistance of a qualified technician or electrician to ensure proper safety and accurate capacitor replacement.
Now you can confidently tackle capacitor checks and replacements for electric motors. Happy repairing!
Conclusion
Checking and maintaining the health of an electric motor capacitor is essential for optimal motor performance and longevity. By following the steps outlined in this guide, you can effectively assess the condition of the capacitor and take appropriate action if necessary.
Throughout this process, it is crucial to prioritize safety. Always ensure that the power supply is turned off, discharge the capacitor before handling it, and wear protective gear like insulated gloves and safety glasses. Following these safety precautions will help prevent accidents and injuries while working with electrical components.
Understanding how electric motor capacitors function and the different types of capacitors is also key to diagnosing issues accurately. Start capacitors and run capacitors have distinct roles in motor operation, and being able to differentiate between them can assist you in troubleshooting motor problems effectively.
Having the right tools and equipment is another critical aspect of capacitor checking. Insulated gloves, a digital multimeter, alligator clips, and a replacement capacitor are all essential items to have on hand. These tools enable accurate testing and effective replacement, if needed.
Remember to not only test the capacitance but also inspect the capacitor for any physical damage. Bulging, leaking, burning, or discolored components are signs of a faulty capacitor that should be replaced to prevent further motor issues.
If you find that the capacitor is faulty or damaged, follow proper procedures to safely replace it. Ensure you select a replacement capacitor with the same voltage and capacitance ratings as the original one, and carefully disconnect and reconnect the wires, double-checking the polarity. If you are unsure of the replacement process, it is best to consult a professional technician or electrician.
Regularly checking and maintaining your electric motor capacitors will help you avoid potential motor problems and extend the lifespan of your equipment. By following the steps and guidelines in this guide, you can confidently assess the health of your motor capacitors and take appropriate action to keep your motors running smoothly.
Always prioritize safety and consult professionals when needed to ensure accurate diagnosis and efficient repairs. With proper care and maintenance, your electric motor capacitors will continue to provide reliable performance for years to come.
Frequently Asked Questions about How To Check A Electric Motor Capacitor
Was this page helpful?
At Storables.com, we guarantee accurate and reliable information. Our content, validated by Expert Board Contributors, is crafted following stringent Editorial Policies. We're committed to providing you with well-researched, expert-backed insights for all your informational needs.
0 thoughts on “How To Check A Electric Motor Capacitor”