Articles
How To Test HVAC Capacitor
Modified: October 20, 2024
Looking for articles on how to test your HVAC capacitor? Find helpful tips and step-by-step guides in our comprehensive resource.
(Many of the links in this article redirect to a specific reviewed product. Your purchase of these products through affiliate links helps to generate commission for Storables.com, at no extra cost. Learn more)
Introduction
When it comes to keeping your home or office space comfortable, the HVAC system plays a crucial role. The HVAC (Heating, Ventilation, and Air Conditioning) system relies on various components to function smoothly, and one of the key components is the HVAC capacitor.
An HVAC capacitor is an electrical device that stores and releases electrical energy to start the compressor motor and fan motor in the HVAC system. It acts as a temporary power source, providing an extra boost of energy during startup. However, like any other electrical component, HVAC capacitors can wear out or fail over time, which can lead to issues with the HVAC system’s performance.
One way to ensure proper functioning and prevent unexpected breakdowns is to regularly test the HVAC capacitor. Testing the capacitor allows you to identify if it is functioning correctly or if it needs to be replaced. In this article, we will guide you on how to test an HVAC capacitor effectively to maintain the efficiency and reliability of your HVAC system.
Before we dive into the testing process, let’s gain a better understanding of HVAC capacitors and why testing them is important.
Key Takeaways:
- Regularly testing HVAC capacitors is crucial for preventing unexpected breakdowns, improving energy efficiency, and extending the lifespan of your HVAC system. Prioritize safety and follow the step-by-step guide to ensure optimal performance.
- By investing time and effort into testing and maintaining HVAC capacitors, you can enjoy consistent comfort, peace of mind, and cost savings from avoiding unexpected breakdowns. Incorporate regular testing into your HVAC maintenance routine for long-term reliability.
Read more: How To Test A Fan Capacitor
Understanding HVAC Capacitors
Before we embark on the journey of testing HVAC capacitors, it’s essential to have a basic understanding of what they are and how they function in the HVAC system.
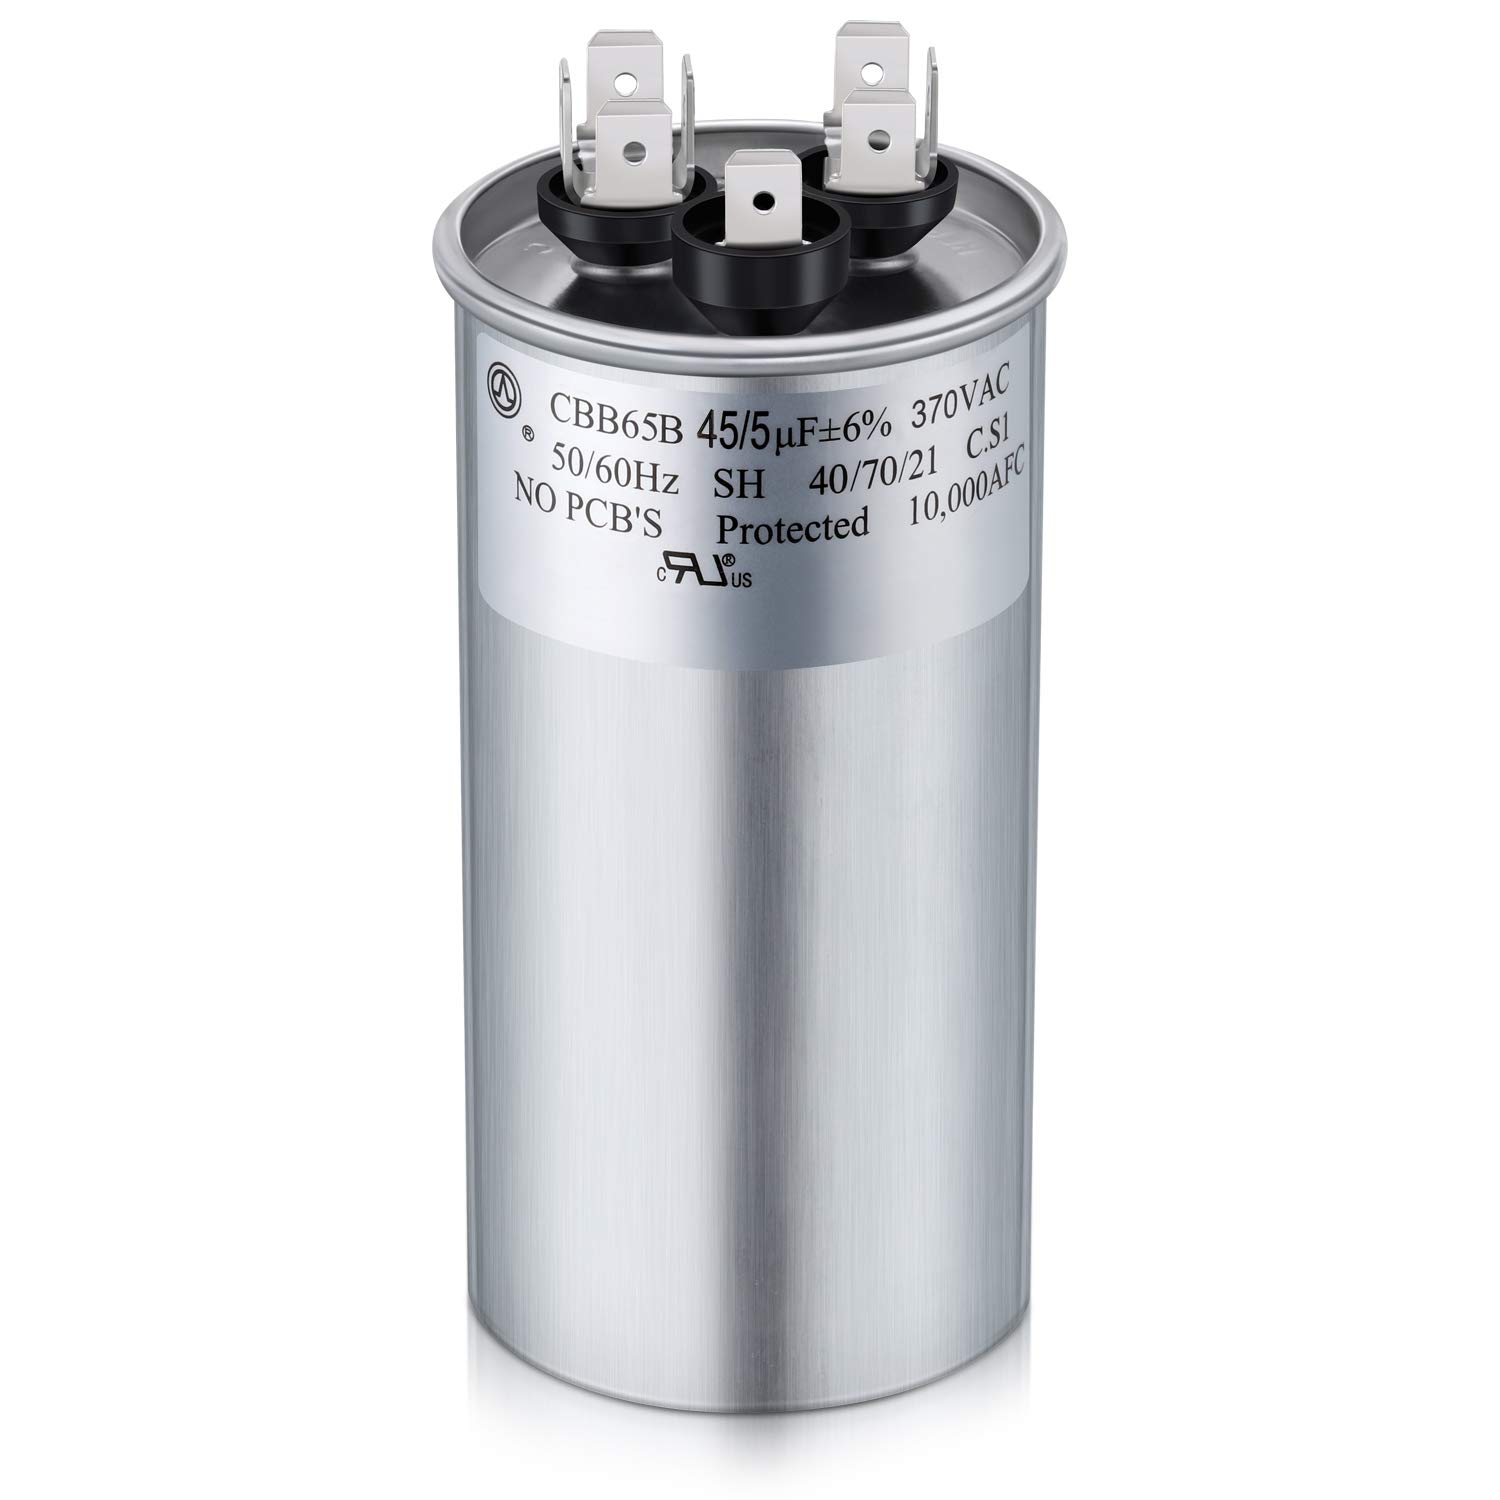
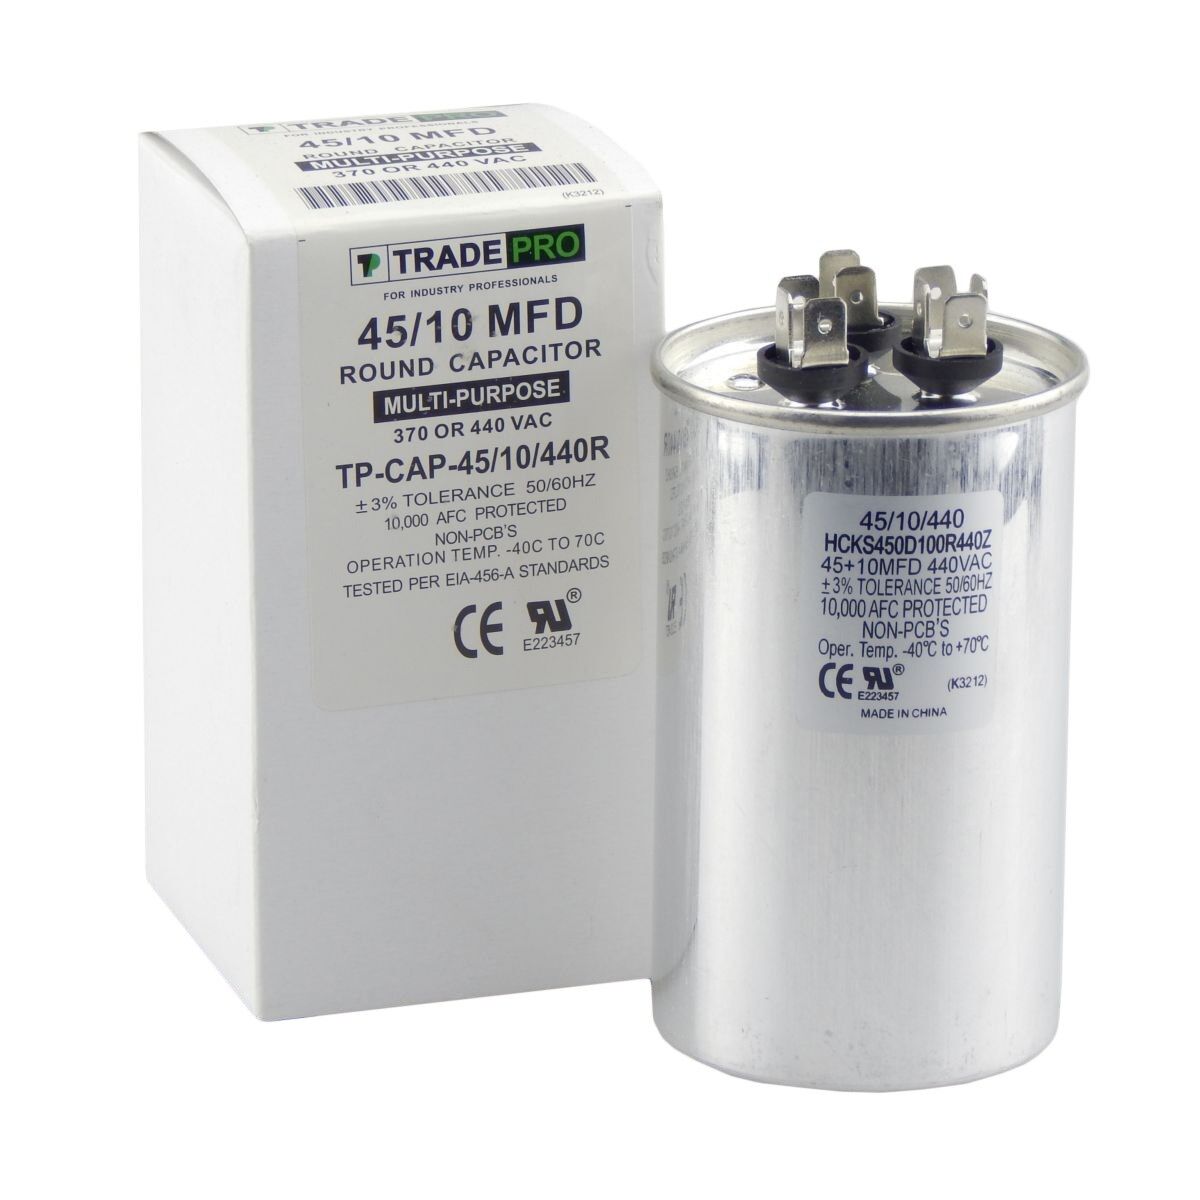
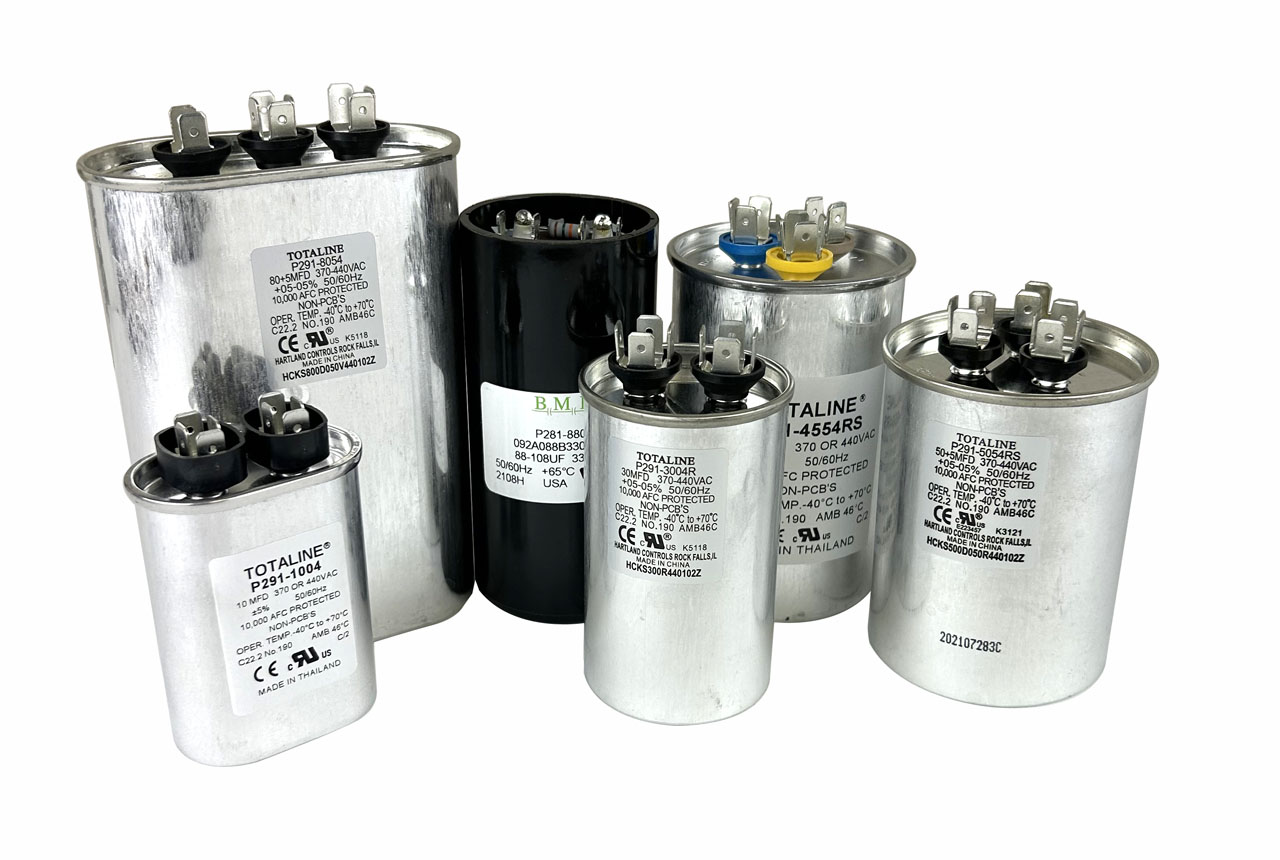
HVAC capacitors are small cylindrical or oval-shaped devices that store electrical energy in the form of an electric charge. They are typically made of two conductive metal plates separated by an insulating material known as a dielectric. The dielectric material plays a crucial role in the capacitor’s operation by preventing direct contact between the two metal plates.
Capacitors used in HVAC systems are generally of two types: start capacitors and run capacitors. Start capacitors provide that extra boost of power needed to start the compressor motor and fan motor. Once the motors start running, the start capacitor is disconnected, and the run capacitor takes over to provide a continuous supply of energy.
The capacitance value of the HVAC capacitor determines its ability to store charge. Capacitance is measured in microfarads (µF). The capacitance value required for your HVAC system depends on the motor’s power, size, and specific requirements.
Capacitors in HVAC systems are subjected to continuous electrical stress and temperature fluctuations, which can cause them to degrade or fail over time. This degradation can result from factors such as voltage spikes, overheating, or simply the natural aging process. Testing the HVAC capacitor allows you to catch any potential issues early on to prevent system failure or energy inefficiency.
Now that we have a better understanding of HVAC capacitors, let’s explore the importance of testing them regularly.
Importance of Testing HVAC Capacitors
Regularly testing HVAC capacitors is crucial for maintaining the overall performance and efficiency of your HVAC system. Ignoring or neglecting the testing process can lead to various issues and potential system failures. Here are a few reasons why testing HVAC capacitors is important:
- Preventing Unexpected Breakdowns: When an HVAC capacitor starts to fail, it can cause the motors to struggle during startup or fail to start altogether. This can result in unexpected breakdowns and leave you without heating or cooling when you need it the most. By regularly testing the capacitors, you can identify any signs of failure or degradation and replace them before they cause system malfunctions.
- Improving Energy Efficiency: A faulty or degraded HVAC capacitor can cause the motors to work harder, leading to increased energy consumption. By testing and replacing faulty capacitors, you can maintain the optimal functioning of the motors, ensuring energy efficiency and potentially reducing your energy bills.
- Extending the Lifespan of the HVAC System: HVAC systems are substantial investments, and you want them to last as long as possible. By regularly testing the HVAC capacitors, you can address any issues early on and prevent further damage to the system components. This proactive approach can help extend the lifespan of your HVAC system, saving you money on costly repairs or premature replacements.
- Ensuring Optimal Performance: HVAC capacitors play a vital role in the starting and running of the motors. When capacitors are functioning properly, they provide the necessary power for smooth motor operation. Testing the capacitors ensures that they are in good working condition, allowing the motors to run at their optimal performance levels, providing consistent heating or cooling throughout your space.
- Diagnostic Tool: Testing HVAC capacitors can also serve as a diagnostic tool. If you are experiencing issues with your HVAC system, such as motors not starting, strange noises, or inconsistent airflow, testing the capacitors can help identify whether a faulty capacitor is the root cause or if there are other underlying issues.
Now that we understand the importance of testing HVAC capacitors, let’s move on to the tools and equipment required for the testing process.
Tools and Equipment Required
Before you begin testing your HVAC capacitors, it’s important to gather the necessary tools and equipment to ensure a smooth and accurate testing process. Here’s a list of items you will need:
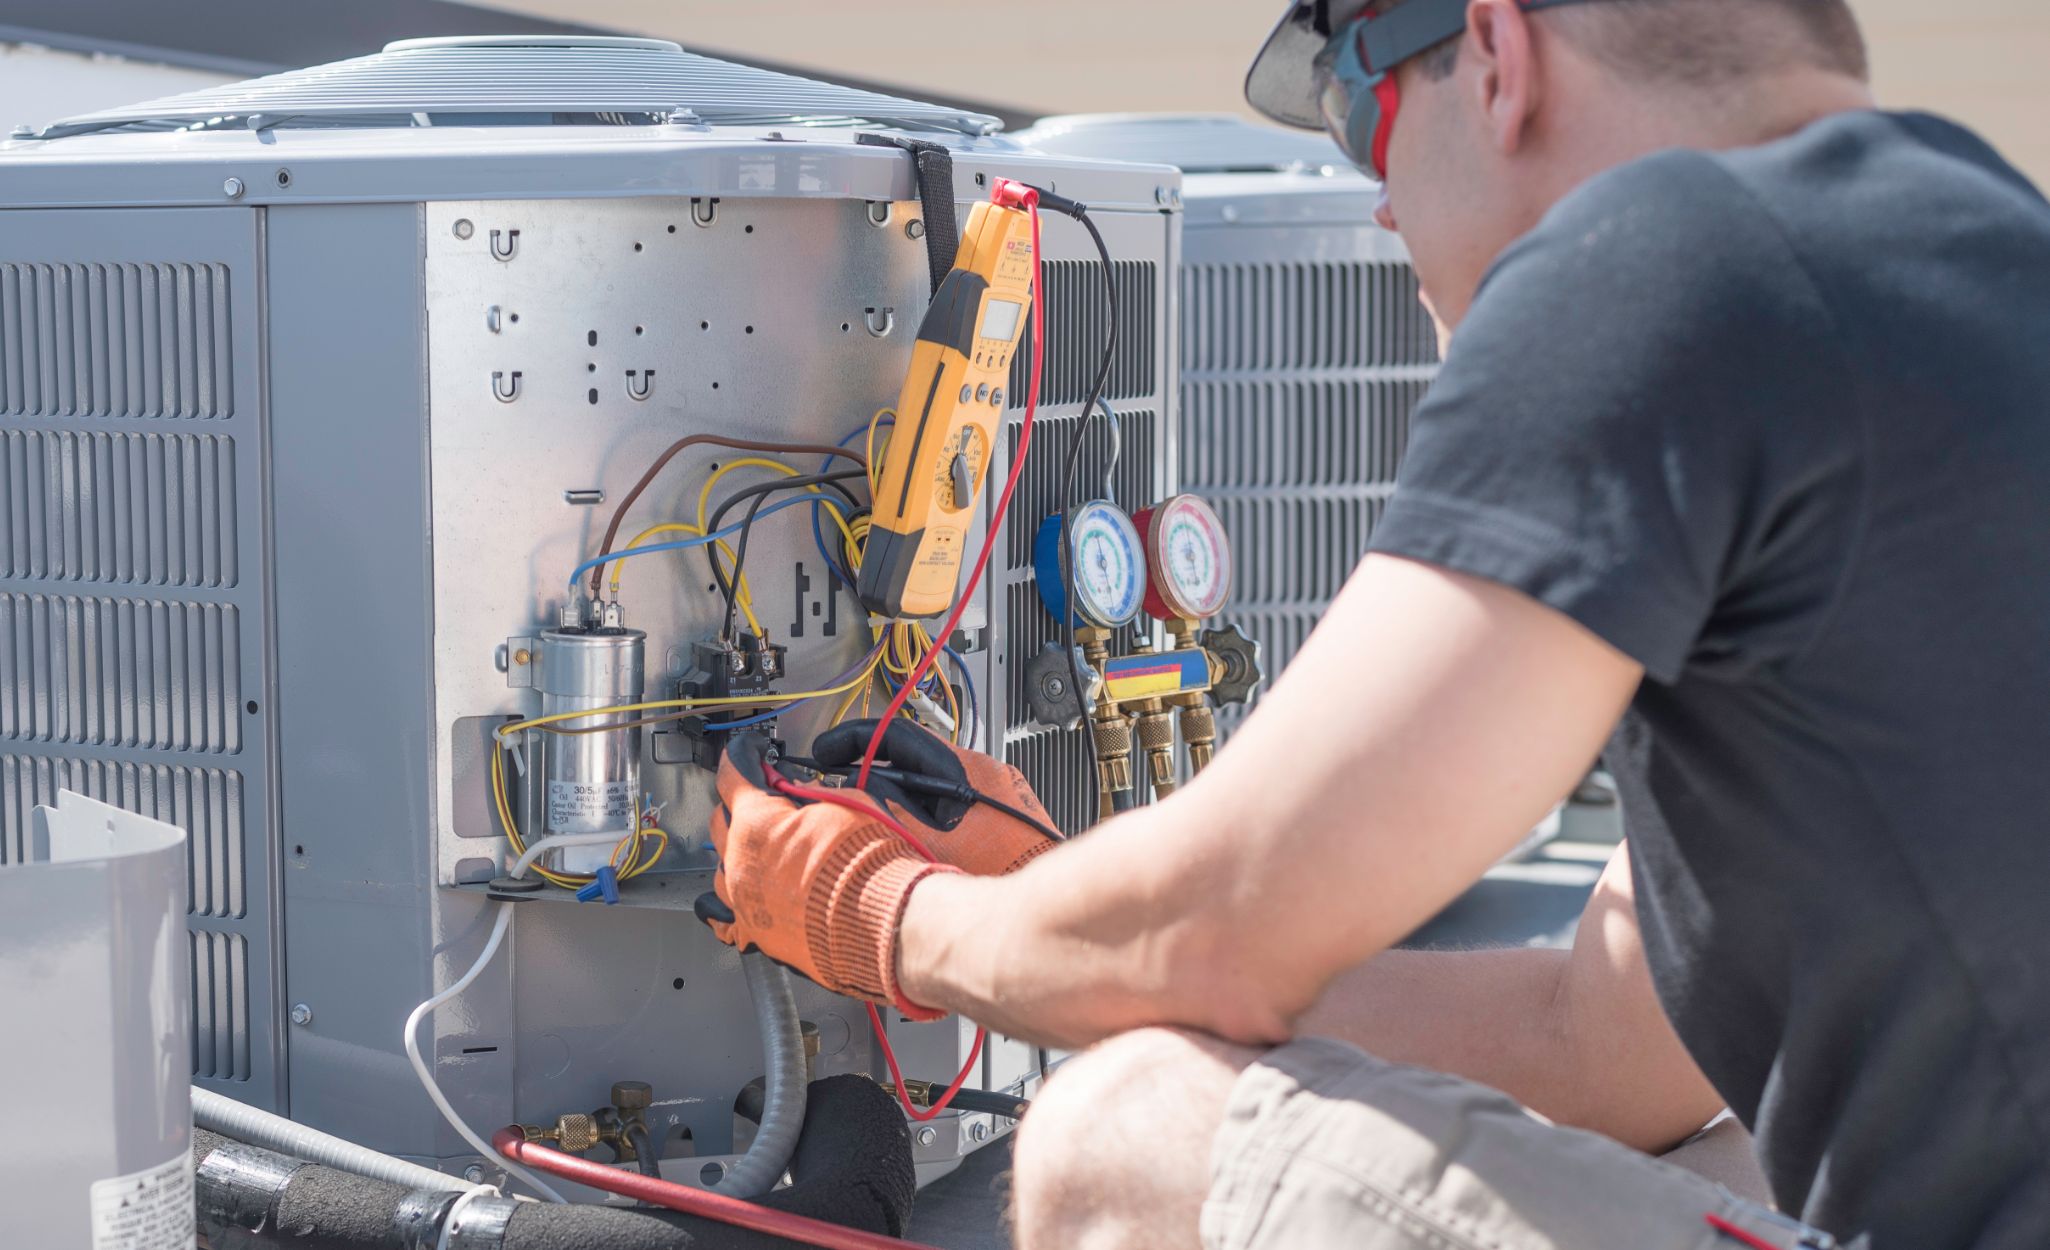
- Multimeter: A multimeter is an essential tool for testing electrical components. It allows you to measure voltage, capacitance, and resistance. Make sure you have a multimeter capable of measuring capacitance.
- Insulated Screwdriver: An insulated screwdriver is necessary for safely disconnecting and reconnecting electrical connections within the HVAC system.
- Safety Gloves and Goggles: It’s crucial to protect yourself while working with electrical components. Wear safety gloves to protect your hands and safety goggles to shield your eyes from potential hazards.
- Capacitor Discharge Tool: Capacitors store electrical charge even when disconnected from the power source. To ensure your safety, an HVAC capacitor discharge tool is recommended to safely discharge any charge remaining in the capacitors before testing.
- Notebook and Pen: Keep a notebook and pen handy to record your measurements and observations during the testing process. This will help you keep track of the capacitor’s condition and any necessary actions to take.
- Replacement Capacitors: It’s always a good idea to have replacement capacitors on hand. If testing reveals that your HVAC capacitors are faulty, you can easily replace them without causing any downtime in your HVAC system.
Make sure to gather these tools and equipment before you begin testing your HVAC capacitors. Taking the time to gather the necessary items will ensure a smooth and efficient testing process.
Next, we will delve into the step-by-step process of testing HVAC capacitors, starting with important safety precautions.
Step 1: Safety Precautions
Before conducting any electrical work, it’s crucial to prioritize your safety. Working with an HVAC system involves electrical components and potential hazards, so taking the necessary safety precautions is essential. Here are some important safety precautions to follow:
- Turn Off the Power: Start by turning off the power supply to the HVAC system. Locate the circuit breaker or disconnect switch and switch it to the off position. This will ensure that there is no electrical power running through the system while you are working on it.
- Wear Safety Gloves and Goggles: Always wear safety gloves to protect your hands from accidental shocks or burns and safety goggles to shield your eyes from any debris or chemicals that may be present in the HVAC system.
- Use Insulated Tools: Make sure to use insulated tools, such as an insulated screwdriver, to prevent any accidental electrical contact while working on the capacitors.
- Discharge Capacitors: Before performing any testing, it’s important to discharge the capacitors to ensure there is no stored electrical charge. Use an HVAC capacitor discharge tool to safely discharge any residual charge. Follow the manufacturer’s instructions to ensure proper discharge.
- Avoid Contact with Exposed Wires: Pay attention to any exposed wires or loose connections in the HVAC system. Avoid touching them to prevent electric shock or damage to the system.
- Work in a Well-Ventilated Area: Ensure that you are working in a well-ventilated area to avoid inhaling any fumes or dust particles that may be present in the HVAC system.
- Take Note of Warning Labels: HVAC systems often have warning labels indicating potential hazards or safety guidelines. Take note of these labels and follow the instructions accordingly.
Following these safety precautions will help ensure a safe working environment and minimize the risk of accidents or injuries while testing the HVAC capacitors. Once you have taken the necessary safety measures, you can proceed to the next step: disconnecting the power supply.
Read more: How To Test An Air Conditioning Capacitor
Step 2: Disconnecting Power Supply
After ensuring your safety with proper safety precautions, the next step in testing HVAC capacitors is to disconnect the power supply to the system. This step is crucial to prevent any electrical accidents or injury. Follow these steps to disconnect the power supply:
- Locate the Circuit Breaker: Identify the circuit breaker panel or disconnect switch for your HVAC system. This panel is usually located near the HVAC unit or in the electrical panel of your home.
- Turn Off the Power: Once you have located the circuit breaker, turn off the power supply to the HVAC system by flipping the corresponding switch to the “Off” position. This will ensure that there is no electrical power flowing through the system during the testing process.
- Double-Check the Power: Verify that the power to the HVAC system is indeed turned off by attempting to turn on the system. If the system doesn’t start up, it indicates that the power supply has been successfully disconnected.
By following these steps, you will have effectively disconnected the power supply to the HVAC system, ensuring a safe environment to proceed with the testing process. Remember to exercise caution and double-check that the power is disconnected before moving forward.
Next, we will move on to step 3, which involves locating the capacitor within the HVAC system.
When testing an HVAC capacitor, always discharge it first to avoid electrical shock. Use a multimeter to check for continuity and capacitance, and replace if readings are outside the specified range.
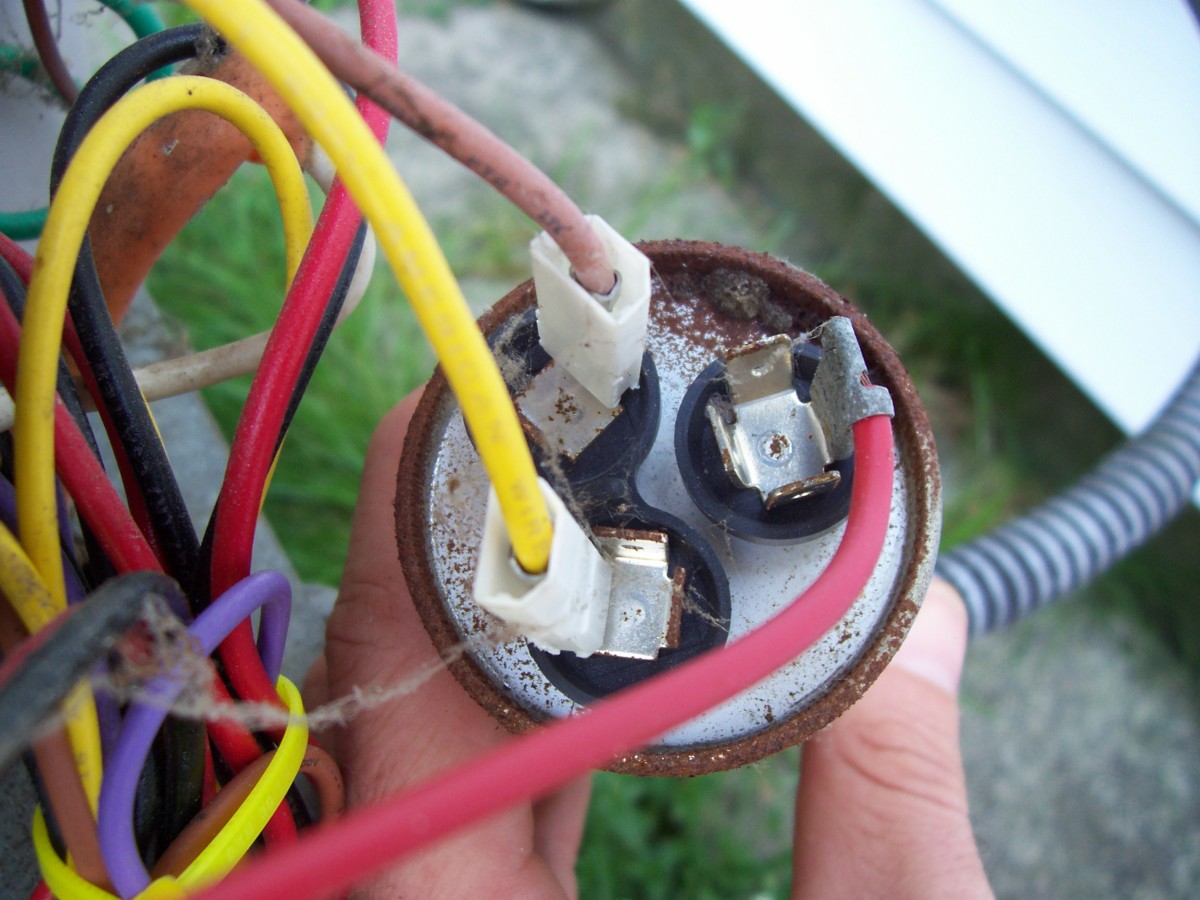
Step 3: Locating the Capacitor
Once you have disconnected the power supply, the next step in testing HVAC capacitors is to locate the capacitor within the HVAC system. The capacitor is usually located near the compressor unit or the air handler unit. Follow these steps to find the capacitor:
- Refer to the HVAC System Manual: If you have access to the HVAC system’s manual, it will provide detailed information about the location of the capacitor. Check the manual to identify the specific location within your system.
- Inspect the Exterior of the HVAC System: Take a visual inspection of the exterior of the HVAC system. Look for a cylindrical or oval-shaped component that resembles a small can. It may be silver or gray in color and have wires connected to it.
- Follow the Wiring: Trace the wires coming from the compressor or fan motor back to their electrical connections. The capacitor should be located in close proximity to these connections.
- Take Safety Precautions: Before touching or handling the capacitor, ensure that you are wearing safety gloves and goggles. Capacitors store electrical charge, and although you have disconnected the power supply, there may still be residual charge present.
Locating the HVAC capacitor is an important step to be able to test it effectively. Once you have identified the capacitor’s location, you can proceed to the next step: testing the capacitor with a multimeter.
Note: If you encounter any difficulty in locating the capacitor, it is recommended to consult a professional HVAC technician for assistance.
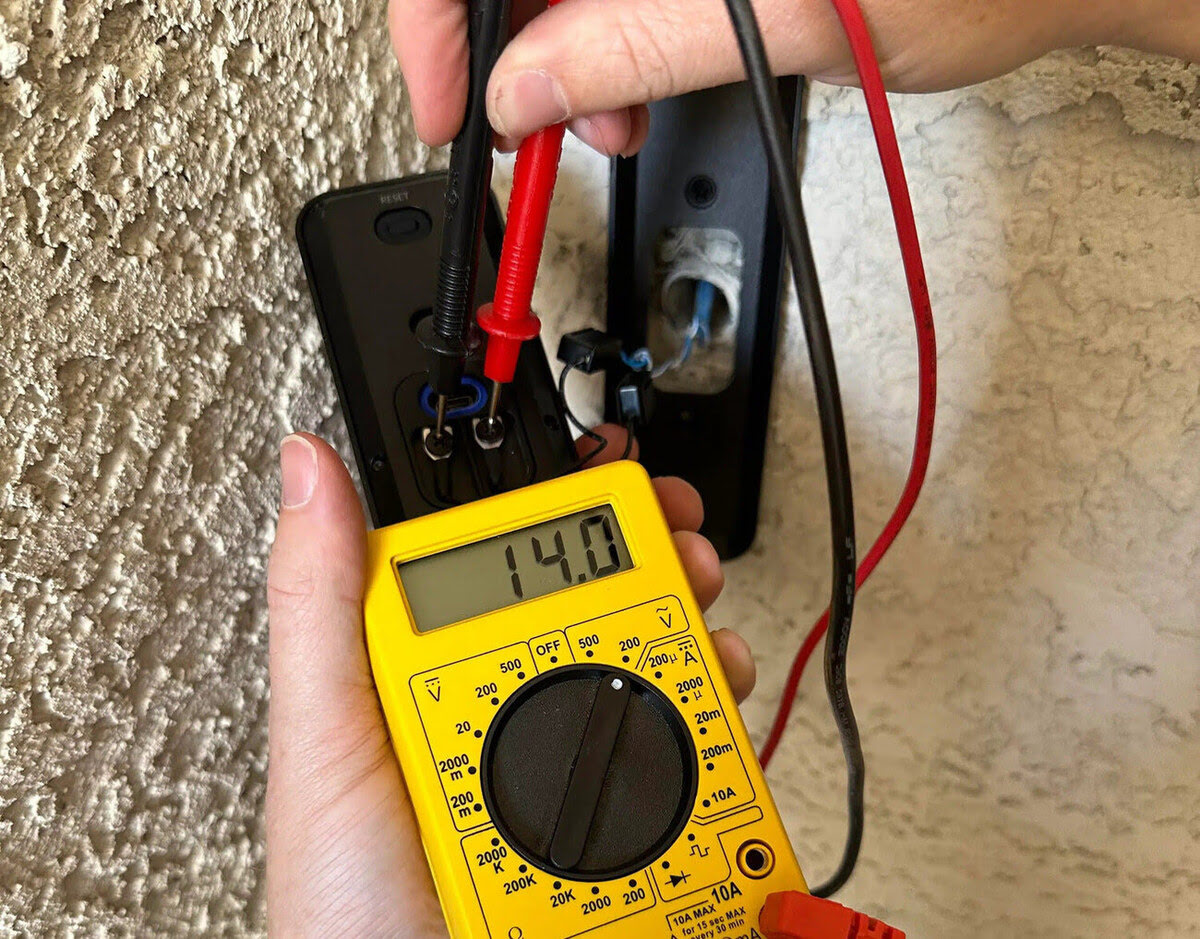
Step 4: Testing the Capacitor with a Multimeter
Now that you have located the HVAC capacitor, it’s time to test it using a multimeter. A multimeter is a versatile tool that can measure various electrical parameters, including capacitance. Follow these steps to test the capacitor using a multimeter:
- Select the Proper Setting: Set your multimeter to the capacitance (CAP) setting. This setting is usually denoted by a symbol that resembles a sideways horseshoe or the letter “F” for farads, the unit of measurement for capacitance. The range may vary depending on your multimeter, so choose the appropriate range for your capacitor.
- Discharge the Capacitor: As a safety precaution, use an HVAC capacitor discharge tool or a insulated screwdriver to discharge the capacitor completely. This will ensure that there is no residual charge present.
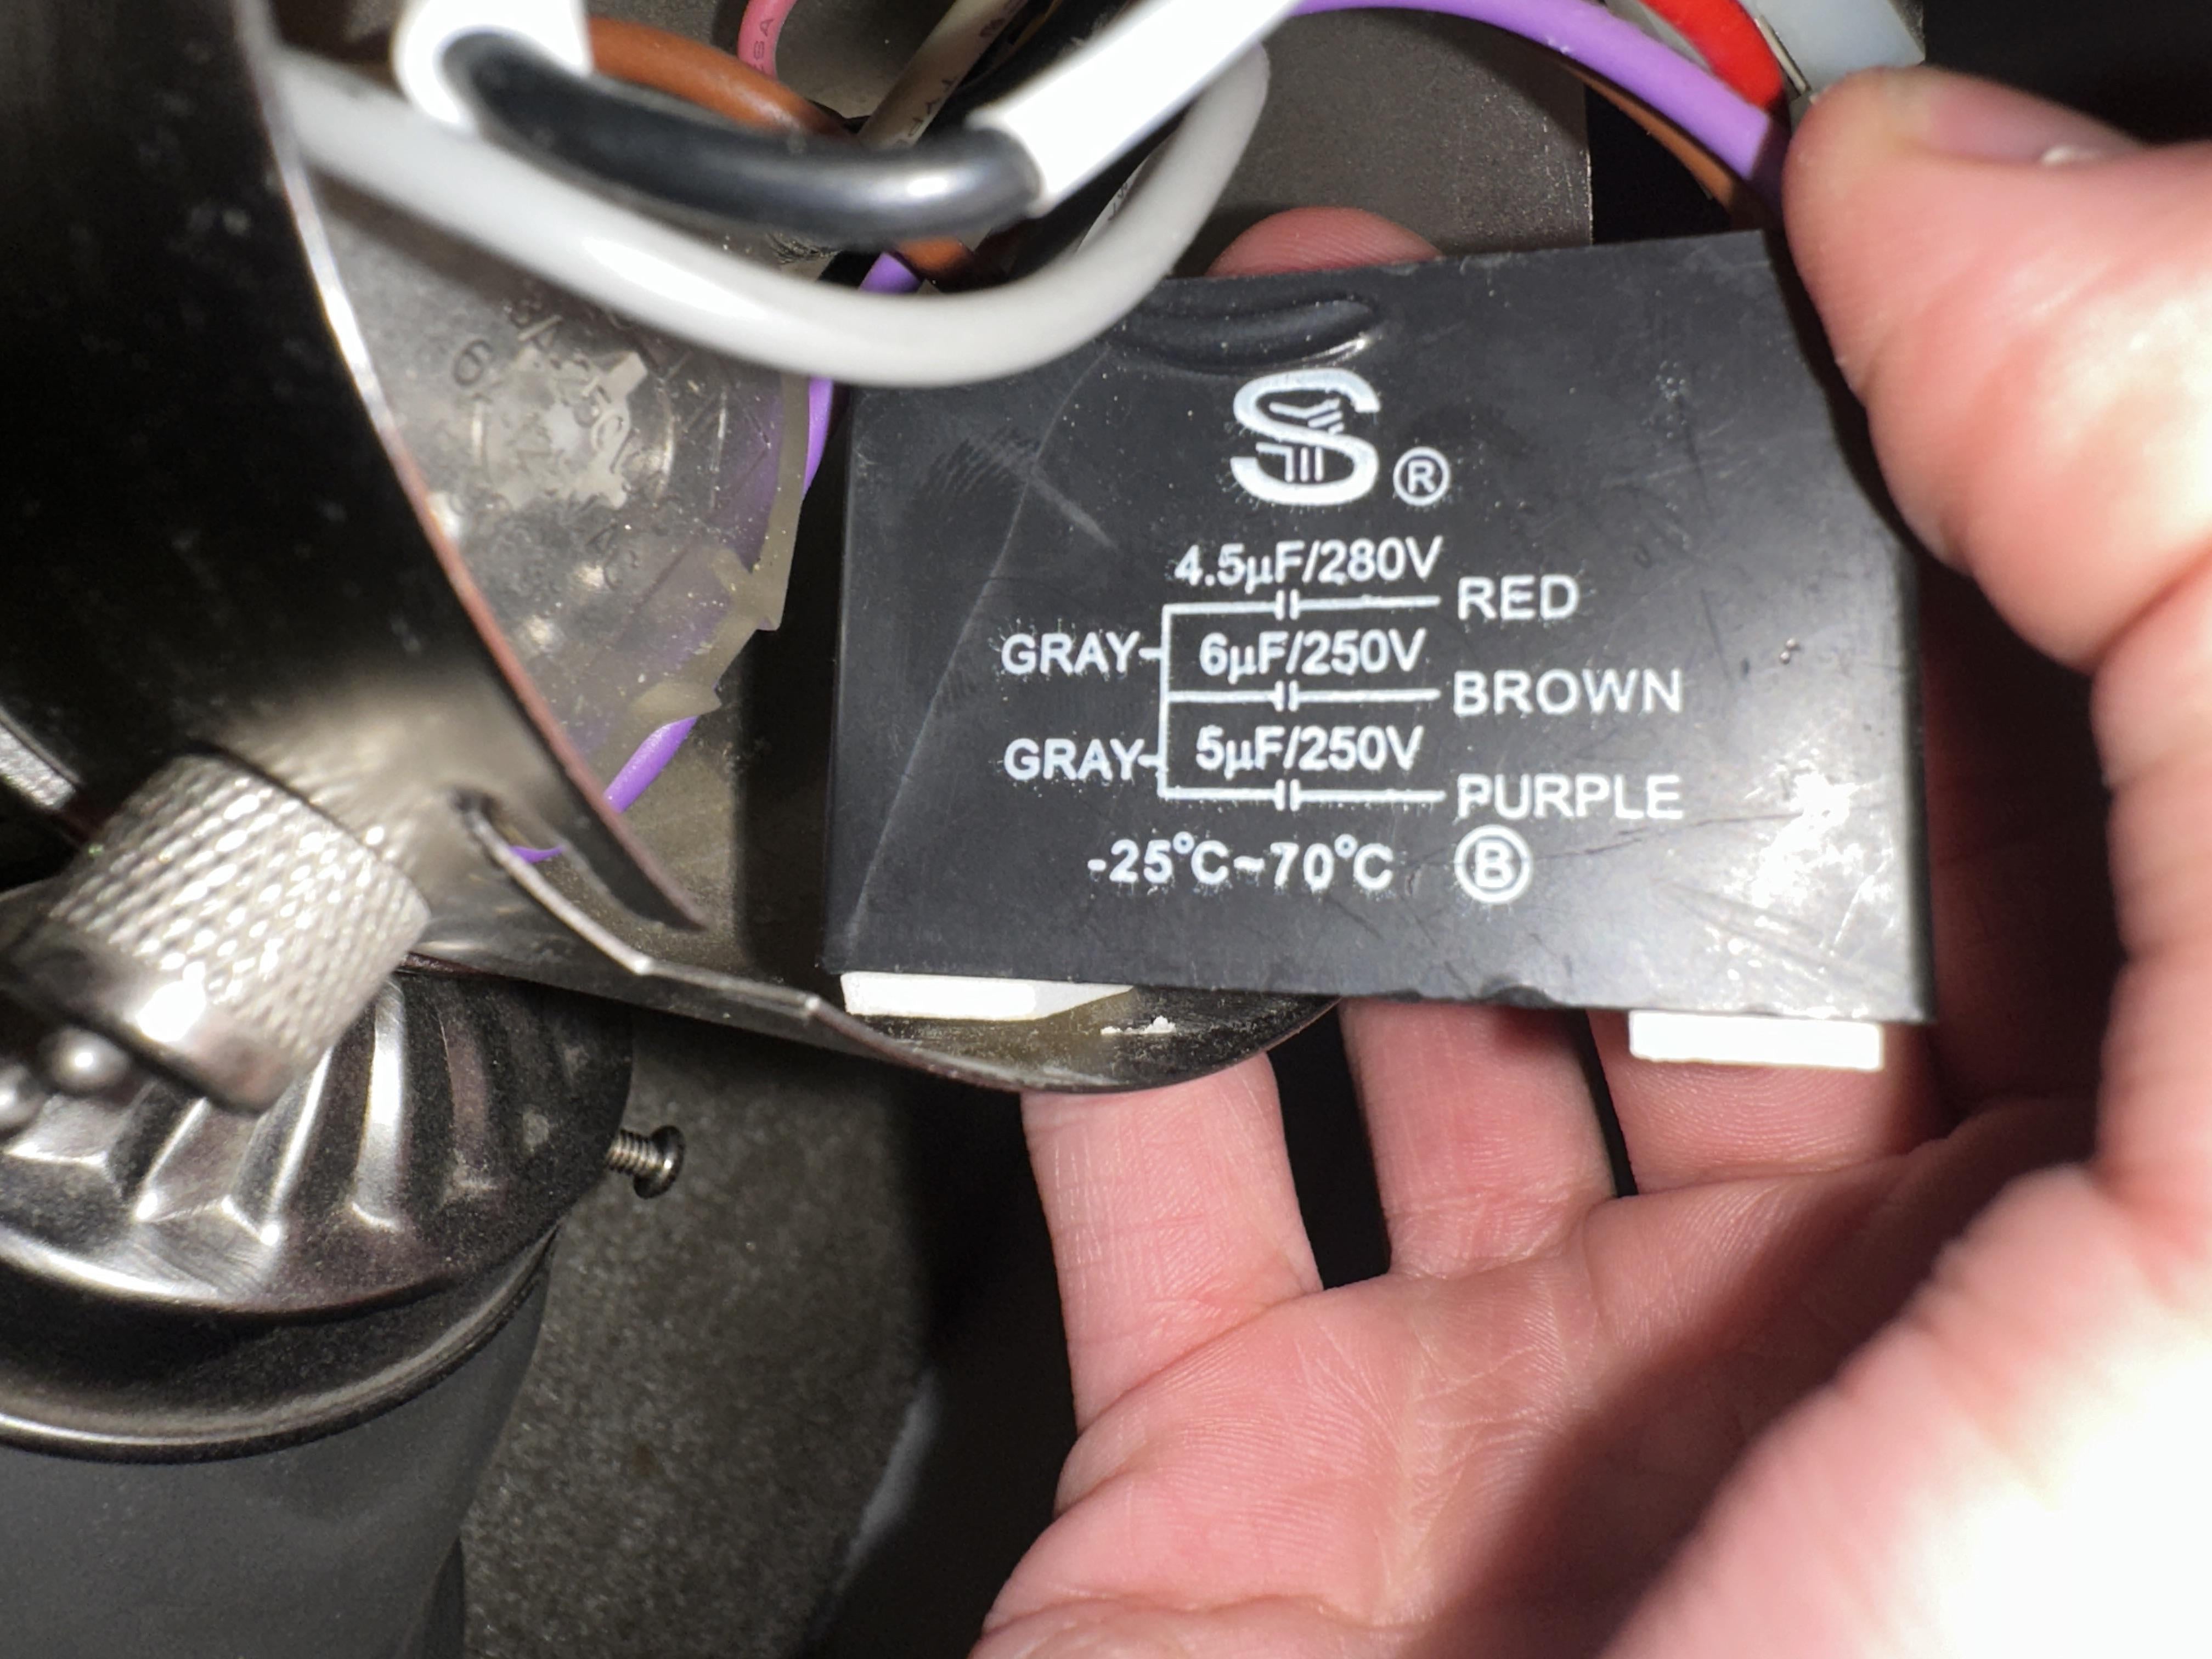
- Identify the Leads: Take note of the capacitor’s terminals and the corresponding wires connected to them. The terminals are usually labeled “C” or “COM” for the common terminal, “Herm” for the compressor terminal, and “Fan” for the fan motor terminal.
- Attach the Multimeter Leads: Connect the multimeter leads to the corresponding terminals of the capacitor. The positive (red) lead should be connected to the “Herm” or “Fan” terminal, and the negative (black) lead should be connected to the common (C) terminal.
- Read the Capacitance Value: Once the leads are properly connected, read the capacitance value on the multimeter display. This value should be within the acceptable range specified by the manufacturer. If the reading is significantly lower than the specified range or if the multimeter displays “OL” (open loop), it indicates a faulty or degraded capacitor.
- Repeat the Test: Repeat the testing process for each terminal of the capacitor. This will help ensure that all terminals are functioning properly.
- Compare with Capacitor Rating: Compare the measured capacitance value with the manufacturer’s specified rating for the capacitor. If the measured value is significantly different from the rating, it indicates a faulty or deteriorated capacitor.
Testing the capacitor with a multimeter is a crucial step to determine its functionality. It allows you to verify whether the capacitor is within the acceptable range or if it needs to be replaced. The next step involves interpreting the multimeter readings to assess the capacitor’s condition.
Note: If you are unfamiliar with using a multimeter or are unsure about the testing process, it is recommended to consult a professional HVAC technician for assistance.
Step 5: Interpreting Multimeter Readings
Once you have tested the HVAC capacitor using a multimeter, it’s time to interpret the readings to assess the capacitor’s condition. The readings on the multimeter will indicate whether the capacitor is functioning properly or if it needs to be replaced. Here’s how to interpret the multimeter readings:
- Normal Capacitance Range: Refer to the manufacturer’s specifications to determine the normal capacitance range for your capacitor. The range is usually indicated in microfarads (µF). If the multimeter reading falls within this range, it indicates that the capacitor is in good working condition.
- Lower Capacitance Reading: If the multimeter reading is significantly lower than the manufacturer’s specified range or if the multimeter displays “OL” (open loop), it indicates that the capacitor has a lower capacitance than required. This could be due to degradation or failure of the capacitor.
- Higher Capacitance Reading: Conversely, if the multimeter reading is significantly higher than the manufacturer’s specified range, it indicates that the capacitor has a higher capacitance than required. This could be a sign of a failed dielectric or a faulty capacitor.
- No Reading or Open Loop: If the multimeter displays “OL” or does not show any reading at all, it suggests that the capacitor is not functioning properly and may need to be replaced.
- Consistent Readings: It’s important to test each terminal of the capacitor and ensure that the readings are consistent across all terminals. If there are significant variations between the readings, it could indicate an issue with the capacitor or the wiring connections.
Interpreting the multimeter readings accurately will help you assess the condition of the HVAC capacitor. If the readings indicate that the capacitor is faulty or outside the acceptable range, it’s recommended to replace the capacitor to ensure the optimal functioning of your HVAC system.
In the next step, we will discuss how to check for bulging or leaking capacitors, which can be additional signs of a faulty capacitor.
Note: If you are unsure about interpreting the multimeter readings or the condition of the capacitor, it’s best to seek the assistance of a professional HVAC technician.
Step 6: Checking for Bulging or Leaking Capacitors
In addition to testing the capacitance with a multimeter, it’s important to visually inspect the HVAC capacitor for any signs of physical damage or deterioration. Checking for bulging or leaking capacitors can provide additional clues about the capacitor’s condition. Here’s how to perform this visual inspection:
- Turn Off the Power Supply: Before proceeding with the inspection, ensure that the power supply to the HVAC system is turned off and the capacitor has been discharged to prevent any possible electrical hazards.
- Locate the Capacitor: Identify the capacitor within the HVAC system. It is usually a cylindrical or oval-shaped component with wire connections.
- Visually Inspect the Capacitor: Look closely at the capacitor’s body and examine its shape and overall condition. Here are a few things to look for:
- Bulging: A bulging capacitor is a sign of internal pressure buildup. It often indicates that the internal dielectric has dried out, leading to a decrease in capacitance. If you notice a bulging appearance, it is likely that the capacitor needs to be replaced.
- Leaking: Capacitors may develop leaks due to internal damage or degradation of the materials. Look for signs of fluid or residue around the terminals or on the capacitor body. If you notice any leaks or signs of residue, it’s a clear indication that the capacitor is faulty and should be replaced.
- Damaged Terminals: Examine the capacitor’s wire connections and terminals. Ensure that the terminals are secure and not loose or corroded. Damaged or corroded terminals can affect the capacitor’s performance and may require repair or replacement.
- Signs of Heat Damage: Look for any discoloration, scorch marks, or charred areas on the capacitor’s body. These signs may indicate excessive heat damage, which can occur due to overloading or other electrical issues. Heat-damaged capacitors should be replaced to prevent further damage to the HVAC system.
- Take Note of Findings: Record any observed physical damage or abnormalities in your notebook. This information will be helpful when communicating with a professional HVAC technician or when replacing the capacitor.
Checking for bulging or leaking capacitors provides valuable information about the capacitor’s condition. If you notice any of these signs during the visual inspection, it is recommended to replace the capacitor promptly to ensure the safe and reliable operation of your HVAC system.
In the next step, we will discuss the process of replacing a faulty capacitor, if necessary.
Please note that if you are unsure about the visual inspection or any potential physical damage to the capacitor, it’s best to consult a professional HVAC technician.
Step 7: Replacing a Faulty Capacitor
If testing, interpreting multimeter readings, and inspecting for physical damage reveal that your HVAC capacitor is faulty or not functioning properly, it’s crucial to replace it. Here is a step-by-step guide on how to replace a faulty capacitor:
- Ensure Safety: Before proceeding with the replacement, turn off the power supply to the HVAC system and discharge any residual charge from the capacitor to ensure your safety.
- Identify the Capacitor: Take note of the capacitor’s specifications, including the capacitance rating and voltage rating. This information will be essential for finding an appropriate replacement.
- Purchase a New Capacitor: Visit a local HVAC supply store or order a new capacitor online. Make sure to purchase a capacitor that matches the specifications of the faulty one.
- Disconnect the Wires: Using an insulated screwdriver, carefully disconnect the wires attached to the faulty capacitor. Take note of the wire connections, ensuring you reconnect them correctly later.
- Remove the Faulty Capacitor: Unscrew or unclip the faulty capacitor from its mounting location within the HVAC system. Be careful not to damage any surrounding components.
- Install the New Capacitor: Position the new capacitor in place of the old one and secure it using the appropriate screws or clips. Ensure that the terminals are easily accessible for reconnecting the wires.
- Reconnect the Wires: Attach the wires to their corresponding terminals on the new capacitor. Double-check that the connections are secure and tightened properly.
- Test the New Capacitor: After replacing the faulty capacitor, it’s essential to test the new capacitor using the methods described earlier in this article. This will ensure that the new capacitor is functioning correctly.
- Restore Power: Once you have successfully replaced and tested the new capacitor, you can restore the power supply to the HVAC system by flipping the breaker or switch to the “On” position.
- Maintain Documentation: Record the replacement date and any relevant information about the new capacitor in your maintenance records. This will help keep track of when the capacitor was last replaced and aid future inspections.
It’s important to note that if you are uncertain about any aspect of replacing the capacitor, it is best to seek help from a professional HVAC technician. Working with electrical components requires knowledge and experience to ensure a safe and accurate replacement.
By following these steps and replacing a faulty capacitor promptly, you can restore the proper functioning and performance of your HVAC system.
Now that you’ve learned how to test and replace HVAC capacitors, you have the knowledge to ensure that your HVAC system runs smoothly and efficiently. Regularly testing and maintaining HVAC capacitors will help prevent unexpected breakdowns, improve energy efficiency, and extend the lifespan of your HVAC system.
Remember, if you have any doubts or concerns about testing or replacing HVAC capacitors, it’s always best to consult a professional HVAC technician for assistance.
By prioritizing HVAC capacitor testing and maintenance, you can enjoy optimal comfort and reliable performance from your HVAC system for years to come.
Conclusion
Testing HVAC capacitors is a crucial part of maintaining the performance and efficiency of your HVAC system. By regularly testing your capacitors and addressing any issues promptly, you can prevent unexpected breakdowns, improve energy efficiency, and extend the lifespan of your HVAC system.
In this comprehensive guide, we have explored the importance of testing HVAC capacitors and provided step-by-step instructions on how to test them effectively. We discussed safety precautions, the tools and equipment required for testing, and the process of interpreting multimeter readings. Additionally, we explained how to visually inspect capacitors for physical damage and provided guidance on replacing faulty capacitors when necessary.
Remember, safety should always be the top priority when working with electrical components. Ensure that you have turned off the power supply, discharged the capacitors, and followed proper safety protocols throughout the testing process. If you ever feel unsure or uncomfortable, it is best to seek assistance from a professional HVAC technician.
By testing your HVAC capacitors regularly and replacing faulty ones, you can optimize the performance, enhance energy efficiency, and extend the lifespan of your HVAC system. Additionally, maintaining detailed records of testing and replacements will aid in future inspections and ensure the proper functioning of your HVAC system.
Investing time and effort into testing and maintaining your HVAC capacitors will not only save you from costly repairs but also provide you with consistent comfort and peace of mind. With a well-functioning HVAC system, you can enjoy a comfortable and pleasant indoor environment throughout the seasons.
So, don’t overlook the importance of testing HVAC capacitors. Incorporate regular testing into your HVAC maintenance routine, and your system will reward you with reliable and efficient performance for years to come.
Frequently Asked Questions about How To Test HVAC Capacitor
Was this page helpful?
At Storables.com, we guarantee accurate and reliable information. Our content, validated by Expert Board Contributors, is crafted following stringent Editorial Policies. We're committed to providing you with well-researched, expert-backed insights for all your informational needs.


0 thoughts on “How To Test HVAC Capacitor”