
Articles
How To Tighten A Loose Kitchen Faucet Base
Modified: October 19, 2024
Learn how to tighten a loose kitchen faucet base with our helpful articles. Fix the problem yourself and save money on repairs.
(Many of the links in this article redirect to a specific reviewed product. Your purchase of these products through affiliate links helps to generate commission for Storables.com, at no extra cost. Learn more)
Introduction
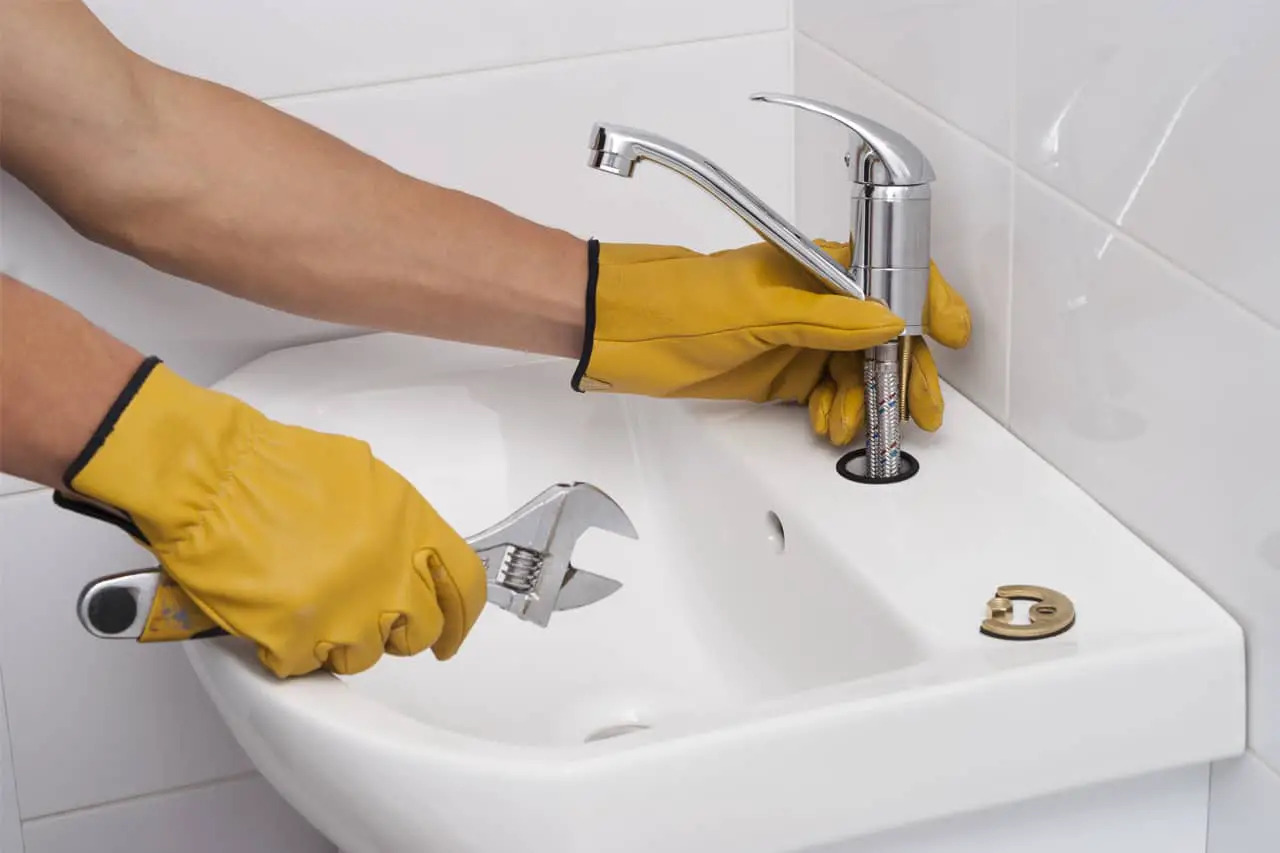
Having a loose kitchen faucet base can be frustrating and even potentially damaging if left unfixed. A wobbly faucet not only affects the overall function and efficiency of your sink, but it can also lead to leaks, water damage, and even costly repairs down the line. However, tightening a loose kitchen faucet base is a relatively simple task that can be done with a few basic tools and a little bit of know-how. In this article, we will guide you through the step-by-step process of tightening a loose kitchen faucet base, ensuring a secure and stable fixture in your kitchen.
Before we dive into the details, it is important to understand the different types of kitchen faucets and their installation methods. The most common types of kitchen faucets include single-handle faucets, double-handle faucets, and pull-out or pull-down faucets. Each type has its own unique design and mechanism, which may slightly vary in the process of tightening the base. However, the general principles remain the same.
Whether you are a seasoned DIY enthusiast or a beginner in home repairs, tightening a loose kitchen faucet base is a task that you can easily accomplish on your own. It not only saves you time and money from hiring a professional, but it also gives you a sense of accomplishment and empowerment as a homeowner. So, let’s roll up our sleeves and get started on tightening that loose kitchen faucet base!
Key Takeaways:
- Easily tighten a loose kitchen faucet base with basic tools and step-by-step guidance, saving time and money while ensuring a secure and stable fixture in your kitchen.
- Restoring water supply and testing the faucet after tightening ensures proper functionality, preventing potential water damage and maintaining the efficiency of your plumbing system.
Read more: How To Tighten Loose Faucet Handle
Step 1: Gather the necessary tools
Before you embark on tightening the loose kitchen faucet base, it is essential to gather all the necessary tools. Having the right tools at hand will ensure a smooth and efficient process. Here are the tools you will need:
- Adjustable wrench
- Phillips head screwdriver
- Plumber’s tape
- Penetrating oil (if required)
- Cloth or towel
An adjustable wrench is a versatile tool that allows you to grip and turn various sizes of nuts and bolts. It is essential for loosening and tightening nuts on the faucet base. Make sure to choose an adjustable wrench that fits comfortably in your hand and can adjust to different sizes.
A Phillips head screwdriver is needed to access and remove the handle of the kitchen faucet. Most handles are attached with screws, and a Phillips head screwdriver is the appropriate tool for this task.
Plumber’s tape, also known as Teflon tape, is a thin white tape that is used to create a watertight seal on threaded fittings. It is useful for preventing leaks when reconnecting the faucet handle or any other threaded connections.
Penetrating oil may be required if the faucet base is stubbornly stuck or corroded. Applying the oil to the connection can help loosen the grip and make it easier to turn and tighten the base.
Lastly, have a cloth or towel handy to wipe any excess water, dirt, or debris that may be present around the faucet area. This will ensure a clean and dry workspace, making it easier to access and work on the loose base.
Once you have gathered all the necessary tools, you are ready to move on to the next step. By being prepared, you can work efficiently and effectively without any interruptions.
Step 2: Prepare the workspace
Before you start working on tightening the loose kitchen faucet base, it is important to prepare the workspace. Creating an organized and clean workspace will not only make the task easier but also help prevent any accidental damage or loss of small parts. Follow these steps to prepare your workspace:
- Clear the sink area: Remove any dishes, utensils, or other items from the sink to create a clear and clutter-free workspace. This will give you ample space to maneuver and access the faucet easily.
- Turn off the water supply: Locate the water shut-off valve under the sink and turn it to the closed or off position. This will prevent any accidental water flow while you are working on the faucet base.
- Plug the drain: Place a cloth or rubber stopper in the sink drain to prevent small parts from accidentally falling down the drain. This will ensure that you do not lose any vital components while disassembling the faucet.
- Protect the work surface: If you are working on a delicate or easily scratchable surface, such as a granite countertop, place a soft cloth or towel underneath the faucet to prevent any scratches or damages. This will provide a cushioning layer and protect your countertop from any accidental slips or scratches from tools.
By taking a few minutes to prepare your workspace, you can create an organized and safe environment for working on your loose kitchen faucet base. This will make the task more efficient and help prevent any accidental damage to your sink or countertop.
Step 3: Locate the loose base
Before you can tighten the loose kitchen faucet base, you need to identify the exact location of the looseness. This will help you determine the best approach to fix the issue. Follow these steps to locate the loose base:
- Visually inspect the faucet: Take a close look at the faucet and handle area to identify any visible signs of looseness. Check for any wobbling or movement when you apply pressure to the spout or handle. This will give you a general idea of where the problem lies.
- Feel for movement: Place your hands firmly on the base of the faucet and try to wiggle it. If you feel any movement or see the base shifting, this indicates that the base is loose.
- Listen for rattling sounds: Turn on the water and listen for any rattling or clanking noises coming from the faucet. This can be a sign of a loose base.
- Check underneath the sink: Carefully inspect underneath the sink to see if you can spot any loose connections or nuts. Look for any signs of water leakage, as this may indicate a loose base.
By following these steps, you can pinpoint the exact location of the loose kitchen faucet base. Once you have identified the problem area, you can move on to the next step of tightening the base and ensuring a stable and secure faucet.
Step 4: Turn off the water supply
Before you begin working on tightening the loose kitchen faucet base, it is crucial to turn off the water supply to prevent any potential water damage or leaks. Here’s how you can turn off the water supply:
- Locate the water shut-off valves: Look under your sink for the water shut-off valves. There are usually two valves: one for hot water and one for cold water. These valves are usually small, circular knobs or levers.
- Turn off the valves: Use your hand or a wrench to turn the knobs or levers clockwise until they are fully closed. This will shut off the water supply to the faucet, preventing any water flow while you work on tightening the base.
- Test the water supply: To ensure that the valves are closed properly, turn on the faucet and try running both hot and cold water. If no water flows from the faucet, this indicates that the water supply has been successfully turned off.
By turning off the water supply, you eliminate the risk of water leaking or spraying while working on the loose base. This step is crucial to protect your kitchen from potential water damage and to ensure a safe working environment. With the water supply turned off, you can proceed with confidence to the next step of tightening the loose kitchen faucet base.
Step 5: Remove the handle
To tighten the loose kitchen faucet base, you will need to remove the faucet handle. Here’s how you can do it:
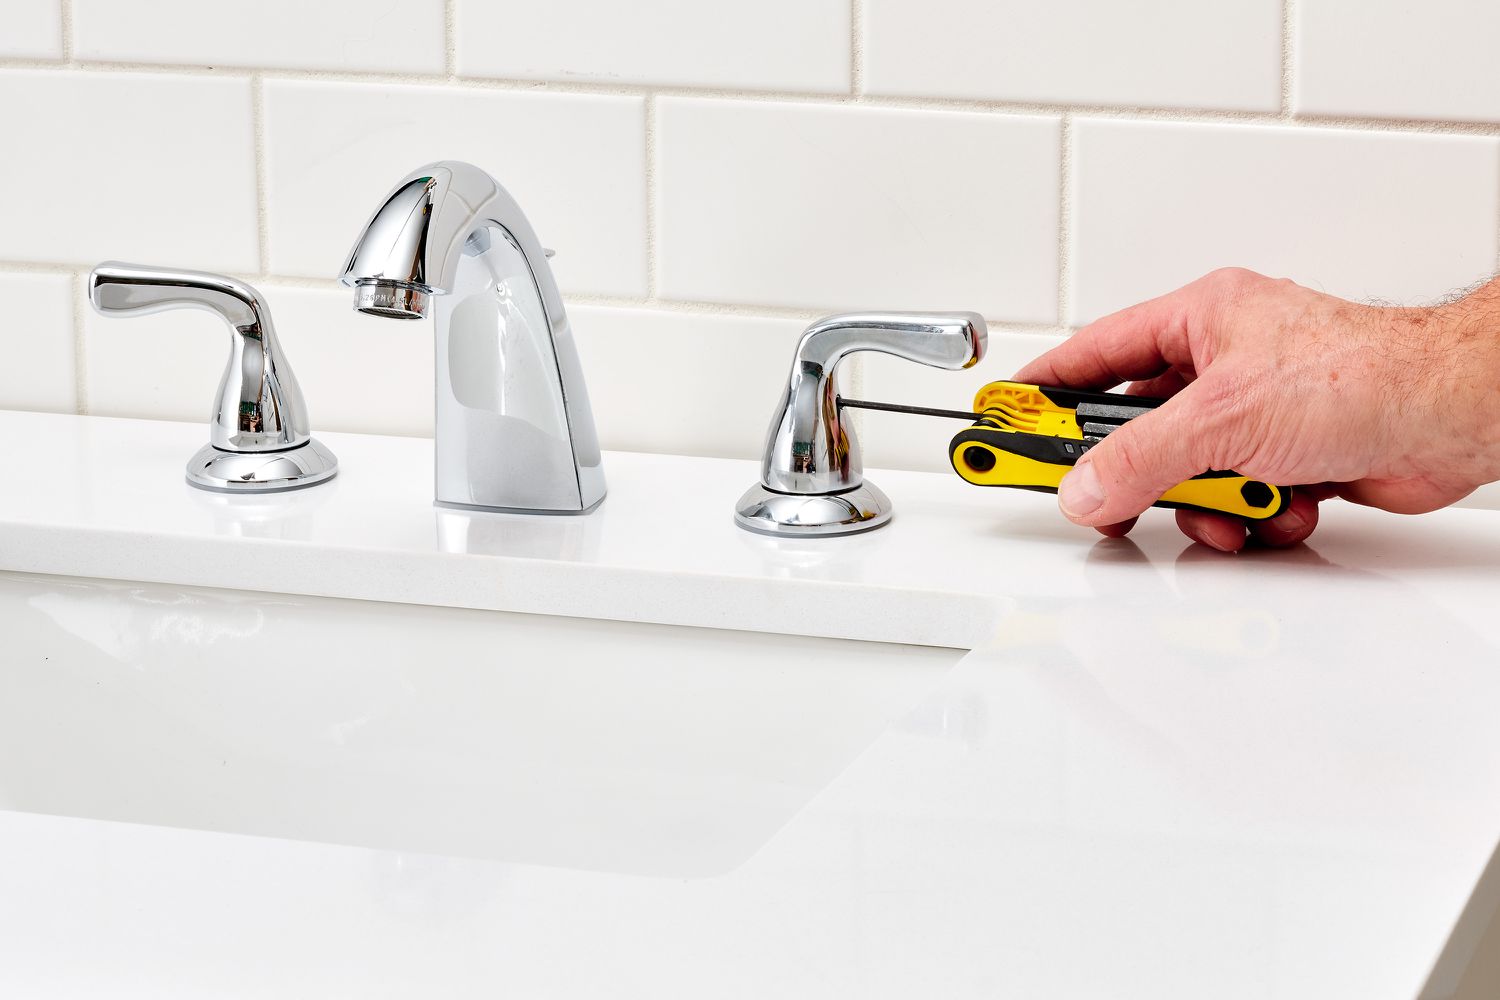
- Locate the handle screw: Look for the screw that holds the handle in place. This screw is typically located either on the top of the handle or on the side.
- Use a Phillips head screwdriver: Once you have located the screw, use a Phillips head screwdriver to unscrew it counterclockwise. Be careful not to apply too much force, as you don’t want to strip the screw.
- Remove the handle: Once the screw is loose, you should be able to remove the handle by lifting it away from the faucet. If the handle is stuck or doesn’t come off easily, you can gently wiggle it or use a penetrating oil to loosen any stubborn connections.
- Set aside the handle and screw: Place the handle and screw in a safe location to ensure they don’t get misplaced. It’s a good idea to keep them together so you can easily reassemble the faucet later.
Removing the handle allows you to access the base of the faucet and properly tighten it. Make sure to handle the handle and screw with care to prevent any damage. With the handle removed, you are ready to move on to the next step of tightening the loose kitchen faucet base.
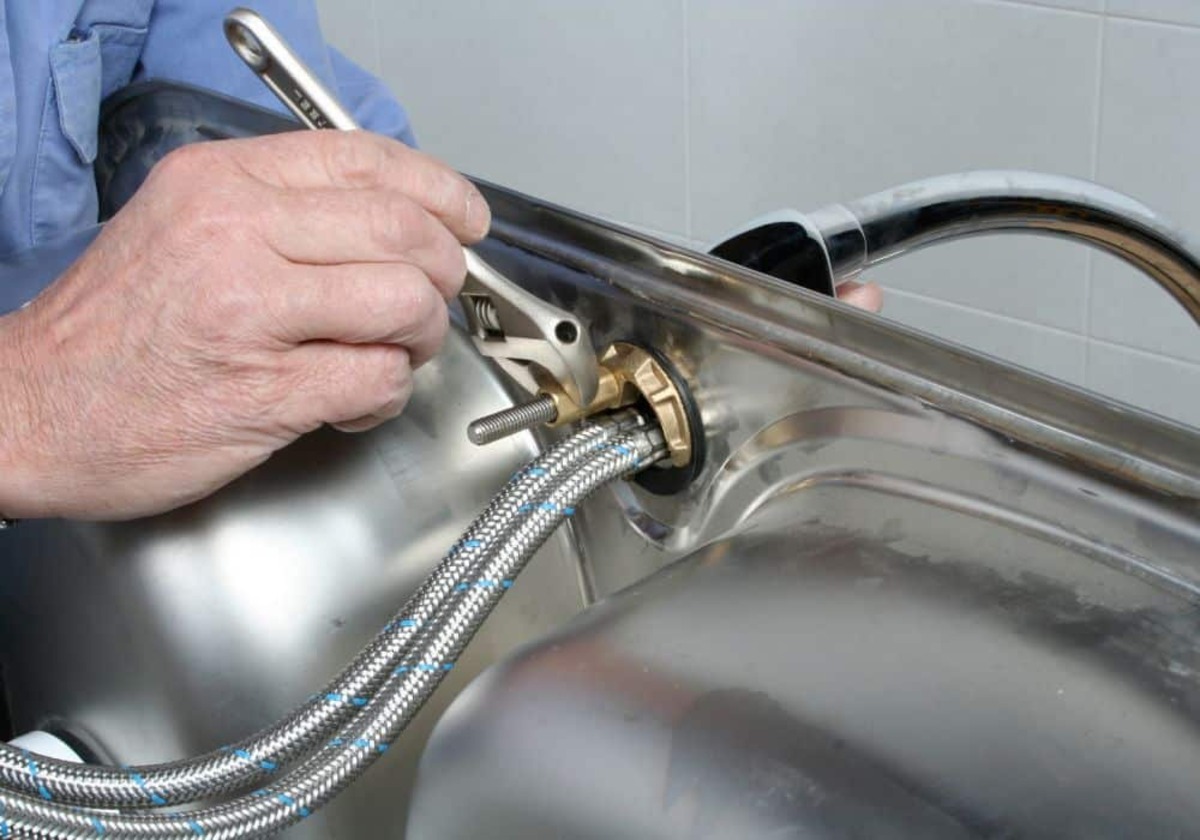
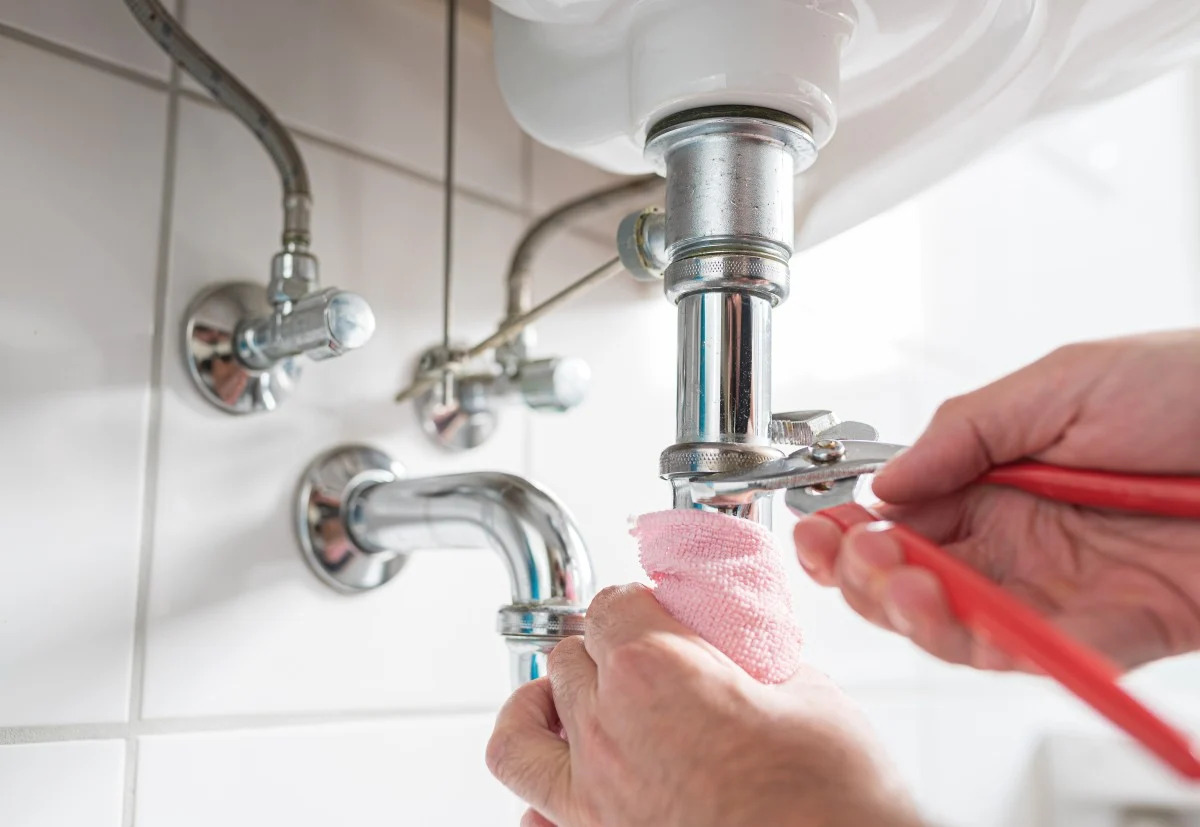
Use a wrench to tighten the mounting nut underneath the sink. If the nut is hard to reach, use a basin wrench for better access. Check for any leaks after tightening.
Step 6: Tighten the base
Now that you have removed the handle, you can proceed to tighten the loose kitchen faucet base. Follow these steps to ensure a secure and stable base:
- Locate the locknut: Look for a locknut underneath the faucet base. This nut is typically located directly below the handle mechanism.
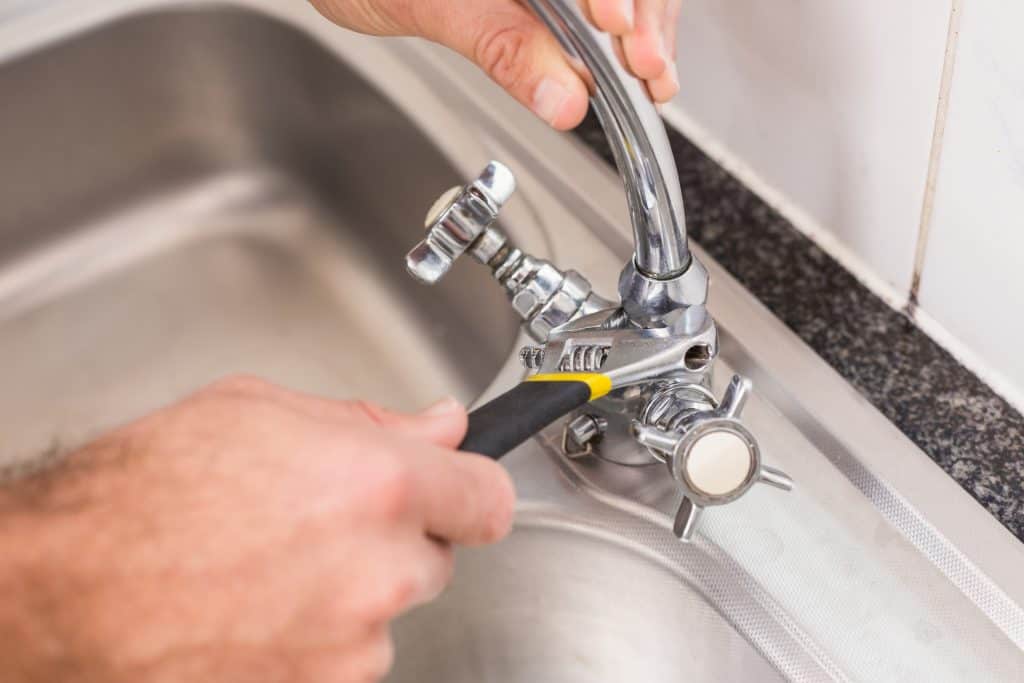
- Use an adjustable wrench: Place an adjustable wrench around the locknut and grip it firmly. Make sure the wrench is snug on the nut, allowing you to apply force without slipping.
- Tighten the locknut: Turn the wrench clockwise to tighten the locknut. Apply even pressure and turning until the base feels secure and stable. Be careful not to overtighten, as this can cause damage to the faucet or its components.
- Check for stability: Once you have tightened the locknut, check the stability of the faucet base. Grab hold of the spout and handle and attempt to wiggle the base. If there is no movement or wobbling, then you have successfully tightened the base.
If you notice that the base is still loose, you may need to tighten other nuts or connections beneath the sink. Check for any additional locknuts or fasteners that may be causing the looseness and tighten them accordingly. It may be helpful to refer to the manufacturer’s instructions for specific details on your faucet model.
Remember to use caution and not overtighten any components, as this can damage the faucet or its plumbing connections. If you are unsure about how much force to apply or encounter any difficulties, it is recommended to seek professional assistance.
Once you are satisfied with the tightness of the base, you can proceed to the next step of testing the faucet to ensure its proper functionality.
Step 7: Test the faucet
After tightening the loose kitchen faucet base, it’s essential to test the faucet to ensure that it is functioning properly. Here’s how you can test the faucet:
- Turn on the water supply: Before testing the faucet, make sure to turn on the water supply by reopening the shut-off valves under the sink. This will allow water to flow to the faucet.
- Check for leaks: As you turn on the faucet, keep a close eye on the base and surrounding areas for any signs of water leakage. If you notice any leaks, immediately turn off the water supply and check the connections for any loose or damaged parts.
- Run both hot and cold water: Test both the hot and cold water handles to ensure that water flows smoothly and without any obstructions. Pay attention to any unusual noises, such as gurgling or sputtering, which could indicate an issue with the plumbing.
- Check the handle movement: Rotate the handle from hot to cold to test the smoothness of its movement. The handle should turn easily without any resistance or sticking.
- Ensure proper temperature control: Verify that adjusting the handle from hot to cold effectively changes the water temperature. If you notice that the temperature control is not functioning correctly, there may be a problem with the cartridge or valve and further investigation may be needed.
If everything appears to be in order during the testing phase, congratulations! You have successfully tightened the loose kitchen faucet base, and the faucet is now secure and functioning properly.
However, if you experience any issues or notice persistent leaks or abnormalities, it may be necessary to seek professional help or consult the manufacturer’s instructions for troubleshooting specific to your faucet model.
Once you have completed the testing and are satisfied with the faucet’s performance, you can proceed to the final steps of reassembling the handle and restoring the water supply.
Step 8: Reassemble the handle
After successfully testing the faucet and ensuring its proper functionality, you can now proceed to reassemble the handle. Here’s how you can do it:
- Retrieve the handle and screw: Locate the handle and the screw that you set aside earlier. Ensure that they are clean and free from any debris or dirt.
- Align the handle: Position the handle back onto the base, aligning it with the screw hole. Ensure that the handle is properly aligned to ensure smooth operation.
- Insert and tighten the screw: Insert the screw back into the hole, and using a Phillips head screwdriver, tighten it clockwise until it is secure. Be careful not to overtighten the screw, as it can strip or damage the threads.
- Check the handle movement: Once the handle is reassembled, check its movement. Make sure it turns smoothly and without any resistance or wobbling.
- Test the faucet again: Turn on the water supply and test the faucet once more to ensure that the handle functions correctly and there are no leaks. Pay attention to the base area for any signs of water leakage.
Reassembling the handle is an important step to complete the tightening process. Ensure that everything is properly aligned and tightened to prevent any future issues with the faucet. If you encounter any difficulties during the reassembly process or notice any issues with the handle or screw, consult the manufacturer’s instructions or seek professional assistance if necessary.
Once you have successfully reassembled the handle and tested the faucet, you are ready to proceed to the final step of restoring the water supply.
Read more: How To Tighten A Loose Lamp Socket
Step 9: Restore water supply
Now that you have completed the tightening and reassembling process, it’s time to restore the water supply to your kitchen faucet. Here’s how you can do it:
- Locate the shut-off valves: Look for the shut-off valves underneath the sink. These valves will have been closed during the earlier steps to turn off the water supply.
- Open the valves: Using your hand or a wrench, turn the shut-off valves counterclockwise to open them. This will allow water to flow back into the faucet.
- Run the faucet: Turn on both the hot and cold water handles and let the water run for a few minutes. This will help flush out any air or debris that may have gotten into the plumbing system during the repair process.
- Check for leaks: While the water is running, closely inspect the faucet and the base for any signs of water leakage. Check the connections, joints, and the area around the base for any moisture or dripping. If you notice any leaks, turn off the water supply immediately and recheck the connections.
- Ensure proper water flow: Confirm that the water is flowing smoothly without any restrictions or irregularities. If you notice any issues with water pressure or flow, you may need to check the aerator for clogs or clean the faucet head.
Restoring the water supply is the final step in completing the process of tightening a loose kitchen faucet base. By opening the shut-off valves and running the faucet, you can ensure that water is flowing properly and there are no leaks.
If you notice any persistent leaks, irregularities in water flow, or any other issues, it may be necessary to seek professional assistance to address the problem. It’s important to ensure the proper functioning of your kitchen faucet to avoid water damage and maintain the efficiency of your plumbing system.
Congratulations! You have successfully tightened the loose kitchen faucet base and restored the water supply. Enjoy the securely fixed and properly functioning faucet in your kitchen.
Conclusion
Tightening a loose kitchen faucet base is an essential maintenance task that can prevent further damage, leaks, and costly repairs. By following the step-by-step process outlined in this article, you can easily restore stability and functionality to your kitchen faucet.
Remember to gather the necessary tools, prepare your workspace, and locate the loose base before starting the tightening process. By turning off the water supply and removing the handle, you can access and tighten the base securely. Reassembling the handle and carefully testing the faucet ensures that everything is functioning properly.
Throughout the process, be attentive to any signs of leaks, unusual noises, or resistance. Take the time to adjust and tighten any other nuts or connections as needed. The final step of restoring the water supply and checking for any leaks completes the tightening process.
By tightening a loose kitchen faucet base on your own, you save both time and money, while also gaining a sense of accomplishment and empowerment as a homeowner. However, if at any point you feel unsure or encounter difficulties, do not hesitate to seek professional assistance.
Maintaining a stable and secure kitchen faucet is crucial for the overall functionality and efficiency of your sink. Regularly inspecting and addressing any loose base issues can help prolong the lifespan of your faucet and prevent costly repairs in the future.
We hope this step-by-step guide has been helpful in enabling you to tighten your loose kitchen faucet base successfully. Enjoy the peace of mind that comes with a securely fixed and reliable kitchen faucet!
Frequently Asked Questions about How To Tighten A Loose Kitchen Faucet Base
Was this page helpful?
At Storables.com, we guarantee accurate and reliable information. Our content, validated by Expert Board Contributors, is crafted following stringent Editorial Policies. We're committed to providing you with well-researched, expert-backed insights for all your informational needs.



0 thoughts on “How To Tighten A Loose Kitchen Faucet Base”