Articles
How To Tighten Kitchenaid Mixer Head
Modified: January 5, 2024
Discover the step-by-step guide to tighten your Kitchenaid mixer head in this informative article. Get expert tips and techniques to ensure smooth and efficient mixing.
(Many of the links in this article redirect to a specific reviewed product. Your purchase of these products through affiliate links helps to generate commission for Storables.com, at no extra cost. Learn more)
How to Tighten KitchenAid Mixer Head
The KitchenAid mixer is a versatile and essential tool in any kitchen, offering convenience and efficiency for a wide range of culinary tasks. However, over time, the mixer head may become loose, resulting in inefficient mixing and potential damage to the appliance. In this article, we will guide you through the process of tightening the KitchenAid mixer head to restore its performance and prevent further issues.
Checking for a Loose Mixer Head
Before proceeding, it’s important to confirm if your KitchenAid mixer head is indeed loose. Look out for signs such as excessive movement or wobbling during operation, a grinding noise, or the attachments not working properly. A loose head can affect the overall performance and may even pose a safety risk.
Preparation
Before attempting any repairs, gather the necessary tools. You will need a flathead screwdriver and an adjustable wrench. Ensure that your mixer is unplugged from the power source to avoid any accidents.
Accessing the Head Locking Mechanism
Locate the head locking mechanism on your specific KitchenAid mixer model. It is typically found at the back or side of the mixer head. Different models may have different locking mechanisms, so consult your user manual if needed.
Adjusting the Mixer Head
Once you have located the head locking mechanism, use the flathead screwdriver to tighten the screw or bolt. Turn it clockwise to tighten the head. Be cautious not to overtighten, as this can strain the motor. Use the adjustable wrench to ensure a secure fit. You should feel resistance while tightening, indicating that the head is properly secured.
Read more: How To Clean Kitchenaid Mixer
Testing the Tightness of the Mixer Head
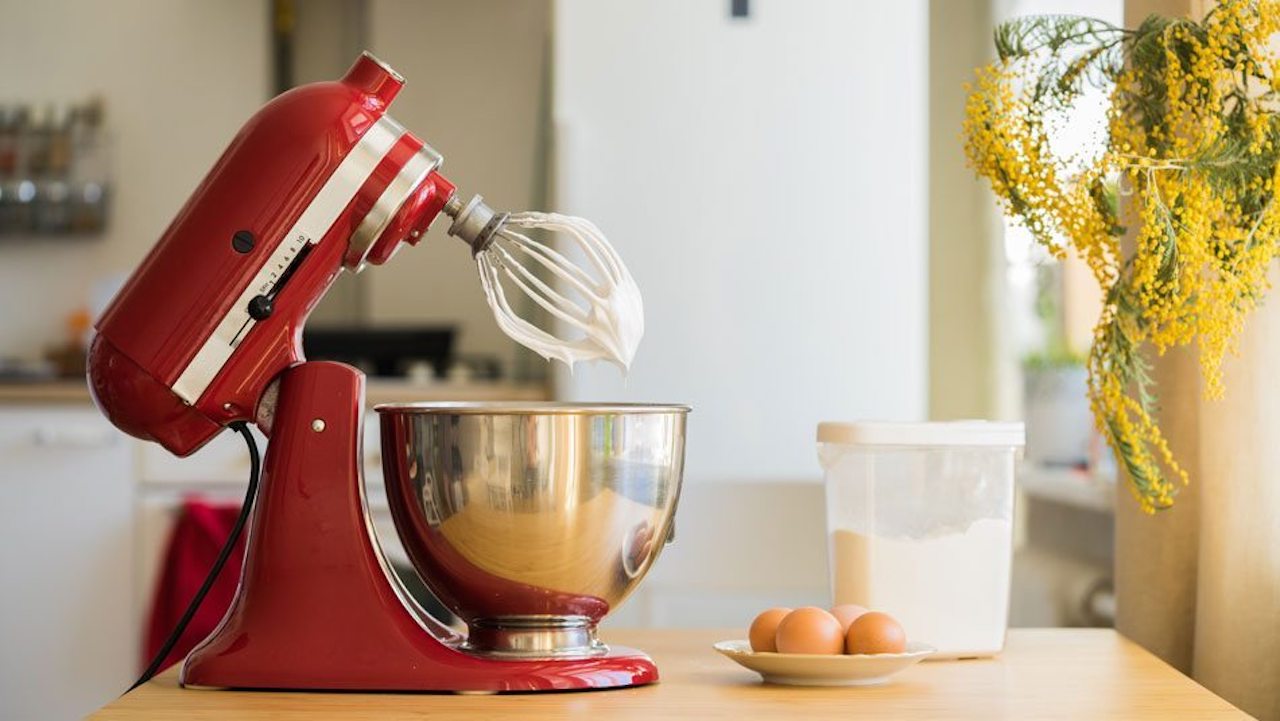
After tightening the mixer head, it’s essential to test its tightness before using it again. Attach the mixing bowl and paddle attachment, then start the mixer at a low speed. Observe for any movements or vibrations. If the head remains stable during operation, you have successfully tightened it.
Maintenance Tips
To prevent the mixer head from becoming loose again, it’s important to practice regular maintenance. After each use, ensure that the head locking mechanism is tightened securely. Avoid excessive force when attaching or removing attachments to minimize stress on the head. Additionally, periodically clean the head and lubricate the moving parts as recommended by the manufacturer.
While tightening the KitchenAid mixer head is a relatively simple process, it is essential to follow the proper techniques to prevent any damage to the appliance. Regularly checking and tightening the head will ensure optimal performance and extend the lifespan of your KitchenAid mixer. By following the steps outlined in this article, you can keep your mixer in top shape and enjoy effortless mixing for years to come.
Key Takeaways:
- Regularly checking and tightening the KitchenAid mixer head is crucial for efficient mixing, safety, and appliance longevity. Follow the steps and maintenance tips to ensure optimal performance and consistent results.
- Use the appropriate tools and techniques to securely tighten the mixer head, and adopt regular maintenance practices to prevent loosening. By implementing these practices, you can enjoy effortless and reliable mixing for all your culinary needs.
Introduction – Overview of the KitchenAid Mixer Head – Importance of a Properly Tightened Mixer Head
The KitchenAid mixer is a beloved appliance in many kitchens, renowned for its power, durability, and versatility. At the heart of this iconic machine lies the mixer head, which houses the motor and the attachment hub. Understanding how to properly tighten the mixer head is crucial for ensuring optimal performance and preventing potential damage.
The mixer head serves as the control center of the KitchenAid appliance, guiding the movement of the attachments and providing the power necessary for whipping, blending, and kneading. It is designed to be detachable, allowing for easy attachment changes and efficient cleaning. However, over time, the constant use and vibrations can cause the mixer head to become loose, compromising its functionality.
Ensuring that the mixer head is properly tightened is of utmost importance for several reasons. Firstly, a loose mixer head can lead to inefficient mixing. If the head is not securely fastened, it can result in attachments not properly engaging with the mixing bowl, leading to uneven mixing and ineffective results. This can be particularly problematic when dealing with thick or heavy batters or doughs.
In addition to affecting the quality of your culinary creations, a loose mixer head can also pose safety risks. A head that wobbles or moves excessively during operation can potentially detach completely, causing accidents and potential injury. By regularly checking and tightening the mixer head, you can ensure a stable and secure connection, minimizing any potential mishaps.
Properly maintaining and tightening the mixer head not only improves the functionality and safety of your KitchenAid appliance but also extends its lifespan. A loose head puts strain on the motor and other internal components, potentially leading to premature wear and tear. By keeping the head properly tightened, you allow the appliance to operate smoothly and efficiently, increasing its longevity.
It is important to note that different models of KitchenAid mixers may have variations in their head locking mechanisms. Therefore, it is crucial to refer to the specific user manual for your appliance to understand the correct procedure for tightening the mixer head. Familiarizing yourself with the unique features and instructions for your model will ensure that you perform the task accurately and safely.
In the following sections, we will guide you through the process of checking for a loose mixer head, the preparation required, accessing the head locking mechanism, adjusting the head, testing its tightness, and providing maintenance tips to keep your KitchenAid mixer head properly tightened for optimal performance.
Checking for Loose Mixer Head – Signs of a Loose Mixer Head – Risks and Implications of a Loose Mixer Head
Before proceeding with tightening the KitchenAid mixer head, it is essential to determine if your appliance indeed has a loose head. There are several signs and symptoms you can look out for that indicate a loose mixer head, as well as potential risks and implications if left unaddressed.
Read more: How To Turn On A Kitchenaid Mixer
Signs of a Loose Mixer Head
One of the most noticeable signs of a loose mixer head is excessive movement or wobbling during operation. If you observe that the head shakes or rocks back and forth while the mixer is in use, it is a strong indication that the head is not securely tightened. Additionally, you may hear a grinding noise or feel vibrations that are unusual. These signs suggest that the head is not in proper alignment and can affect the overall performance of the appliance.
Another sign of a loose mixer head is attachments not working correctly. If you find that the attachments, such as the paddle, whisk, or dough hook, do not properly engage with the mixing bowl or are loose, it is likely due to a loose head. This can result in uneven mixing, ineffective blending, and inadequate kneading, compromising the quality of your culinary creations.
Risks and Implications of a Loose Mixer Head
Having a loose mixer head goes beyond just compromising the performance of your KitchenAid appliance. There are potential risks and implications that can arise if the issue is not addressed promptly.
One of the primary risks is the potential detachment of the mixer head during operation. If the head is not securely tightened, it may become completely detached from the main body of the appliance, posing a safety hazard. This can lead to accidents, such as splattering of ingredients or even physical harm to individuals nearby. It is crucial to ensure that the mixer head is tightly secured to prevent any unintended detachment.
In addition to safety risks, a loose mixer head can result in inconsistent mixing and poor quality results. The attachments may not properly reach the ingredients in the mixing bowl, leading to uneven distribution of ingredients and inadequate blending or kneading. This can impact the texture, consistency, and overall taste of your dishes or baked goods.
Furthermore, a loose head puts strain on the motor and other internal components of the KitchenAid mixer. Over time, this can lead to premature wear and tear, potentially affecting the longevity of the appliance. It is essential to regularly check and tighten the mixer head to maintain the optimal performance and durability of your KitchenAid mixer.
In the next section, we will discuss the necessary preparation steps before you start tightening the mixer head, ensuring that you have the required tools and understand the precautions to be taken.
Preparation – Gathering the Necessary Tools – Ensuring the Mixer is Unplugged
Before you begin the process of tightening the KitchenAid mixer head, it’s important to make the necessary preparations to ensure a smooth and safe experience. This includes gathering the required tools and taking precautions to prevent any accidents during the procedure.
Gathering the Necessary Tools
To properly tighten the mixer head, you will need a few tools that may vary depending on your specific KitchenAid mixer model. Here are some common tools you may need:
- Flathead screwdriver: This tool is typically used to loosen or tighten screws. Make sure you have a flathead screwdriver that fits the size of the screw on your mixer head.
- Adjustable wrench: An adjustable wrench allows you to tighten nuts and bolts of various sizes. It is important to have an adjustable wrench that can fit the locking mechanism on your particular model.
Having these tools readily available will make the process of tightening the mixer head easier and more efficient. Make sure they are in good condition and clean before starting the procedure.
Read more: What Kitchenaid Mixer To Buy
Ensuring the Mixer is Unplugged
Before working on any electrical appliance, it is crucial to ensure its safety by disconnecting it from the power source. Before you begin tightening the KitchenAid mixer head, unplug the appliance from the electrical outlet. This precautionary step is essential to avoid any potential electrical accidents or damage to the appliance while working on it.
Take an extra moment to double-check that the mixer is not connected to any power source before proceeding. This simple yet critical step will provide you with a safe working environment and protect you from any potential electrical hazards.
Once you have gathered the necessary tools and ensured that the mixer is unplugged, you are ready to move on to the next steps, where we will guide you through accessing the head locking mechanism on your specific KitchenAid mixer model. Understanding the different types of locking mechanisms is crucial to successfully tighten the mixer head and ensure its stability during operation.
Accessing the Head Locking Mechanism – Locating the Head Locking Mechanism – Understanding the Different Types of KitchenAid Mixer Models
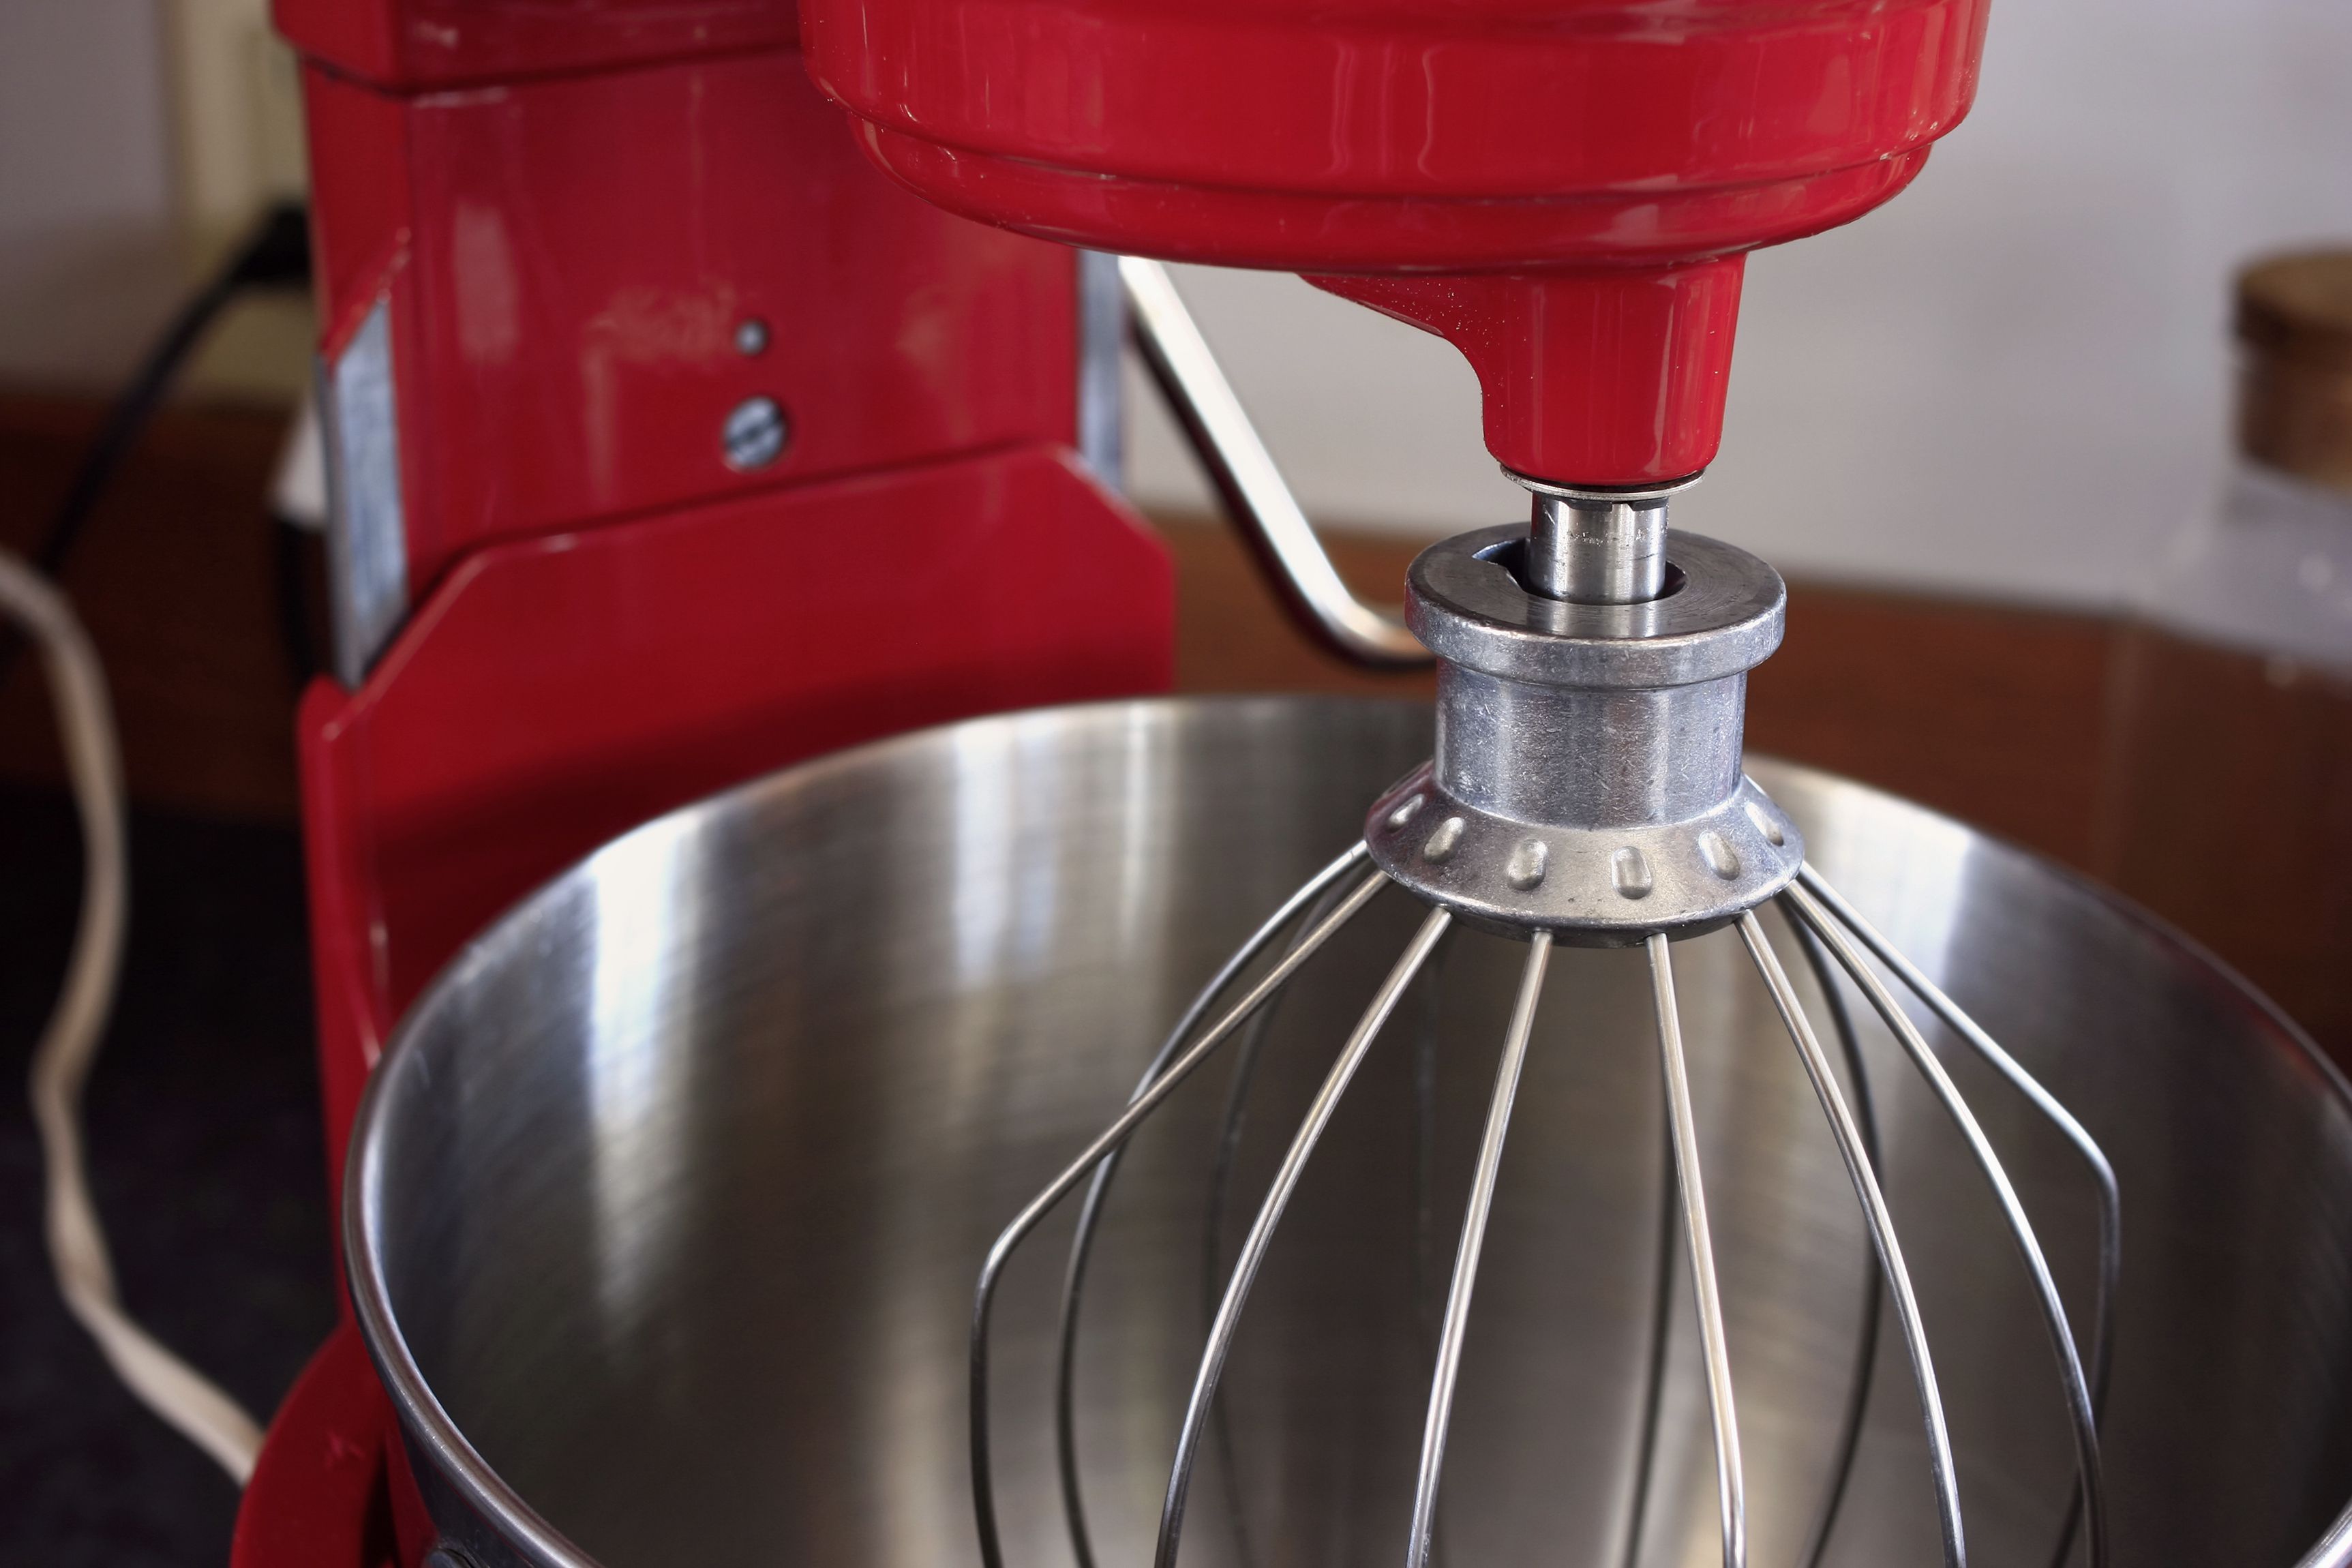
In order to tighten the KitchenAid mixer head, you need to locate the head locking mechanism on your specific model. The head locking mechanism is responsible for keeping the mixer head securely in place during operation. Different KitchenAid mixer models may have variations in their locking mechanisms, so it’s important to identify the specific mechanism for your appliance.
Locating the Head Locking Mechanism
The head locking mechanism is typically located at the back or side of the mixer head, near the base. It is often a prominent feature and can be easily identified. Refer to the user manual that came with your KitchenAid mixer for precise instructions on locating the head locking mechanism for your specific model.
Some common types of head locking mechanisms include:
- Single Lever: In this type of mechanism, there is a single lever that needs to be moved to lock or unlock the mixer head. The lever is usually positioned on the side or at the back of the mixer head.
- Thumb Screw: This mechanism consists of a screw that can be tightened or loosened manually using your thumb. The screw is typically located at the back of the mixer head.
- Bowl-Lift Mechanism: Certain KitchenAid models, such as the professional series, feature a bowl-lift mechanism. This mechanism involves a lever or handle on the side of the mixer that lifts the bowl up and down, and also functions as a locking mechanism for the head.
Identifying the type of head locking mechanism your KitchenAid mixer has is essential for successfully tightening the mixer head. Pay close attention to the design and placement of the locking mechanism to ensure you have a clear understanding of how it operates.
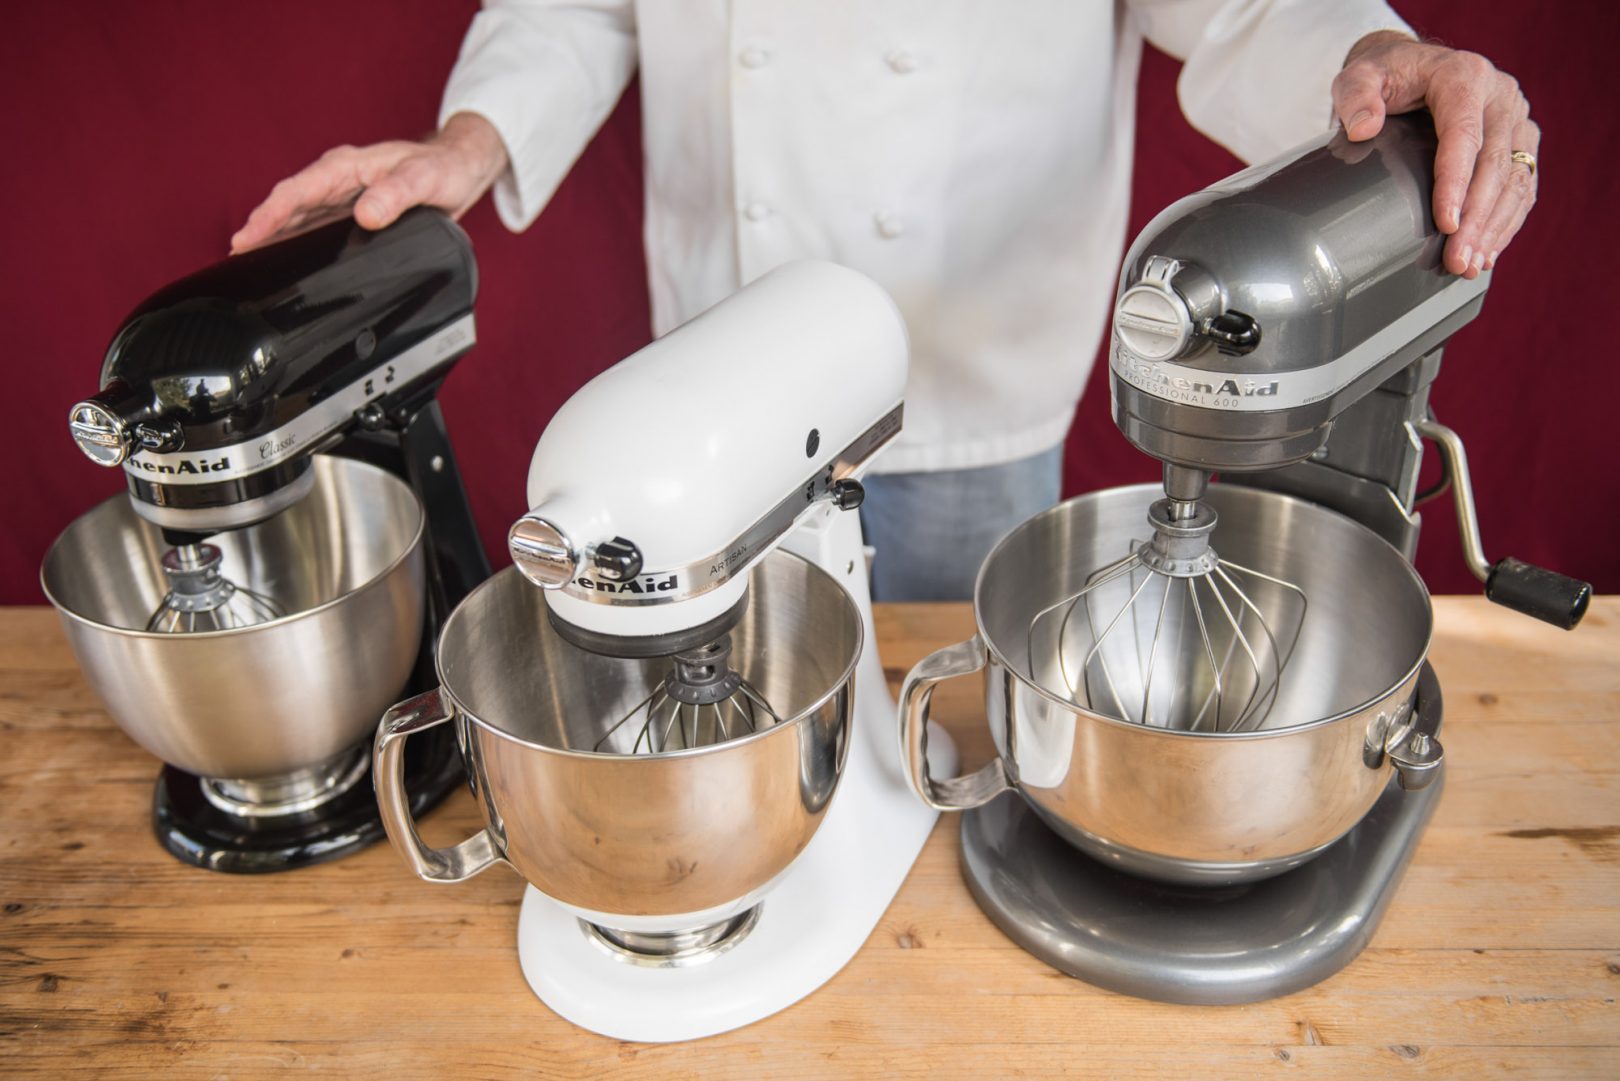
Understanding the Different Types of KitchenAid Mixer Models
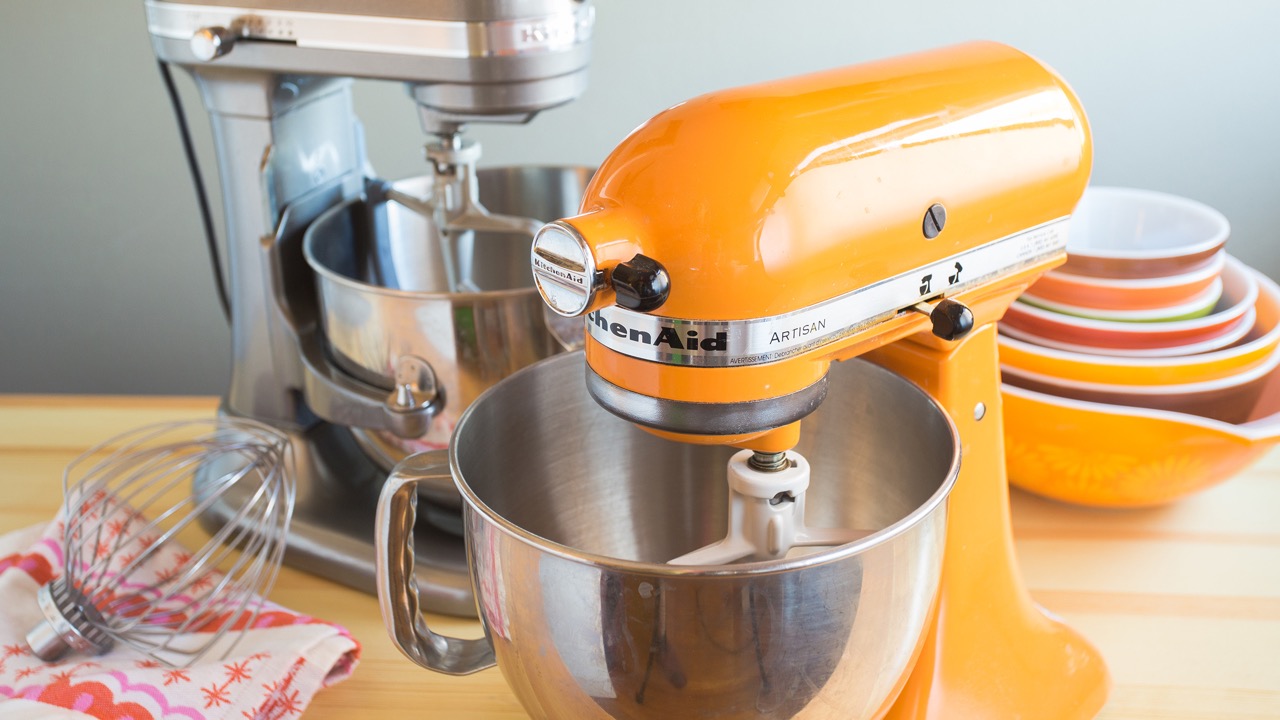
KitchenAid offers a wide range of mixer models, each with its own unique features and specifications. It is important to familiarize yourself with the specific model you own before attempting to tighten the mixer head. Understanding the different types of KitchenAid mixer models can help you in identifying the head locking mechanism and following the appropriate steps to tighten the mixer head.
Some popular KitchenAid mixer models include the Classic Series, Artisan Series, Professional Series, and Commercial Series. Each series may have variations in their design, attachments, and, most importantly, the head locking mechanism.
Refer to the user manual or the manufacturer’s website for your particular KitchenAid mixer model to obtain detailed information about the head locking mechanism and any specific instructions for tightening the mixer head. Following the manufacturer’s guidelines will ensure that you correctly adjust the head and prevent any damage to your KitchenAid mixer.
Now that you have located the head locking mechanism and understood the different types of KitchenAid mixer models, it’s time to move on to adjusting and tightening the mixer head. We will provide you with step-by-step instructions to ensure you can effectively tighten the head and restore the optimal performance of your KitchenAid mixer.
Read more: How Much Does A Kitchenaid Mixer Weigh
Adjusting the Mixer Head – Step-by-Step Instructions for Tightening the Head – Using the Appropriate Tools and Techniques – Ensuring Proper Alignment and Stability
Once you have located the head locking mechanism on your KitchenAid mixer, you are ready to adjust and tighten the mixer head. Follow these step-by-step instructions to ensure a secure and stable connection.
Step 1: Gather the Appropriate Tools
Before proceeding, make sure you have the necessary tools at hand. As mentioned earlier, you will typically need a flathead screwdriver and an adjustable wrench. These tools are essential for loosening and tightening the head locking mechanism.
Step 2: Loosen the Head Locking Mechanism
Prior to tightening the mixer head, it’s important to ensure that the head locking mechanism is not already tightened excessively. Use your flathead screwdriver to loosen the screw or bolt on the locking mechanism. Turn the screw counterclockwise, taking care not to force it. This step allows you to make necessary adjustments and ensures smooth tightening of the mixer head.
Step 3: Position the Mixer Head Correctly
With the head locking mechanism loosened, it’s time to position the mixer head correctly. Align the head with the mixing bowl, ensuring that the attachment hub is properly aligned as well. This step is crucial for proper operation and effective mixing results.
Read more: How To Sew A Kitchenaid Mixer Cover
Step 4: Tighten the Head Locking Mechanism
Using your flathead screwdriver, start tightening the screw or bolt on the head locking mechanism. Turn the tool clockwise to tighten the head securely. It is important to tighten the screw or bolt firmly without excessive force. Over-tightening can strain the motor and may cause damage. Ensure the head is stable and has no excessive movement or wobble.
Step 5: Use the Adjustable Wrench for Extra Security
For an added level of security, place the adjustable wrench on the screw or bolt of the head locking mechanism. Use the wrench to tighten the mechanism firmly, ensuring it is securely fastened.
Step 6: Check for Proper Alignment and Stability
After tightening the head, visually inspect and confirm that the mixer head is properly aligned with the bowl and the attachment hub. Ensure that there is no misalignment or gaps. Gently shake the mixer head to check for any movements or wobbling. If there is excessive movement, repeat the tightening process until the head is stable.
By following these step-by-step instructions, using the appropriate tools and techniques, and ensuring proper alignment and stability, you can effectively tighten the mixer head of your KitchenAid appliance. Tightening the head correctly is essential for optimal performance and preventing any safety risks or damage during operation.
Next, we will discuss how to test the tightness of the mixer head and provide you with some maintenance tips to further prevent any loosening issues in the future.
Testing the Tightness of the Mixer Head – Simple Test to Check if the Head is Properly Tightened – Observing for Movements or Vibrations During Operation
After adjusting and tightening the mixer head of your KitchenAid appliance, it is essential to test its tightness to ensure a secure connection. This step will help you confirm that the head is properly tightened and ready for use. Follow these simple steps to perform a test and ensure the stability of the mixer head.
Read more: How To Remove Kitchenaid Mixer Attachment
Step 1: Attach the Mixing Bowl and Paddle Attachment
Before testing the tightness of the mixer head, attach the mixing bowl and your desired attachment, such as the paddle, to the head. Ensure that the attachment fits securely onto the hub and is properly aligned with the bowl.
Step 2: Start the Mixer at a Low Speed
When performing the test, start the mixer at a low speed setting. This allows you to observe any movements or vibrations more easily. Avoid setting the speed too high, as it may lead to inaccurate observations.
Step 3: Observe for Movements or Vibrations
While the mixer is running at a low speed, carefully observe the head for any movements or vibrations. A properly tightened mixer head should remain stable during operation, with no noticeable wobbling or shaking.
If you observe any movements or vibrations that suggest the head is not securely tightened, stop the mixer immediately. Repeat the process of adjusting and tightening the head, following the previous instructions, until the head remains stable during operation.
It’s important to note that some minor movements or vibrations may be normal due to the nature of the appliance. However, if you notice excessive movement or a significant amount of shaking, it indicates that the head is not properly secured and further adjustments are needed.
By performing this simple test and observing for any movements or vibrations during operation, you can ensure that the mixer head of your KitchenAid appliance is properly tightened and ready for use.
In the next section, we will provide you with some maintenance tips to prevent the mixer head from becoming loose in the future, helping you maintain the optimal performance of your KitchenAid mixer.
Maintenance Tips – Regular Maintenance Practices to Prevent Loosening – Common Mistakes to Avoid When Handling the Mixer Head
Maintaining the tightness of the mixer head is crucial for the proper functioning and longevity of your KitchenAid appliance. By following these maintenance tips, you can prevent the head from becoming loose and ensure optimal performance.
Read more: How To Grease A Kitchenaid Stand Mixer
Regular Maintenance Practices to Prevent Loosening
- Check and Tighten Regularly: Make it a habit to check the tightness of the mixer head before each use. Over time, the vibrations and movements during operation can cause the head to loosen. By regularly checking and tightening the head, you can prevent any potential issues.
- Use the Correct Attachments and Install Properly: Ensure you are using the appropriate attachments for your specific mixing tasks. Each attachment is designed for a specific purpose, and using the wrong attachment can strain the head and cause it to become loose. Also, ensure that the attachments are properly inserted and locked onto the hub to avoid any slippage or misalignment.
- Avoid Overloading the Mixer: Be mindful of the recommended capacity for your KitchenAid appliance. Overloading the mixer with excessive amounts of ingredients can put unnecessary strain on the head and lead to loosening. Follow the manufacturer’s guidelines for maximum capacity to maintain the durability of the appliance.
- Store the Mixer Properly: When not in use, store your KitchenAid mixer in a secure and stable position. Avoid leaving it in areas where it may be prone to accidental bumping, which can cause the head to become loose. Storing it in a designated cabinet or on a secure countertop can help maintain the stability of the machine.
Common Mistakes to Avoid When Handling the Mixer Head
- Overtightening the Head: While it is important to ensure the head is properly tightened, be cautious not to overtighten. Applying excessive force can strain the motor and other internal components, potentially causing damage.
- Forcing the Attachments: Avoid using excessive force when attaching or removing the attachments. The attachments should fit smoothly onto the hub without any resistance. If you encounter difficulty, double-check the alignment and make sure the head is properly tightened before proceeding.
- Neglecting Cleaning and Lubrication: Regularly clean the mixer head and lubricate the moving parts as recommended by the manufacturer. Accumulated debris or lack of lubrication can cause the head to become stiff or loose. Proper cleaning and maintenance will help keep the head in optimal condition.
- Ignoring Unusual Noises or Vibrations: Pay attention to any unusual noises or excessive vibrations during operation. These can be signs that the mixer head is not properly secured. If you notice such symptoms, stop the mixer immediately and check the tightness of the head.
By following these maintenance tips and avoiding common mistakes, you can keep the mixer head of your KitchenAid appliance properly tightened and ensure its long-term functionality. Regular maintenance practices play a vital role in preventing loosening issues and maximizing the performance and lifespan of your KitchenAid mixer.
Now that you have learned how to tighten the mixer head and maintain its tightness, you can enjoy confident and efficient mixing for all your culinary endeavors.
If you have any further questions or concerns, consult the user manual for your specific KitchenAid mixer model or reach out to the manufacturer’s customer support for assistance.
Conclusion – Importance of Regularly Checking and Tightening the Mixer Head – Final Thoughts and Recommendations
Regularly checking and tightening the mixer head of your KitchenAid appliance is crucial for ensuring optimal performance, safety, and longevity. By following the steps and maintenance tips outlined in this article, you can prevent the head from becoming loose and maintain the stability of your mixer head for years to come.
The importance of regularly checking and tightening the mixer head cannot be emphasized enough. A properly tightened head ensures efficient mixing, allows attachments to work effectively, and prevents safety hazards. Loose mixer heads can lead to uneven mixing, ineffective blending, and even detachment during operation. By taking the time to regularly inspect and tighten the head, you can avoid these issues and achieve consistent and high-quality results in your culinary creations.
Additionally, maintaining the tightness of the mixer head extends the lifespan of your KitchenAid appliance. Properly secured heads reduce strain on the motor and internal components, preventing premature wear and tear. By practicing regular maintenance and tightening, you can enjoy your KitchenAid mixer for many years, making it a worthwhile investment for your kitchen.
In conclusion, remember to follow these key points when it comes to checking and tightening the mixer head:
- Be proactive in regularly checking the tightness of the mixer head before each use.
- Use the appropriate tools and techniques to securely tighten the head.
- Perform a simple test to ensure the head remains stable during operation.
- Adopt regular maintenance practices to prevent loosening, such as proper cleaning and lubrication.
- Avoid common mistakes, such as over-tightening or forcing attachments.
By implementing these practices, you can maintain the optimal performance and safety of your KitchenAid mixer, enabling you to enjoy effortless and reliable mixing for all your culinary needs.
Remember, if you have any specific questions or concerns about your KitchenAid mixer model, refer to the user manual or reach out to the manufacturer’s customer support for assistance. They can provide you with detailed instructions and guidance tailored to your appliance.
We hope this article has been helpful in guiding you through the process of tightening the mixer head of your KitchenAid appliance. By incorporating regular checks and adjustments into your routine, you can ensure a secure and stable connection, allowing you to create delicious dishes with confidence.
Frequently Asked Questions about How To Tighten Kitchenaid Mixer Head
Was this page helpful?
At Storables.com, we guarantee accurate and reliable information. Our content, validated by Expert Board Contributors, is crafted following stringent Editorial Policies. We're committed to providing you with well-researched, expert-backed insights for all your informational needs.


0 thoughts on “How To Tighten Kitchenaid Mixer Head”