
Articles
How To Turn On Ice Maker Whirlpool
Modified: February 20, 2024
Learn how to turn on the ice maker in your Whirlpool appliance with our informative articles.
(Many of the links in this article redirect to a specific reviewed product. Your purchase of these products through affiliate links helps to generate commission for Storables.com, at no extra cost. Learn more)
Introduction
Welcome to a guide on how to turn on the ice maker on your Whirlpool refrigerator. Having an ice maker can be incredibly convenient, especially during hot summer months or when entertaining guests. However, sometimes the ice maker may not be turned on by default or may have been accidentally turned off. In this article, we will walk you through the steps to locate your ice maker, check the water supply, and turn on the ice maker on your Whirlpool refrigerator.
Before we begin, it is important to ensure your safety while handling any appliance or electrical components. Always follow recommended safety precautions and, if you are uncertain, consult the instruction manual or seek professional assistance.
Now, let’s gather the necessary tools and get started!
Key Takeaways:
- Ensure safety by following precautions, locating the ice maker, checking water supply, and turning it on. Test and troubleshoot for a fully functional ice maker, providing convenience and refreshing drinks.
- Gather tools, follow safety measures, and go through step-by-step instructions to activate the ice maker. Troubleshoot common issues and seek professional assistance if needed for a hassle-free experience.
Safety Precautions
When working with any electrical appliance, it is crucial to prioritize safety. Here are some important safety precautions to keep in mind when turning on the ice maker on your Whirlpool refrigerator:
- Make sure to unplug the refrigerator from the power outlet before starting any work. This will eliminate the risk of electric shock.
- Wear protective gloves and safety goggles to protect your hands and eyes from any potential hazards.
- Avoid using any sharp or metallic objects near the ice maker to prevent damage to the components or yourself. Use only the recommended tools for the task.
- If you are unsure about any step or encounter any difficulties, consider consulting the user manual or contacting a professional technician for assistance.
- Always handle water connections carefully to avoid leaks and water damage. Turn off the water supply before making any connections or adjustments.
- Keep children and pets away from the area while you are working on the ice maker.
- Do not force any parts or use excessive pressure during the process. If something feels stuck or difficult to handle, double-check the instructions and approach it with caution.
- If you notice any unusual smells, sparks, or smoke during the process, immediately stop and disconnect the appliance. Contact a professional technician for further assistance.
Please remember that these safety precautions are general guidelines. Always refer to the specific safety instructions provided by the manufacturer for your Whirlpool refrigerator.
Now that you are aware of the safety precautions, let’s move on to the next step – gathering the required tools.
Required Tools
Before you begin the process of turning on the ice maker on your Whirlpool refrigerator, make sure you have the following tools handy:
- Phillips screwdriver: This will be required to remove any screws or panels that are blocking access to the ice maker.
- Adjustable wrench: You may need this tool to loosen or tighten water connections, if necessary.
- Bucket or container: Keep a bucket or container nearby to catch any water that may spill during the process.
These are the basic tools you will need to complete the task. However, depending on your specific refrigerator model and any additional requirements mentioned in the user manual, you may need other tools as well. It’s always a good idea to consult the manual or check the manufacturer’s website for any additional information.
Once you have gathered the necessary tools, you are ready to proceed to the next step – locating the ice maker.
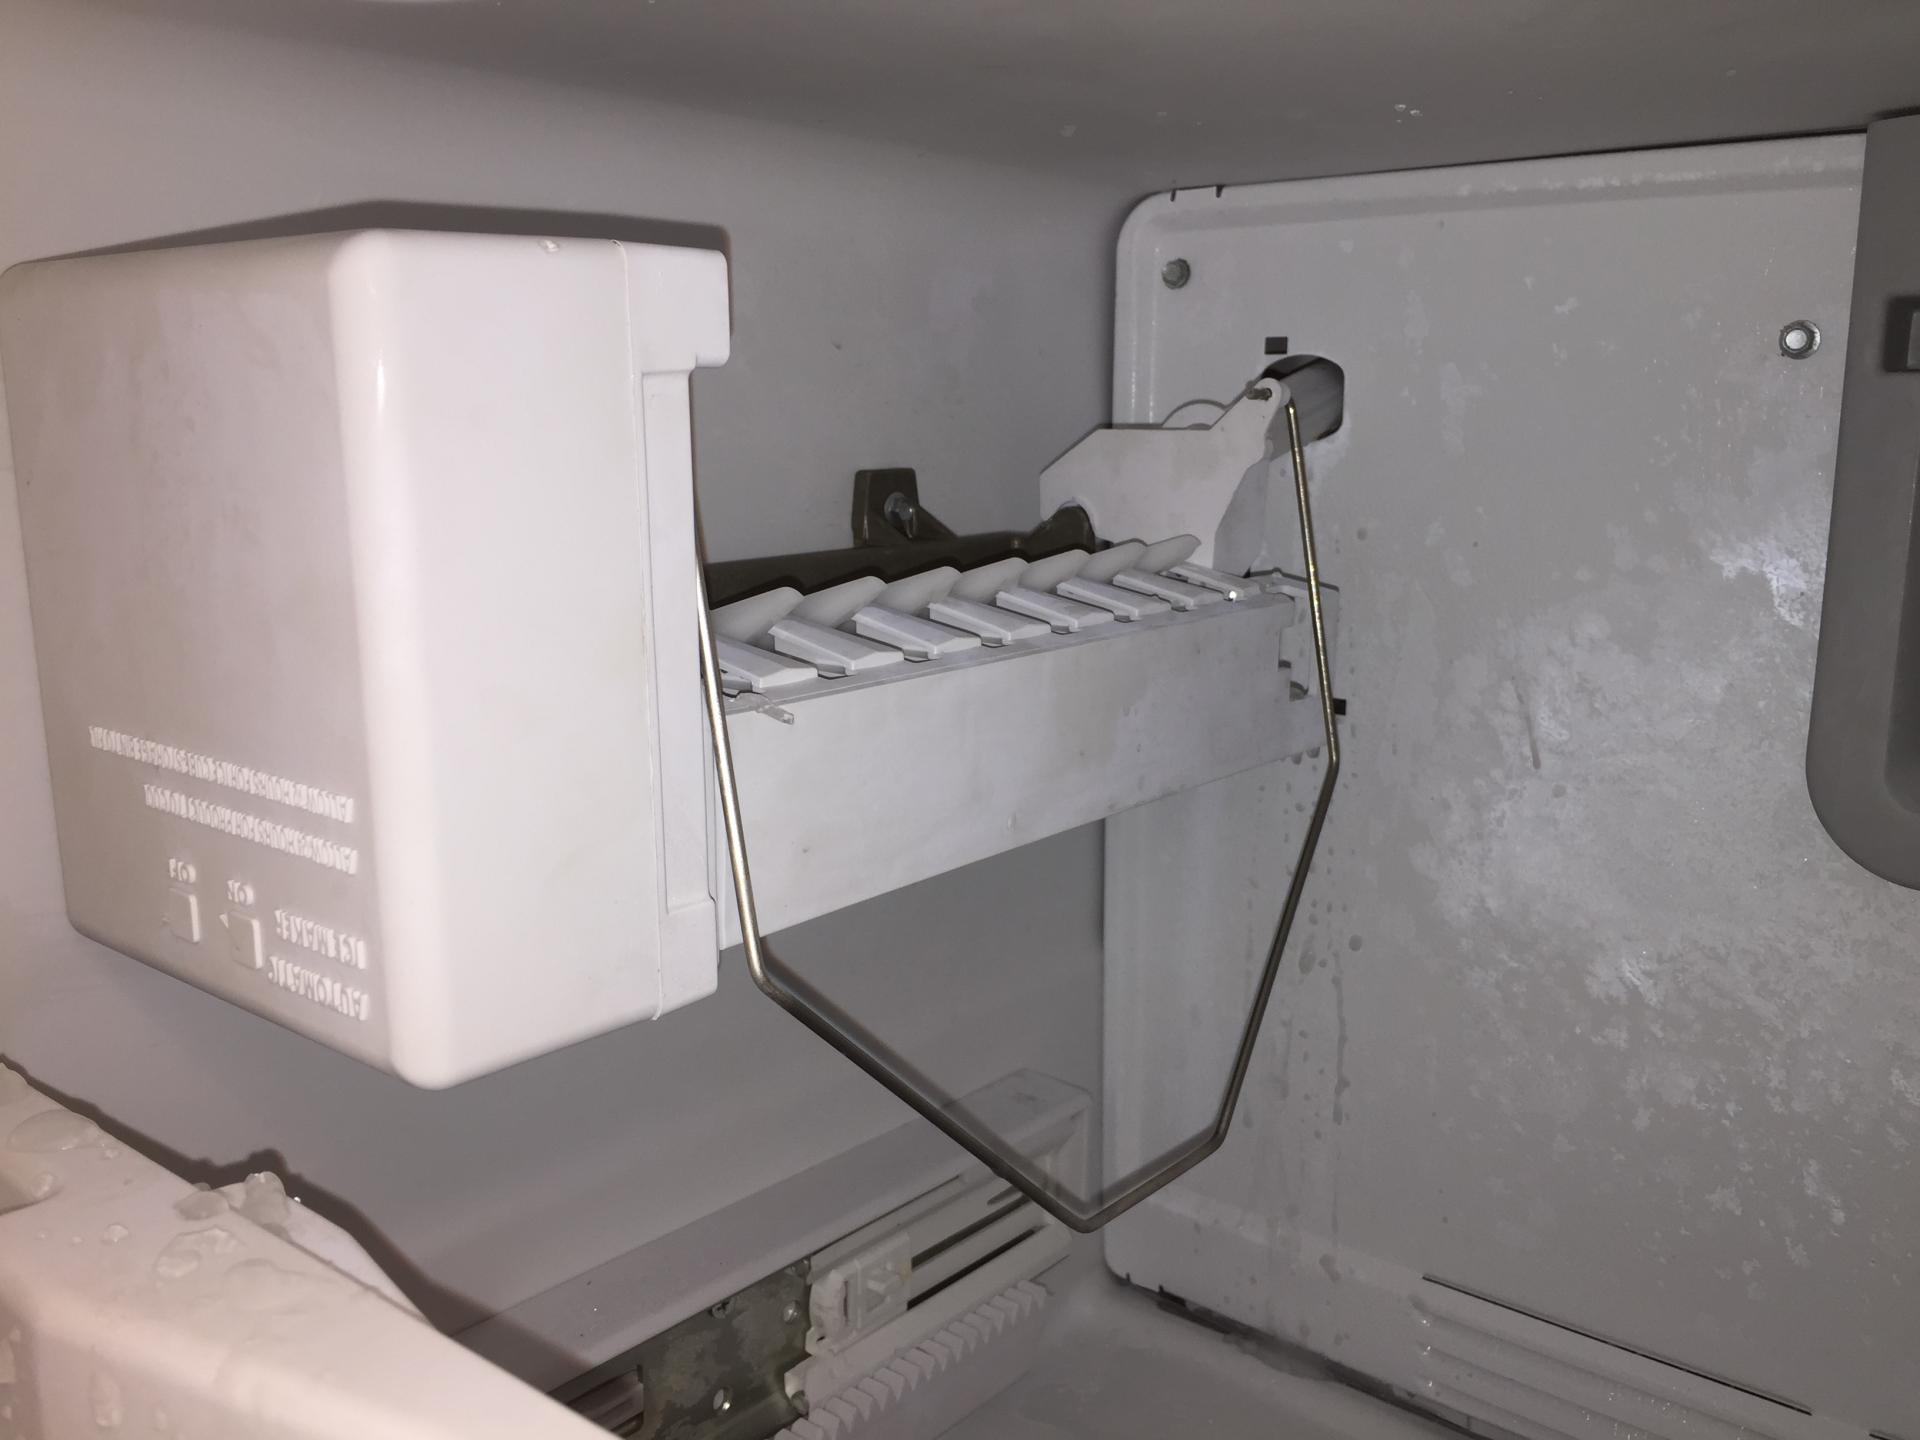
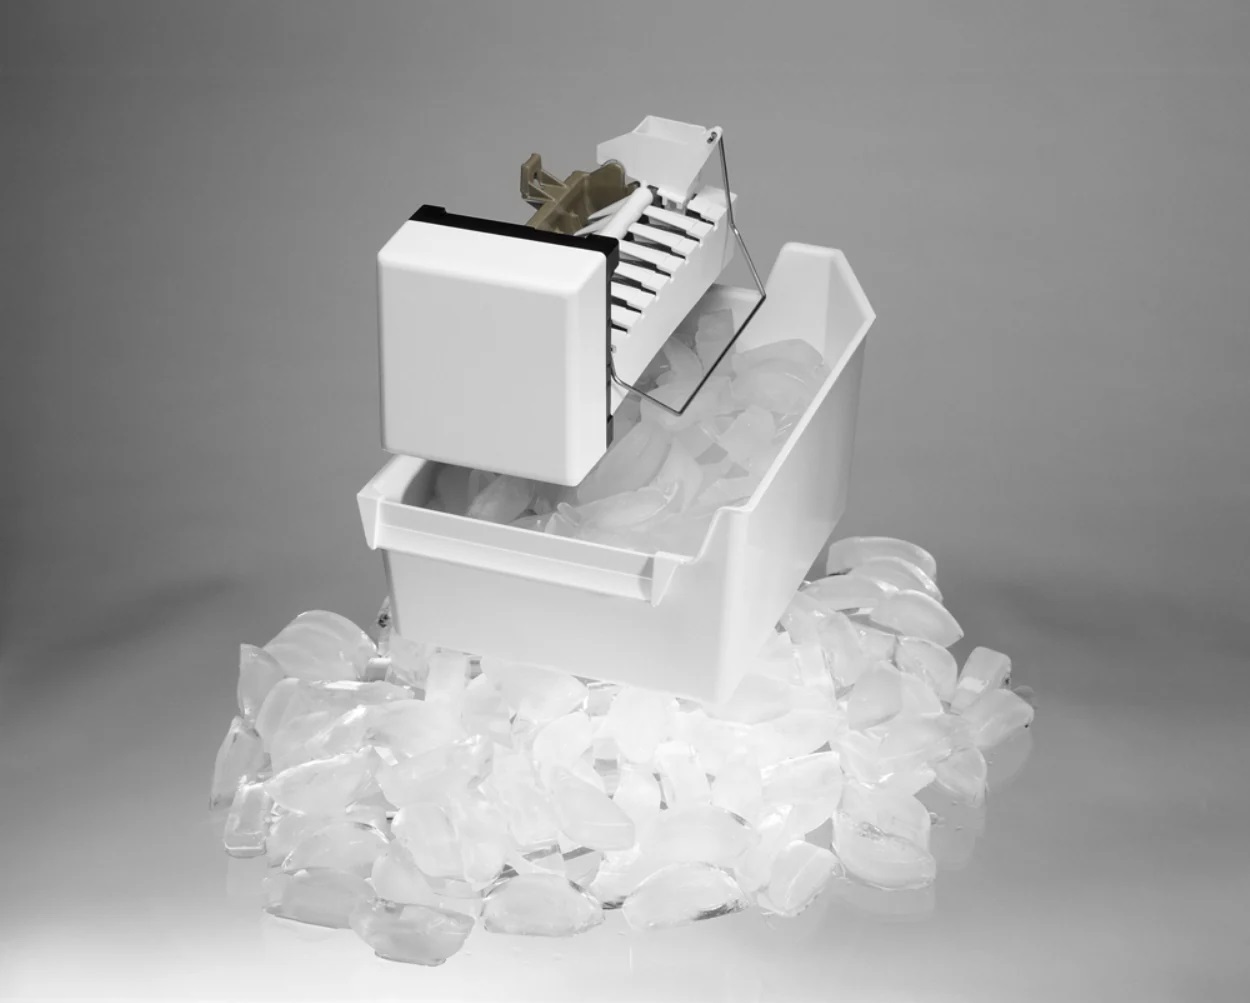
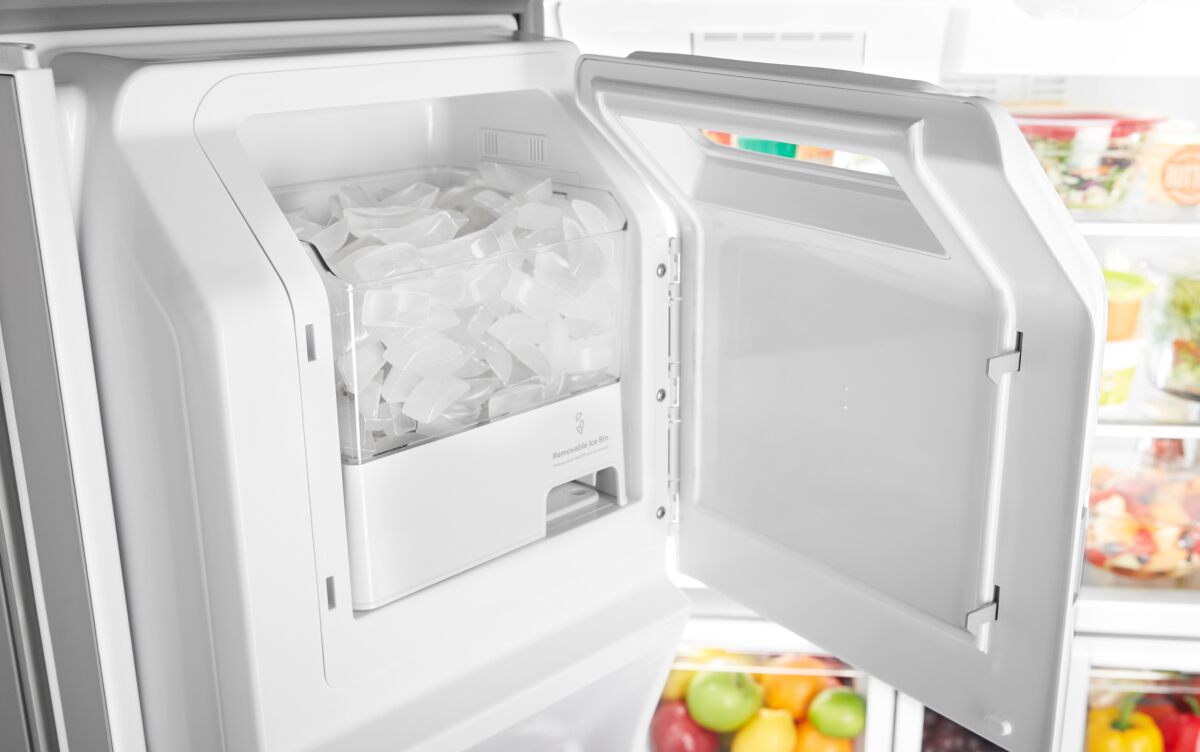
Step 1: Locate the Ice Maker
The first step in turning on the ice maker on your Whirlpool refrigerator is to locate its position. The ice maker is typically located in the freezer compartment of the refrigerator. The exact location may vary depending on the model of your refrigerator, but it is commonly found on the upper left side or the back wall of the freezer.
To locate the ice maker, follow these steps:
- Open the freezer door.
- Check the upper left side or the back wall of the freezer for a rectangular or square-shaped unit.
- Look for a control switch or a power button on the ice maker. This switch or button is usually located on the front or side of the unit.
If you still have trouble locating the ice maker, refer to the user manual that came with your refrigerator. It will provide you with specific instructions and illustrations to help you find the ice maker.
Once you have located the ice maker, you can move on to the next step – checking the water supply.
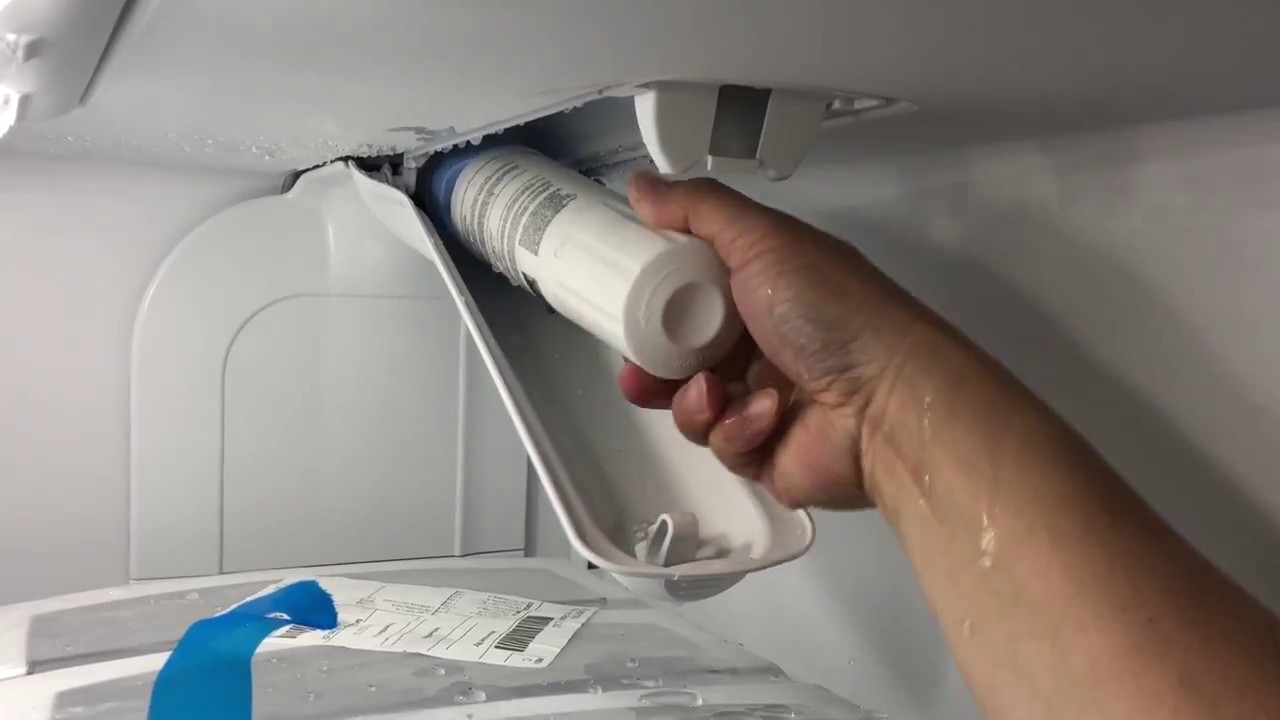
Step 2: Check Water Supply
Before turning on the ice maker, it is essential to ensure that there is a proper water supply available. Without adequate water supply, the ice maker will not be able to produce ice cubes. Here are the steps to check the water supply:
- Locate the water supply line connected to your refrigerator. This line is usually located at the back of the refrigerator.
- Check if the water supply line is properly connected to a water source, such as the main water line in your home or a dedicated water line for the refrigerator.
- Inspect the water supply line for any kinks, twists, or damage. If you find any issues, straighten the line or replace it if necessary.
- Ensure that the water supply valve is fully open. It is usually located near the water source and can be turned on or off by rotating the valve handle.
If you are unsure about the water supply line or valve, refer to the user manual or consult a professional plumber for assistance. It is crucial to have a steady flow of water to the ice maker for proper operation.
After confirming the water supply is in good condition, you can proceed to the next step – turning on the ice maker.
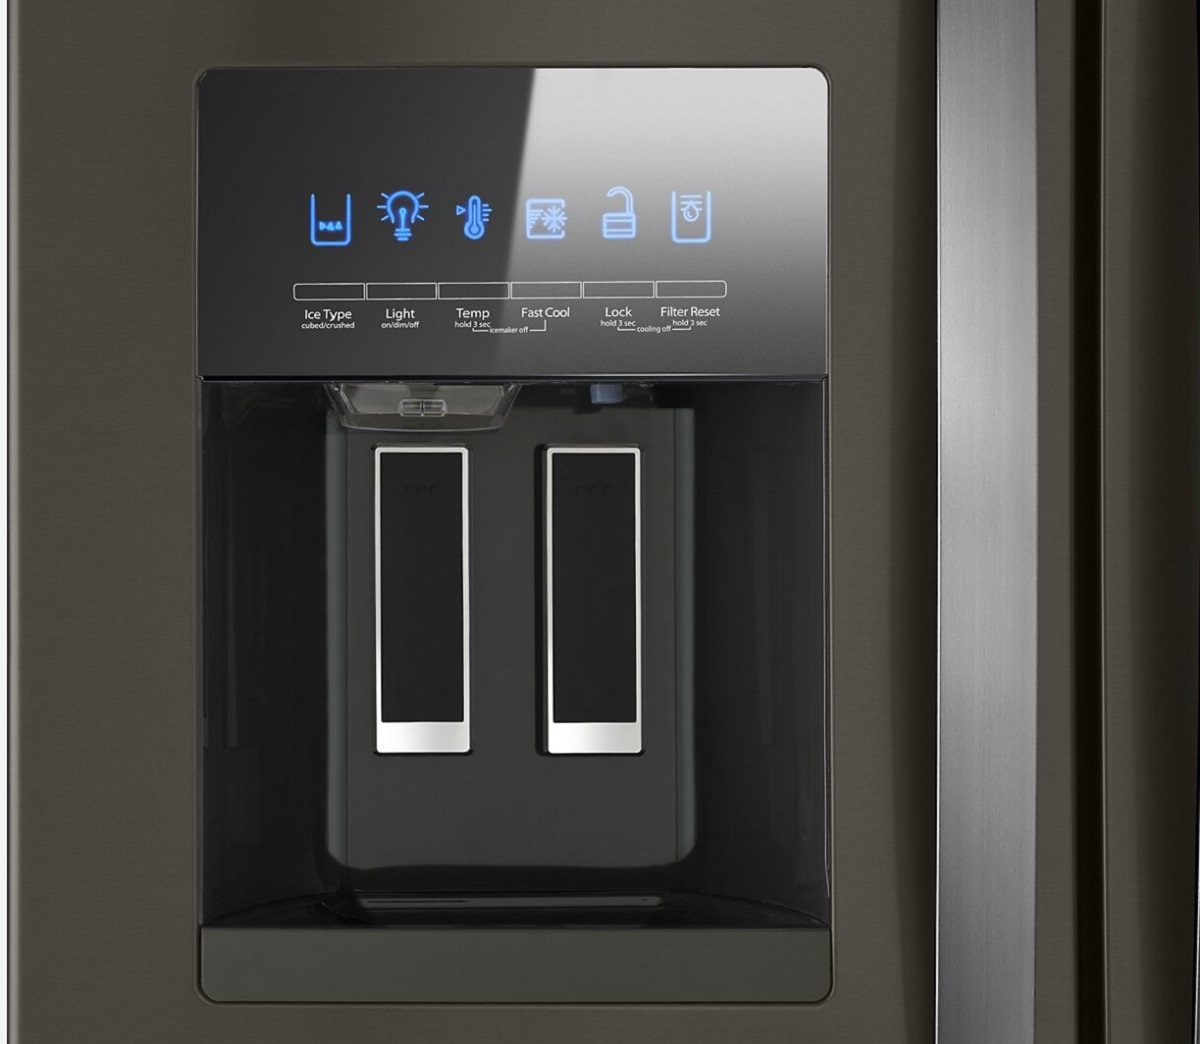
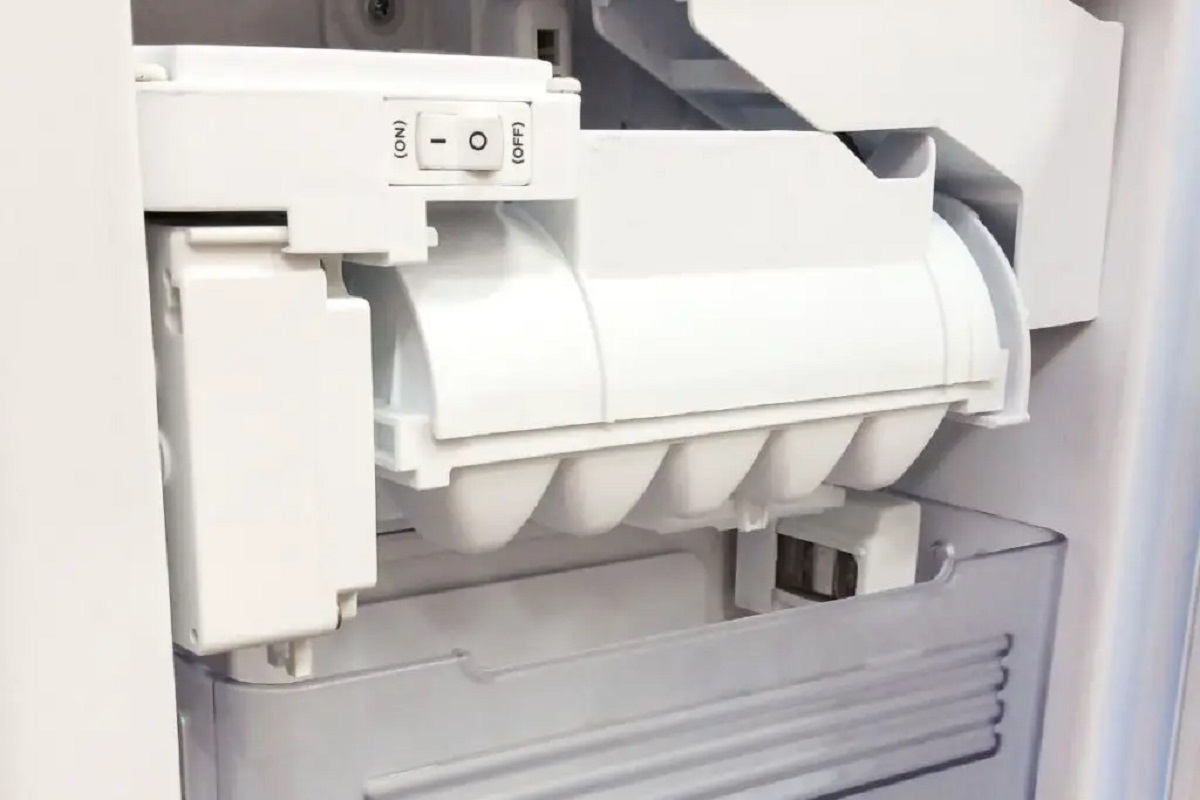
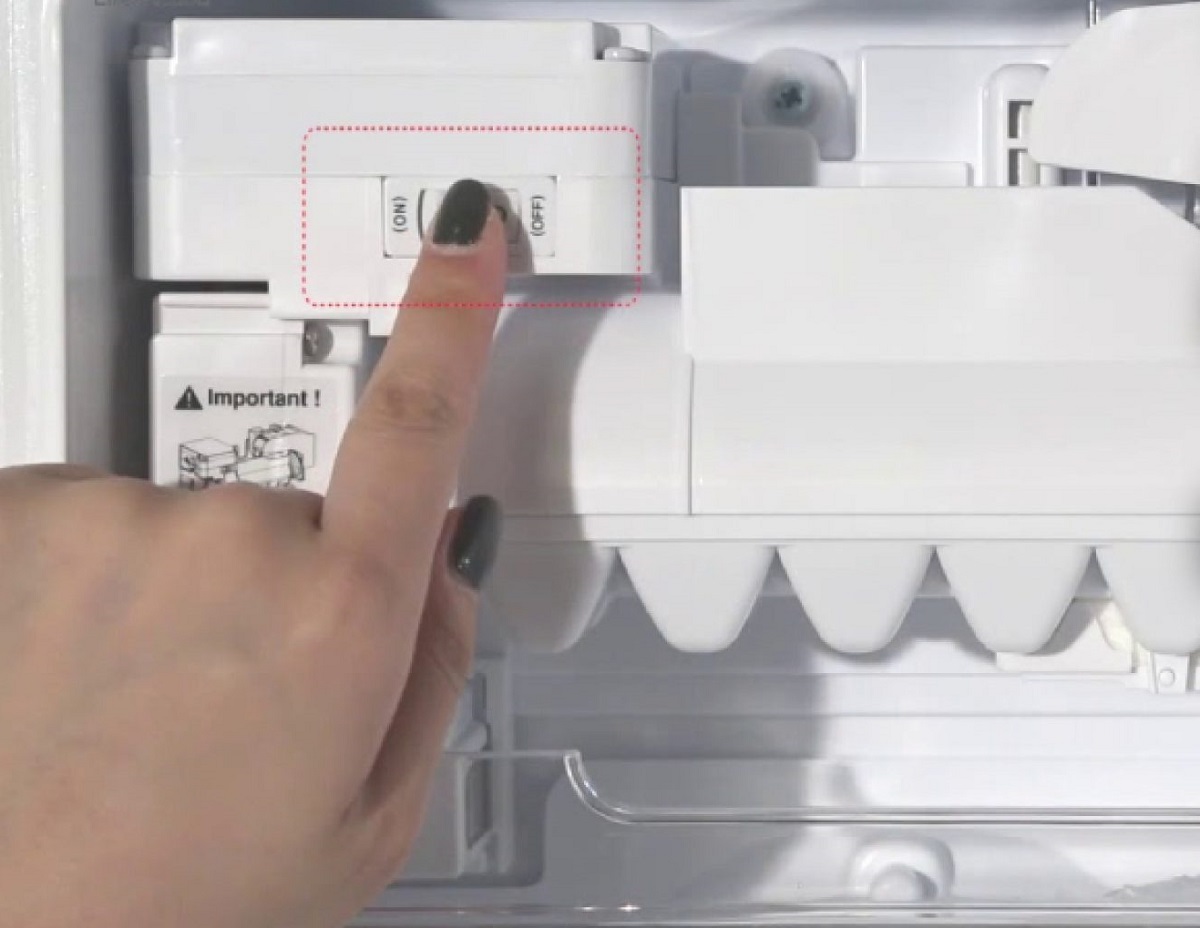
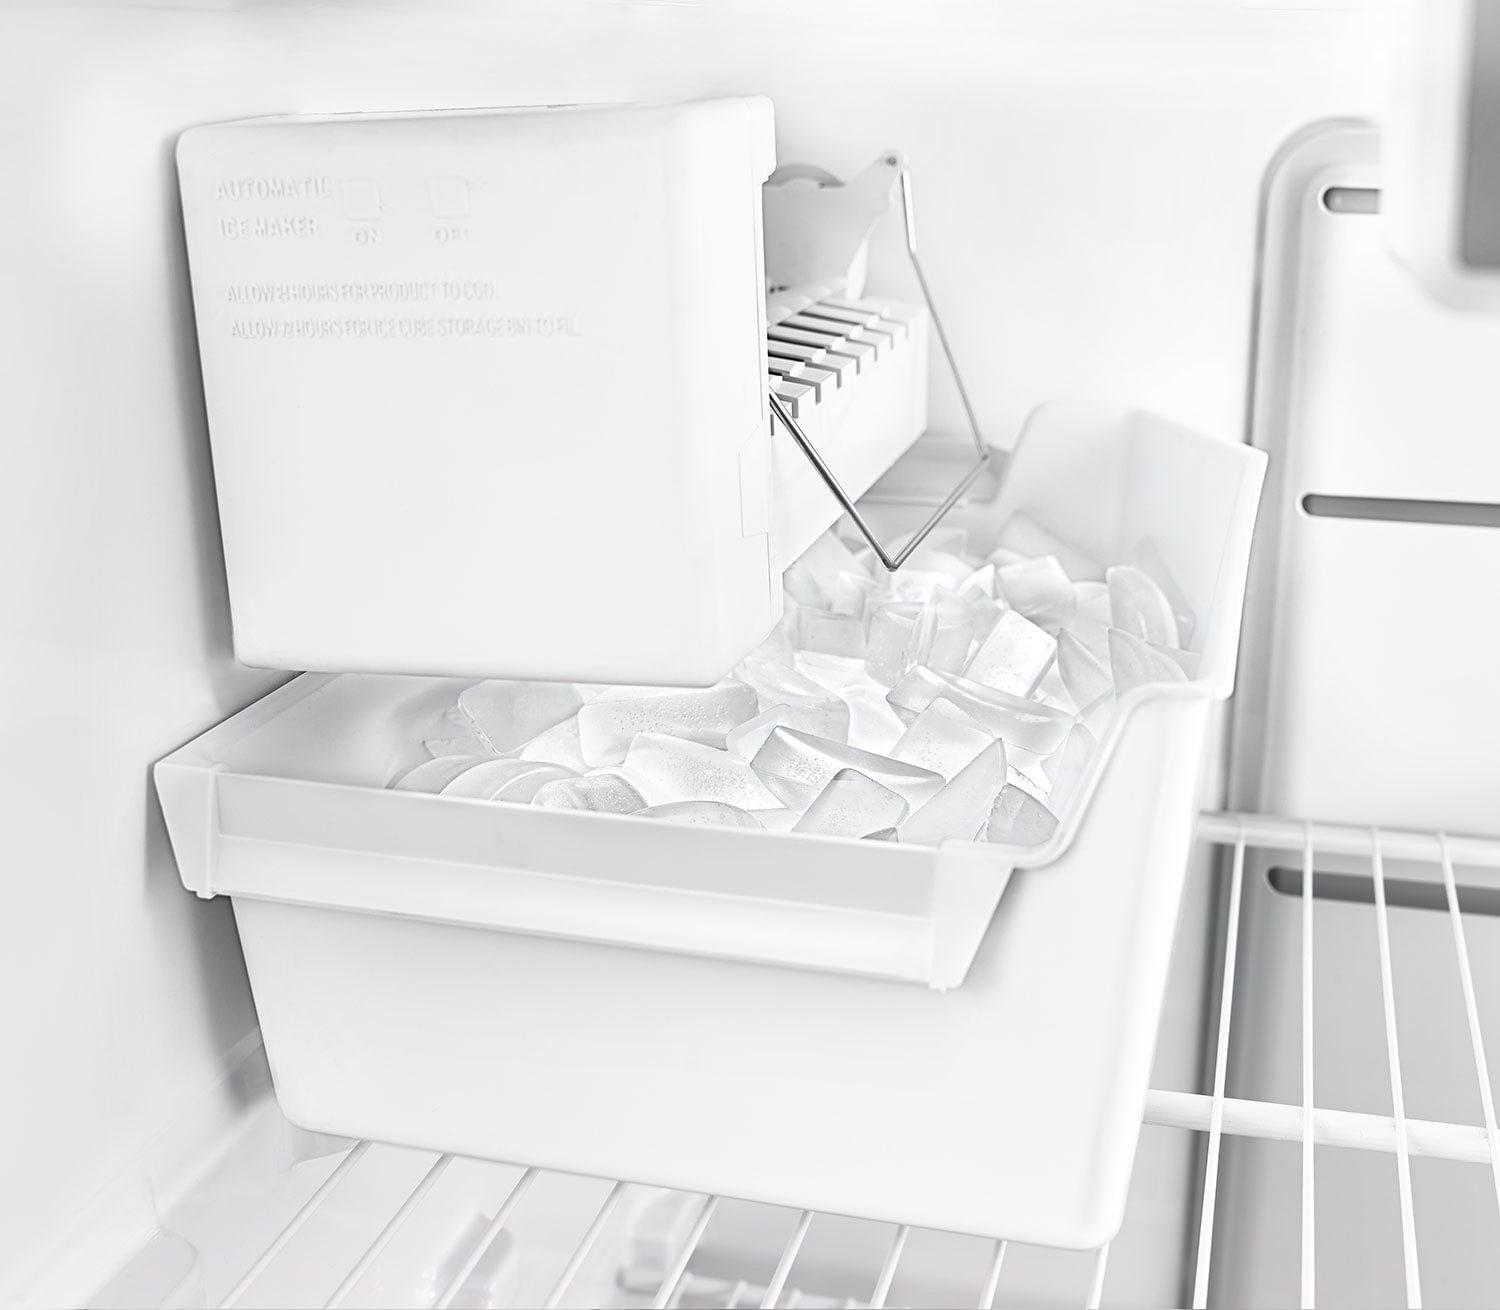
To turn on the ice maker in a Whirlpool refrigerator, locate the power switch on the ice maker and ensure it is in the “on” position. This switch is usually located on the side or front of the ice maker.
Step 3: Turn On the Ice Maker
Now that you have located the ice maker and checked the water supply, it’s time to turn on the ice maker. Here’s how you can do it:
- Locate the power switch or button on the ice maker. It is typically located on the front or side of the unit.
- Make sure the power switch is set to the “On” position. This will activate the ice maker and allow it to start producing ice.
- You may also find an option to select different ice-making modes, such as cubes, crushed ice, or water only. Choose the desired mode if applicable.
Once you have turned on the ice maker, it may take some time for it to begin the ice-making process. Be patient and allow the ice maker to cool down and start producing ice cubes. The exact time it takes can vary depending on the model and temperature settings of your refrigerator.
Now that the ice maker is turned on, we can move on to the next step – testing the ice maker to ensure it is working properly.
Step 4: Test the Ice Maker
After turning on the ice maker on your Whirlpool refrigerator, it is important to test it to ensure proper functionality. Here are the steps to test the ice maker:
- Close the freezer door and wait for the ice maker to cool down. This can take a few hours, so be patient.
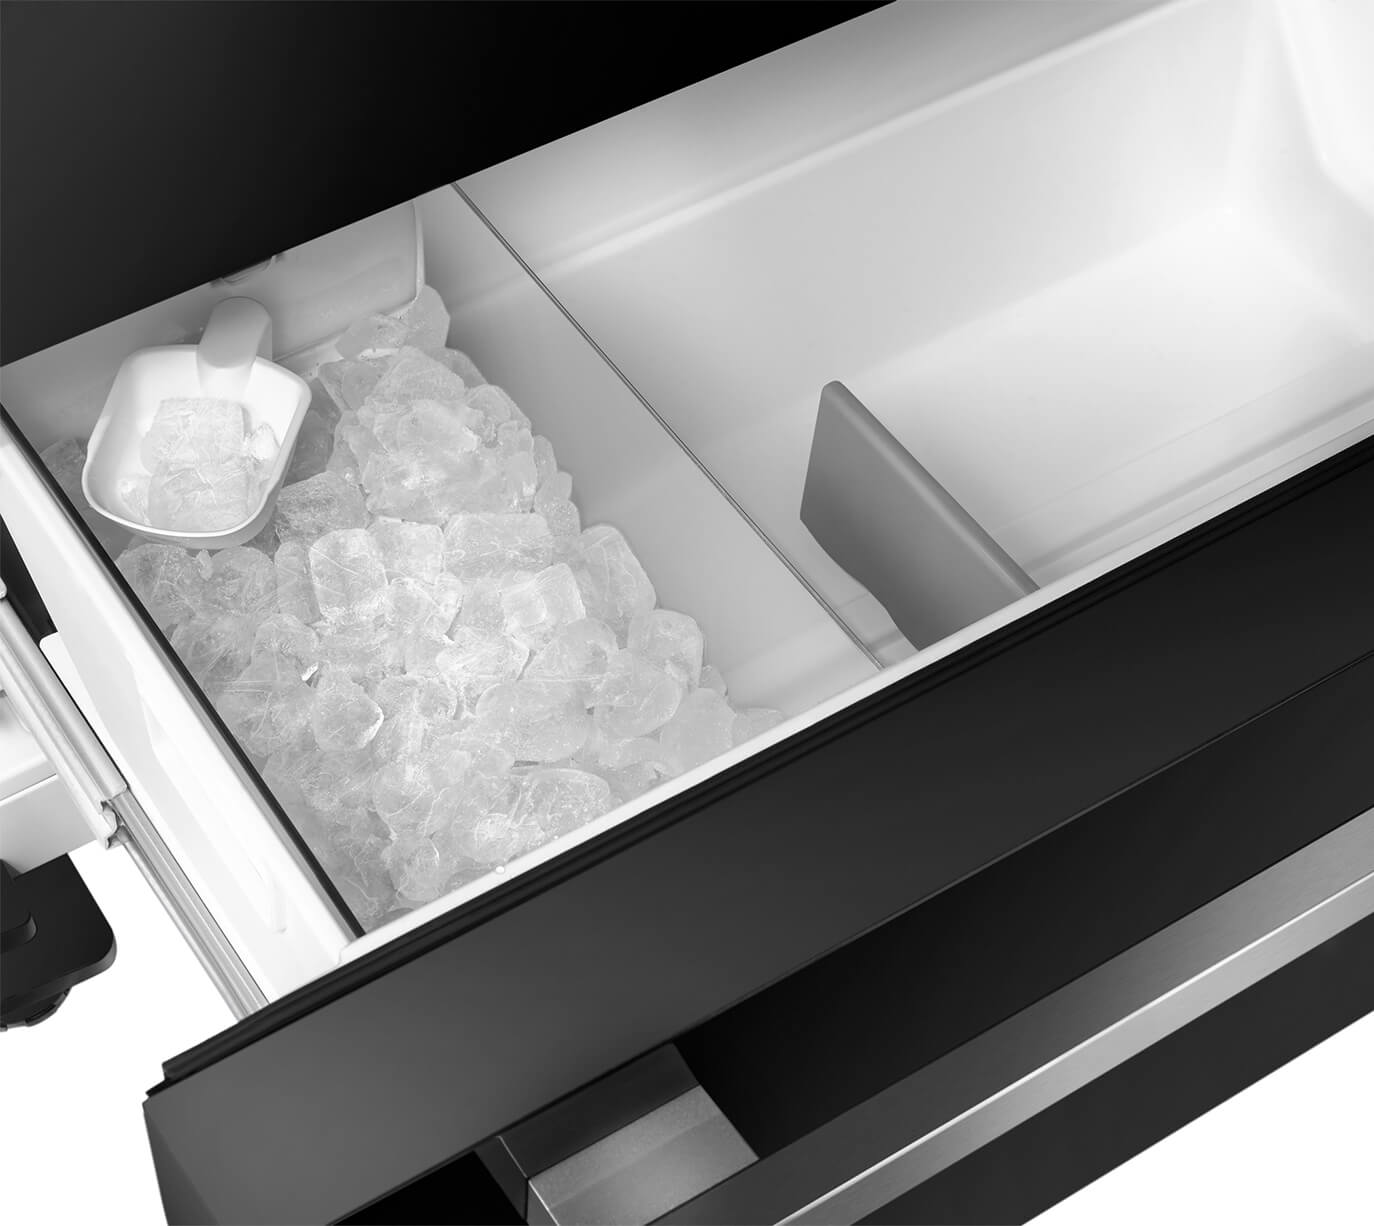
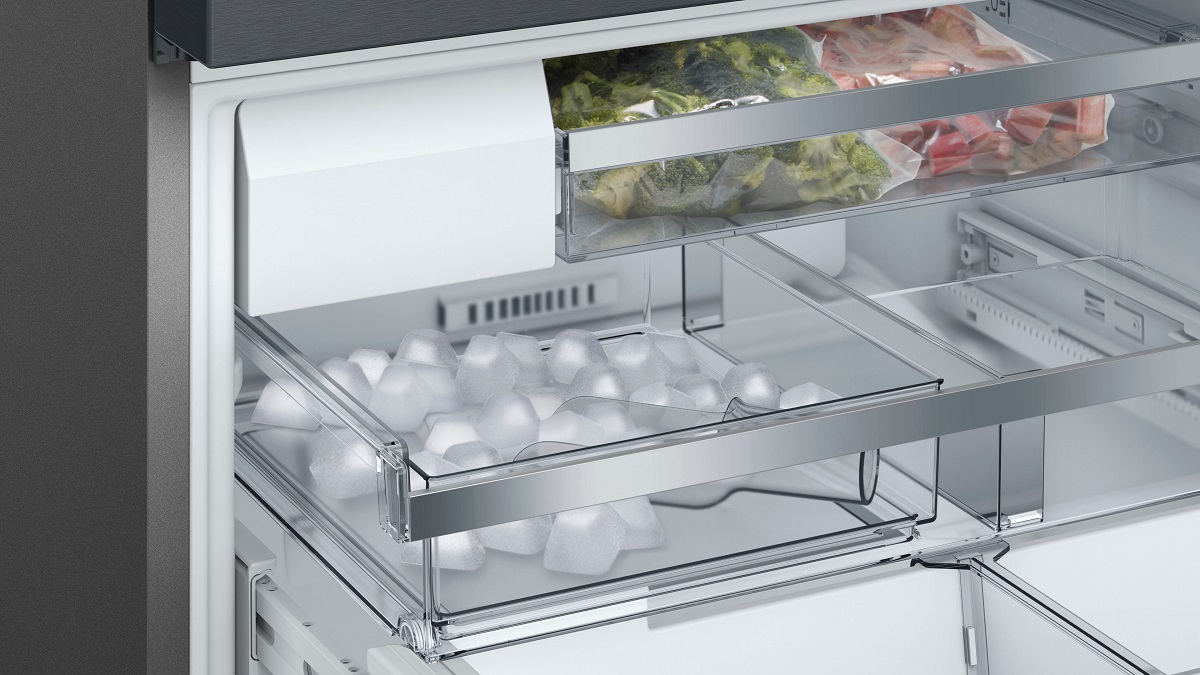
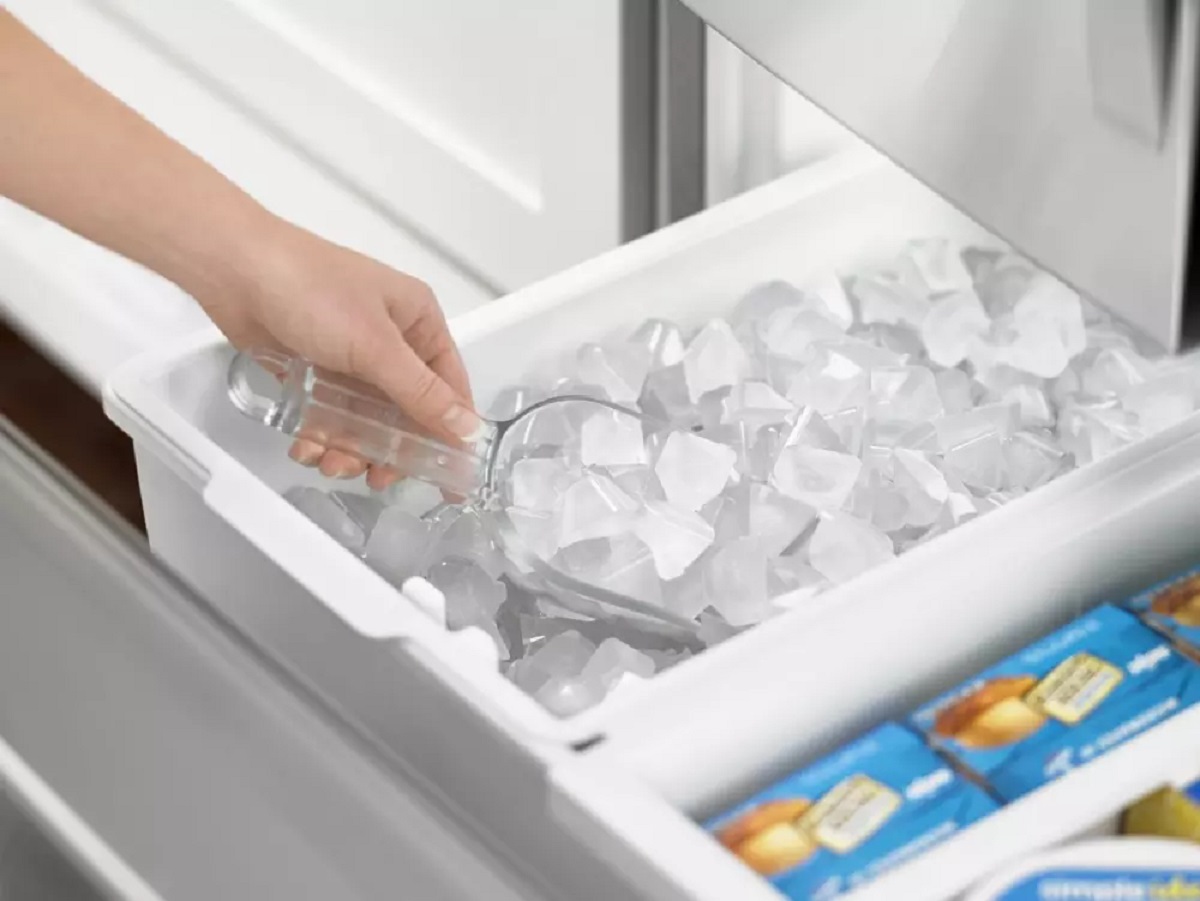
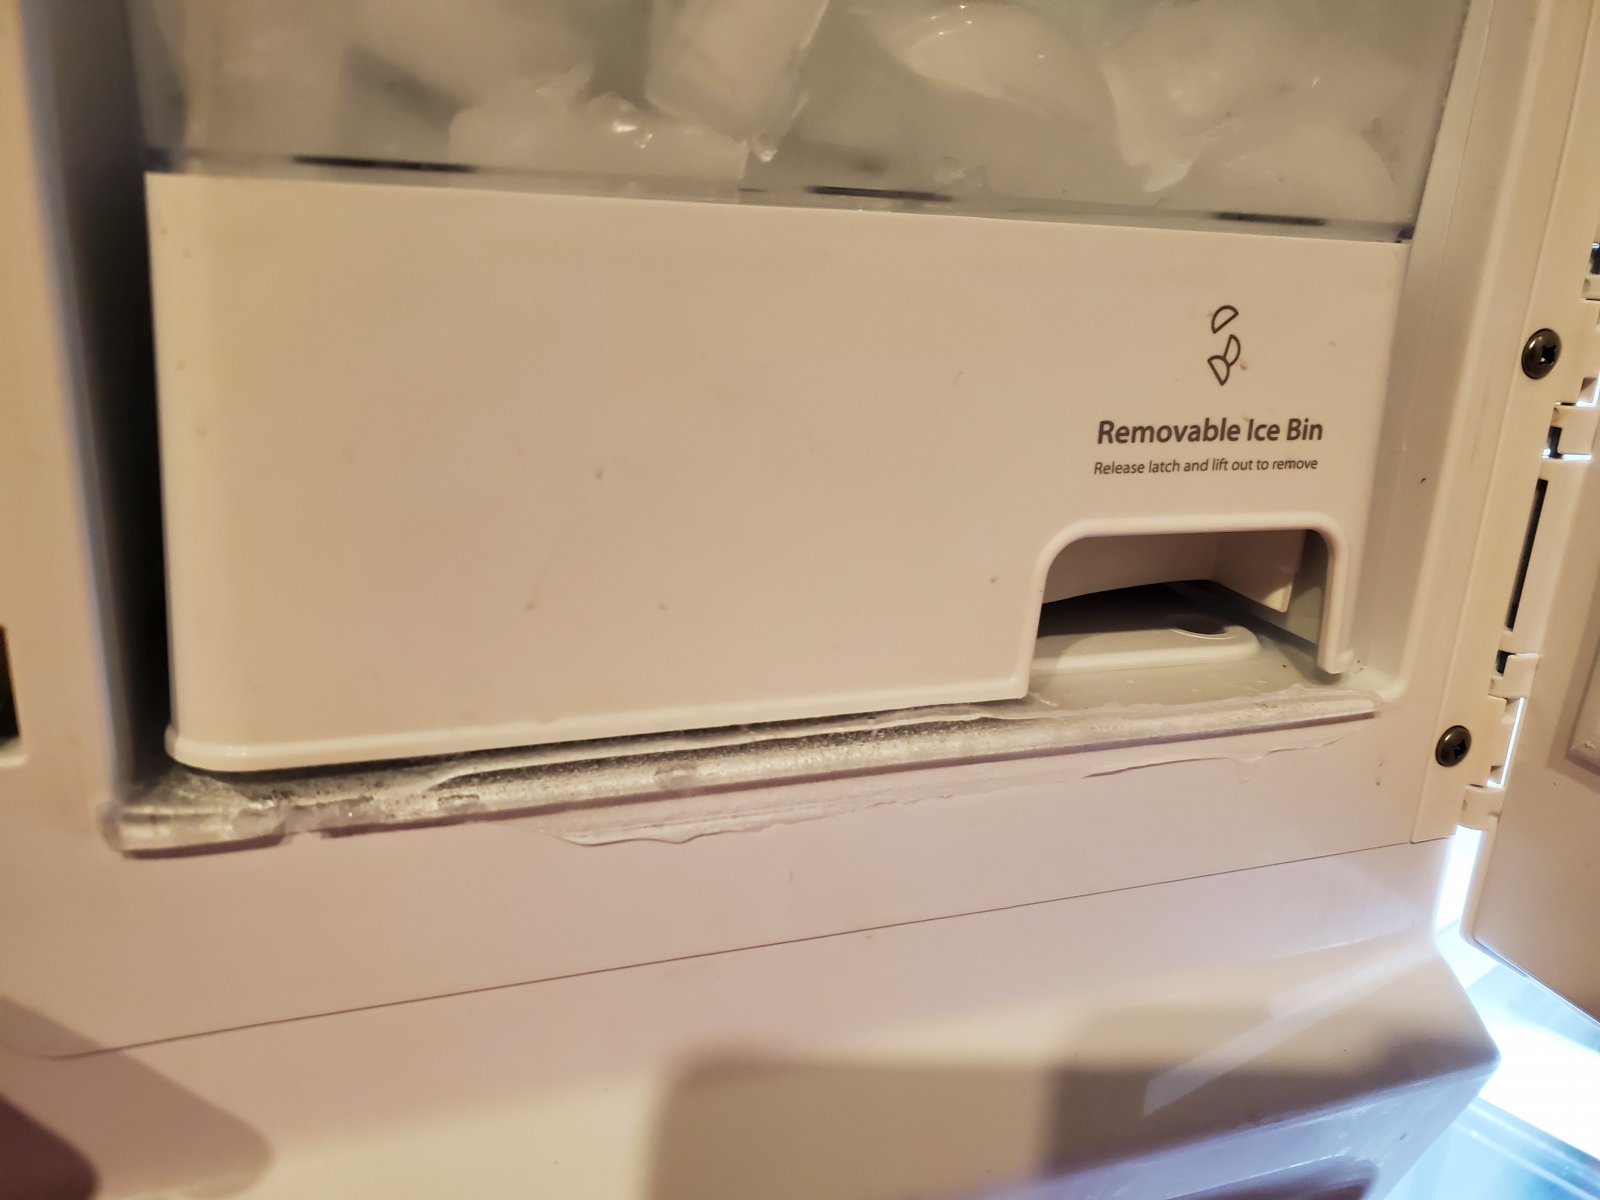
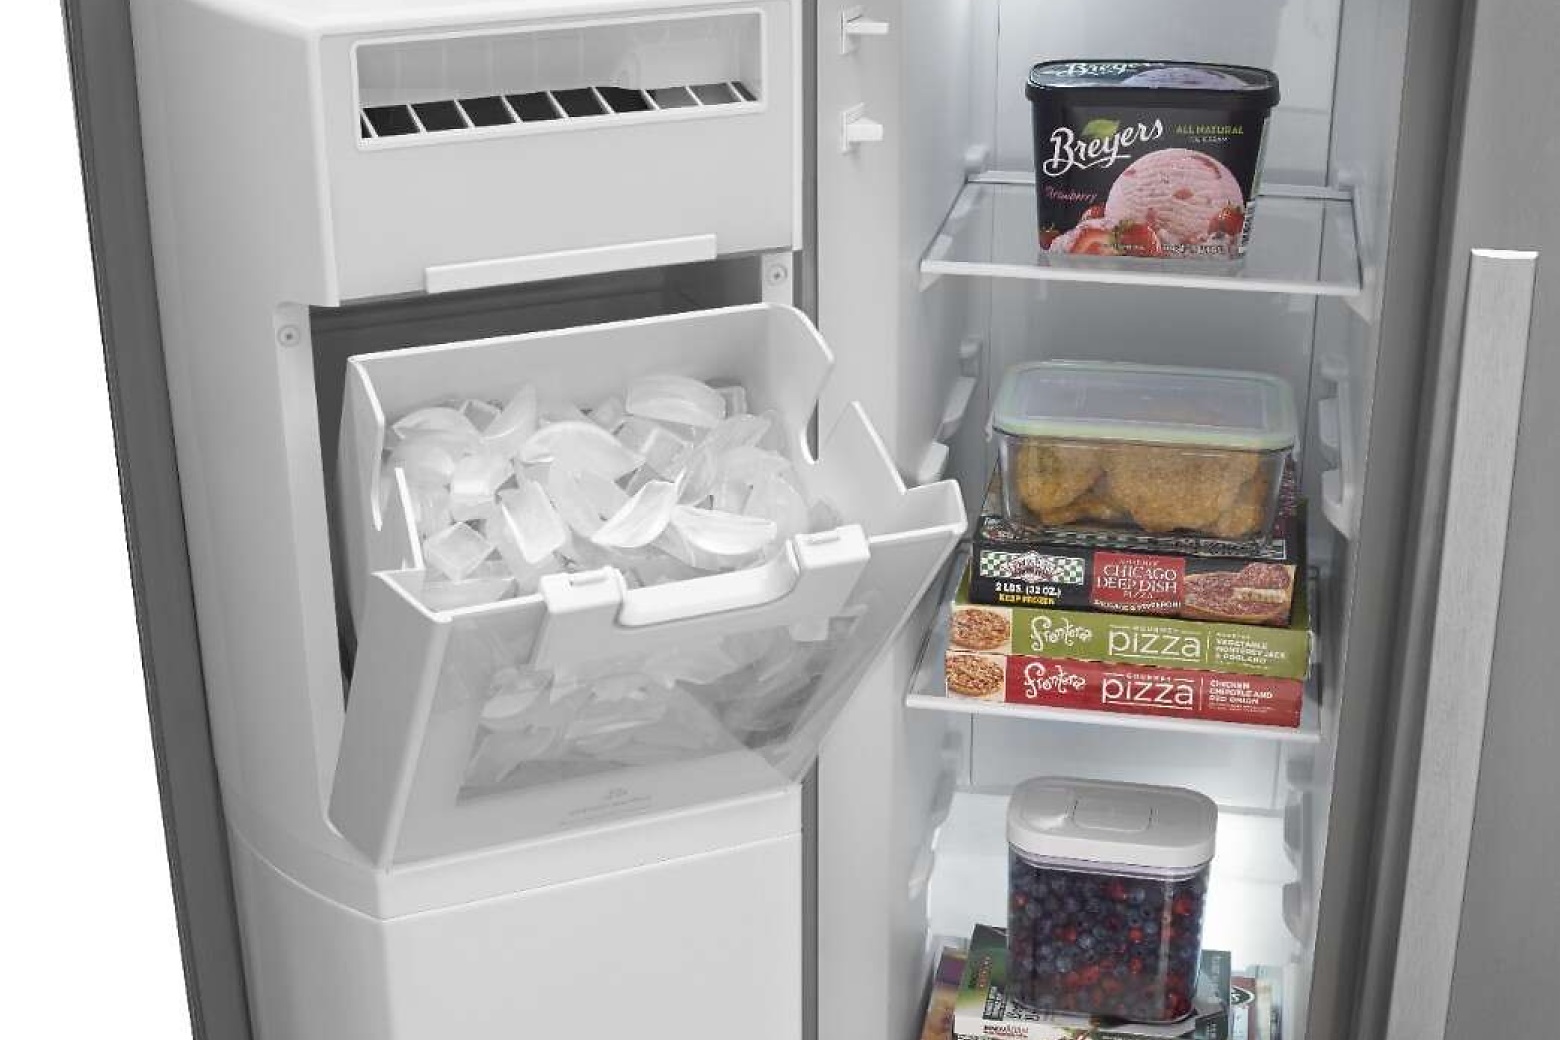
- Once the ice maker has cooled down, open the freezer door and locate the ice bin or tray.
- Check if there are any ice cubes or water inside the ice bin or tray. If the ice maker is working correctly, you should see ice cubes or a layer of ice forming.
- If there are no ice cubes or water, double-check the water supply and make sure it is properly connected and turned on.
- Wait for another few hours and check if ice cubes have formed in the ice bin or tray. If they have, congratulations! Your ice maker is functioning properly.
- If there are still no ice cubes, consult the user manual or contact Whirlpool customer support for further troubleshooting steps.
It is important to note that the time it takes for the ice maker to produce ice cubes can vary depending on factors such as the temperature settings and the size of the ice cubes. If you are unsure about the specific time frame for your refrigerator, refer to the user manual or contact Whirlpool customer support for guidance.
Now that you have tested the ice maker and confirmed it is functioning properly, we can move on to the final step – troubleshooting tips.
Step 5: Troubleshooting Tips
If you encounter any issues with your Whirlpool refrigerator’s ice maker, here are a few troubleshooting tips to help you identify and resolve common problems:
- Check the power supply: Ensure that the refrigerator is properly plugged in and receiving power. If the ice maker is not turning on at all, there may be an issue with the power supply.
- Inspect the water supply line: Check for any kinks, clogs, or leaks in the water supply line. These can disrupt the flow of water to the ice maker. Straighten any kinks, clear any clogs, and tighten any loose connections.
- Verify the water pressure: Inadequate water pressure can affect the ice maker’s performance. Make sure the water pressure from the supply line is sufficient for the ice maker to function properly. Consult a plumber if you suspect low water pressure.
- Reset the ice maker: Some Whirlpool refrigerator models have a reset button on the ice maker itself. Press and hold the reset button for a few seconds to reset the ice maker. Refer to the user manual for specific instructions on resetting your model.
- Check the temperature settings: Ensure that the freezer temperature is set to the recommended level for ice production. If the freezer is too warm, it can hinder ice production. Adjust the temperature settings accordingly.
- Clean the ice maker: Over time, mineral deposits and other debris can accumulate in the ice maker, affecting its performance. Clean the ice maker regularly using a mixture of mild soap and warm water. Avoid using harsh chemicals or abrasive materials that could damage the ice maker.
- Contact customer support: If you have followed the troubleshooting steps and are still experiencing issues with your ice maker, it is advisable to contact Whirlpool customer support. They can provide further guidance or arrange for a service technician to assist you.
By following these troubleshooting tips, you can often resolve minor issues with the ice maker on your Whirlpool refrigerator. However, if you are unsure or uncomfortable troubleshooting the problem yourself, it is recommended to seek professional assistance.
Now that we have covered the troubleshooting tips, let’s conclude our guide on how to turn on the ice maker on your Whirlpool refrigerator.
Conclusion
Congratulations! You have successfully learned how to turn on the ice maker on your Whirlpool refrigerator. By following the step-by-step guide and taking the necessary precautions, you can now enjoy the convenience of having a functioning ice maker in your home.
Remember, safety should always be your top priority when working with any electrical appliance. Take precautionary measures, such as unplugging the refrigerator and wearing protective gloves and goggles, to ensure a safe working environment.
We started by introducing the importance of having an ice maker and the reasons why you may need to turn it on. Then, we discussed essential safety precautions to follow throughout the process. Gathering the required tools beforehand ensures a smooth and hassle-free experience.
We then outlined the steps to locate the ice maker, check the water supply, and turn on the ice maker. Testing the ice maker to confirm its proper functionality is crucial to ensure a steady production of ice cubes. In addition, we provided troubleshooting tips to help you address any issues that may arise.
If you encounter any difficulties or are unsure about a specific step, always refer to the user manual provided by Whirlpool or seek assistance from their customer support. They will be able to provide you with the necessary guidance and support to resolve any problems.
Thank you for reading our guide on how to turn on the ice maker on your Whirlpool refrigerator. We hope this article has been helpful in enabling you to enjoy the convenience of having freshly made ice whenever you need it. Cheers to refreshing drinks and cool summers!
Frequently Asked Questions about How To Turn On Ice Maker Whirlpool
Was this page helpful?
At Storables.com, we guarantee accurate and reliable information. Our content, validated by Expert Board Contributors, is crafted following stringent Editorial Policies. We're committed to providing you with well-researched, expert-backed insights for all your informational needs.
0 thoughts on “How To Turn On Ice Maker Whirlpool”