Articles
How To Change A Water Pump On A Chevy Truck
Modified: August 31, 2024
Learn how to change the water pump on a Chevy truck with our informative articles. Get step-by-step instructions and expert tips to maintain your vehicle's performance.
(Many of the links in this article redirect to a specific reviewed product. Your purchase of these products through affiliate links helps to generate commission for Storables.com, at no extra cost. Learn more)
Introduction
The water pump plays a crucial role in the cooling system of your Chevy truck. Responsible for circulating coolant throughout the engine, a properly functioning water pump ensures that the engine stays at the optimal operating temperature.
Over time, however, the water pump can wear out or develop leaks, leading to engine overheating and potential damage. When this happens, it’s important to replace the water pump to maintain the performance and longevity of your truck.
In this article, we will guide you through the step-by-step process of changing the water pump on your Chevy truck. By following these instructions and using the right tools, you can successfully replace the water pump and have your truck running smoothly again in no time.
Before we dive into the detailed steps, let’s take a moment to gather all the necessary tools and materials you will need for this project.
Key Takeaways:
- Proper preparation, including gathering necessary tools and draining coolant, is crucial for a successful water pump replacement on a Chevy truck. Attention to detail during installation and thorough testing ensures optimal engine cooling.
- Thorough testing of the new water pump, including observing temperature gauge, listening for unusual noises, and checking for leaks, is essential for ensuring the proper functioning and longevity of the cooling system in a Chevy truck.
Step 1: Gather the necessary tools and materials
Before you start replacing the water pump on your Chevy truck, it’s important to gather all the tools and materials you’ll need. Having everything ready beforehand will make the process smoother and more efficient.
Here’s a list of the tools and materials you’ll need:
- Socket set
- Ratchet
- Torque wrench
- Screwdriver (flathead and Phillips)
- Plastic scraper or putty knife
- Drain pan
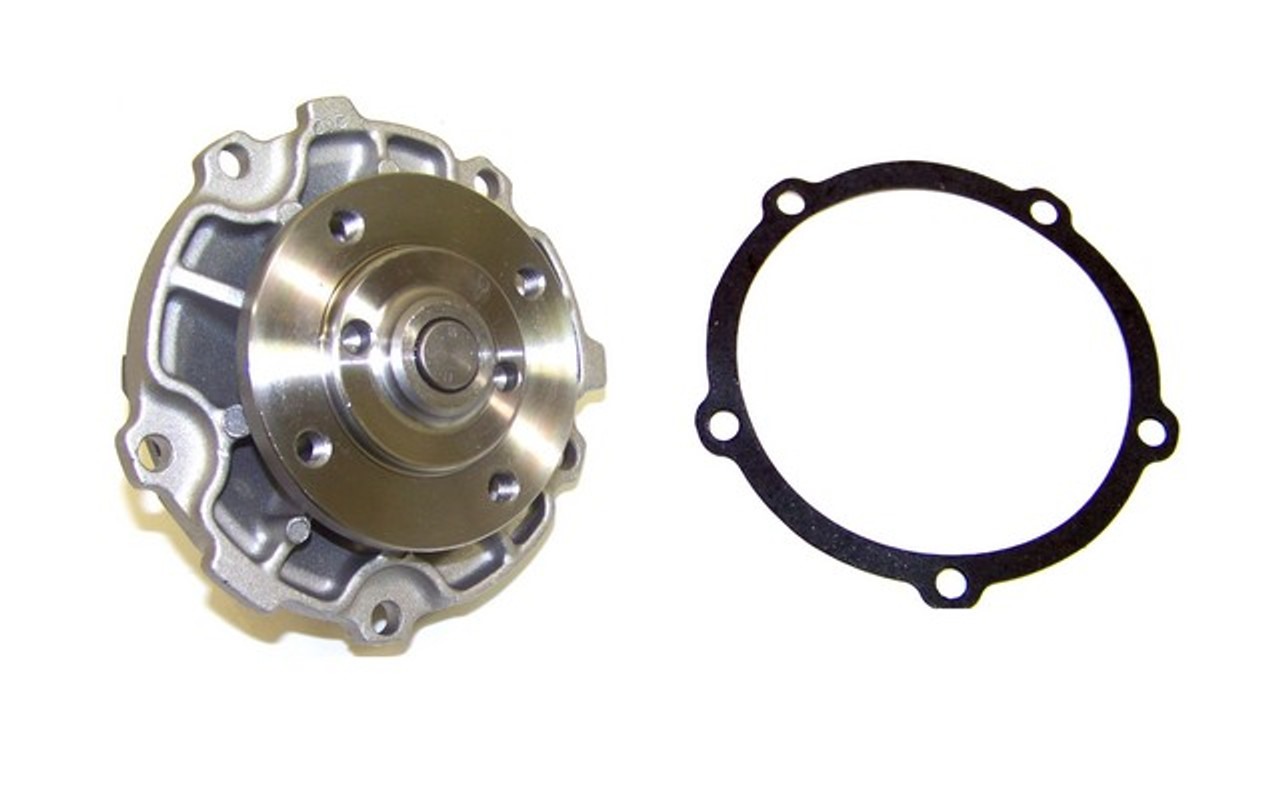
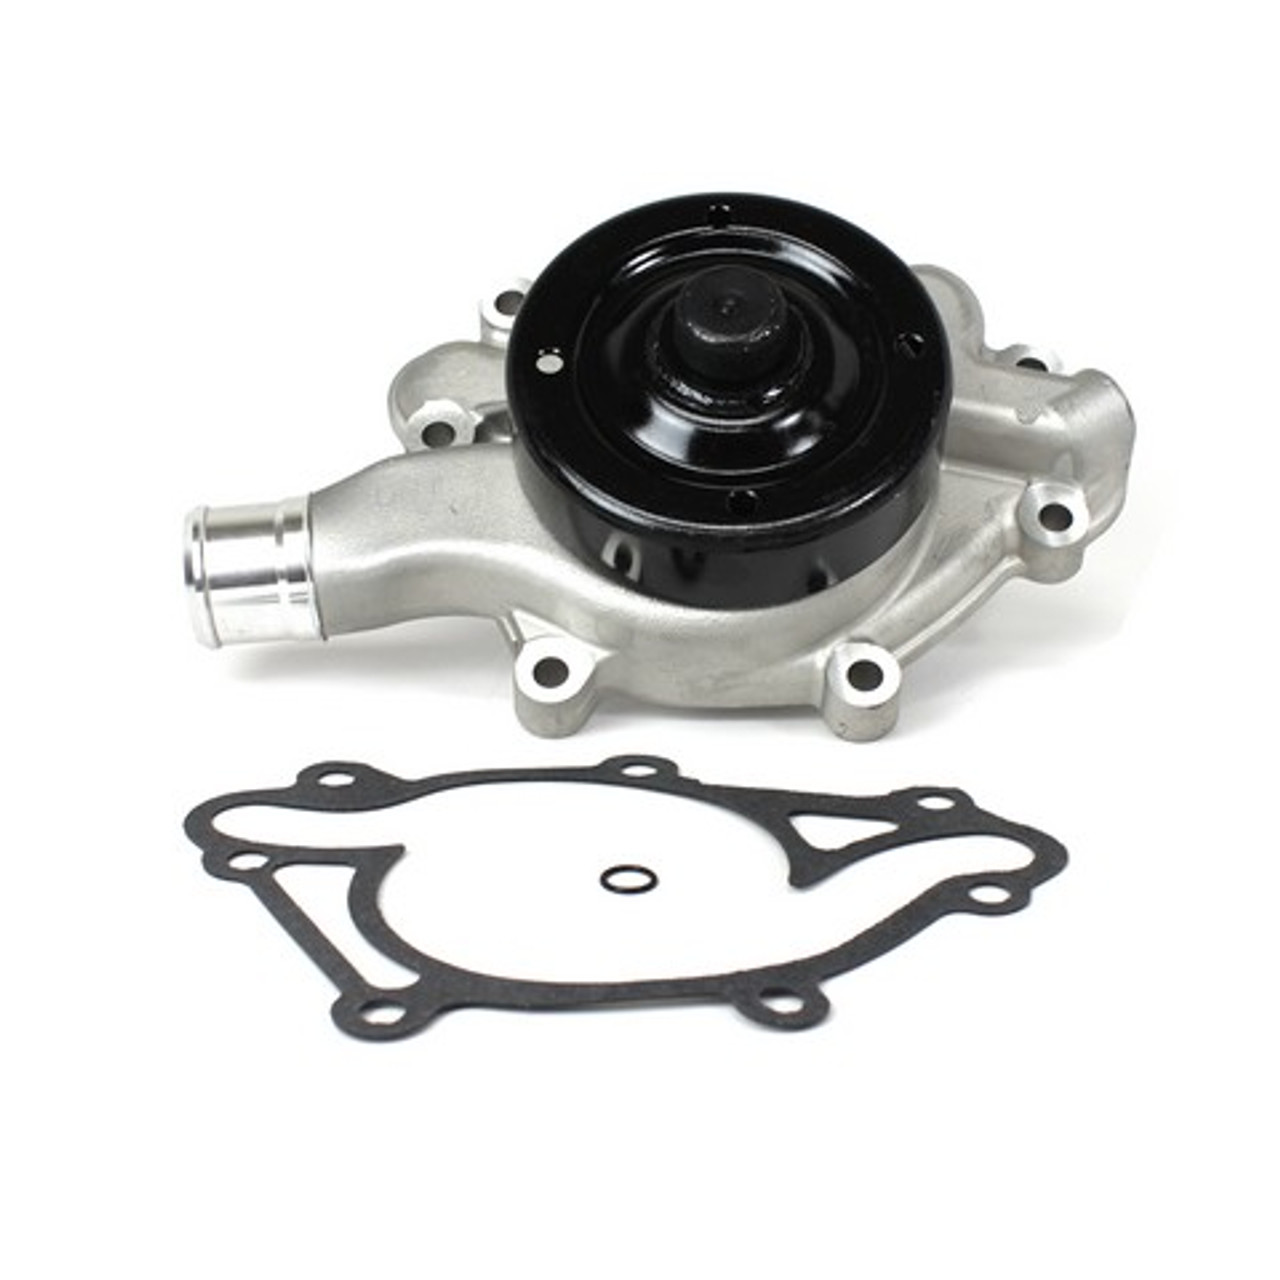
- New water pump
- New gasket or O-ring
- Antifreeze/coolant
- Clean rags or towels
Make sure you have all the necessary tools and materials ready before you start the water pump replacement process. This will save you time and prevent any interruptions during the project.
Once you have everything gathered, you’re ready to move on to the next step. Prepare your truck for the water pump replacement process.
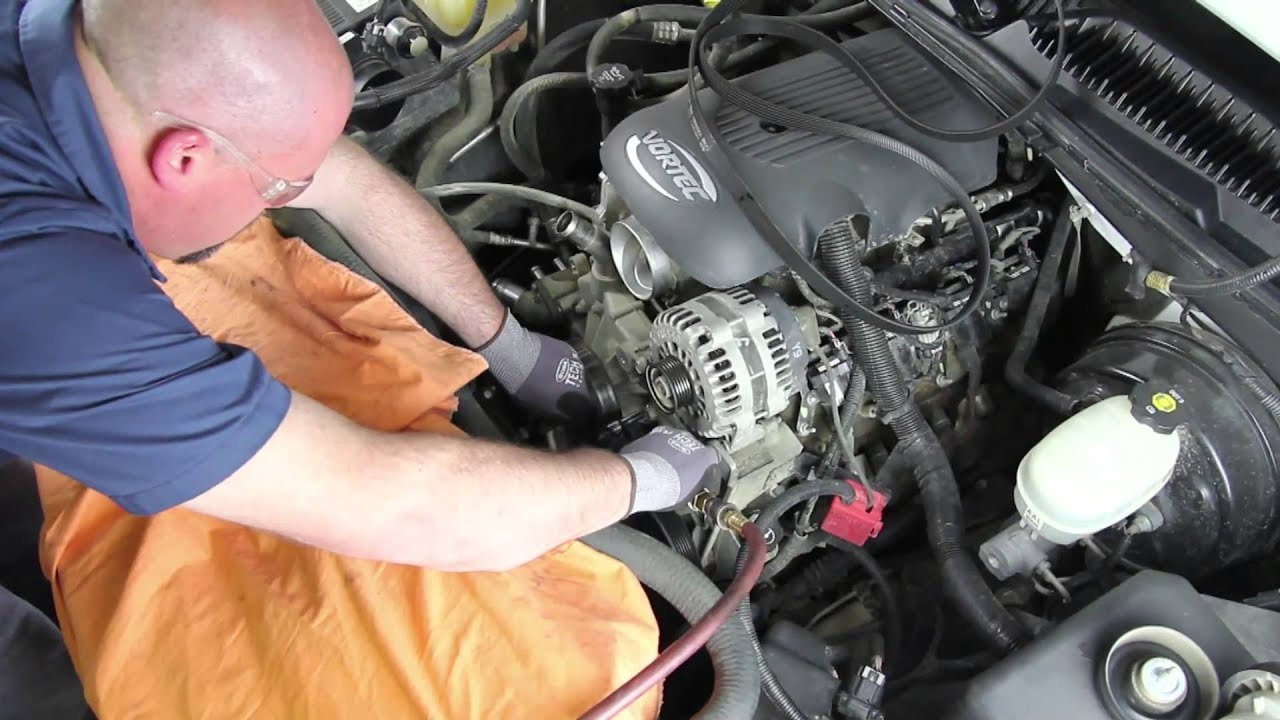
Step 2: Prepare the truck for water pump replacement
Before you can start removing the old water pump, you need to prepare your Chevy truck for the replacement process. This involves draining the coolant from the system and accessing the water pump assembly.
Here’s what you need to do:
- Ensure that your truck is parked on a level surface and the engine is cool.
- Place a drain pan underneath the radiator drain plug to catch the coolant.
- Locate the radiator drain plug, usually located at the bottom of the radiator. Use a socket or wrench to loosen the plug and allow the coolant to drain into the pan.
- Once the coolant is drained, tighten the radiator drain plug securely.
- Next, locate and remove any components that may be obstructing access to the water pump. This may include the fan shroud, belts, hoses, or other engine components. Refer to your truck’s service manual for specific instructions on removing these components.
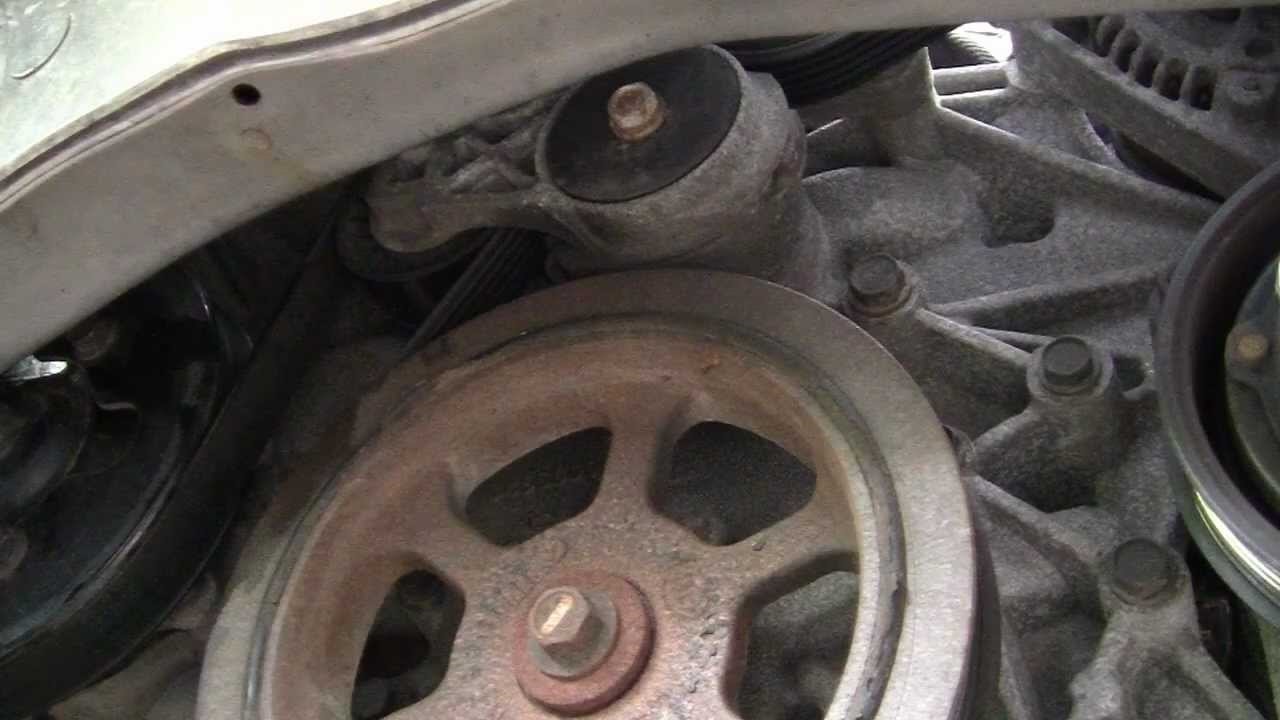
- With the necessary components out of the way, you can now clearly see the water pump and the pulley attached to it.
- Inspect the area around the water pump for any signs of coolant leakage, such as a stained or wet surface. If you notice any leaks, it’s essential to address them to prevent further damage.
By preparing your truck properly, you’ll have better access to the water pump and minimize any potential complications during the replacement process. With the truck prepared, you’re now ready to proceed with removing the old water pump.
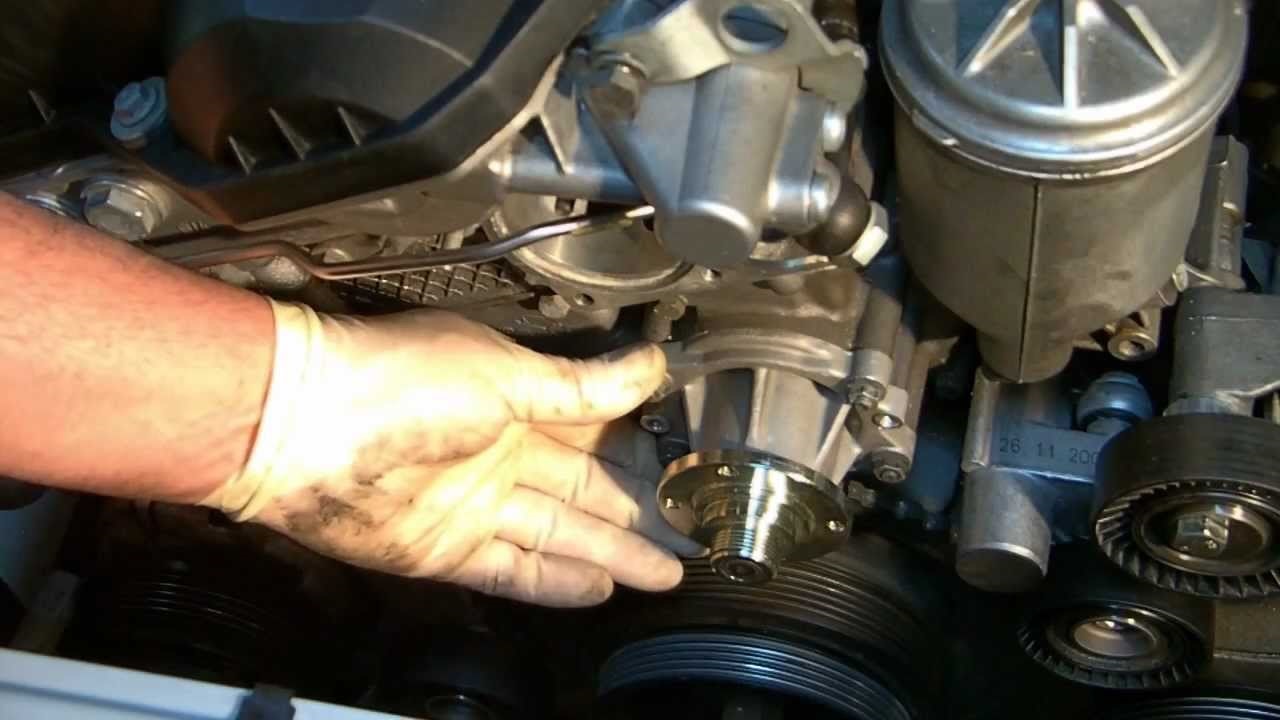
Step 3: Remove the old water pump
Now that the truck is prepared, it’s time to remove the old water pump. Follow these steps carefully to ensure a smooth removal process:
- Start by disconnecting any remaining hoses or lines attached to the water pump. Use a screwdriver or pliers to loosen and remove any clamps or connectors. Be careful not to damage the hoses in the process.
- Once the hoses are detached, locate the bolts securing the water pump to the engine block. They are typically located around the perimeter of the pump. Use a socket or wrench to loosen and remove these bolts.
- With the bolts removed, carefully pull the old water pump away from the engine block. It may be stuck due to the gasket or seal holding it in place. Use a plastic scraper or putty knife to gently pry it loose if necessary.
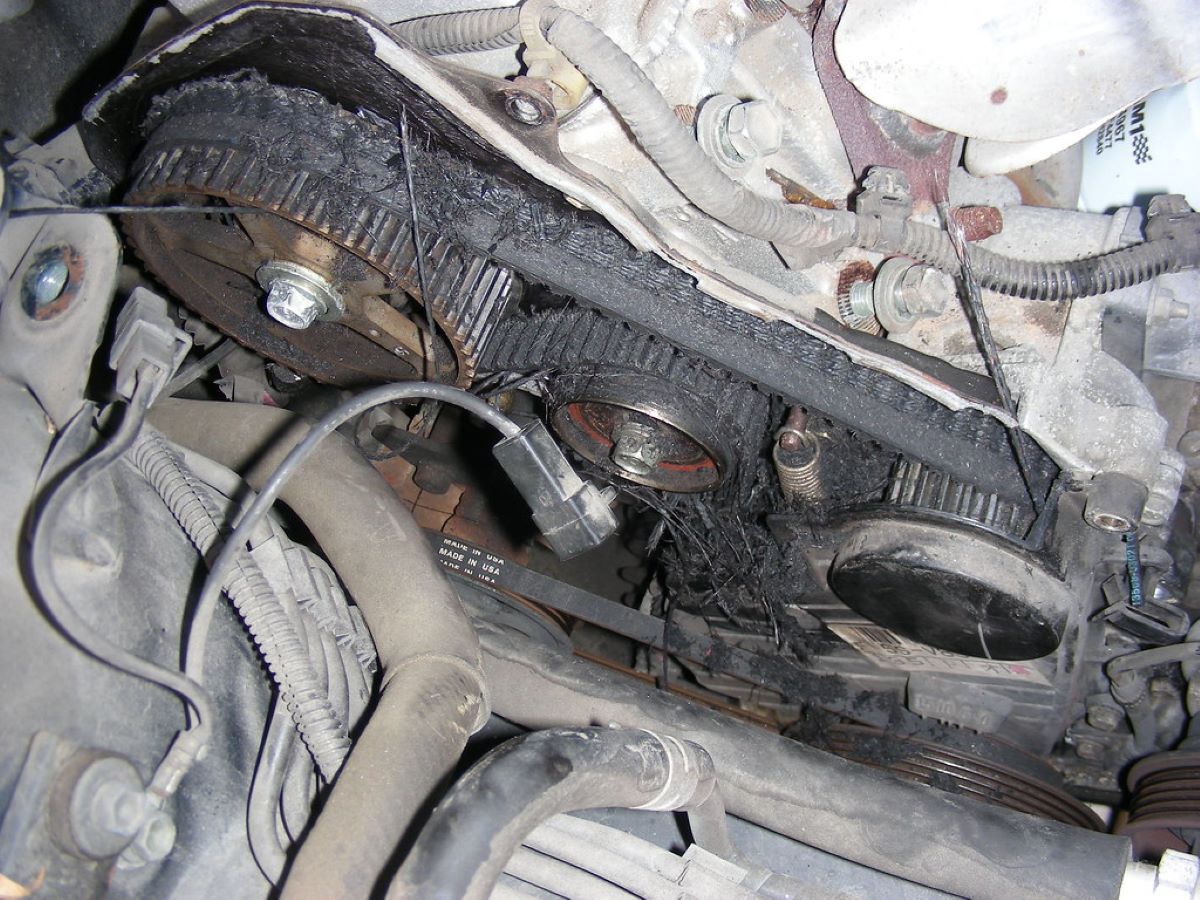
- Set the old water pump aside and inspect it for any signs of damage or wear. If the pump is leaking, corroded, or damaged in any way, it’s essential to replace it to prevent future issues.
- Remove the old gasket or O-ring from the engine block. Be sure to clean the mounting surface thoroughly, removing any remaining gasket material or debris. A clean and smooth surface is crucial for a proper seal with the new water pump.
With the old water pump and gasket removed, you’re ready to move on to the next step: installing the new water pump.
When changing the water pump on a Chevy truck, make sure to drain the coolant first to avoid a messy and potentially dangerous situation.
Step 4: Install the new water pump
With the old water pump removed, it’s time to install the new water pump. Follow these steps to ensure a proper installation:
- Take the new water pump and place a new gasket or O-ring on the mounting surface of the engine block. Ensure that the gasket is properly positioned and aligned with the bolt holes.
- Align the new water pump with the mounting holes on the engine block, making sure it sits flush against the gasket.
- Insert and hand-tighten the bolts that secure the water pump to the engine block. Make sure to tighten them evenly and gradually to ensure a proper seal.
- Once the bolts are hand-tightened, use a torque wrench to tighten them to the manufacturer’s specifications. Be careful not to overtighten the bolts, as this can damage the water pump or engine block.
- Reattach any hoses or lines that were disconnected earlier, ensuring that they are securely fastened. Replace any clamps or connectors if necessary.
- Check the area around the water pump for any signs of leakage. If necessary, use a rag or towel to wipe away any excess coolant or debris.
With the new water pump securely installed, you’re now ready to reassemble the truck and complete the water pump replacement process.
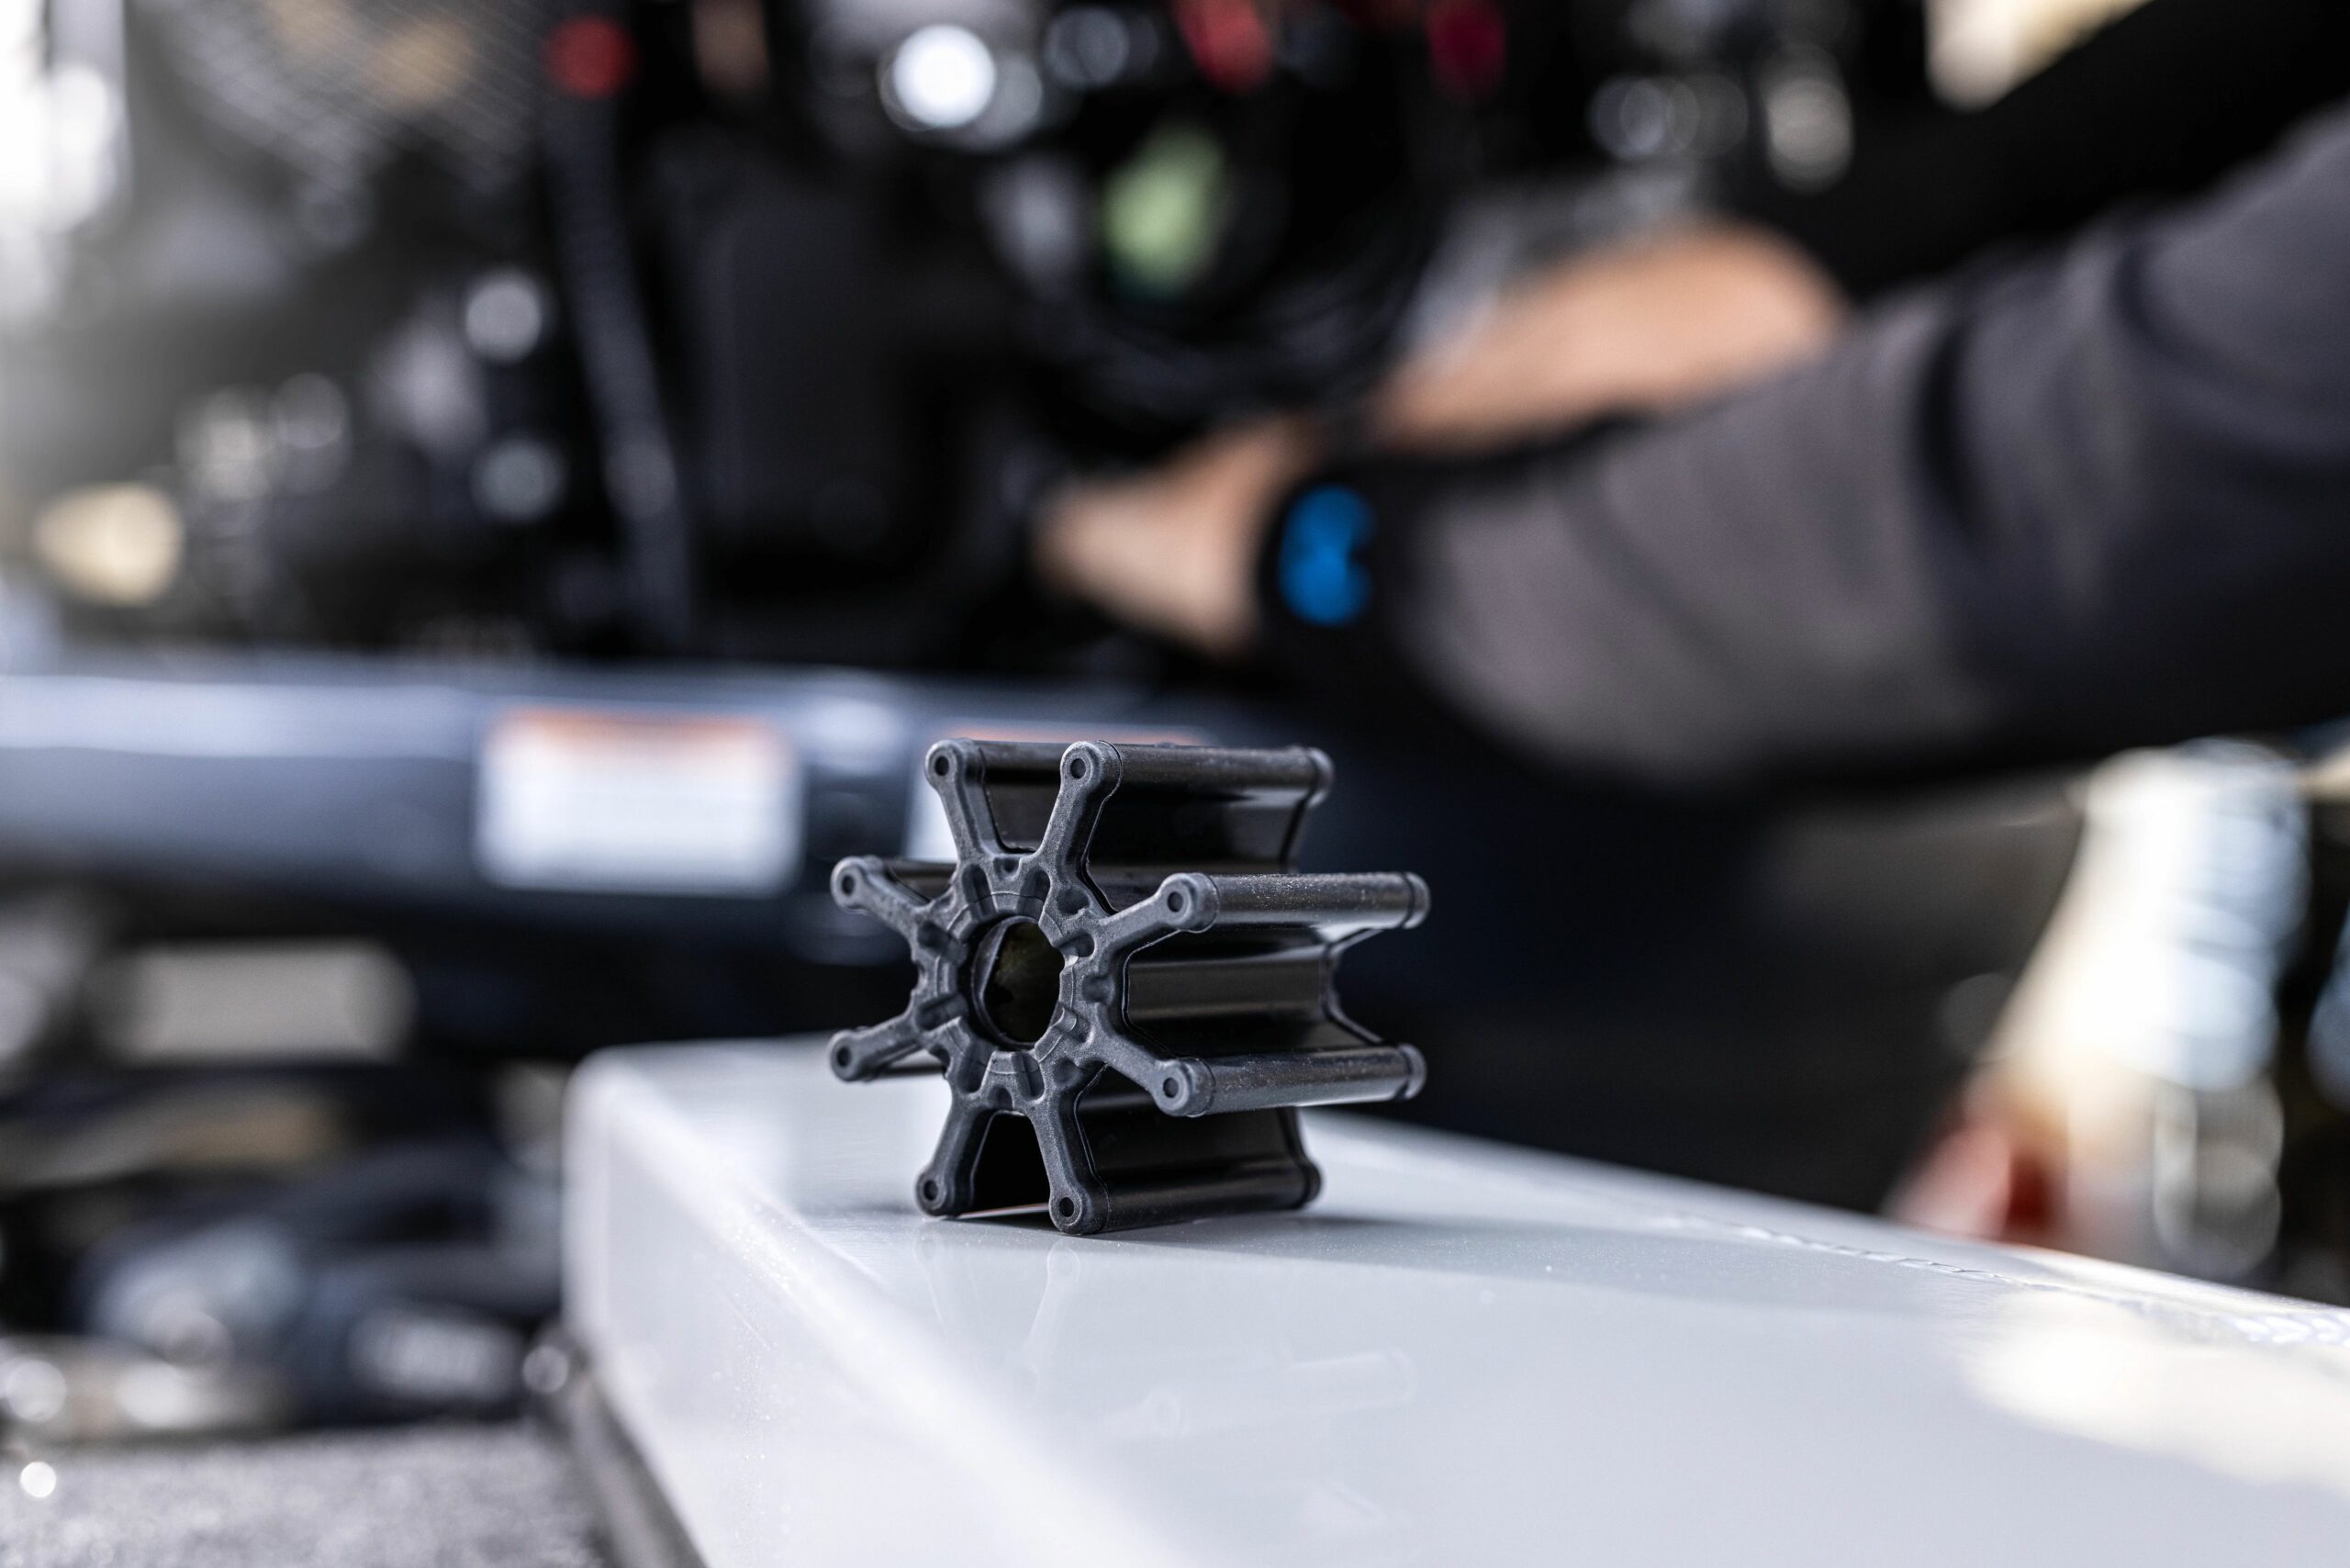
Read more: How To Change A Water Pump Impeller
Step 5: Reassemble the truck
Now that the new water pump is installed, it’s time to reassemble the various components on your Chevy truck. Follow these steps to ensure a proper reassembly:
- If you removed any engine components such as the fan shroud or belts, now is the time to reattach them. Refer to your truck’s service manual for specific instructions on reassembly.
- Reinstall any hoses or lines that were disconnected earlier. Make sure they are securely fastened using clamps or connectors.
- Double-check that all connections, bolts, and fasteners are tightened to the manufacturer’s specifications.
- If you drained the coolant earlier, it’s important to refill the cooling system with the appropriate antifreeze/coolant mixture. Follow the recommendations in your truck’s owner’s manual to ensure the correct coolant type and proper mixing ratio.
- After filling the cooling system, check for any leaks around the water pump and other connections. Start the engine and let it run for a few minutes to ensure everything is functioning properly.
Once you have reassembled the truck and confirmed that there are no leaks, you’re ready to move on to the final step: testing the new water pump.
Step 6: Test the new water pump
After completing the reassembly process, it’s important to test the new water pump to ensure that it is functioning properly and effectively cooling the engine of your Chevy truck. Follow these steps to test the new water pump:
- Start the engine and let it run for a few minutes. Observe the temperature gauge on the dashboard to ensure that it stays within the normal operating range. If the temperature fluctuates or rises excessively, there may be an issue with the water pump or cooling system.
- Listen for any unusual noises coming from the water pump area. A properly functioning water pump should operate quietly. If you hear any grinding, rattling, or squeaking sounds, it could indicate a problem with the water pump.
- Inspect the area around the water pump for any signs of coolant leakage. Look for wet spots, drips, or stains. Any leaks should be addressed immediately to prevent overheating and engine damage.
- If everything appears to be functioning properly and there are no signs of leaks or unusual noises, take your truck for a short test drive. Monitor the temperature gauge and listen for any changes in performance or behavior.
If you notice any issues during the testing phase, it is recommended to consult a professional mechanic for further inspection and potential troubleshooting. A qualified mechanic will be able to identify and resolve any problems with the water pump or cooling system.
By thoroughly testing the new water pump, you can ensure the proper functioning and longevity of the cooling system in your Chevy truck.
Conclusion
Replacing the water pump in your Chevy truck is a task that requires careful preparation and attention to detail. By following the step-by-step process outlined in this article, you can successfully replace the water pump and ensure the efficient cooling of your truck’s engine.
Remember to gather all the necessary tools and materials before starting the project and to prepare your truck by draining the coolant and accessing the water pump assembly. Take your time to remove the old water pump and clean the mounting surface thoroughly.
When installing the new water pump, make sure to align it properly and tighten the bolts to the manufacturer’s specifications. Reassemble the truck, including the reattachment of any components and reconnecting all hoses and lines.
After completing the reassembly, test the new water pump by observing the temperature gauge, listening for any unusual noises, and checking for coolant leaks. A thorough test drive will help ensure that your truck’s cooling system is functioning properly.
If you encounter any issues or are unsure about the water pump replacement process, it is always recommended to seek the assistance of a professional mechanic. They have the expertise and experience to diagnose and resolve any problems.
By replacing the water pump in your Chevy truck when needed, you can maintain the performance and longevity of your engine. Regular maintenance and care will keep your truck running smoothly for years to come.
Frequently Asked Questions about How To Change A Water Pump On A Chevy Truck
Was this page helpful?
At Storables.com, we guarantee accurate and reliable information. Our content, validated by Expert Board Contributors, is crafted following stringent Editorial Policies. We're committed to providing you with well-researched, expert-backed insights for all your informational needs.


0 thoughts on “How To Change A Water Pump On A Chevy Truck”