Articles
How To Change A Water Pump Impeller
Modified: February 22, 2024
Learn how to change a water pump impeller with our comprehensive articles. Expert tips and step-by-step instructions to help you get the job done.
(Many of the links in this article redirect to a specific reviewed product. Your purchase of these products through affiliate links helps to generate commission for Storables.com, at no extra cost. Learn more)
Introduction
Welcome to this comprehensive guide on how to change a water pump impeller. The water pump is a critical component of the cooling system in various machines and engines, such as boats, outboard motors, and irrigation systems. The impeller, located inside the pump, is responsible for circulating coolant or water to prevent the engine from overheating.
Over time, the impeller can wear out or become damaged, leading to reduced water flow and potential engine damage. Therefore, it is essential to periodically inspect and replace the impeller to maintain the proper functioning of your equipment.
In this article, we will take you through a step-by-step process to help you change the water pump impeller efficiently. By following these instructions and using the necessary tools and materials, you can successfully replace the impeller and ensure the cooling system operates optimally.
Before we dive into the details, let’s take a look at the tools and materials you will need for this task.
Key Takeaways:
- Regularly inspect and replace your water pump impeller to prevent engine damage and ensure optimal cooling system performance in boats, outboard motors, and irrigation systems.
- Follow step-by-step instructions and safety precautions to confidently change your water pump impeller, maintaining worry-free boating, smooth engine operation, and efficient irrigation.
Tools and Materials Needed
Before you begin changing the water pump impeller, make sure you have the following tools and materials ready:
- Socket set
- Screwdrivers (flathead and Phillips)
- Pliers
- Vise grips
- Gasket scraper
- Replacement water pump impeller
- New gasket
- Water pump lubricant or grease
- Container for coolant drainage
- Rags or towels for clean-up
Having these tools and materials on hand will ensure a smooth and efficient impeller replacement process. Now that you’re prepared, let’s move on to the step-by-step instructions for changing the water pump impeller.
Step 1: Drain the Cooling System
The first step in changing a water pump impeller is to drain the cooling system. This is necessary to prevent coolant from spilling out while you’re working on the water pump. Follow these steps:
- Make sure the engine is completely cool before beginning the process.
- Locate the drain plug or valve on the radiator or coolant reservoir. Consult the owner’s manual for the exact location if you’re unsure.
- Place a container underneath the drain plug or valve to catch the coolant.
- Turn the drain plug or valve counterclockwise to open it, allowing the coolant to flow into the container.
- Once all the coolant has been drained, securely close the drain plug or valve.
- Dispose of the coolant properly according to local regulations. Do not pour it down the drain or onto the ground.
Now that the cooling system is drained, you can proceed to the next step of replacing the water pump impeller.
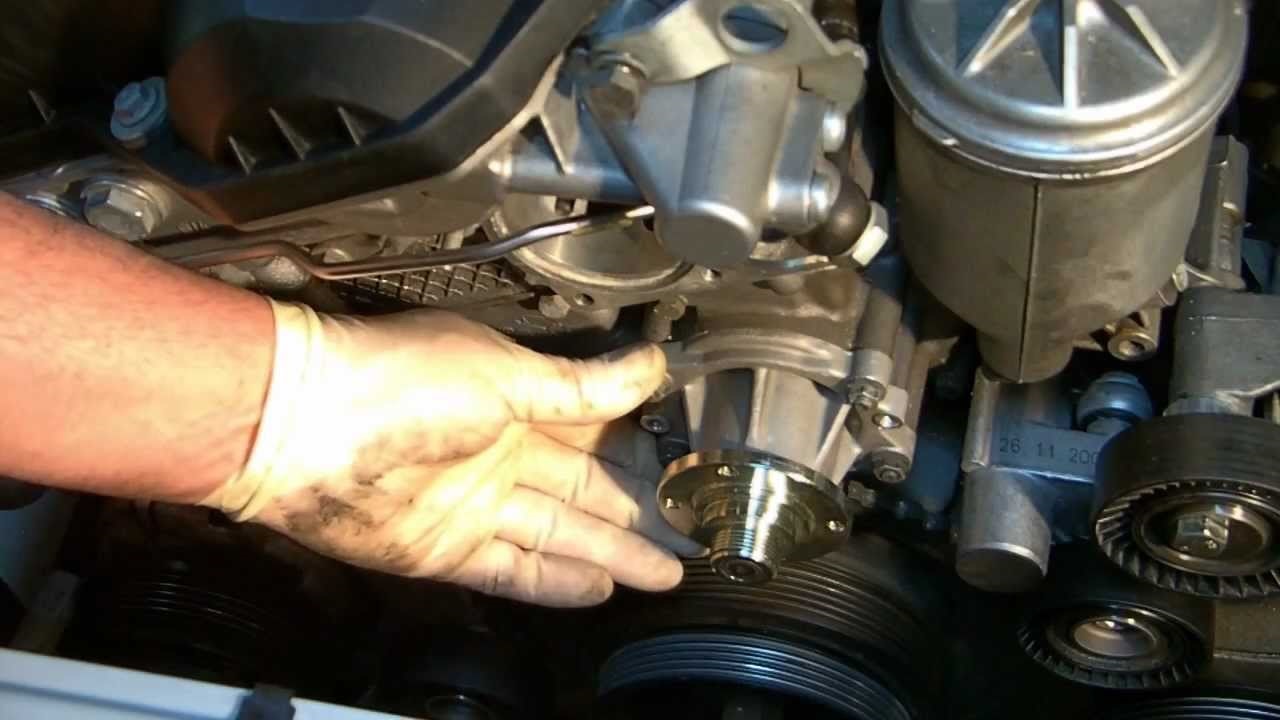
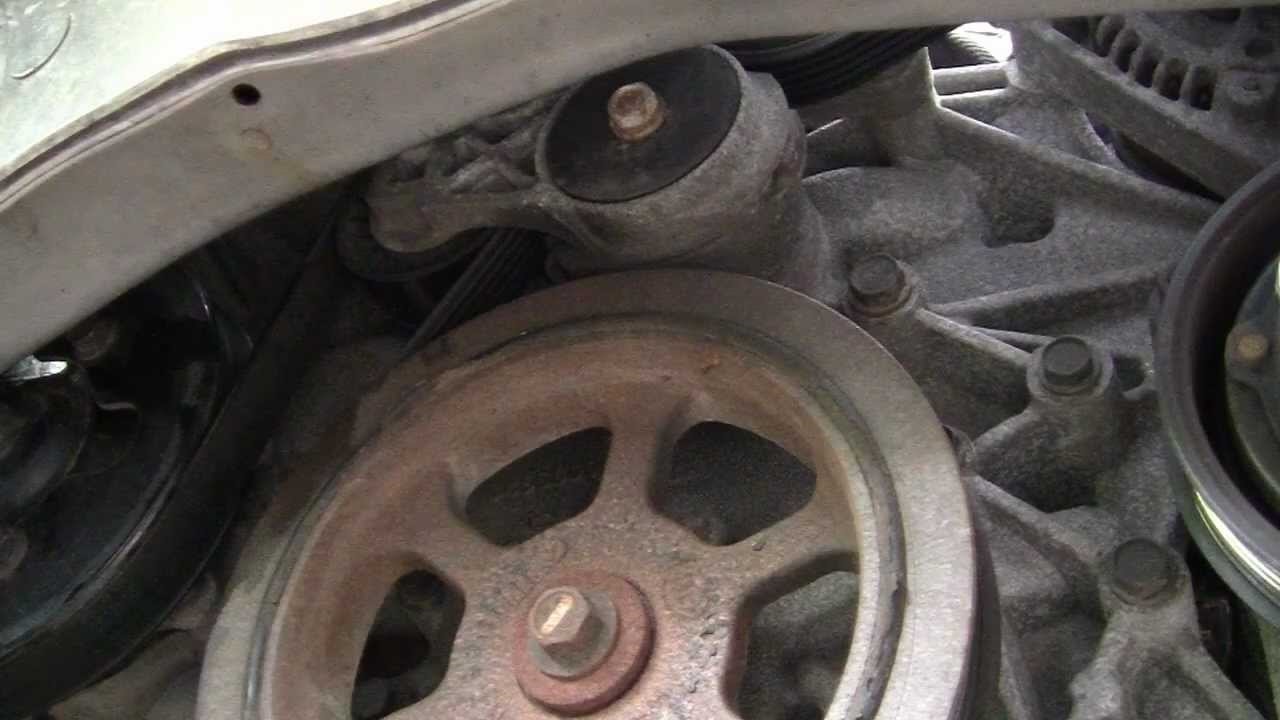
Step 2: Remove the Water Pump Cover
With the cooling system drained, you can now move on to removing the water pump cover. The water pump cover provides access to the impeller. Follow these steps:
- Locate the water pump on your machine or engine. It is usually attached to the engine block or housing.
- Using a socket set or screwdriver, remove the bolts or screws securing the water pump cover in place. Keep these fasteners in a safe place as you will need them later.
- Gently pry off the water pump cover using a flathead screwdriver or a gasket scraper. Be careful not to damage the cover or the sealing surface.
- Inspect the water pump housing and cover for any signs of damage, corrosion, or debris. Clean them thoroughly if necessary.
At this point, you have successfully removed the water pump cover, allowing access to the impeller. Keep the cover in a safe place as you will need it when reassembling the water pump later on.
Next, we’ll move on to removing the old impeller in step 3.
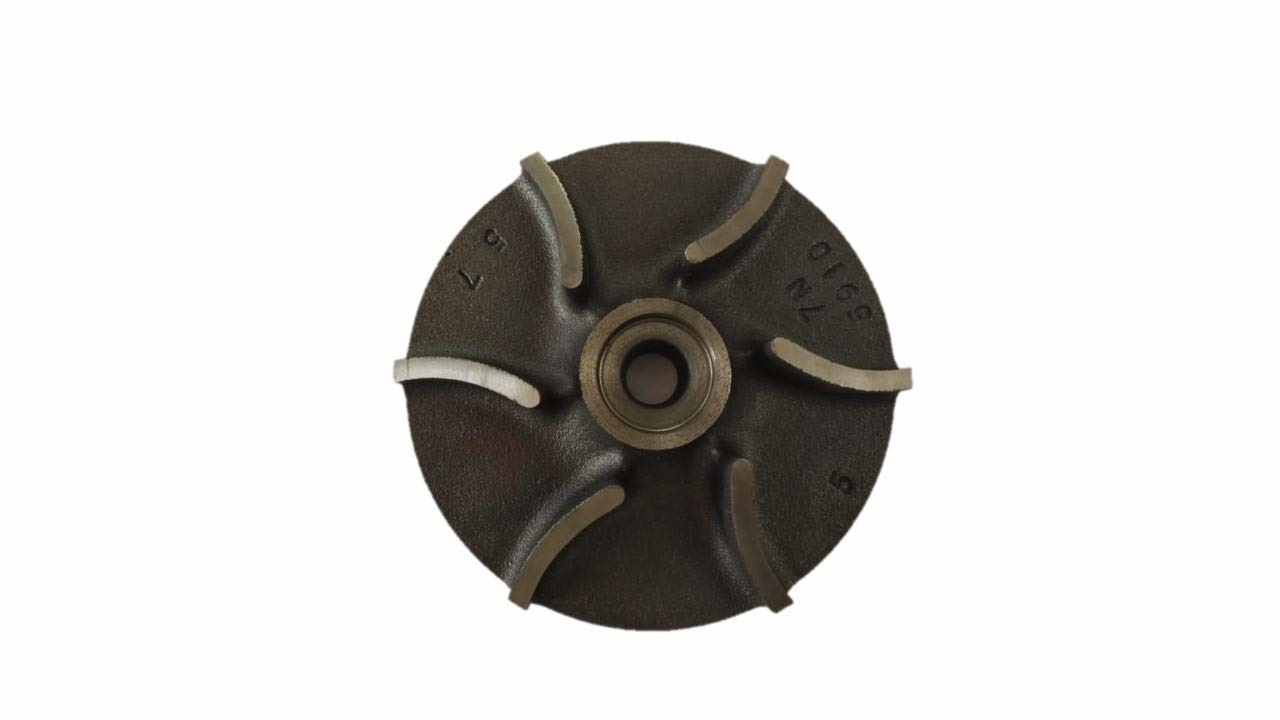
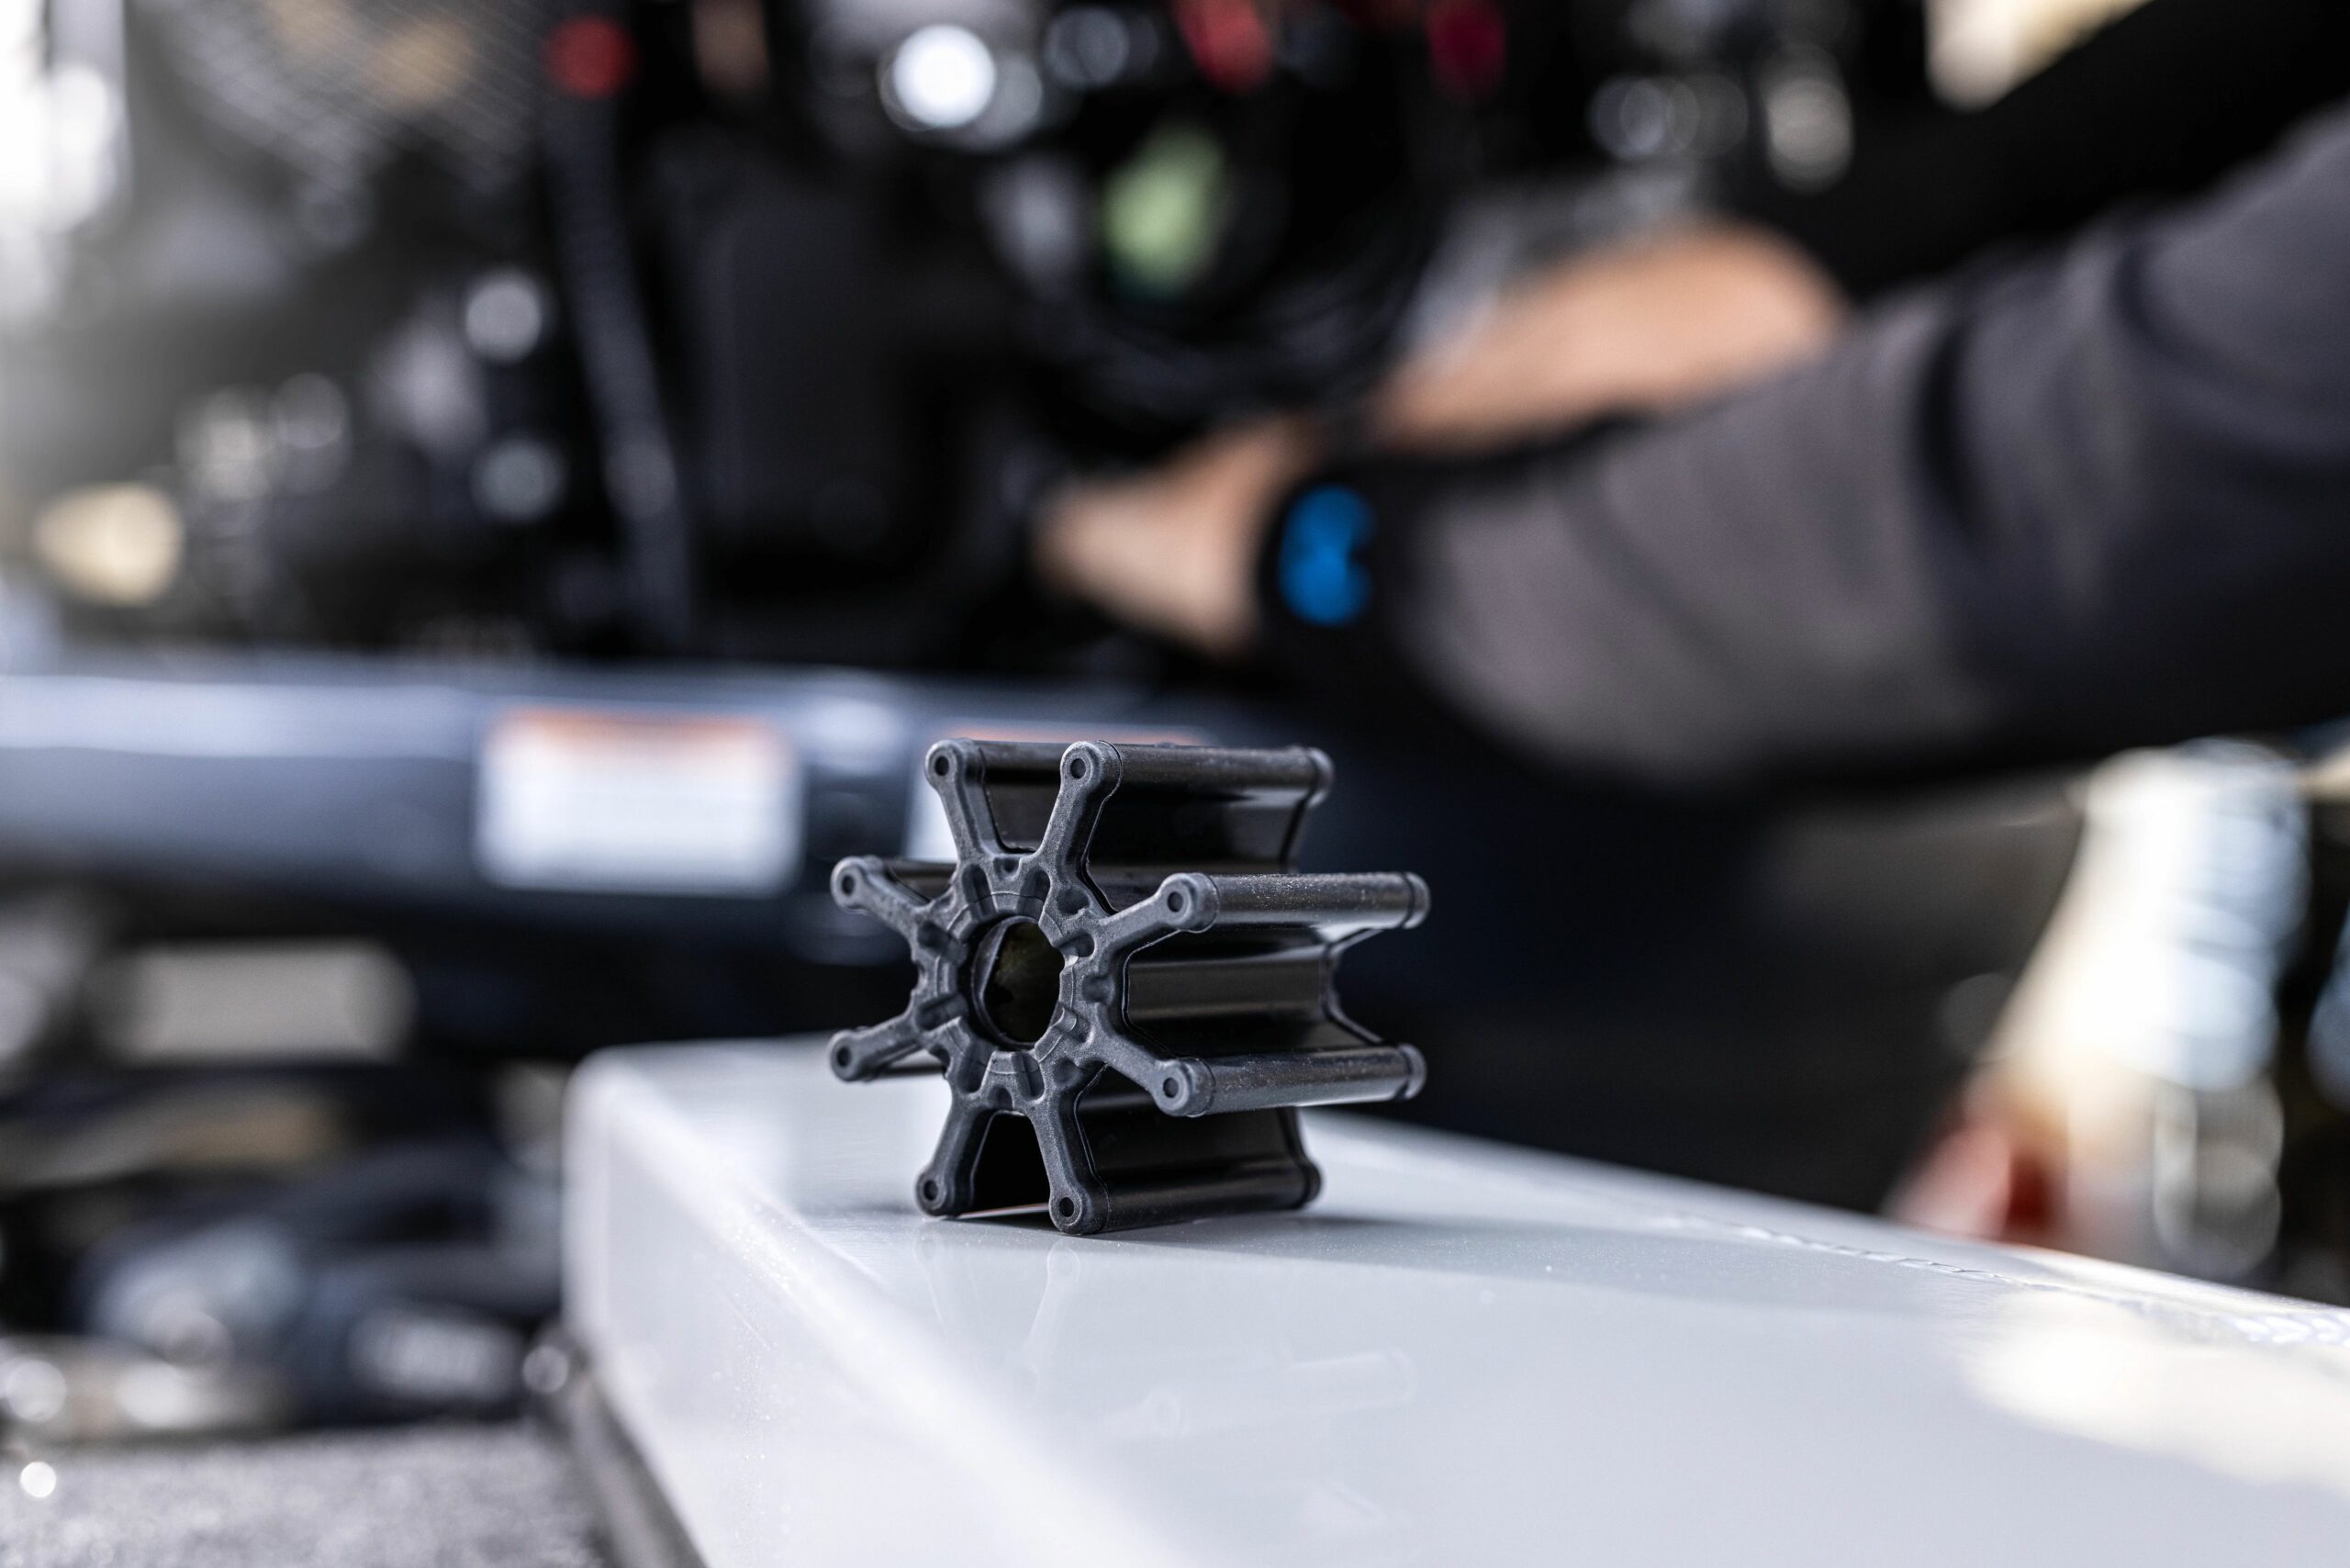
Step 3: Remove the Old Impeller
Now that you have access to the impeller, it’s time to remove the old one. Follow these steps:
- Inspect the old impeller for any signs of wear, damage, or deterioration. If the impeller is in good condition, you might be able to skip this step and move on to step 4. However, if the impeller shows any signs of wear or damage, it is highly recommended to replace it.
- Using a pair of pliers or vise grips, grip the center hub of the impeller firmly. Be cautious not to damage the impeller or surrounding components.
- Twist and pull the impeller away from the shaft. Apply gentle and steady pressure to remove it. In some cases, the impeller might be stuck, and you might need to use a small amount of lubricant or grease to help loosen it.
- Once the old impeller is removed, carefully inspect the impeller shaft for any signs of damage, such as nicks or grooves. If you notice any significant damage, it is advisable to replace the water pump or consult a professional.
- Clean the impeller housing and surrounding area to remove any debris or residue. This will ensure a clean surface for installing the new impeller.
By following these steps, you have successfully removed the old water pump impeller. Now, let’s move on to the next step and learn how to install the new impeller.
When changing a water pump impeller, make sure to thoroughly clean the pump housing and impeller area before installing the new impeller to ensure proper function and longevity.
Read more: How To Change A Water Pump On A Chevy Truck
Step 4: Install the New Impeller
With the old impeller removed, it’s time to install the new impeller. Follow these steps:
- Take the new impeller and ensure it is the correct replacement for your specific water pump. Refer to the manufacturer’s instructions or consult an expert if you’re unsure.
- Inspect the impeller for any defects or damage before installation. Ensure the blades are intact and there are no signs of wear or deformation.
- Apply a small amount of water pump lubricant or grease to the outer surface of the impeller. This will ease the installation and ensure smooth operation.
- Align the impeller with the shaft, ensuring it matches the orientation of the old impeller. Gently push the impeller onto the shaft, applying even pressure until it is fully seated.
- Rotate the impeller to check for any restrictions or misalignment. It should spin freely without any obstruction.
By following these steps, you have successfully installed the new impeller onto the water pump. Now, let’s move on to the next step and learn how to reassemble the water pump.
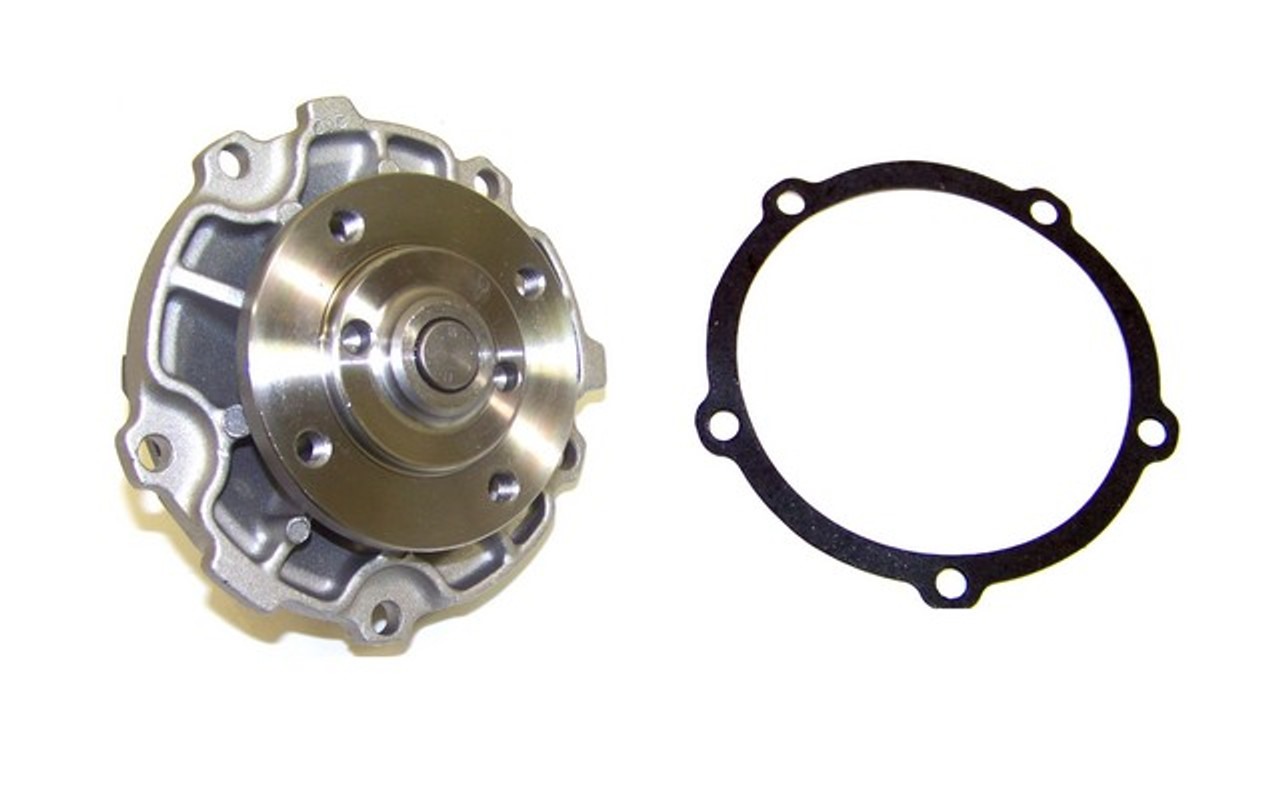
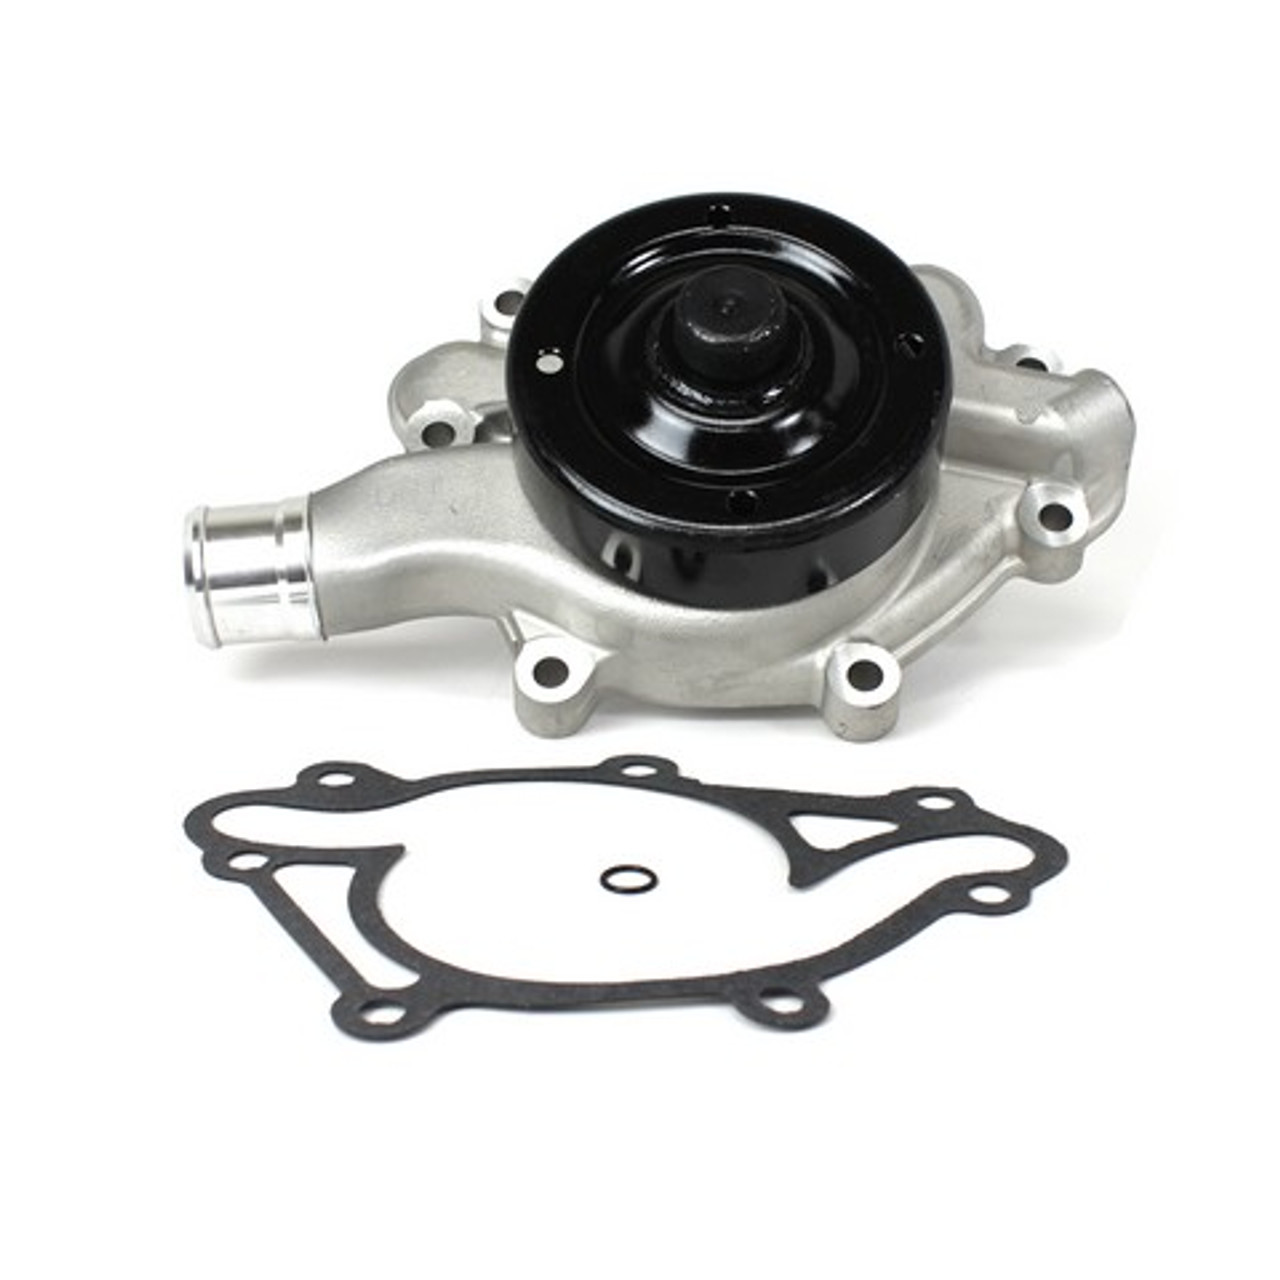
Step 5: Reassemble the Water Pump
Now that the new impeller is installed, it’s time to reassemble the water pump. Follow these steps:
- Take the water pump cover that you set aside earlier and clean any debris or residue from it.
- Inspect the gasket that sits between the water pump cover and the pump housing. If it is damaged or worn, replace it with a new gasket.
- Apply a thin layer of gasket sealant or water pump lubricant to one side of the new gasket. This will help create a proper seal and prevent any leaks.
- Place the gasket onto the water pump housing, aligning it with the screw holes.
- Carefully position the water pump cover over the impeller and gasket, making sure all the screw holes line up.
- Insert and hand-tighten the bolts or screws that secure the water pump cover to the housing.
- Using a socket set or screwdriver, tighten the bolts or screws in a crisscross pattern to ensure even pressure distribution. Do not overtighten, as this can damage the gasket or housing.
With the water pump reassembled, you’re one step closer to completing the impeller replacement process. In the next step, we’ll learn how to refill the cooling system.
Step 6: Refill the Cooling System
After reassembling the water pump, it’s time to refill the cooling system with coolant. Follow these steps to ensure proper refilling:
- Locate the coolant reservoir or radiator cap on your machine or engine. Refer to the owner’s manual for the exact location if needed.
- Carefully remove the cap, taking caution as the coolant might still be hot.
- Pour the appropriate coolant mixture into the reservoir or radiator until it reaches the recommended level. It’s important to use the correct type and ratio of coolant as specified by the manufacturer.
- Slowly add the coolant, allowing any air bubbles to escape. Some engines may require a specific bleeding or venting process to remove trapped air.
- Replace the cap securely once the coolant level is correct.
It’s important to note that different engines and machines may have different coolant refill procedures, so refer to the owner’s manual for specific instructions if necessary.
With the cooling system refilled, we can now move on to the final step: testing for proper functioning.
Step 7: Test for Proper Functioning
After completing the impeller replacement and coolant refill, it’s crucial to test the water pump for proper functioning. Follow these steps to ensure everything is working as it should:
- Start the engine and let it run for a few minutes to allow the coolant to circulate.
- Observe the temperature gauge or indicator on your machine or engine. It should remain within the normal operating range, indicating that the cooling system is functioning correctly.
- Listen for any unusual noises coming from the water pump. If you hear any grinding, squealing, or rattling sounds, it may indicate a problem with the impeller installation or the water pump itself. In such cases, it is advisable to seek professional assistance.
- Check for any coolant leaks around the water pump or other components of the cooling system. If you notice any leaks, tighten the applicable connections or consult a professional for further inspection.
If the engine temperature remains stable, no abnormal noises are present, and there are no coolant leaks, it indicates that the impeller replacement was successful and the water pump is functioning properly.
Congratulations! You have successfully changed the water pump impeller and ensured the proper functioning of your machine’s cooling system. Regular inspection and maintenance of the water pump and impeller will help prevent overheating and extend the life of your equipment.
Remember to consult the owner’s manual or seek professional advice if you encounter any difficulties during the process or if you’re unsure about any steps. Safety should always be a top priority when working on machinery.
Thank you for following this comprehensive guide. Happy boating, cruising, or using your equipment with the confidence of a properly functioning water pump impeller!
Read more: How To Change Water Pump On Toyota Camry
Conclusion
Changing a water pump impeller is a crucial maintenance task that ensures the proper functioning of your machine’s cooling system. By following the step-by-step instructions outlined in this guide and using the necessary tools and materials, you can confidently replace the impeller and keep your equipment running smoothly.
Remember to periodically inspect the impeller for wear and damage, and replace it as needed. Maintaining a healthy impeller will prevent engine overheating and potential damage to your machine.
Throughout the process, make sure to follow safety precautions and consult the owner’s manual or seek professional assistance if you encounter any difficulties or uncertainties. Safety should always be a top priority when working with machinery.
Regular maintenance of your water pump and impeller not only extends the life of your equipment but also ensures optimal performance. By taking the time to perform this essential task, you can enjoy worry-free boating, smooth running engines, or efficient irrigation systems.
Thank you for joining us on this comprehensive guide on how to change a water pump impeller. We hope this article has provided you with the knowledge and confidence to tackle this maintenance task with ease. Happy impeller replacement and smooth sailing!
Frequently Asked Questions about How To Change A Water Pump Impeller
Was this page helpful?
At Storables.com, we guarantee accurate and reliable information. Our content, validated by Expert Board Contributors, is crafted following stringent Editorial Policies. We're committed to providing you with well-researched, expert-backed insights for all your informational needs.


0 thoughts on “How To Change A Water Pump Impeller”