
Articles
How To Wire A Water Pump
Modified: September 2, 2024
Learn how to wire a water pump with our informative articles. Get step-by-step instructions and expert tips for a successful installation.
(Many of the links in this article redirect to a specific reviewed product. Your purchase of these products through affiliate links helps to generate commission for Storables.com, at no extra cost. Learn more)
Introduction
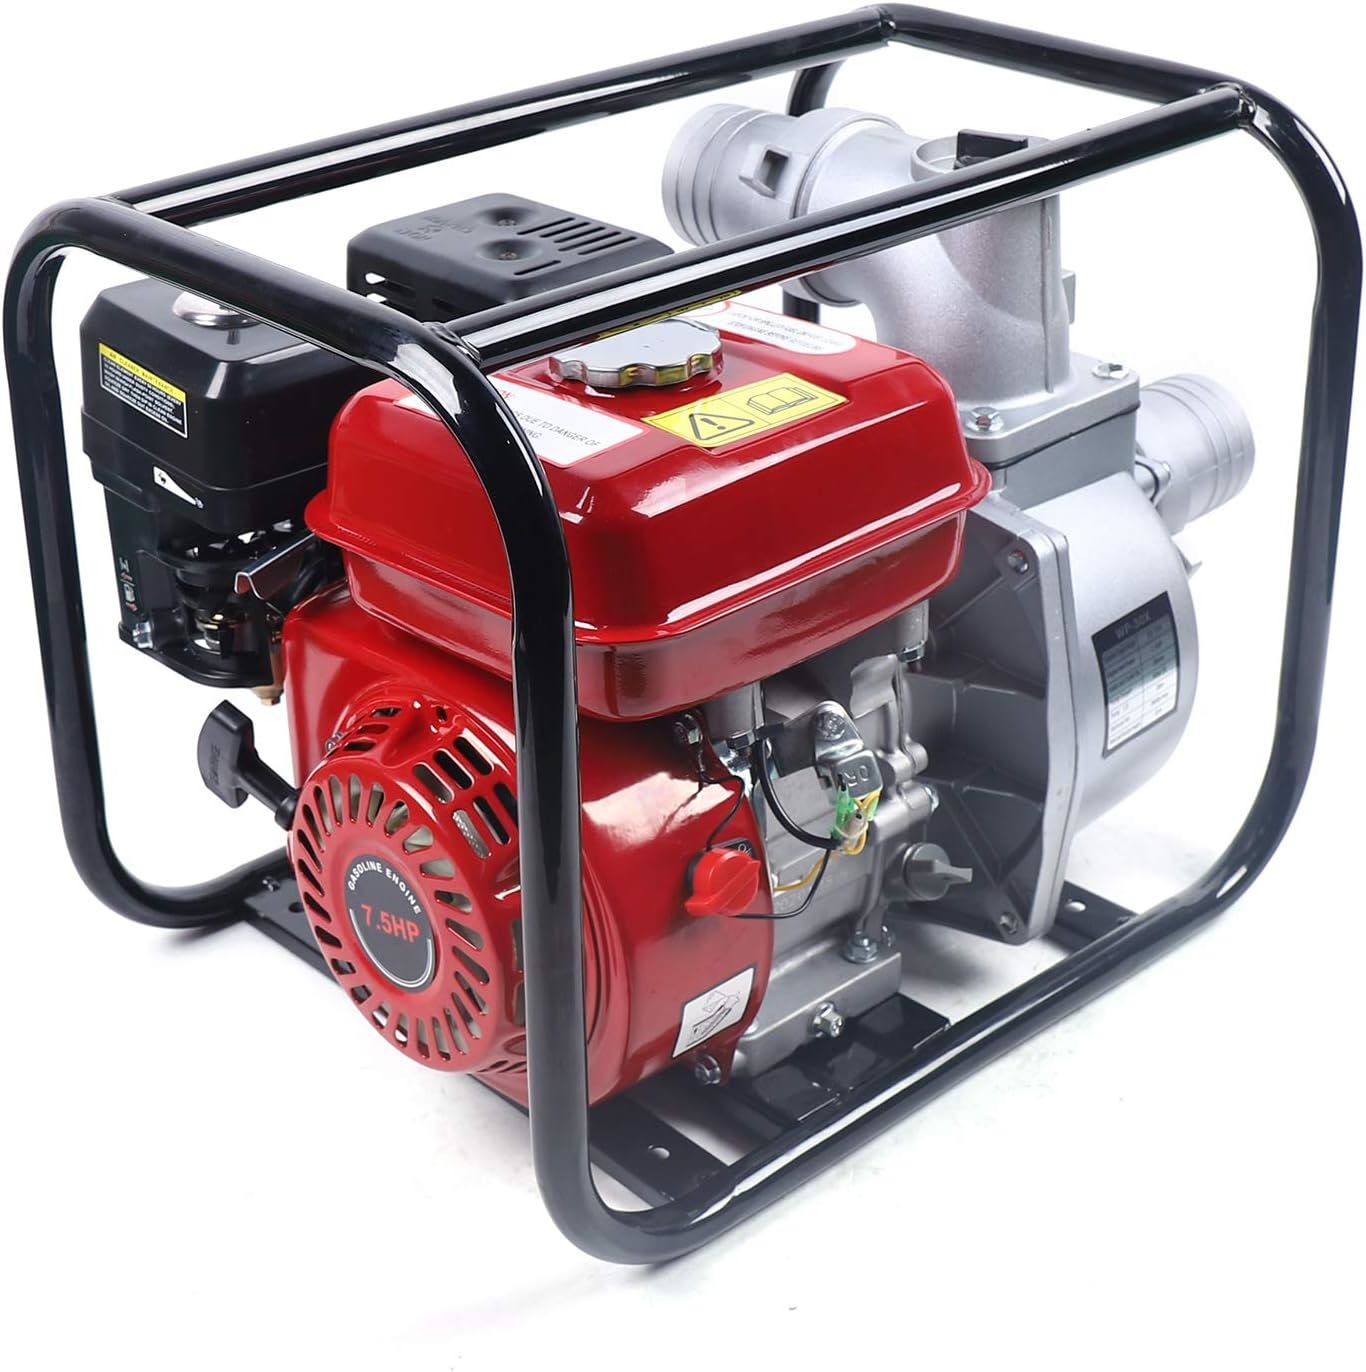
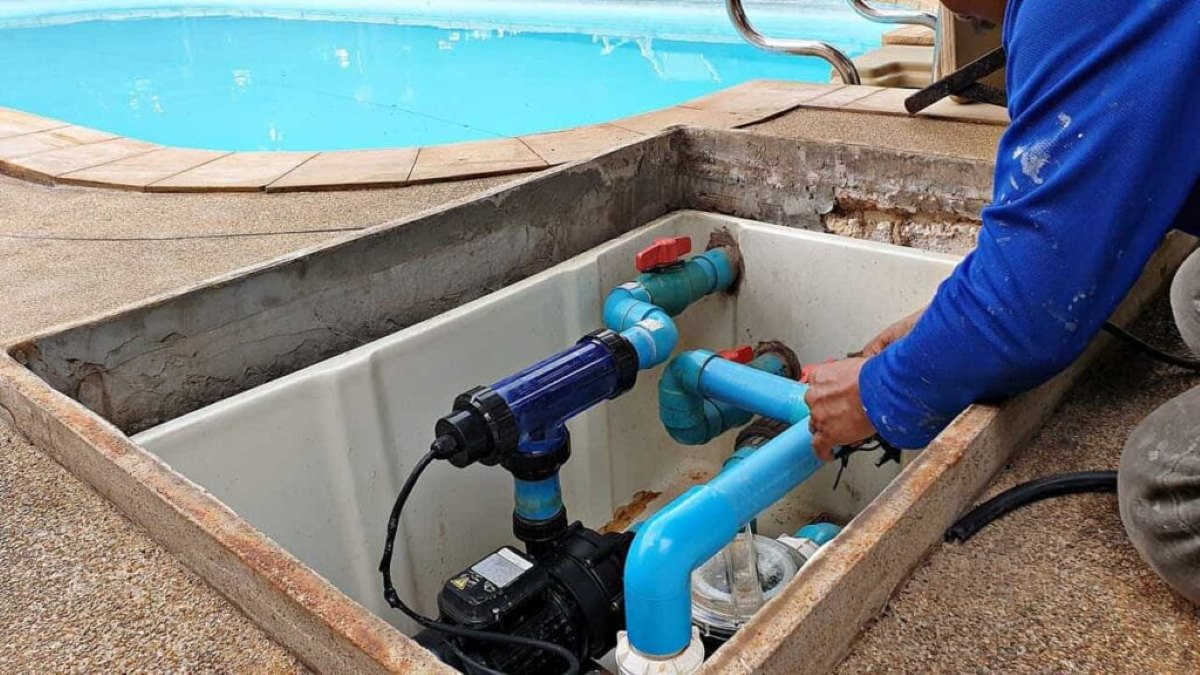
When it comes to installing or replacing a water pump, properly wiring it is a crucial step to ensure its safe and efficient operation. Whether you’re setting up a new water pump for your home’s water supply system or replacing the pump in your swimming pool, understanding how to wire it correctly is essential.
Wiring a water pump may sound intimidating, especially if you’re not familiar with electrical systems. However, with the right tools, materials, and guidance, it can be a straightforward process. In this article, we’ll walk you through the steps of wiring a water pump to help you get it up and running smoothly.
Before we dive into the details, it’s essential to note that working with electrical systems can be dangerous, and if you’re unsure or uncomfortable with the process, it’s best to hire a licensed electrician. Safety should always be the top priority when dealing with electricity.
Now, let’s get started with the first step: gathering the necessary tools and materials.
Key Takeaways:
- Ensure safety and efficiency when wiring a water pump by gathering the right tools, determining the power supply, preparing the pump, and testing the wiring for optimal functionality.
- Prioritize safety and follow manufacturer’s instructions when wiring a water pump. If unsure, consult a licensed electrician to ensure correct and safe installation.
Read more: How To Lubricate A Water Pump
Step 1: Gather the Necessary Tools and Materials
Before you begin wiring your water pump, it’s important to have all the necessary tools and materials on hand. This will ensure a smooth and efficient installation process. Here are the tools and materials you’ll need:
- Wire strippers
- Screwdrivers (flathead and Phillips)
- Electrical tape
- Multimeter
- Wire connectors
- Electrical conduit
- Waterproof junction box
- Wire nuts
- Drill and drill bits
- Wire cutter
Make sure you have the appropriate wire gauge and length for your specific water pump’s electrical requirements. It’s always better to have extra wire length than to come up short. Additionally, check the manufacturer’s instructions for any specific tools or materials that may be required for your particular water pump model.
Once you have gathered all the necessary tools and materials, you’re ready to move on to the next step: determining the power supply.
Step 2: Determine the Power Supply
Before you can wire your water pump, you need to determine the power supply for it. The power supply will depend on the specific requirements of your water pump and the electrical system in your location. Here’s how you can determine the power supply:
- Check the voltage requirement: Most water pumps operate on either 120 volts (V) or 240V. Check the specifications provided by the manufacturer to ensure you have the correct voltage for your water pump.
- Inspect the electrical panel: Locate your electrical panel or breaker box and identify where the circuit for the water pump is located. Determine if you have an available circuit that can accommodate the voltage and amperage requirements of the pump.
- Calculate the amperage: The amperage requirement will depend on the size and power of the water pump. Refer to the manufacturer’s guidelines to calculate the amperage needed.
- Check the wiring and breaker size: Inspect the wiring and breaker size of the existing circuit to ensure it can handle the amperage required by the water pump. If necessary, consult with an electrician to determine if any upgrades or modifications are needed.
- Install a dedicated circuit: If you do not have an available circuit or if the existing circuit is not suitable, you may need to install a dedicated circuit for the water pump. Consult with a qualified electrician to ensure the circuit is installed correctly and meets electrical code requirements.
Once you have determined the power supply for your water pump and made any necessary arrangements, you can move on to preparing the water pump for wiring.
Step 3: Prepare the Water Pump
Before you begin wiring the water pump, it’s important to prepare the pump itself. This involves a few crucial steps to ensure proper installation and prevent any potential issues. Follow these steps to prepare the water pump:
- Read the manufacturer’s instructions: Start by carefully reading the instructions provided by the manufacturer. These instructions will provide specific details about the wiring requirements and any special considerations for your particular water pump model.
- Turn off the power: For safety reasons, always turn off the power supply to the water pump before working on it. Locate the circuit breaker that controls the power to the pump and switch it off.
- Inspect the pump terminals: Examine the terminals on the water pump where the electrical connections will be made. These terminals are usually labeled for easy identification. Ensure they are clean, free from any debris or corrosion, and in good condition.
- Remove any packaging or protective covers: If your water pump came with any packaging, protective covers, or transport bolts, make sure to remove them before proceeding with the installation.
- Check the motor rotation: If your water pump has a motor, check the rotation direction as indicated by the manufacturer. Ensuring the proper rotation is essential for the pump’s efficient operation.
- Position the pump: Place the water pump in its desired location, making sure it is level and securely positioned. Consider any noise or vibration dampening requirements specified by the manufacturer.
By properly preparing the water pump, you’ll ensure that it is ready for the wiring process and minimize the risk of complications or damage. With the pump prepared, you can now move on to connecting the wires to the power supply.
When wiring a water pump, always make sure to use the correct gauge wire for the pump’s voltage and amperage requirements to ensure safe and efficient operation. It’s also important to use waterproof connectors and to properly ground the pump to prevent electrical hazards.
Step 4: Connect the Wires to the Power Supply
Now that you’ve prepared the water pump, it’s time to connect the wires to the power supply. This step requires caution and adherence to electrical safety guidelines. Here’s how you can connect the wires to the power supply:
- Start by identifying the power source wires: Locate the power source wires coming from your electrical panel or breaker box. These wires are usually colored, with black representing the “hot” wire, white representing the “neutral” wire, and green or bare copper representing the “ground” wire.
- Strip the insulation: Use wire strippers to carefully strip about ¾ inch of insulation from the ends of the wires on the water pump, as well as the power source wires. Ensure that the exposed wires are clean, free from any fraying or damage.
- Connect the wires: Connect the wires from the water pump to the corresponding wires from the power supply. Typically, you will connect the black wire from the pump to the black wire from the power supply, the white wire from the pump to the white wire from the power supply (or to the silver screw on an electrical receptacle), and the green or bare copper wire from the pump to the green or bare copper wire from the power supply.
- Secure the connections: Use wire connectors (wire nuts) to secure the connections. Twist the wires together clockwise and firmly screw on the wire connectors, ensuring a tight and secure connection. It’s important to cover the connections completely with the wire connectors to protect them from moisture and prevent any risk of electrical shocks.
- Insulate with electrical tape: To provide an extra layer of protection and insulation, wrap the wire connectors with electrical tape. This will help keep the connections secure and prevent any accidental contact with live wires.
Once you have connected the wires to the power supply, it’s important to properly ground the water pump, which we’ll cover in the next step.
Read more: How To Fix Water Pump
Step 5: Ground the Water Pump
Grounding the water pump is a critical step in ensuring electrical safety and protecting both the pump and anyone who interacts with it. Grounding provides a path for electrical currents to safely dissipate in the event of a fault or electrical surge. Here’s how you can ground the water pump:
- Locate the grounding terminal: Check the manufacturer’s instructions for the location of the grounding terminal on the water pump. It is typically indicated by a green screw or a designated grounding lug.
- Prepare the grounding wire: Cut a length of grounding wire long enough to reach from the grounding terminal on the water pump to an appropriate grounding point, such as a nearby grounding rod or the grounding terminal in the electrical panel.
- Strip the insulation: Use wire strippers to carefully strip about ¾ inch of insulation from the ends of the grounding wire.
- Attach the grounding wire: Connect one end of the grounding wire to the grounding terminal on the water pump. Secure it tightly using a screwdriver or the appropriate fastening method specified by the manufacturer.
- Grounding rod: If you are using a grounding rod, follow the manufacturer’s instructions to properly install it. Attach the other end of the grounding wire to the grounding rod, using a grounding clamp or other approved method.
- Grounding in electrical panel: If you are using the grounding terminal in the electrical panel, consult a licensed electrician to ensure the proper connection is made.
Grounding your water pump is crucial for safety and compliance with electrical codes. It helps protect against electrical faults and reduces the risk of electrical shock. With the pump properly grounded, you are almost ready to test the wiring.
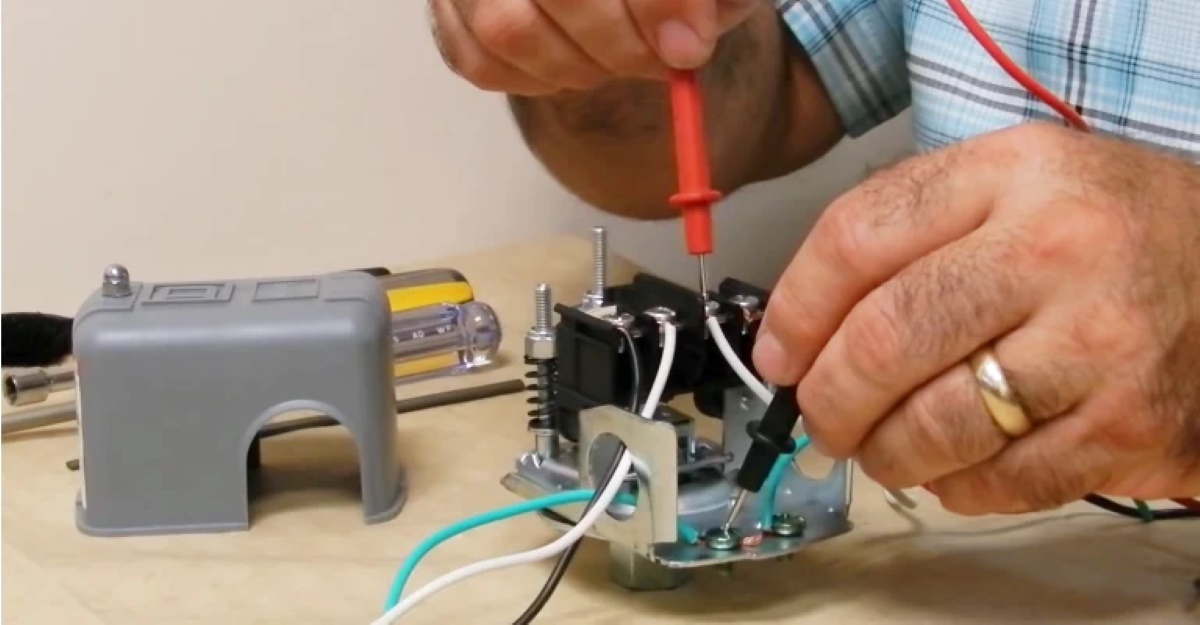
Step 6: Test the Wiring
After completing the wiring and grounding of your water pump, it is crucial to test the wiring to ensure that everything is functioning properly. Testing the wiring will help identify any potential issues or errors before fully operating the pump. Follow these steps to test the wiring:
- Turn on the power: Before testing the wiring, ensure that the power supply to the pump is turned on. Go to the electrical panel and switch on the circuit breaker that controls the water pump.
- Check for power: Use a multimeter to verify the presence of power at the pump terminals. Place the multimeter probes or leads on the corresponding terminals of the pump and check for voltage. Make sure you are getting the expected voltage stated in the manufacturer’s instructions.
- Inspect for any issues: While testing the wiring, carefully inspect all the connections you made. Check for loose wires, signs of overheating, or any other visible issues. If you find any problems, immediately turn off the power and rectify the wiring before proceeding further.
- Test the pump’s functionality: Once you have confirmed that there is power at the pump terminals and the connections are secure, it’s time to test the pump’s functionality. Start by activating the pump according to the manufacturer’s instructions. Observe if the pump runs smoothly and if water is being pumped as expected.
- Monitor for leaks and abnormal behavior: While the pump is running, carefully inspect for any leaks, unusual noises, or irregular behavior. If you notice anything out of the ordinary, turn off the power and investigate the issue before continuing.
Testing the wiring ensures that the water pump is properly connected and that it functions as intended. Itgives you the opportunity to catch any potential problems before they escalate and ensures the safety and efficiency of the pump.
Once you are satisfied that the pump is functioning correctly and there are no issues with the wiring, you can consider the wiring process complete. Remember to always follow safety guidelines and consult a professional electrician if you are uncertain about any aspect of the wiring process.
Conclusion
Wiring a water pump may seem like a daunting task, but with the proper tools, materials, and guidance, it can be accomplished safely and efficiently. By following the steps outlined in this article, you can successfully wire your water pump and ensure its optimal performance.
Begin by gathering all the necessary tools and materials, including wire strippers, screwdrivers, wire connectors, and electrical tape. Next, determine the power supply for your water pump by checking the voltage requirement, inspecting the electrical panel, calculating the amperage, and assessing the wiring and breaker size. If needed, consider installing a dedicated circuit with the help of a licensed electrician.
With the power supply determined, proceed to prepare the water pump by reading the manufacturer’s instructions, turning off the power, inspecting the pump terminals, removing protective covers, and checking the motor rotation. Ensure that the pump is leveled and securely positioned in its desired location.
Next, connect the wires to the power supply by identifying the power source wires, stripping the insulation, connecting the wires, securing the connections with wire nuts, and insulating them with electrical tape.
Grounding the water pump is an essential step to ensure electrical safety. Locate the grounding terminal, prepare the grounding wire, attach it securely, and properly connect it to a grounding rod or the electrical panel, following the manufacturer’s instructions or consulting a licensed electrician.
Finally, test the wiring by turning on the power, checking for power at the pump terminals using a multimeter, inspecting for any issues, testing the pump’s functionality, and monitoring for leaks or abnormal behavior. This step ensures that the wiring is correctly done and that the pump operates smoothly and efficiently.
In conclusion, by following these steps and prioritizing safety, you can confidently wire a water pump and enjoy a reliable water supply or swimming pool experience. However, if you are uncertain or uncomfortable with the process, it is always best to seek the assistance of a licensed electrician to ensure the job is done correctly and safely.
Frequently Asked Questions about How To Wire A Water Pump
Was this page helpful?
At Storables.com, we guarantee accurate and reliable information. Our content, validated by Expert Board Contributors, is crafted following stringent Editorial Policies. We're committed to providing you with well-researched, expert-backed insights for all your informational needs.


0 thoughts on “How To Wire A Water Pump”