
Articles
How To Rebuild A Water Pump
Modified: December 7, 2023
Learn step-by-step instructions on how to rebuild a water pump with our informative articles. Gain the knowledge to tackle this task yourself and save money!
(Many of the links in this article redirect to a specific reviewed product. Your purchase of these products through affiliate links helps to generate commission for Storables.com, at no extra cost. Learn more)
Introduction
The water pump is a critical component of a vehicle’s cooling system, responsible for circulating coolant through the engine to maintain optimal operating temperatures. Over time, water pumps can become worn or damaged, leading to leaks, overheating, and engine failure. Replacing a faulty water pump is crucial to prevent costly repairs and ensure the longevity of your vehicle.
In this article, we will guide you through the process of rebuilding a water pump. Rebuilding a water pump involves disassembling the old pump, inspecting the components, replacing any worn or damaged parts, and reassembling it for installation. With the right tools and a little patience, you can successfully rebuild your water pump and restore its efficiency.
Before we dive into the steps of rebuilding a water pump, it’s important to have a basic understanding of the water pump’s function and the tools and materials you’ll need for the job. Let’s get started!
Key Takeaways:
- Rebuilding a water pump is a crucial maintenance task that can prevent engine damage and costly repairs. Understanding the water pump’s function, gathering the right tools, and following a step-by-step process are essential for a successful rebuild.
- Testing the water pump’s functionality after installation is vital to ensure proper coolant circulation and prevent potential issues. Regular maintenance and monitoring of the cooling system can extend the water pump’s lifespan and contribute to the vehicle’s reliability.
Read more: How To Lubricate A Water Pump
Understanding the Water Pump
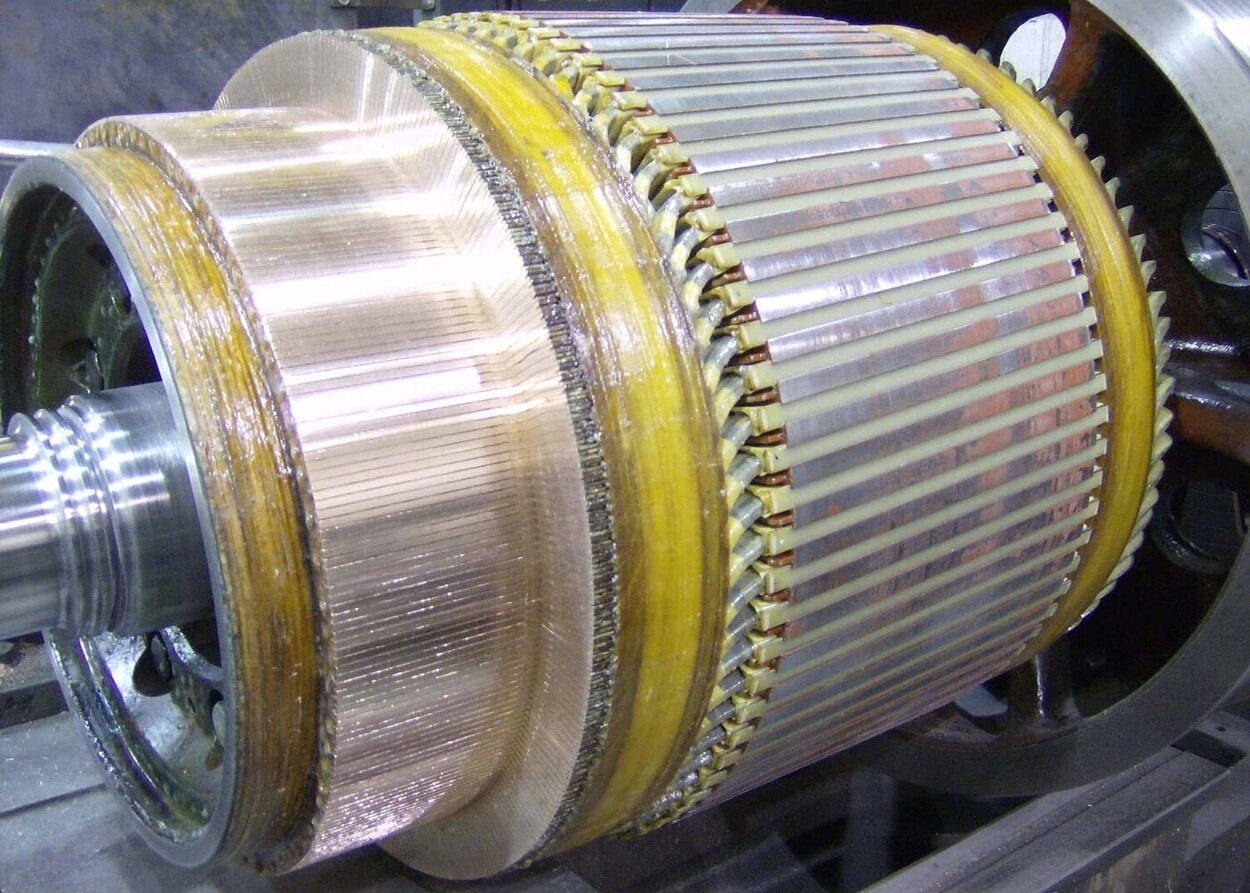
The water pump is an essential component of the vehicle’s cooling system. Its primary function is to circulate coolant throughout the engine, ensuring that it remains at the right temperature for optimal performance.
The water pump is usually driven by a belt connected to the engine’s crankshaft or via an electric motor. It consists of several key components, including the impeller, housing, shaft, and bearings.
The impeller is a fan-like component that is responsible for moving the coolant through the system. As the impeller rotates, it creates centrifugal force, pushing the coolant from the inlet side to the outlet side of the pump.
The housing encloses the impeller and forms the main body of the water pump. It contains channels and passages that guide the flow of coolant through the pump and into the engine.
The shaft connects the impeller to the drive mechanism and allows the impeller to rotate. It is supported by bearings, which help reduce friction and ensure smooth operation.
Over time, the water pump can wear out or develop leaks due to the constant exposure to heat and coolant. Common signs of a failing water pump include coolant leaks, overheating engine, and unusual noises coming from the pump area.
Rebuilding a water pump involves disassembling it, inspecting each component for wear or damage, replacing any faulty parts, and reassembling it for installation.
By understanding the inner workings of the water pump, you can better grasp the importance of maintaining its proper functioning and the steps involved in rebuilding it. Now, let’s move on to the tools and materials you’ll need for the job.
Tools and Materials Needed
Before you begin the process of rebuilding your water pump, it’s important to gather all the necessary tools and materials. Having the right equipment on hand will ensure a smooth and efficient repair process. Here’s a list of the essential tools and materials you’ll need:
- Socket set or wrench set: This will be used to loosen and tighten bolts and nuts during the disassembly and reassembly of the water pump.
- Screwdrivers: Both flathead and Phillips screwdrivers will be needed to remove any screws or fasteners that hold the water pump in place.
- Pliers: Pliers can be useful for gripping and removing stubborn hoses or clamps connected to the water pump.
- Gasket scraper: A gasket scraper or a razor blade can help remove the old gasket material from the pump housing and engine block.
- Replacement gasket: It’s essential to have a new gasket on hand to ensure a proper seal between the water pump and the engine block.
- New water pump bearings: If the bearings in your water pump are worn or damaged, it’s a good idea to replace them while you have the pump disassembled.
- Coolant: It’s recommended to have fresh coolant available to refill the cooling system once the water pump is installed.
- Shop towels or rags: These will come in handy for cleaning any debris or coolant spills during the repair process.
- Container for coolant drainage: You’ll need a container to catch the coolant when you drain it from the system.
Having these tools and materials readily available before you begin the water pump rebuild will save you time and ensure that you can complete the repair seamlessly.
With the necessary tools at your disposal, it’s time to start the process of rebuilding your water pump. In the following sections, we will guide you through each step, from disconnecting the water pump to reinstalling the new one. Let’s get started!
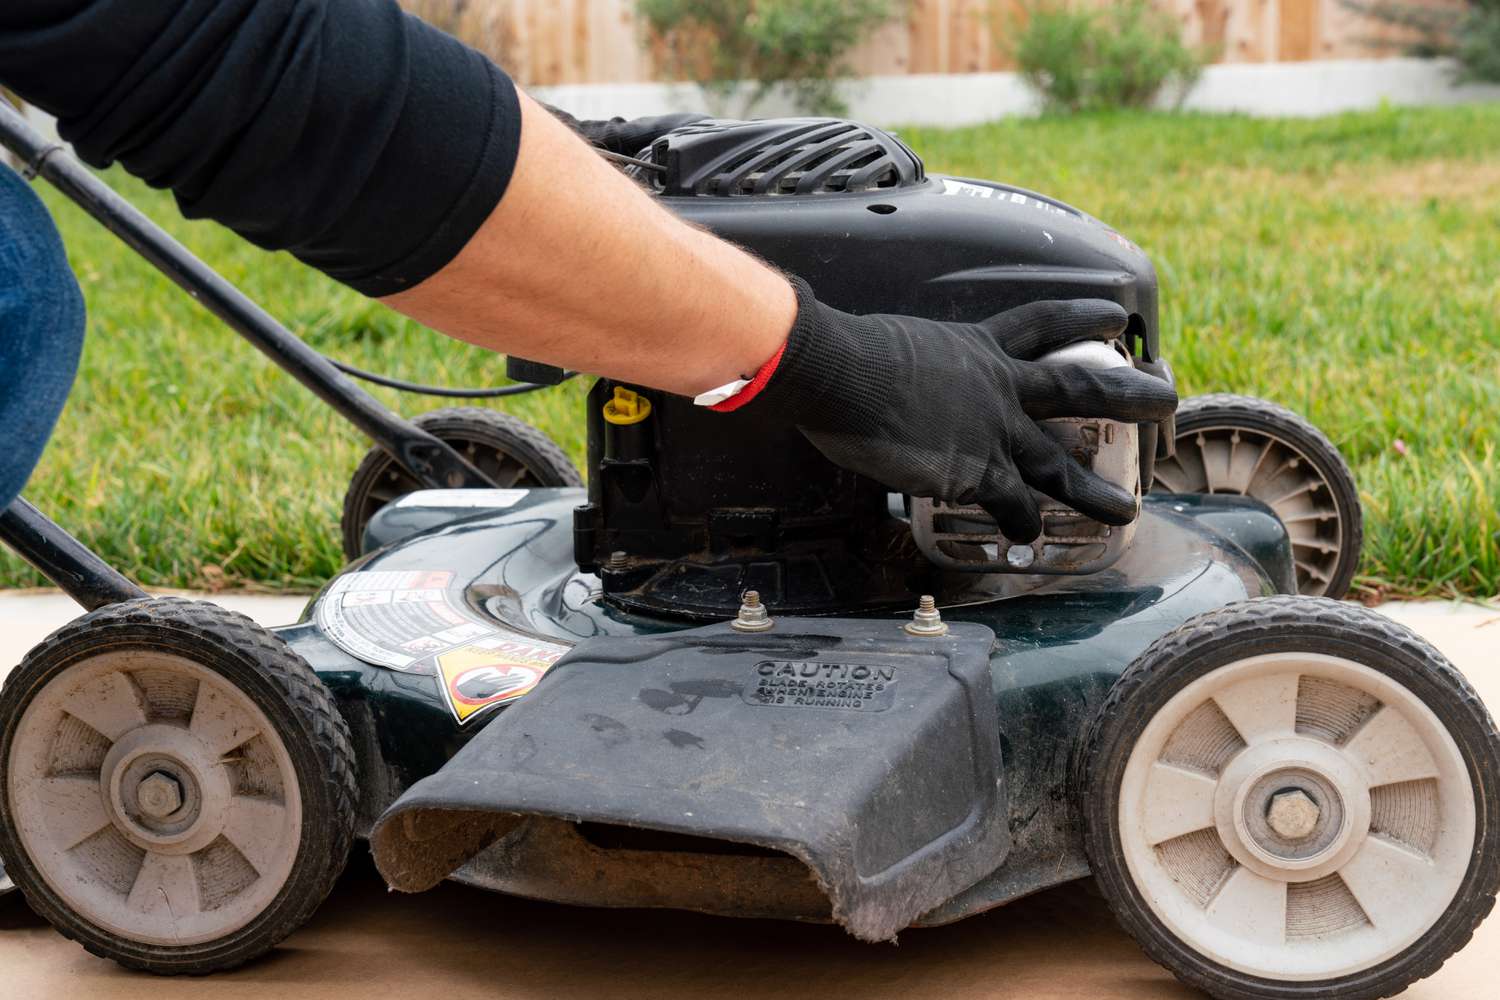
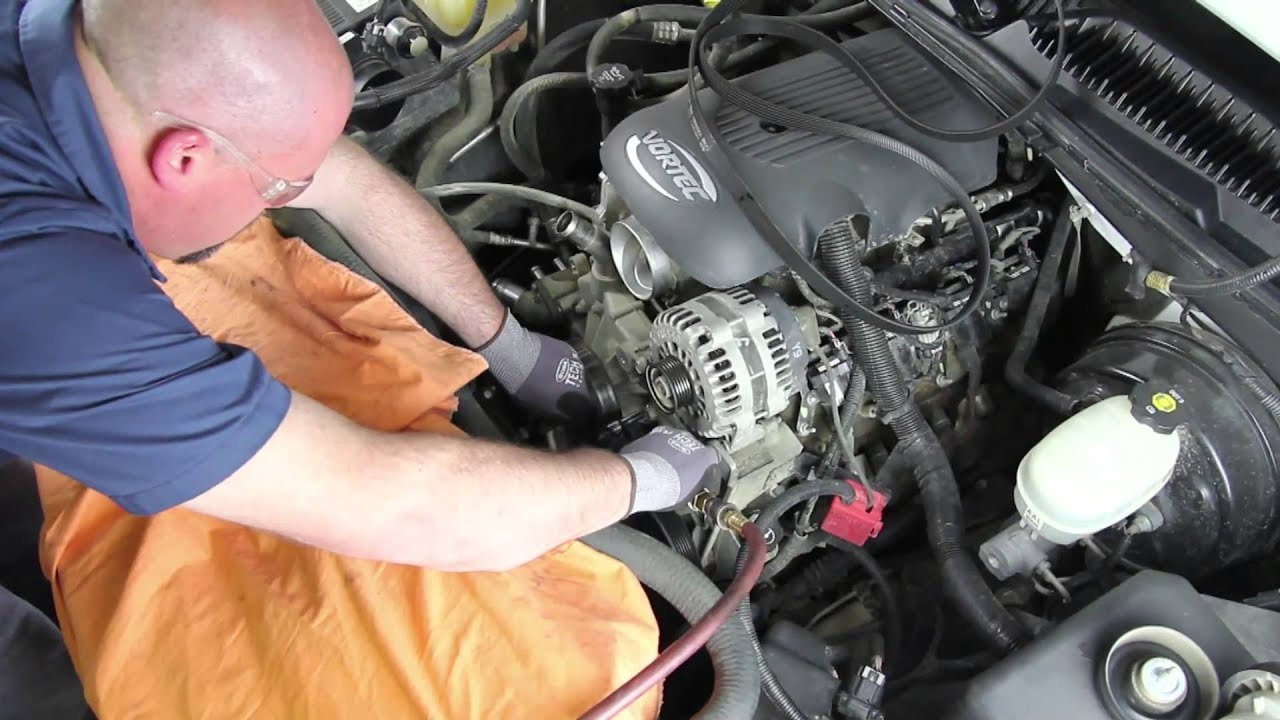
Step 1: Disconnecting the Water Pump
Before you can begin rebuilding your water pump, you’ll need to disconnect it from the rest of the cooling system. Here’s a step-by-step guide on how to do it:
- Ensure that the engine is cool. Working on a hot engine can be dangerous and may result in burns.
- Locate the water pump on your vehicle. It is typically located at the front of the engine and is driven by a belt or an electric motor.
- Drain the coolant. Place a container under the radiator drain plug or use a coolant vacuum to remove the coolant from the system. Follow the manufacturer’s instructions for proper coolant disposal.
- Disconnect the hoses. Use pliers to loosen and remove any clamps holding the hoses to the water pump. Carefully pull the hoses away from the pump to disconnect them.
- Remove any brackets or accessories. If there are any brackets or accessories attached to the water pump, such as pulleys or electrical connectors, remove them using the appropriate tools.
- Take note of the belt routing. If your water pump is belt-driven, take a picture or make a diagram of the belt routing before removing it. This will help ensure that you reinstall the belt correctly later on.
- Remove the water pump mounting bolts. Depending on the vehicle, there may be multiple bolts securing the water pump to the engine block. Use a socket set or wrench to loosen and remove these bolts.
- Carefully remove the water pump. Once all the bolts are removed, gently pry the water pump away from the engine block. Be cautious not to damage the mating surfaces or other components.
With the water pump successfully disconnected, you are now ready to move on to the next step: removing the old water pump. Stay tuned for the next section, where we will guide you through the process.
Step 2: Removing the Old Water Pump
Now that you have successfully disconnected the water pump from the rest of the cooling system, it’s time to proceed with removing the old water pump. Follow these steps to complete this process:
- Inspect the old water pump. Before removing it, take a close look at the pump for any signs of damage or wear. Look for leaks, cracks, or excessive wear on the impeller, housing, or bearings.
- Remove the gasket or seal. The water pump is likely to have a gasket or seal between the pump housing and the engine block. Carefully scrape away the old gasket material using a gasket scraper or a razor blade.
- Detach the pump from the engine block. Depending on the water pump design, it may be secured to the engine block with bolts or screws. Use an appropriate socket set or screwdriver to remove these fasteners and free the pump from the engine block.
- Take note of the pump’s orientation. Before completely removing the old water pump, take a moment to note its orientation. This will help ensure that you install the new water pump correctly in the next steps.
- Gently pry the pump away from the engine block. Use a flathead screwdriver or a pry tool to carefully separate the old water pump from the engine block. Be cautious not to damage the mating surfaces or other components during this process.
- Inspect the mounting surface. Once the old water pump is removed, inspect the mounting surface on the engine block. Ensure it is clean and free of any debris or old gasket material. Use a gasket scraper or a rag to clean the surface if necessary.
- Inspect the drive belt or pulley. If your water pump is belt-driven, inspect the condition of the drive belt or pulley. Look for cracks, fraying, or signs of excessive wear. Replace the belt or pulley, if necessary, before moving on to the next step.
With the old water pump successfully removed, you are now ready to move on to the next step: cleaning the pump housing. This will ensure that the new water pump installation goes smoothly. Keep reading to learn how to clean the pump housing effectively.
When rebuilding a water pump, make sure to thoroughly clean all parts and replace any worn or damaged components to ensure optimal performance and longevity.
Read more: How To Rebuild A Chimney
Step 3: Cleaning the Pump Housing
After removing the old water pump, it’s important to thoroughly clean the pump housing before installing the new water pump. Cleaning the housing will ensure a proper seal and optimal performance. Follow these steps to effectively clean the pump housing:
- Inspect the pump housing. Take a close look at the pump housing for any debris, corrosion, or residue. If you notice any build-up, it’s important to remove it before proceeding.
- Use a gasket scraper or a razor blade to gently scrape off any old gasket material or residue from the pump housing. Be careful not to scratch or damage the housing surface.
- Inspect the housing for corrosion or damage. If you notice any signs of corrosion or damage on the pump housing, consider replacing the housing altogether to ensure optimal performance and longevity.
- If necessary, use a cleaning solution or degreaser to remove any stubborn residue or build-up. Apply the solution to a clean cloth or sponge and gently scrub the pump housing. Rinse thoroughly with water to remove any traces of the cleaning solution.
- Dry the pump housing completely before proceeding to the next step. Use clean shop towels or rags to remove any remaining moisture.
- Inspect the pump housing one final time to ensure it is clean and free of any debris or residue. This will help guarantee a proper seal when installing the new water pump.
By taking the time to clean the pump housing, you’re setting yourself up for a successful installation of the new water pump. With the pump housing cleaned and ready, it’s time to move on to the next step: installing the new water pump. Keep reading to learn how to properly install the new water pump.
Step 4: Installing the New Water Pump
Now that you have cleaned the pump housing, it’s time to install the new water pump. Proper installation is crucial for ensuring the longevity and performance of the cooling system. Follow these steps to install the new water pump:
- Verify the orientation of the new water pump. Before installing the new pump, compare it to the old pump and ensure that they are identical in terms of design and features.
- If needed, apply a thin layer of gasket sealer or RTV silicone to the mating surface of the pump housing. This will help create a watertight seal between the pump and the engine block.
- Carefully position the new water pump onto the engine block, making sure it aligns with the bolt holes and any mounting studs or dowels on the block. Take note of the orientation to ensure it matches the previous pump.
- Secure the new water pump to the engine block using the appropriate bolts or screws. Begin by hand-tightening the bolts, ensuring an even and snug fit. Then, use a socket set or wrench to torque the bolts to the manufacturer’s specifications, tightening them in a crisscross pattern.
- Check for proper alignment and clearance of the pump pulley, belt, and any associated accessories. Make any necessary adjustments to ensure smooth operation and prevent belt misalignment.
- If your water pump has a belt-driven pulley, reinstall the drive belt according to the correct routing. Refer to any notes or diagrams you made while disassembling the old pump to ensure correct belt placement.
- Reconnect any brackets or accessories that were previously removed from the water pump using the appropriate tools. This could include pulleys, electrical connectors, or brackets supporting other components.
With the new water pump securely installed, you are one step closer to completing the water pump rebuild. In the next step, we will guide you through the process of reconnecting the water pump to the rest of the cooling system. Read on to learn how to complete this important step.
Step 5: Reconnecting the Water Pump
After successfully installing the new water pump, it’s time to reconnect it to the rest of the cooling system. Follow these steps to ensure a proper reconnection of the water pump:
- Inspect the hoses and clamps. Before reconnecting the water pump, inspect the hoses for any signs of wear, cracks, or damage. Replace any damaged hoses, and make sure the clamps are in good condition.
- Position the hoses onto the water pump in their proper locations. Ensure a secure fit, and slide the clamps over the hose ends. Tighten the clamps with pliers to ensure a proper seal but avoid over-tightening, which could damage the hose or cause leaks.
- Reinstall any other components or accessories that were removed during the disconnection process. This could include brackets, pulleys, or electrical connectors. Use the appropriate tools to securely attach these components to the water pump.
- Double-check all connections and fittings to ensure they are tight and secure. This will help prevent any leaks once the cooling system is re-pressurized.
- Reinstall the drive belt if your water pump is belt-driven. Follow the diagram or notes you made earlier to ensure the correct routing of the belt. Make sure the belt is properly tensioned according to the manufacturer’s specifications.
- If applicable, reconnect any electrical connectors or sensors associated with the water pump. Ensure they are securely connected and in their proper locations.
With the water pump reconnected to the cooling system, we are now ready to move on to the next step: testing the water pump. This is an important step to ensure its proper functioning and identify any potential issues. Let’s dive into the next section for more information.
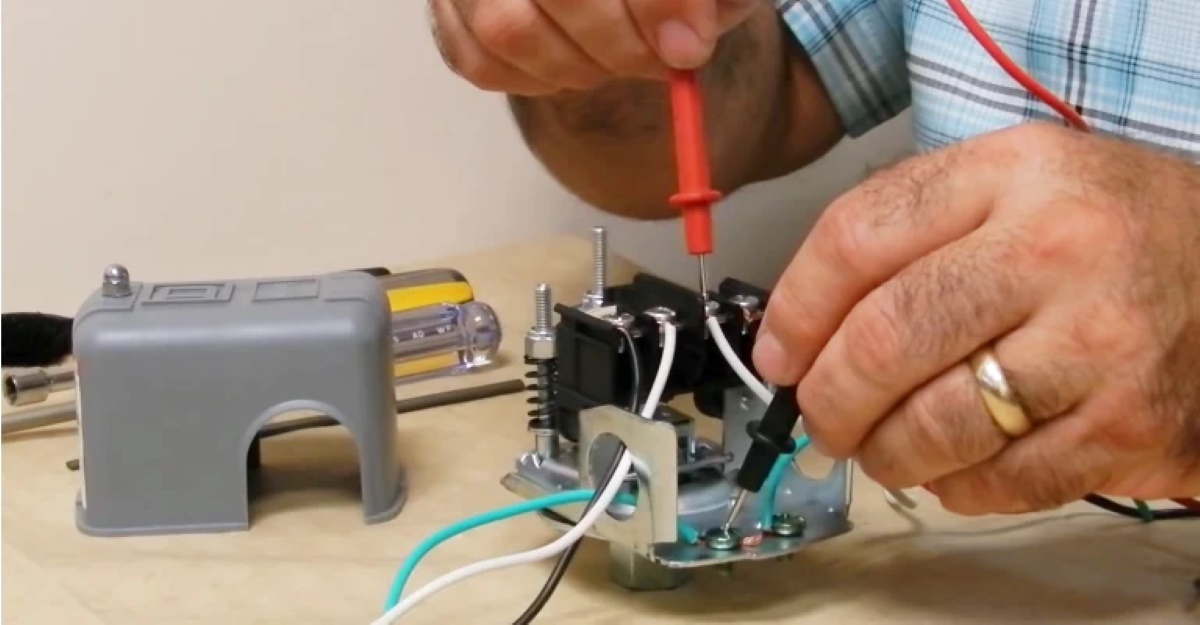
Step 6: Testing the Water Pump
Once you’ve completed the reconnection of the water pump, it’s crucial to test its functionality before concluding the rebuild process. Testing the water pump will help ensure that it is working properly and effectively circulating coolant through the engine. Here are the steps to follow when testing the water pump:
- Refill the cooling system with fresh coolant. Open the radiator cap or coolant reservoir cap and add the appropriate coolant mixture until the system is filled to the recommended level. Refer to your vehicle’s manufacturer guidelines for the correct coolant type and filling procedure.
- Inspect for leaks. Before starting the engine, visually inspect all connections and fittings around the water pump and cooling system. Look for any signs of coolant leaks. If you notice any leaks, immediately shut off the engine and address the issue before continuing.
- Start the engine and let it idle. Allow the engine to reach normal operating temperature while carefully monitoring the coolant temperature gauge. It should stabilize within the normal range. Keep an eye on the engine for any signs of overheating.
- Observe the water pump and listen for any unusual noises. Pay attention to the water pump area to ensure it is working smoothly and quietly. Any grinding, squeaking, or rattling sounds could indicate a problem with the pump and may require further investigation.
- Check the coolant flow. With the engine running, visually inspect the coolant flow inside the radiator or coolant reservoir. You should see a steady flow of coolant circulating, indicating that the water pump is effectively moving the coolant through the system.
- Monitor the temperature. As the engine reaches normal operating temperature, monitor the coolant temperature gauge. It should remain within the recommended range. If the temperature rises above the normal range, it could be an indication of a problem with the water pump or cooling system.
If you notice any issues during the testing process, such as coolant leaks, abnormal noises, or engine overheating, it is recommended to seek professional assistance to diagnose and resolve the problem. Proper testing ensures the water pump’s functionality and contributes to the overall performance and reliability of the vehicle’s cooling system.
Congratulations! You have successfully completed the rebuilding process for your water pump. By following these steps, you have restored the efficiency and performance of the cooling system, ensuring the longevity of your vehicle’s engine. Regular maintenance and monitoring of the water pump can further extend its lifespan. Remember to refer to your vehicle’s manufacturer guidelines for specific instructions and recommendations. Now, you can enjoy a properly functioning cooling system and a reliable vehicle. Drive safely!
Read more: How To Fix Water Pump
Conclusion
Rebuilding a water pump is an important maintenance task that can help prevent engine damage and costly repairs. By following the steps outlined in this article, you can successfully rebuild your water pump and ensure the proper functioning of your vehicle’s cooling system.
Understanding the water pump’s role and components is essential for a successful rebuild. Take the time to familiarize yourself with the pump’s function, including the impeller, housing, shaft, and bearings. This knowledge will enable you to identify any signs of wear or damage and take appropriate actions during the rebuild process.
Gathering the necessary tools and materials before starting the rebuild is crucial for a smooth and efficient repair. Having a socket set, screwdrivers, pliers, gasket scraper, replacement gasket, new water pump bearings, coolant, and clean shop towels will ensure that you have everything you need to complete the job.
The step-by-step process outlined in this article, from disconnecting the water pump to testing its functionality, will guide you through each stage of the rebuild. Pay attention to details and take your time to ensure proper installation and reconnection of the water pump. Testing the pump’s performance and checking for any leaks or abnormalities will provide the confidence that your cooling system is working effectively.
Regular maintenance and monitoring of the water pump and cooling system are essential to prevent future issues. Keep an eye out for signs of coolant leaks, overheating, or unusual noises, as these can indicate problems with the water pump. Promptly addressing these issues will help avoid further damage and ensure your vehicle’s longevity.
Remember, if you encounter any difficulties or are unsure about any step of the process, it is always advisable to seek professional assistance or consult your vehicle’s manufacturer guidelines. Safety should always be a priority, so exercise caution when working on your vehicle.
By taking the time to rebuild your water pump, you are maintaining the health of your vehicle’s engine and preserving its overall performance. So, go ahead and tackle that water pump rebuild with confidence, knowing that you have the knowledge and skills to successfully complete the job!
Frequently Asked Questions about How To Rebuild A Water Pump
Was this page helpful?
At Storables.com, we guarantee accurate and reliable information. Our content, validated by Expert Board Contributors, is crafted following stringent Editorial Policies. We're committed to providing you with well-researched, expert-backed insights for all your informational needs.


0 thoughts on “How To Rebuild A Water Pump”